Change the Headlight on your Harley Davidson Sportster
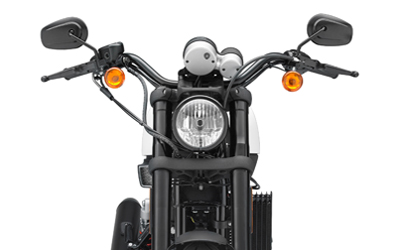
Changing the headlight on your Harley Davidson Sportster
is a straightforward task that can be completed in a few minutes. It’s
much cheaper to treat this as a do-it-yourself project at home than to
take it in to a mechanic. The procedure itself is quite easy too. It’s
important to keep your headlight working properly for your Sportster’s safety and your own. Although Sportster
headlights do not burn out often and tend to have an excellent lifespan,
when they do, you’ll need to change them immediately in order to
preserve the ability to safely ride at night or in dark conditions. Read
on for a step-by-step guide on how to change the headlight bulb in your
Sportster.
Step 1 — Collect the Materials
Gather up the following tools and materials before you begin:
- Replacement headlight bulb
- Small container
- Screwdriver
- Gloves
- Towel or soft cloth
- Needle-nose pliers
Step 2 — Prepare to Remove the Old Headlight
If your Sportster has a fairing protector that covers up the
headlight system, remove that gently by hand first. Next, remove the
chrome ring that lines the outer rim of the headlight as well. These
items should both be pulled off carefully by hand. Be sure to remove
them by pulling them directly outward, and refrain from pushing them
down or pulling them up unnecessarily, as this can cause undue damage.
Finally, use the screwdriver to remove the screws from the outside of
the Sportster headlight frame. These screws are typically three in
number and are arranged in a triangular pattern. Put the screws in the
small container for safekeeping and set the container aside in a place
where you’ll be able to access it easily later on in the process.
Step 3 — Pull Out the Old Headlight
Gently and carefully pull the old headlight out from the headlight
frame. Once again, be sure to do this so that you pull the headlight
directly out from the frame, rather than up or down at all. Do not pull
the headlight past where the three pronged plug that connects to the
back of the bulb will extend.
Step 4 — Remove the Plug
Carefully pull the plug directly out from the back of the headlight
by hand. If you don’t have enough room to do so, use the needle-nose
pliers to remove the plug instead. Do not continue to pull the headlight
out of the frame until you’ve removed the plug.
Step 5 — Clean and Set the New Headlight Bulb
Having discarded the old headlight bulb, put on your gloves so as not
to get oils or other residues on the new headlight. Place the rear of
the headlight up against the bulb and attach it to the three pronged
bulb as before. Clean off the headlight and the bulb together using the
towel or the soft cloth. Place the headlight into the headlight frame
and secure it in place with the three screws.
Step 6 — Adjust the Headlight and Secure It
Turn the new headlight bulb on and test to see where the light
shines. It should point outward in front of the bike and slightly down
so that it will illuminate the road in front of you. If necessary,
adjust the angle of the light by tightening or loosening the screws.
When you’re satisfied, place the chrome ring back around the motorcycle
headlight and the fairing protector on as well, if applicable.
All of the different components that you’ll need to purchase for this
project, save the headlight bulb itself, can be found at a hardware
store. The bulb for your Harley Davidson Sportster can be found at a motorcycle repair shop.
(Click here to join the Do-It-Yourself conversation at HDForums.com!)