Installing the Aeorcharger


#12
 02-04-2014, 06:44 AM

#15
02-05-2014, 06:38 AM
Let me update some of the installation work that I've been doing. It's been modest mostly related to get some vacuum line parts. The instructions incorrectly state that the vacuum lines are 3/16" but I think they are 1/8" so I need to order a different vacuum connector/reducer for the manifold and a different tee for the BOV and MAP sensor. They should be here in a couple days.
#16
02-06-2014, 02:20 PM
#17
02-07-2014, 09:56 AM
I'm going to ship my air cleaner out for paint tomorrow so I probably won't finish for another 2 weeks. I'll make it just in time to ride in March--if the snow ever leaves.
#18
02-08-2014, 12:43 PM
OK--it's all done except I'm waiting for a new map sensor. Since my bike is a 2014 the appropriate power commander does not have a plug for the bosch that Power Commander includes. I soldered together some connectors and it works fine but I don't like the way it looks so I bought one from Accel. Power Commander will work with any three bar sensor and this one came with a plug in harness that I can connect to the terminals on the PC V USB. It should be here by Weds so I'll install it and work on the fuel map Saturday.
I also purchased an auto tune. And of course the 14 bike has presented me with further issues. The power connectors for 14 seemed to have changed so I am going to have to cut the connector and connect it to the batter and a ground like a generic kit. No biggie and I didn't really even need it but I like have the O2 sensor, please I'm not sure why.
The kit. The fit is really good but I'd have to say the exhaust bracket could be a touch longer. I filed the bolt holes a little bit to give me just a touch extra room. The header was basically laying on the clutch cover and now it's just close. The header is heat wrapped so we'll see how that works. The charge tube took a little work to get fitted and it's sitting on the side cover. I ordered some 3m clear bra so it doesn't mark up the paint and may put a 3" extensions tube below the BOV and before the bend toward the turbo itself.
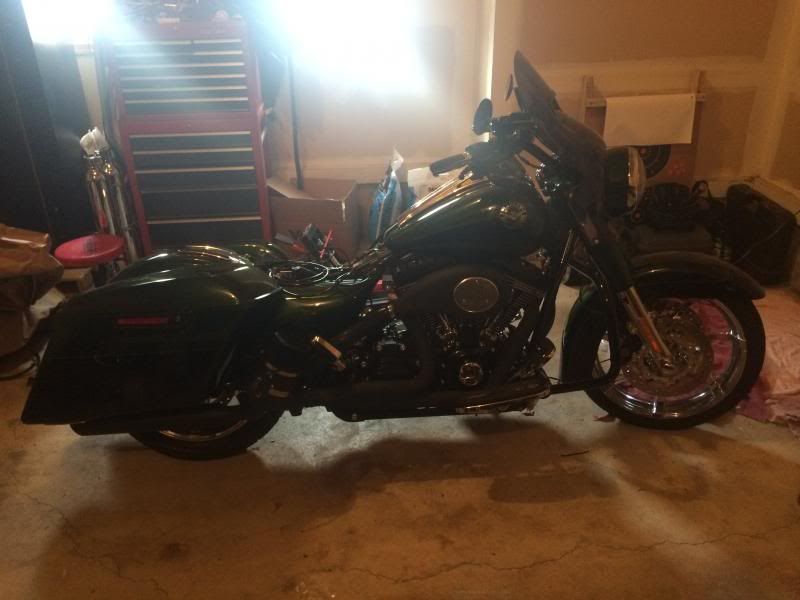
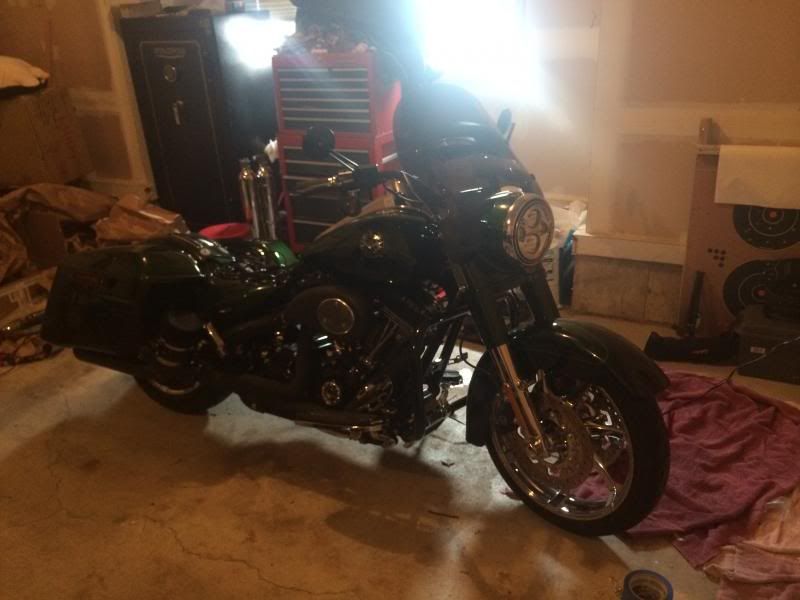
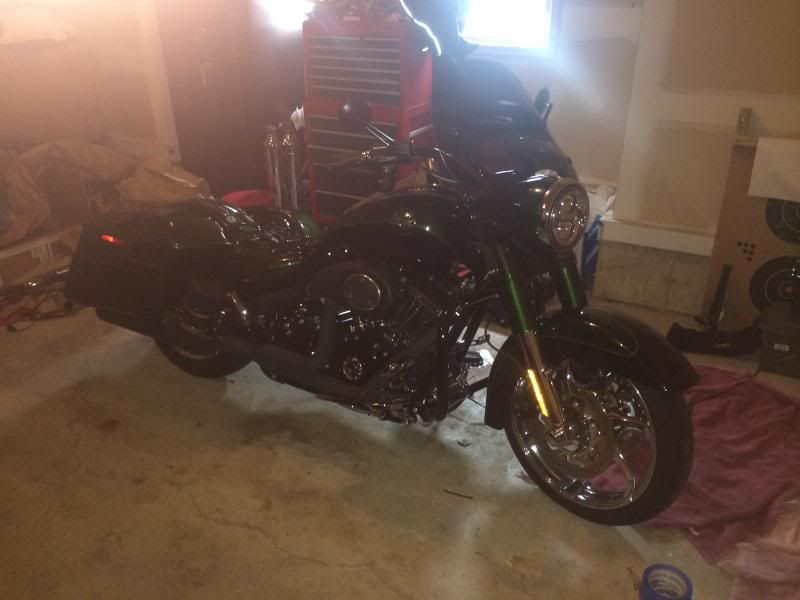
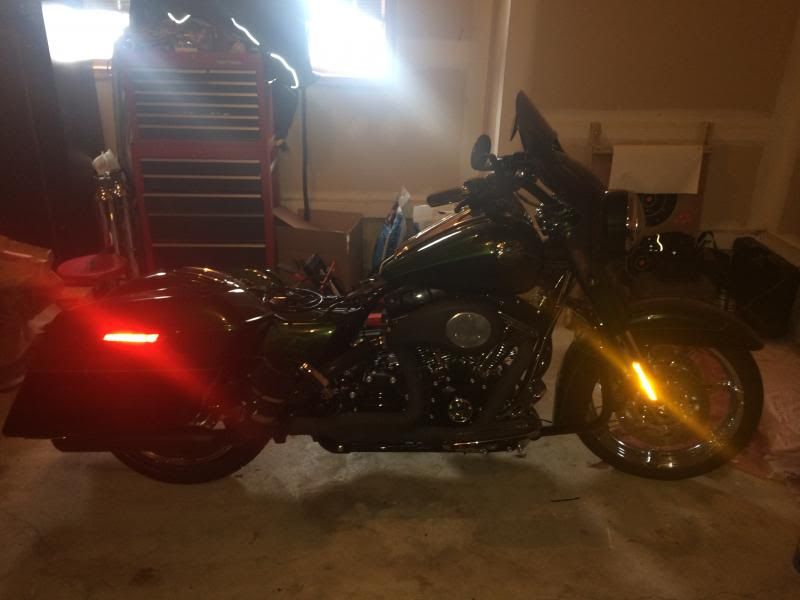
I've completely reassembled the bike and it looks good. The turbo isn't jumping out in your face which I like.
Here are the latest photos:
I also purchased an auto tune. And of course the 14 bike has presented me with further issues. The power connectors for 14 seemed to have changed so I am going to have to cut the connector and connect it to the batter and a ground like a generic kit. No biggie and I didn't really even need it but I like have the O2 sensor, please I'm not sure why.
The kit. The fit is really good but I'd have to say the exhaust bracket could be a touch longer. I filed the bolt holes a little bit to give me just a touch extra room. The header was basically laying on the clutch cover and now it's just close. The header is heat wrapped so we'll see how that works. The charge tube took a little work to get fitted and it's sitting on the side cover. I ordered some 3m clear bra so it doesn't mark up the paint and may put a 3" extensions tube below the BOV and before the bend toward the turbo itself.
I've completely reassembled the bike and it looks good. The turbo isn't jumping out in your face which I like.
Here are the latest photos:


