Dyna Glide ModelsSuper Glide, Super Glide Sport, Super Glide Custom, Dyna Glide Convertible, Super Glide T-Sport, Dyna Glide Police, Dyna Switchback, Low Rider, Street Bob, Fat Bob and Wide Glide.
Im ordering mine tomorrow, very excited! Hopefully it will be delivered by the time I get back from my deployment. I will confirm this when I am on the phone ordering, but I am assuming there will be no issues mounting the fairing with the apes that I currently have....any thoughts feel free to chime in!
Last edited by WideGlideFever; 04-26-2015 at 07:02 PM.
You should be fine. As I said in this post when installing the fork brackets make sure you check the left and right movement to make sure it doesn't hit your tank.
I got the headlight on. I had to work slack out so it didn't pull tight when the wheel was turned all the way to the right, but did it without getting to the connection in the frame. I got the inner fairing as well. Either tonight or tomorrow I will have the fun task of trying to fish the somewhat thick cable through the neck of the frame back to the seat. Not a lot of room with the current cables already running through. Got to get connections back to the battery and fuse box for the stereo.
Great post! I have a very similar setup for my Street Bob. I wish I could have a seen a post like this when I was pulling the trigger on my Road Captain fairing, I felt like I was just guessing on everything. I need to be better about reviewing products on here to help other people out.
I agree on the wind blocking, it makes for a super comfortable ride. I went through 2 LRS Ultras and I now have the 9 inch Windblade, which I think cuts down on the wind coming from under the fairing more than the Ultra. Still get a bit of buffeting on top of the helmet but nothing too crazy.
LRS makes some great shields, I am just bad at figuring out what works!
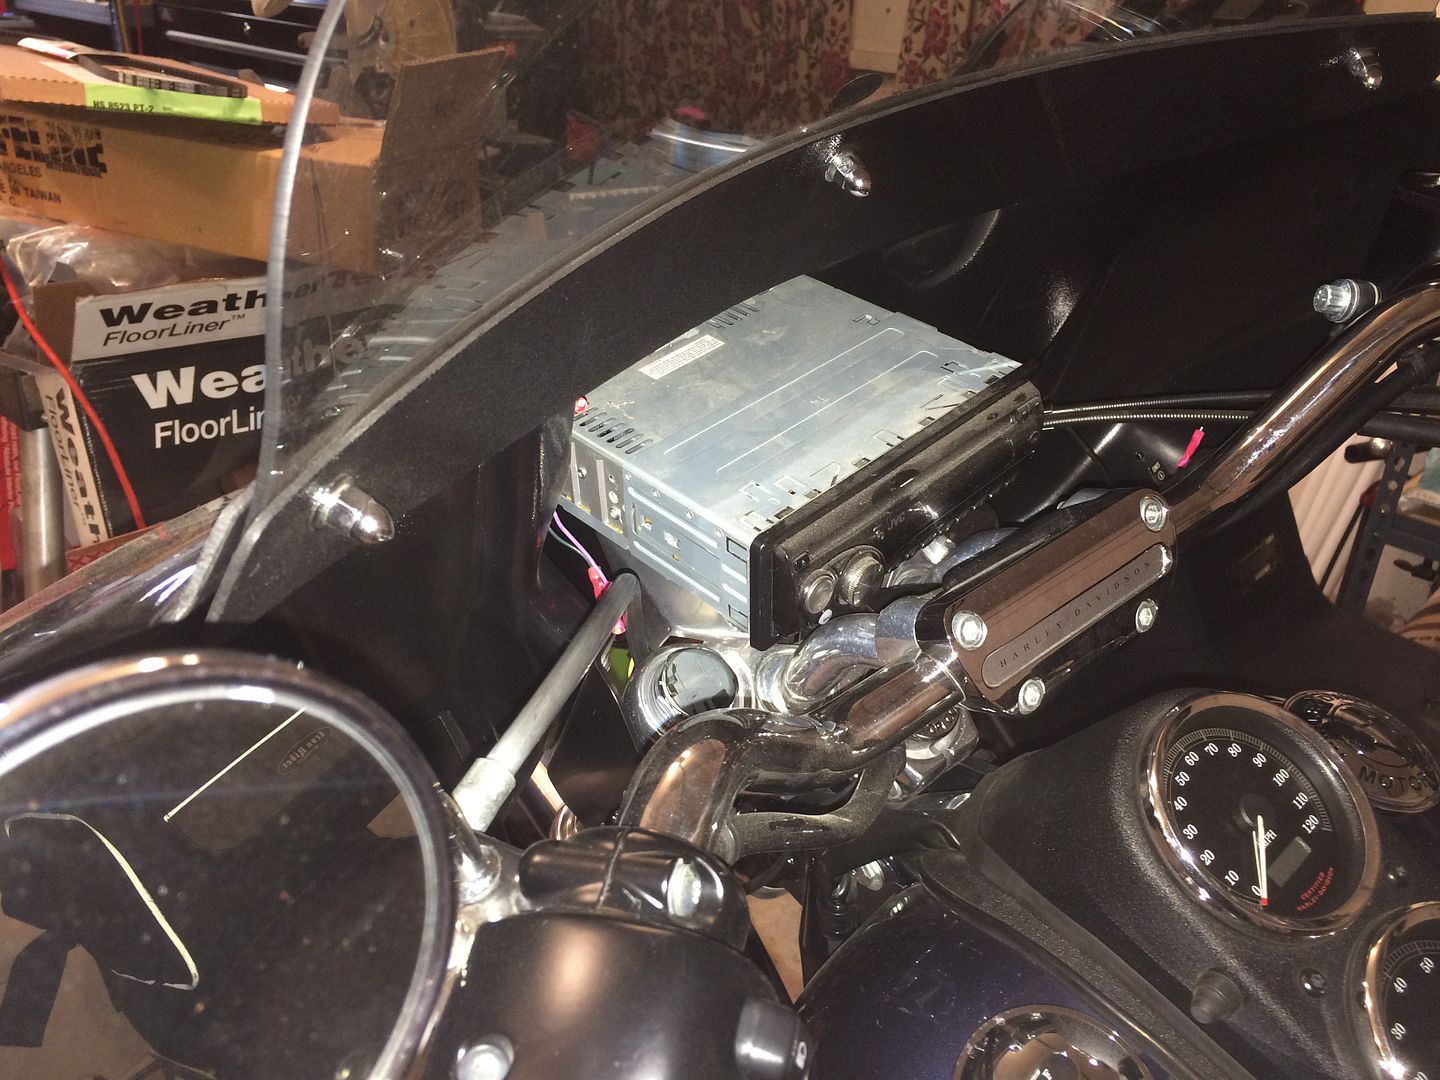
I am consideering the outer fairing for now also...... Would it be able to fit a marine deck box, so i can put a radio in it?
Until i can afford the inner , i have a din radio with a marine box and some handlebar speakers.
Any feedback would be apprecriated as i want to order today, if possible.
Cheers..
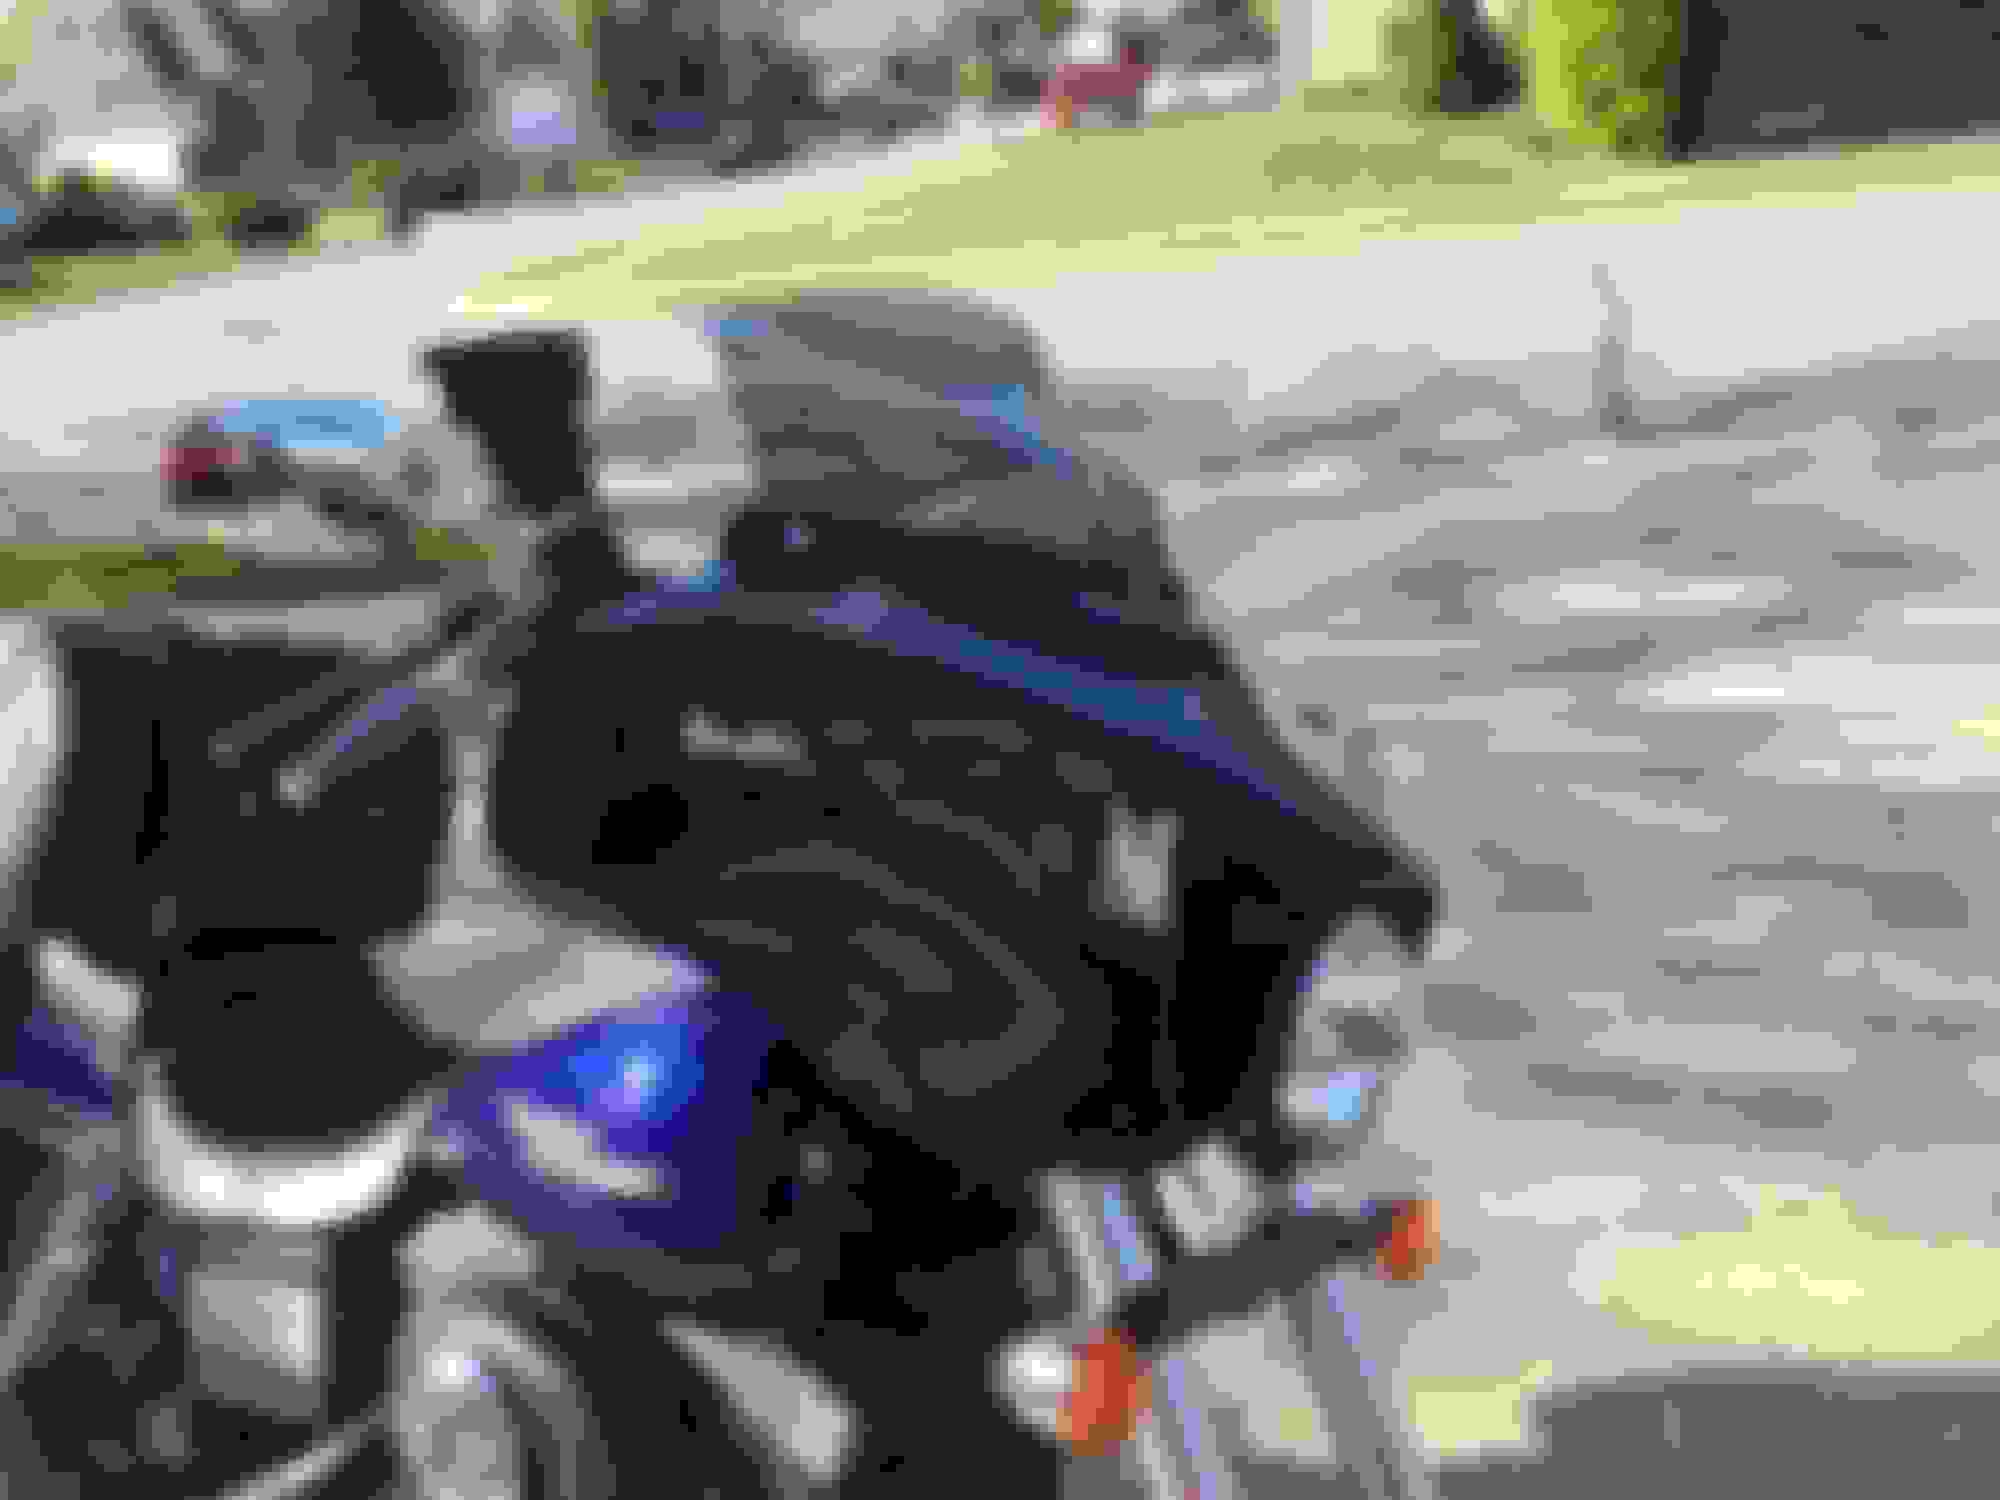
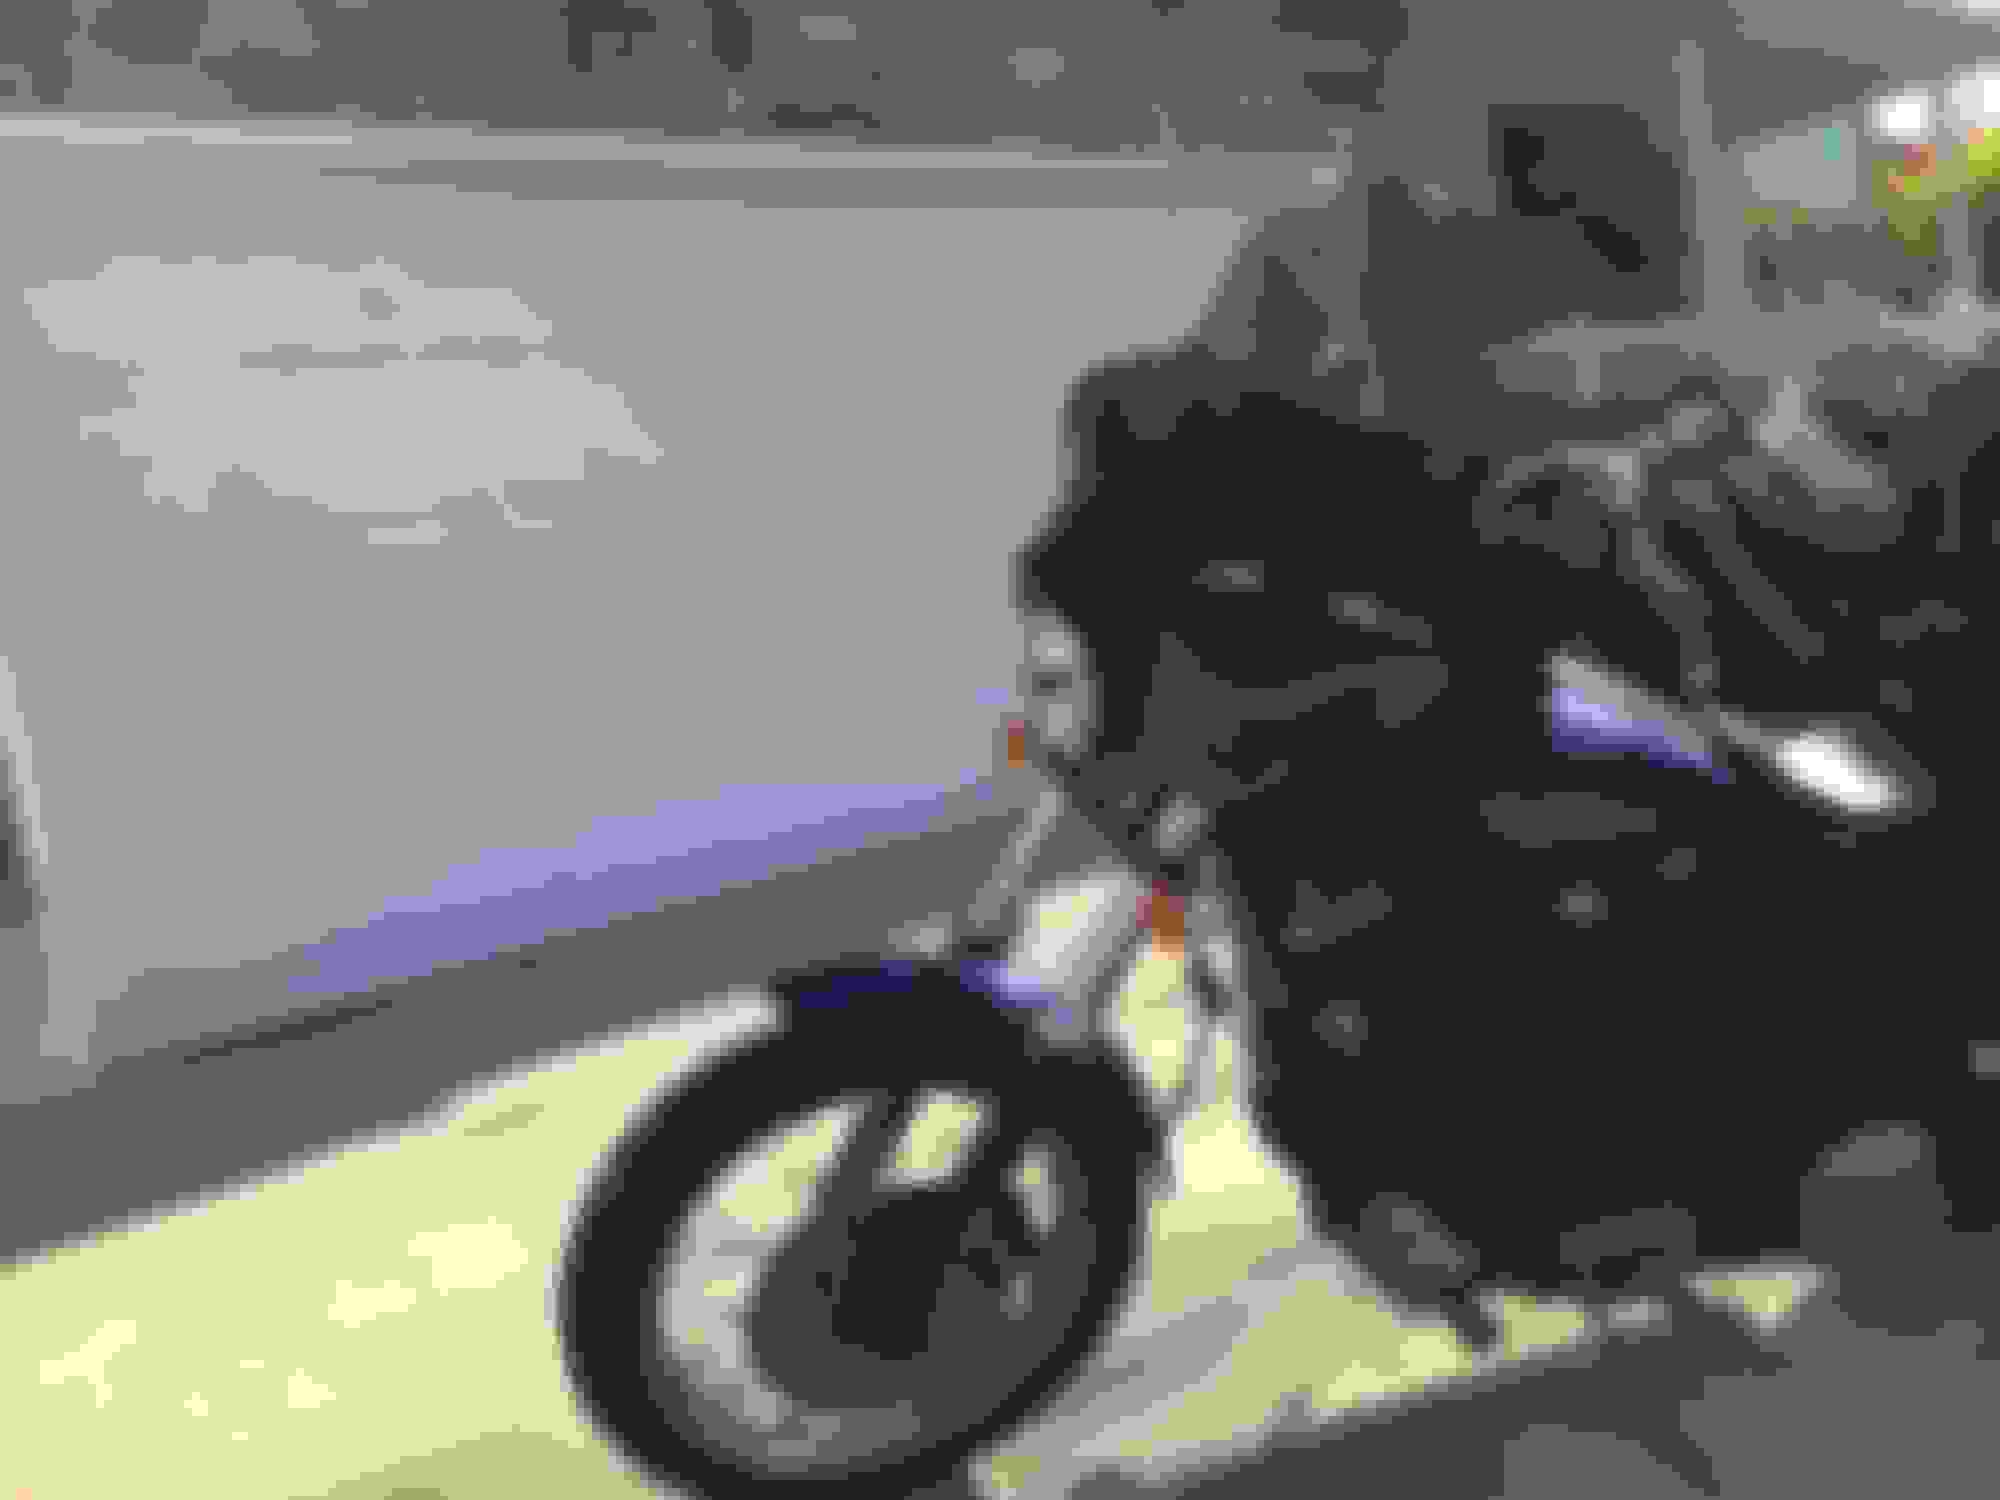
You should be fine adding a radio box. Here's a couple of pictures that show the space that is where the inner fairing would be. I just set a radio in the space and there seemed to be enough room but I don't know what year or model bike you have. Mines a 03 Low Rider.
Hi, to check how do you relocate the front signal light? Is it easy to remove the wire from the control, handlebar and main frame?
Originally Posted by jcgribks
I've been comparing all the aftermarket batwing fairings out there for the past couple of months. I decided to go with the Dead Center Cycles Road Captain Fairing as I thought it was a good looking fairing that was proportional in size compared to the Touring bikes for my 2003 Low Rider. I also liked the fact that I could buy just the outer fairing and mounting hardware and get the inner stereo ready fairing at a later time so I didn't have to come up with all the money at once.
After I received the fairing and mounting kit, I discovered that they had sent me the wrong headlight relocation mount. They had sent one for a later model. No problem a quick call to Dead Center Cycles and they sent out the correct one.
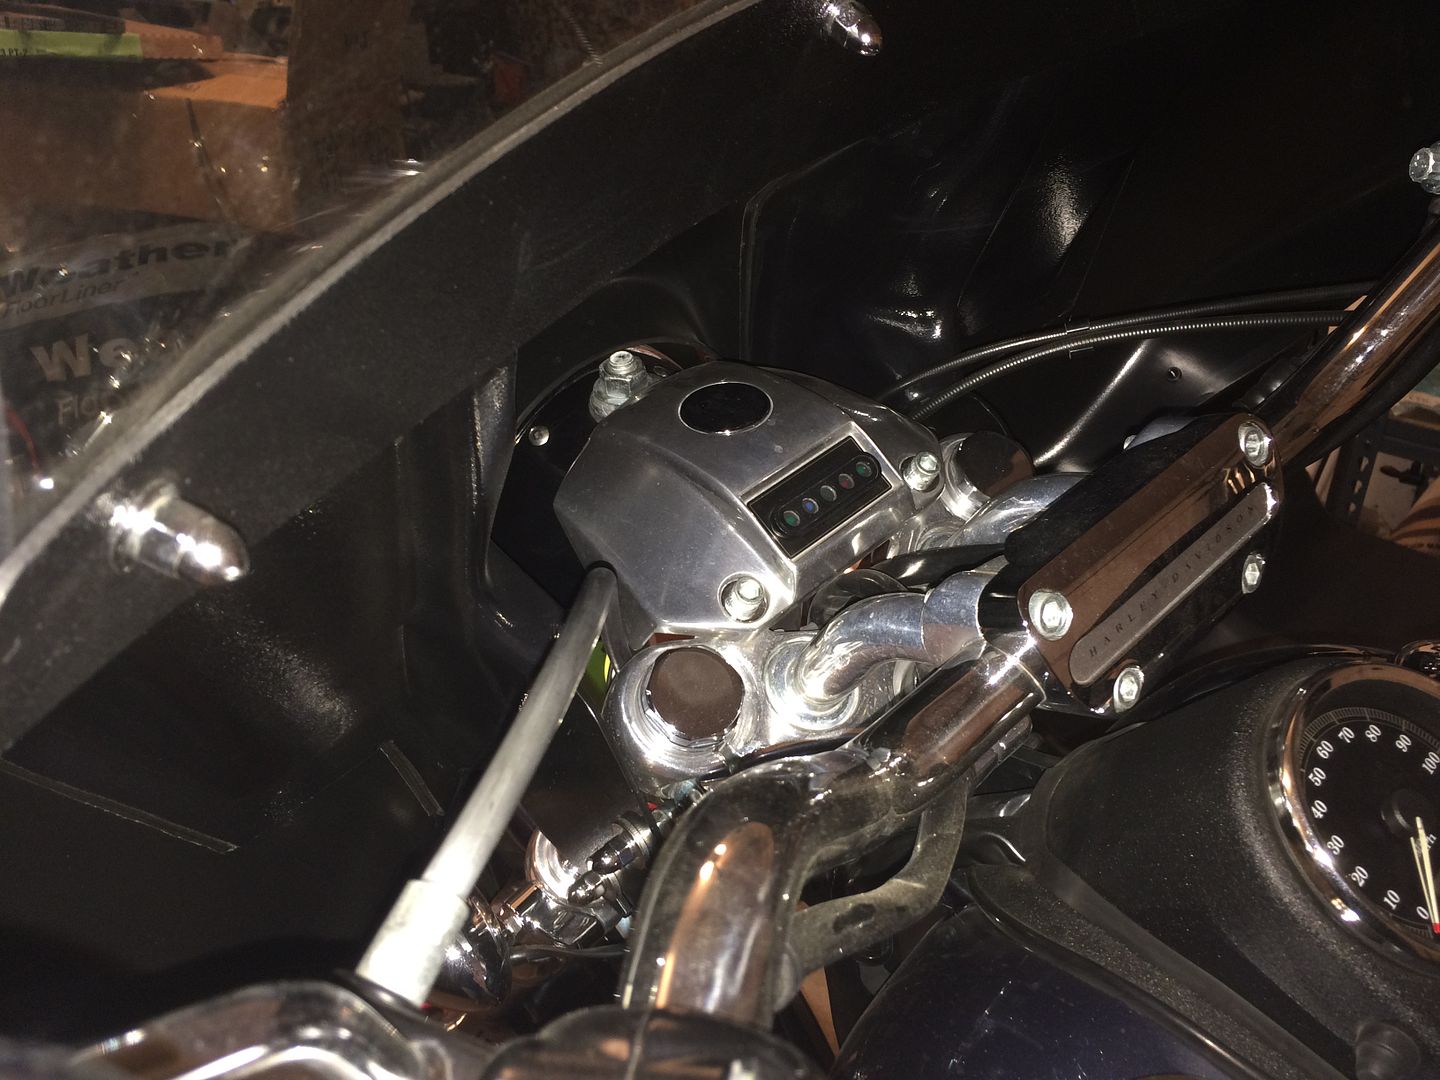
1st was to install the T-bolt clamps to the forks between the upper and lower triple clamps as shown in these pictures. These are supposed to be mounted with the bolt parallel to the front axle. But...
I had to rotate the clamps toward the front a little so the mounting brackets wouldn't hit my tank. I even tried and loosened up my tank mounting bolts to try to move back the tank back a little.
This side wasn't as near to the tank when I test fit the mounting brackets.
This is the headlight relocation mount to bring the headlight out and just in front of the fairing. Otherwise it has the "tunnel" look as some other batwing fairing have
Here is a shot with the T-bolt clamps in place and the headlight in it's new position.
Here is a side view showing the T-bolt clamps installed. Not shown is how the fairing mounts to the T-bolts. They use a thick large washer, then a thick smaller washer, then another thick large washer and then an acorn nut. Sort of the same setup as other quick-disconnect windshields use.
Finished, except for measuring for a windshield.
Another front shot.
Here's what the back looks like.
This is where test fitting the fairing mounting brackets before you mount them to the fairing is critical. When I 1st installed the T-bolt clamps and test fit the mounting brackets, the bracket would touch my tank.
Here's a side shot of the fairing installed
The only part of the install that I didn't show was mounting the fairing brackets onto the fairing itself.
The fairing is able to be removed fairly quick with just 7/16" wrench.
Overall I'm very happy with the looks and fit of the Road Captain Fairing. The fit and finish of the fairing is great. I can't wait to get the funds up to get the inner fairing. Eventually after I get the inner fairing, I'm going to have both painted to match my bike.
For the dynas with 49mm forks, DCC looks like they changed the fairing mounting brackets to fit in between the forks. For a cleaner look from the out side and likely no issues with hitting the gas tank. at least that what i have read from my instructions from DCC.
I put a Dead Center batwing fairing on my SB a few years back. I went with the fairing called "Dead Center". Just slightly bigger than the Road Captain and designed to mount to the quick release system, but bolted on. Real easy to remove, but never do. Like having it on...and I ordered the one with cutouts for mounting a radio and a couple of extra ports for my heated gloves etc. Great fit and finish...
I love this forum for posts like this. Someone had a need and did research. I did a double take when I saw the original post was three an a half years ago. The fairing looks great on all the bikes. Functional additions that look good are always a plus. A batwing on a Harley is a natural. The 2018 Sport Glide has a removable mini fairing. It looks good but probably doesn’t do much in deflecting wind over your head.
Last edited by Antonio Balls; 02-25-2018 at 08:52 AM.
 04-26-2015, 06:54 PM