2015 Dyna Street Bob Build thread


#63
 05-23-2015, 03:53 PM
Because Harley set their brake light switch to work opposite of just about everyone else today was make a brake light switch day.
Most important was to get a switch that would work. After some google searches I found I wasn't the only person to have such an issue and I was directed to mcmaster carr where I purchased this.
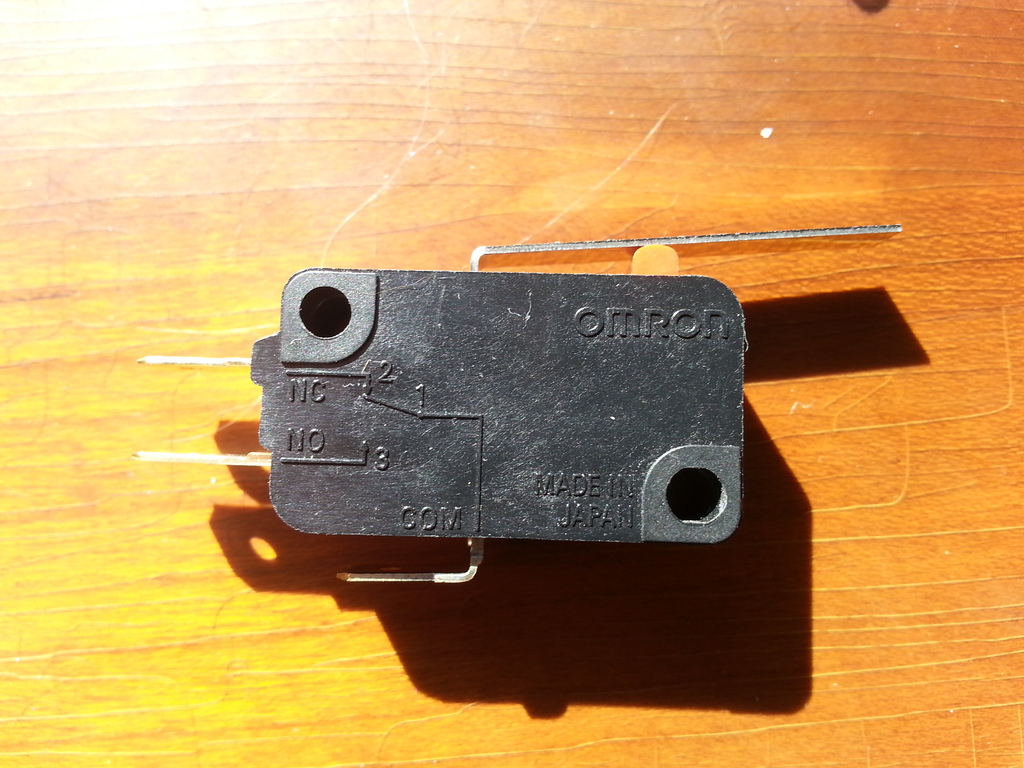
Best part is it can be wired for normally opened or normally closed circuits. The bad part is it is a bit larger then the micro switch that brembo supplies and it doesn't mount up to the mounting points on the master cylinder.
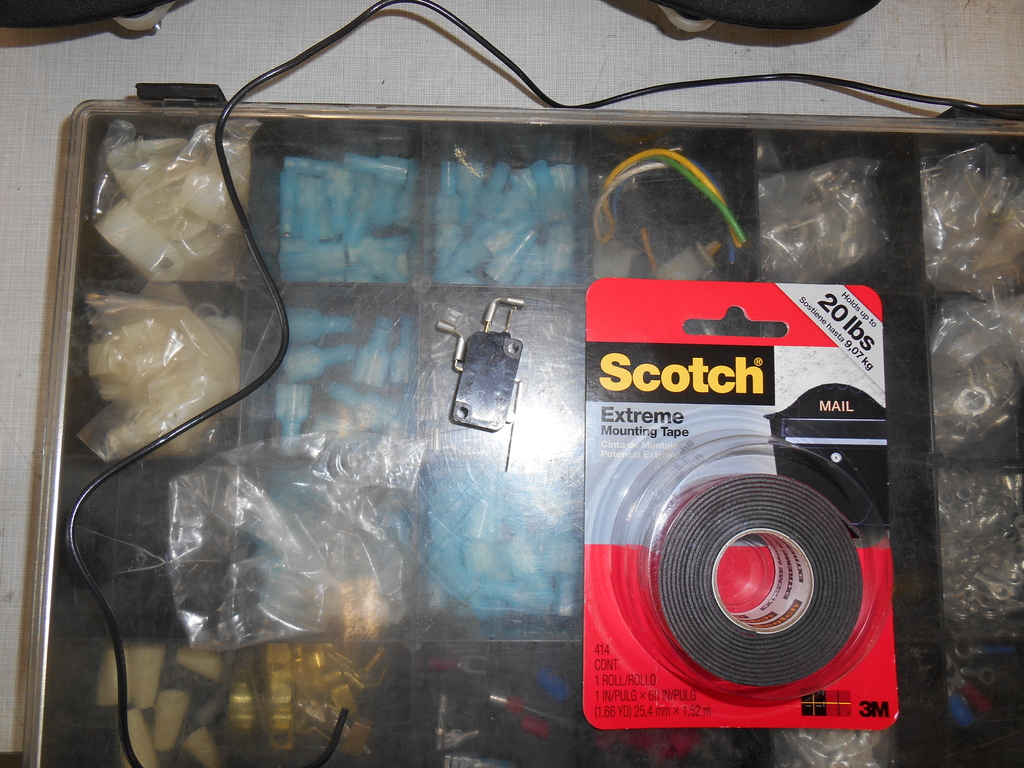
Got out the supplies I needed and bought some 3m VHB tape to mount it with. If you're hot familiar with this, it is used in industrial applications where traditional fasteners like bolts can't be used. The longer it sits the stronger the adhesion gets.
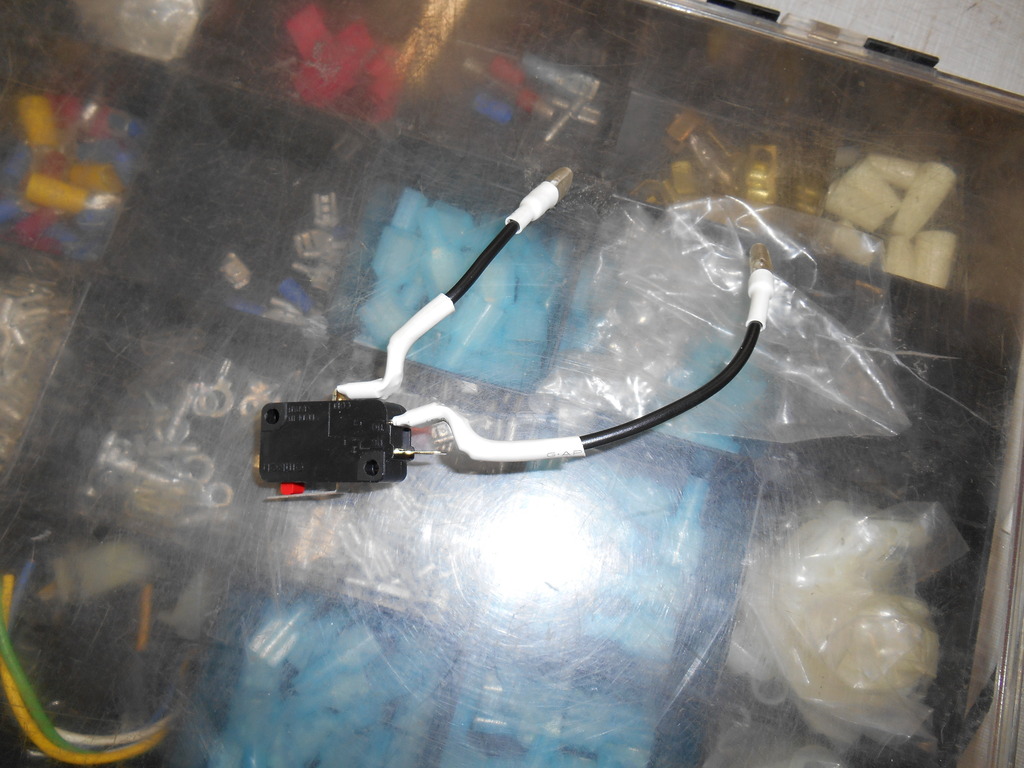
Harley requires a normally open switch to work with the brembo master. So here it is wired appropriately.
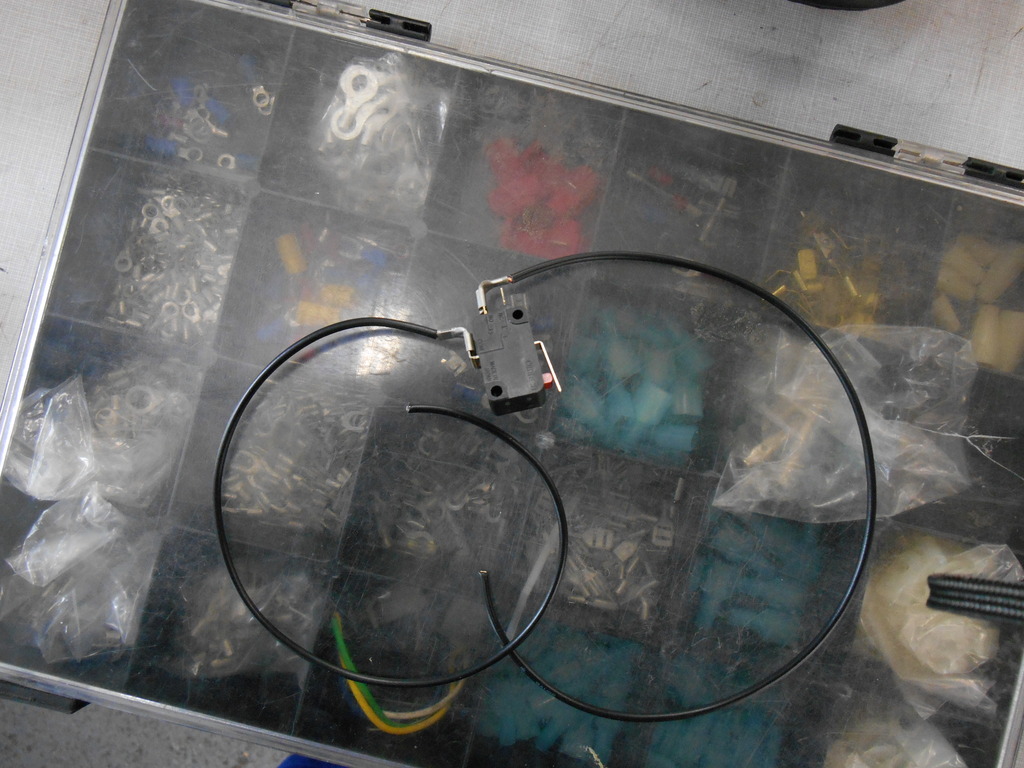
A bit of insulation on the terminals and the switch is ready to be mocked in place.

In place and ready for final fitment.
Now the switch is completed and ready to be installed.
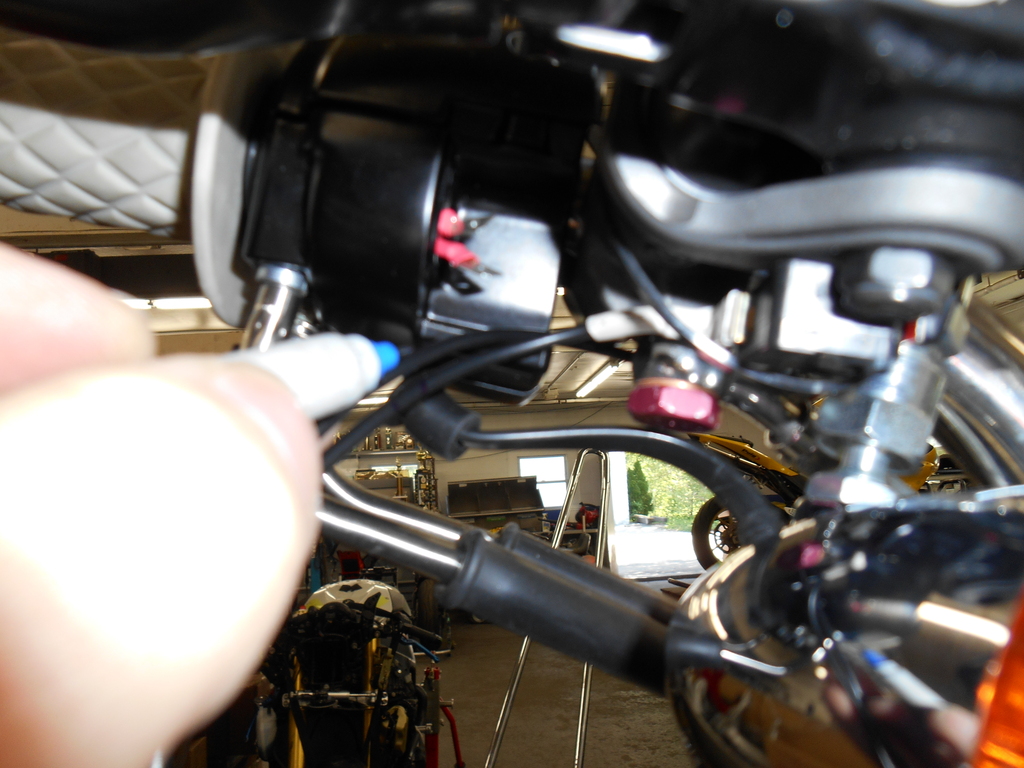
Here it is installed and ready to go.
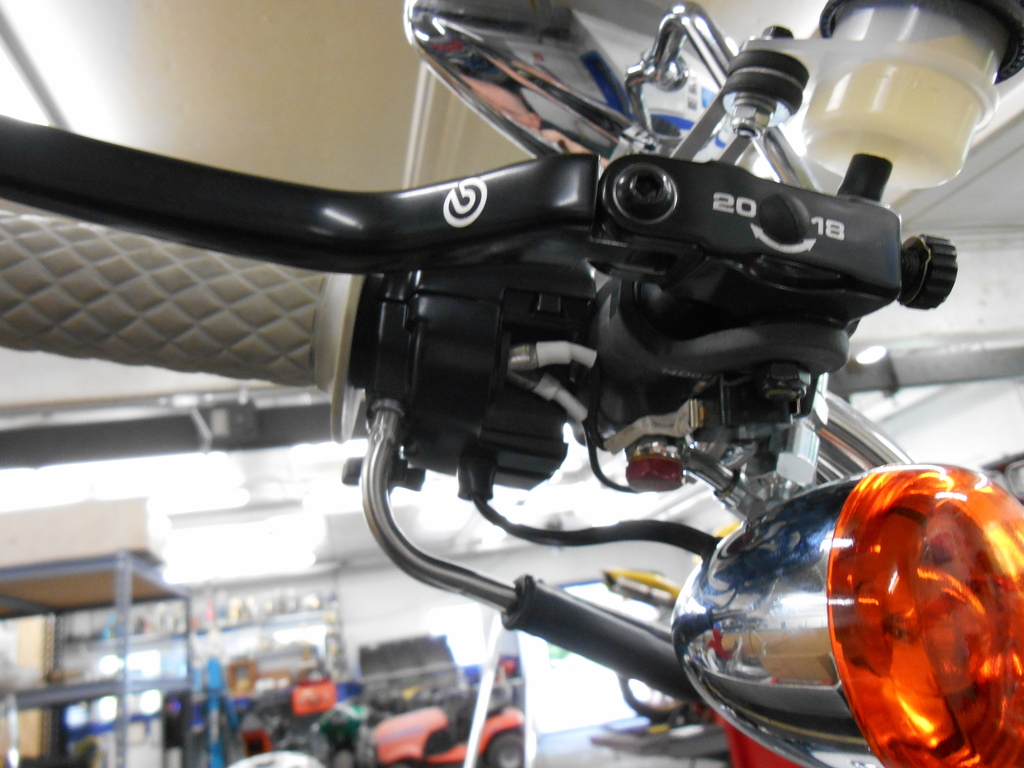
In the end it came out looking better then I expected. You have to know to look to see it. I'm happy with the outcome but I'm still hopeful brembo has the switch I'm looking for.
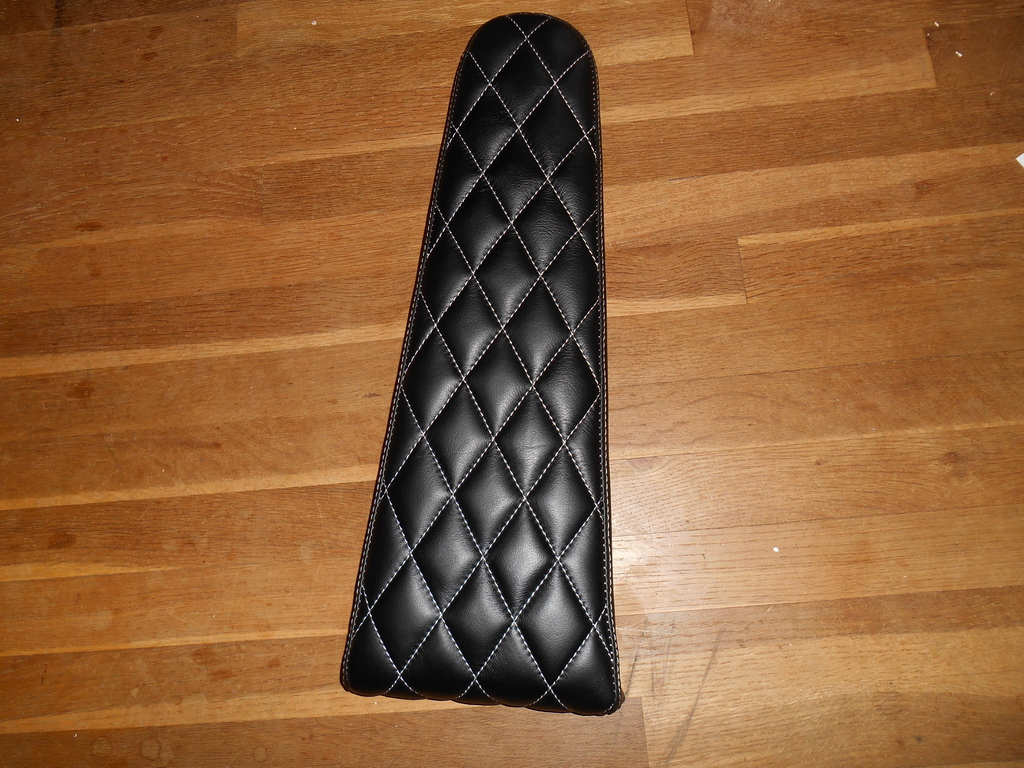
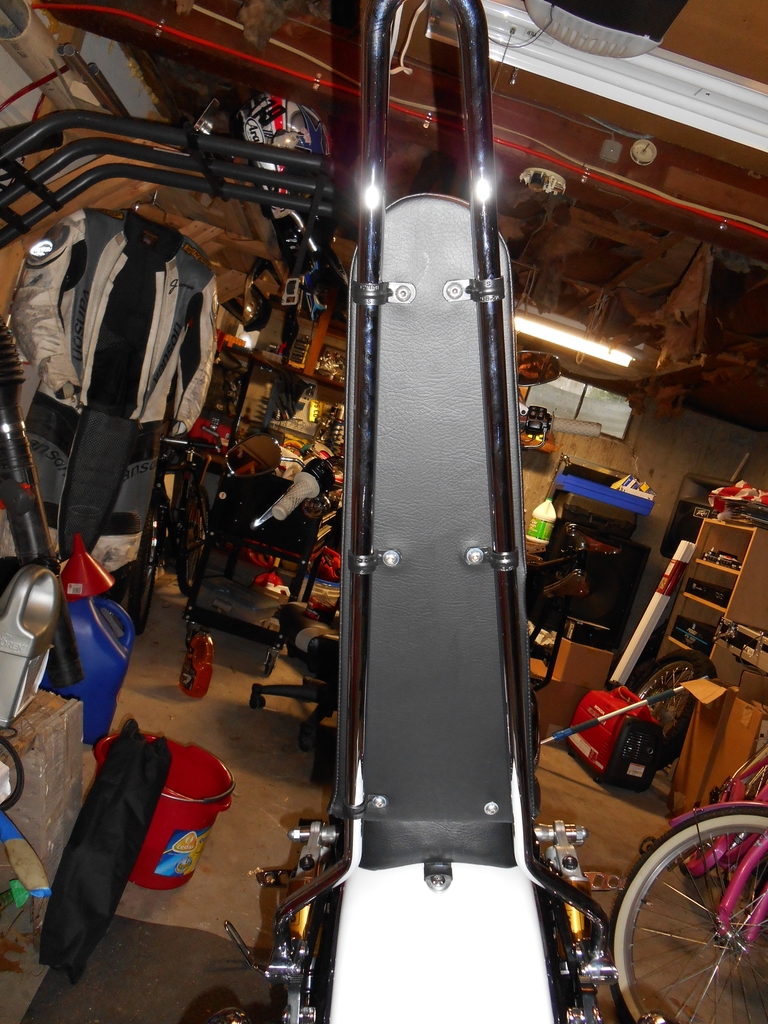
The backing for my sissy bar pad arrived at sick saddles on Friday. Ed got back to me pretty quick and hopefully soon I have a pad ready to go that matches my seat. I'm using 1/2 inch emt clamps to attach it to the sissy bar. I used black plasti dip to coat them. No photos right now but if there is enough demand I can get them before I install the completed pad.
Most important was to get a switch that would work. After some google searches I found I wasn't the only person to have such an issue and I was directed to mcmaster carr where I purchased this.
Best part is it can be wired for normally opened or normally closed circuits. The bad part is it is a bit larger then the micro switch that brembo supplies and it doesn't mount up to the mounting points on the master cylinder.
Got out the supplies I needed and bought some 3m VHB tape to mount it with. If you're hot familiar with this, it is used in industrial applications where traditional fasteners like bolts can't be used. The longer it sits the stronger the adhesion gets.
Harley requires a normally open switch to work with the brembo master. So here it is wired appropriately.
A bit of insulation on the terminals and the switch is ready to be mocked in place.
In place and ready for final fitment.
Now the switch is completed and ready to be installed.
Here it is installed and ready to go.
In the end it came out looking better then I expected. You have to know to look to see it. I'm happy with the outcome but I'm still hopeful brembo has the switch I'm looking for.
The backing for my sissy bar pad arrived at sick saddles on Friday. Ed got back to me pretty quick and hopefully soon I have a pad ready to go that matches my seat. I'm using 1/2 inch emt clamps to attach it to the sissy bar. I used black plasti dip to coat them. No photos right now but if there is enough demand I can get them before I install the completed pad.
#65
06-20-2015, 04:34 PM
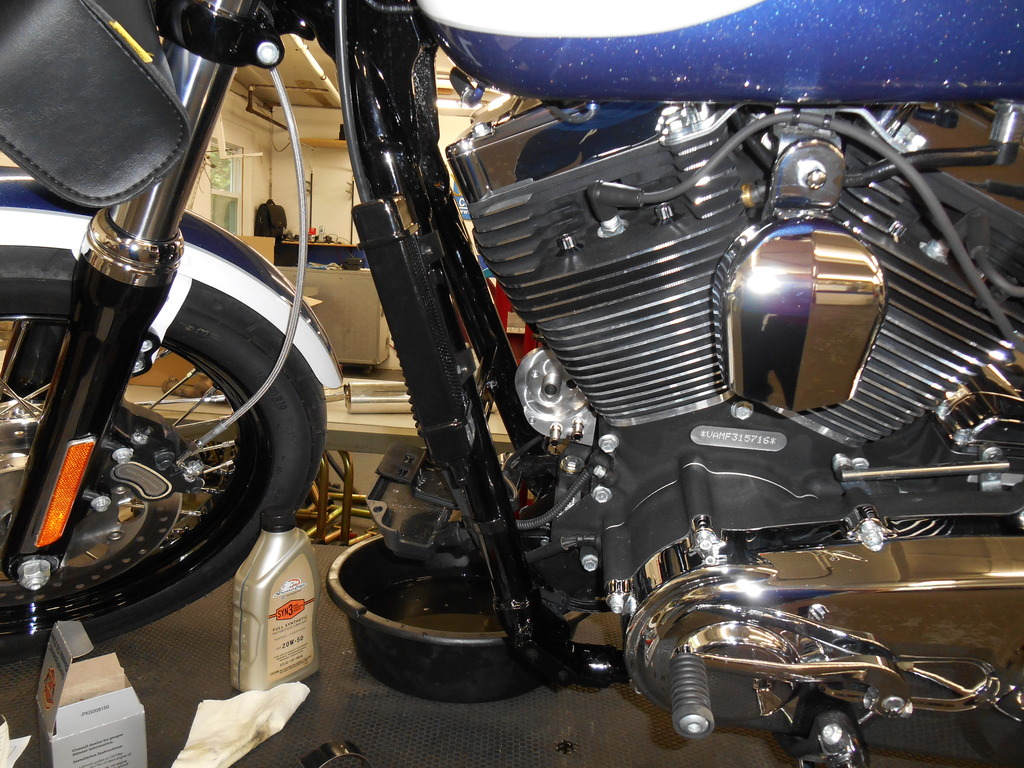
Today I decided to tackle the oil cooler. I was going to wait until I was closer to my first service mileage but the thread about corrosion behind the derby cover got me curious about mine. No point in opening it up without actually changing the oil.
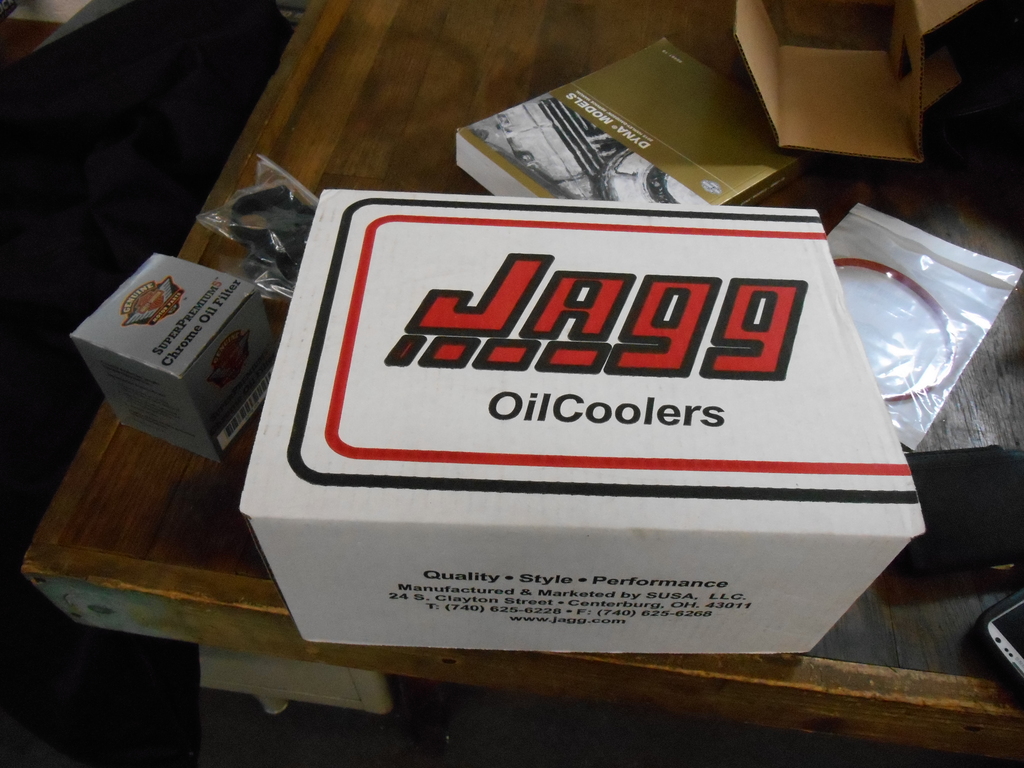
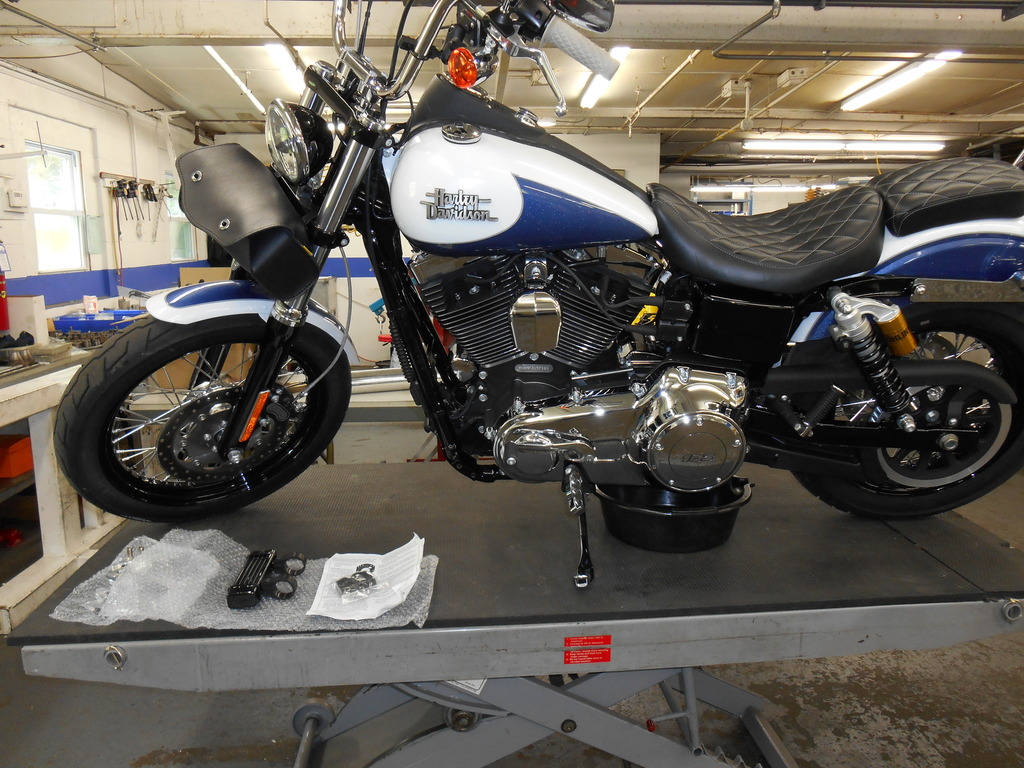
Here is the Jagg slim line oil cooler going on my bike.
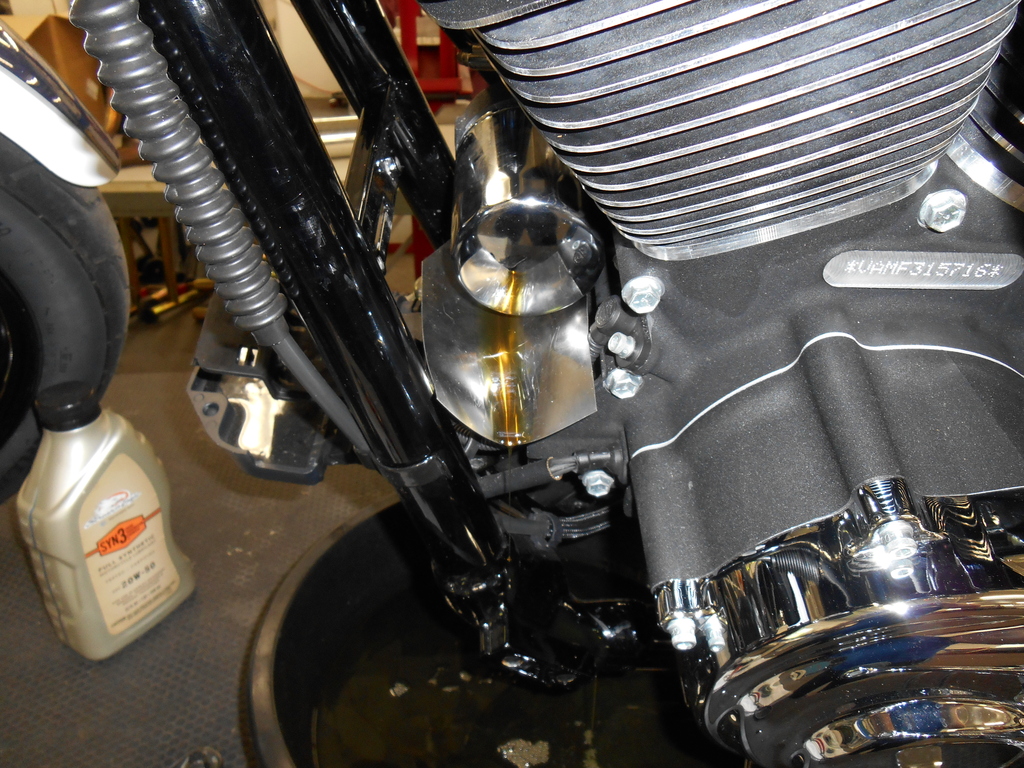
Old engine and primary oil out.
I was a lot cleaner then I expected. Not much debris at all.
I used a piece of step flashing to help with the mess of removing the oil filter.
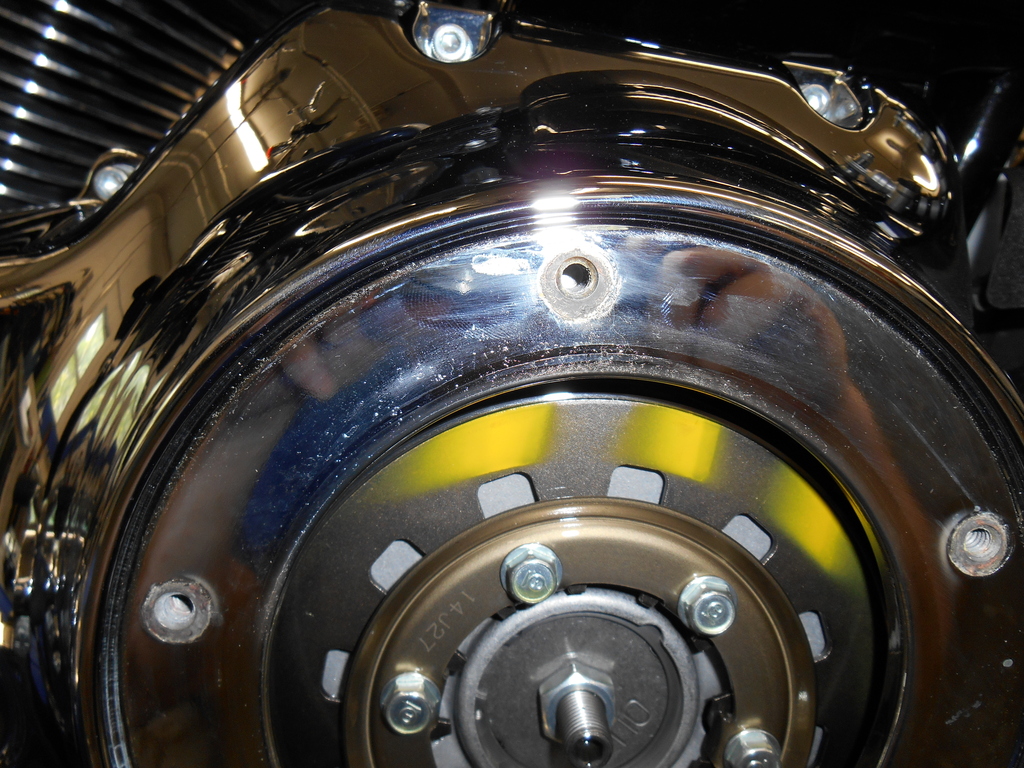
Derby cover removed and there is a little bit of corrosion. Seems to be a common thing. I think next time I take it off I'll put a little never seize on the bolts and hope that helps a bit.
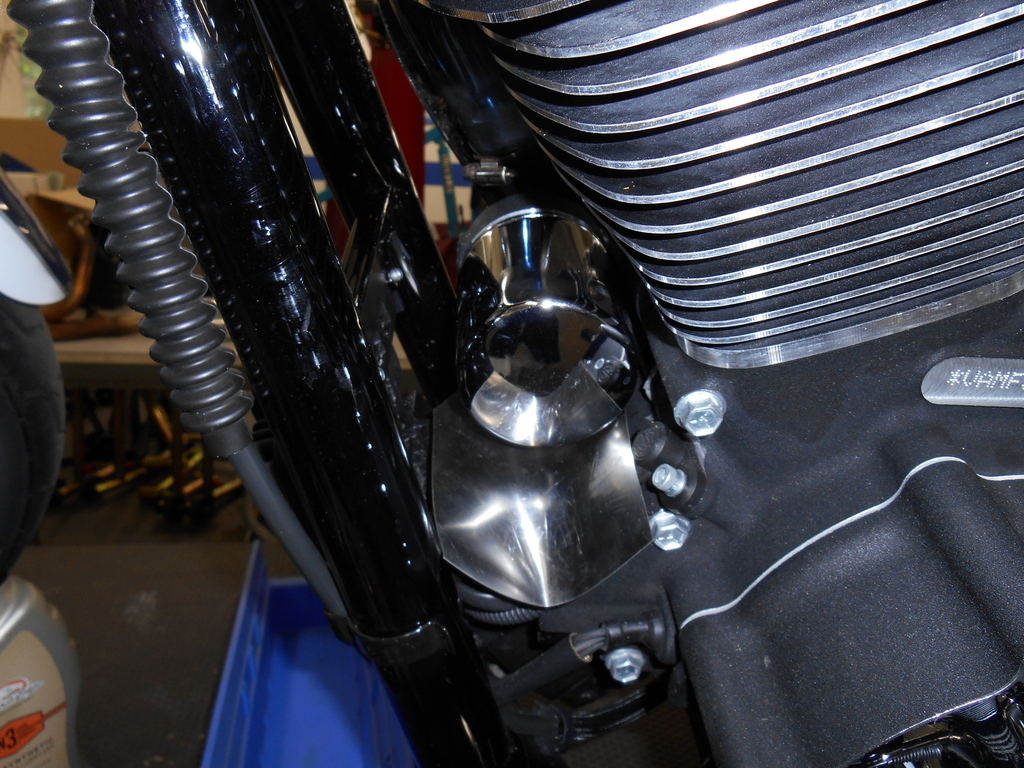
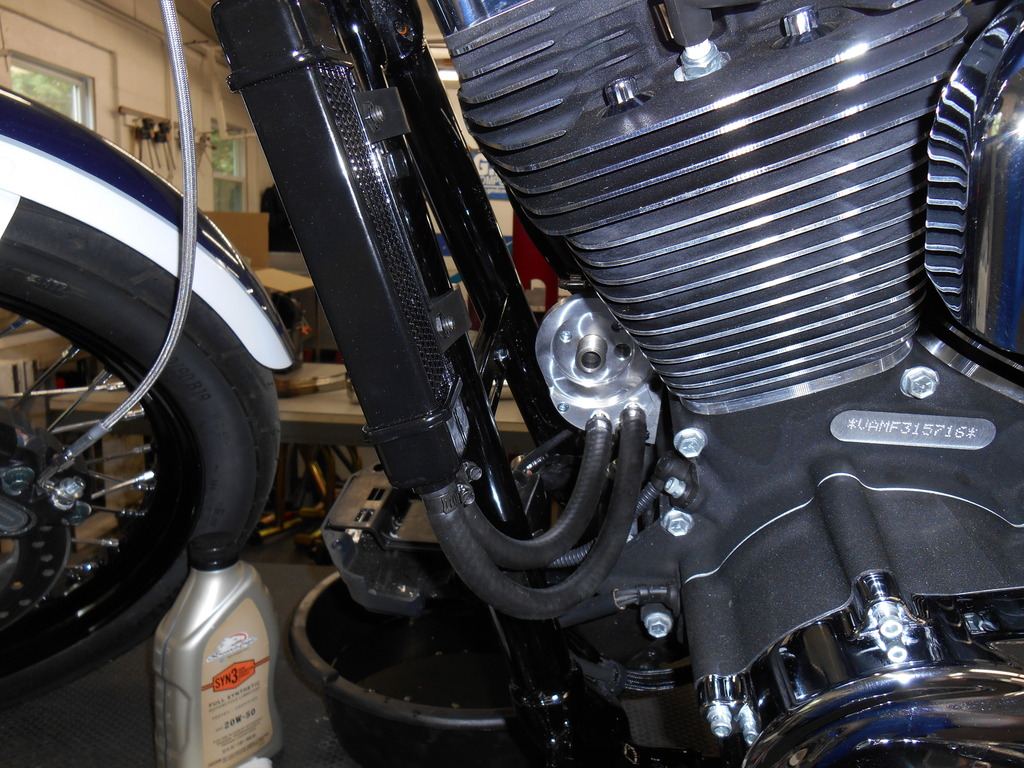
Back to installing the oil cooler.
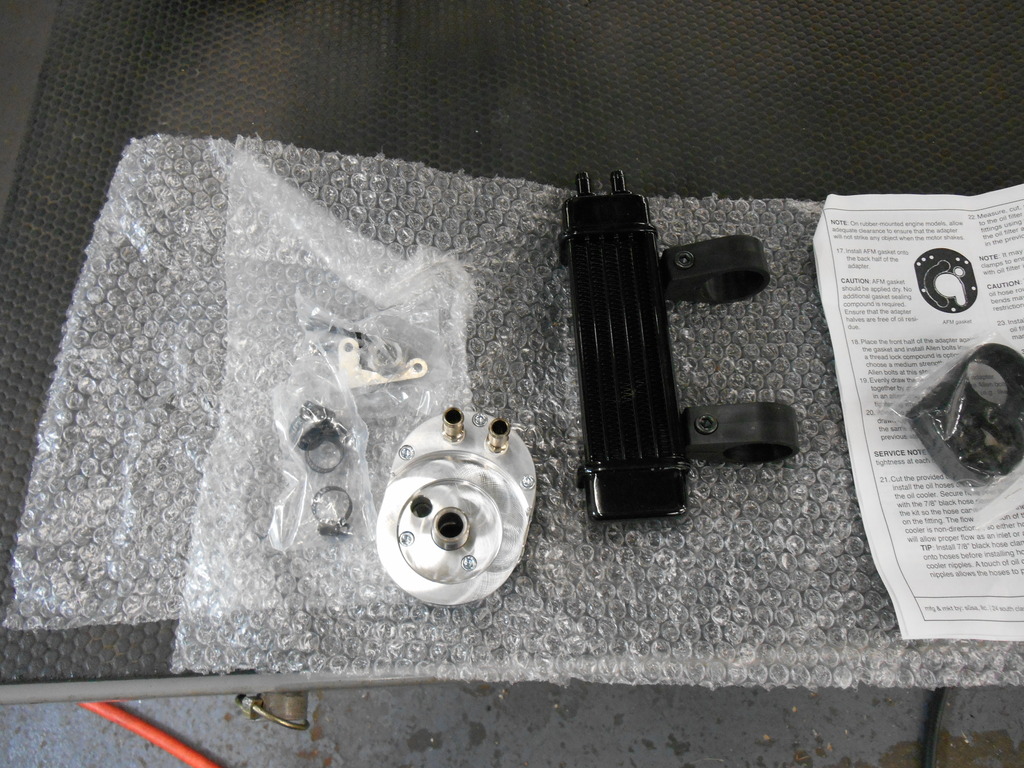
Need to take it apart in order to get the offset mount on.
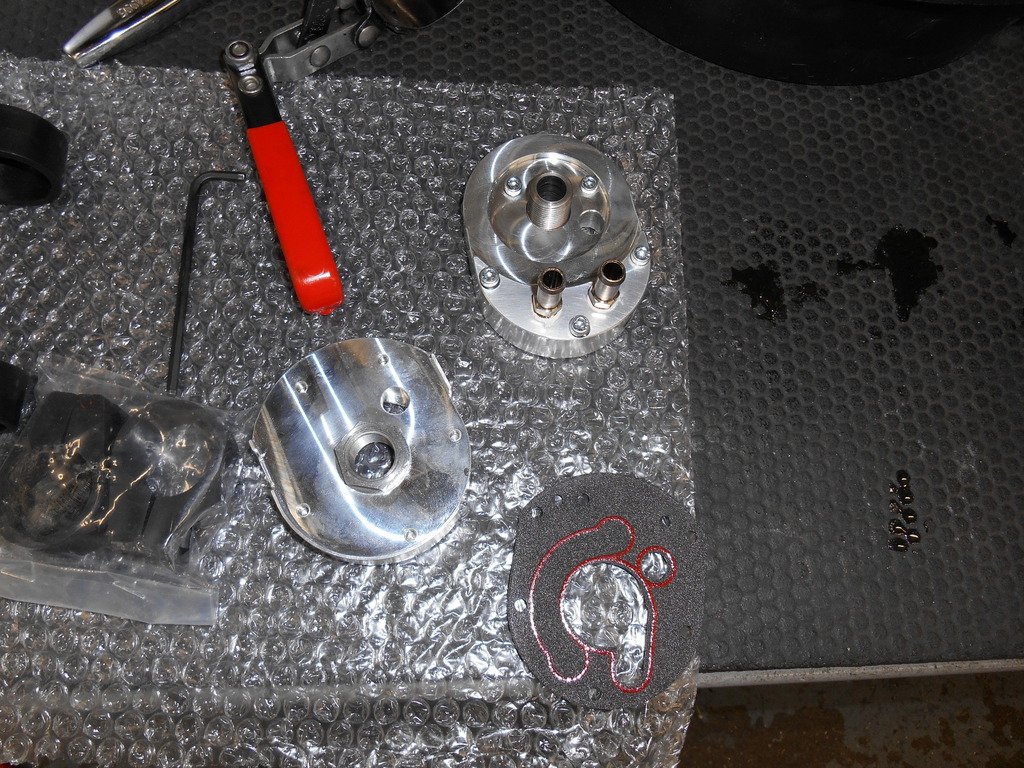
Back half on. Finger tight at this point
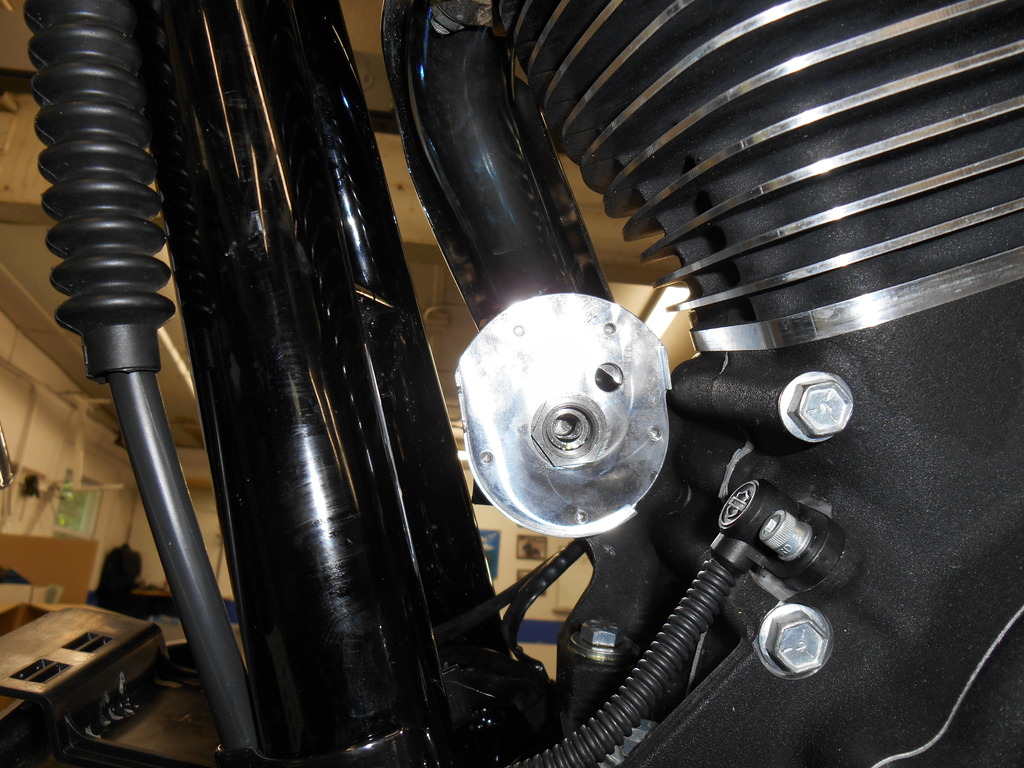
Front half on with the anti rotation bracket in place.
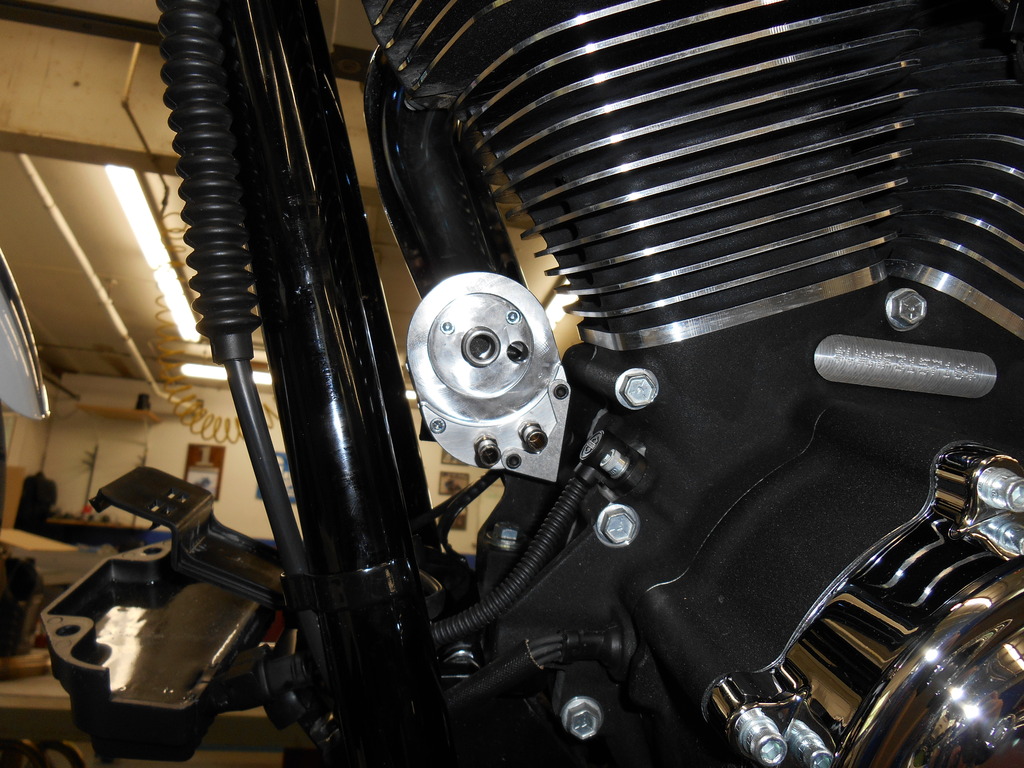
At this point the front half comes off and the back half gets tightened in position. Then the gasket is placed in between and the front half is installed again.
Radiator in place
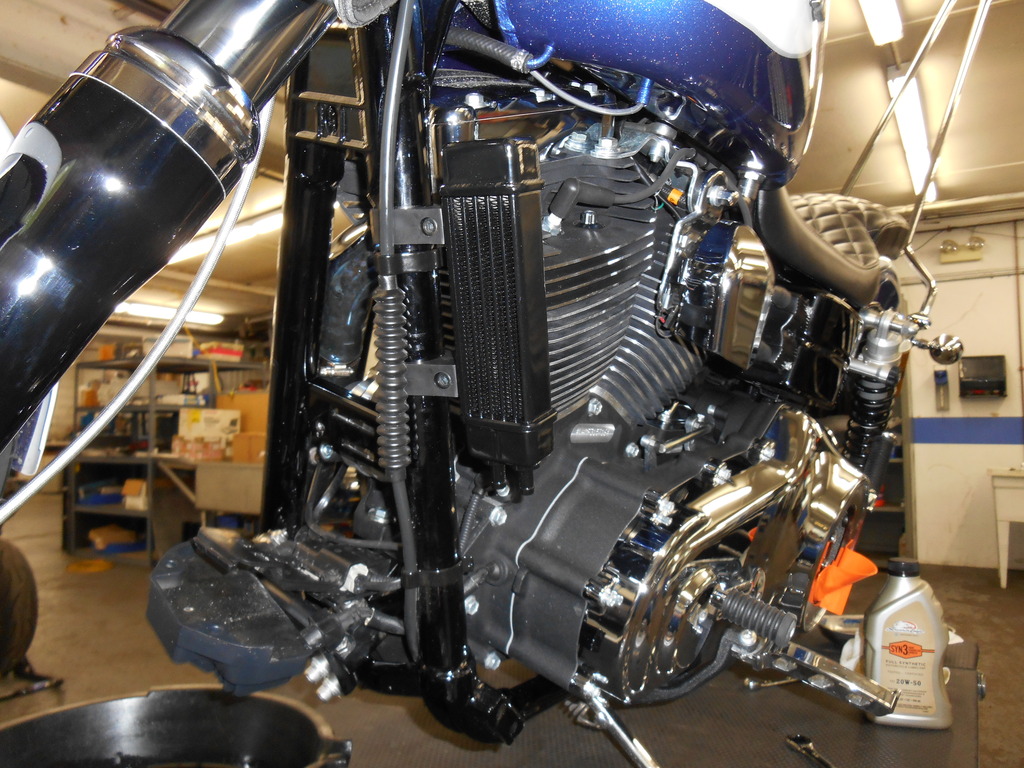
Now to cut hoses to length.
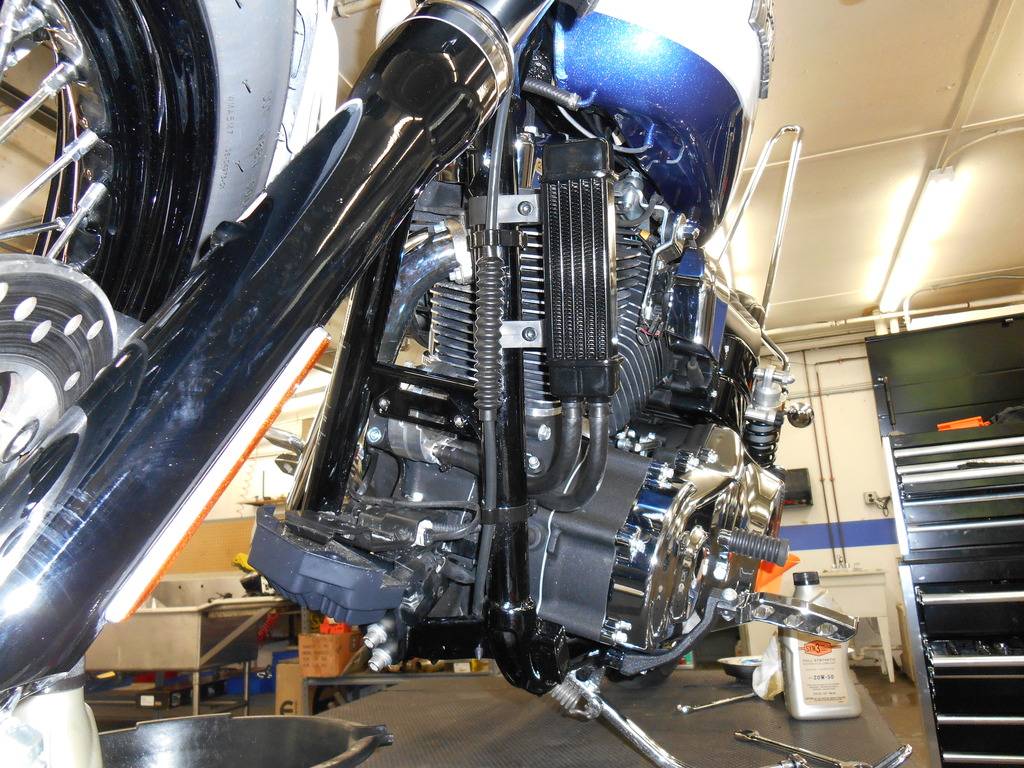
Buttoned up and ready to ride. Just need to fill the primary.
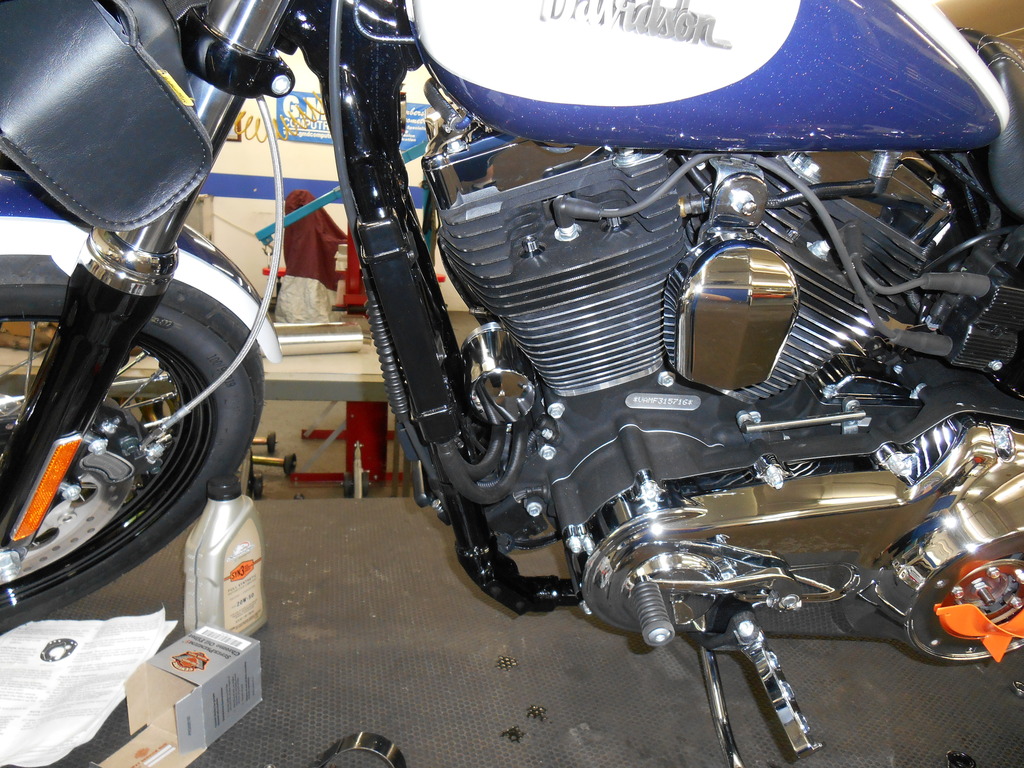
Only got a quick 10min ride in with it so I don't know how affective it is yet.
Looks like the front end for my bike will be pushed off until this winter. The shop has been very busy so i haven't had much time to figure out the parts I need to make. At this point I don't want to have too much down time for the bike during prime riding season.
Here is the Jagg slim line oil cooler going on my bike.
Old engine and primary oil out.
I was a lot cleaner then I expected. Not much debris at all.
I used a piece of step flashing to help with the mess of removing the oil filter.
Derby cover removed and there is a little bit of corrosion. Seems to be a common thing. I think next time I take it off I'll put a little never seize on the bolts and hope that helps a bit.
Back to installing the oil cooler.
Need to take it apart in order to get the offset mount on.
Back half on. Finger tight at this point
Front half on with the anti rotation bracket in place.
At this point the front half comes off and the back half gets tightened in position. Then the gasket is placed in between and the front half is installed again.
Radiator in place
Now to cut hoses to length.
Buttoned up and ready to ride. Just need to fill the primary.
Only got a quick 10min ride in with it so I don't know how affective it is yet.
Looks like the front end for my bike will be pushed off until this winter. The shop has been very busy so i haven't had much time to figure out the parts I need to make. At this point I don't want to have too much down time for the bike during prime riding season.
Last edited by union53; 06-20-2015 at 04:38 PM.
#67
06-21-2015, 05:26 PM
Highest I saw while moving was 297. That was after being stopped for a little bit. Up until the point it stayed in the 275ish range. It seems to do a good job of maintaining the temp where it is not so much lowering it. It's about 80 degrees here and very humid as tropical storm Bill well whats left of it has just passed through.
#69
06-27-2015, 01:07 AM

Intermediate
#70
07-05-2015, 08:46 PM
This weekend I put on a new high flow air cleaner. It wasn't part of my original plan since peek performance wasn't what I;m looking for in this bike but I figured I have gone this far I might as well continue along.
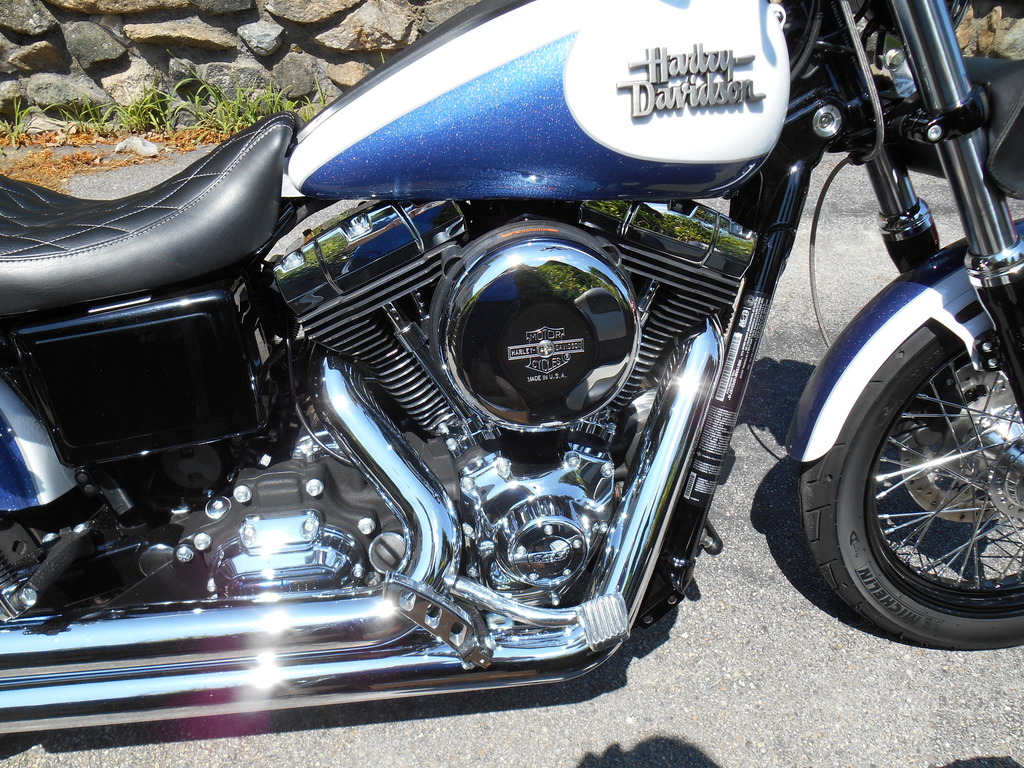
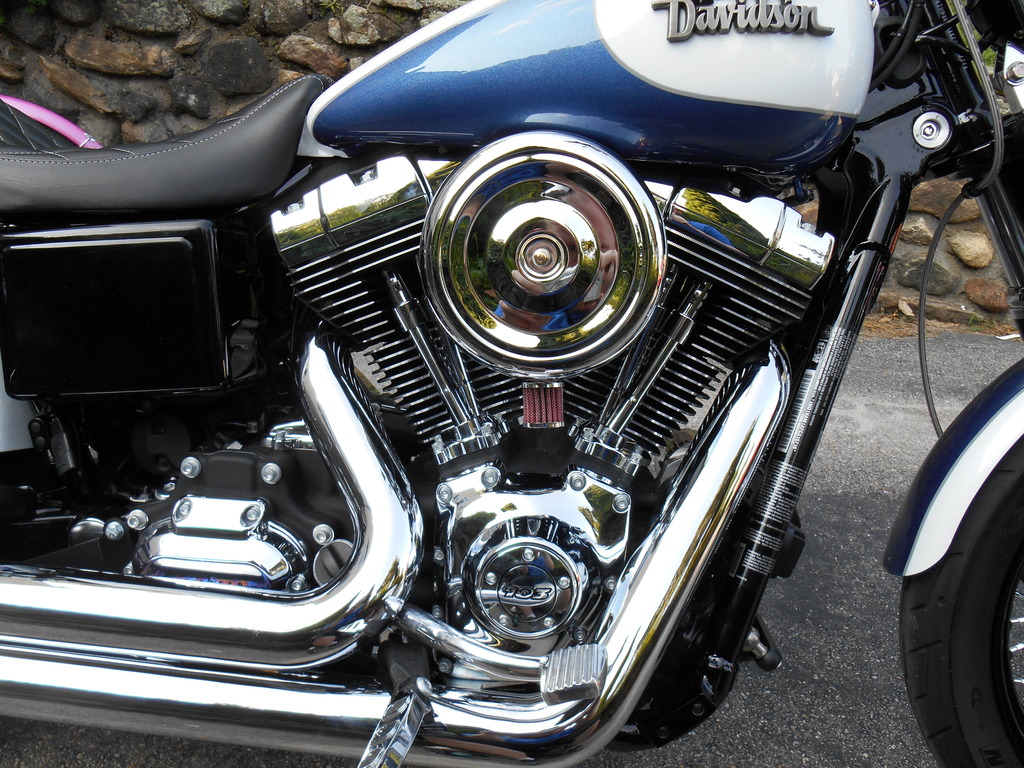
I guess first I'll start with a profile with the stock cleaner. Visually I liked the stock cover. It has the retroish look I'm looking for.
A close of of the stock cover for comparison.
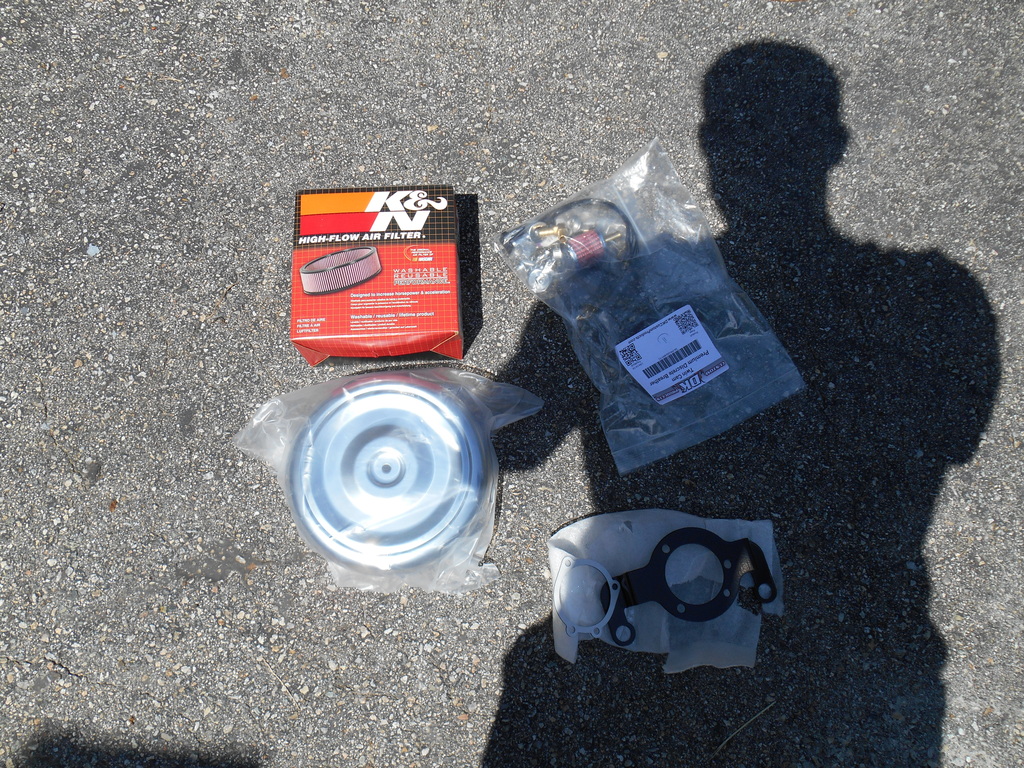
I ordered a DK Customs 587 complete kit. Shipping was pretty fast. Ordered on Tuesday and had it in my hands on Friday.
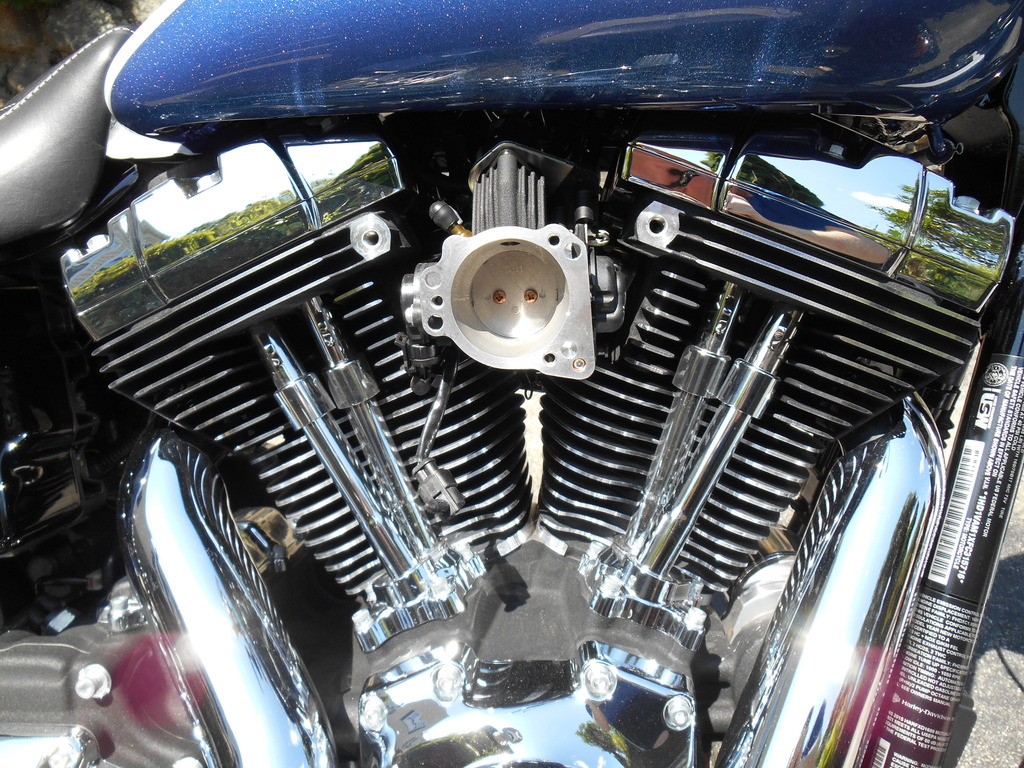
First stock cover had to come off. Pretty straight forward. Just a few bolts.
On with the new air cleaner.
First new gasket and mounting plate.
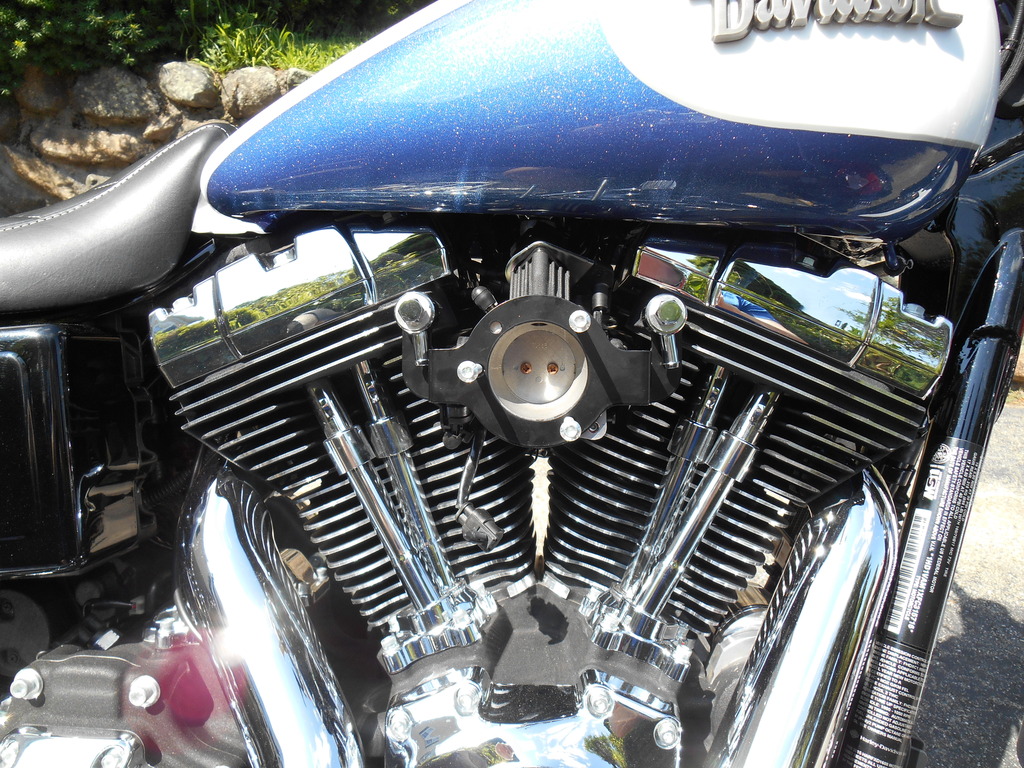
Now the mounting plate for the filter.
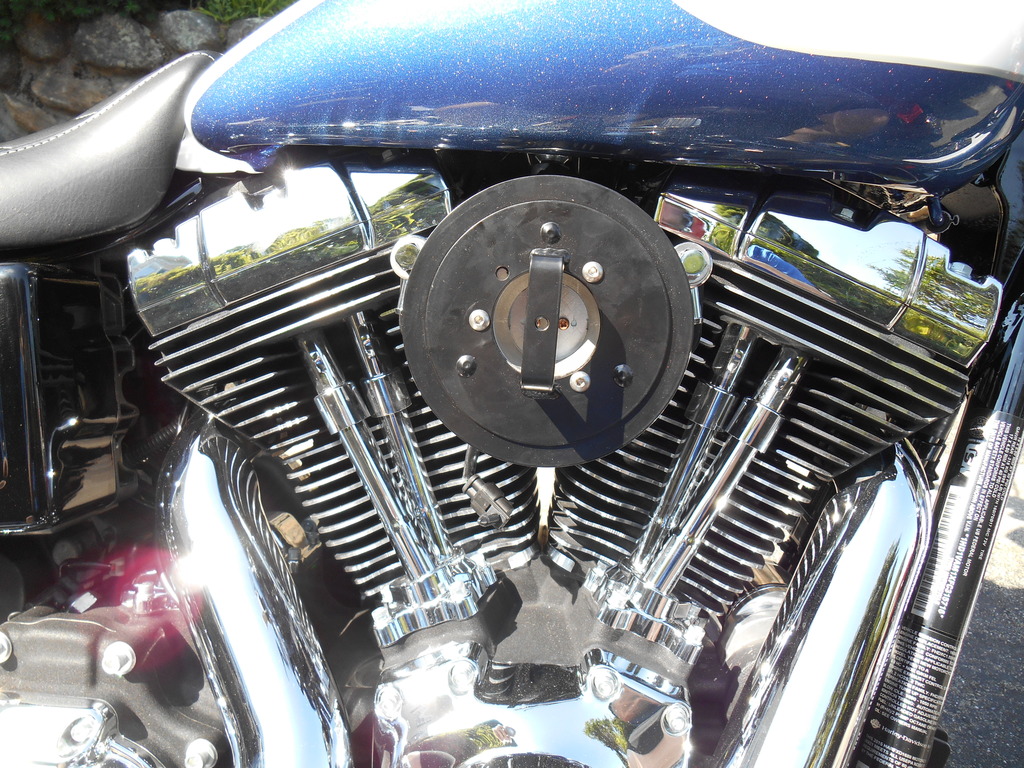
Fitting up the air element and the hoses for the breather that I got with it.
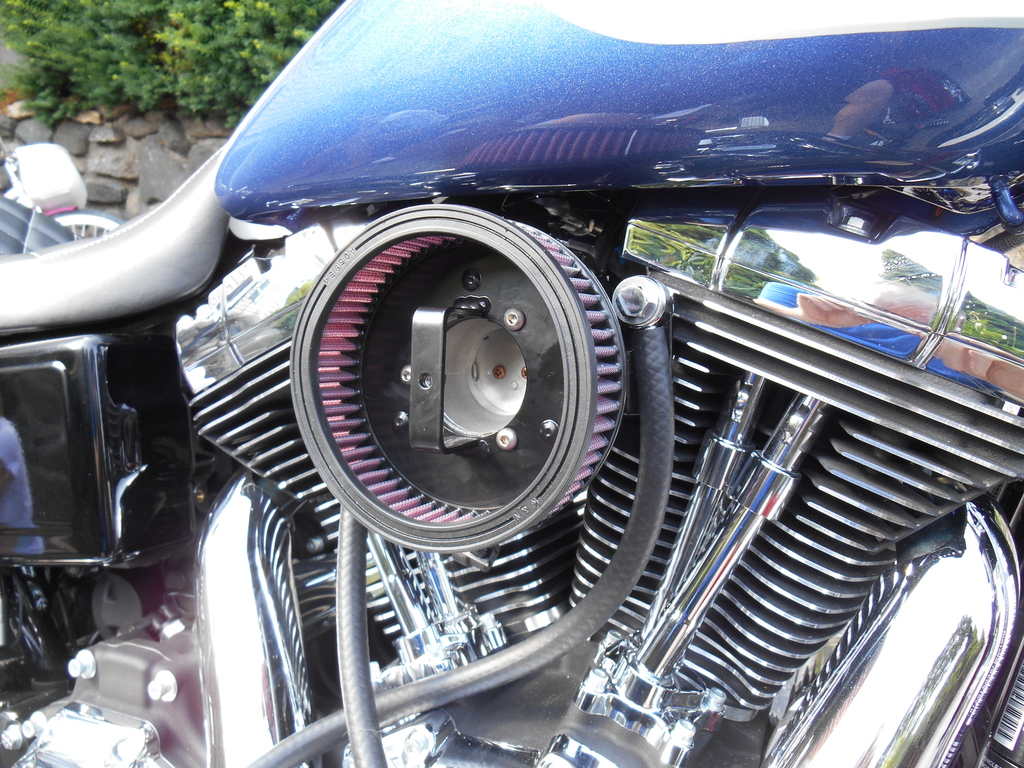
Deciding on where to put the breather element was probably the hardest part. Enough hose is included to put the filter pretty much anywhere on the bike. The issue I ran into was no matter where I tried to hide the filter I couldn't get the hose away from the exhaust. I decided to place the filter just below the air cleaner. I do have enough hose left over to change its location if I want to in the future.
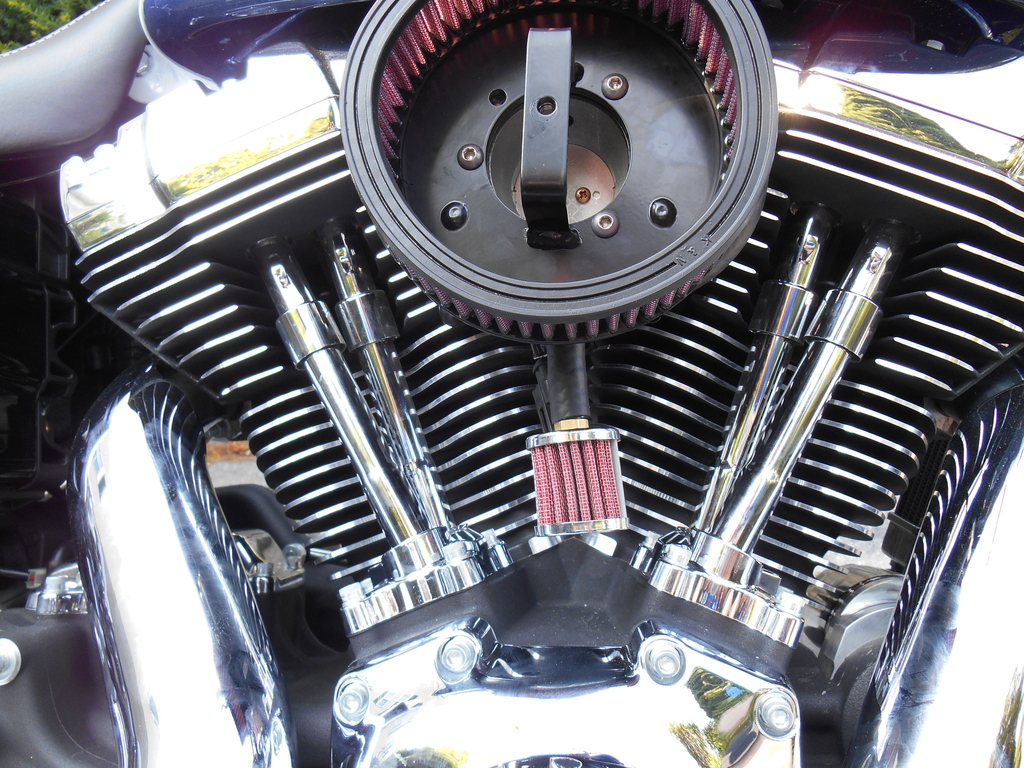
New cover installed and now just some auto tune runs to go.
I forgot to order a rain sock for the filter so I went back ordered one of those, another filter and a different style cover in case I feel like changing the look.
I guess first I'll start with a profile with the stock cleaner. Visually I liked the stock cover. It has the retroish look I'm looking for.
A close of of the stock cover for comparison.
I ordered a DK Customs 587 complete kit. Shipping was pretty fast. Ordered on Tuesday and had it in my hands on Friday.
First stock cover had to come off. Pretty straight forward. Just a few bolts.
On with the new air cleaner.
First new gasket and mounting plate.
Now the mounting plate for the filter.
Fitting up the air element and the hoses for the breather that I got with it.
Deciding on where to put the breather element was probably the hardest part. Enough hose is included to put the filter pretty much anywhere on the bike. The issue I ran into was no matter where I tried to hide the filter I couldn't get the hose away from the exhaust. I decided to place the filter just below the air cleaner. I do have enough hose left over to change its location if I want to in the future.
New cover installed and now just some auto tune runs to go.
I forgot to order a rain sock for the filter so I went back ordered one of those, another filter and a different style cover in case I feel like changing the look.