Dyna Glide ModelsSuper Glide, Super Glide Sport, Super Glide Custom, Dyna Glide Convertible, Super Glide T-Sport, Dyna Glide Police, Dyna Switchback, Low Rider, Street Bob, Fat Bob and Wide Glide.
So, I'm going to start this off. I've seen it done on quite a few truck forums (i work in the automotive world) and I thought I'd do it here too.
Typically it's just a build thread, however I'm actually going to make it into somewhat of a blog as well as I'm going through an especially hard time in my life. I'm going to keep it pretty real, and I know some people will have their opinions and even give me a hard time, but frankly, I don't care. Im more hoping for support. So if there is the occasional emotional post... that's why.
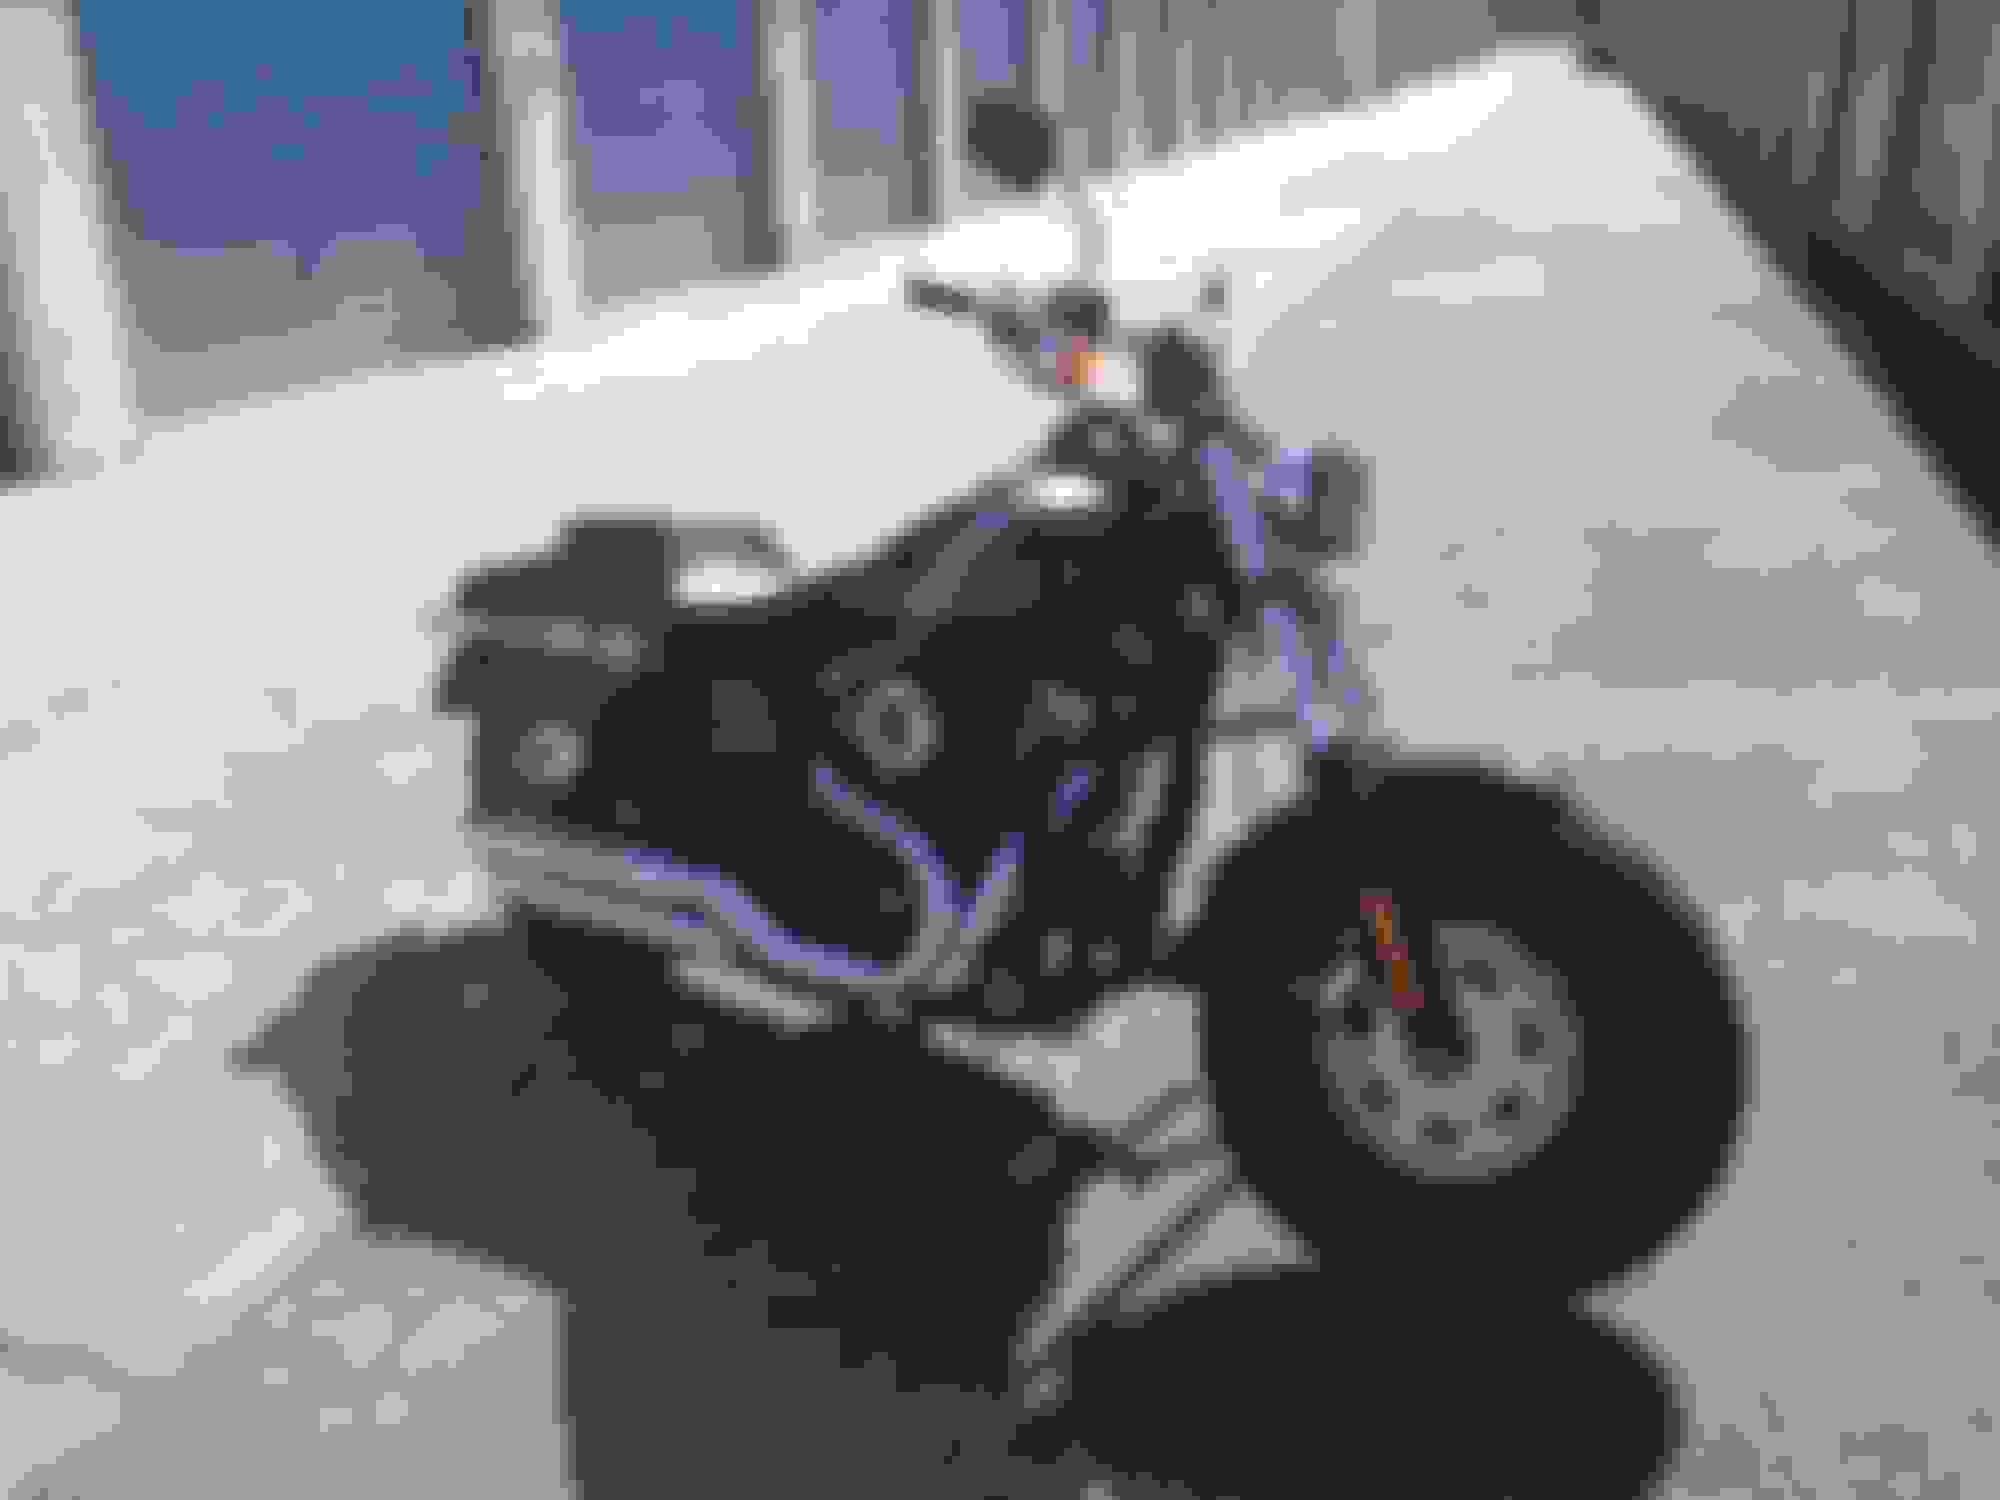
In any case, I bought a new 2014 FXDF in may of 2014 (yes, the worst time of year to buy)
Shortly after purchasing
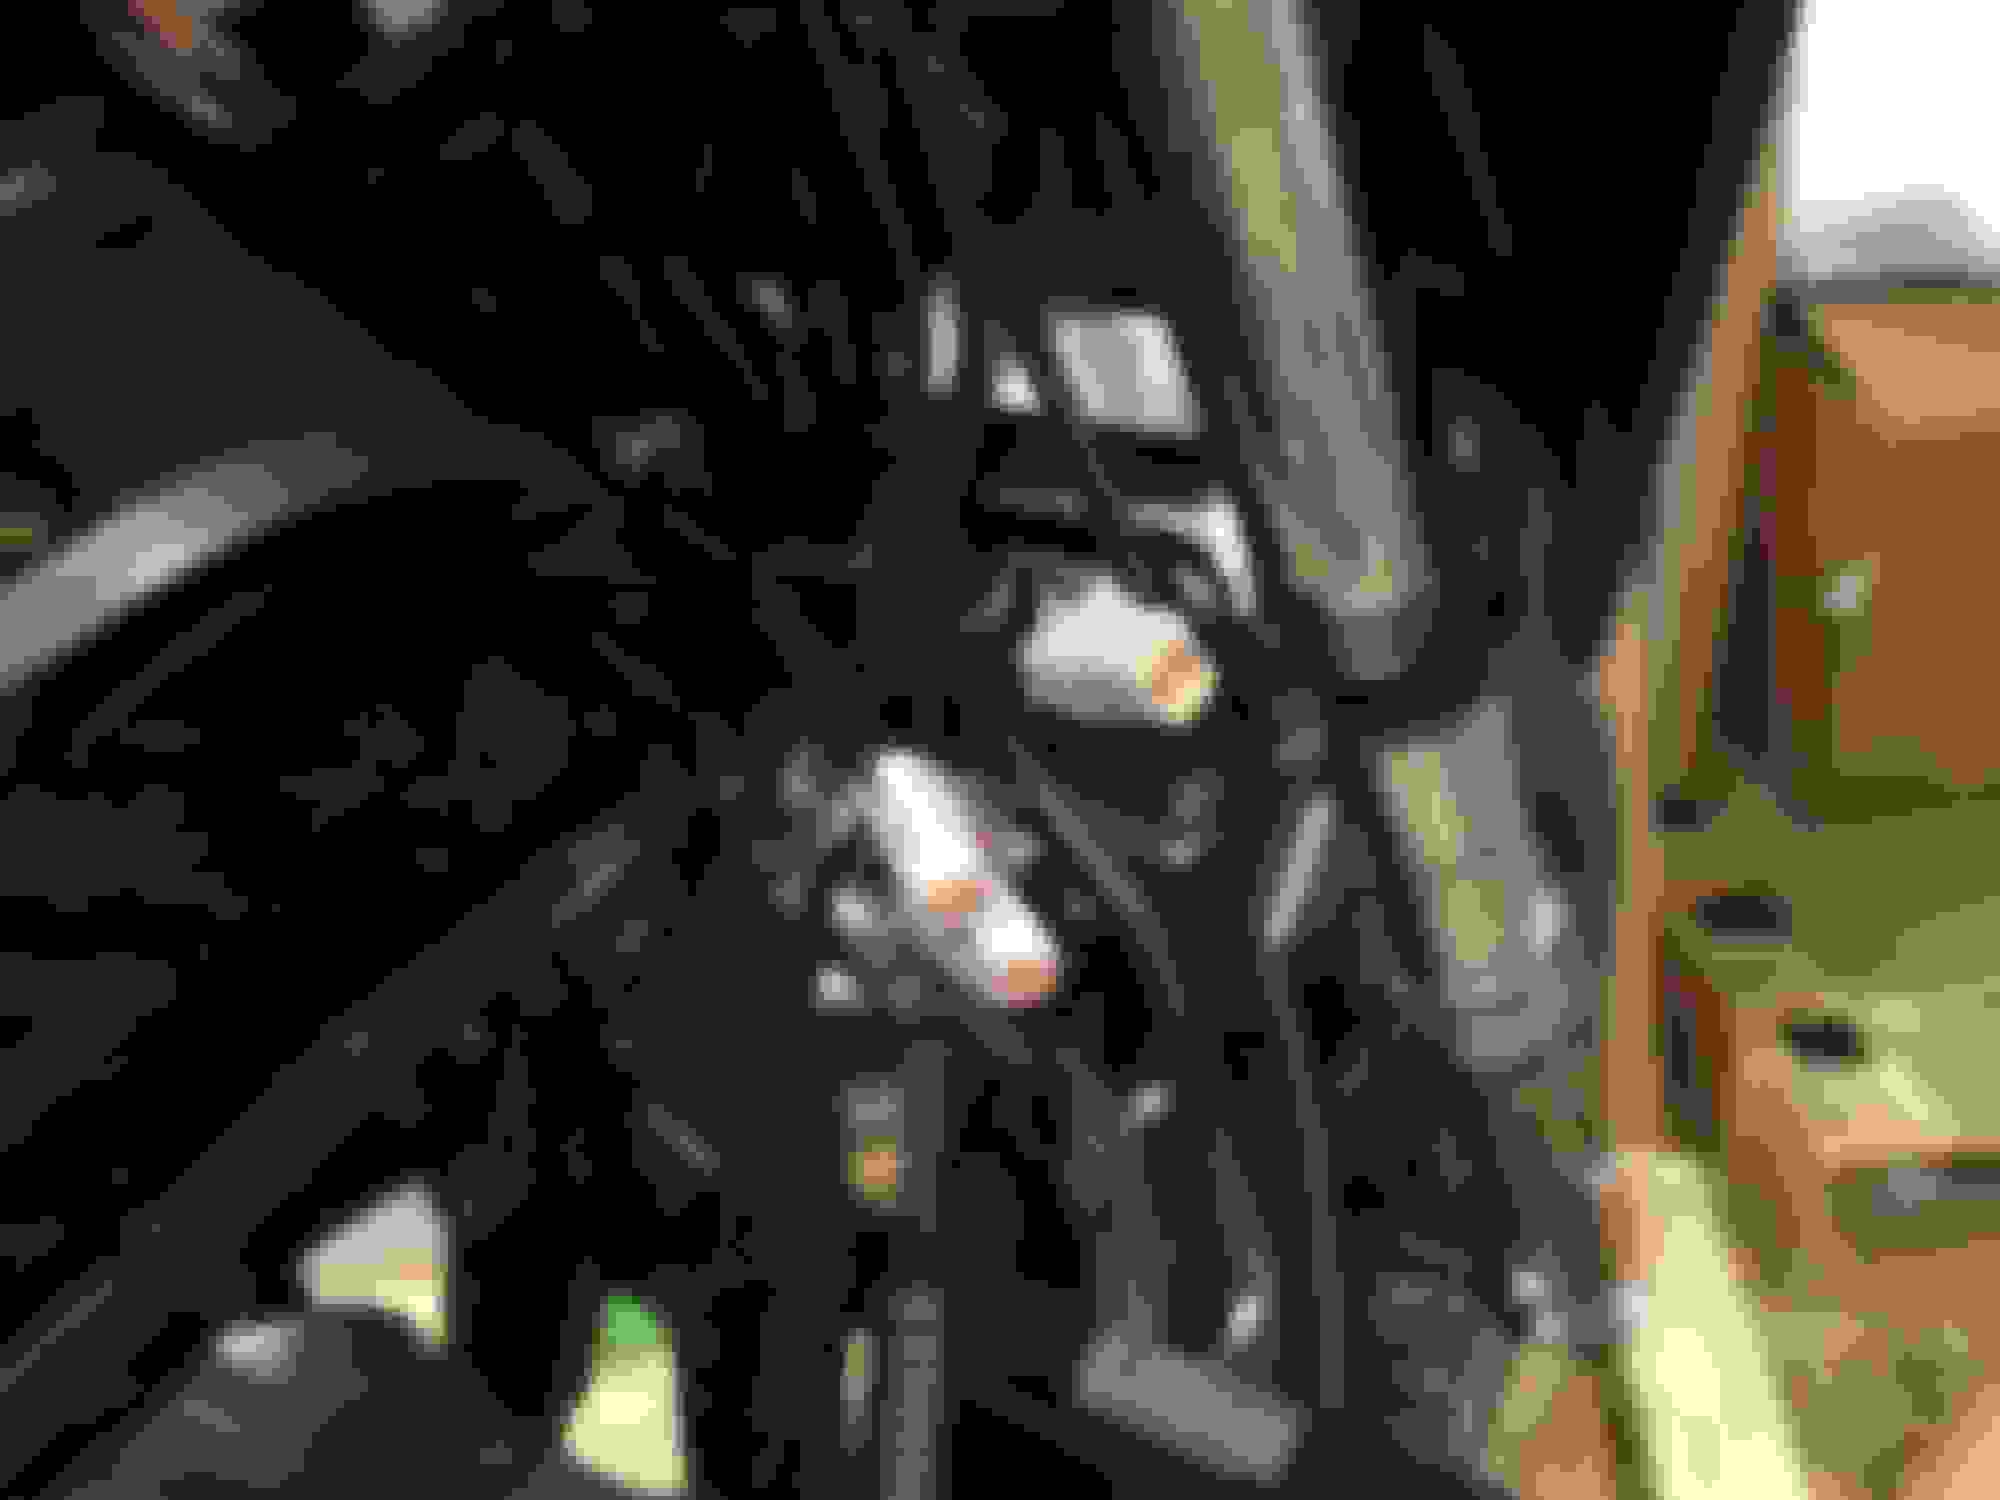
I bought the ESP with it (huge mistake, I've now cancelled it, yet to get the refund to my financed account :? ) and I left it pretty much stock because of my ESP paranoia. Literally a month after i bought it, I caught a rock to my headlight, and in true HD fashion, no warrantee coverage, the Dealership told me that the only way to get the lense was to buy a new entire housing assembly. Being Harley Dumb I believed them (although I'm pretty sure now I could have found the dual lens by itself) I decided to go all the way, and I converted to a the single LED daymaker
Pre fairing
Its pretty sweet, although you loose tons of light when turning because of the light shape that the led projects
Anyway, went on a ride to Sturgis (during the off season) for a family reunion
Ride to Sturgis
And that was pretty much it for modifications during that first year. (2014)
My bike, and my truck
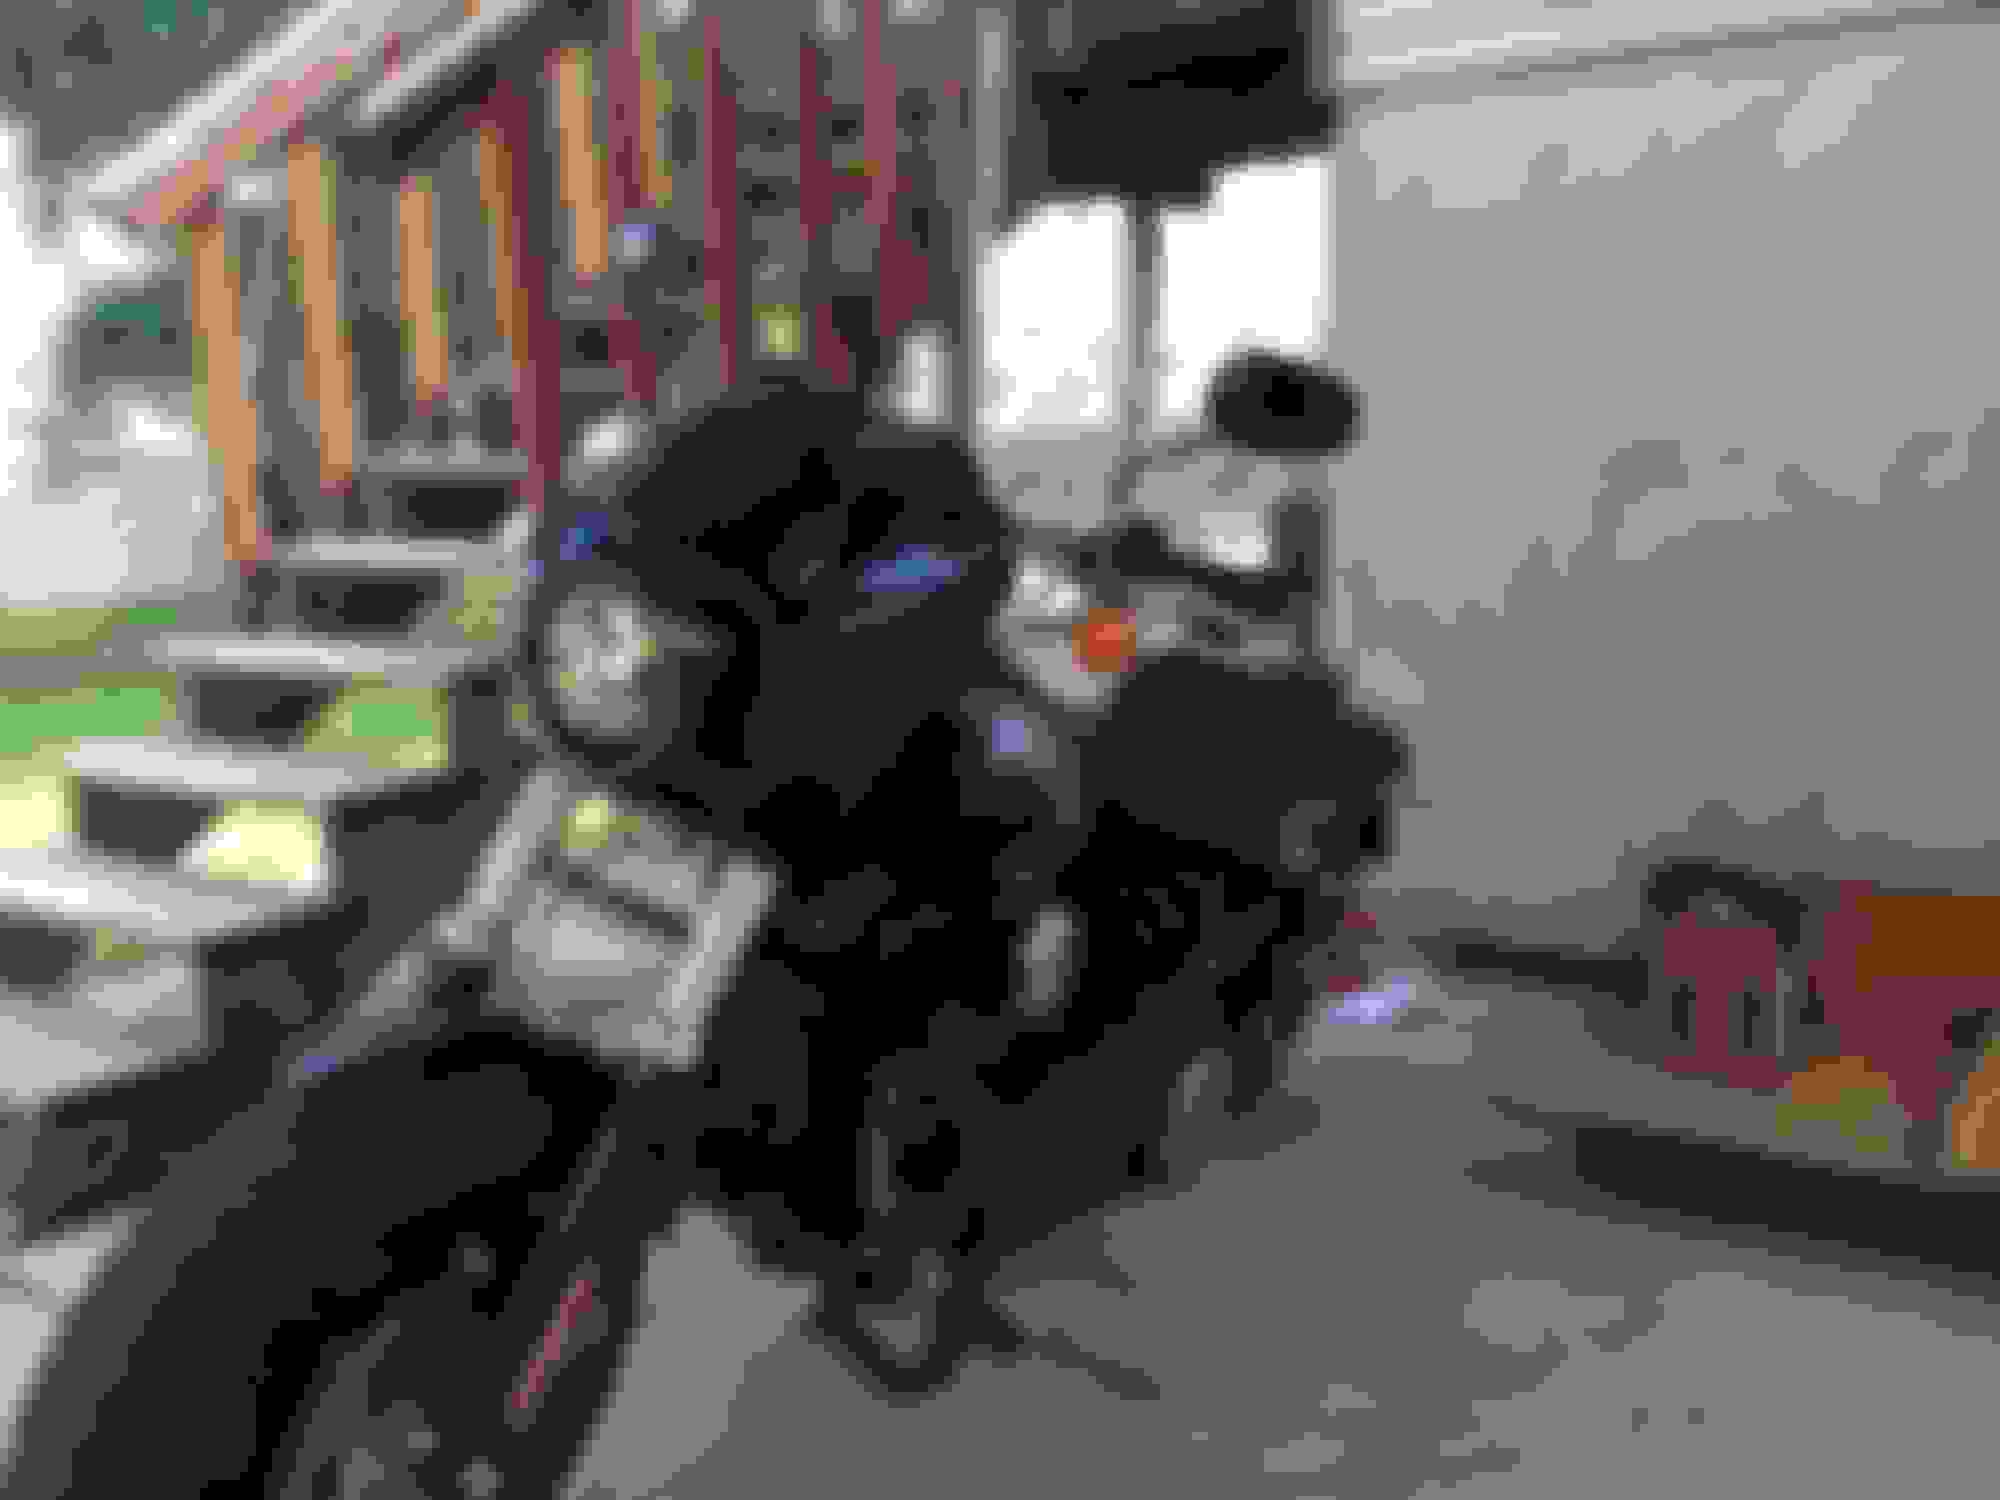
Early 2015 I installed a quarter fairing (Arlen Ness kit with headlight mount)
Post fairing
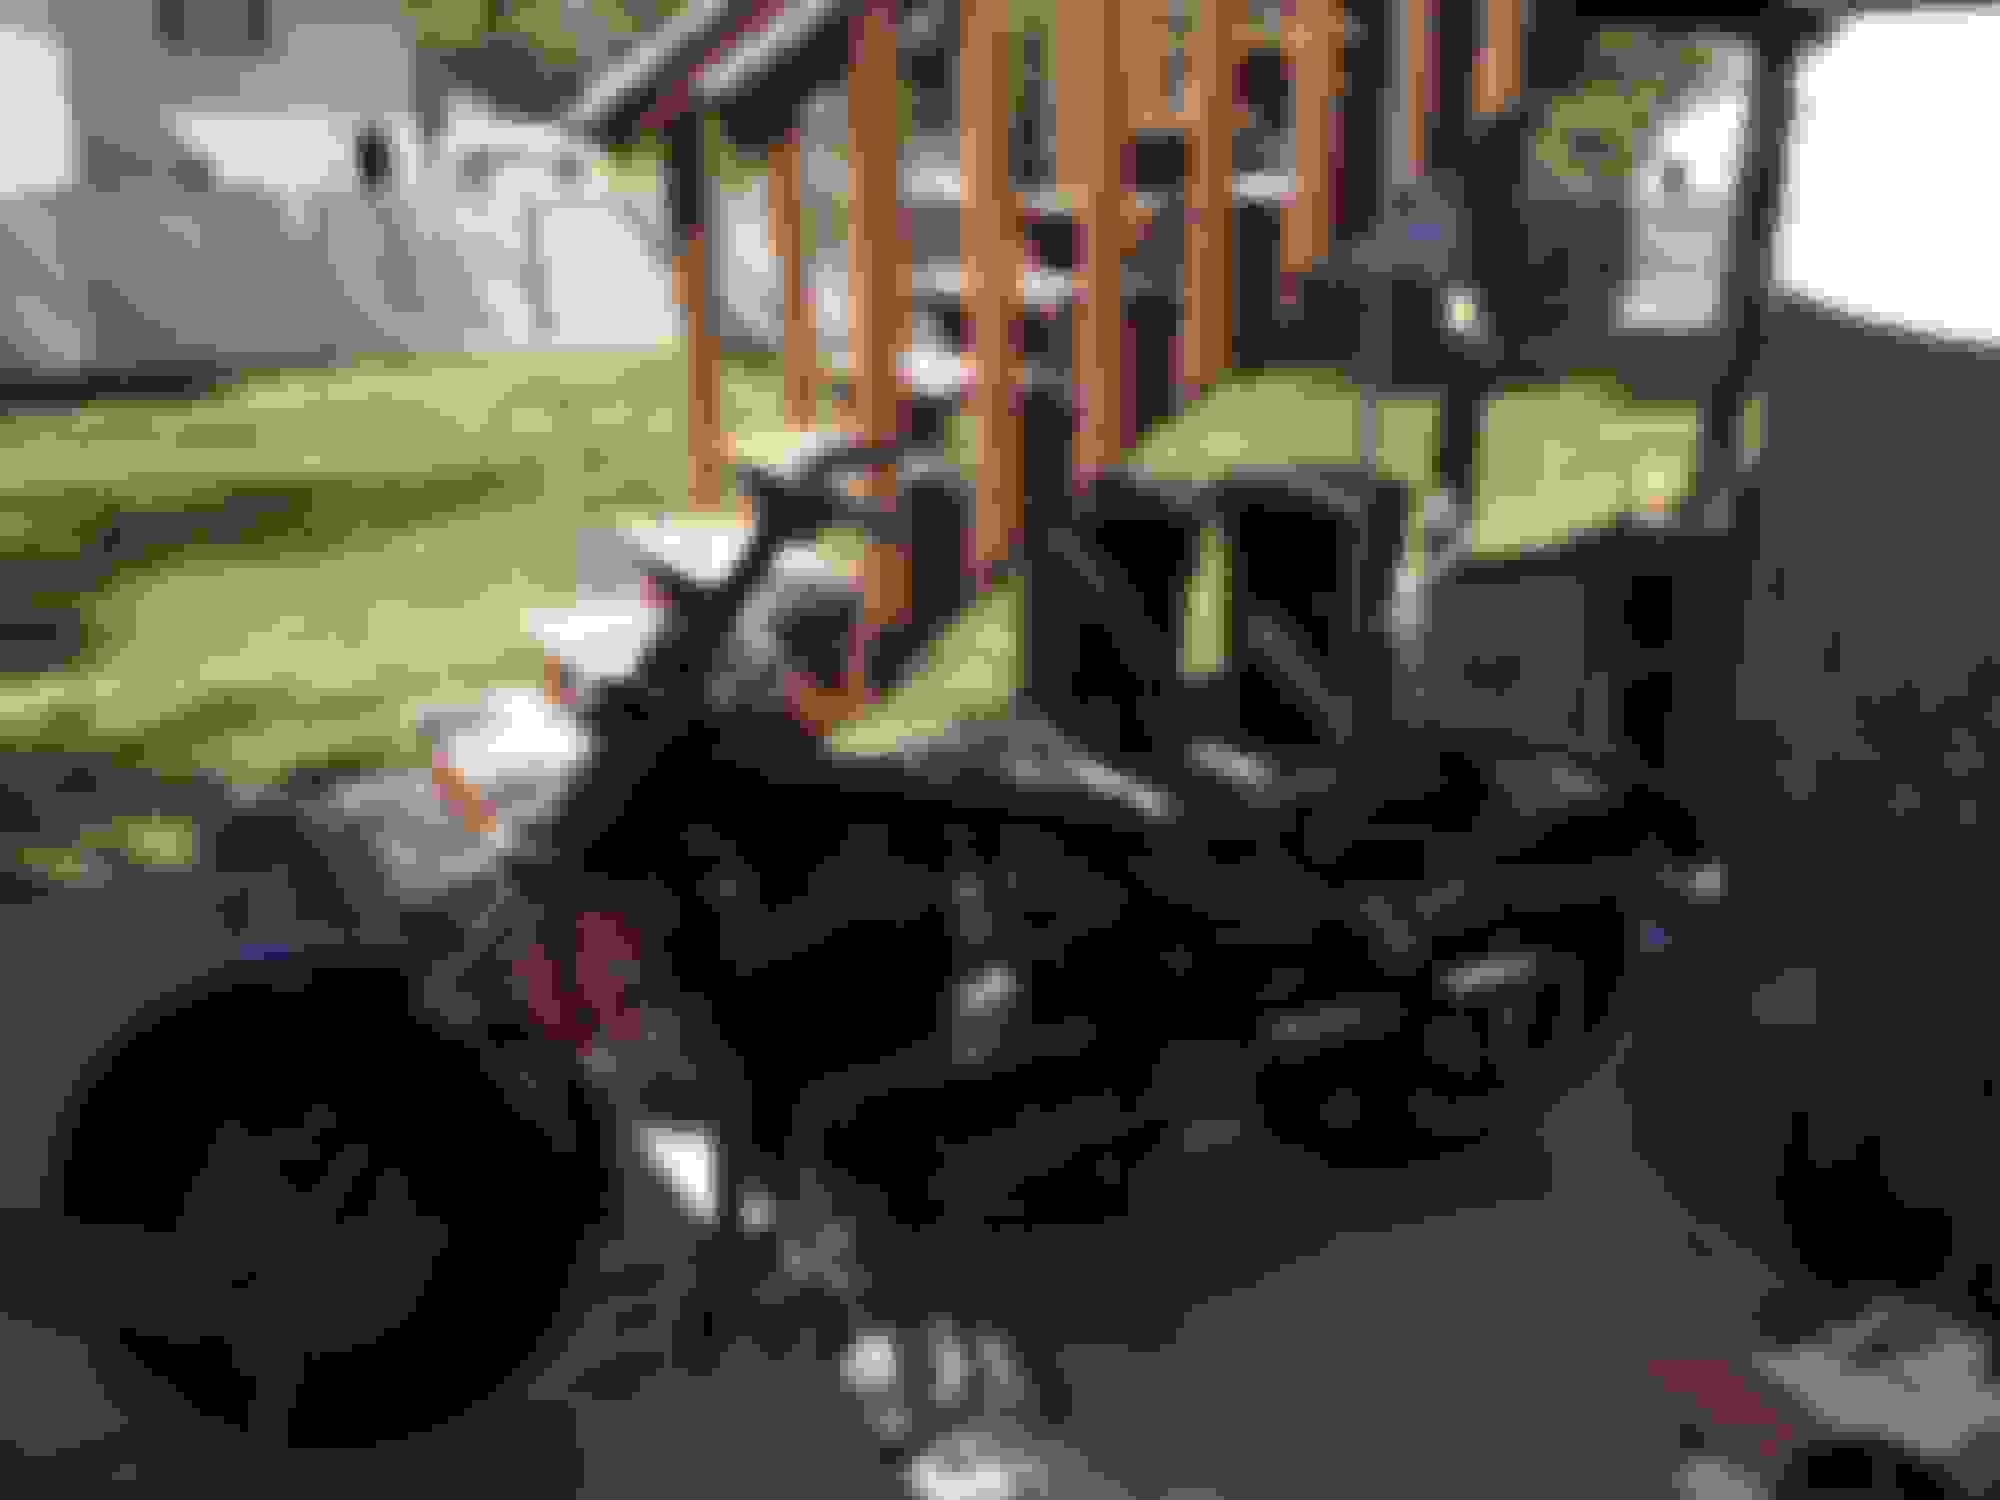
And in about May I installed a 10" t bar from Chubby Wild Ones with black braided cables from Magnum Cables
Oddly enough I didn't take a single pic after the install was completel
That was it for a while... Then come October... when it started getting to cold to ride.... I got the itch again and purchased quite a few things:
1 - Two Bros Comp-S stainless exhaust
2 - DynoJet Power Vision with Target Tune
3 - S&S wrinkle black teardrop a/c
Purchased it all from Fuel Moto, great guys.
2 Bros Comp-S, S&S A/C Install
Target Tune Install Location
Still not satisfied, and after spending way, way to much time here I purchased the Sputhe Positrac system and installed it. As well as a Superbrace for the forks. (it still hasn't arrived, apparently they were backordered)
Unfortunately I don't have pics of the install of the sputhe that, but there are tons of threads here that show what's up with it.
I take corners really, really hard, and when doing that i always felt like my back tire was slipping out, like I was on a tar snake or something. I'm hoping the positrac will fix that.
About a week ago I purchased Cage Crackers from West Coast T-bars.... I'll be honest... I'm not impressed. They powdercoated over a powdercoat (WTF!!!) it literally peeled off. however I didn't return them because now I can fab up my own as I have a template to work with... and also I knew I was going to be modifying them to fit some pretty sweet stuff and would need to powder them after all the cuts and holes etc.
I've removed most of the chrome now though, and it's off at my powdercoater getting blacked out.
Got my parts back from powder:
I had the heat shields ceramic coated as well. Also in this pic you can see the coloring that the pipes are taking on. I think it looks great!!
Ceramic coating on pipe and powder coated brake lever
Powdercoated derby, bell, and shift levers
Still not cured of the itch (At this point I don't think I will ever be cured, at least until it's warm outside again) I contacted Fuel Moto again and purchased some cams.
I got the TW-222 cams, Wood Prowler Directional lifters, and pushrods from Fuel Moto. they were having a killer sale so I went for it. They arent installed yet... and
Then just an envy pic of the cams that I have yet to put in
Im liking this all black matte/gloss mix that I have going on. i still the the rear strut covers to put on, but I need to wire up my rear led turn indicators.
The rear turn signals I have are the Alren Ness Direct bolt on The stock rear indicator has only 2 wires, but this indicator has 3. (Run, high turn, high brake). However the Custom Dynamics, smart triple play can't work with 3 wires in the indicators, so I will have to wire together the 2 power leads. The smart triple play has a built in adjustable dimmer. I wired the 2 power leads for the LED's and it works great that way. I still need to post pics of that.
I know dyna's are stripped down and such, and I'm trying to maintain that look. But at the same time, some times you just gotta mess with stuff. So i decided to add stuff to the front. I had a pretty sweet idea using products from a company that I had worked with previously.
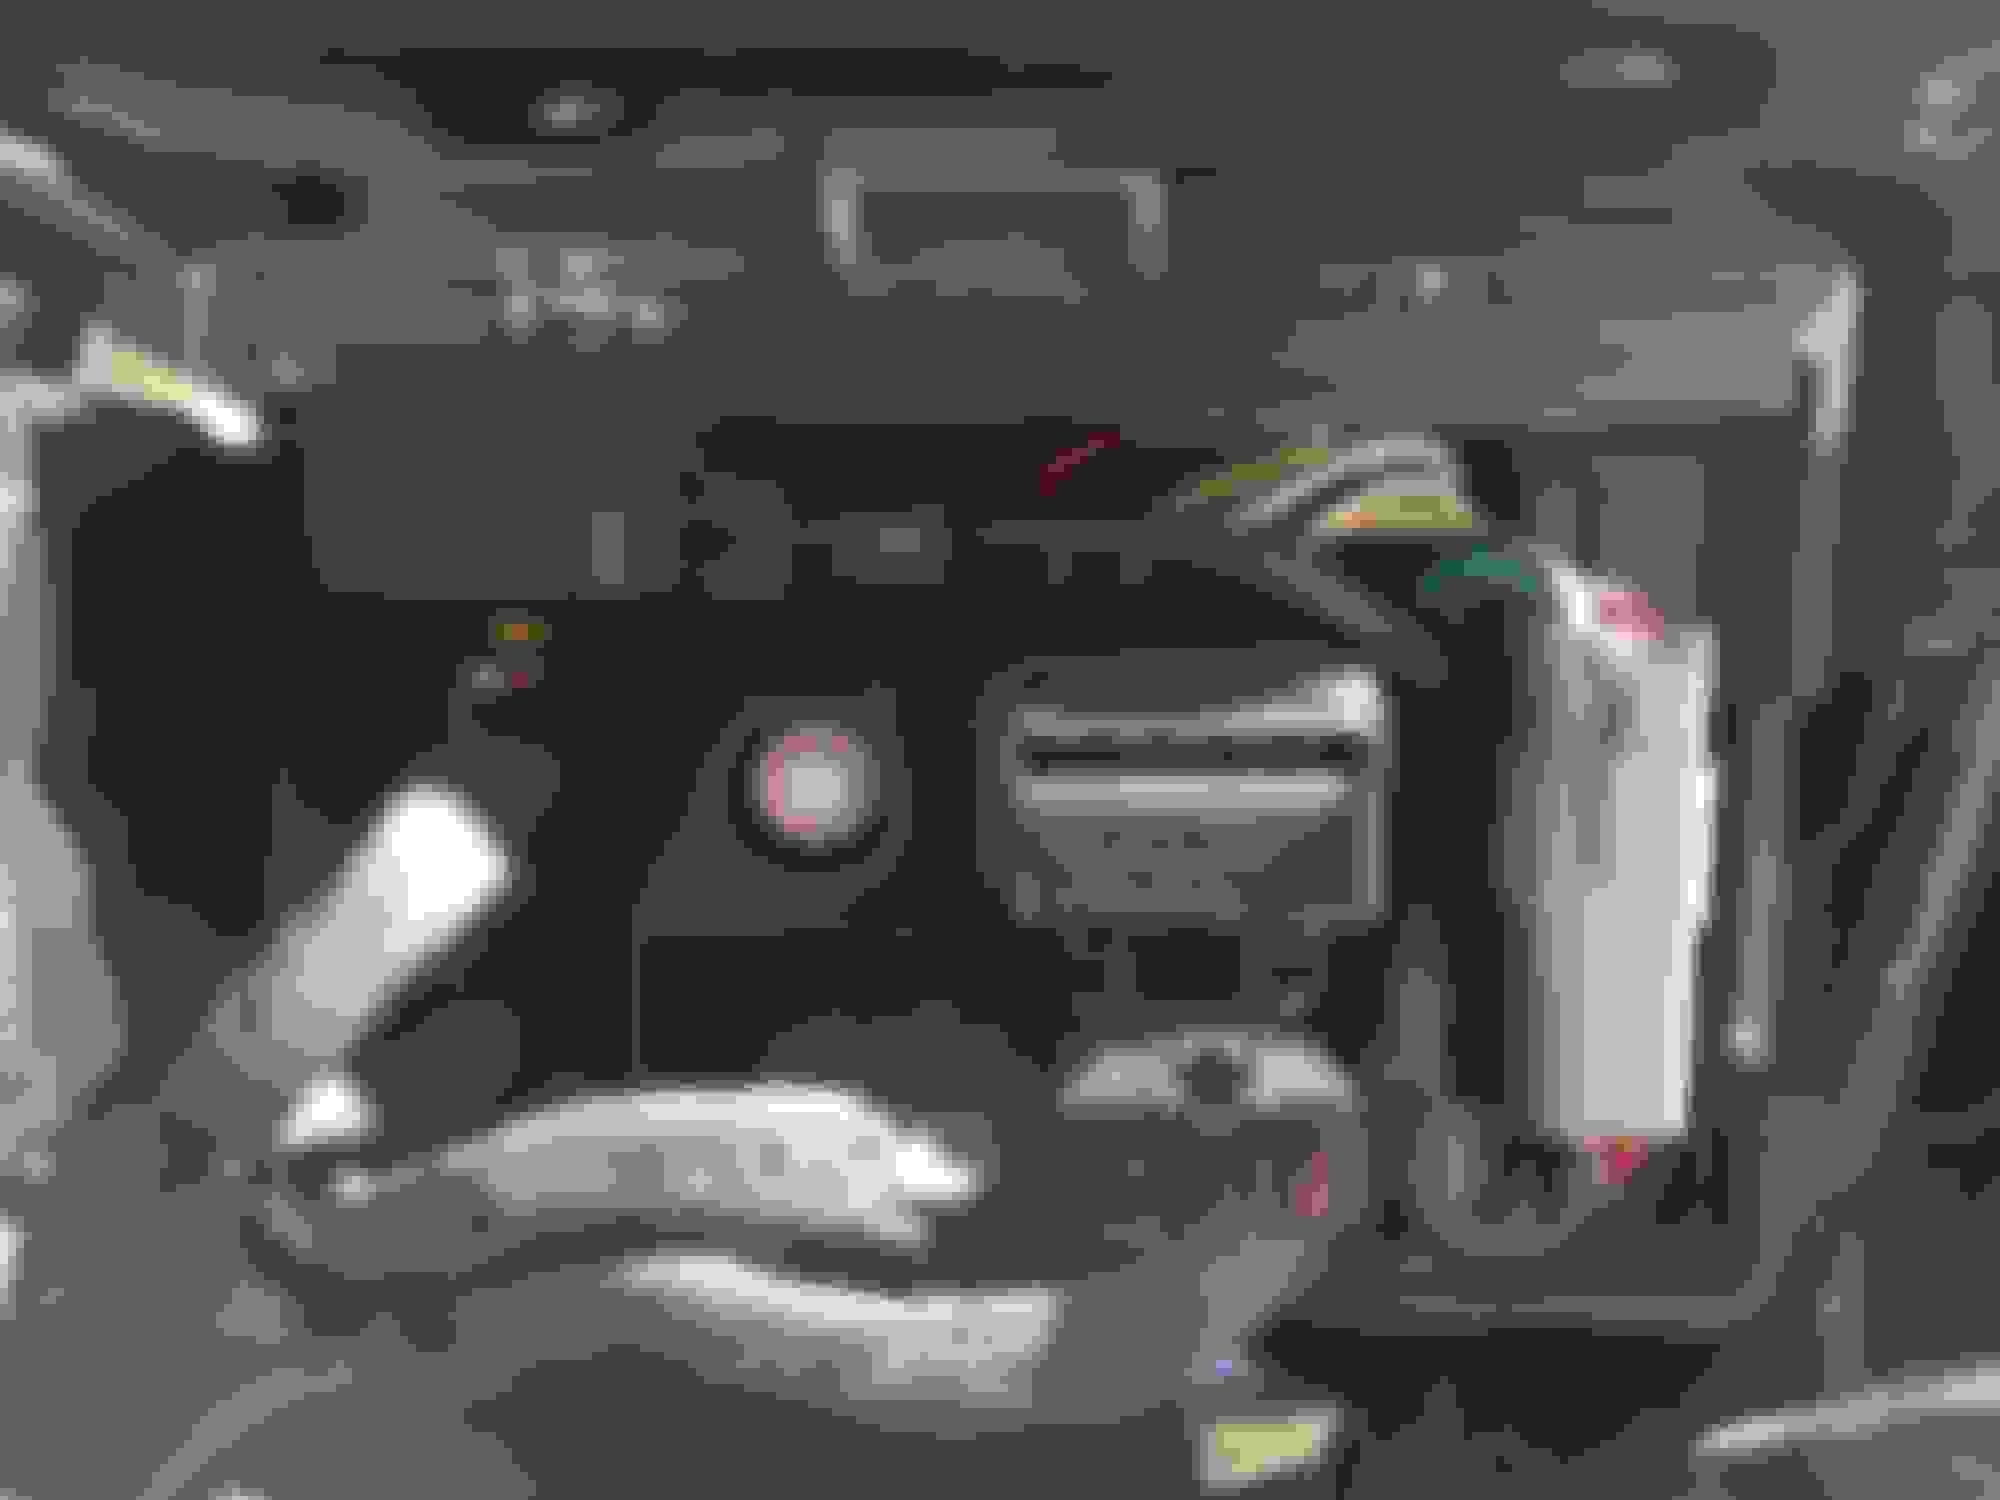
I decided to add a relay harness to the bike. This was way complicated as there is literally no room to put anything on a Dyna besides under the seat.
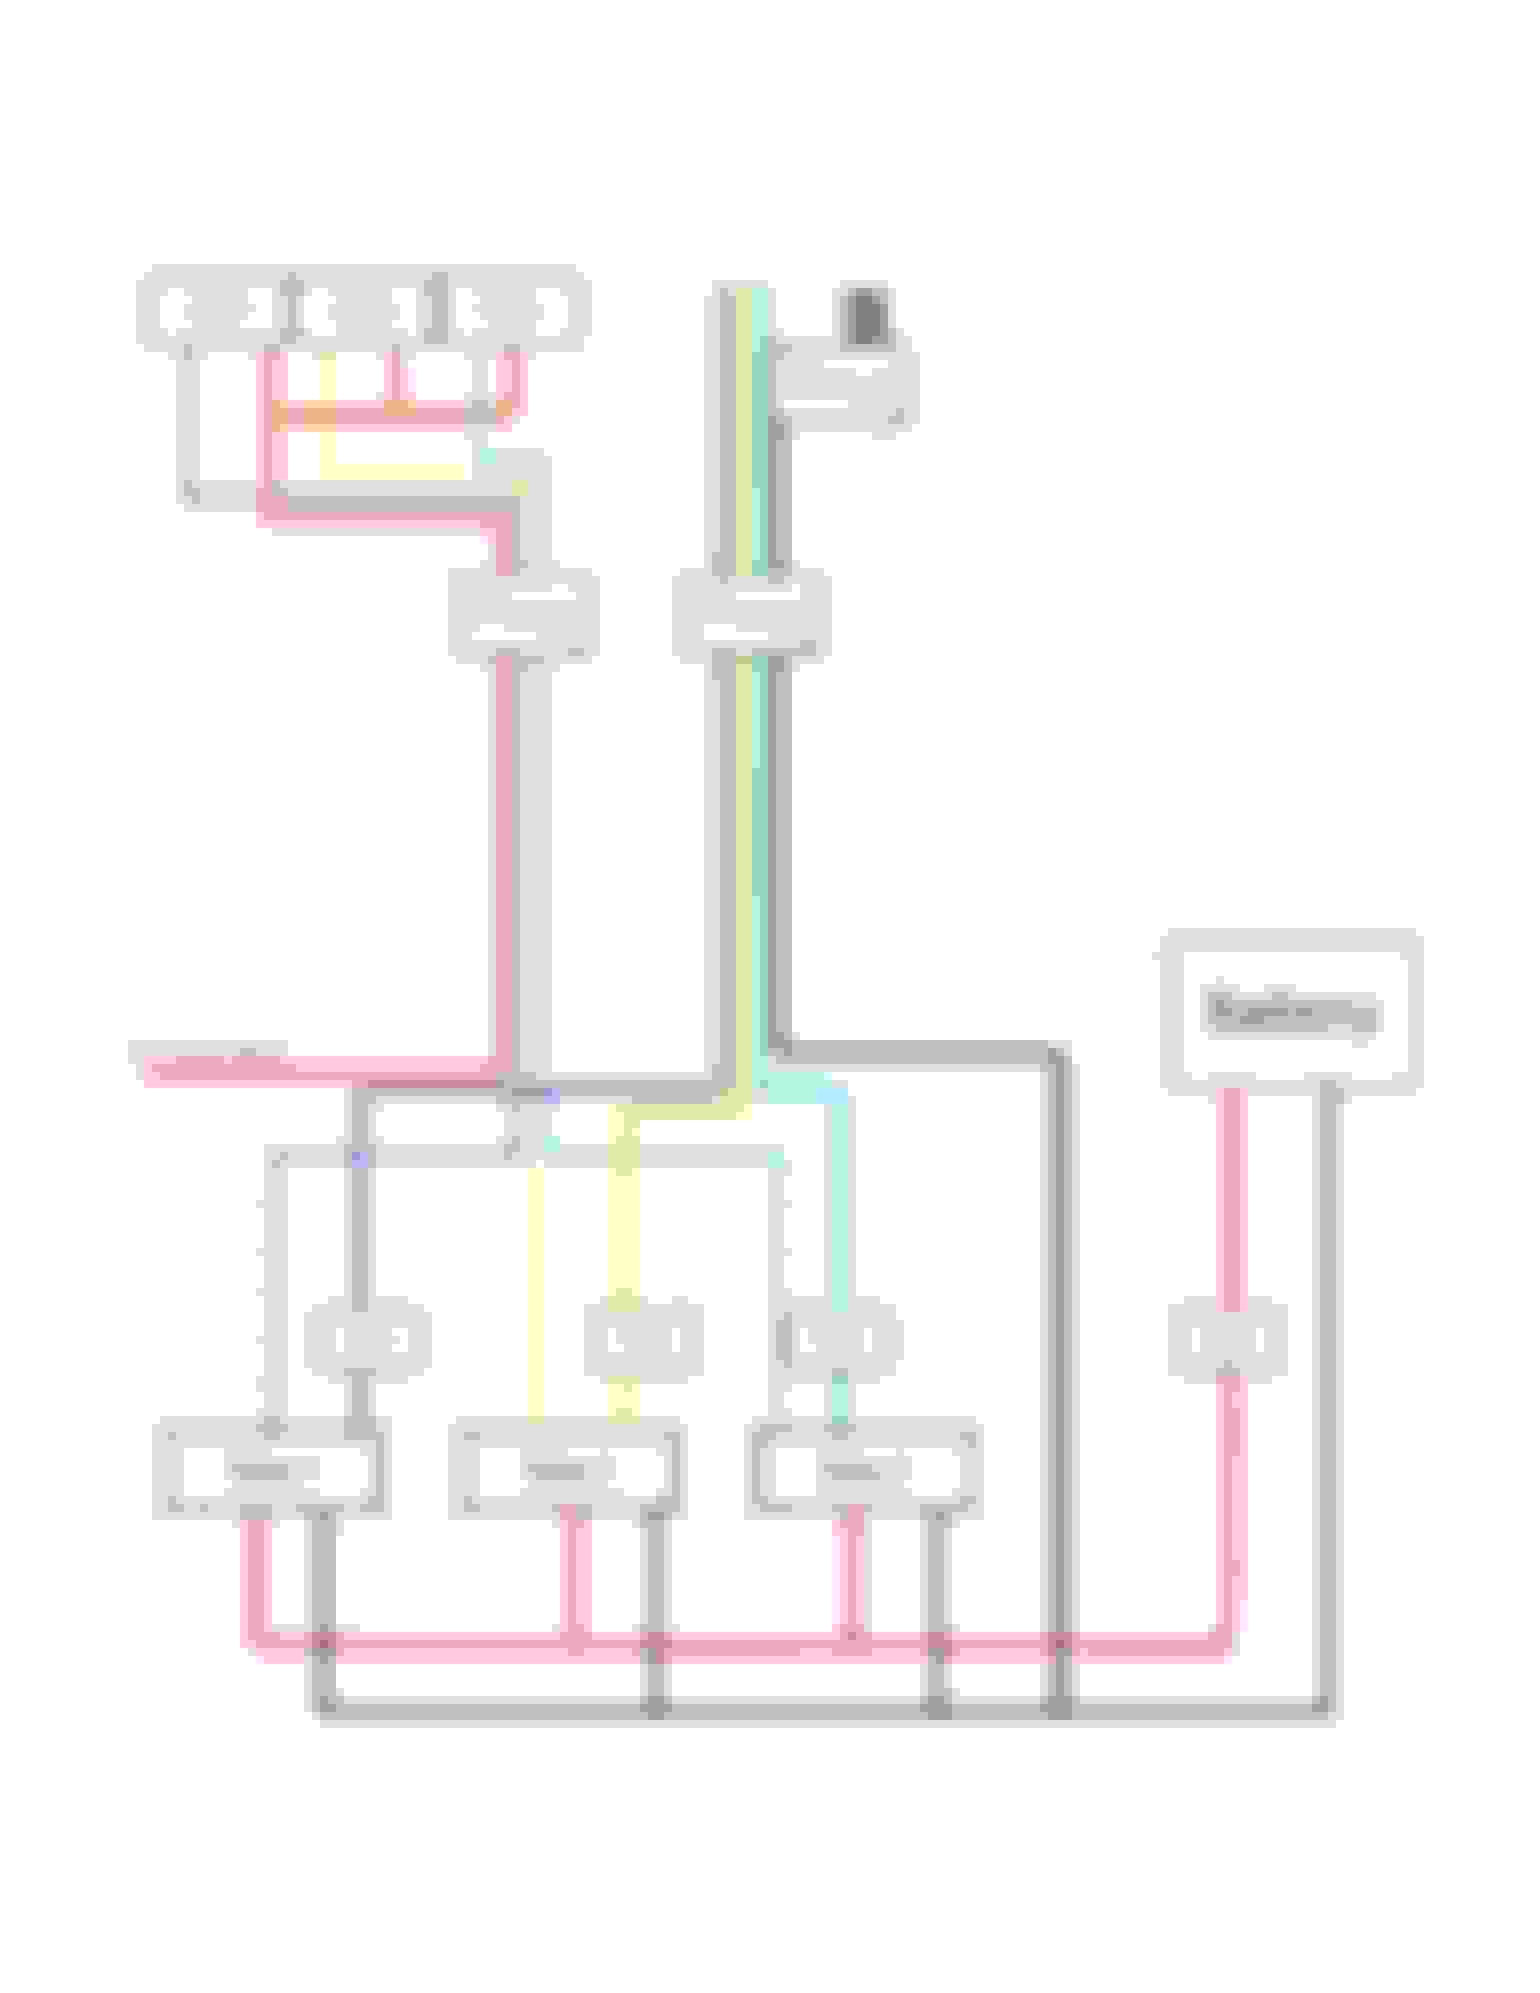
Anyway I drew up a diagram of the relay harness:
Accessory switch harness
So I've got my relay box all outfitted:
It's the perfect little box. It will fit right in under the seat. This way i can run the accessories directly off the battery instead of running it through the bus system on the bike. Isolating any shorts etc.
Here is the main wires harnesses that will run up inside the frame. I'll tell you, that was really difficult.
Here I have the relay box mounted under the seat. I know it really looks like no big deal but trust me... everything together inside there like a puzzle. Keep in mind I have all the power vision connectors, all the target tune connectors, all the standard harnesses, a smart triple play, and then on top of it all, a 3 relay harness with all it's connectors under the seat between the battery box and the computer box..... It looks crazy clean now though.
Then here I have the connectors up by the bars that will connect to different accessories.
I purchased the accessory switch housing from HD so its wired up to that.
Also note that you can see the SAE Battery Tender connection there as well. I ran that up the frame as well. That way i can connected a USB charger to it while I ride as well as an easier access point for the battery tender.
See Post #8 for more
Last edited by KingBowser; 02-20-2016 at 11:19 PM.
Bike looks great! I love the looks of that pipe. Is that a custom bracket for the head light relocation or did you purchase it somewhere?
I had one custom fab'd first for like $40... i was in a pinch the dual headlight caught a rock literally a month after purchasing, and only a day before my ride to sturgis so I had a local machine shop make me one really quick. However with the fairing it actually came with the kit from arlen ness. I think I got it on Revzilla? its the kit though it's Arlen Ness part number 06033
Originally Posted by c-note
I love to someone do a fxdf this way. What about the suspension?
I haven't looked into suspension yet. That will most likely come during the summer I imagine, once my credit card recovers from the last few purchases
So, back to the build. I ran the harness up the frame to the front of the bike. I redid the front end of the bike as well.
For the modifications I had to custom made a mirror stem mount. This because there wasn't a mirror stem bolt long enough to go through everything I wanted to mount there (you'll see what I mean below) So I got come steel tubing, die'ed it out to the mirrow stem thread cut (5/16-24 for those who care)
Raw tubing and cut tubing
and had them all powdercoated:
Powdercoated and completed mounts
With these mounts made I could finish up the bar portion.
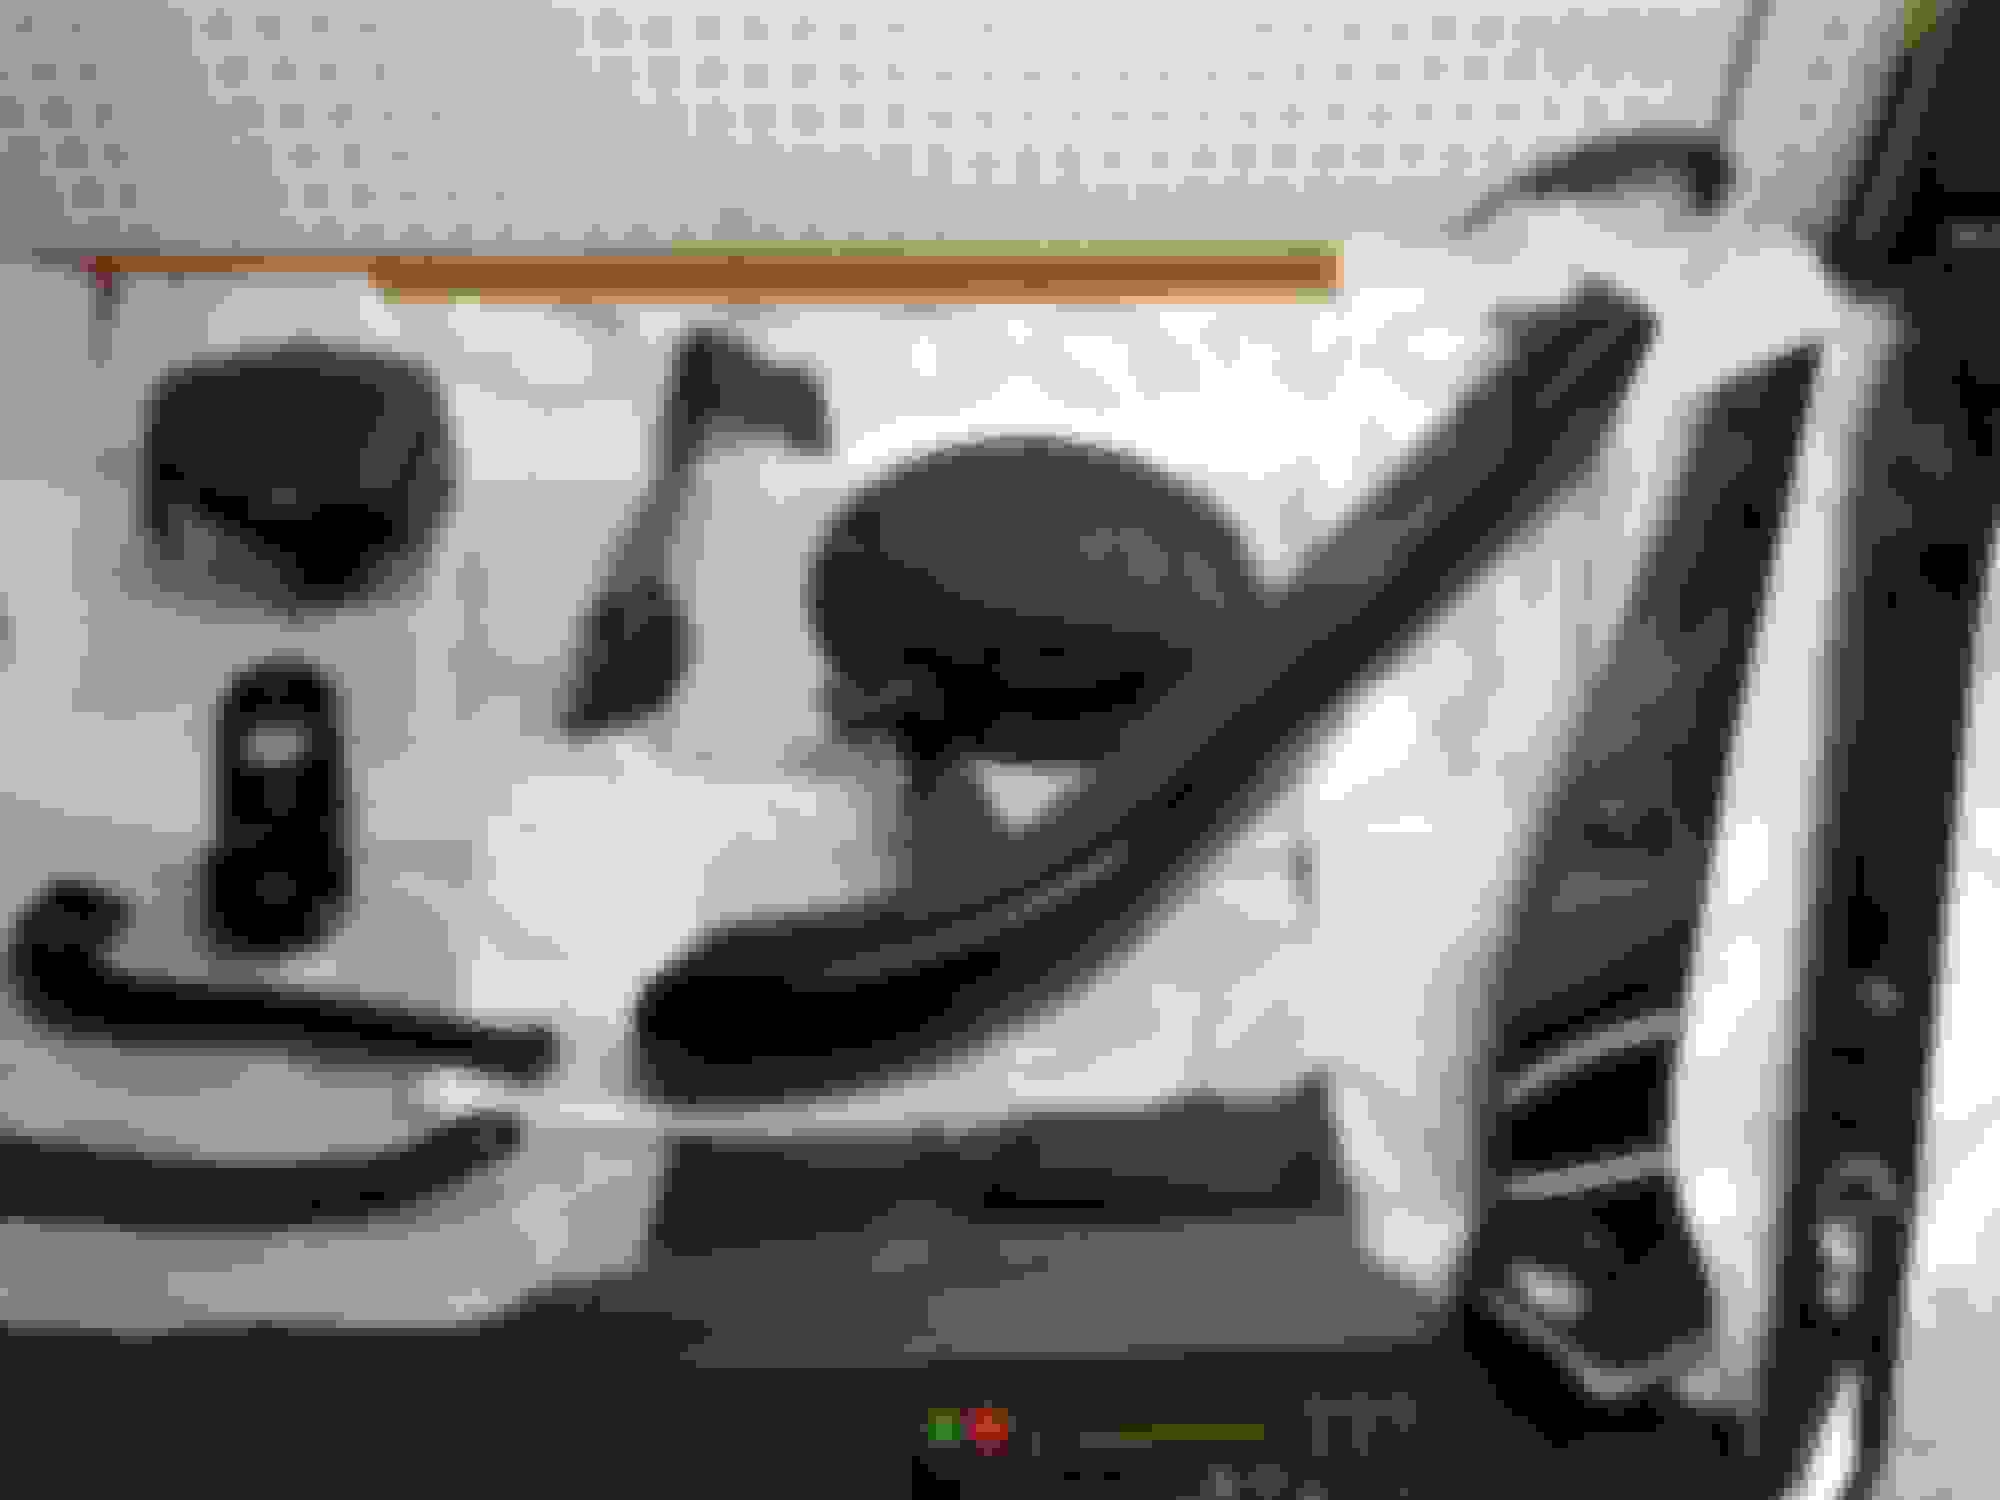
Here is what I did with the Cage Crackers:
I relocated the front turn signals to the Cage Crackers as Rigid Industries A-Series Amber LEDs. In the turn signal location I mounted Rigid Industries SR-M White Flood LED's
Im not going to lie, running all the wires through the bars was a nightmare. But I did it. Check out how cramped the exit hole of the bars is:
I've also done a few other things. I've installed fork boots and a Superbrace to the front of the bike. More Pics to follow.
Last edited by KingBowser; 02-20-2016 at 11:20 PM.
The fairing looks great and I really like the exhaust. I am on the fence though about which TBR pipe I want to buy, black or stainless. How does the bike sound with those pipes? I also have a 14 FB with a stage 1 installed running V&H 3" slash cut slipons and a V&H FP3. I had the bike dynoed and it showed 76 hp and 95 ft lbs of torque. Not sure on how much more I will get with the TBR pipe and if it's worth the cost. Not planning on cams until the bike is out of warranty.
I got the stainless because of the colors it will change,and has changed. I'll have to post some more recent pics. It looks mean!!! The sound is deep, rumbly, but not your typical harley grumble.
A full system will always yield better numbers than a slip on setup. With slipon's you still have the stock headers and are still not getting as much airflow as you could. A full system is more free flowing, which means easier breathing, which means more power.
With a stage one, I imagine you are referring to your a/c? because if you don't have an A/c and you only have slippy's, youre definitely going to see better numbers with the full system (full exhaust and free breathing a/c)
 12-08-2015, 08:34 PM


 l
l