Dyna Glide ModelsSuper Glide, Super Glide Sport, Super Glide Custom, Dyna Glide Convertible, Super Glide T-Sport, Dyna Glide Police, Dyna Switchback, Low Rider, Street Bob, Fat Bob and Wide Glide.
Have the same fairing on my '06 Street Bob. The issue is that it is designed to work with headlights that mount to the top triple tree. My headlight mounts to the lower one, so it wasn't as easy a fit. Plus I wanted to mount it lower on the bike since I am running drags and and 2" risers.
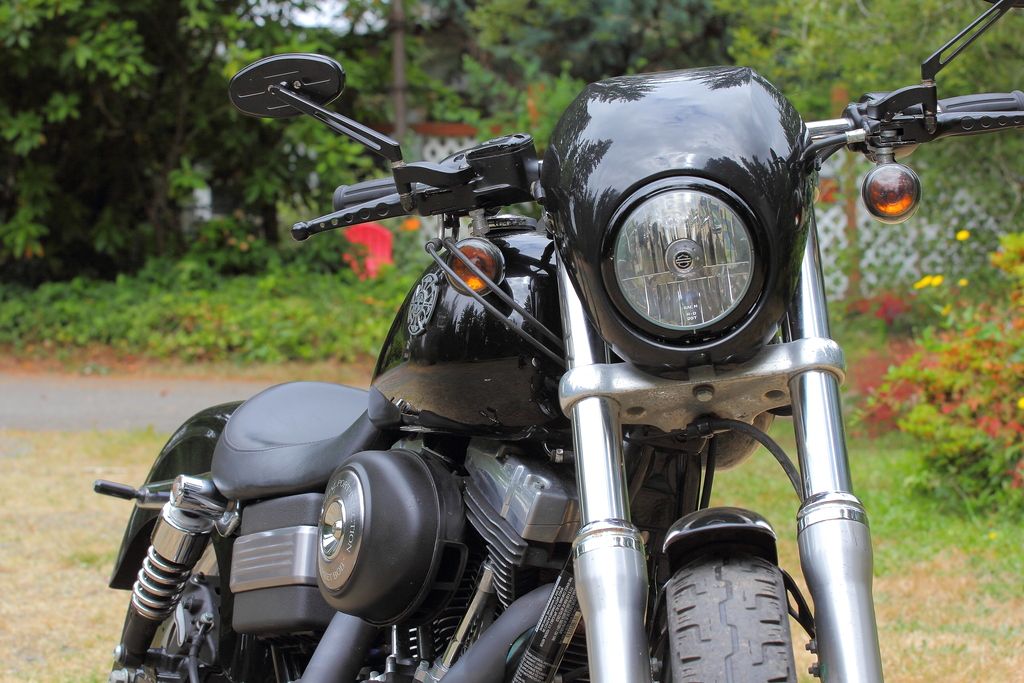
What I did was use the mounting bracket supplied with the kit, then opened up the lower mounting holes so that it bolts to the bottom of the upper triple using the riser bolts. With this mounting the headlight actually is part of the mounting system as when the fairing is mounted to the bracket, the headlight then creates backward pressure to hold the fairing in place. Yes, I did have to open up the main headlight area a bit. In the one picture you can see where I had to notch the bottom of the fairing to clear the original headlight mounting block.
The first mounting of the headlight looked "okay"...
But I wanted it lower, plus it forced my headlight to sit a an awkward angle and had no room for adjustment, so I got a mounting block that moved the headlight out and down. Now the fairing sits about two inches lower, and at just the right height and I can now adjust the headlight properly. Also, with this setup the fairing sits tight against the upper triple, so I have used small vacuum hoses sliced in half as "gaskets" to prevent any rubbing. The added benefit is that there is not extra vibration of the fairing. But now I have to purchase a new fairing so I don't have that notch showing. Thank God they're cheap.
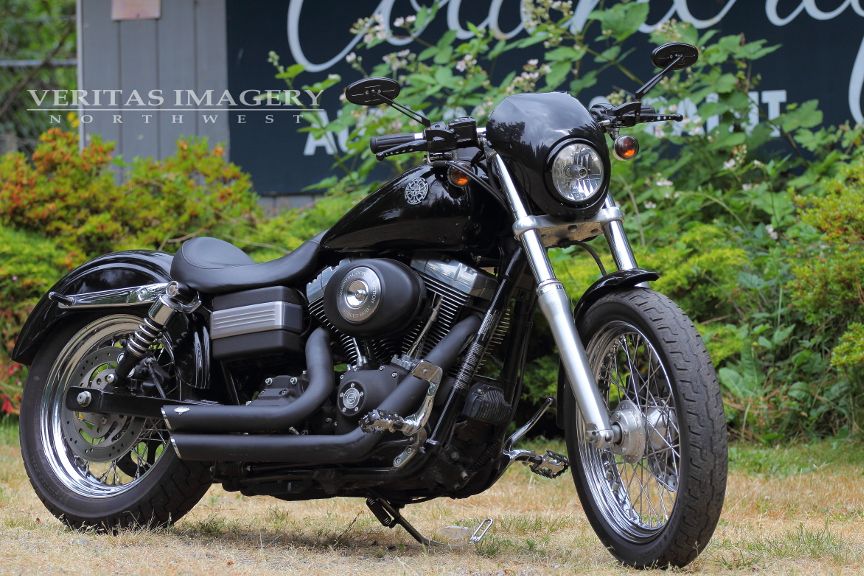
This is the look I am working towards:
Last edited by veritas.archangel; 02-10-2016 at 09:26 PM.
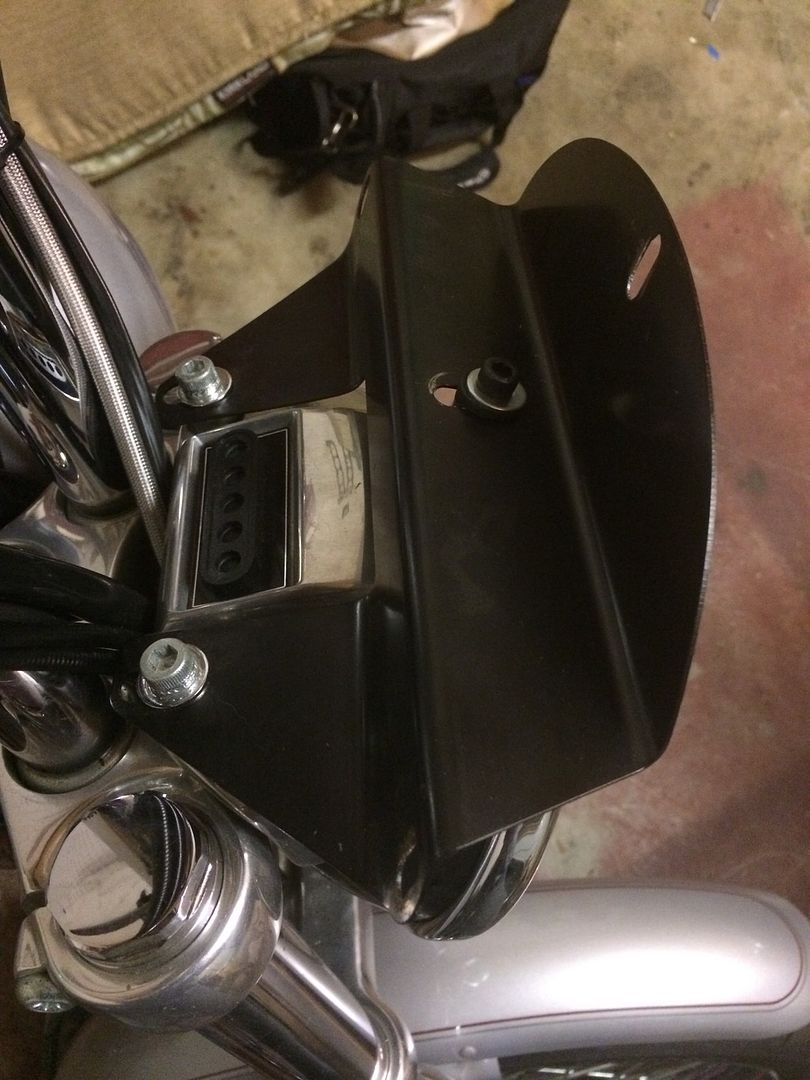
So here are some pictures of the mount. I believe it to be made for the narrow glide front end, most likely from the early 90's to around 2005 or so... that's just a guess. I had a 94 Sportster 883 when I was 19 and to my recollection it has an identical headlight mount as my 2002 dyna low rider.
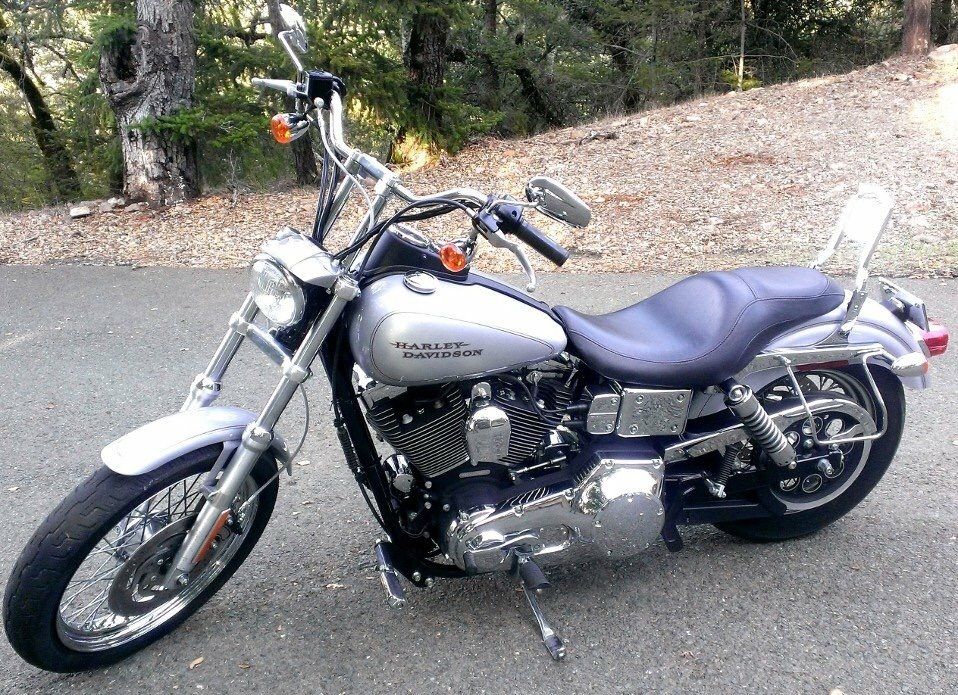
So to describe what the Harley has from the factory; The headlight is held to a mount by one top bolt, the headlight mount is attached to the forks with two bolts similer to handlebar clamb bolts.
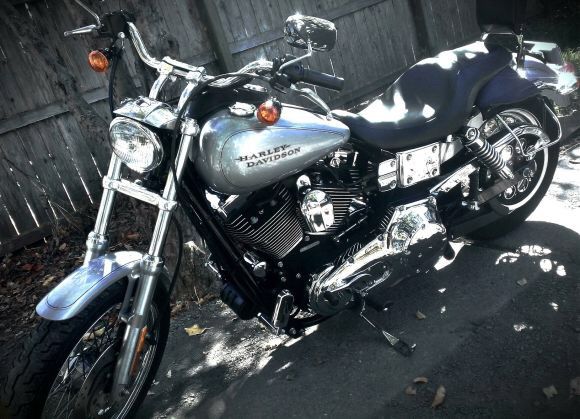
Here are a couple pictures, the first of the stock configuration, the second of the bike with the risers installed.
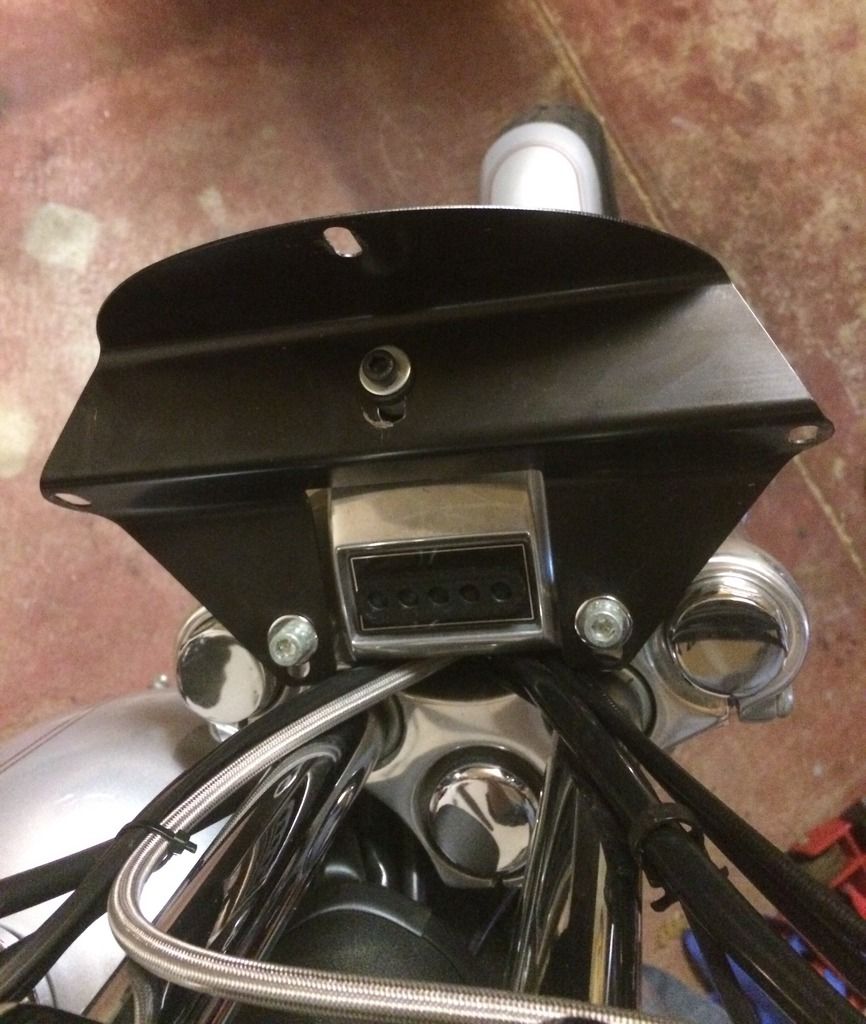
Now to look at the mounting bracket for the fairing. this bracket is held on by three bolts, the two silver bolts near the risers and the black bolt over the headlight
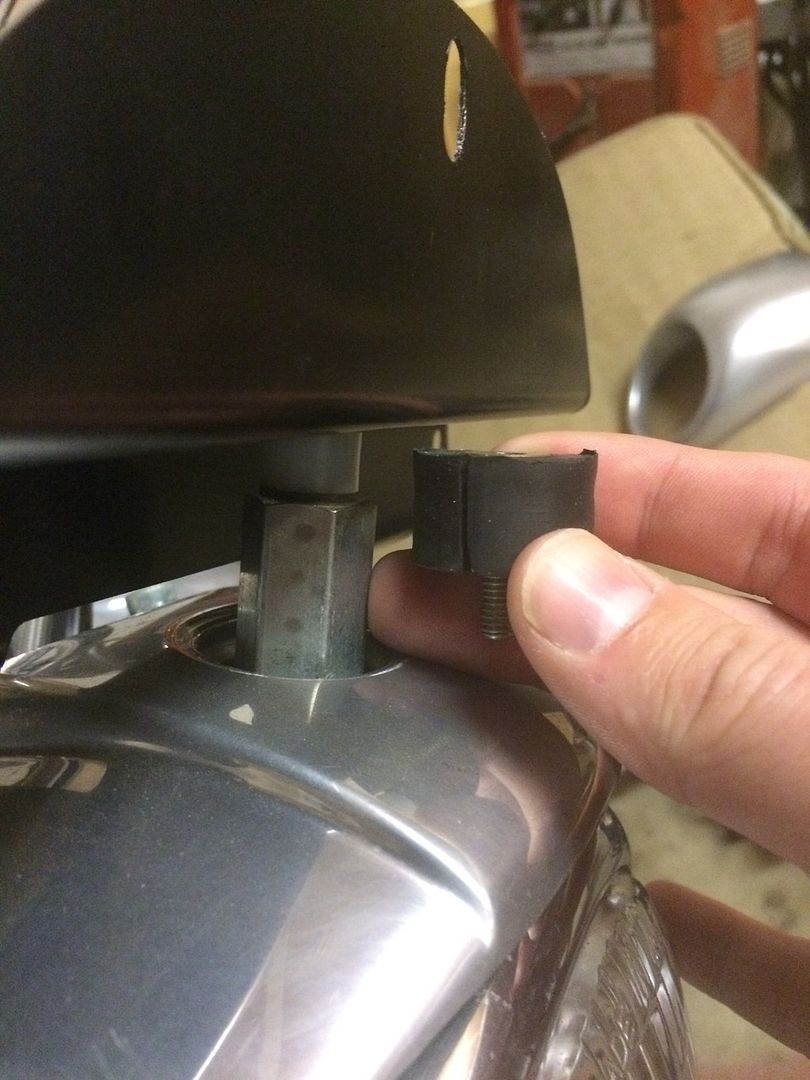
In this next picture you will see a "coupling nut" (my middle finger is pointed to it) That is supplied with the fairing, it installs on the factory headlight bolt. However I am not sure if you need to remove the old headlight nut or not... anyways. In my hand you see the bushing they supplied, it was a touch over a half inch thick and caused my fairing to jet out at an odd angle and in front of the headlight itself. That just wouldn't do, so I ran to home depot and got a Teflon 3/8" bushing, and put neoprene washers on both top and bottom of it. I also needed a longer bolt, I cant remember the exact length.. maybe 1" but the threads were metric, 6x1.0 it was hard to find but it was at home depot in the specialty bolts section. Take a look.
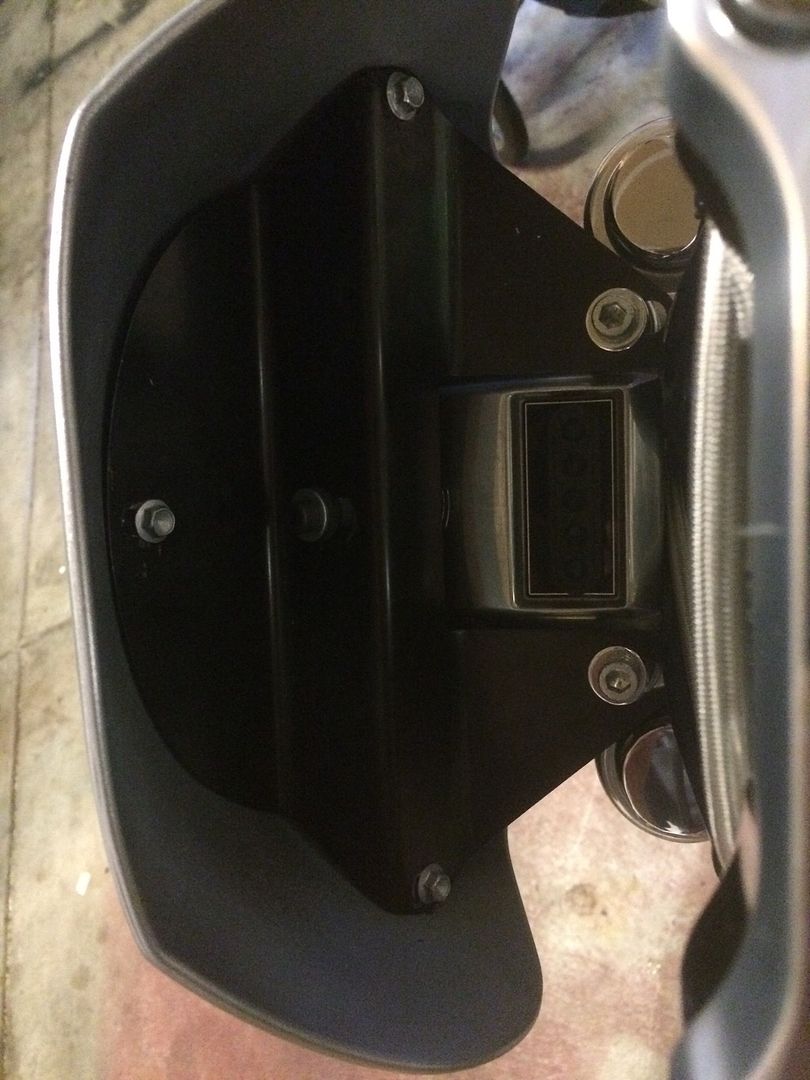
Here it is with the fairing installed again. I also have a neoprene washer under the shiny washer being held by the black 6mmx1.0 bolt I got at the hardware store, All just to help lessen the effect of vibration. Like I said though, the fairing has been on for a while before the paint, at least 800 miles of bumpy back roads here in Sonoma County, CA
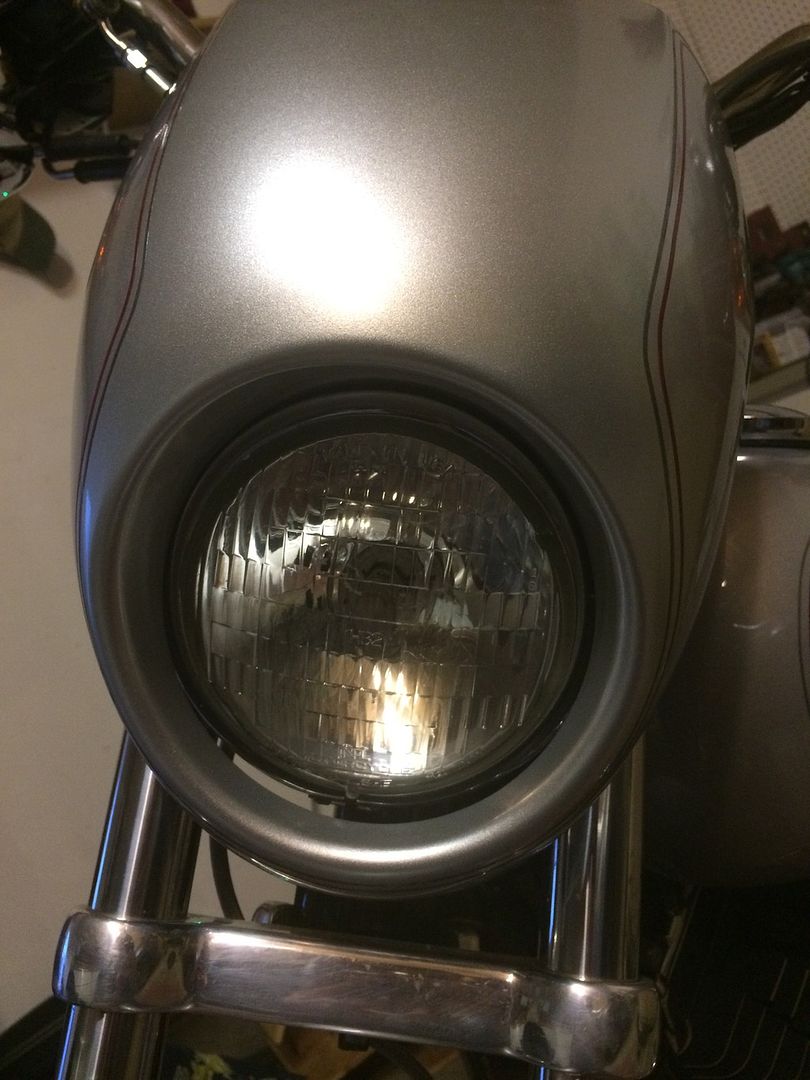
And for Kicks one close look at the straight ahead view, there is a slight gap at the bottom, but its not a big deal in my opinion.
It definitely looks like a more straight forward process of mounting it with the top triple headlight mount. So basically there is nothing holding the bottom of the fairing? Does it vibrate much?
It definitely looks like a more straight forward process of mounting it with the top triple headlight mount. So basically there is nothing holding the bottom of the fairing? Does it vibrate much?
It doesn't have anything holding the bottom, your right there.
It really doesn't vibrate much anymore. It did before I changed the spacer and bolt. But it takes one of those surprise potholes to get it to jiggle. Speed bumps or pulling into driveways it doesn't move. If it didn't have a gap at the bottom maybe it would rattle but as I'm sure you can see, I can't tell what the bottom is doing when I ride. It feels sturdy to the touch as well
Did you mount it using the hardware that came with the fairing? I bought the same one for my 13' SB and am still trying to figure out how to go about mounting it.
 02-10-2016, 10:37 AM