Dyna Glide Models Super Glide, Super Glide Sport, Super Glide Custom, Dyna Glide Convertible, Super Glide T-Sport, Dyna Glide Police, Dyna Switchback, Low Rider, Street Bob, Fat Bob and Wide Glide.
Sponsored by:
Sponsored by:

The chopping continues...

Thread Tools
 
Search this Thread
 
  #1  
Old 02-05-2017, 02:02 PM
jmeiers's Avatar
jmeiers
jmeiers is offline
Road Warrior
Thread Starter
Join Date: Nov 2010
Location: Ashburn, VA
Posts: 1,250
Received 29 Likes on 25 Posts
Thumbs up The chopping continues...

Final sanding done on cut struts and shaved rear tank mount. Waiting for temps to warm up a bit before spraying new paint down.

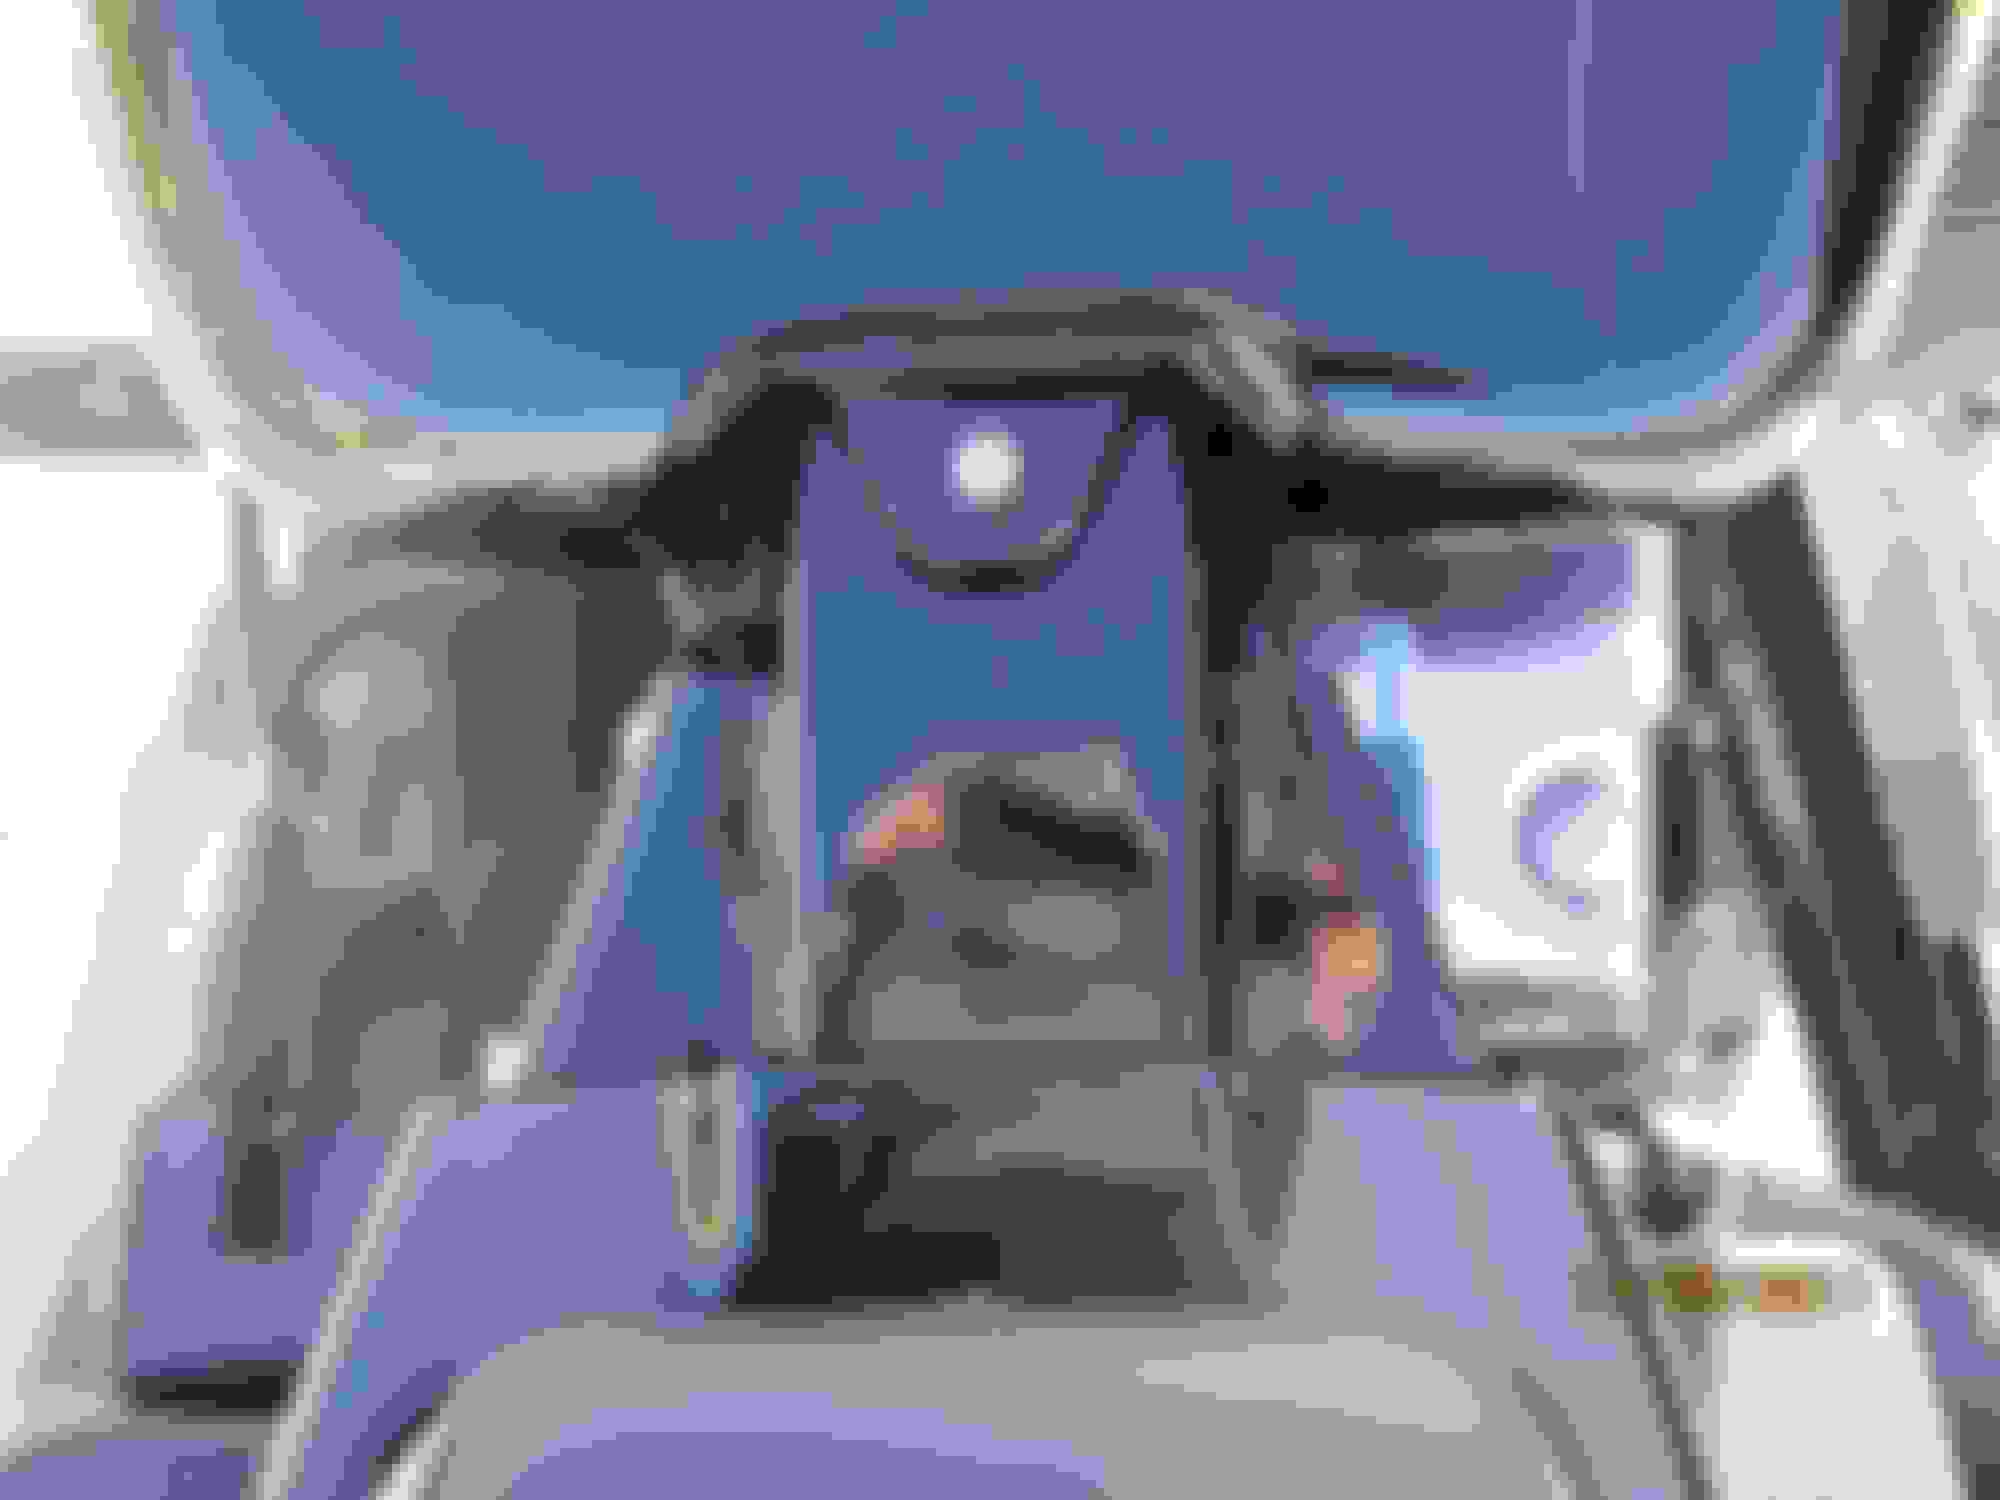
If you look close, you can see all wiring and bulky clutter I already removed from my bars last season. I use the flush mounted Hawg Halters master cylinder and clutch mount and a Joker Machine throttle mount. I will be running the speedo/fuel pump wiring up thru the frame directly below where they enter the dash cover so none of the wiring comes out the side of the neck/frame area. Still have to cut the ears off the rear of the tank and tap the frame to bolt the rear of the tank down.

Going with Rocket Bobs pintail seat and also adding the headbone in place of the wiring. UPS says delivery is on time for tomorrow. Can't wait!


Last edited by jmeiers; 02-05-2017 at 02:05 PM.
  #2  
Old 02-05-2017, 03:22 PM
stonei3's Avatar
stonei3
stonei3 is offline
Club Member
Join Date: Aug 2016
Location: Colorado
Posts: 376
Received 63 Likes on 58 Posts
Default

Right on, you're well on your way. That seat looks cool but dang I don't think my *** could handle it for more than an hour of riding..

Looking forward to the transformation. As well as your workaround with the headbone piece. That thing is damn good looking.
 
  #3  
Old 02-05-2017, 04:03 PM
Tall Timber's Avatar
Tall Timber
Tall Timber is offline
Road Warrior
Join Date: Aug 2012
Location: Yarra Ranges, Victoria, Australia
Posts: 1,363
Received 425 Likes on 259 Posts
Default

Your bike was great to begin with, can't wait to see it with a new rear end.
 
  #4  
Old 02-05-2017, 05:21 PM
Wghussey's Avatar
Wghussey
Wghussey is offline
Tourer
Join Date: Jul 2014
Location: Noplace
Posts: 260
Received 8 Likes on 6 Posts
Default

I just finished the same thing. I used black appliance enamel for paint and it matched the frame perfectly.
 
  #5  
Old 02-05-2017, 05:36 PM
cggorman's Avatar
cggorman
cggorman is offline
Extreme HDF Member
Join Date: Jun 2014
Location: NW Ohio
Posts: 11,448
Received 2,291 Likes on 1,710 Posts
Default

Nice. Looks familiar.
 
  #6  
Old 02-05-2017, 05:38 PM
jmeiers's Avatar
jmeiers
jmeiers is offline
Road Warrior
Thread Starter
Join Date: Nov 2010
Location: Ashburn, VA
Posts: 1,250
Received 29 Likes on 25 Posts
Default

I have PJ1 fast black epoxy paint on recommendation from Pete. The can says must be at least 70 degrees. Supposed to be 62 this Wednesday. Might have to crank up the garage heater and get this done.
 
  #7  
Old 02-05-2017, 05:40 PM
cggorman's Avatar
cggorman
cggorman is offline
Extreme HDF Member
Join Date: Jun 2014
Location: NW Ohio
Posts: 11,448
Received 2,291 Likes on 1,710 Posts
Default

Looks like the backbone might need some filler. That wavyness will definitely show on gloss black.
 
  #8  
Old 02-05-2017, 06:36 PM
HrdNox's Avatar
HrdNox
HrdNox is offline
Outstanding HDF Member
Join Date: Sep 2012
Location: Delawere
Posts: 2,101
Received 213 Likes on 183 Posts
Default

Right on man! Going to look sweet! Definitely want to skim coat that with some mud. It can be any kind (bondo) then use a sanding block (rubber) to feather the edges and get it smooth. Don't know if you got the light bar but if it comes with a plate for just in front of your tire.Push out that white "Christmas tree" plug in the picture and get a black one from any paint supply and push it in from the tire side to help hold that plate. Also when you drill the hole before you tap the backbone I wrapped the bit with electrical tape to keep it from going too deep. Also used a cordless drill to hold the tap. It gave me better control at the start.
i have a round rubber washer under the tank tab from the plumbing section 😬
 
  #9  
Old 02-05-2017, 07:48 PM
jmeiers's Avatar
jmeiers
jmeiers is offline
Road Warrior
Thread Starter
Join Date: Nov 2010
Location: Ashburn, VA
Posts: 1,250
Received 29 Likes on 25 Posts
Default

Thanks for the tips. Yeah, I may hit that area with the sander again. Never used Bondo before. Is it easy to work with?
 
  #10  
Old 02-05-2017, 11:16 PM
NORTY FLATZ's Avatar
NORTY FLATZ
NORTY FLATZ is offline
Seasoned HDF Member
Join Date: Jan 2015
Location: Sandy Eggo's North County
Posts: 14,586
Received 5,384 Likes on 2,951 Posts
Default

Orange peel...


Quick Reply: The chopping continues...


All times are GMT -5. The time now is 10:45 AM.