Tutorial: 48 Pillion on 2014 Street Bob
#1
 04-27-2014, 11:17 PM


Join Date: Apr 2014
Location: Diego
Posts: 8
Likes: 0
Received 0 Likes
on
0 Posts
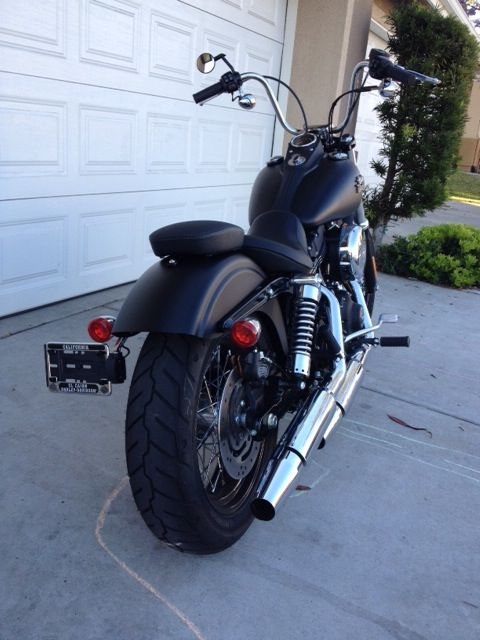
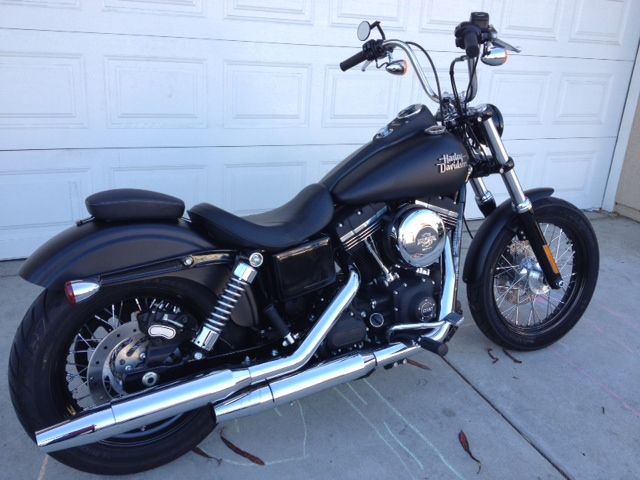
I hate the look of all Harley 2 ups seats for the Street Bob, and preferred the look of a separated pillion. My only option to meet this were suction cup seats, which do not seem all that secure. I had a stock 48 pillion in the garage, eyeballed it onto my Street Bob, and made necessary adjustments. I took a few pictures along the way so hope it helps anyone that is looking for an alternative to two up seats.
Tools/Equipment:
-Philips screw driver
-T wrenches
-2 Washers
-x2 Fender/Seat nut kit from Harley. 1 of these needs to be trimmed
-Harley Fender Bolt for a 48 or Dyna. Either will fit I just happen to have a 48
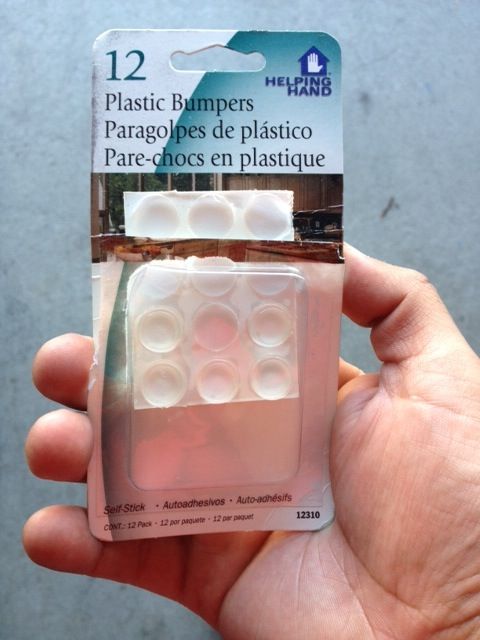
-Plastic Bumpers(found at any Walmart)
-Dermal
-Drill/ Various bits
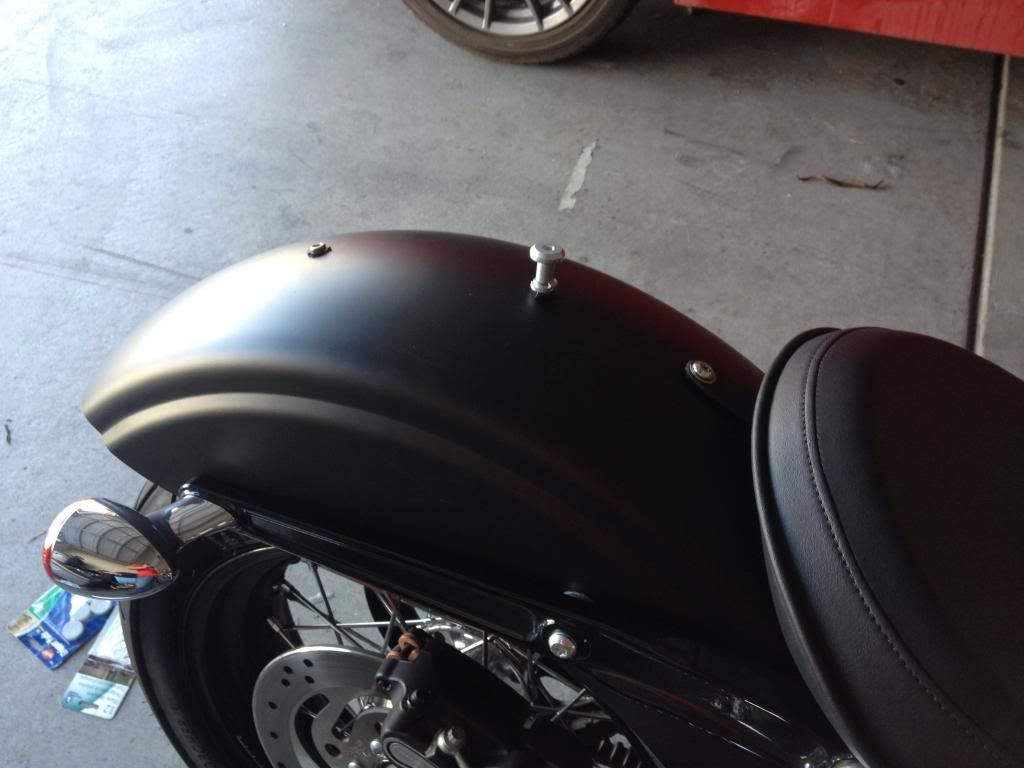
Step 1: Remove plastic rubber caps covering the last two holes in your fender
Step 2: Trim one of your Seat nuts from your kit to allow it to pass through the center hole of your fender. I did not take a picture of this figuring it was intuitive. Trim literally millimeters and test fit each time. You will have to remove the notch in the nut since the center fender hole is not cut out for this.
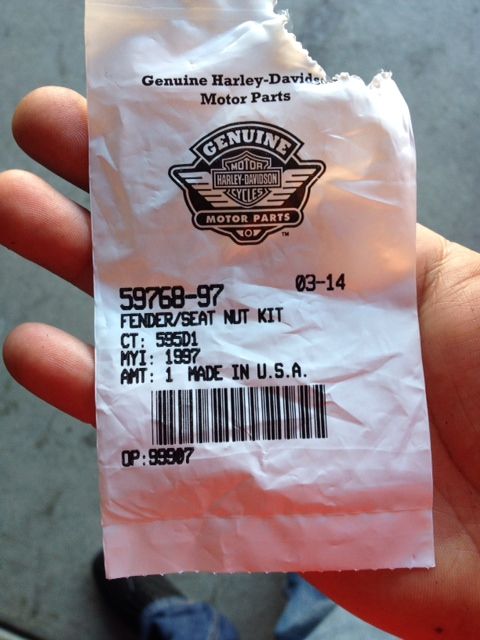
Step 3: Install the untrimmed fender nut in the rear hole and the Fender Nut in center hole along with 2 washers and Harley 48 pillion Bolt. Sorry I do not have the part number for this.
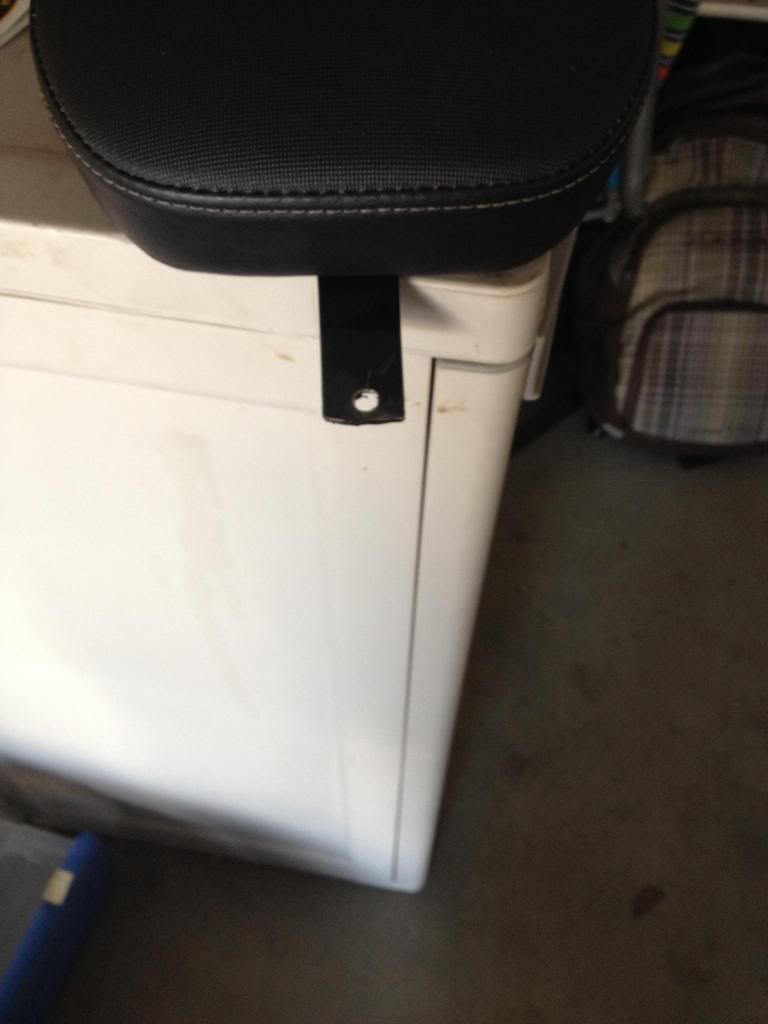
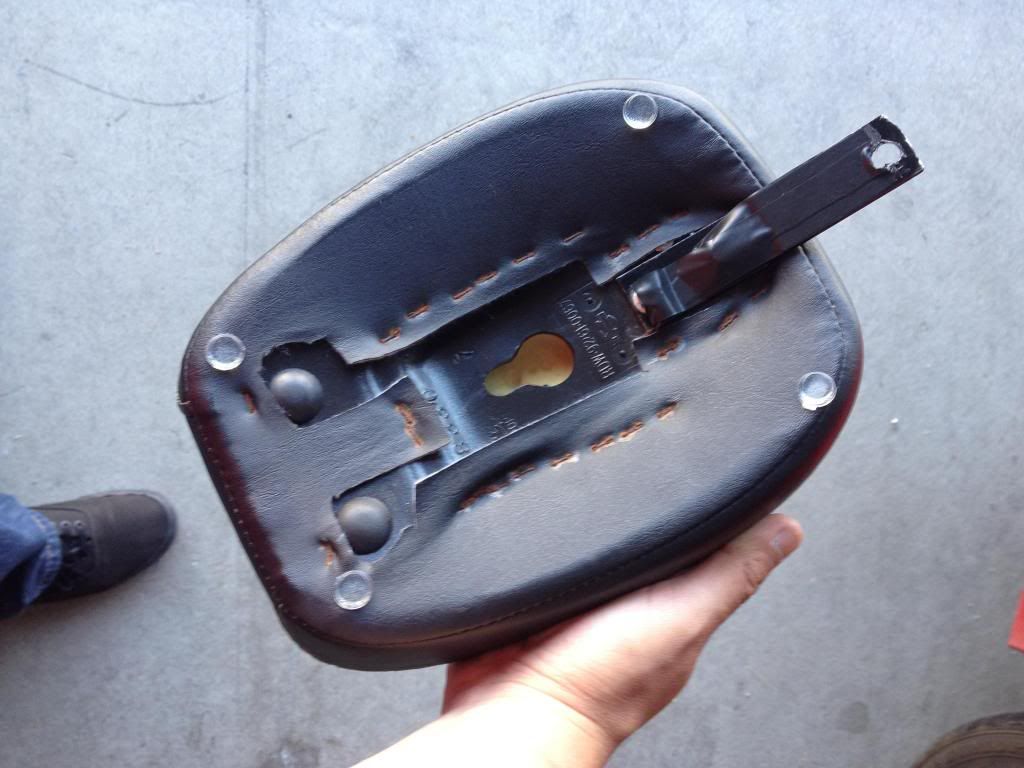
Step 4: Drill a new hole in the existing 48 pillion mounting tab and cut excess for aesthetics.
Step 5: Remove center staple in the cloth to your pillion and trim a small "C" shaped notch. This will prevent your stock solo seat bracket from hitting the front part of the pillion. This step is not necessary and can be done just by resting the pillion slightly on top of your front seat bracket. Im a bit meticulous when it comes to these sort of things and thought it was necessary.

Step 6: Place plastic bumpers on all corners of your pillion. This will hopefully prevent getting any marks your paint if decide to ride solo.
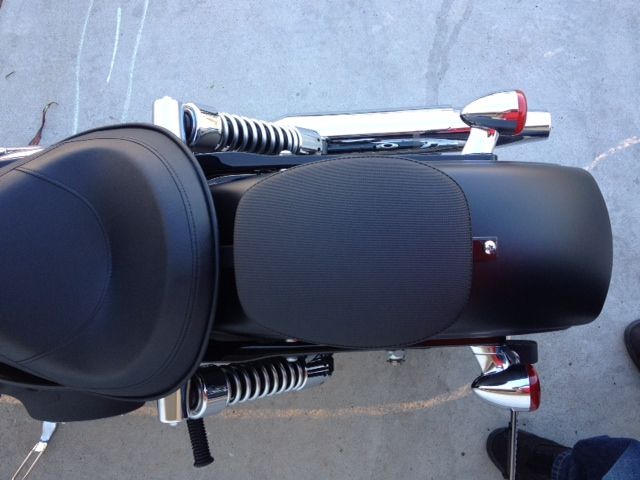
Step 7: Make adjustments if necessary and enjoy!
Let me know what you think.
Thanks
Tools/Equipment:
-Philips screw driver
-T wrenches
-2 Washers
-x2 Fender/Seat nut kit from Harley. 1 of these needs to be trimmed
-Harley Fender Bolt for a 48 or Dyna. Either will fit I just happen to have a 48
-Plastic Bumpers(found at any Walmart)
-Dermal
-Drill/ Various bits
Step 1: Remove plastic rubber caps covering the last two holes in your fender
Step 2: Trim one of your Seat nuts from your kit to allow it to pass through the center hole of your fender. I did not take a picture of this figuring it was intuitive. Trim literally millimeters and test fit each time. You will have to remove the notch in the nut since the center fender hole is not cut out for this.

Step 3: Install the untrimmed fender nut in the rear hole and the Fender Nut in center hole along with 2 washers and Harley 48 pillion Bolt. Sorry I do not have the part number for this.

Step 4: Drill a new hole in the existing 48 pillion mounting tab and cut excess for aesthetics.

Step 5: Remove center staple in the cloth to your pillion and trim a small "C" shaped notch. This will prevent your stock solo seat bracket from hitting the front part of the pillion. This step is not necessary and can be done just by resting the pillion slightly on top of your front seat bracket. Im a bit meticulous when it comes to these sort of things and thought it was necessary.

Step 6: Place plastic bumpers on all corners of your pillion. This will hopefully prevent getting any marks your paint if decide to ride solo.


Step 7: Make adjustments if necessary and enjoy!


Let me know what you think.
Thanks
Last edited by B0bb3RFXDB; 04-27-2014 at 11:25 PM.
#3
04-28-2014, 07:42 AM
#4
04-28-2014, 08:04 PM
Join Date: Apr 2014
Location: Diego
Posts: 8
Likes: 0
Received 0 Likes
on
0 Posts

Thread
Thread Starter
Forum
Replies
Last Post
JaxStreetBob
Dyna Glide Models
11
02-24-2007 10:39 PM