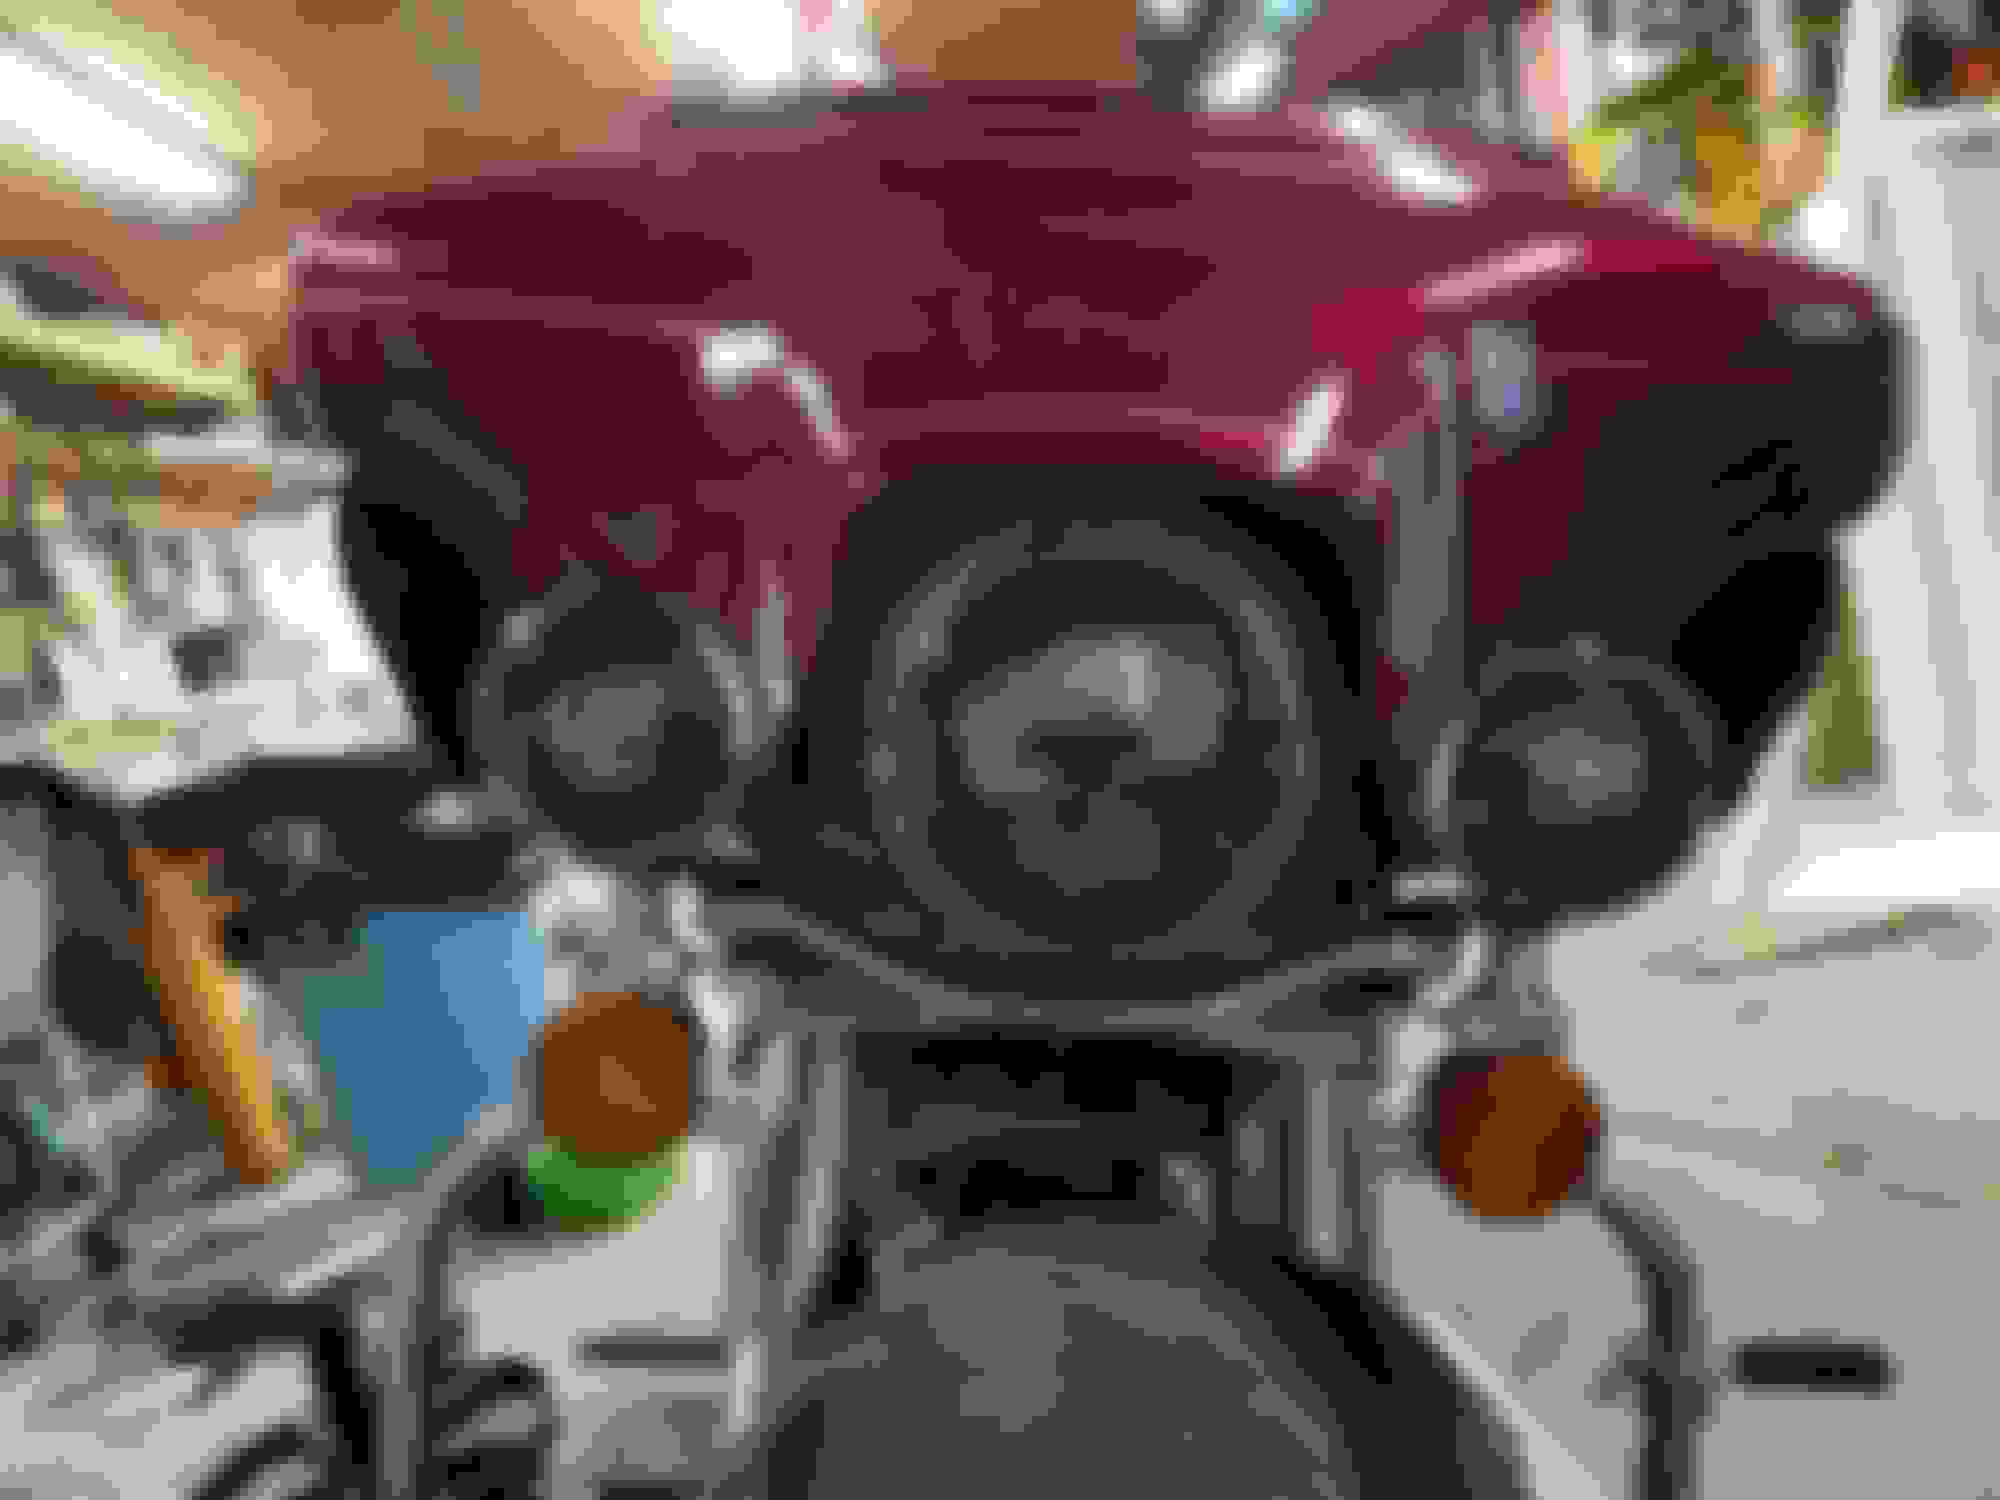
Well got them in finally. Sorry I forgot to post before hitting the hey. Had to cut the bucket to get it to fit. There was conflicting reports about needing the new mount or not on certain models, so I didn't order one and after some more reading glad I didn't. Seem that some of the mounts don't fit real well so I took a dremel and trimmed my OEM bucket out. Wish I would have taken pictures of that. Any way left about and inch from the front of the bucket all the way around and removed the rest. Took maybe 10 mins with dremel and a couple of reinforced cutoff disc. Love to look so far. It was cloudy here and getting late so didn't get to see it in good sunlight yet. As for the lights, just from the projection on the garage door I can tell it is much brighter that OEM. Going to wire the AUX Lights to stay on with high beam and hopefully I can get it adjust and a test ride sometime this week.
In the process now...after reading a lot of reviews I went with Sunpie smoked Headlight and Aux lights. Got them from Amazon $107. Got some smoked lenses and LED panels for front and rear turn off ebay $44 for all 4. Tail light from JP Cycle S40 and still researching but probably be going with the Kuryakyn Smart-Wire Rear Run-Turn-Brake Controller $81. Also plan on doing the tour pack and fender lights in LED as well just haven't looked into them that much yet.
If you value your sanity DO NOT I repeat DO NOT use the Kuryakyn Smart-Wire Rear Run-Turn-Brake Controller!!!!!!!!!!!
If you do then you will drive yourself crazy trying to find out what is wrong with your turn signals in about 3 months!!!!
Badlands makes one that I would use in a heartbeat but you couldn't pay me enough to use another Kurikan one!!!
Already ordered it. Found a 5490 that includes wiring to make tour pack run, turn, stop and load equalizer as well for 80 on amazon. Hopefully if will work out.
Already ordered it. Found a 5490 that includes wiring to make tour pack run, turn, stop and load equalizer as well for 80 on amazon. Hopefully if will work out.
I truly hope it does for you!!!!!!!!!!!!
Mine however had me chasing my tail for 4 days trying to figure out what was wrong with my turn signals.
In my defense I didn't buy it, it came already installed on the bike when I bought it.
If at any time in the future you have problems with the turn signals bypass the damn module first to see if that fixes your problem.
Best of luck to you!!!!!!!!
Thanks for the info THC at least I will know where to look if I start having problems. Rest of my led lights should be here soon....almost riding weather in almost heaven!...Jammer I will post when I get the rest on and let ya know how it went.
Thanks for the info THC at least I will know where to look if I start having problems. Rest of my led lights should be here soon....almost riding weather in almost heaven!...Jammer I will post when I get the rest on and let ya know how it went.
Awesome! Take a picture in the dark outside! So you have to take a dremel to the headlight ring mounting bracket? Thank you! Mine are on order...
Not the ring but the bucket that sets inside the ring....you will see what I am talking about when you pull your old light out. Back the adjusting screws all the way out and then remove the bucket from the spring. I took the bucket out and put it face down on my work bench and used wood screws in the adjusting slots to hold in firmly in place. Then took a dremel with a reinforced cutoff disc and cut all but about an inch of the buck off all the way around. Its pretty thin. you could probably to it with tun snips but the shape of it would make it difficult.

 02-27-2017, 06:30 PM