BayBones, thanks for all the detailed pictures and write up. This has been a very inspiring thread.
I'm kind of doing the same thing as you with a 1970 XLCH. I found it best to not have a paint can in my hand so I wont go that far. The PO powder coated the frame and tins so I'm hoping I wont have to paint anything after the CHP gets through with it.
Hey Gofish, thanks for the supportive comments. Can you post some pics of your project? Always interested in seeing what others are up to.
The Engine is OUT!!! WooHoo!! I know that is not a cool reaction but I am so pumped to pull my first engine from my first bike:-).
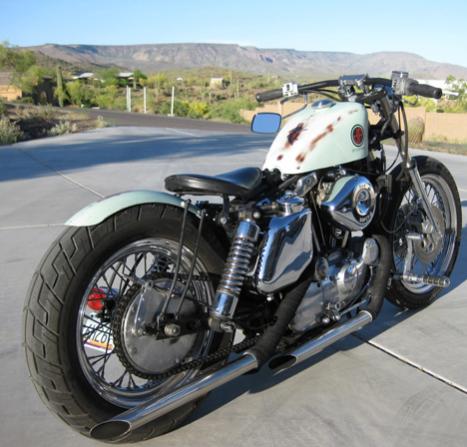
It might not seem like much, but it is a big milestone for me because now I can start with the paint and body work and really start to see the full project progress after several months on the back burner.
I was surprised at how complicated removing the full wiring harness was and then the several hidden engine mount bolts (those tricky friggers under the starter solenoid at the back of the engine). Anyway I was able to slip the engine out of the frame without removing the rear cylinder head.
Now I have to start degreasing everything There is a **** load of grease of course - I will post pics of that process - and then start preping the frame and tins for paint.
I think the oil drain plug may be a little stripped - it does not seem to fit very tight although the threads seem in good shape. Previous owner had some teflon tape on the plug to stop it from leaking.
I have a cool red and white Von Dutch style pin stripe graphic on order from Winners Cycle Graphics and will post pics of that when it arrives.
This is the full wiring harness that I removed from the 77 Ironhead. It is al tagged with masking tape to remind me what each wire is for.
The frame freshly separated from its engine - a big accomplishment for this rookie:-)
The heart of the iron head - the engine - ready for degreasing and polishing in the weeks ahead.
I need some advice on the best way to fill the old mounting holes in my rear fender. My solution to keep this a DIY build (and since I don't own a welder) was to cut a small peice of metal from the part of the fender I cut off, and use that as a baking plate. I would then use JB weld to fill the holes and stick the metal plate to the fender for support in the top of the fender. The JB weld is supposed to be sandable, drillable and paintable and I suspect will give me a good strong hold that will withstand the vibrations from this engine. Anyone have a different solution or have any experience with JB weld on a similar project/use?
Unlike others i have not had good experience with JB Weld, especially in vibration prone areas. It eventually cracks and falls apart. Might be best to use auto body filler. See what others mat say.
Congrats on getting the wire harness out like that!
Hey Gofish, thanks for the supportive comments. Can you post some pics of your project? Always interested in seeing what others are up to.
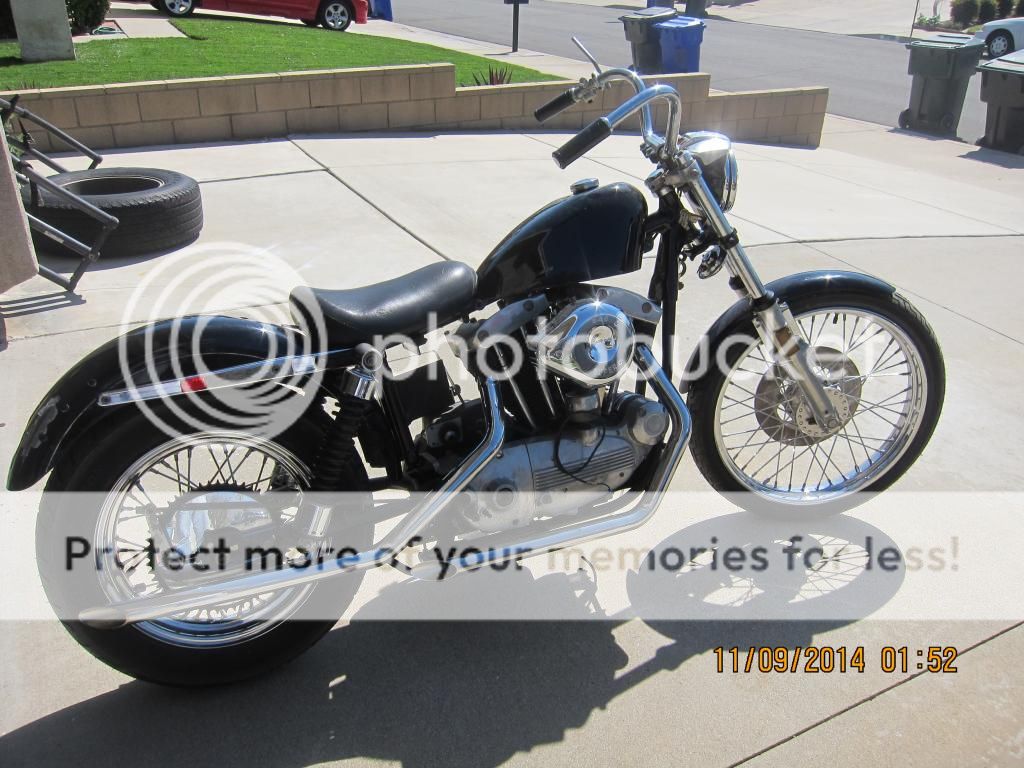
Yes indeed, I think it has a 74+ front end and I have most of the parts to make it an electric start (I'm old) but I'm still debating on what to do about the cam and sprocket cover. There's a full machine shop at work so I'm going to shave the forks for sure, I never thought about it until I read this thread.
BTW, thanks for posting this picture. This is kind of what I'm going for but I'm going to try to use the original bars. I really like the original internal throttle that came stock with these. I just need to buy the pull throttle insert, I have the push insert now.


 10-24-2014, 04:48 PM