Tq Cam Kit w/Bearing, Bolt Washer Set, Shim Kit and a Ventilator.
Looks like V&H, S&S and others are going to take there sweat *** time getting a AF out worth having. Much less Cams. Got a great deal on the parts. So all should be well until S&S and Harley get good crate motors out.
Installed my FuelMoto 2/1/2 pipe and flashed the ECU with a map from FuelMoto.
I already had installed the screamin eagle hi flow ac, and Cobra race pro mufflers. Big difference.
Hoping someone can tell me the secret to getting my posts to show in this thread. I have tried twice to post a reply with pictures & keep getting message that an Ad-Min has to review before my post will show. Once with simply uploading pix from my computer, once with a link to pix on Photobucket. Both attempted posts were made within the last week and neither has shown up yet. No big deal really however I really wanted to show y'all my project I did on my 2017 FLHTKL.
Rode it to work. And to the dealership, back to work, and back home.
Then I installed my garage door opener with my brand new odometer reset button and boot.
The parts
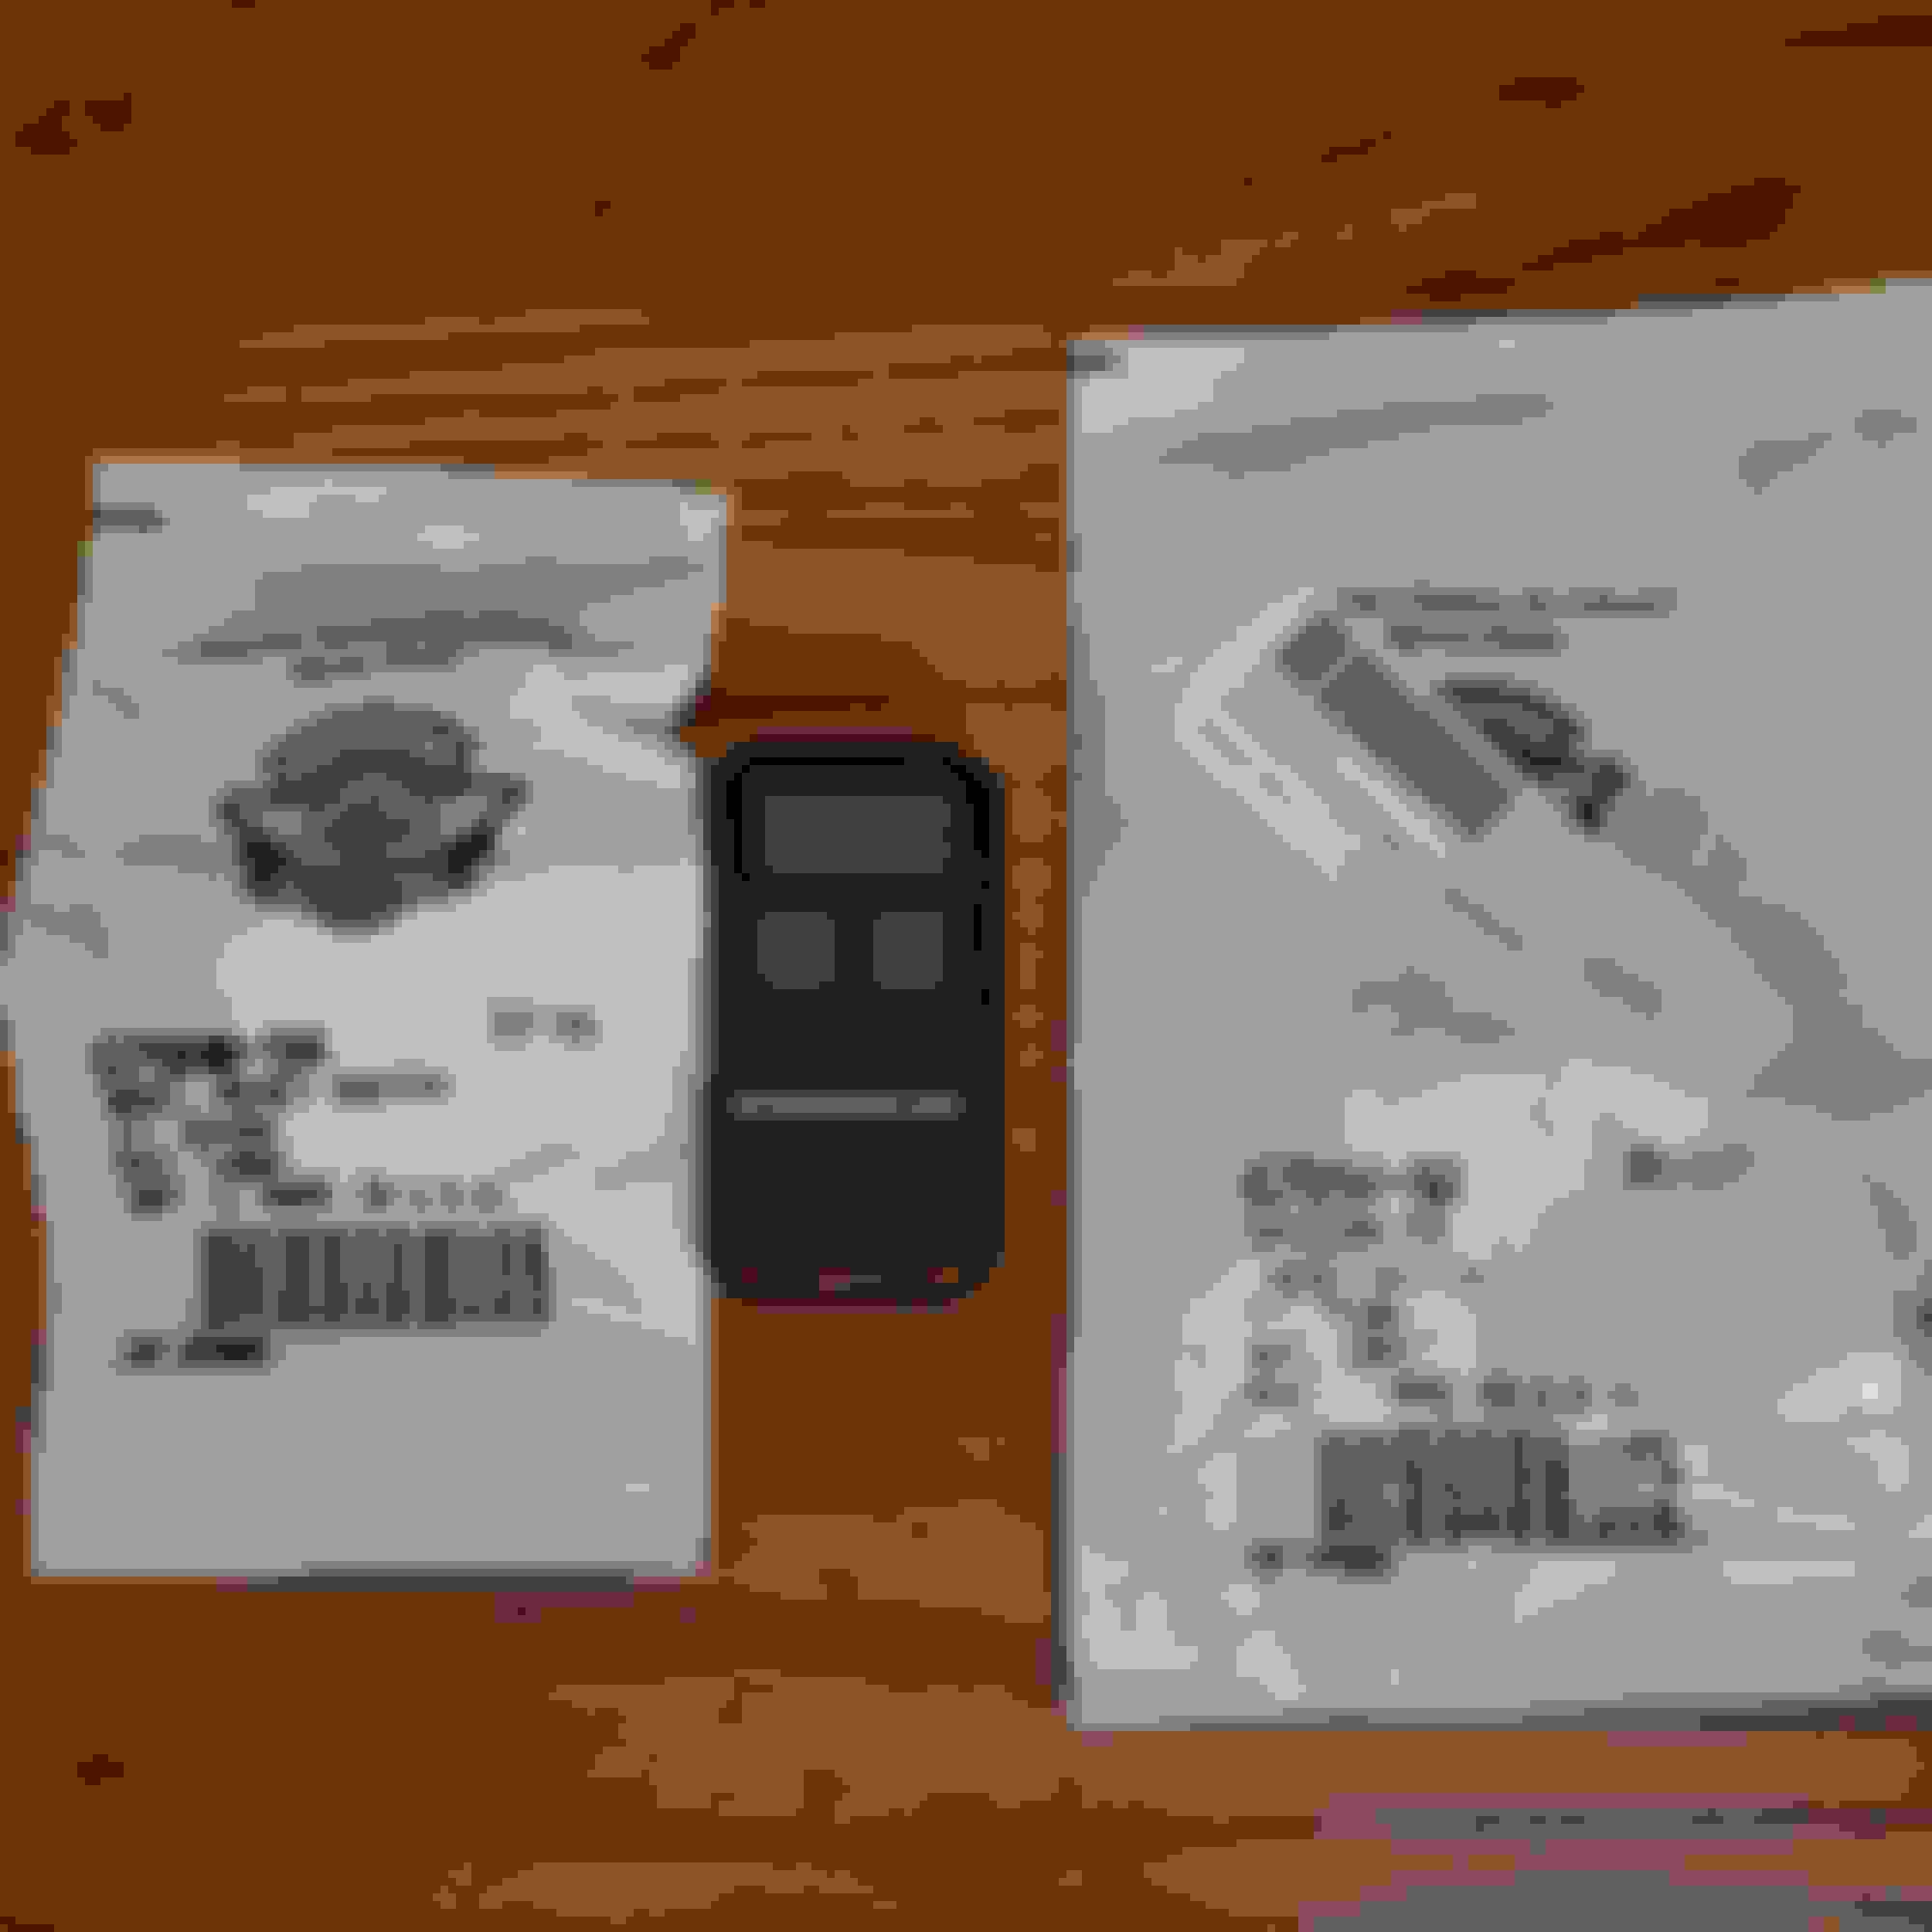
The mini door opener remote and part numbers <br/>67880-94 reset switch boot<br/>67854-98 speedometer reset switch
This is what the parts look like.<br/>
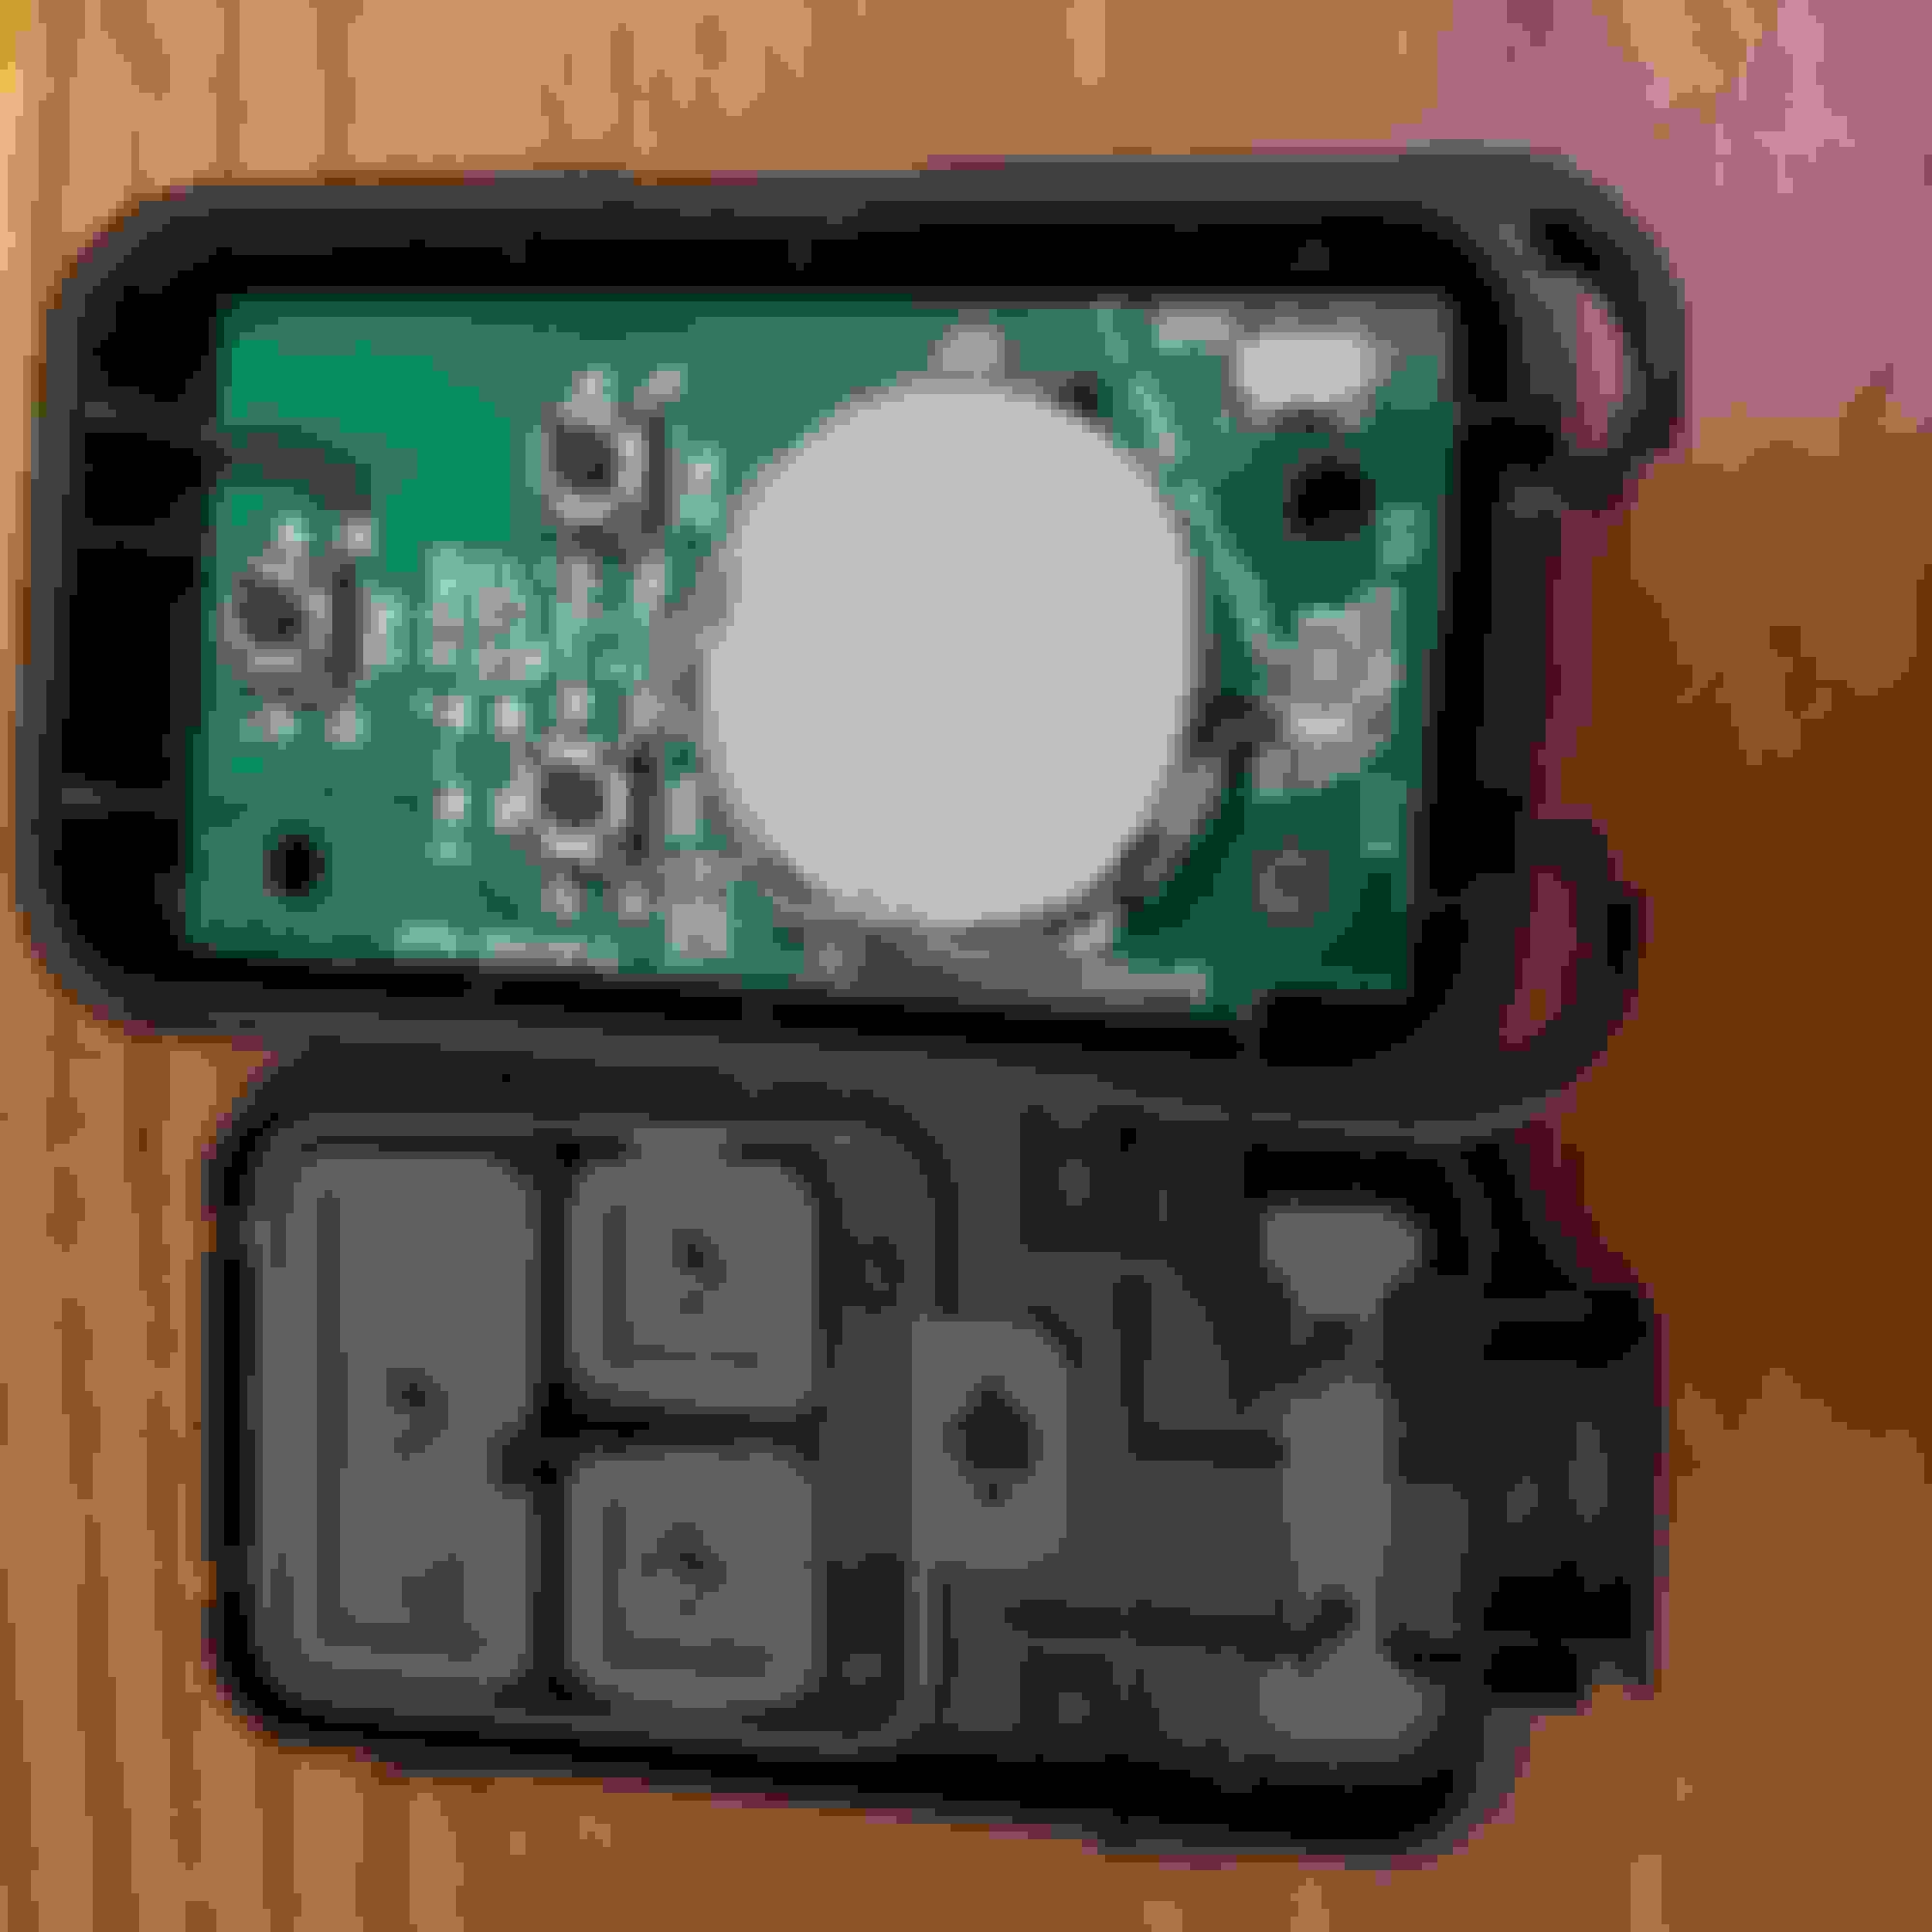
Pop open the garage door opener remote
Solder on the leads from the reset switch. I mixed up some epoxy to hold the leads in place, just for some strain relief for the solder joints.
Notch the remote case so the leads don't get pinched
The plastic plug the MoCo put in the hole popped right out, and the switch slipped right in - no dirlling required. The boot screws onto the switch and holds the whole thing in place.
Looking upo at the cover from the bottom, you can see the switch and the remote being held in place with heavy-duty velcro. I'm not thrilled with the wire bouncing around free, but we'll see what it looks like once I hit the potholes on 295.
I lowered the rear using http://www.tamarackmw.com/kit . I was really impressed with the quality of the kit and ease of installation. Put the rear down 1" which is exactly what I needed to be able to sit flat footed when stopped.
Got this lot in over the last two days for the RK. Had to get a new front fender skirt. Something dog eared the oem one. The rest is to improve comms and function during a ride.
Rode it to work. And to the dealership, back to work, and back home.
Then I installed my garage door opener with my brand new odometer reset button and boot.
The parts
The mini door opener remote and part numbers <br/>67880-94 reset switch boot<br/>67854-98 speedometer reset switch
This is what the parts look like.<br/>
Pop open the garage door opener remote
Solder on the leads from the reset switch. I mixed up some epoxy to hold the leads in place, just for some strain relief for the solder joints.
Notch the remote case so the leads don't get pinched
The plastic plug the MoCo put in the hole popped right out, and the switch slipped right in - no dirlling required. The boot screws onto the switch and holds the whole thing in place.
Looking upo at the cover from the bottom, you can see the switch and the remote being held in place with heavy-duty velcro. I'm not thrilled with the wire bouncing around free, but we'll see what it looks like once I hit the potholes on 295.
A couple questions...... (if you don't mind)......
Why did you go this route vs getting the HD version (cost)?
Did you seal up the opener?
Or are you worried about corrosion?
I live in the North West (North Wet) and everything gets wet sooner or latter.
I like your idea, just wondering about water damage.


 02-24-2017, 07:06 PM