Cleaning up a 78 FLH Electra Glide
#1
 05-05-2014, 08:14 PM


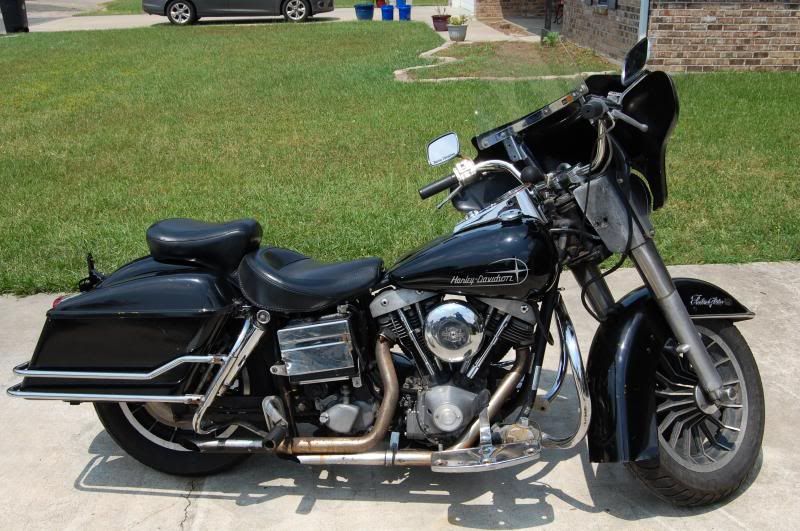
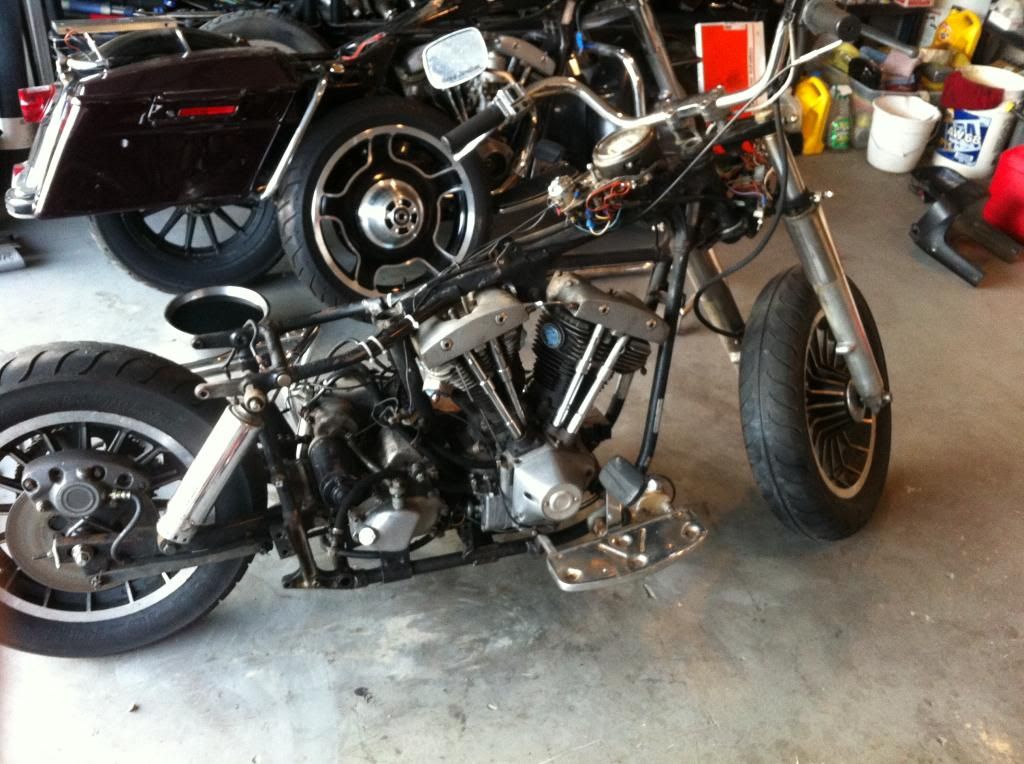
So I've been building my 81 FLT and scored a great deal on a 78 FLH. complete with bags and fairing, tour pak, numbers matching and it drives. i don't consider it safe, or would it be reliable. but hey, the previous owner felt it was good enough for him.
the plan is to keep it simple. make it safe, reliable, upgrade a few things and get it back on the road ASAP. i'd like to enjoy riding it through the next year or so while i continue building the FLT (road king). this will allow me to take my time and not take any short cuts, or settle for things i would later want to change.
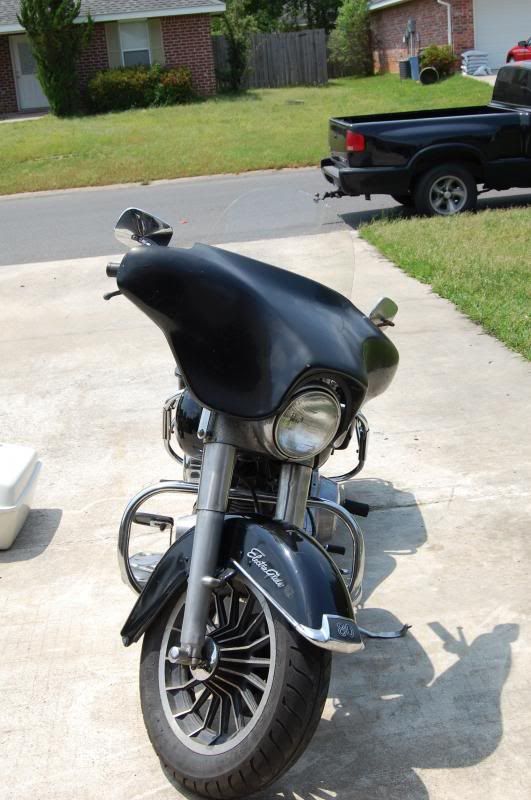
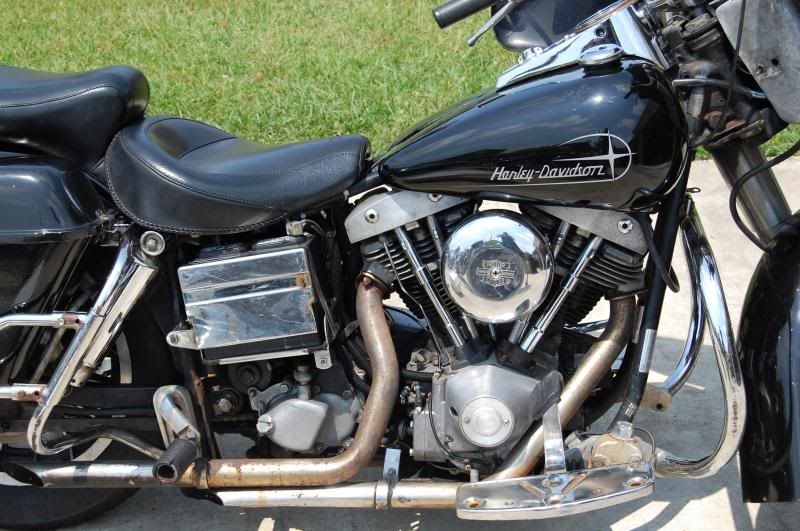
The bike has been rode and put away wet for many years. had minimal if any maintenance performed, and was parked outside here in Louisiana. the front head gaskets leaks profusely, made the entire bike saturated in oil. the left shock bolt (swing arm) had backed out and bent the shock. thus making the bike ride with one shock and wore out the swing arm bearings. bags have a couple holes in the bottom, and a chip in the fairing. so new skill to learn in fiberglass repair.
bare minimum at this point:
inspect axle to axle
head gasket, and affiliated surfaces
wrap exhaust pipes
polish most of the aluminum
fix dragging rear brake (banana caliper)
ultima ignition
street glide 18" front wheel
matching brembo brake caliper
change carbs
buff paint
go through wiring
and fix what ever else i find that is messed up
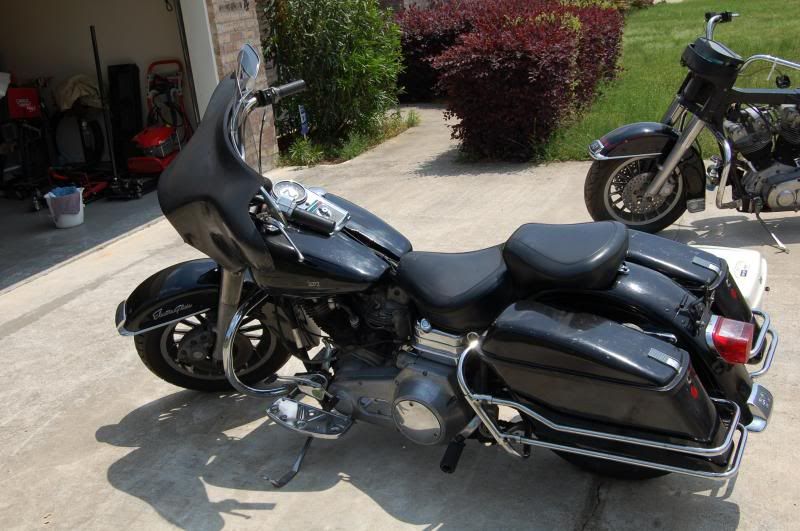
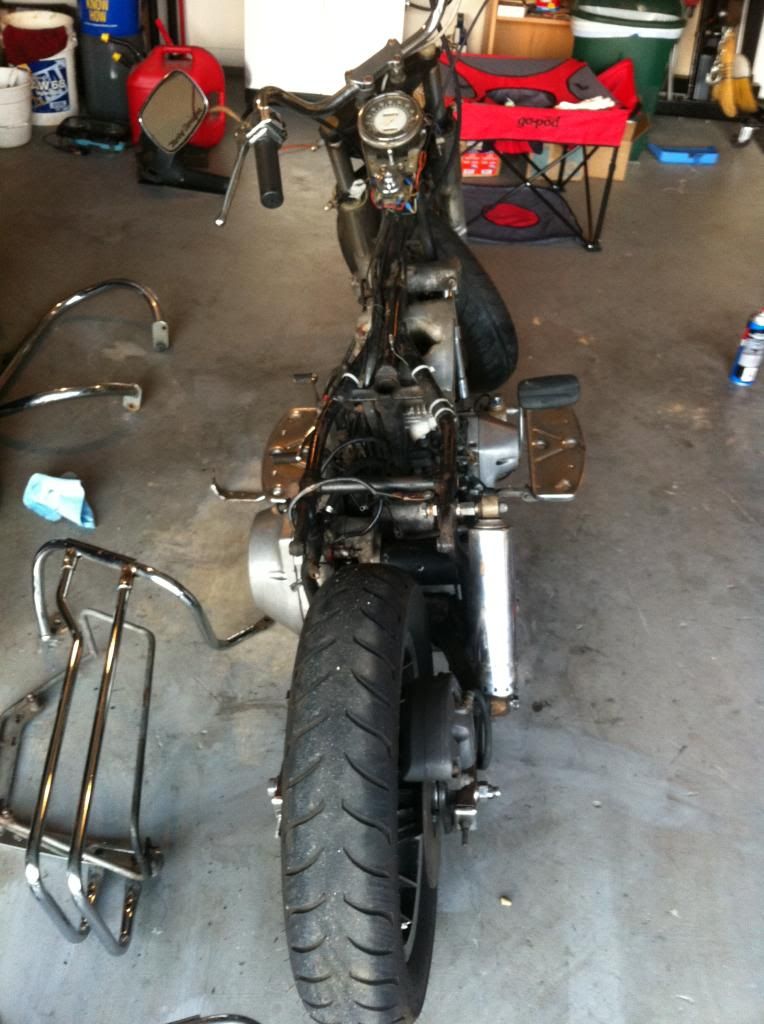
that pretty much covers it. here's some pics of it after i did the initial cleaning and started tear down today. no big surprises so far, hopefully things continue smoothly.
thanks
mike
came with a tour pak
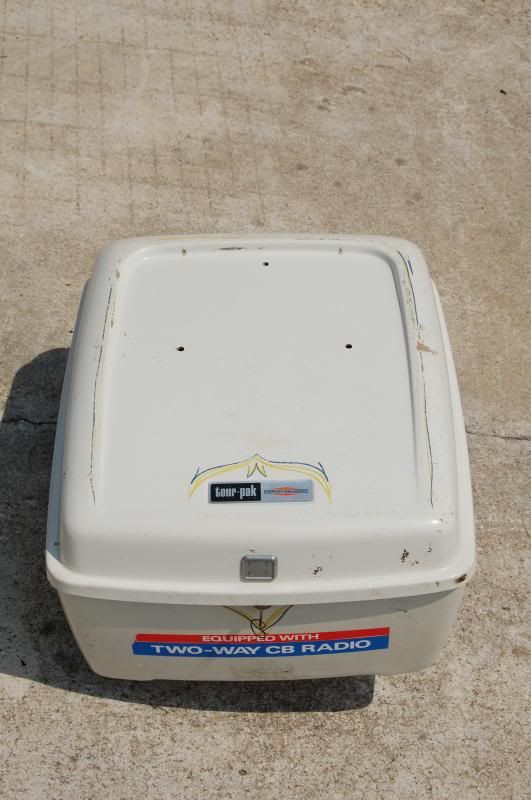
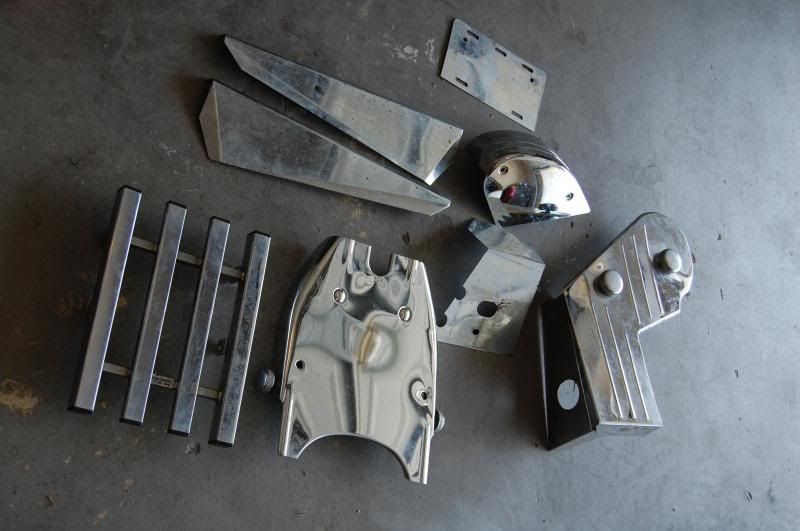
tour pak was filled with some chrome bits
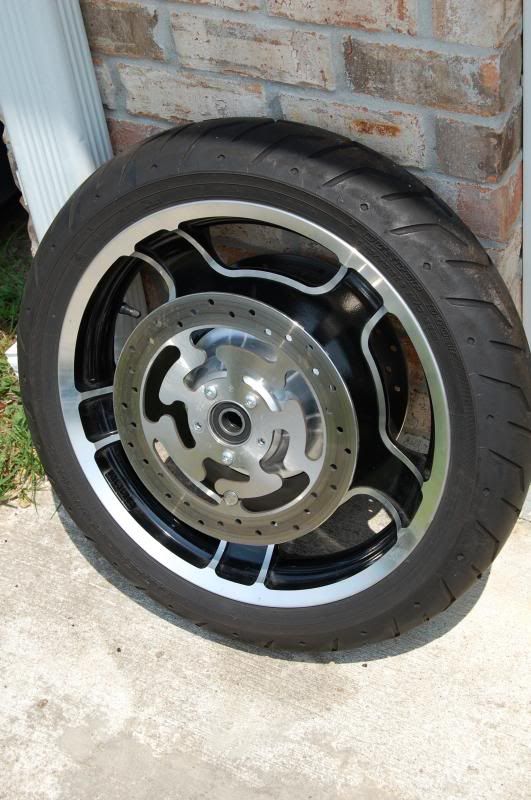
new wheel off a 2011 road glide
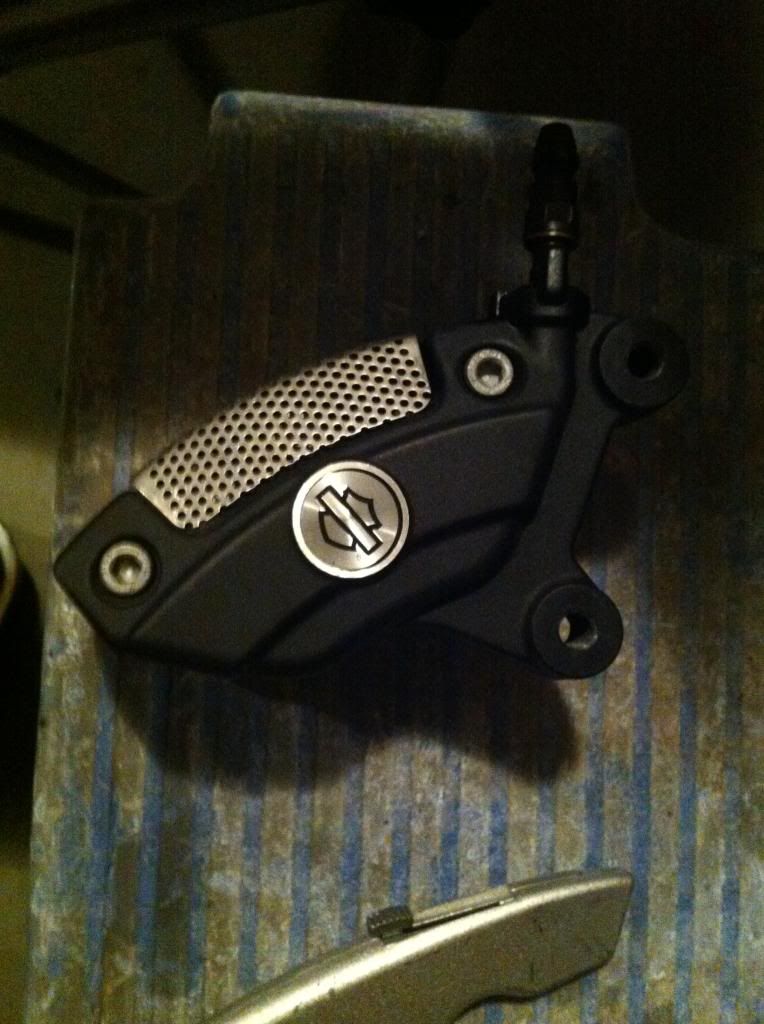
matching brembo brake for it
and here's where i ended today with initial tear down
the plan is to keep it simple. make it safe, reliable, upgrade a few things and get it back on the road ASAP. i'd like to enjoy riding it through the next year or so while i continue building the FLT (road king). this will allow me to take my time and not take any short cuts, or settle for things i would later want to change.
The bike has been rode and put away wet for many years. had minimal if any maintenance performed, and was parked outside here in Louisiana. the front head gaskets leaks profusely, made the entire bike saturated in oil. the left shock bolt (swing arm) had backed out and bent the shock. thus making the bike ride with one shock and wore out the swing arm bearings. bags have a couple holes in the bottom, and a chip in the fairing. so new skill to learn in fiberglass repair.
bare minimum at this point:
inspect axle to axle
head gasket, and affiliated surfaces
wrap exhaust pipes
polish most of the aluminum
fix dragging rear brake (banana caliper)
ultima ignition
street glide 18" front wheel
matching brembo brake caliper
change carbs
buff paint
go through wiring
and fix what ever else i find that is messed up
that pretty much covers it. here's some pics of it after i did the initial cleaning and started tear down today. no big surprises so far, hopefully things continue smoothly.
thanks
mike


came with a tour pak

tour pak was filled with some chrome bits

new wheel off a 2011 road glide

matching brembo brake for it

and here's where i ended today with initial tear down


#2
05-05-2014, 08:48 PM
Seasoned HDF Member
looks like a fun project -
just a word of caution - the 79 is an old school shovel its - LOW - HEAVY - and slow - the fork angle may not turn out to be all the new bike parts you have // in ride and steering - you can mod the cable drive speedo to work with the new wheel but its a thing to do -
newer forks only work well with the anti dive ( you would have to add all of it ) if you dont have the big bucks cartridge add ons --
the length is also different
having said that money is your friend and if you have a bucket load THAN forget what i said -- jz
#3
05-05-2014, 09:04 PM
#4
05-05-2014, 09:30 PM
Seasoned HDF Member
#6
05-06-2014, 03:15 PM

Seasoned HDF Member
Join Date: Oct 2010
Location: Along the shoreline in SE CT, and SW FL
Posts: 11,174
Received 4,140 Likes
on
1,505 Posts
#7
05-06-2014, 06:02 PM
Trending Topics
#8
05-08-2014, 06:31 PM
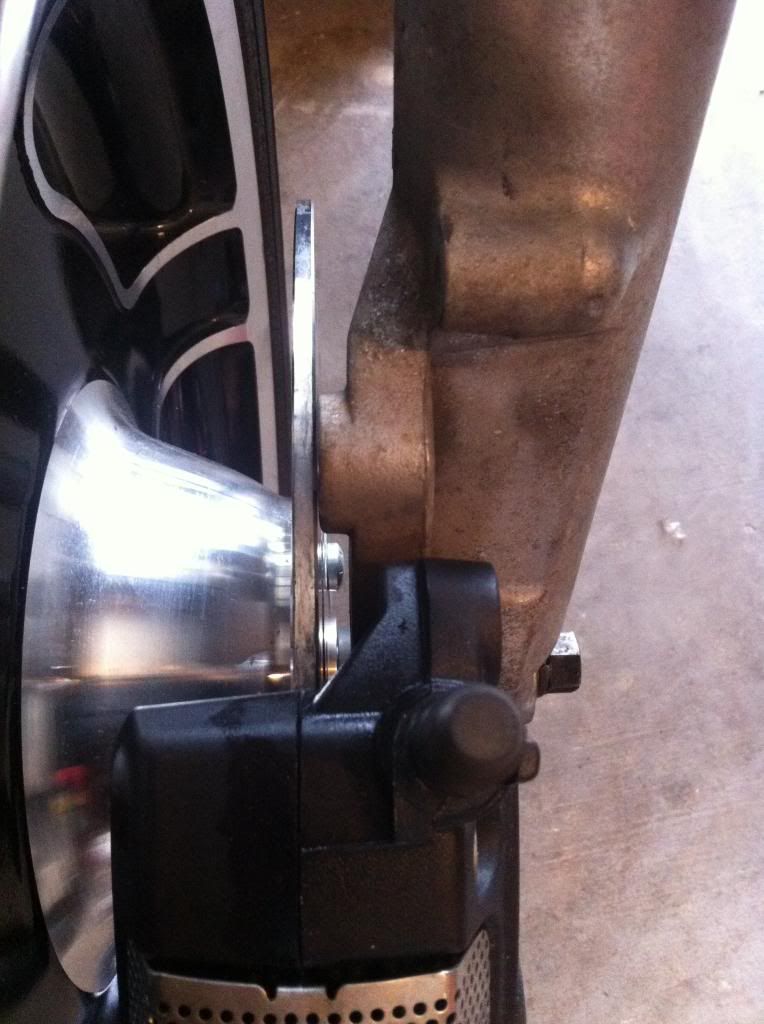
Mocked the wheel up today. The Vulcan adapters are extremely tight to the axle. Even after cleaning the axle up with some sand paper. It's able to wiggle through with light taps now though.
The rotor hits the old caliper mount and prevents it from being completely centered. About 7/8" off vs 1/4" with stock setup. But the old mounting tab also has that extra meat at the top. May shave like .15" off the whole inside part to make it smooth and clearance for the rotor.
So now I need to find some kind of stud/bolt to put on the wheel side of the fork and sticks out and bolts to the adapter plate I will make. Then I'll space the plate out a bit and it will go to the outside of the caliper. The inside of both holes are threaded, so that makes it east to have the new mounting plate just go on the outside with 2 bolts. Looking at using 1/4" flat stock for this.
Anyone need to correct or improve that idea? Pics will explain what I'm talking about
Thanks
Mike

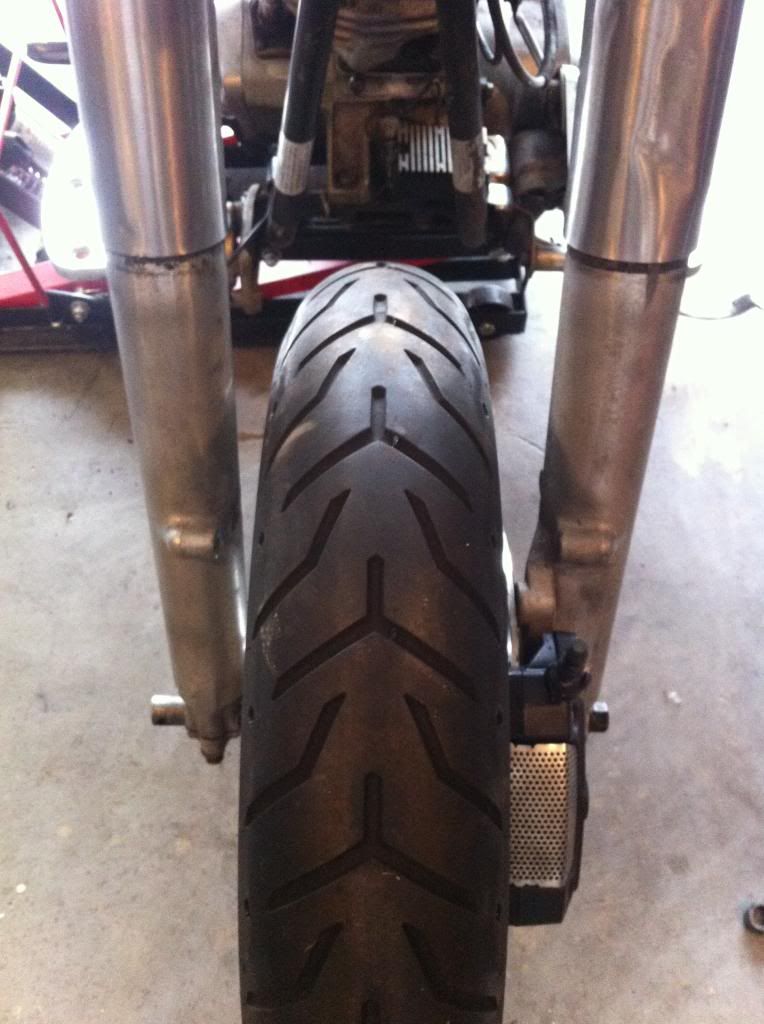

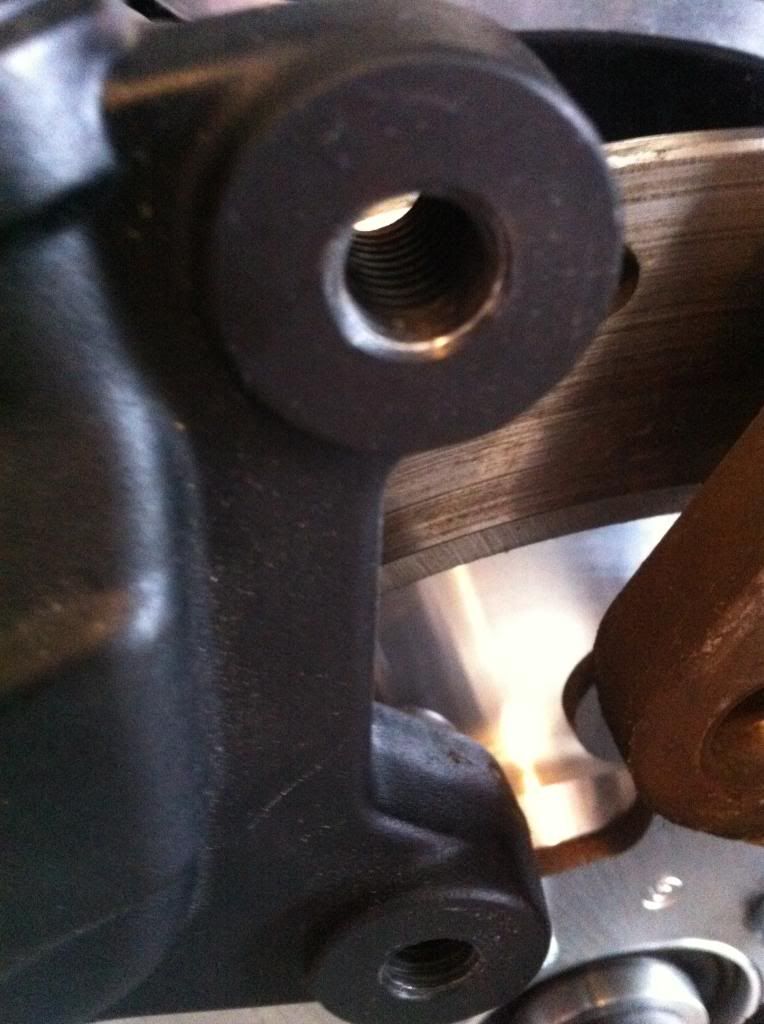
Here's a straight edge laid on the inside of the old caliper mounting tab. Just to show the current offset and how much space will be gained when I shave that top part down even, or possibly the whole throng just a little more.
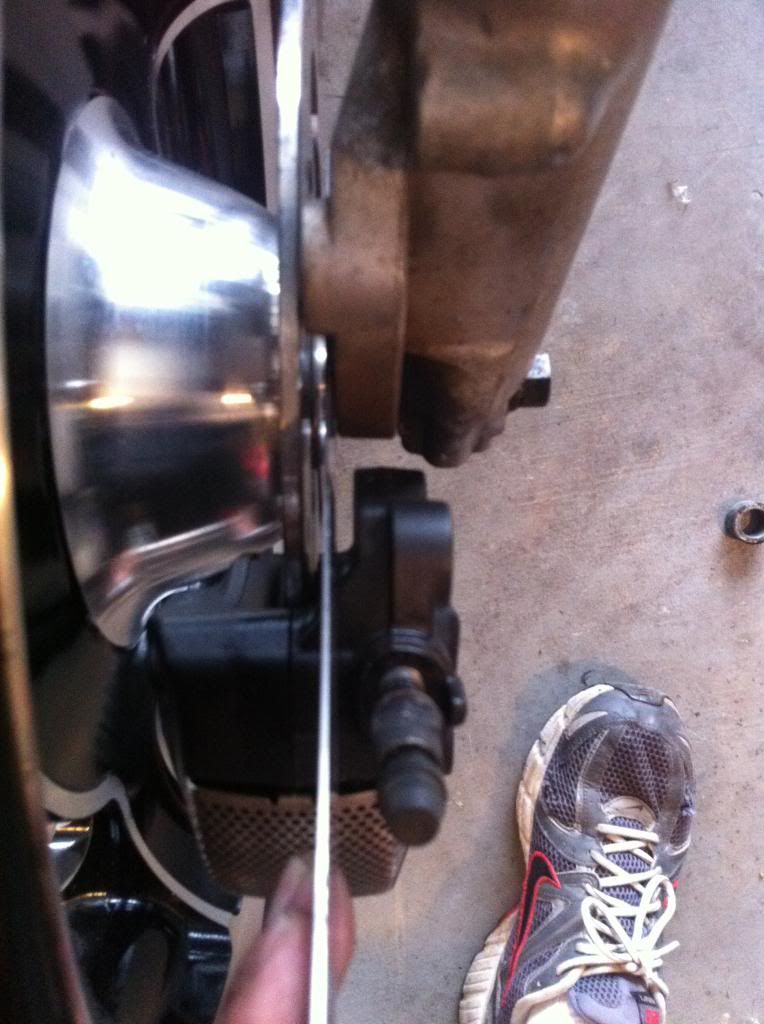
Both holes threaded on inside, so that helps
The rotor hits the old caliper mount and prevents it from being completely centered. About 7/8" off vs 1/4" with stock setup. But the old mounting tab also has that extra meat at the top. May shave like .15" off the whole inside part to make it smooth and clearance for the rotor.
So now I need to find some kind of stud/bolt to put on the wheel side of the fork and sticks out and bolts to the adapter plate I will make. Then I'll space the plate out a bit and it will go to the outside of the caliper. The inside of both holes are threaded, so that makes it east to have the new mounting plate just go on the outside with 2 bolts. Looking at using 1/4" flat stock for this.
Anyone need to correct or improve that idea? Pics will explain what I'm talking about
Thanks
Mike
Here's a straight edge laid on the inside of the old caliper mounting tab. Just to show the current offset and how much space will be gained when I shave that top part down even, or possibly the whole throng just a little more.
Both holes threaded on inside, so that helps
#9
05-24-2014, 07:25 PM
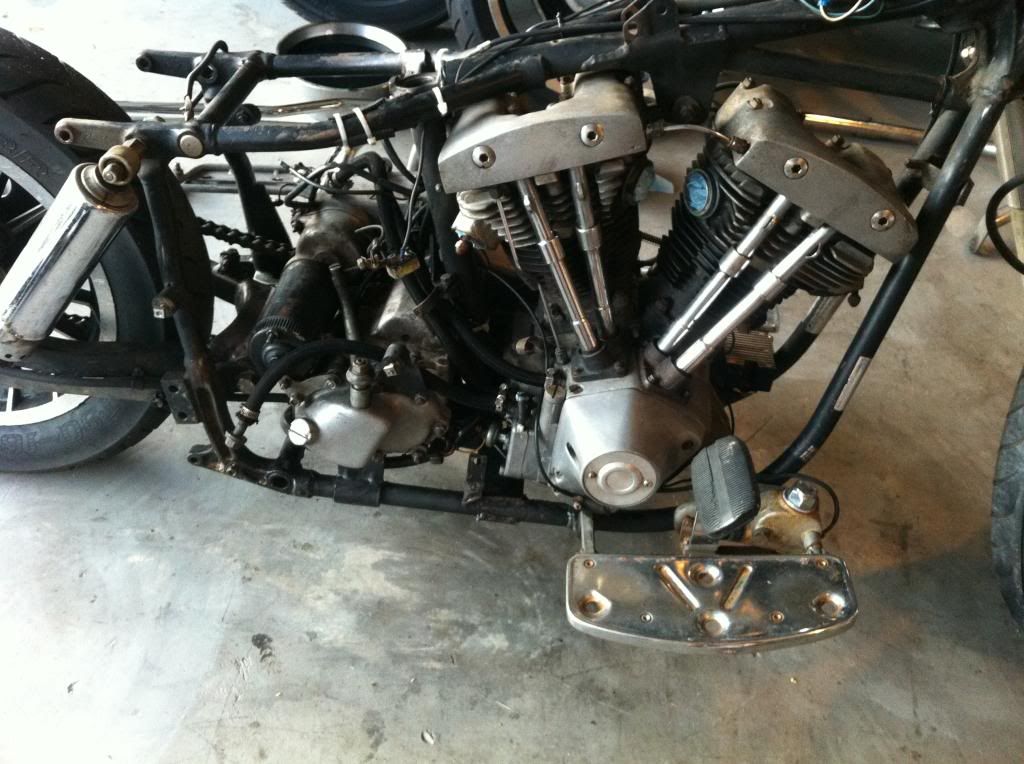
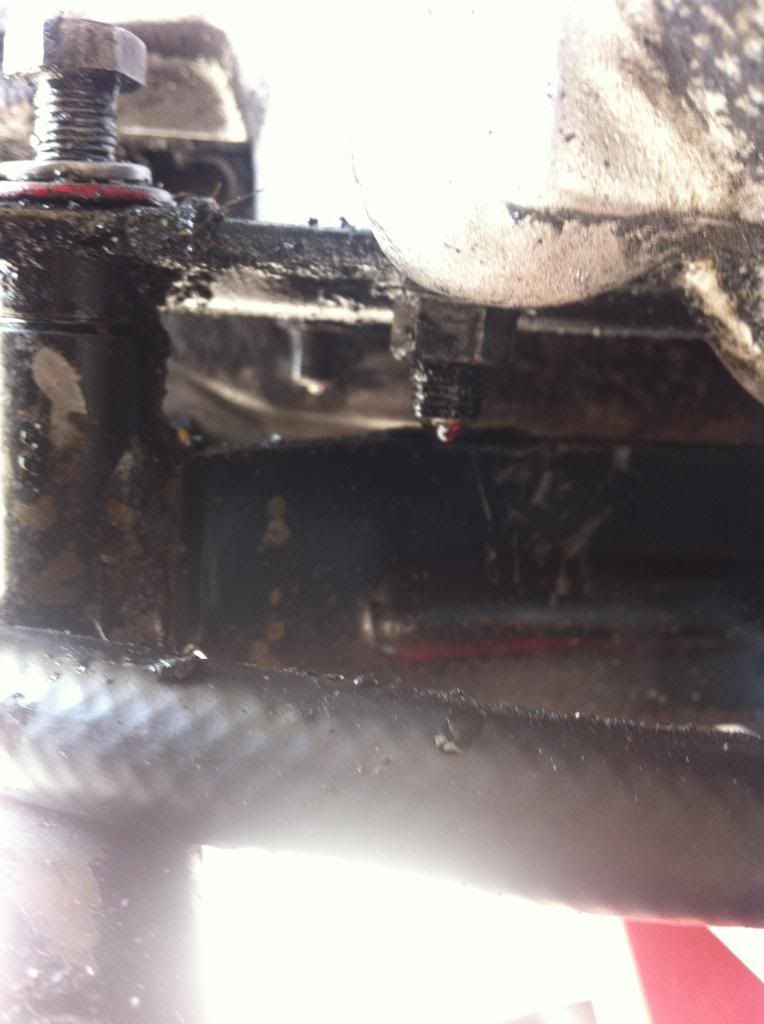
got a little more done today. nothing much but taking parts off. but i have committed to the idea that i'll have to pull the primary and replace the main seal on the trans. lots of leakage going on there. i'm so close, may as well pull everything out for a good clean up and seal it up right.
mike

dripping off everything
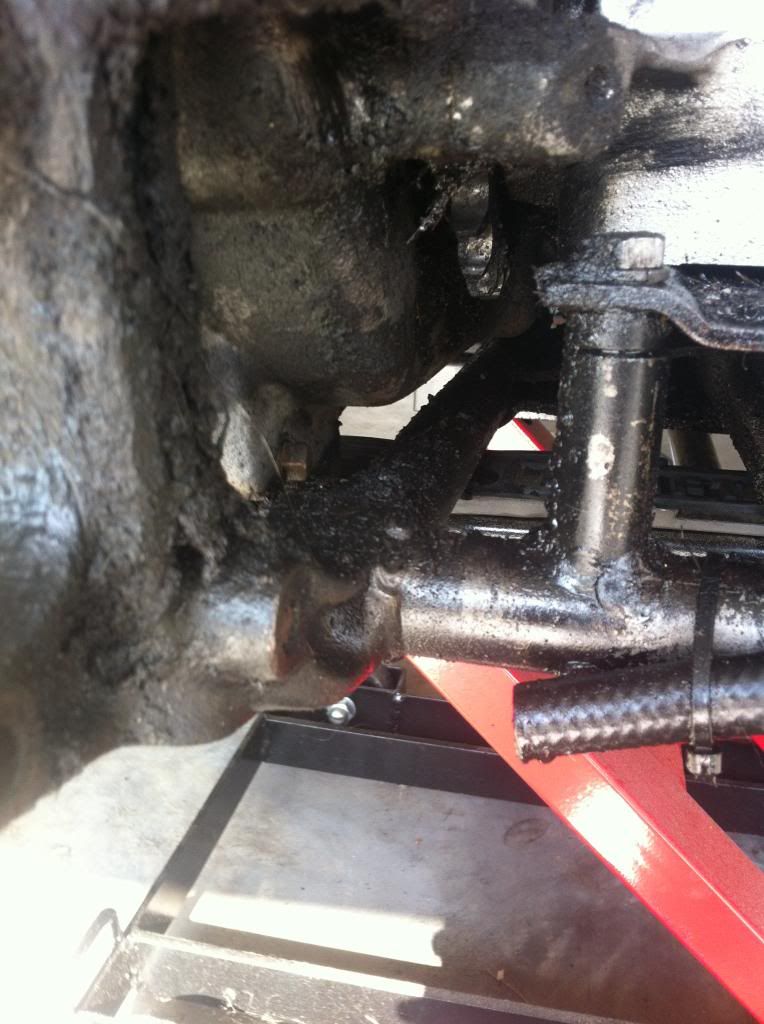
and the wiring harness is pretty nasty. i really dislike wiring, so kind of at a crossroads on how i want to approach it.
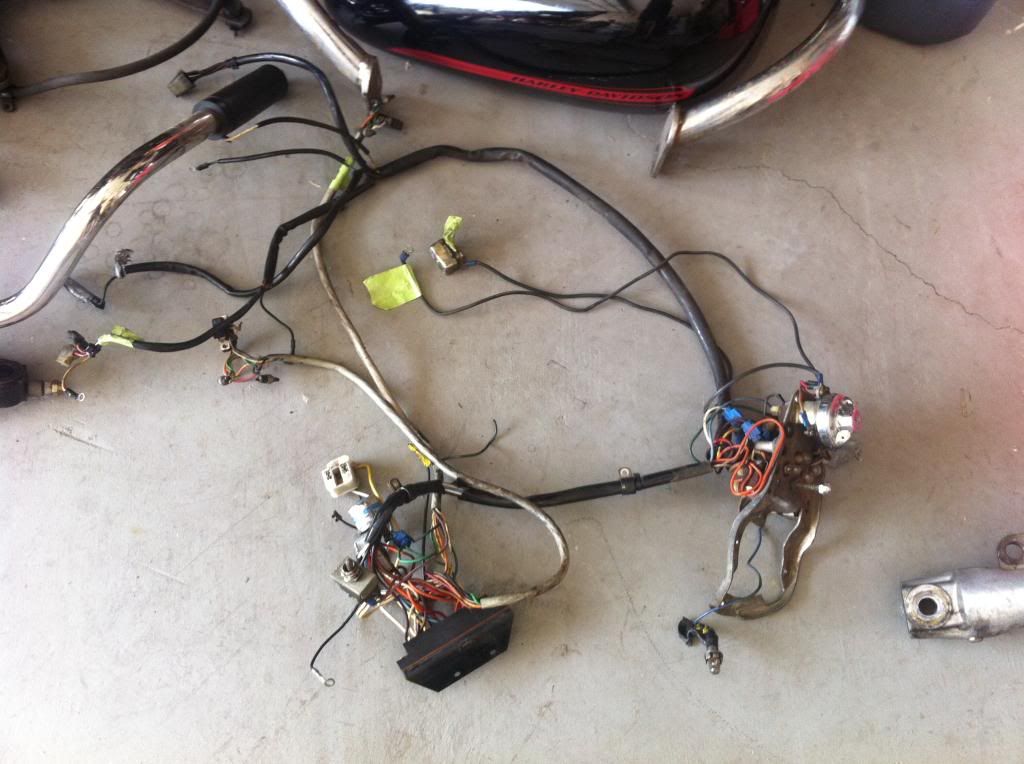
mike

dripping off everything


and the wiring harness is pretty nasty. i really dislike wiring, so kind of at a crossroads on how i want to approach it.

