12 Inch Mini Fat Apes- So it begins!
#1
 10-14-2014, 11:46 PM

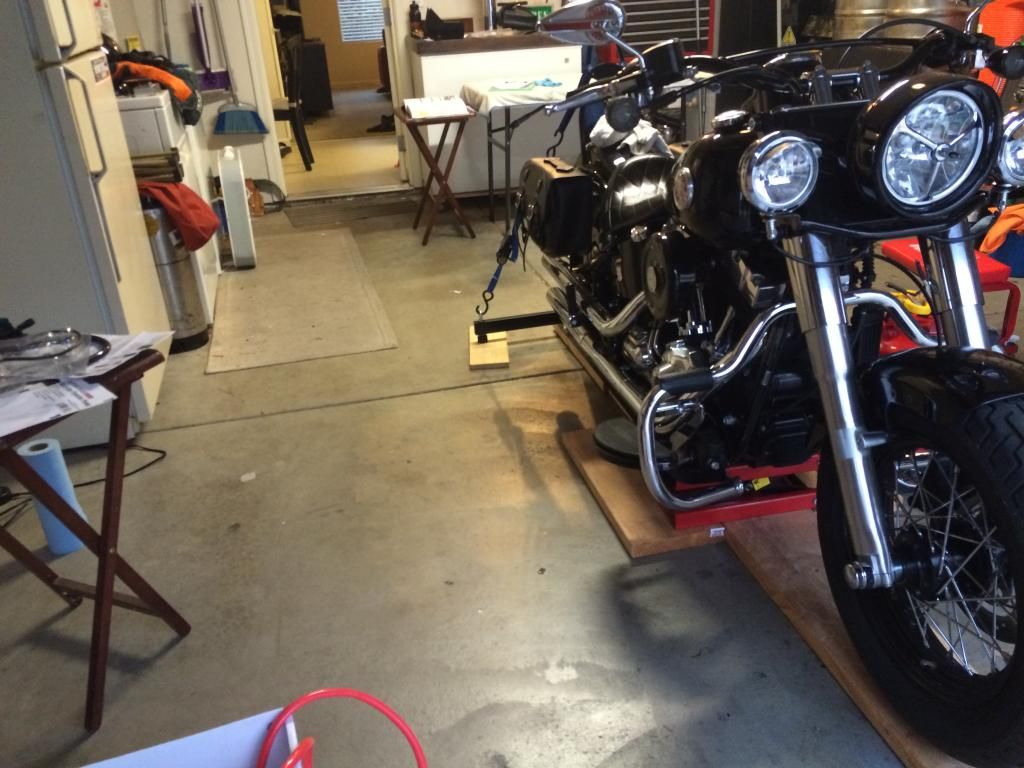
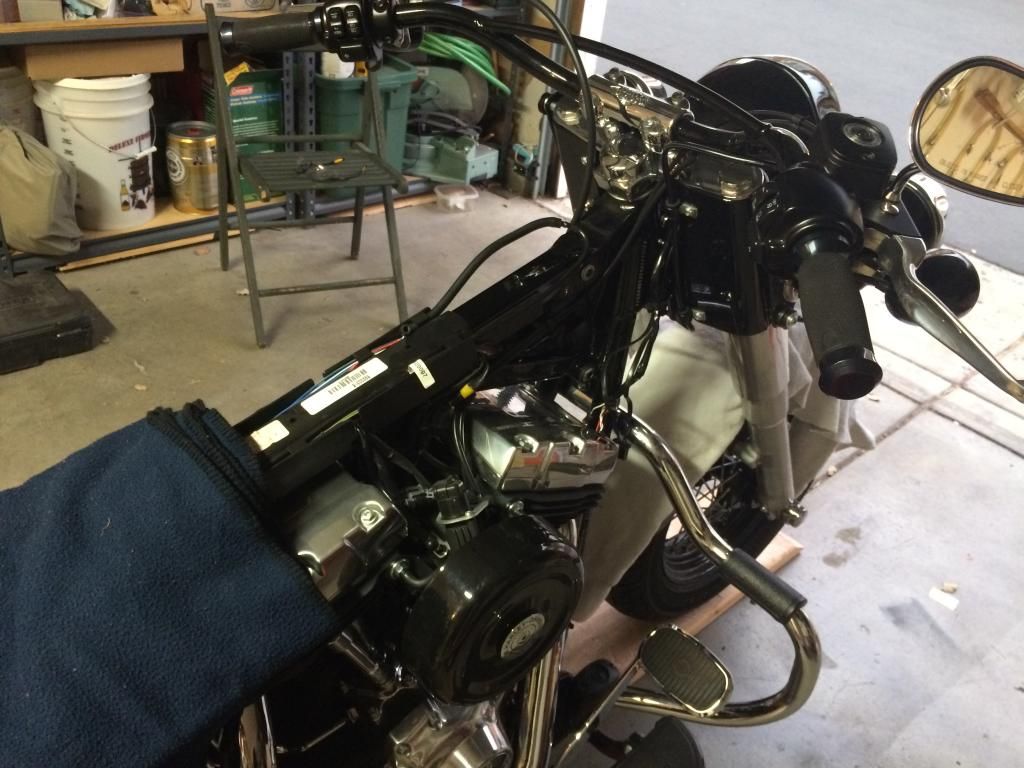
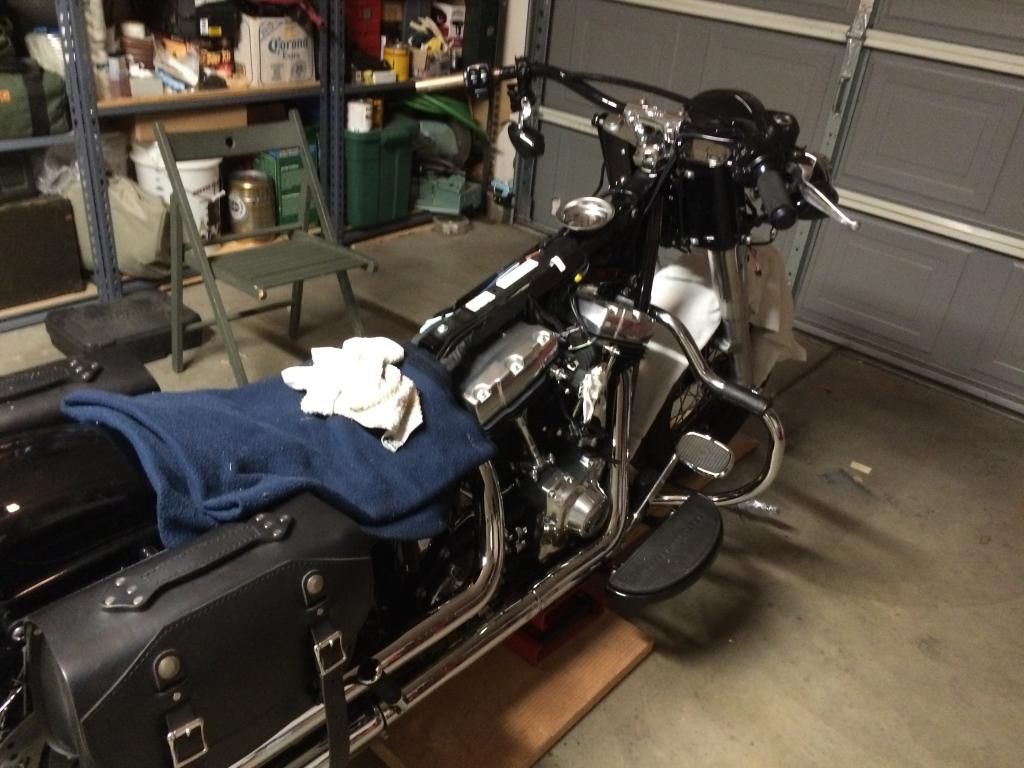
Well, as my buddy is heading back to work soon, I decided to get Blanche up on my bike rack as so I could begin work on swapping my bars. I have been taking pictures, but will get them posted up probably tomorrow morning. Put in about 2 hours of work...taking my time as this is a first for me. Here is the list of what got done tonight:
Drained the fuel tank; purged the fuel line (per service manual); removed center console.
Cut crossover line, drained the rest of the tank, removed tank (little to no gas spilled)
Removed the V&H air cleaner
Disconnected the controls wiring harness, pulled harness thought triple tree
Unadjusted the clutch cable at the adjuster, removed handle, control, left grip
Removed mirrors
I took time to look at everything, labeled and bagged parts as well. As I am approaching in steps, I am keeping things pretty neat and tidy.
Tomorrow night I am going to be unadjusting the clutch, removing the transmission cover and the clutch cable. Also will be documenting the cable routings, brake line routing, and the pinout for the wiring harnesses. Once that is done, going to de-pin the left side connector and remove the controls/signal and the harness from the stock bar
Thursday night will be the brake line and the idle/throttle cables and remounting the clutch cable at the transmission.
Bars get here Friday, so I am in a holding pattern until they get here. With any luck I will have everything together and ready to test ride by Saturday afternoon. I must say I am having a great time on this...nervous but everything should go well, just taking my time...that seems to be key.
Pics forthcoming.
#2
10-15-2014, 07:41 AM

#3
10-16-2014, 09:02 AM
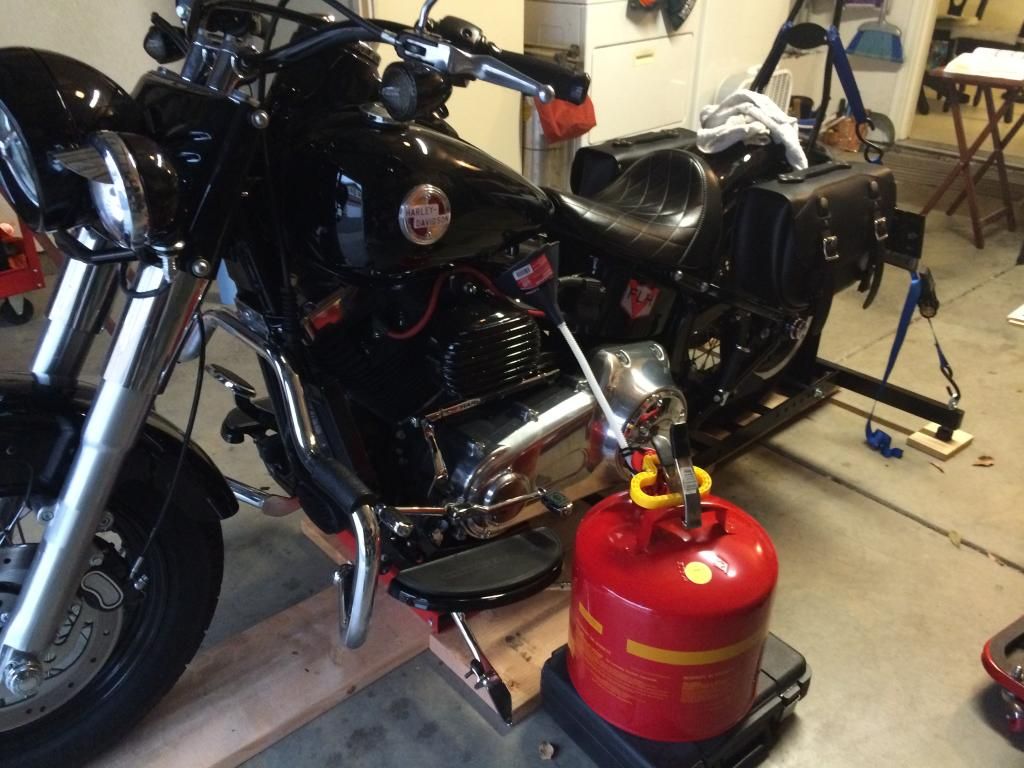
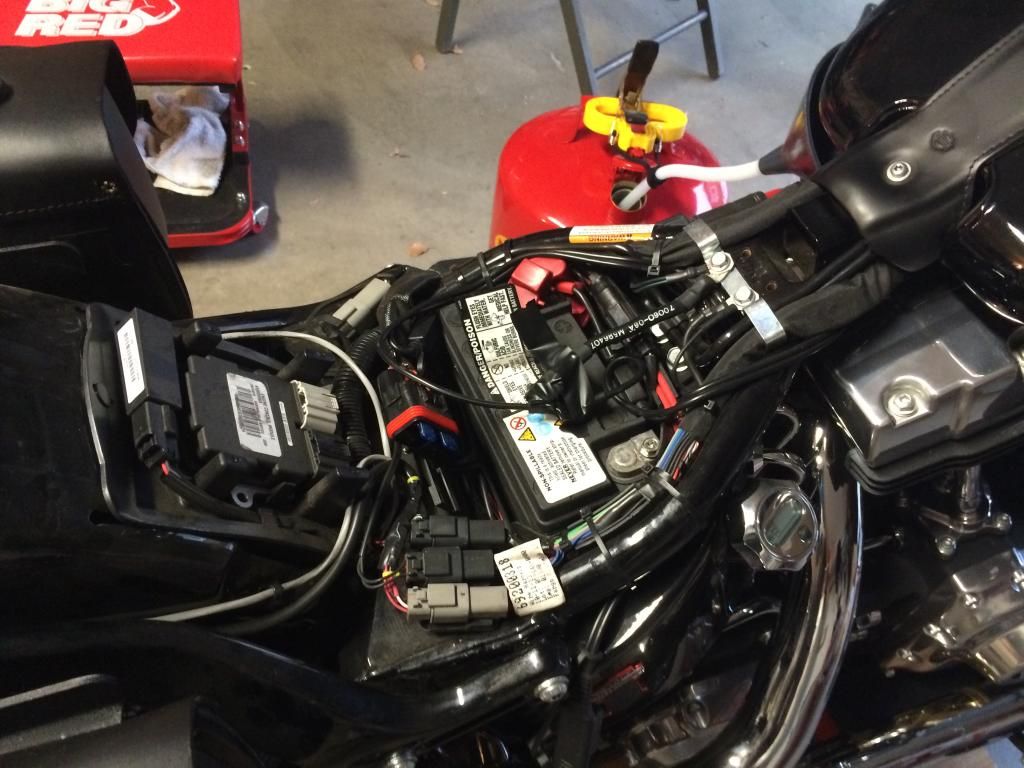
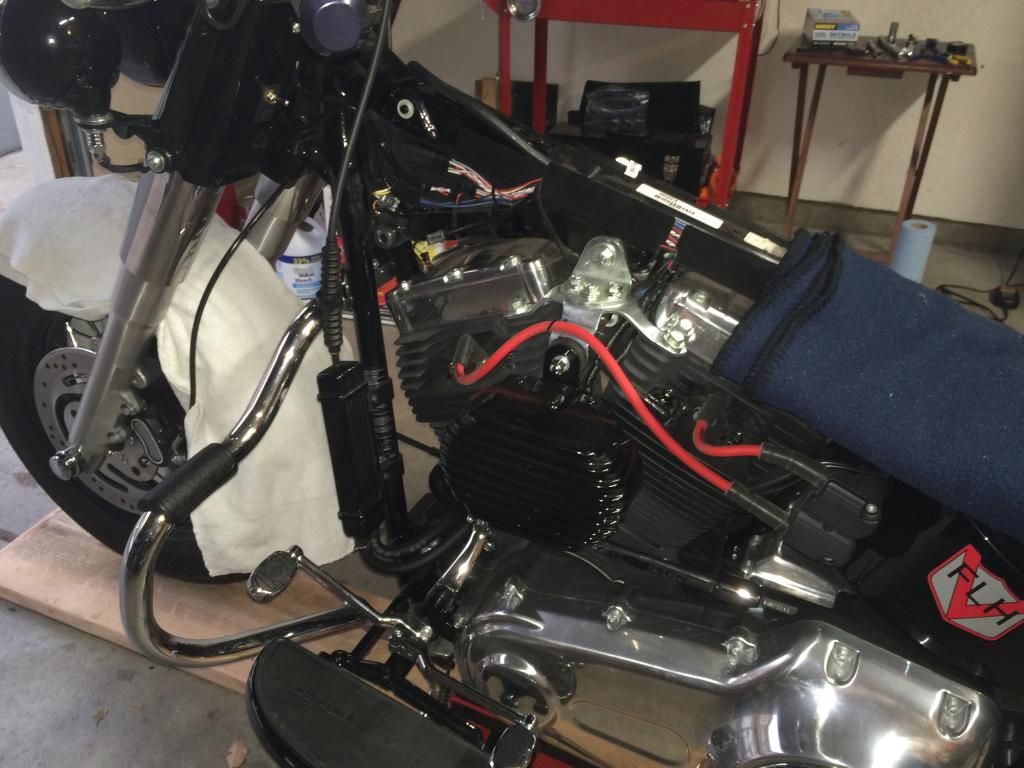
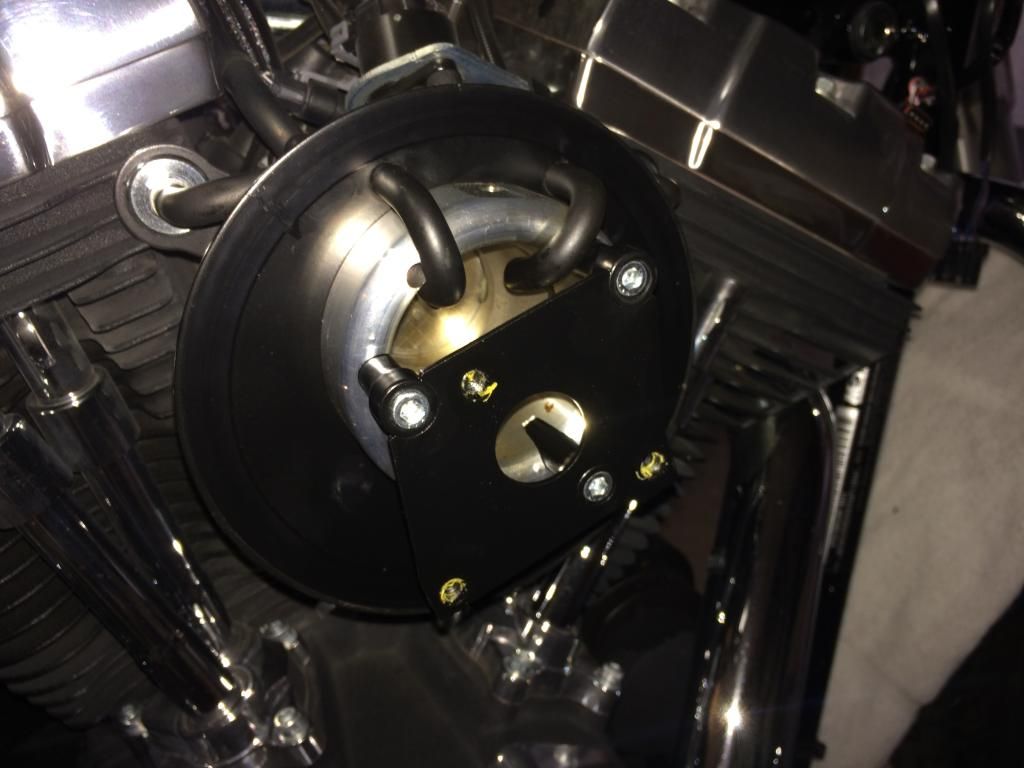
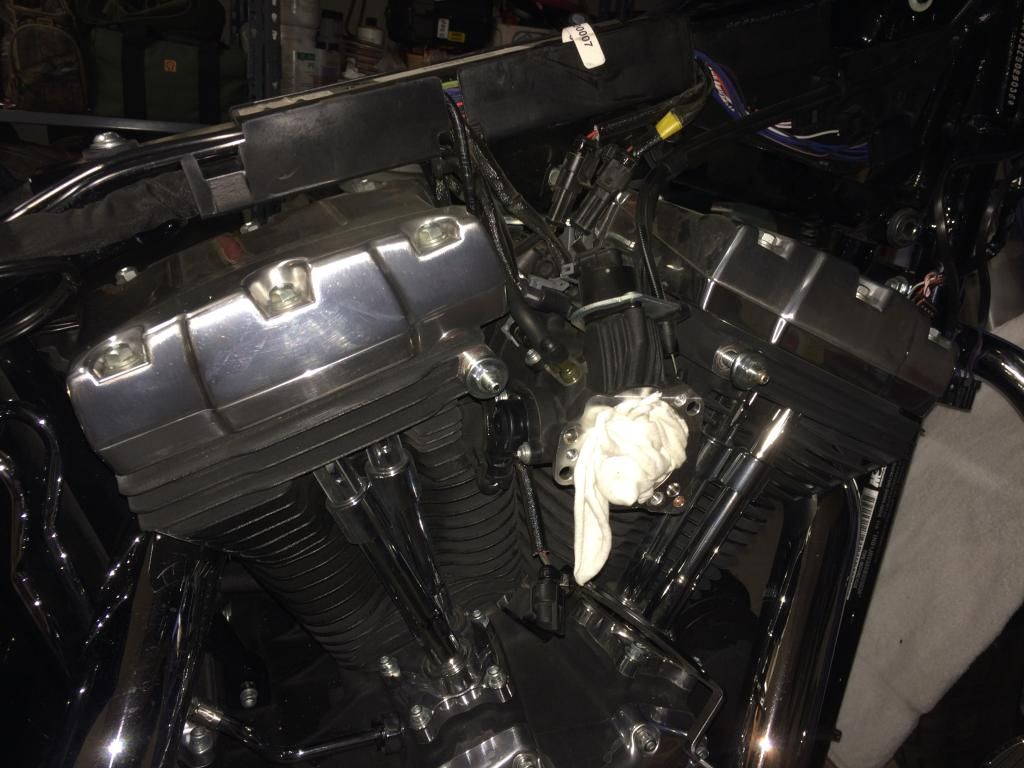
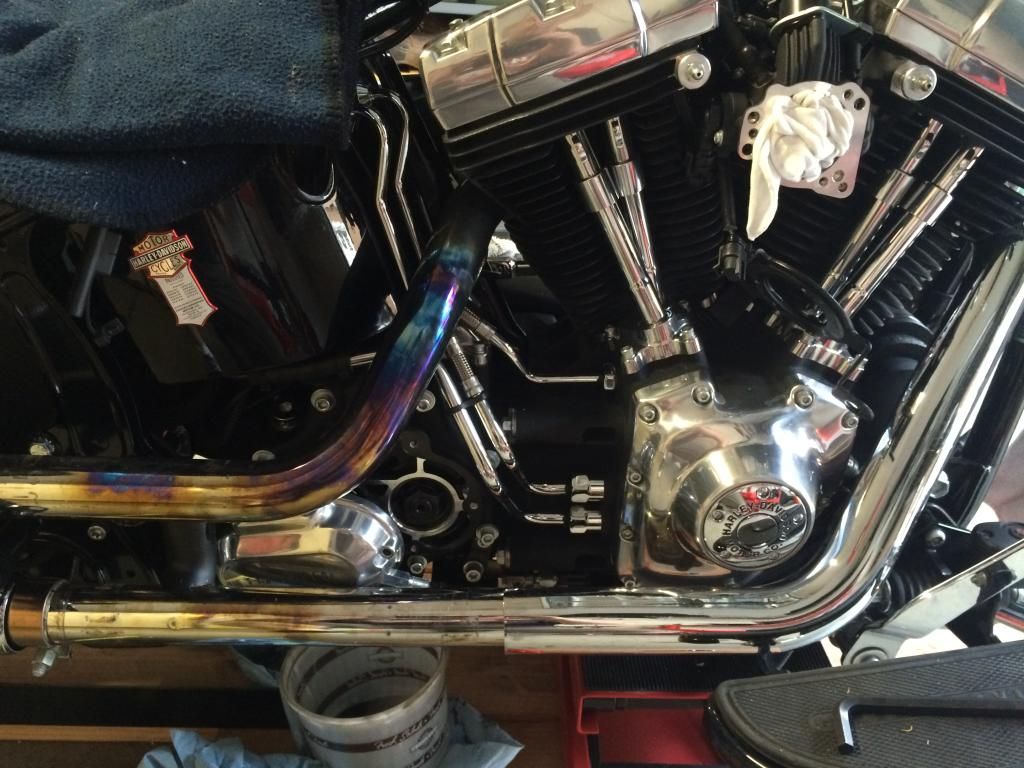
Got in another hour and 45 minutes last night; Here is the breakdown:
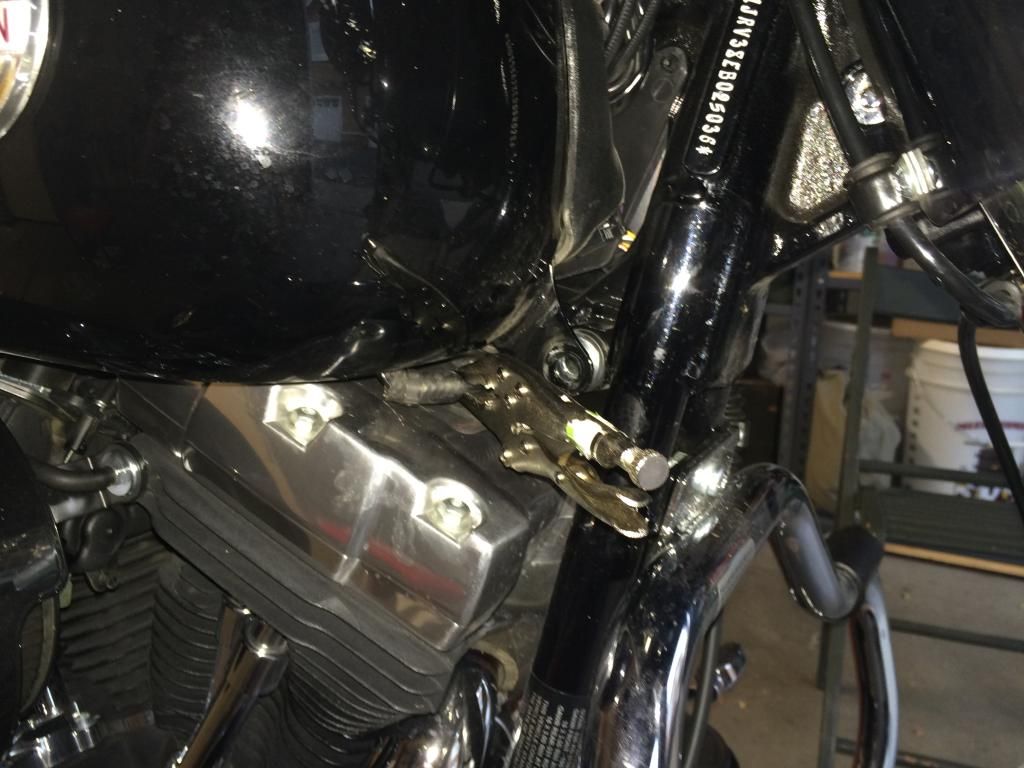
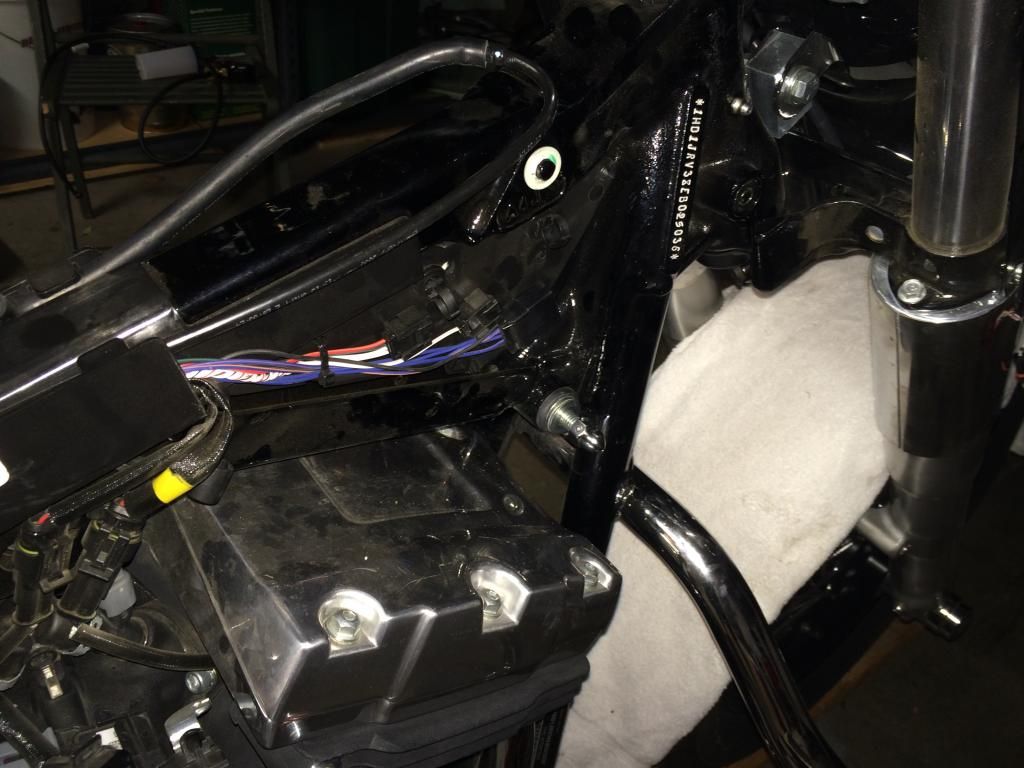
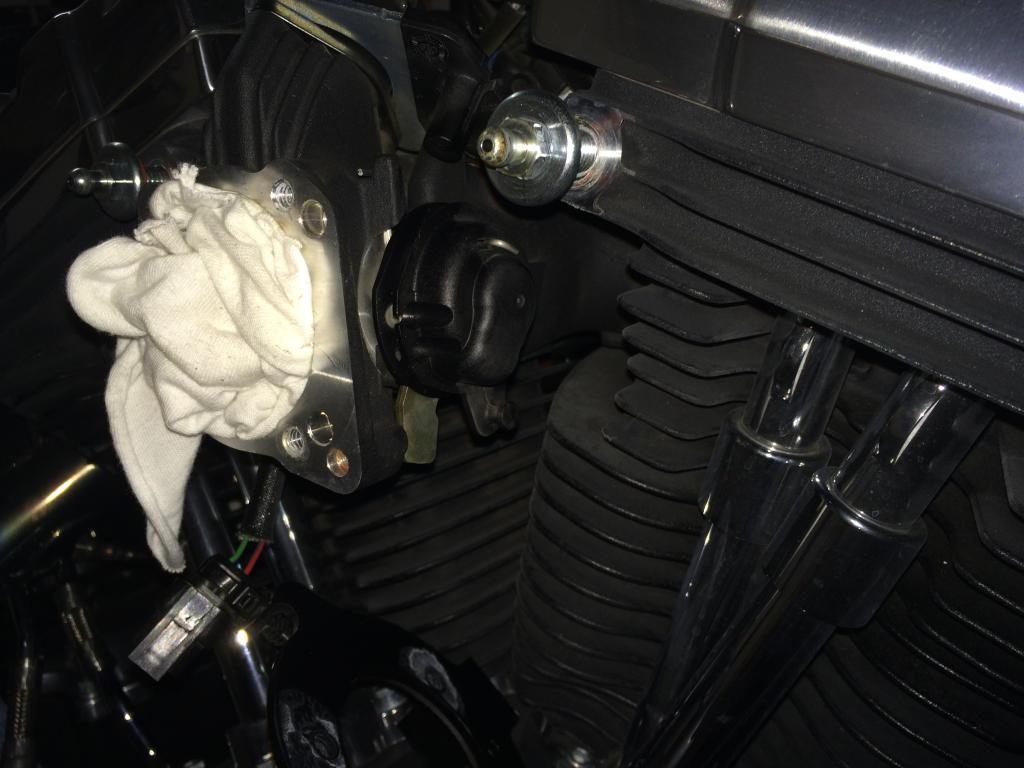
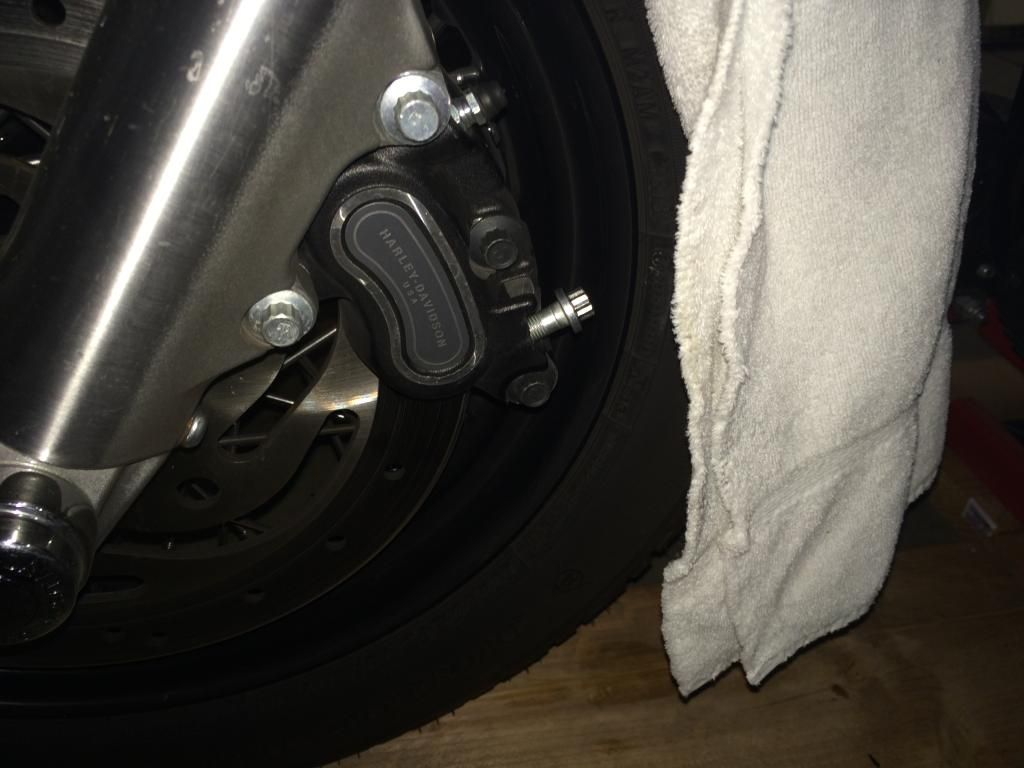
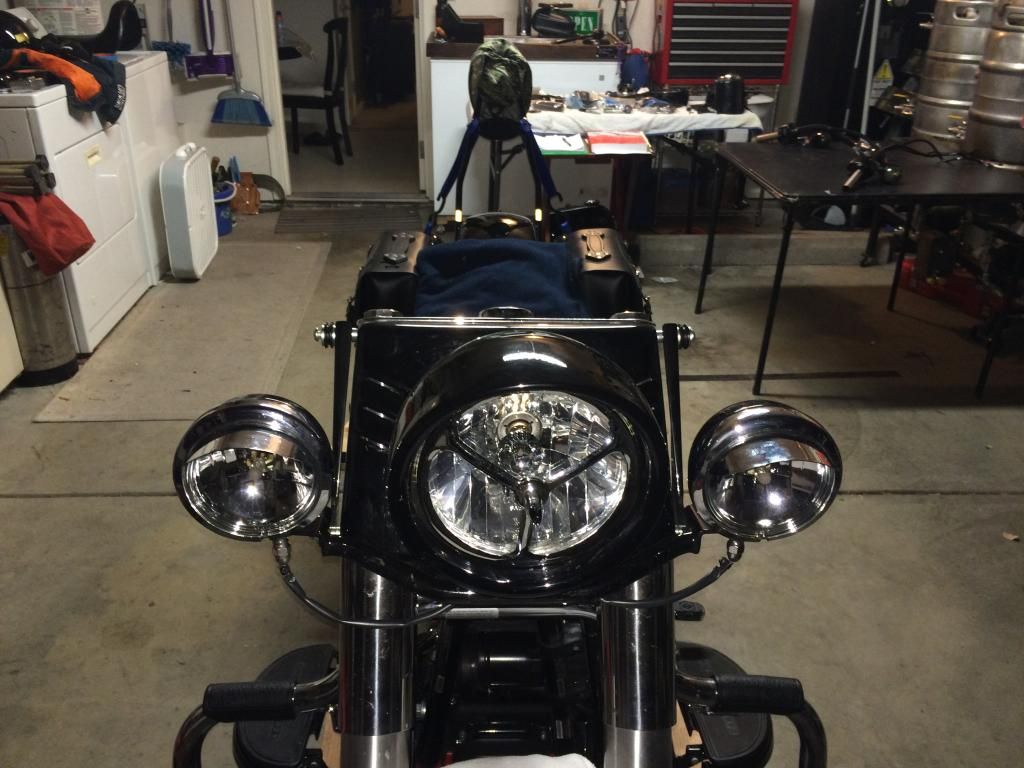
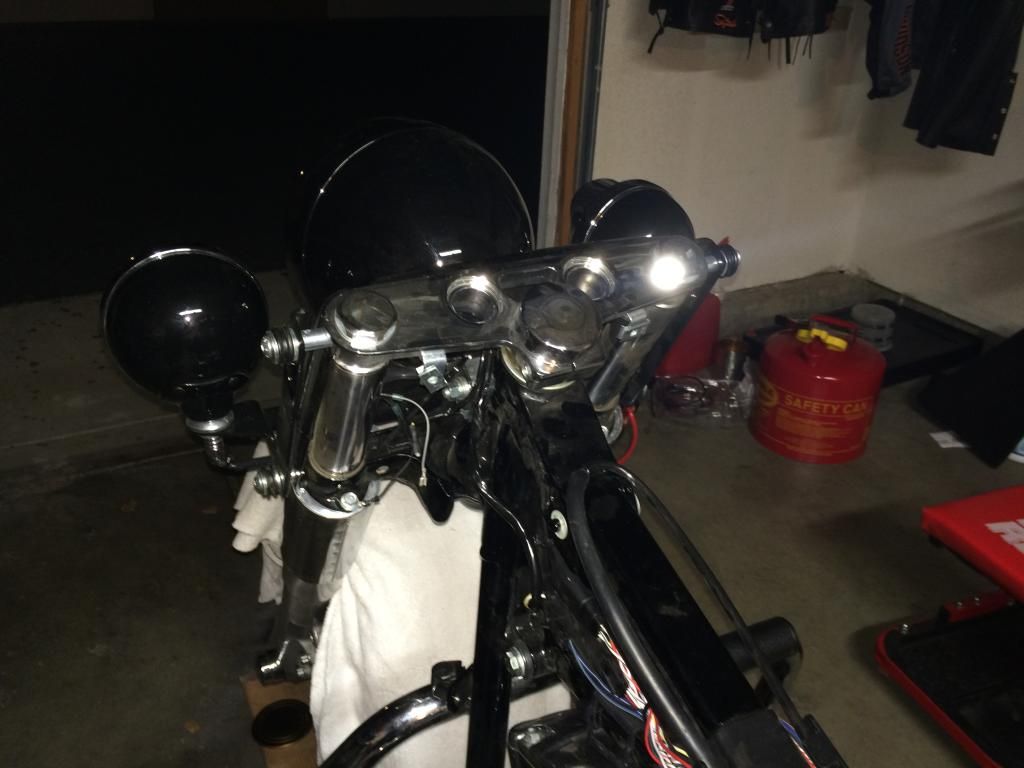
Clutch cover and cable is off (didn't have to mess with the exhaust hardly at all- just heat shields and one bracket). Brake line is off. Throttle and idle cables are off. Master cylinder is off. Bars&risers and bushings are off. Wiring harness and housings off, bars stored away.
I ended up removing the wiring harness and have them laid out an pretty much ready for the wire extensions which have to wait until Friday when the bars are delivered/arrive. Cables and brake line comes tomorrow, I may get the clutch cable swapped out tonight, maybe get the idle and throttle cables connected at the throttle body as well. I am also going to look into wiring for a sound system and at least get the power run up for a "boom box in a bag" (what the hell, I will have some time and everything is off now anyhow).
Pics are below...
Clutch unadjusted completely

Clutch/Transmission cover and cable removed...thank god I only had to remove the shields and 1 bracket!
Throttle cables removed
Brake Line removed

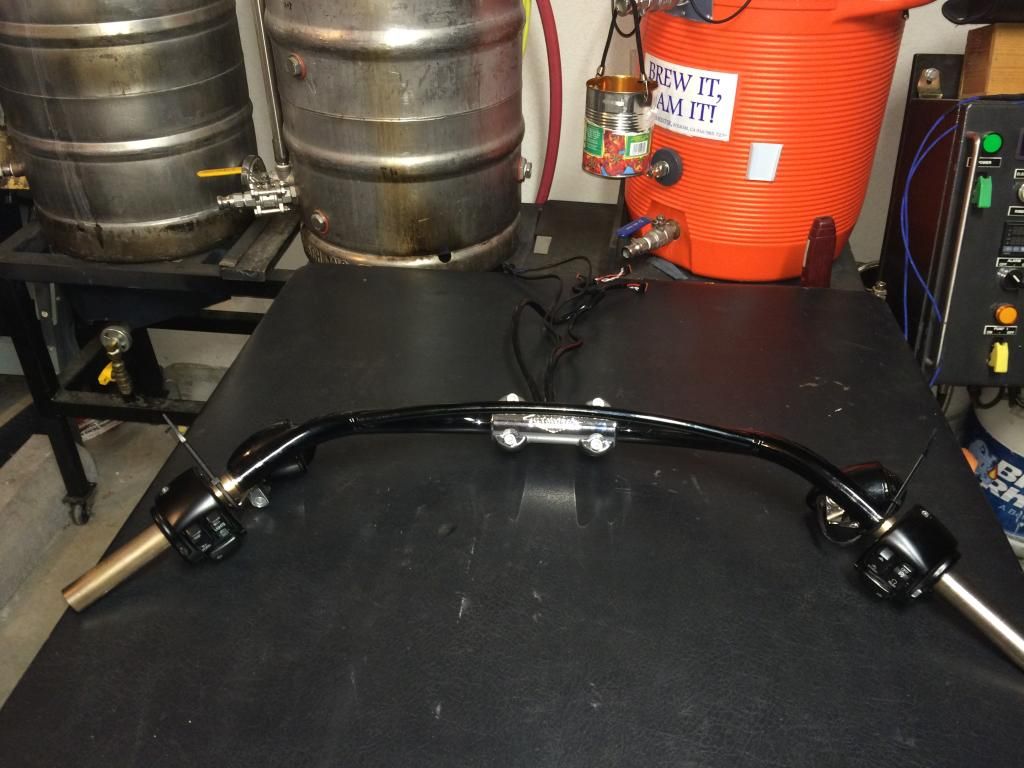
Bars and risers removed

Clutch cover and cable is off (didn't have to mess with the exhaust hardly at all- just heat shields and one bracket). Brake line is off. Throttle and idle cables are off. Master cylinder is off. Bars&risers and bushings are off. Wiring harness and housings off, bars stored away.
I ended up removing the wiring harness and have them laid out an pretty much ready for the wire extensions which have to wait until Friday when the bars are delivered/arrive. Cables and brake line comes tomorrow, I may get the clutch cable swapped out tonight, maybe get the idle and throttle cables connected at the throttle body as well. I am also going to look into wiring for a sound system and at least get the power run up for a "boom box in a bag" (what the hell, I will have some time and everything is off now anyhow).
Pics are below...
Clutch unadjusted completely
Clutch/Transmission cover and cable removed...thank god I only had to remove the shields and 1 bracket!
Throttle cables removed
Brake Line removed
Bars and risers removed

#7
10-16-2014, 09:43 AM
Trending Topics
#9
10-16-2014, 03:50 PM
