I ordered the chin fairing kit and could not find directions anywhere on the internet... so i called HD and asked for them... HD emailed the sh*t right out! so i have done my part for the community. here are the install instructions.
ugly truth of the matter... i didn't buy it from HD. I bought it from ebay. HD is charging $219 for this kit...WTF! i got my replica for $50 on fleebay. it was here in 10 days. there are tons of them on amazon and ebay in varied colors. i figure with all the $ is spent on oil, me and HD will call it even here.
nay sayers... it's a fairing that will take serious damage repeatedly.... $50 is too much, lol
-------------------------so here goes:
See the Service Parts illustration. Attach the upper front spoiler bracket (4) to the bosses on the inside front of the spoiler (1) with the two Hi-Lo screws (10) from the kit. Tighten to 15-20 in-lbs (1.7-2.3 Nm).
Remove the protective film from the back of the medallion.
I didn't trust the cheap adhesive... shoe goo!
Carefully center the medallion on the recessed area on the front of the spoiler.
Press the Bar and Shield medallion (3) firmly into position. Hold the medallion in place, pushing hard with your thumbs, for about five seconds. Take care not to shift the medallion on the spoiler.
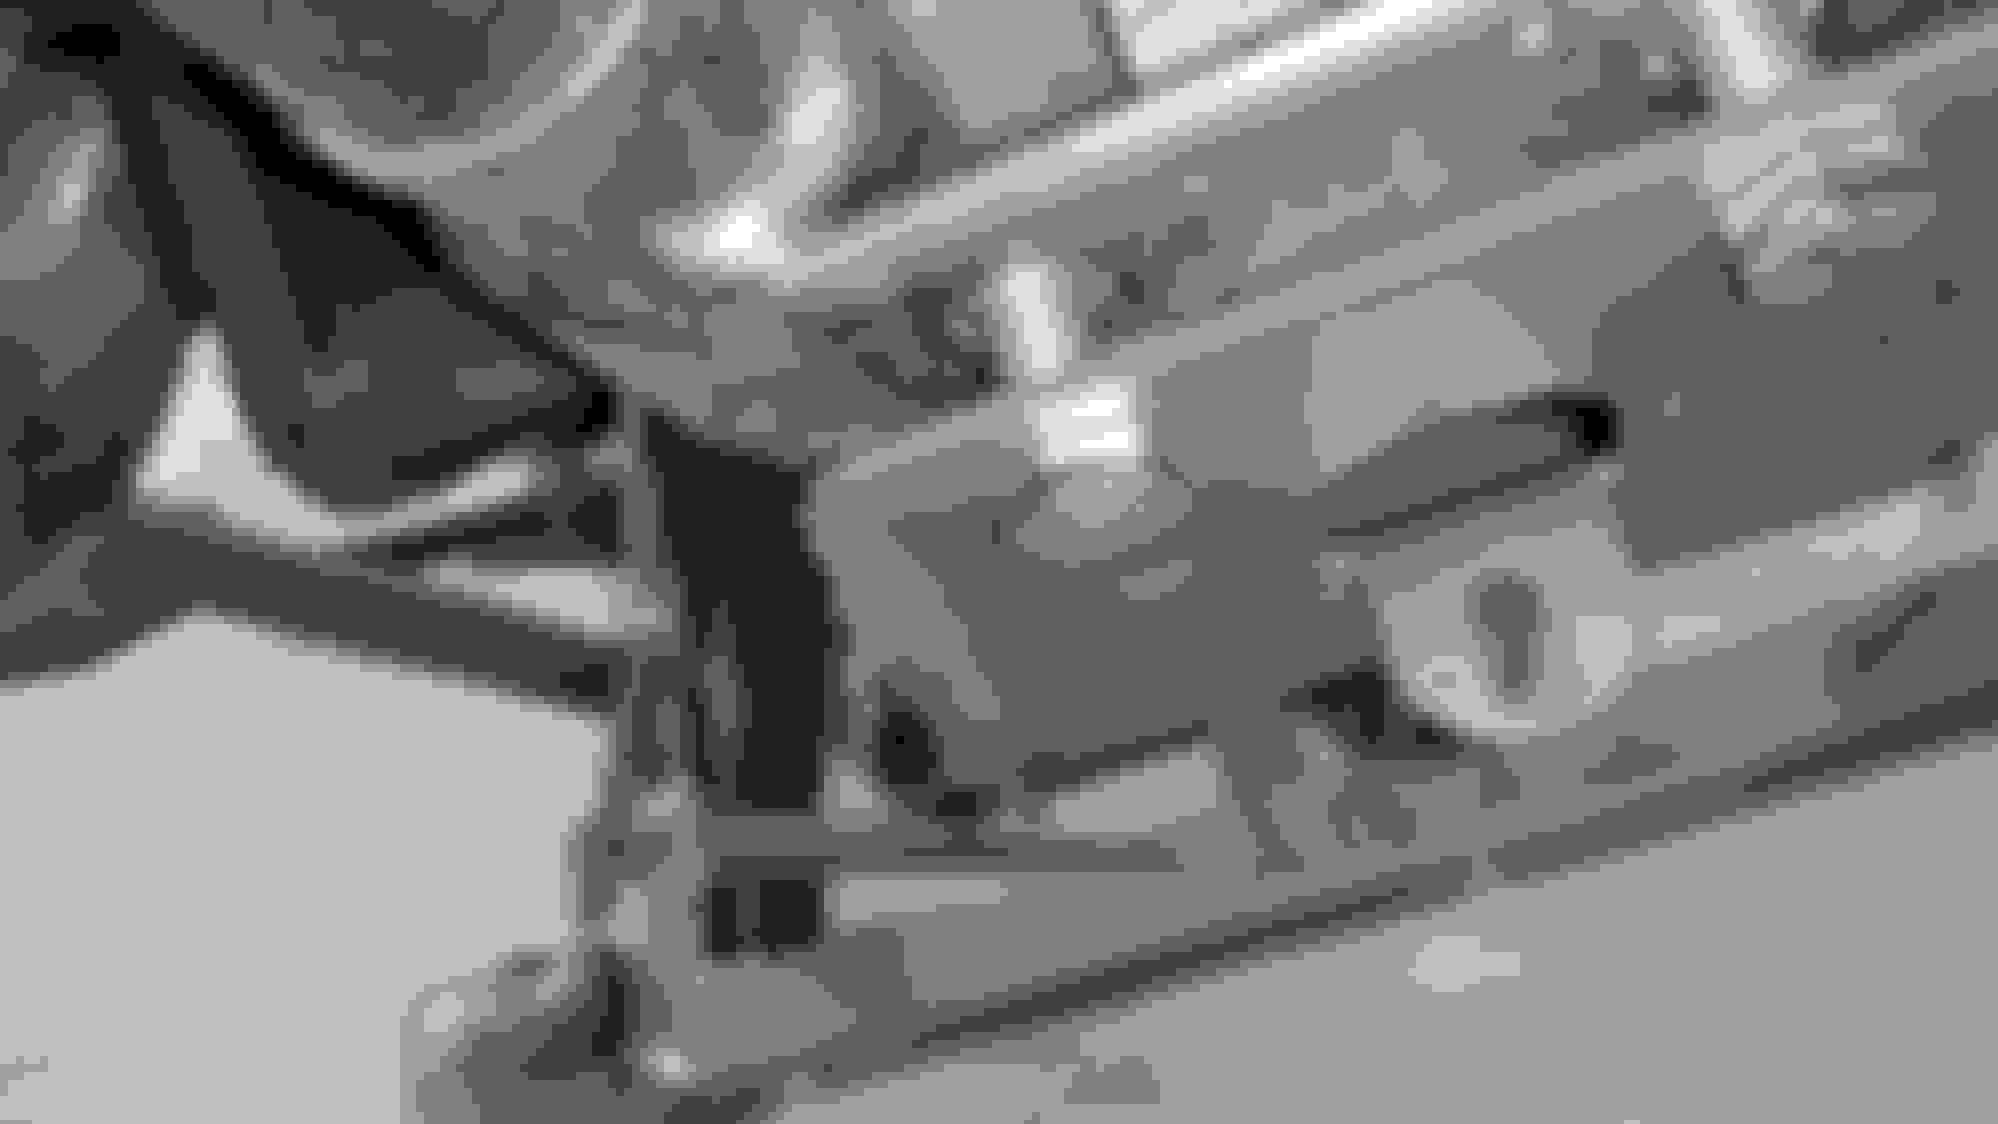
Attach the lower front spoiler bracket (5) to the two weld nuts in the cross bar at the bottom front of the motorcycle frame with two hex head machine screws (6) and split lockwashers (7) from the kit. Torque to 30 ft-lbs (41 Nm).
I added anti-seize to the bolts.... habit
Torque to 30 ft-lbs (41 Nm).
Position the spoiler to the front of the frame.
Insert the screw through the large hole in
the bottom of the spoiler and thread it into the upper front spoiler bracket, but do not fully tighten at this time.
Place a flat washer (9) on one of the pan head machine screws (8) from the kit. Position the spoiler to the front of the frame. Insert the screw through the large hole in
the bottom of the spoiler and thread it into the upper front spoiler bracket, but do not fully tighten at this time.
10mm
Position the spoiler next to the vehicle frame allowing an equal amount of minimal clearance. Alternately tighten the three screws to 72 in-lbs (8 Nm).
I think you and I bought the same ones. $45 from Hong Kong and it looks fairly legit. I'm sure it's not but at that price I dont care. Mine should be here any day now.
Very nice! I've been wanting to install one myself but didn't want to pay for it! Those things will take a beating right there.
There is no excuse for hd to be charging that much for these things. 219 is ridiculous. I 100% approve of these imports, ...because I'm important approver guy.
(these probaby the same folks that make the hd ones)
I think you and I bought the same ones. $45 from Hong Kong and it looks fairly legit. I'm sure it's not but at that price I dont care. Mine should be here any day now.
Mine came fast. I was expecting it to take long. If you cant read the directions i attached, pm me and i will foward you the hd pdf.
Bam! Looks really good, thick plastic, HD emblem looks real ... things I didnt expect when ordering from hong kong. I'll have to buy more of his stuff.
Bam! Looks really good, thick plastic, HD emblem looks real ... things I didnt expect when ordering from hong kong. I'll have to buy more of his stuff.
Yes! how dare hd ask 219 for this. I'm happy as a clam. glad you got it on easy.

 04-09-2015, 07:38 PM