Will do. It'll be a couple weeks before I can stand at the mill to carve out the trees, (busted my ankle in late May). But the deconstruction progresses.
The more I get into this, the more I'm convinced that some people should just not be allowed to have wrenches! Not only was the wiring completely knackered, the kid I bought the bike from told me up front the clutch was also bad. Not a big deal. Clutches are pretty simple. Clutch acted like the lever was pulled in because the bike could be rolled back and forth in gear without turning the motor. Adjusting the cable did nothing. So, I pull the cover for the center clutch adjuster, and lo, what do I find? The adjuster was screwed ALL the way in. Pretty much bottomed out, completely disengaging the clutch. So, I unscrew it and adjust it properly....clutch works fine!
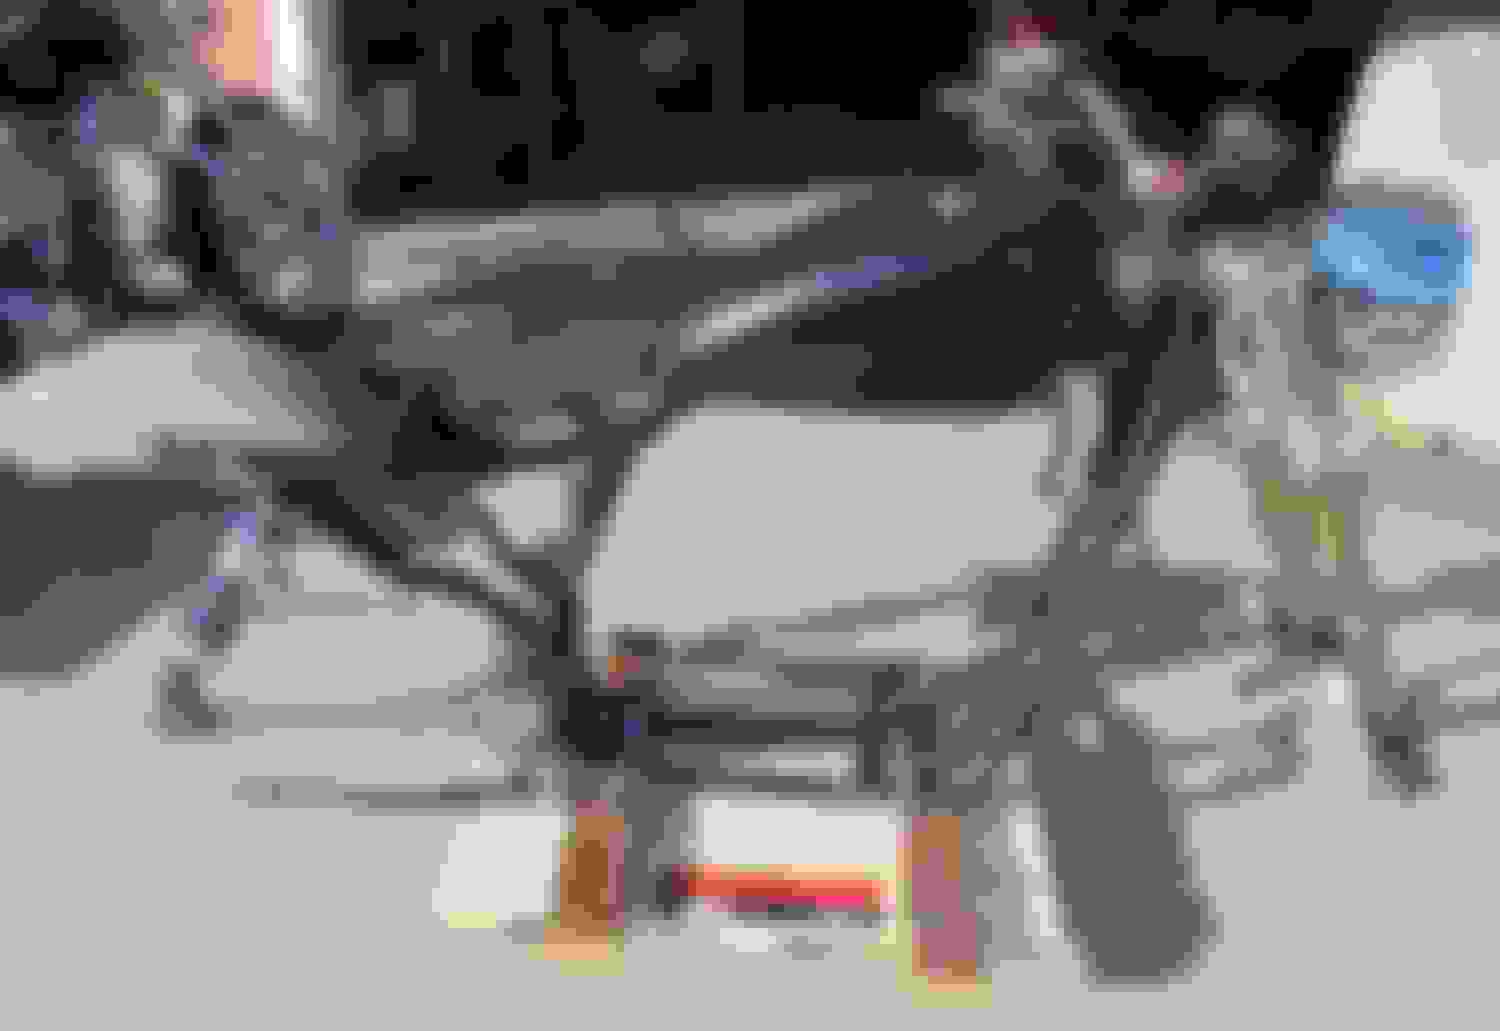
Anyway, the bike is down to the bare frame with the motor still in. The next phase will be first, fitting the fork, then building the exhaust, fitting a tank and then wiring.
Pics to come as soon as I can stand in front of the machinery.
I'm kinda on the fence about the steering stem tho. At this point, I have options. The stock sporty stem is 1" diameter and welded into the bottom tree. I can cut it out and use it easy enough. Or, I can make something better from a chunk of 1" 4130 steel (Cro/Mo) round bar. I can easily thread it to match any stem nut I wanna use. It might actually be less work!
If I use the stock sporty stem, the nut for this year is clamped by the top tree and is also responsible for the bearing adjustment. Pretty easy to deal with, but unlike later models, the stock '87 sporty top tree does not clamp onto the stem itself. It just clamps onto the nut, which can turn on the stem. This leaves the fork legs as the sole means of keeping the tree straight.
Any concerns with that?
Or, if I make a custom stem, I can thread it for a spanner nut to adjust the bearings, leave a smooth area above those for the top tree to clamp to and then ad a cap nut on top of that.
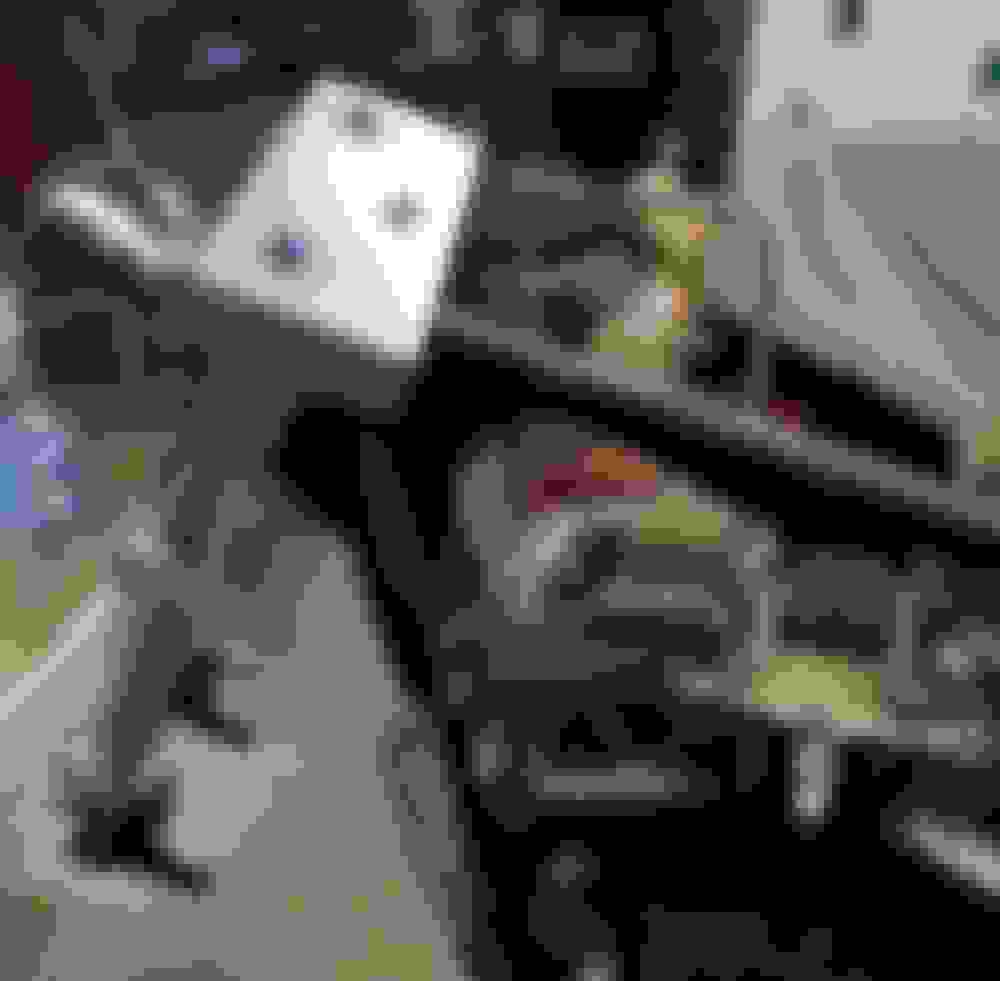
Progress made on the fork conversion. The aluminum blocks are bored for both fork tubes and steerer. I went with making a new steerer from 4130 steel. Better all around. Now that everything is fitted up and all the precision stuff is pretty much done, I'll move onto making an axle and spacers for the HD hub to fit the Suzuki fork. Then it'll be time to figure out the front disc. I have two calipers, but will only use one.
I'll do the triple clamp profiling a little later after everything is all fitted, including bar mounts.
It's been a while since I did an update on the "Hooligan" Sportster.
Since then, I've done a good bit of work, and it's starting to take shape. At least it's done being disassembled.
Since the last update, I've trimmed down the triple tree, made an axle to adapt the HD hub to the Suzuki fork as well as fitted the proper suzuki brake disc. I made handle bar mounts and sourced a used set of Triumph controls. I wanted a simpler set-up and these happened along at a good price.
I made a speedometer bracket, although I'm going to make another that will incorporate LED indicator lights for turn signals, oil light, neutral and high beam.
Not much in the way of frame modifications. Fork stops and new flat rear struts.
Electrical coming up.
Initially, I was gonna go with 18" wheels front and rear, but I'm leaning toward 17s for better tire selection. Tires will be dual sport type. Maybe 140/80 rear, and 120/70 front. Probably Shinko 705.
Starting on the wiring. First order of business was to get a wiring diagram for the Triumph controls. The system will be very simple. ignition, start, lights, brake lights and turn signals. Just that which is necessary. A simple six fuse block, a relay to switch that on, a starter relay and a flasher. Then it's a simple matter to connect the dots.
I made a new speedo bracket which has space for the little LED indicator lights for the turn signals, high beam, oil light, and neutral light.
Within the next couple of weeks, I'll have most of the wiring done for the non motor functions.
It's amazing what one can find once they venture outside the normal motorcycle parts channels. Electronic flasher - NAPA, $11, (made a little mount for that from 16ga sheet steel); Turn signals, $14 for ALL FOUR - Amazon; LED Brake and tail light that fits the curve on the fender nearly perfectly, $18.00 made a shrouded mount for that from sheet steel, TIG welded to the bottom of the fender).
Most of the non-engine electricals are pretty much done, and all circuits are functional. All that is left is to run the wiring for the lights themselves, and that part is done.
I like the work you are putting in with the GSXR front end, I am really interested in the outcome and ride quality.
The triple trees are the hardest part because most people don't have the ability to cut them. The design you went for is great, but you should definitely spend some time refining them manually and chopping out some of the blockiness. It would really change the look of the front end.


 07-17-2015, 11:03 AM