
Kevin's Build Thread (Complete From Start to Finish) PIC HEAVY!
#1
 09-13-2015, 11:10 PM


Hey gang!
So here's what I've been working on the last 4 months, little by little slowly but surely.
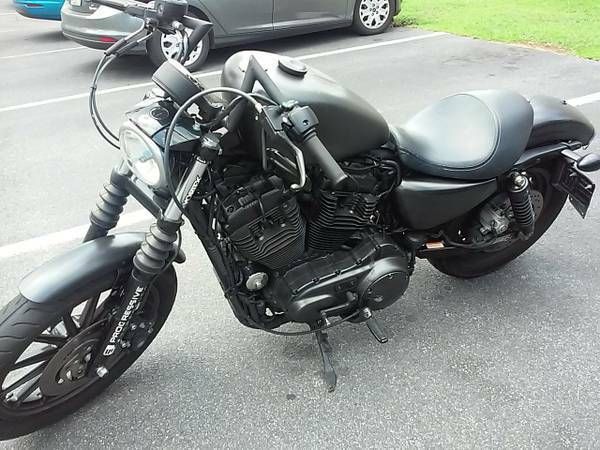
Here's how she started:
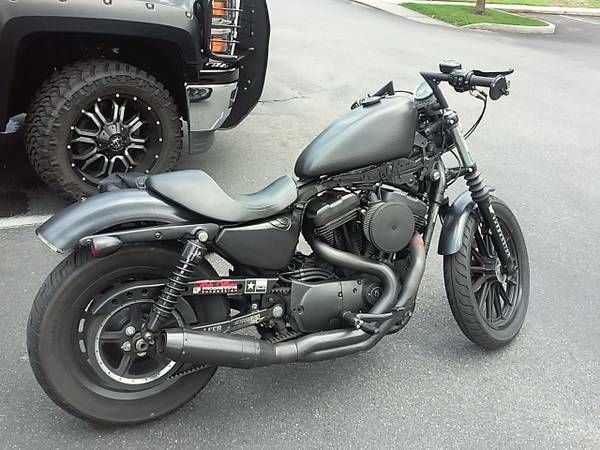
Pretty rough. She's a 08 Nightster... Just barely. She had been completely painted over by the previous owner in... Are you ready for it... Black rhino liner. As in the stuff you put in the bed of a truck. His exact words when he sold it to me were "it gives the bike a real nice texture". Yea. But regardless, I saw a lot of potential in the bike so I bought it. Here are some more pictures of how it looked.

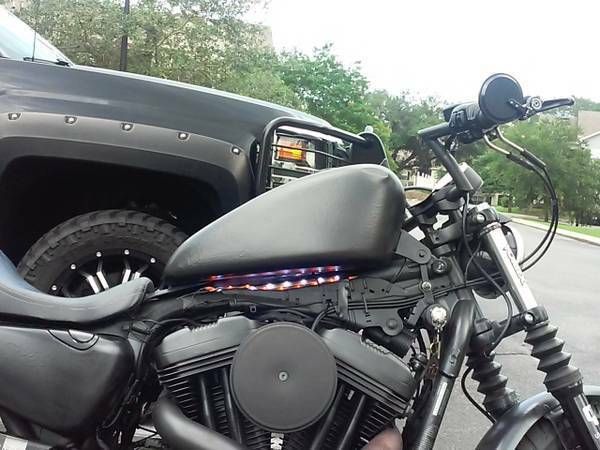
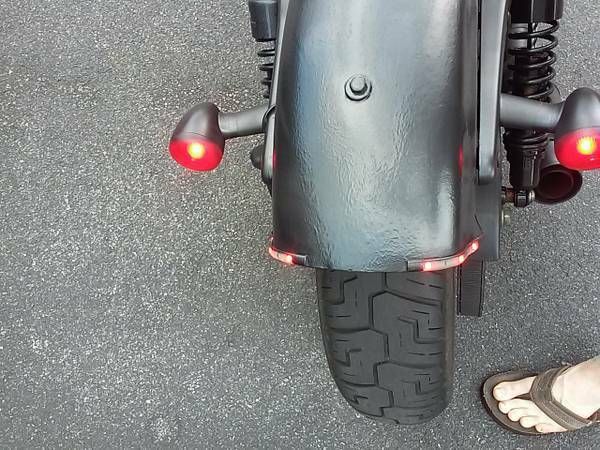
The bike also had these unbelievably tacky stick on LEDs. They were actually the first to go when I tore the bike down.
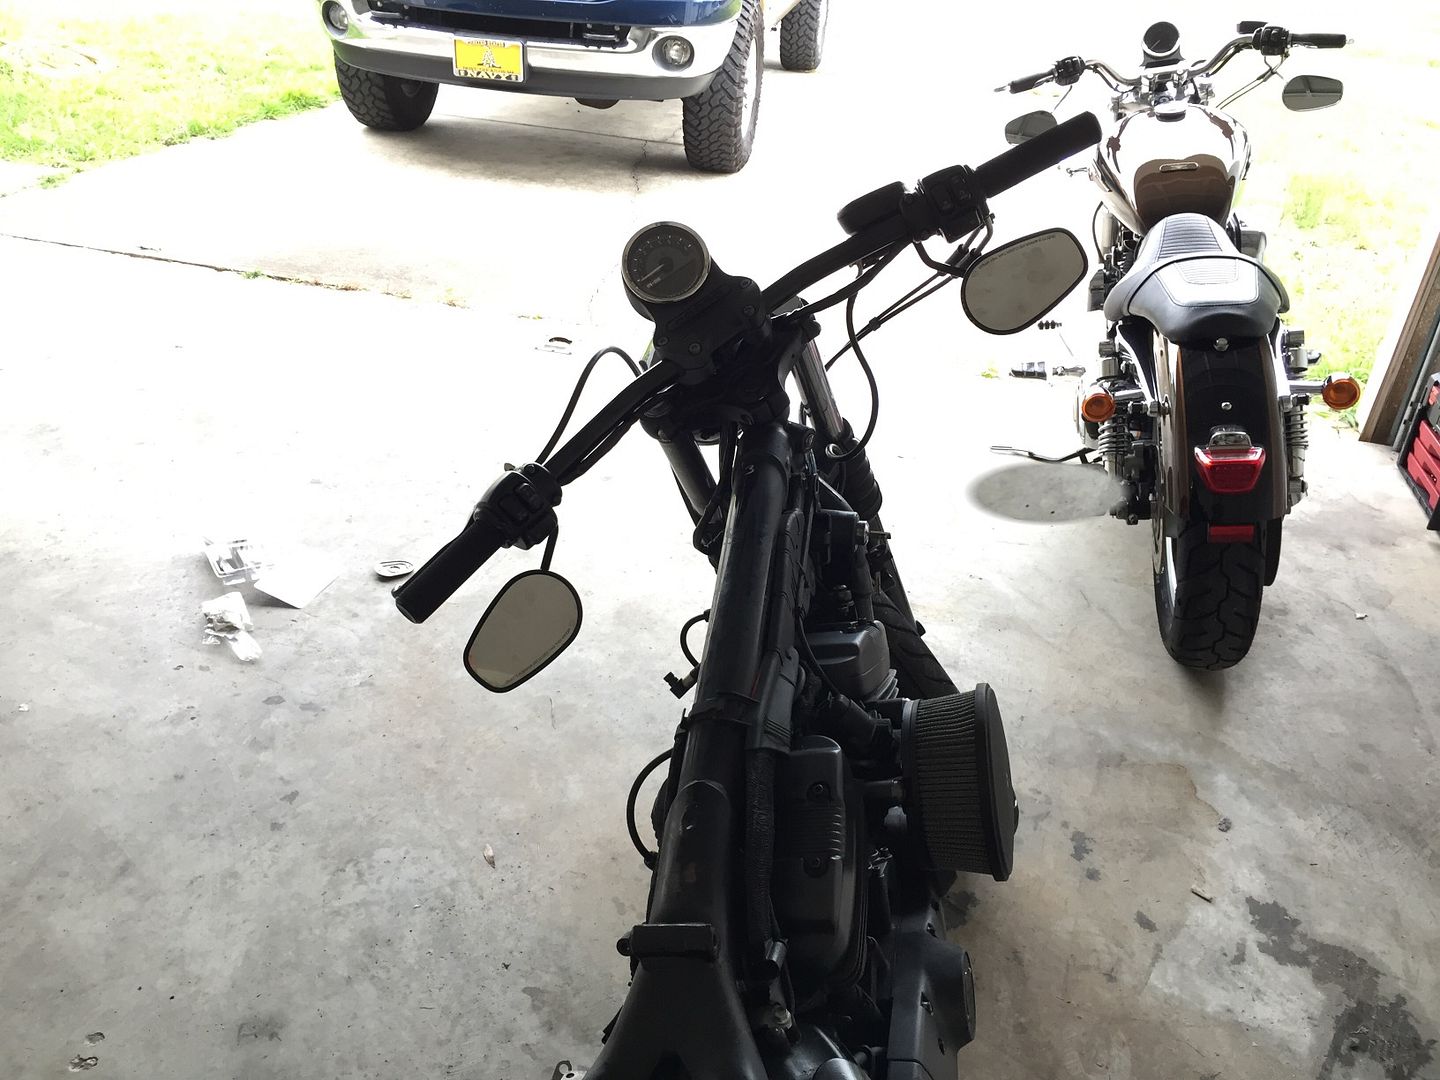
So with all that said, the tear down began. The handlebars had to go, all the tins had to go out for paint, tank, fenders and battery and oil tank cover. Also, the handlebars were actually in an almost unrideable position. In the 10 miles it took me to get home, my wrist was sore from using the clutch because of the angle my hand was in. I quickly bought some drag bars and they were the first thing to go on.
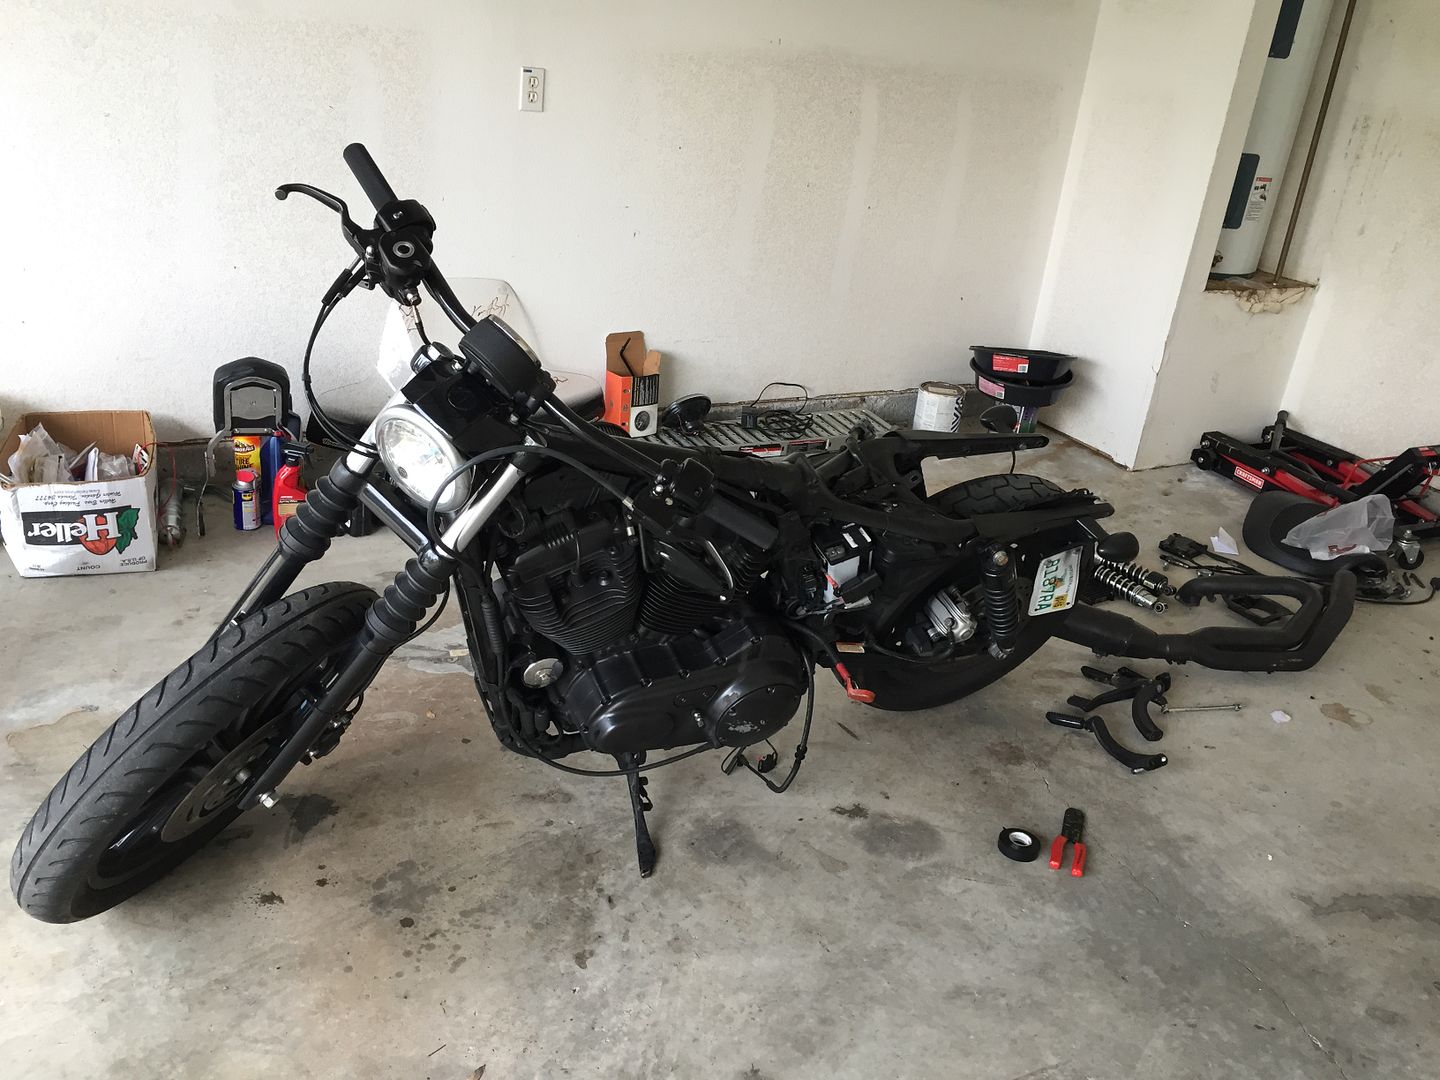

The previous owner actually gave me a lot of the stock parts back, but at the same time the bike came with a lot of good stuff. For instance, the bike had a full progressive shock system, both front and rear. It also had the Harley RPM digital tach WITH the fuel sensor. The rear shocks were 13" though, and rose the rear fender WAY too high. So I swapped the originals back on. Lowered the fender, and added a little chrome. The front still remains progressive.
Here are all parts that I was able to take off and eventually sell:
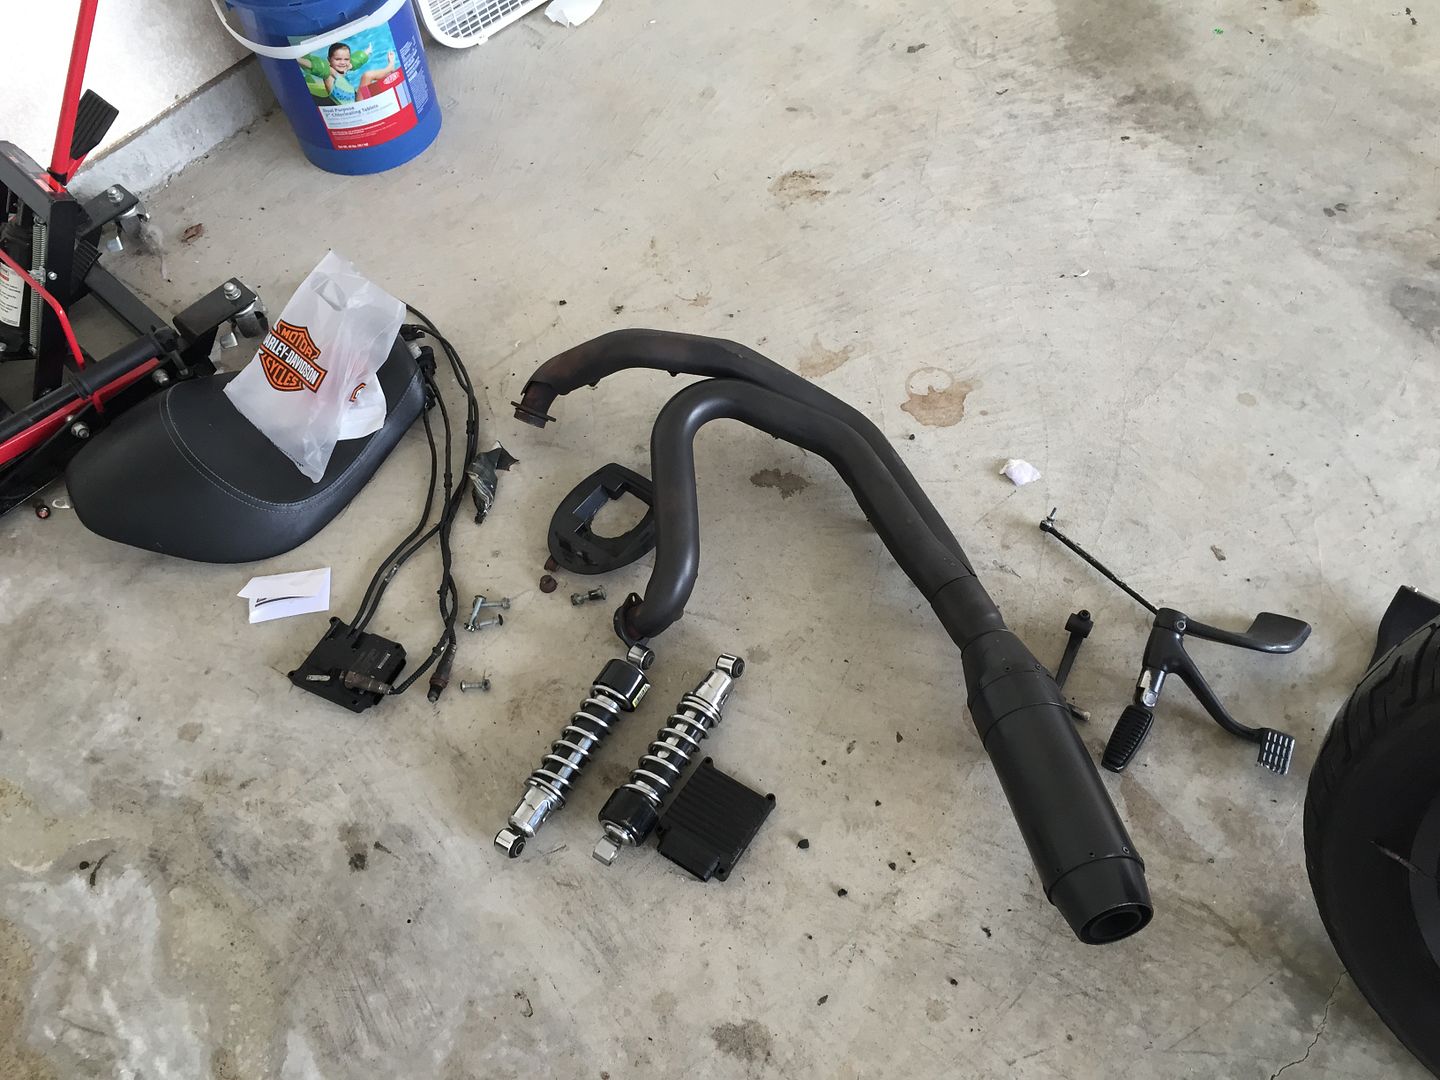
The D&D bobcat exhaust was alright, but like everything else had been spray painted black and didn't sound that great. So I sold it and got a new one. Another thing I sold was this little beauty:
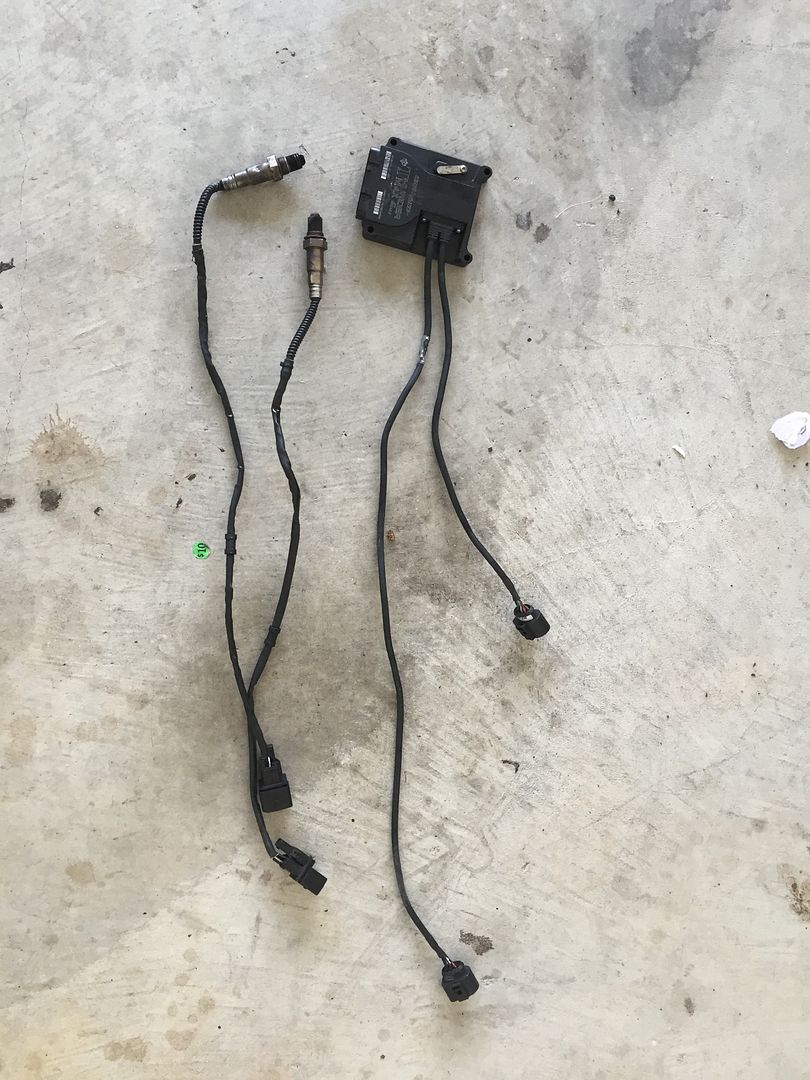
The thunder max wave tuner. The going rate for these bad boys was about a grand and I just didn't need it. Why? That's the best part of this story! The owner gave me the original stock ECM which I knew would be just fine originally. But through this whole process I got to know a lot of the guys at my local Harley dealership and after talking with them, they actually knew of my bike and of both previous owners. Turns out the bike belonged to Chris Rayburn, who is a stunt rider who the my Harley dealer employed for a while to perform at their shows. Here is my actual bike back when he owned and rode it:

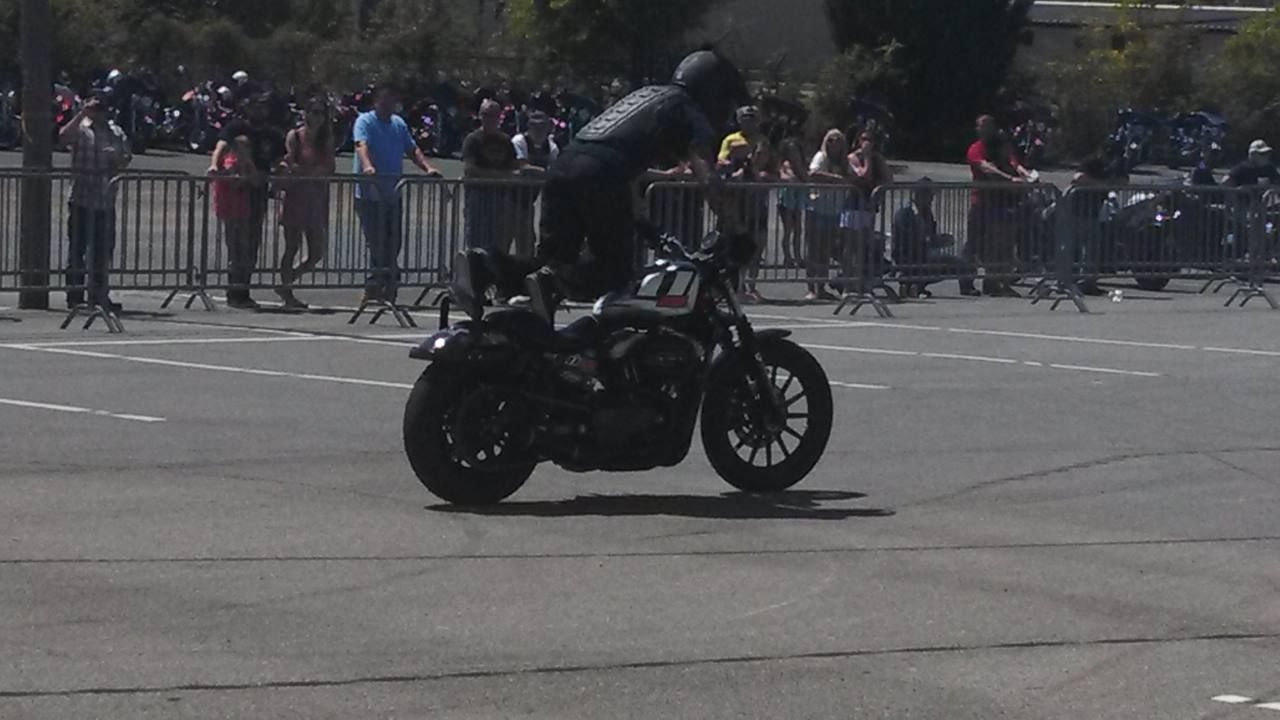
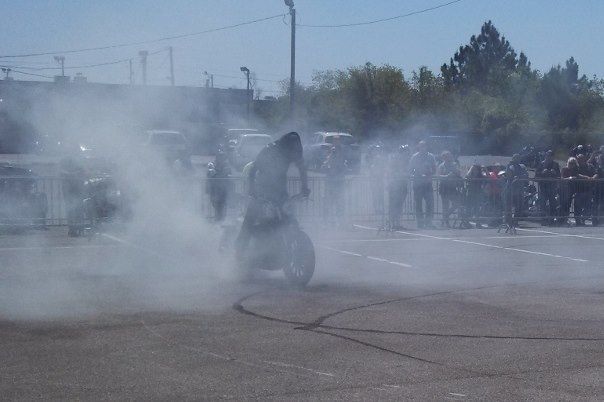
Pretty cool huh? And even better story I think. So with that said, the Harley guys knew of the bike and told me that the old ECM had a stage 1 tune on it. So now I definitely didn't need the aftermarket ECM.
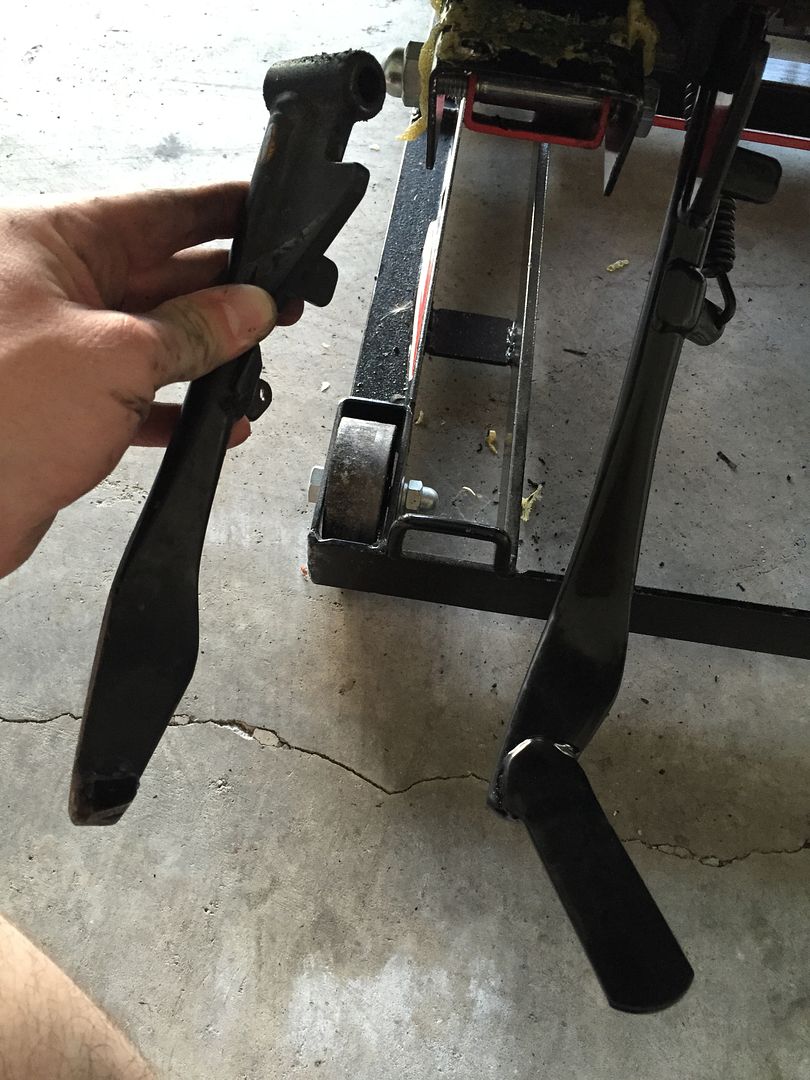
Next thing to fix was the kickstand. It had been grinded off and a heavier spring put in so that when you lifted the bike upright it came up by itself. It was nerve wracking. I thought the stupid thing was ready to flip up if you just touched the bike
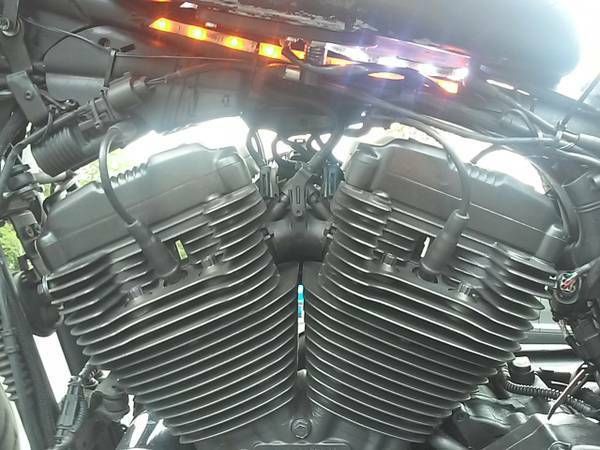
Next was the issue of all the black on the bike. It was too much. I knew I could add in a chrome primary cover and stuff like that, but it still would look off. So
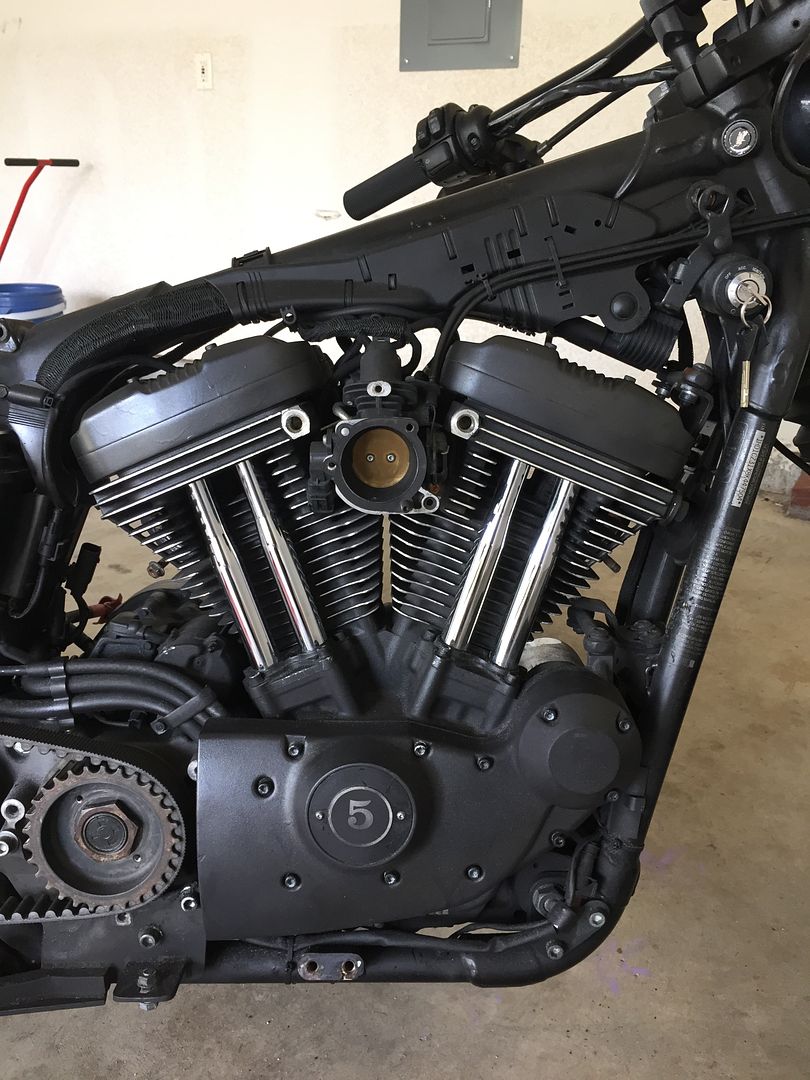
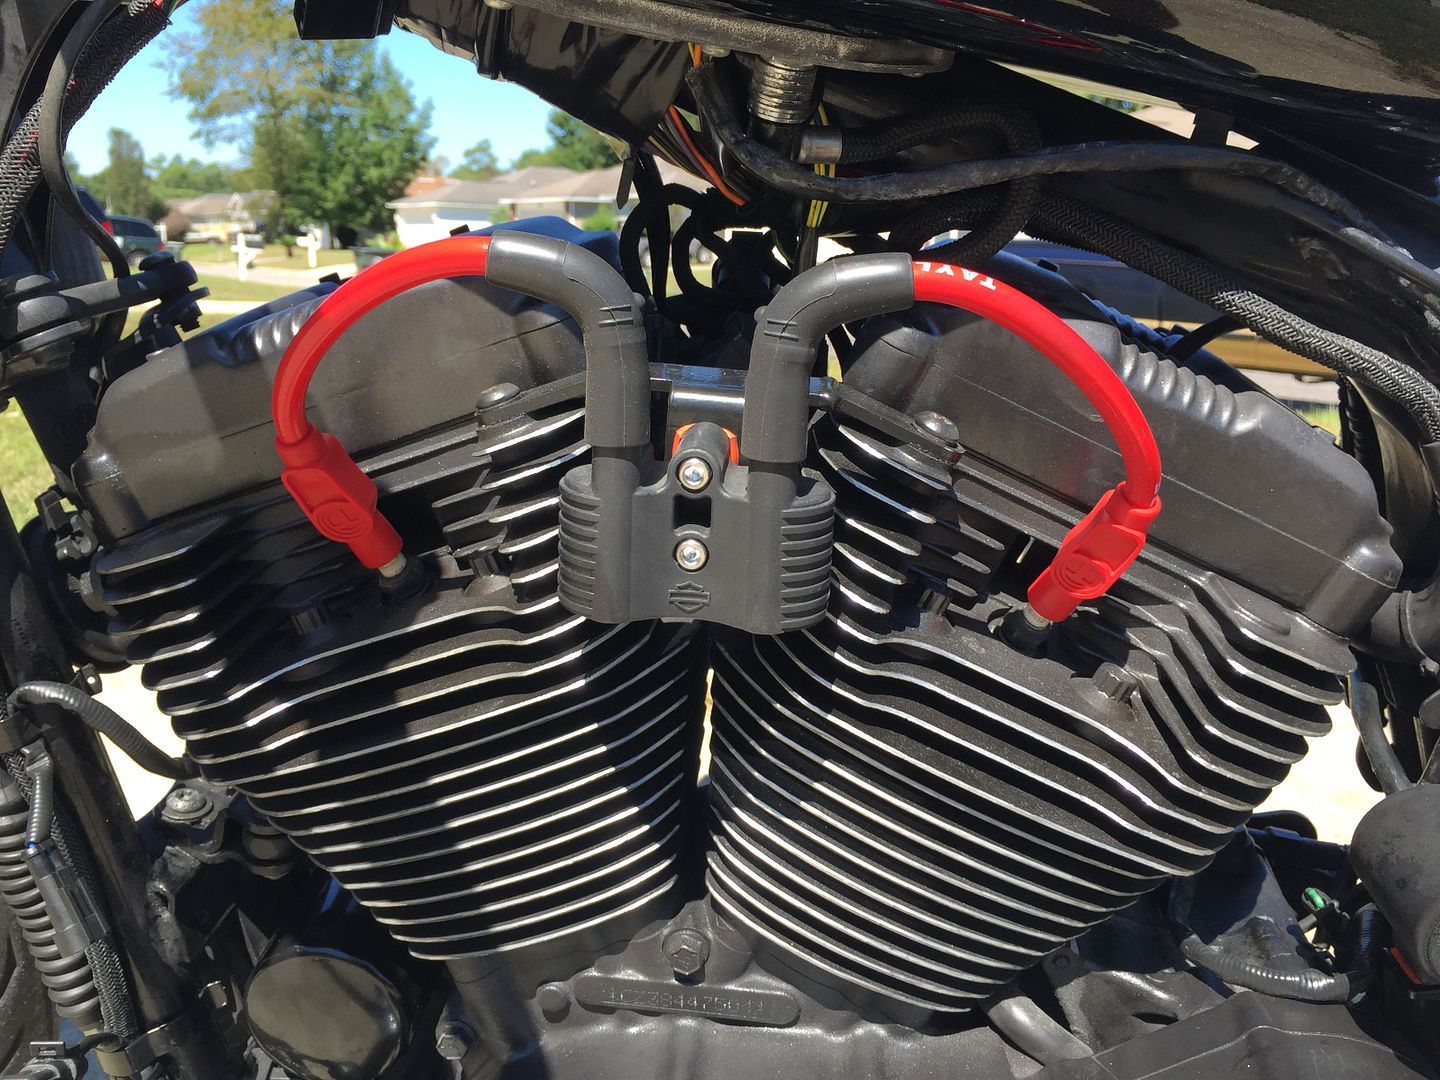
I had the idea to grind the fins of the jugs and heads. So basically to make it like all the modern Harley's are coming these days. The results actually came out looking pretty good:

That was one side done so you can see the contrast. Here's both sides:

Next I realized I could actually scratch the paint off of the pushrod tubes and make them chrome as well! So with a credit card and some WD-40 I brought them back to life:
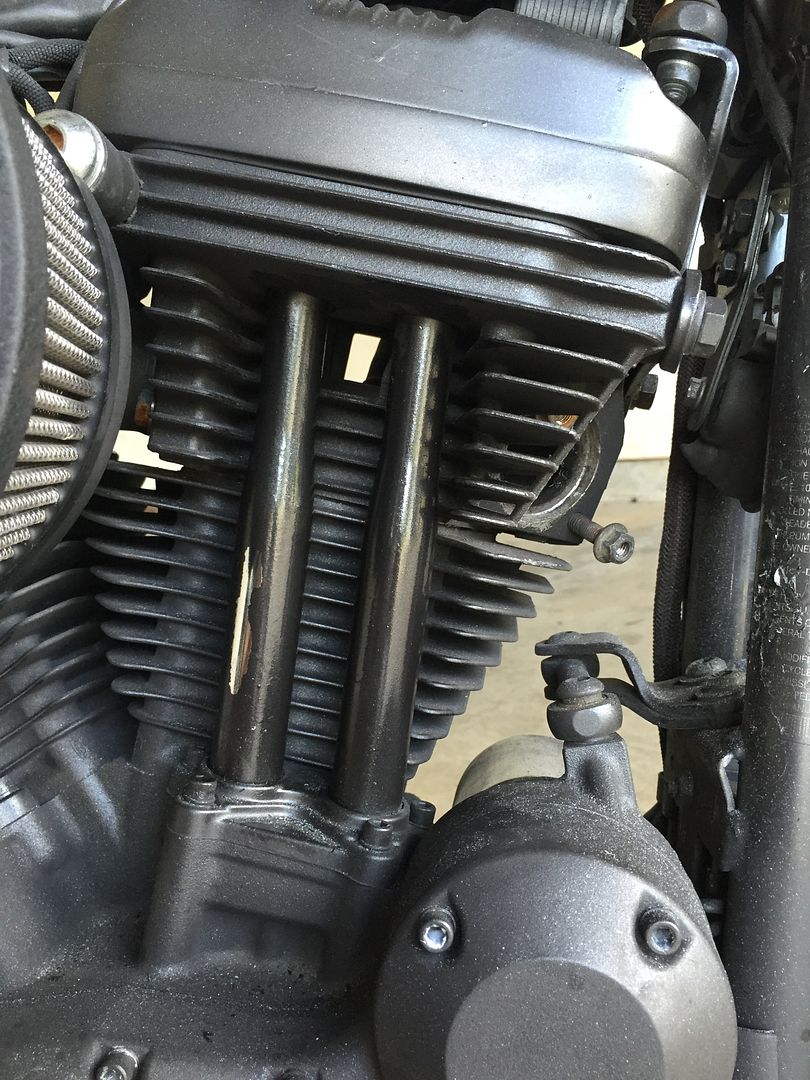
You can see they are black with a little chipped off in that last pic. Here they are done:
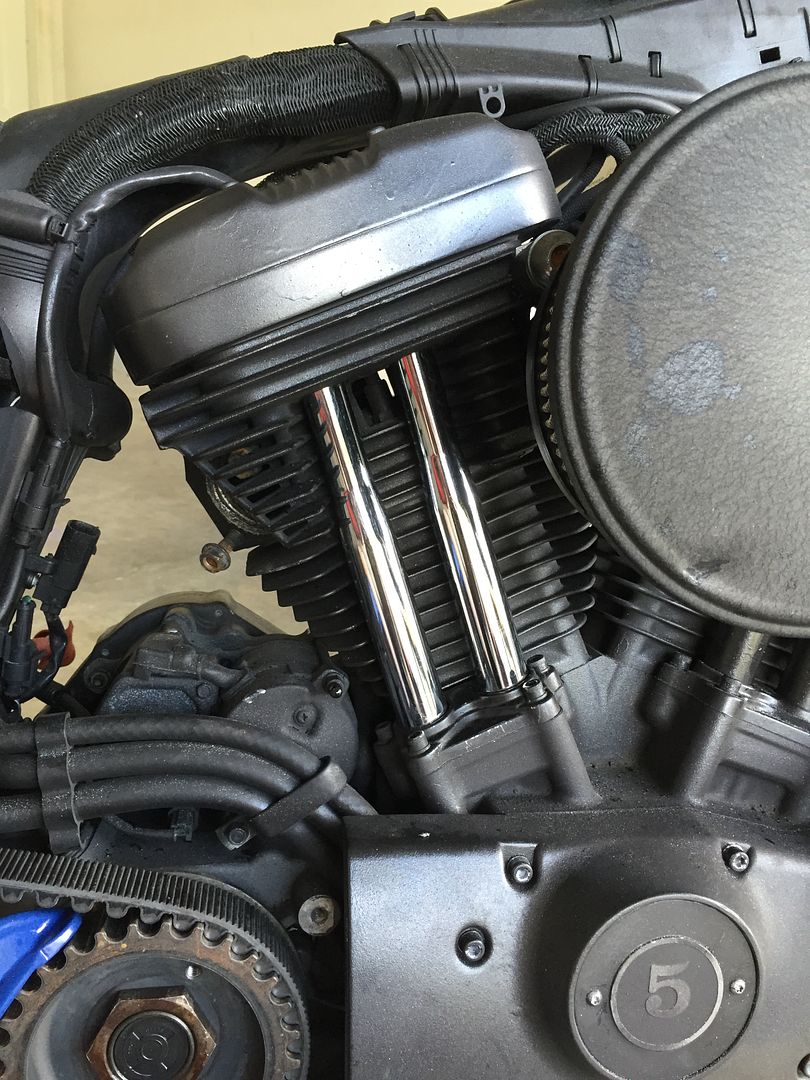
And here they are with the jug fins grinded off:
So here's what I've been working on the last 4 months, little by little slowly but surely.
Here's how she started:

Pretty rough. She's a 08 Nightster... Just barely. She had been completely painted over by the previous owner in... Are you ready for it... Black rhino liner. As in the stuff you put in the bed of a truck. His exact words when he sold it to me were "it gives the bike a real nice texture". Yea. But regardless, I saw a lot of potential in the bike so I bought it. Here are some more pictures of how it looked.

The bike also had these unbelievably tacky stick on LEDs. They were actually the first to go when I tore the bike down.


So with all that said, the tear down began. The handlebars had to go, all the tins had to go out for paint, tank, fenders and battery and oil tank cover. Also, the handlebars were actually in an almost unrideable position. In the 10 miles it took me to get home, my wrist was sore from using the clutch because of the angle my hand was in. I quickly bought some drag bars and they were the first thing to go on.


The previous owner actually gave me a lot of the stock parts back, but at the same time the bike came with a lot of good stuff. For instance, the bike had a full progressive shock system, both front and rear. It also had the Harley RPM digital tach WITH the fuel sensor. The rear shocks were 13" though, and rose the rear fender WAY too high. So I swapped the originals back on. Lowered the fender, and added a little chrome. The front still remains progressive.
Here are all parts that I was able to take off and eventually sell:

The D&D bobcat exhaust was alright, but like everything else had been spray painted black and didn't sound that great. So I sold it and got a new one. Another thing I sold was this little beauty:

The thunder max wave tuner. The going rate for these bad boys was about a grand and I just didn't need it. Why? That's the best part of this story! The owner gave me the original stock ECM which I knew would be just fine originally. But through this whole process I got to know a lot of the guys at my local Harley dealership and after talking with them, they actually knew of my bike and of both previous owners. Turns out the bike belonged to Chris Rayburn, who is a stunt rider who the my Harley dealer employed for a while to perform at their shows. Here is my actual bike back when he owned and rode it:


Pretty cool huh? And even better story I think. So with that said, the Harley guys knew of the bike and told me that the old ECM had a stage 1 tune on it. So now I definitely didn't need the aftermarket ECM.
Next thing to fix was the kickstand. It had been grinded off and a heavier spring put in so that when you lifted the bike upright it came up by itself. It was nerve wracking. I thought the stupid thing was ready to flip up if you just touched the bike

Next was the issue of all the black on the bike. It was too much. I knew I could add in a chrome primary cover and stuff like that, but it still would look off. So
I had the idea to grind the fins of the jugs and heads. So basically to make it like all the modern Harley's are coming these days. The results actually came out looking pretty good:

That was one side done so you can see the contrast. Here's both sides:

Next I realized I could actually scratch the paint off of the pushrod tubes and make them chrome as well! So with a credit card and some WD-40 I brought them back to life:

You can see they are black with a little chipped off in that last pic. Here they are done:

And here they are with the jug fins grinded off:

Last edited by bigmant; 09-14-2015 at 10:20 AM.
#2
09-13-2015, 11:11 PM
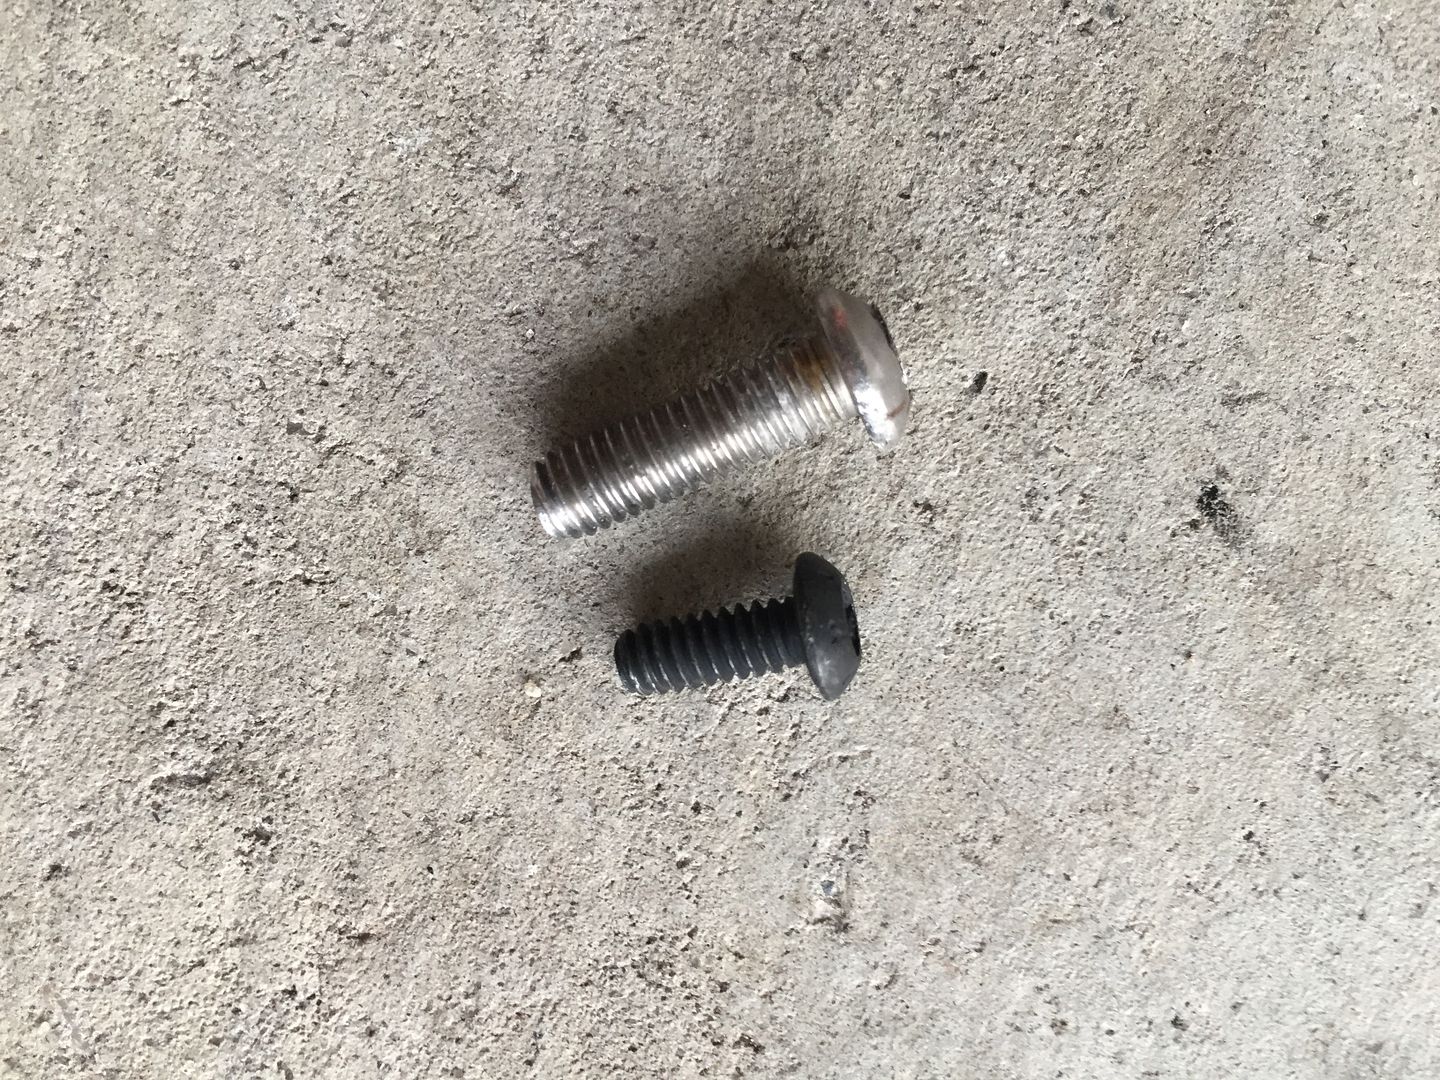
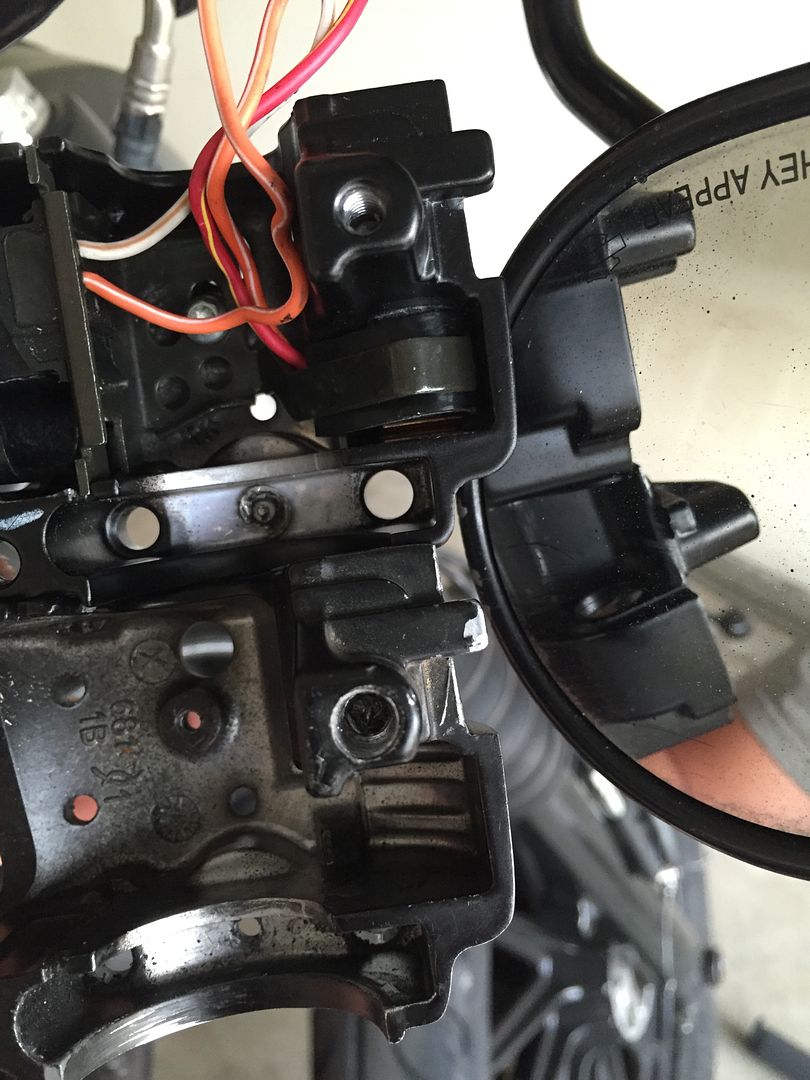
Next came the right switch housing on the handle bars. I don't know what the previous owner was thinking, but he must have lost the top screw to the switch housing and just jerry rigged something up. And by jerry rigged I mean he forced a longer and fatter screw down the hole. Here's a picture, silver is what was there. Black is what's supposed to be.
And here's what happened to the switch housing. Bottom is the old ruined one:
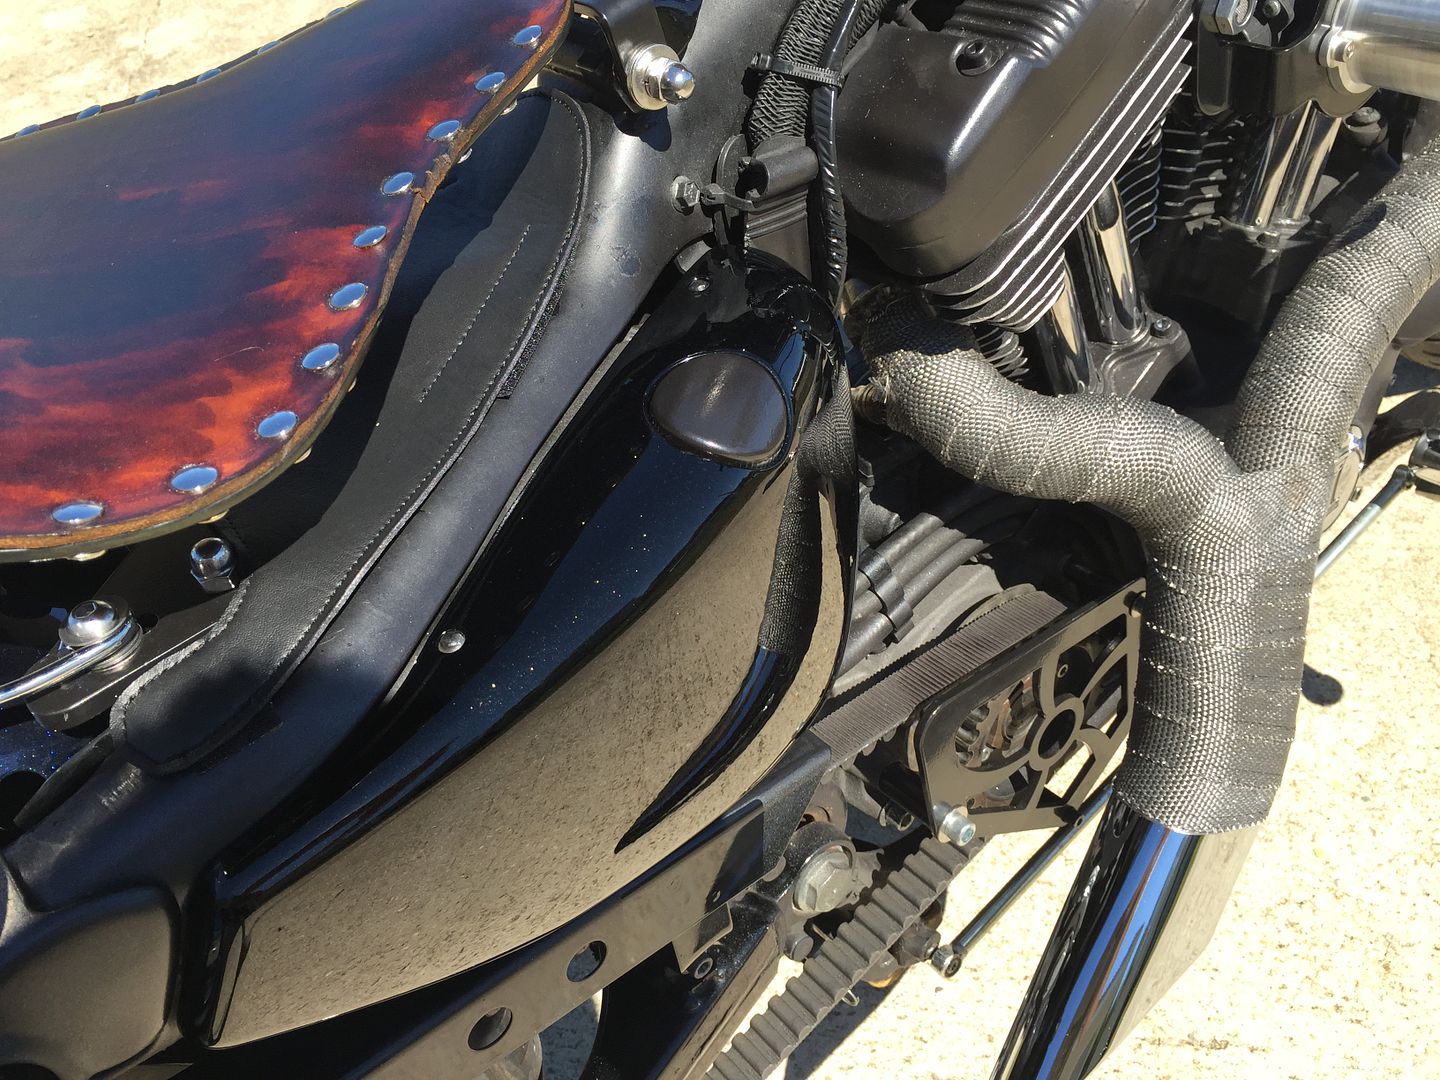
Next was the seat. I bought the DK Customs solo seat kit with the leather covering. Made the whole thing myself and it turned out pretty decent looking. It looks even better in the sun, but that'll come later

Next the exhaust came in. It was a Twisted Chopper Ground Pounder. It was all coming together!

With all that done I sent the tins out for paint. It actually was the longest part of the build because my paint guy is a little slow. But his work is top notch and it came out terrific. I wanted to keep the same pattern as the nightster but with a new more classier twist. You'll just have to keep reading to see it though
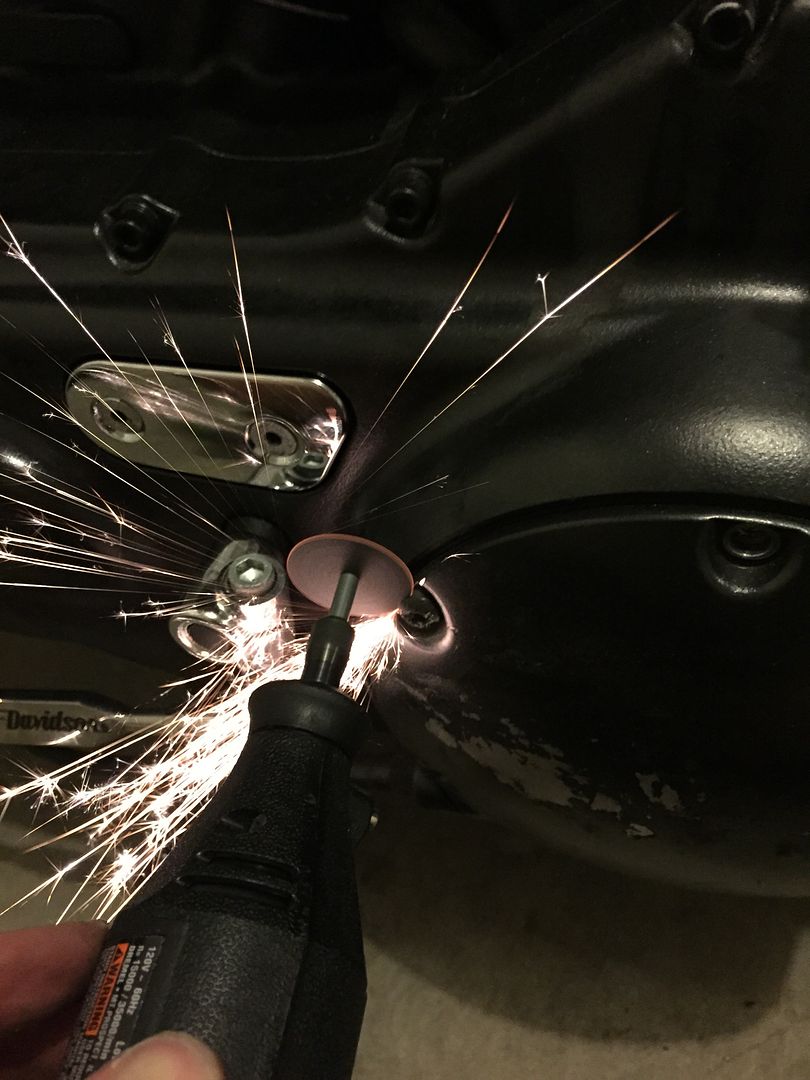
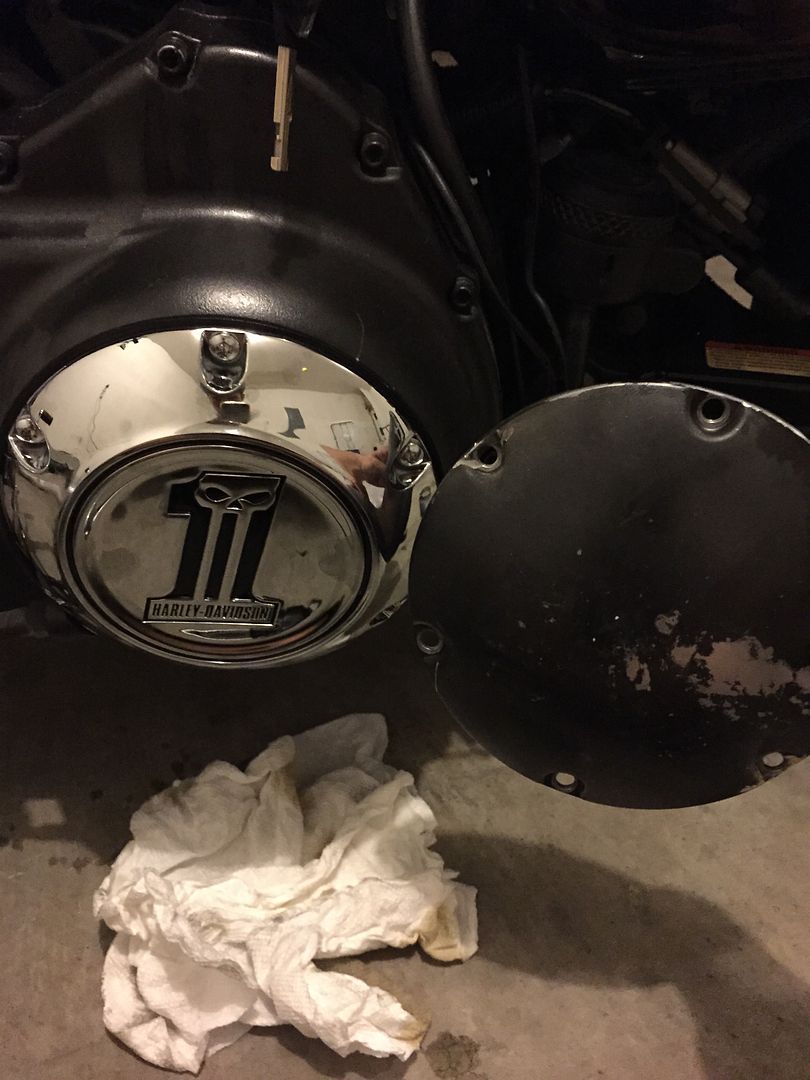
Once all the paint came back, all that was left was to change the oil, and that turned into an adventure in and of itself. The primary cover wouldn't come off, so I ended up having to grind the heads off of two of the five bolts. Since I was trashing the cover anyway, I didn't mind hurting it though
But what came out of the primary looked even worse:
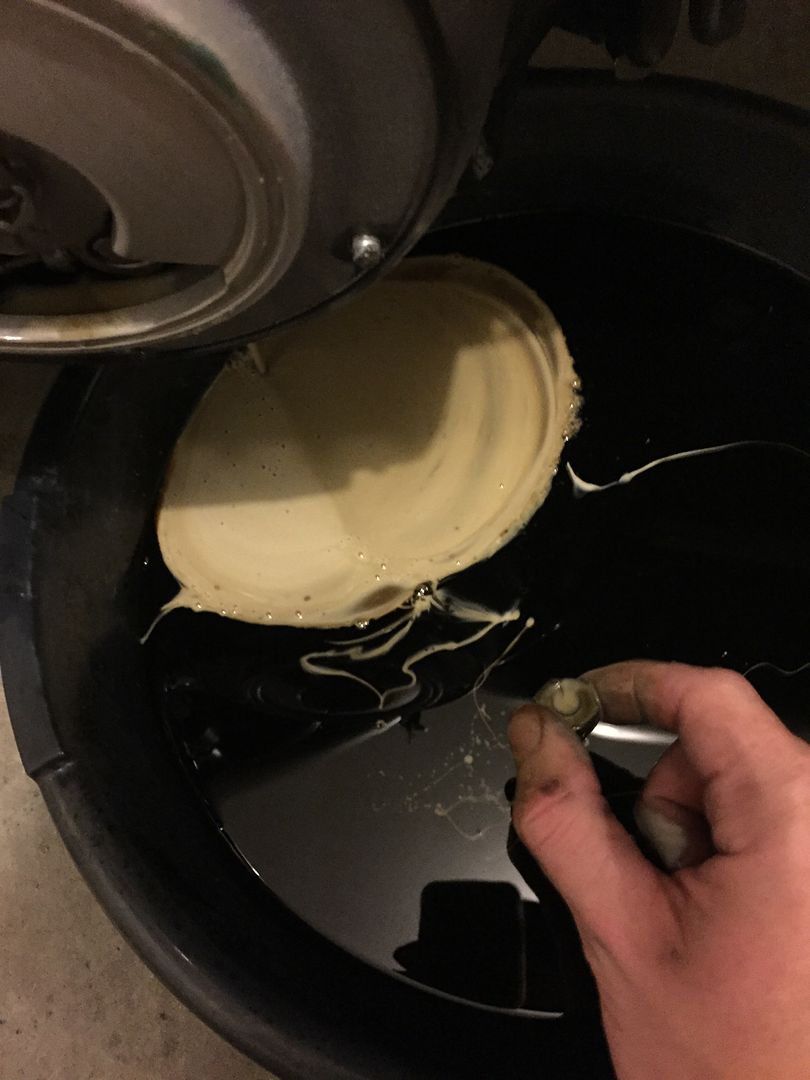
Looks like some water had gotten in there. Probably because it had never been changed but who knows. Put some Harley transmission oil in there and we were good to go... Or so I thought.
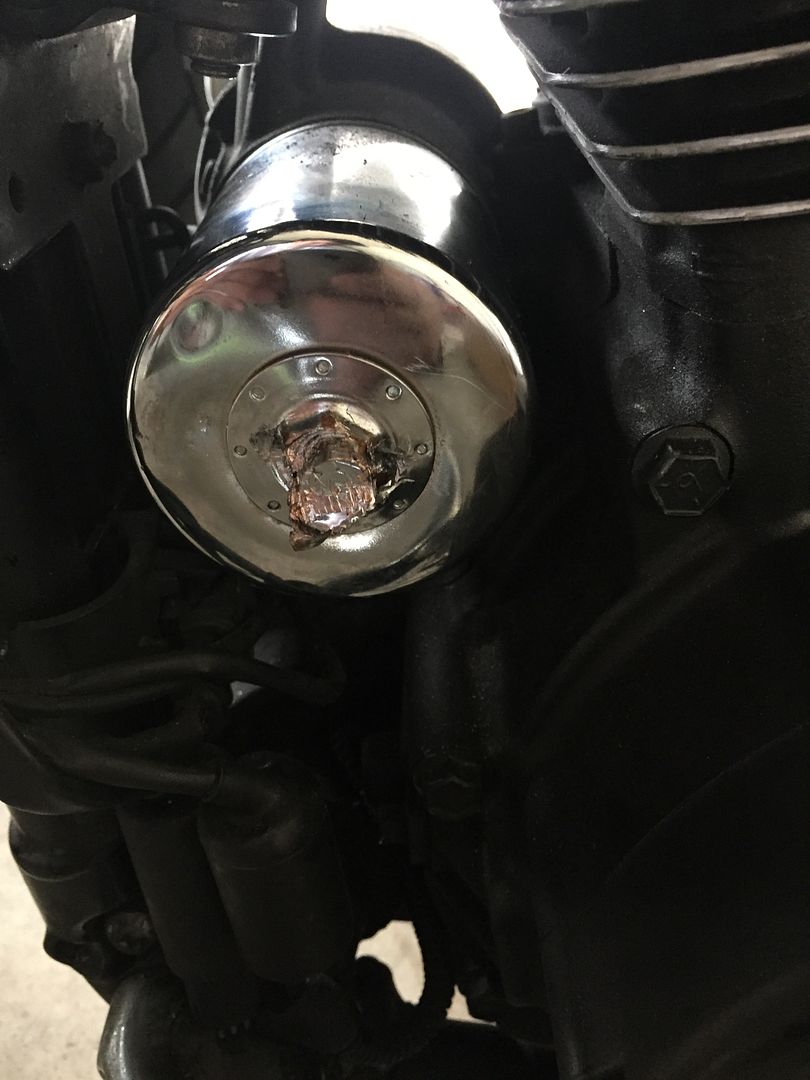
The filter wouldn't come off at all. You can see I destroyed the end trying to get it off. I ended up having to punch a screwdriver through it and twisting it off that way. But once that was done she was all finished.
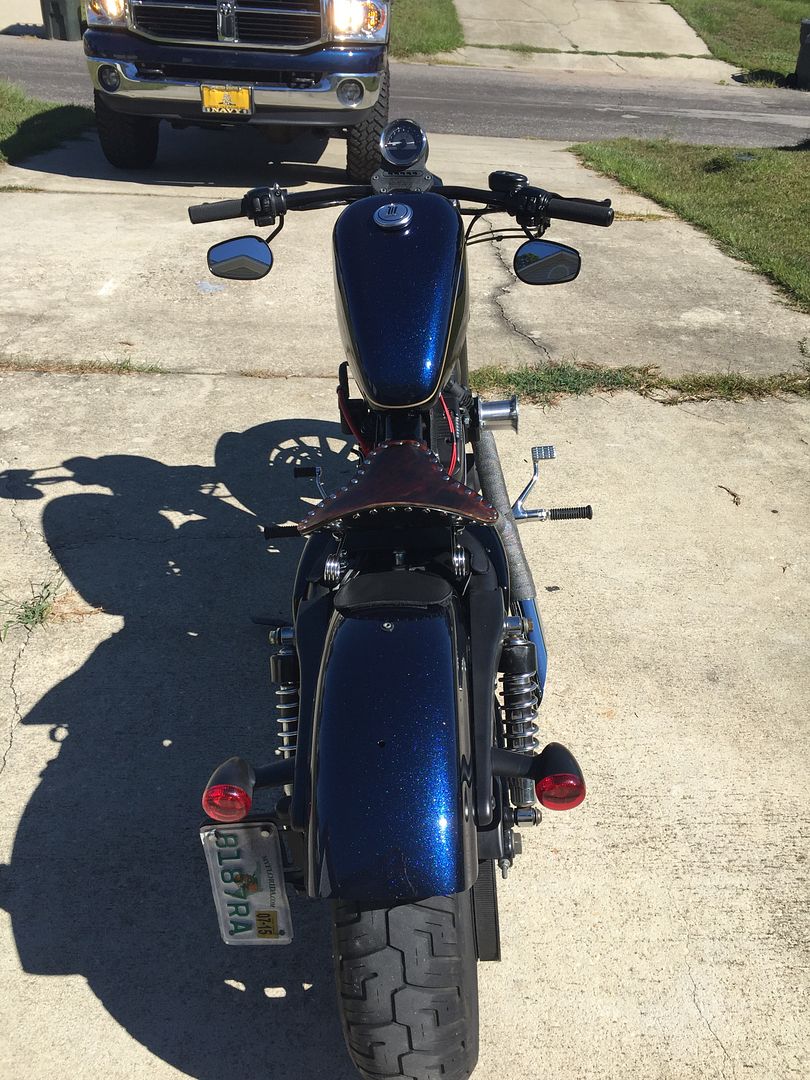
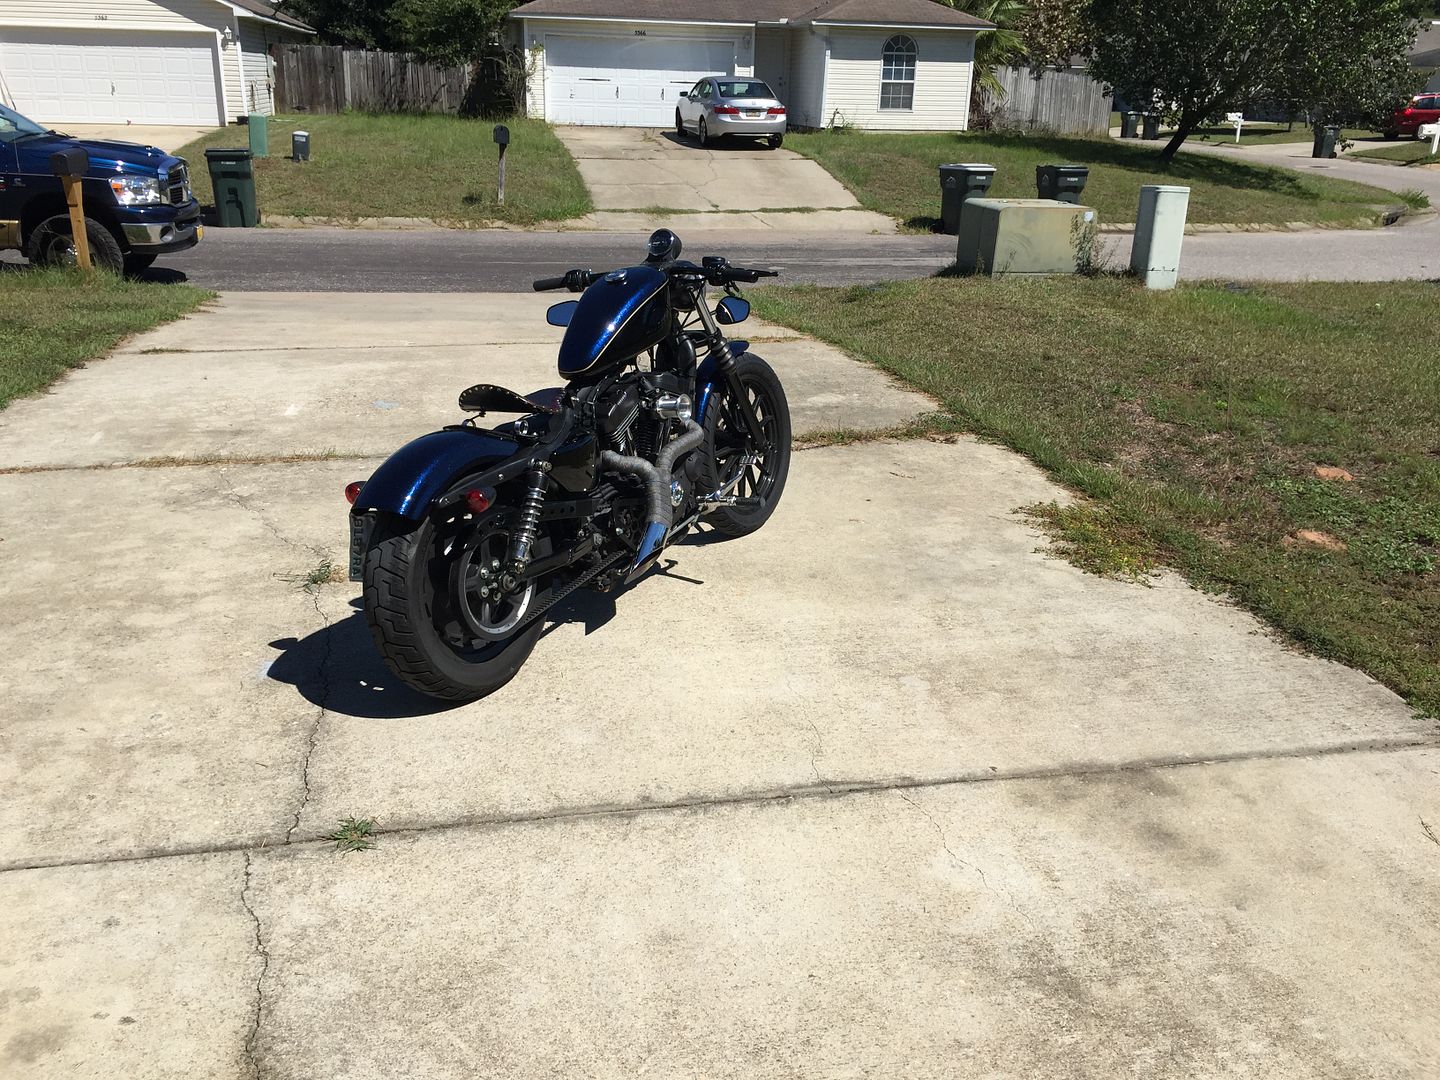
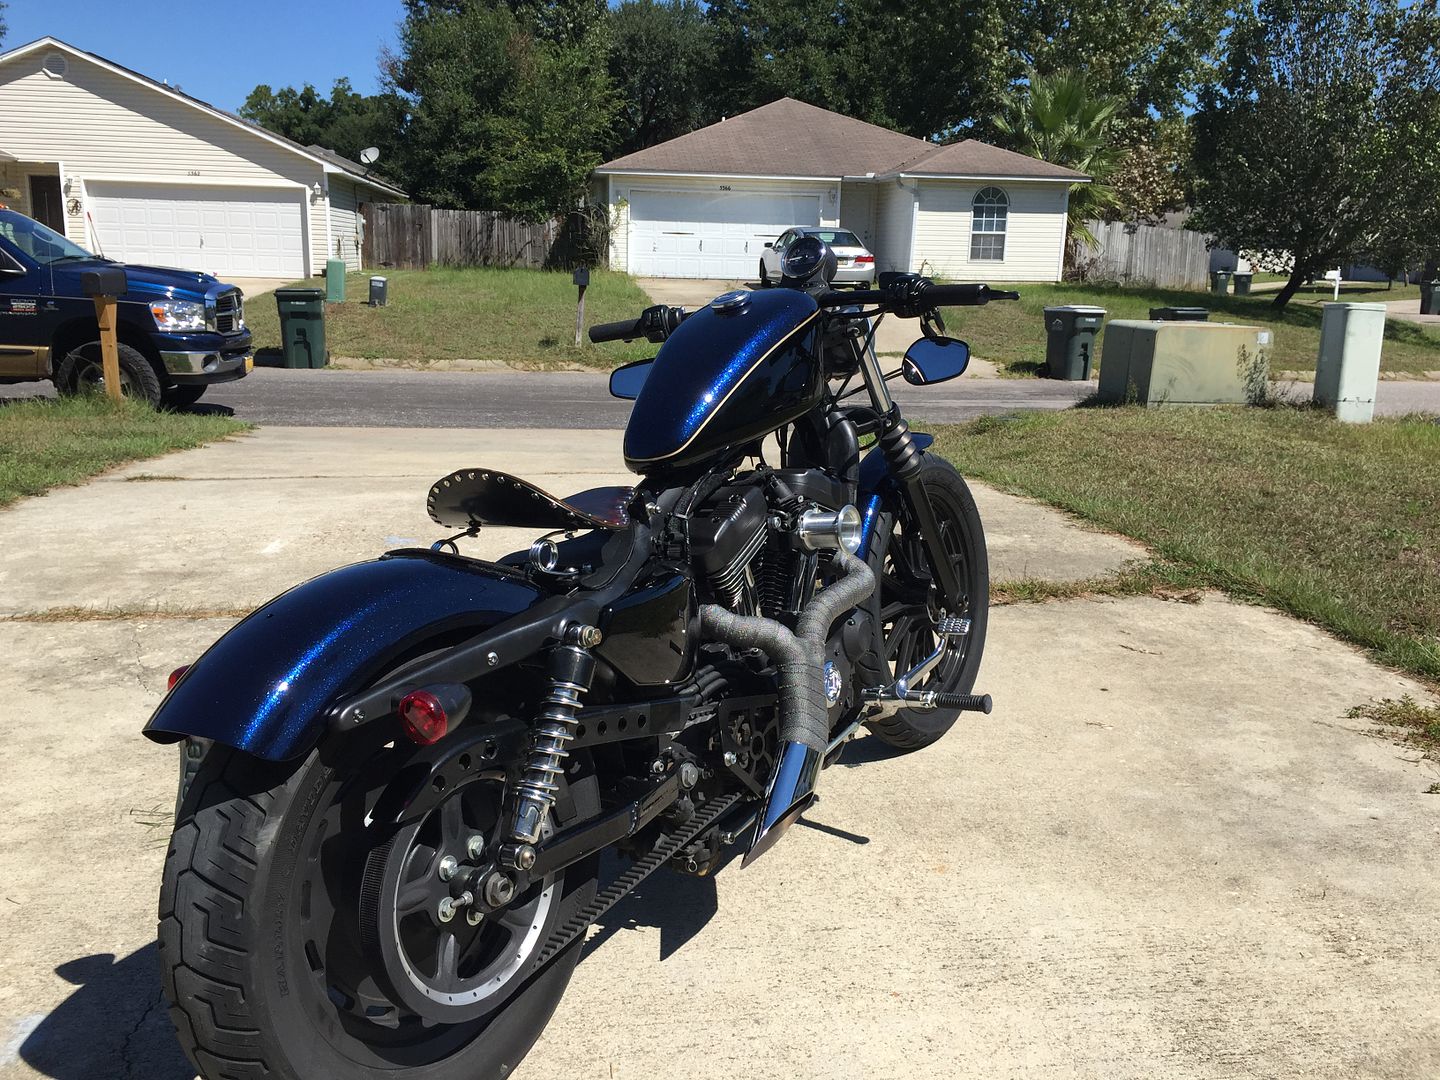
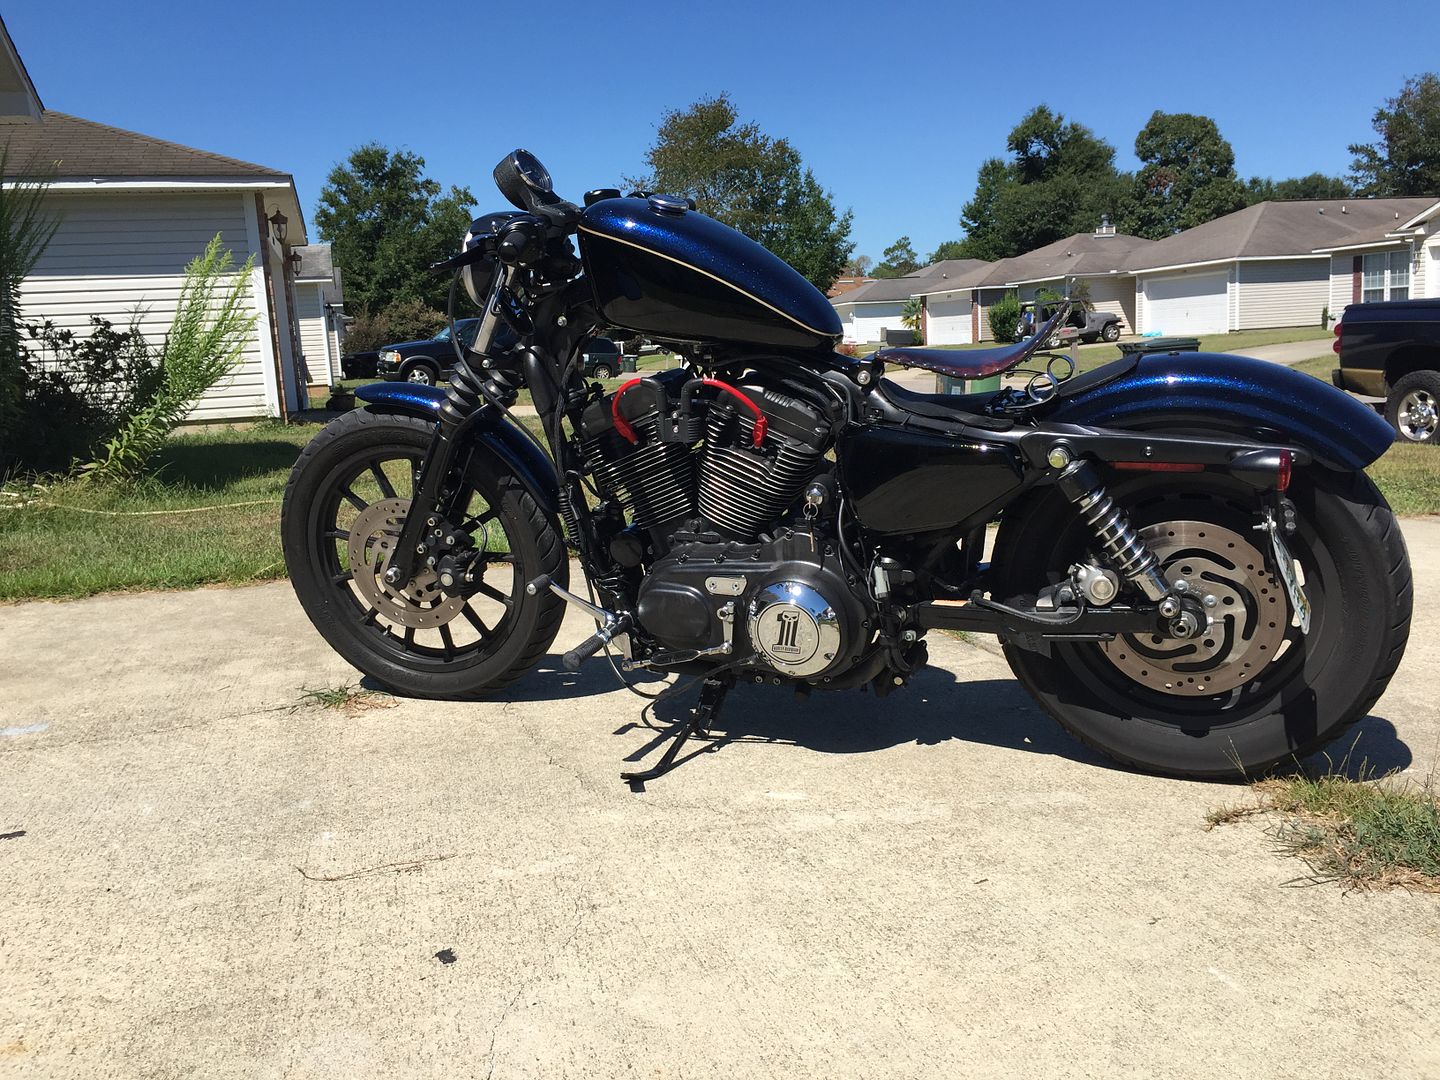
And here she is!


And here's what happened to the switch housing. Bottom is the old ruined one:

Next was the seat. I bought the DK Customs solo seat kit with the leather covering. Made the whole thing myself and it turned out pretty decent looking. It looks even better in the sun, but that'll come later

Next the exhaust came in. It was a Twisted Chopper Ground Pounder. It was all coming together!

With all that done I sent the tins out for paint. It actually was the longest part of the build because my paint guy is a little slow. But his work is top notch and it came out terrific. I wanted to keep the same pattern as the nightster but with a new more classier twist. You'll just have to keep reading to see it though
Once all the paint came back, all that was left was to change the oil, and that turned into an adventure in and of itself. The primary cover wouldn't come off, so I ended up having to grind the heads off of two of the five bolts. Since I was trashing the cover anyway, I didn't mind hurting it though


But what came out of the primary looked even worse:

Looks like some water had gotten in there. Probably because it had never been changed but who knows. Put some Harley transmission oil in there and we were good to go... Or so I thought.

The filter wouldn't come off at all. You can see I destroyed the end trying to get it off. I ended up having to punch a screwdriver through it and twisting it off that way. But once that was done she was all finished.
And here she is!


#3
09-13-2015, 11:14 PM
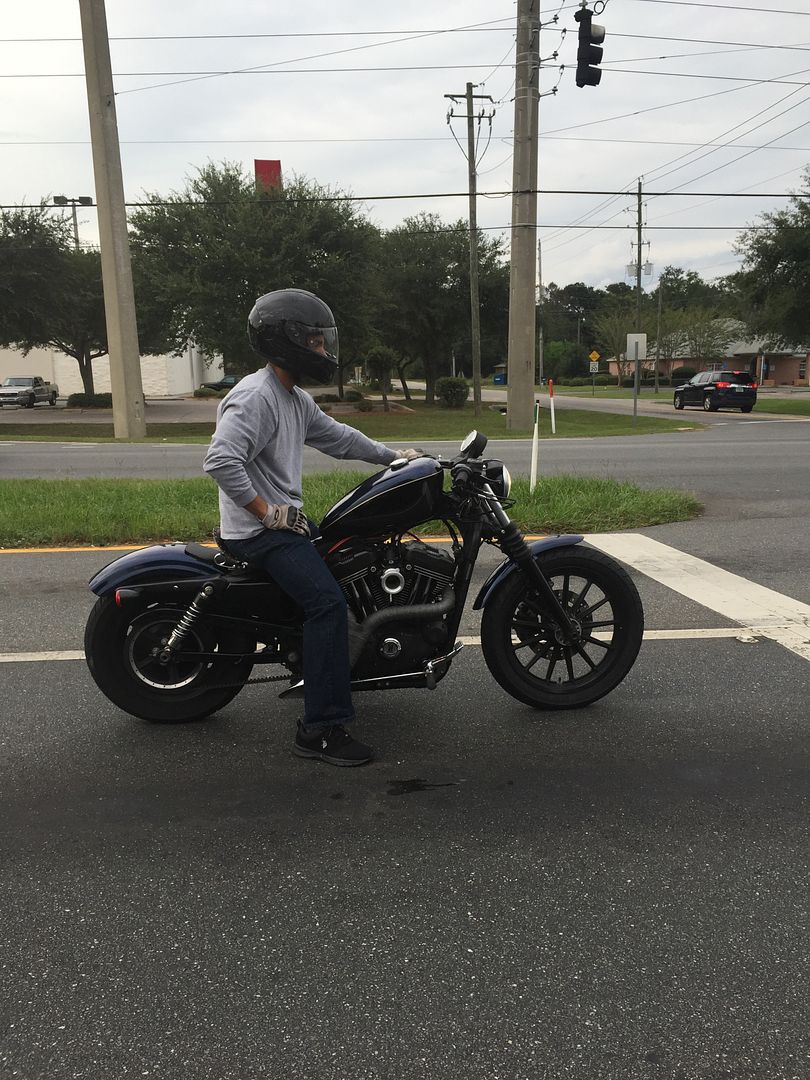
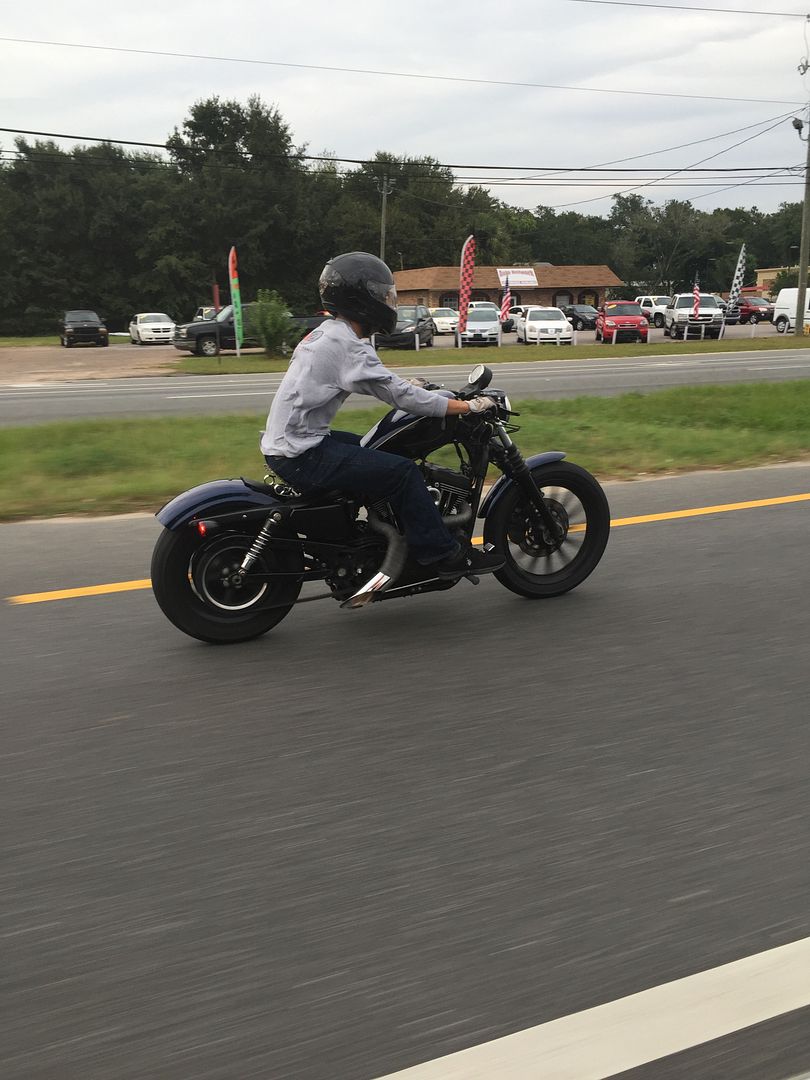
Here's a picture of a bud riding it so you can see the stance:
And just as some general info here's some of the parts that are on it:
Twisted Chopper Ground Pounder Exhaust
DK Customs:
Coil and Key relocation
Outlaw seat pan and leather cover kit
Velocity stack air intake
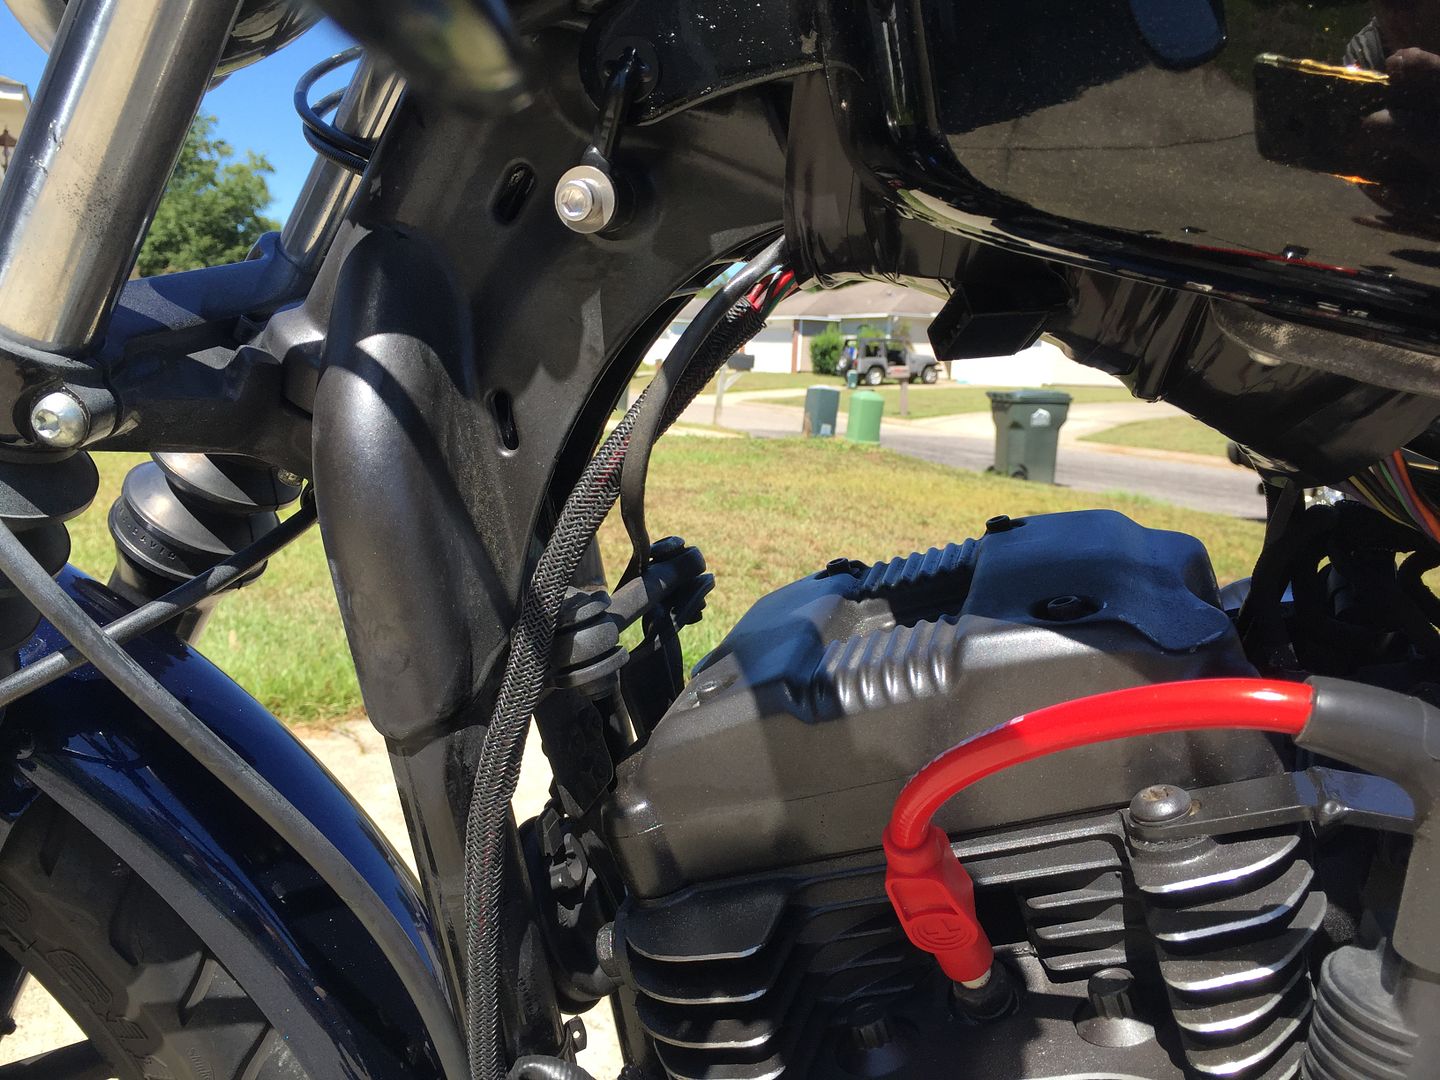
Red spark plug wires
1.5" tank lift
ECM fender cover
Wire tuck tape
Open Sprocket cover
Arlen Ness grips
32" drag bars w/ 4" pullback
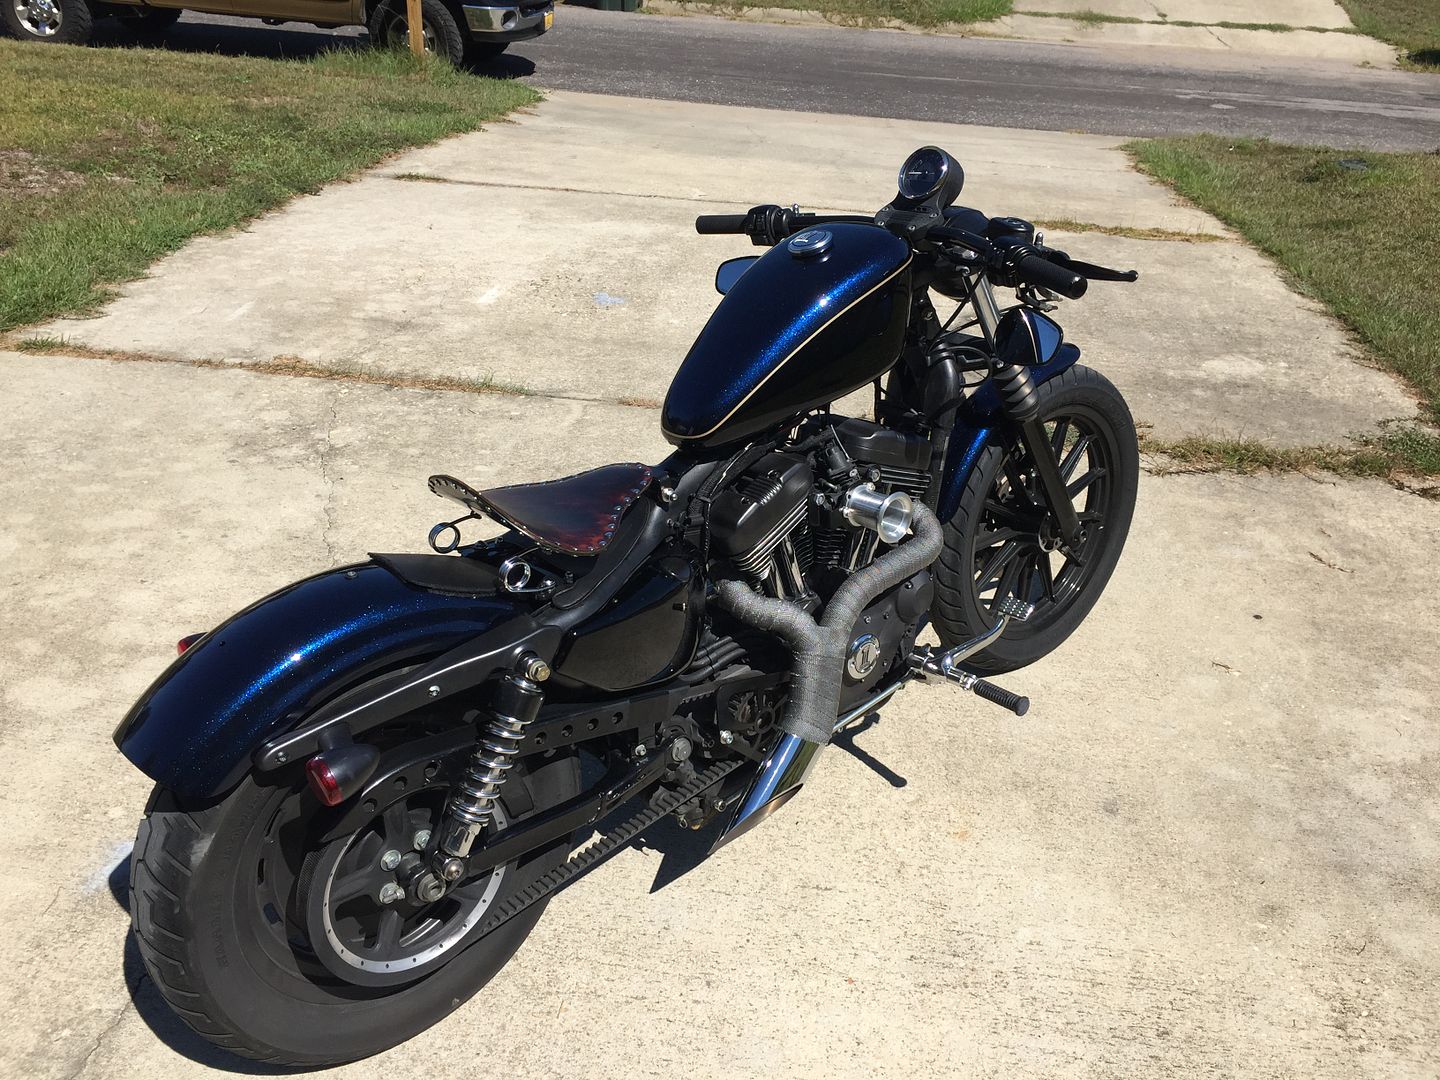
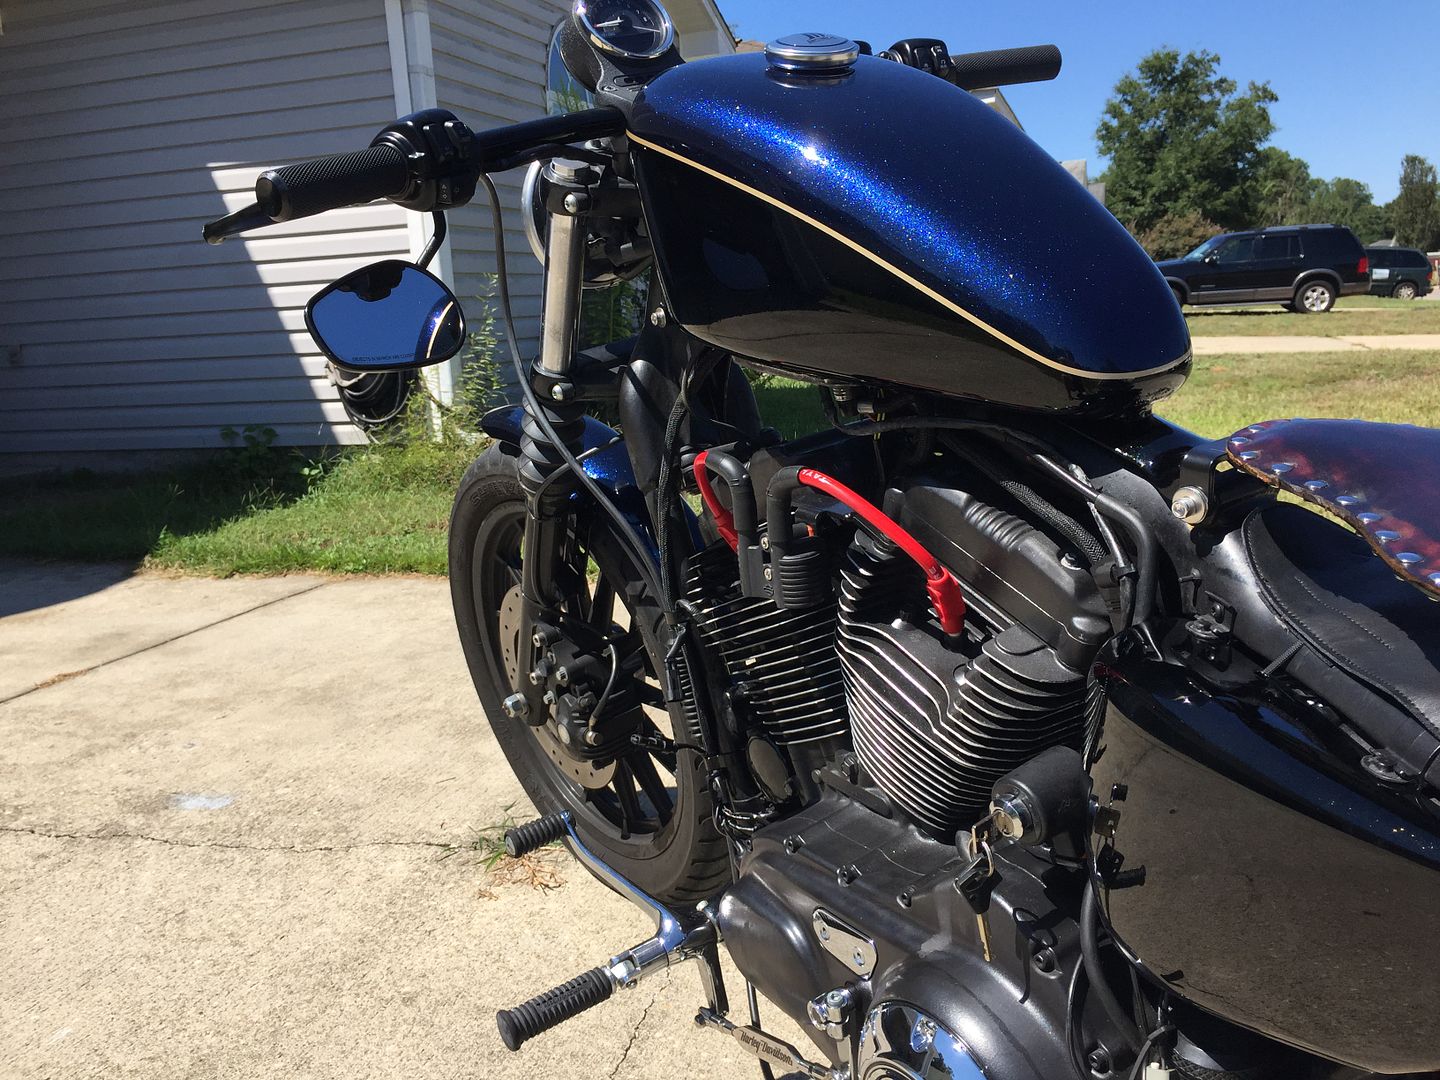
The tins were painted by Mikes Garage in Pensacola, FL. It's a custom job with Harley big blue pearl mixed with some gold flakes. The black is Harley Vivid black with the same gold flakes spread throughout. And then a gold 3/16" stripe dividing them. It's hard to get a true appreciation for the paint on pictures but the gold flakes are subtle but really add a depth to the bike that look awesome when you get closer.
Hope you all enjoyed! Feel free to ask any questions.
FROM PAGE 2: VIDEO OF EXHAUST INCLUDED
As promised here are a few more and a few things I forgot to mention!
First thing I forgot, when my paint guy did the stripping and then sanding he actually covered over the plastic piece around the oil dip stick, so now it's one seamless piece. Didn't know he was going to do it, but it turned out awesome. You can also kind of see the gold flake in the black. No amount of picture taking can capture it for some reason so you'll just have to trust me.
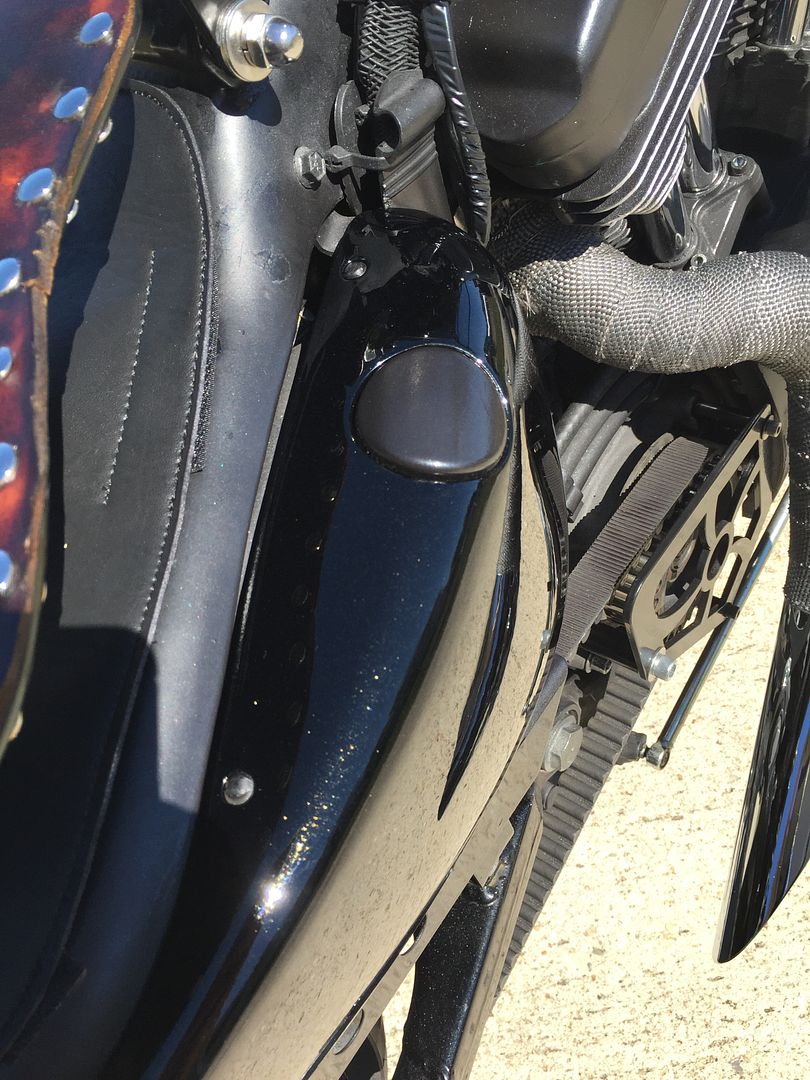
Here's the contrast of the DK customs tank lift and the old cheaper tank lift that was on there from an unnamed brand. DK does it right, and it definitely shows
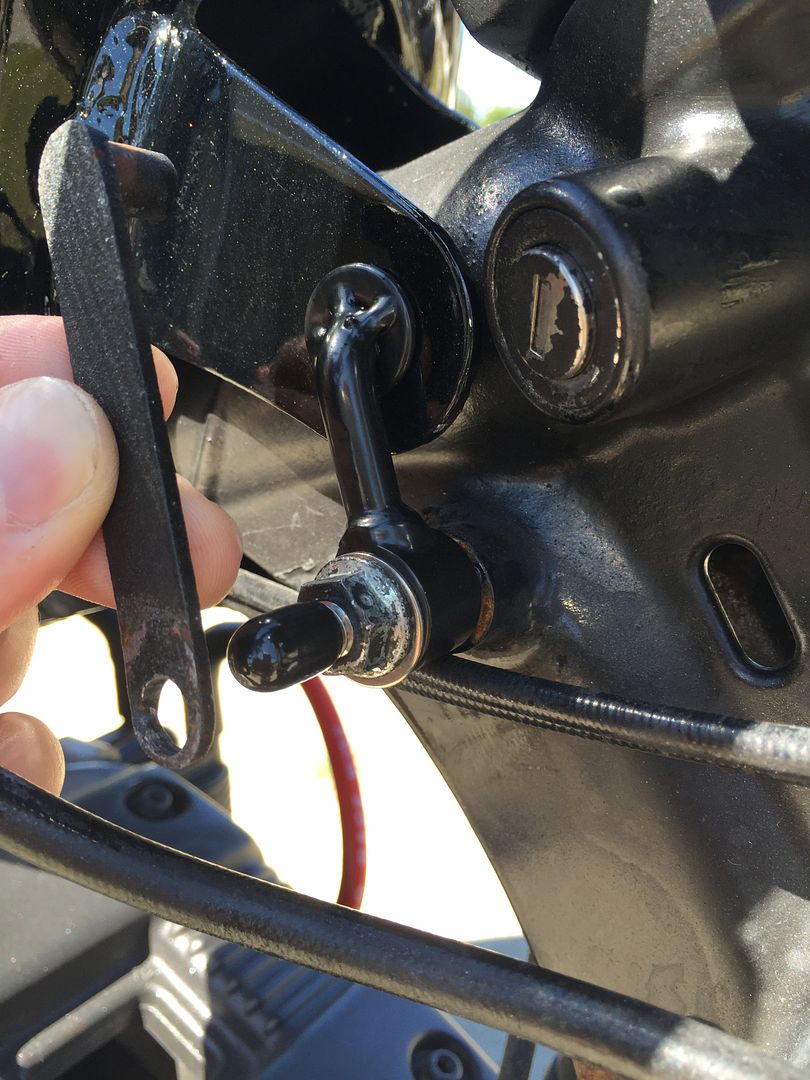
And here are some shots of the coil and key relocation:

And of course here is the video of the exhaust sound


And just as some general info here's some of the parts that are on it:
Twisted Chopper Ground Pounder Exhaust
DK Customs:
Coil and Key relocation
Outlaw seat pan and leather cover kit
Velocity stack air intake
Red spark plug wires
1.5" tank lift
ECM fender cover
Wire tuck tape
Open Sprocket cover
Arlen Ness grips
32" drag bars w/ 4" pullback
The tins were painted by Mikes Garage in Pensacola, FL. It's a custom job with Harley big blue pearl mixed with some gold flakes. The black is Harley Vivid black with the same gold flakes spread throughout. And then a gold 3/16" stripe dividing them. It's hard to get a true appreciation for the paint on pictures but the gold flakes are subtle but really add a depth to the bike that look awesome when you get closer.
Hope you all enjoyed! Feel free to ask any questions.
FROM PAGE 2: VIDEO OF EXHAUST INCLUDED
As promised here are a few more and a few things I forgot to mention!


First thing I forgot, when my paint guy did the stripping and then sanding he actually covered over the plastic piece around the oil dip stick, so now it's one seamless piece. Didn't know he was going to do it, but it turned out awesome. You can also kind of see the gold flake in the black. No amount of picture taking can capture it for some reason so you'll just have to trust me.


Here's the contrast of the DK customs tank lift and the old cheaper tank lift that was on there from an unnamed brand. DK does it right, and it definitely shows

And here are some shots of the coil and key relocation:


And of course here is the video of the exhaust sound
Last edited by bigmant; 09-14-2015 at 09:00 PM.
#4
09-13-2015, 11:15 PM
Stellar HDF Member
Great save!
Sounds and looks like the second owner of the bike was a complete idiot and pretty well molested it with the bed liner, rattle can paint, wrong size screws, and jerry rigged things! I honestly probably just would have laughed in the guys face and left, if i went to look at it and saw what you came home with.
Also GREAT idea in grinding the edges of the fins... I might have to go hit all the fins on my street bob now to match my new wheels. pretty odd that only the top 3 fins of each cylinder on the right side are machined on my bike.
Last edited by 2500hdon37s; 09-13-2015 at 11:20 PM.
#5
09-13-2015, 11:53 PM

#6
09-14-2015, 12:53 AM

Platinum Sponsor
Join Date: Nov 2010
Location: Red Banks, Mississippi
Posts: 17,456
Received 3,930 Likes
on
2,288 Posts
Hey Kevin!
When I opened this post and looked at the first picture....I was thinking...
WHAT did Kevin do to his bike???? It does not look anything like what you were riding when you were out our way.
Then I started reading and realized you had not ruined your ride.
Super nice work! Like all the DK parts on it.
Fantastic job on staining the seat...really like how that turned out!
Do you have a sound clip of what that exhaust sounds like?

#7
09-14-2015, 01:07 AM

Trending Topics
#8
09-14-2015, 06:22 AM
Road Master
#9
09-14-2015, 06:37 AM
Club Member