I just picked up my first motorcycle, and my first Harley-Davidson: a 2000 XL883 Hugger with 36k miles from its second owner. As you can see, it came with a lot of accessories for touring:
From what I can tell, the previous owner enjoyed it a lot, but took excellent care of it, with regular synthetic oil changes - a trend I hope to continue. However, touring isn't really my style. I really love the aesthetics of '70s trackers, scramblers, cafe racers, and brat-style bikes. Since the bike is white, an Evel Knievel-inspired build seems natural, and interestingly enough, someone already did it:
I want to build something like this, while maintaining the functionality of the bike. The first steps were to strip off all of the touring gear. I spent a lot of time getting the bike inspected, transferring the title, and registering it, but I still had a couple hours to kill tinkering with the bike.
When I went to remove the saddlebags, I discovered that the mounting brackets use longer bolts for the shocks, so I'll have to pick up new hardware before I can remove the brackets. I also found a 12V accessory outlet wired directly to the battery, which I removed:
Even after removing the bracket, I couldn't figure out how to remove the battery. Even though I was being exceptionally careful, I nearly welded my 10mm to the negative terminal. When I remove the wiring for the lights on the highway bars, I will have to be much more careful, or dig into the manual to figure out how to remove the battery. I also found this, unfortunately:
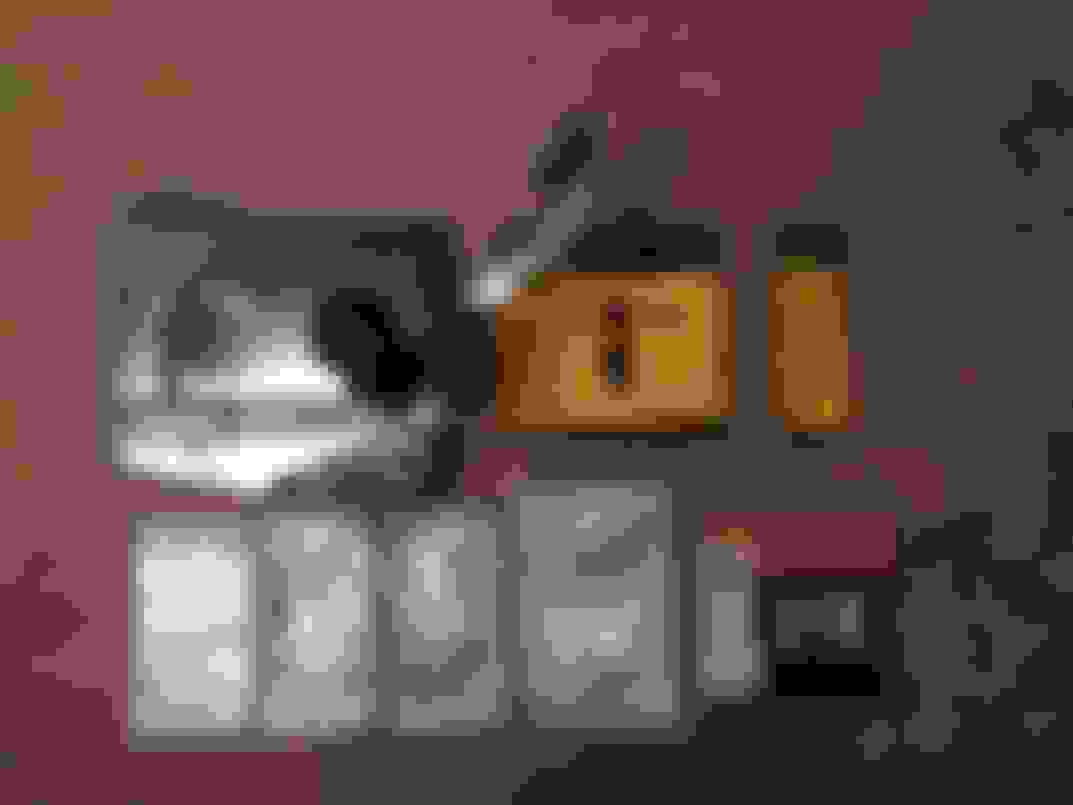
On the bright side, since it needs bodywork anyway, I now have a pretty good excuse to bob the rear fender - once I find an LED taillight and license plate mount I like. The fork bag wore through the paint on the front fender, so as soon as I cut the rear fender and find a good source for the "#1" tank graphics I want, I'll have a friend repaint the bike for me. I'm thinking Crushed Ice Pearl from the 2016 Street Glide. Here's everything I removed from the bike today:
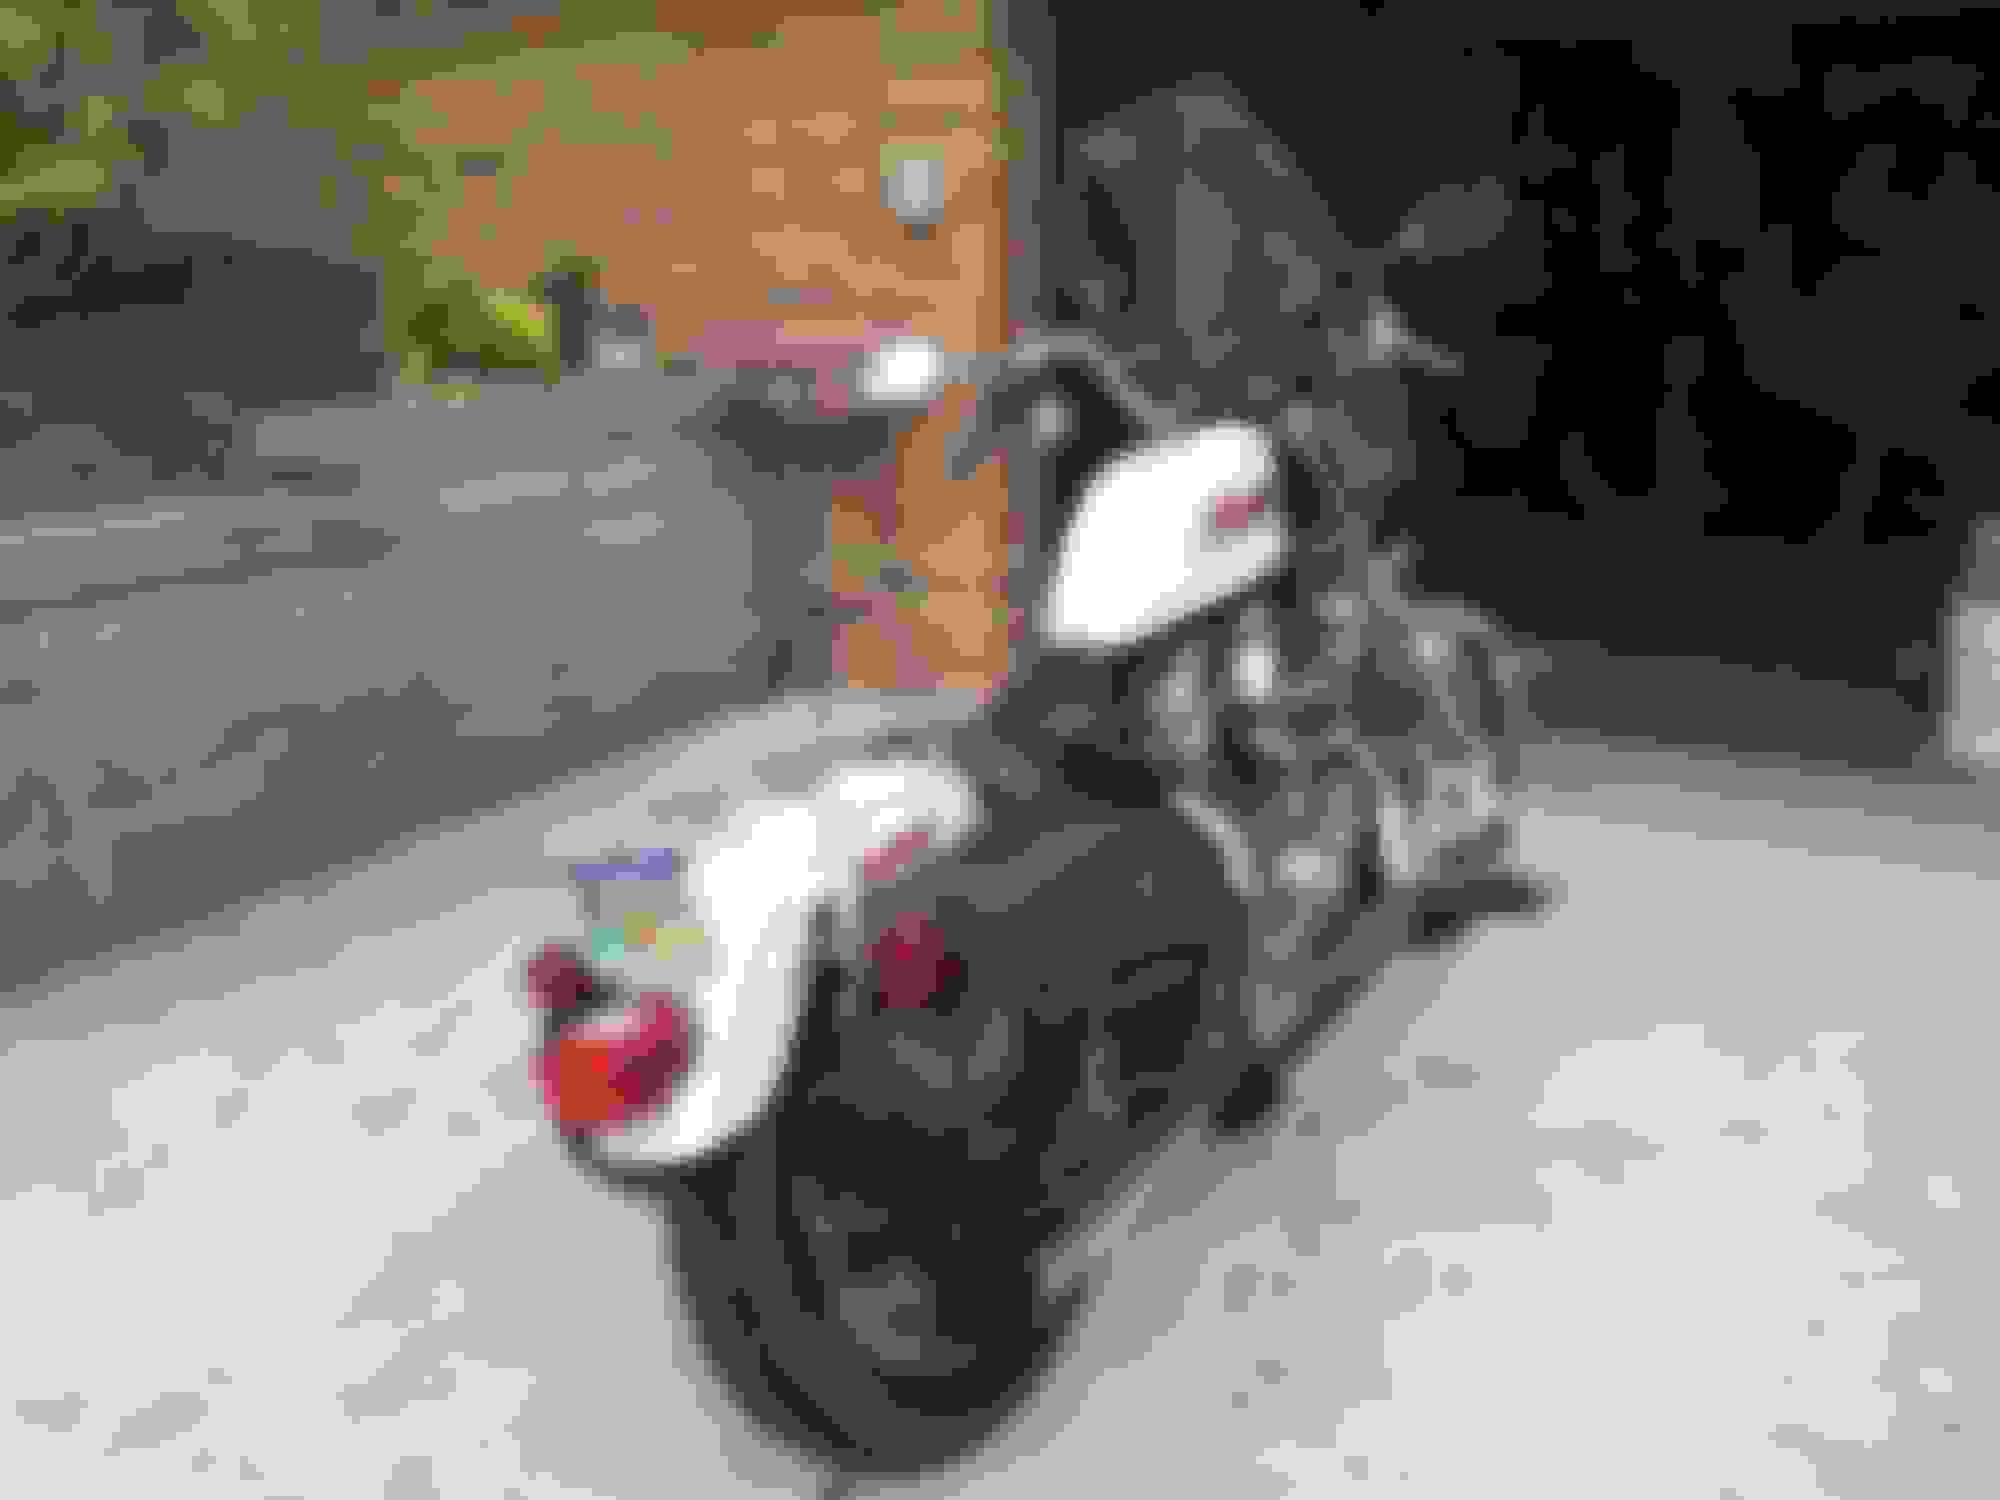
I still have a big box of spares that the PO was gracious enough to include, as well as the owner's manual and the factory service manual! Score! It was pretty rainy and wet when I brought her home, so much so that I really didn't grab any pictures except for this one:
I didn't have a real chance to detail the bike, but I did take a moment to clean it up a little bit before taking a ride with my Dad and his Vespa GTV 300 ie. Here are a few photos from our evening ride:
Even after just 20 miles, my wrists started hurting - these buckhorn handlebars really suck! I have a set of Biltwell trackers on the way soon, along with some other goodies, so stay tuned! Thanks for reading!
Oh, wow! I made the front page! Way cool. Unfortunately, I didn't get a lot done this weekend, but I had a good reason - my girlfriend was graduating from graduate school, so the weekend was spent with the ceremony and the ensuing celebration. Still, I managed to remove the "bicycle reflectors" and the PA registration sticker from the front forks and rear fender:
I did put about 50 miles on the bike riding around with my friend and his Royal Enfield Bullet 500. I took a picture with his bike and my bike next to his dad's all-original '74 XLCH Sportster.
I am still waiting on just a few more parts to begin the transformation in earnest. I'm already sitting on a big pile of goodies...I can't wait! I still need to give the bike a thorough detail, but I think it will clean up nice with a little work.
Looks like it is going to be a fun build. Already looks way better. But I'm partial to the strip down look on sporty's. looking forward to see where you go from here with the bike
Man, it's been a while without an update! I've been busy collecting parts to begin the transformation. Still a long ways from having everything I need, but I've managed to collect a lot in the past few weeks. One lucky find was a set of mid controls on eBay, with all brand new hardware for the swap! I hate swapping over new parts only to reuse crummy old hardware, so this made me very happy, and I got a great deal, too. Today I started on the hard side...the rear brake lever. Thanks to some help from the forums and some instructions for a nice set of aftermarket mids I found online, I was able to get the belt cover off, and polish it up nice with the Mothers Mini PowerBall I picked up. It didn't come out bad at all, considering it's 16 years old and has probably never been polished since it left the factory!
As you can see, I started preparing it to go back on the bike, but first I'll install my new timer cover, which is from a Sportster 72. I think it will really add to the aesthetic I'm going for, and will complement the Mooneyes air cleaner I want to buy! I'd also like to point out that I really dig the beefy rubber pegs that were included in the set of parts I bought, they really look the part! All that I am missing at this stage is a cotter pin for the inside of the belt cover, for the castle nut on the bolt holding the peg.
Here's a shot of my new Biltwell Banana seat, our pet hedgehog is eager to go for a ride.
It's supposed to rain tomorrow, so I might not get to work on it then, but I should be able to start re-assembly (at least for the brakes) on Tuesday night, hopefully finishing up this week. I'm taking my time, trying to get everything nice and clean as I work on the bike. If the belt cover is any indication, it will all be worth it in the end!
awesome stuff man.. cant wait to see it on the bike... and pretty rad you have a pet hedgehog! lol he looks badass
She's pretty cool. She's chilled out in the picture because she just got a bath but a lot of the time she is very antisocial. She was a package deal with my girlfriend when she moved in and I'm pretty fond of her. The girlfriend isn't bad either, haha.
The seat will be a bit of a delay, I tried to drill the hole once and screwed it up, and between that and the dents I'm going to just order a new fender and cut it like yours once I figure out turn signals, a brake light, and a license plate mount.
Hmm, I'm going to have to get one of those polishing ***** and go to town on my aluminum parts. Also, you've got to take that hedgehog for a ride now and post pics lmao. Looking forward to the assembly update and to see what the mods look like on your bike.
lol nice package deal! Might aswel take advantage of some of the nighster/iron fender take offs from ebay. i was watching one that was around $150. already factory chopped!

 05-16-2016, 11:31 PM


 When I remove the wiring for the lights on the highway bars, I will have to be much more careful, or dig into the manual to figure out how to remove the battery. I also found this, unfortunately: