
Old school inspired exhaust
#1
 04-07-2011, 08:16 AM

I've been hustling to get my 2-up bike done to get it to paint to make my wife happy
(this one)
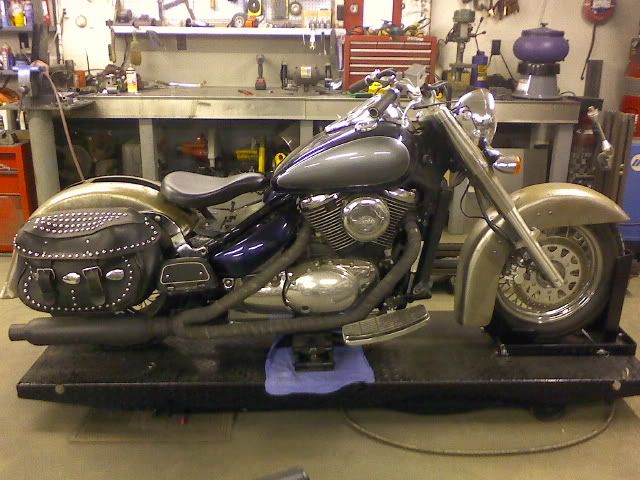
and I haven't messed with my Sportster projects lately so last night I wanted to do something but realized I didn't have parts to really get in to anything. A few days ago my friend Mike from American Rides Choppers told me about a cool "how-to" for do it yourself Lake Headers that's on his friend's site http://www.oldtinrods.com/lakes_pipes.html and I thought something like that would be cool on a bike so...
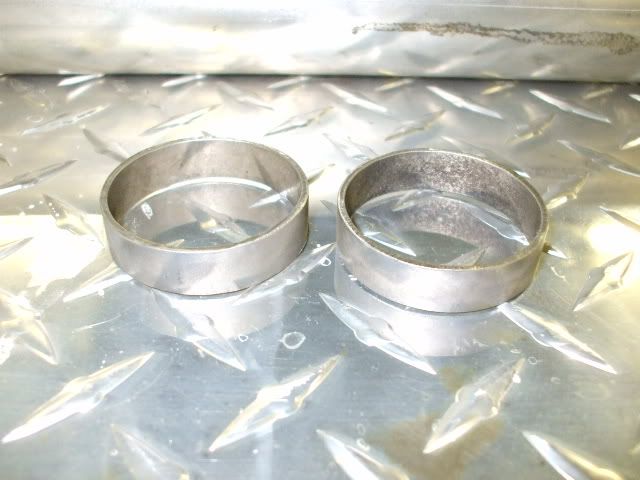
I started by cutting the ends for the mount flanges and a 24" length of 2.25" exhaust tube.
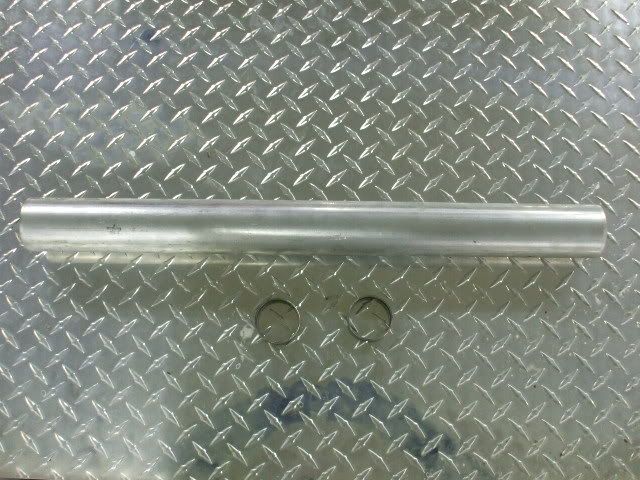
If you checked out that link, or if you've seen Lake Headers on a rat rod you'll notice the pipe tapers from a smaller o.d. at the beginning to a larger o.d. at the end. I marked the circumference I wanted the smaller end to be on a piece of tape
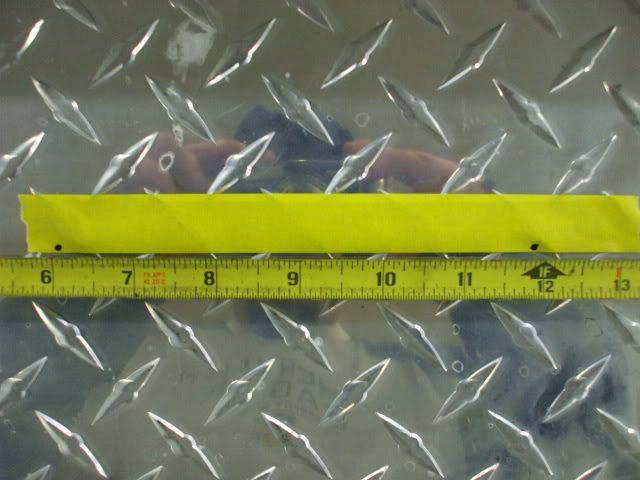
then wrapped that piece of tape around the 2.25" tube and transfered the measurement.
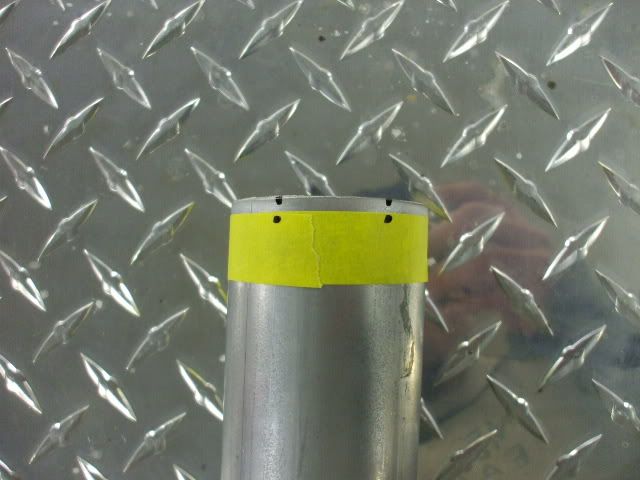
This will be the end of my pie cut. I transfered the same measurement to the opposite end, marked the center of the two markings and taped off my cut line.
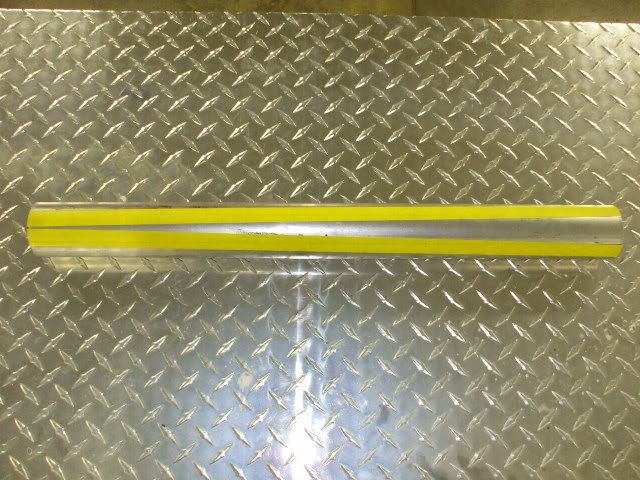
Here it is cut.
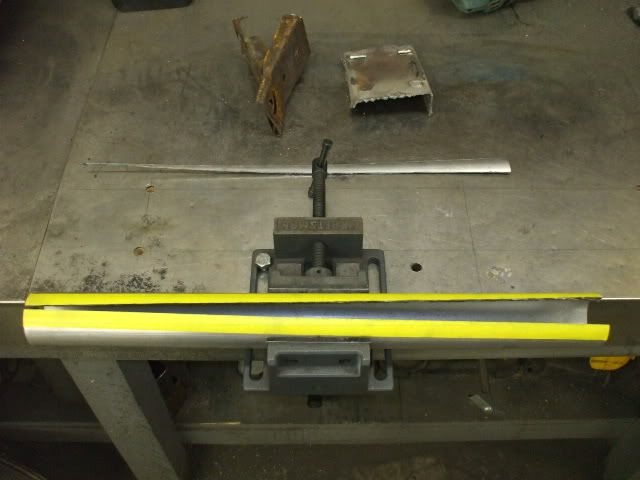
Next, following the directions in the how-to link, I SLOWLY worked the tube through my bench vice tacking it along the way. A little heat helps but not too much or the tube will collapse.
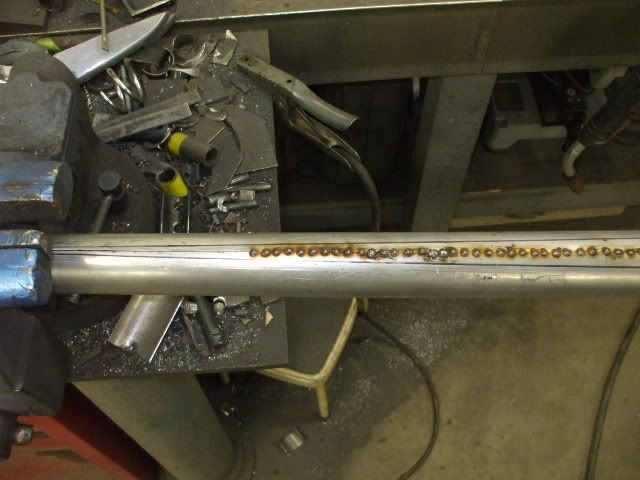
Here it is fully welded and smoothed.
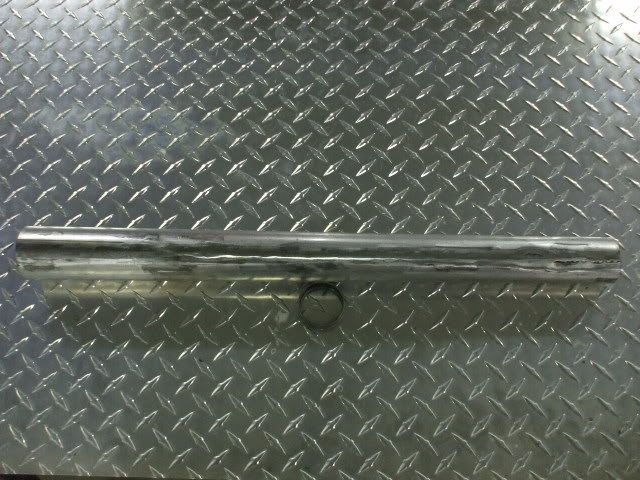
The taper is subtle. I chose to use 2.25" tube instead of 3.5" because the larger diameter will be too much of an open pipe for anything smaller than 2 liters, although, while I was making this one I came up with an idea for getting the back pressure I need using a larger diameter tube.
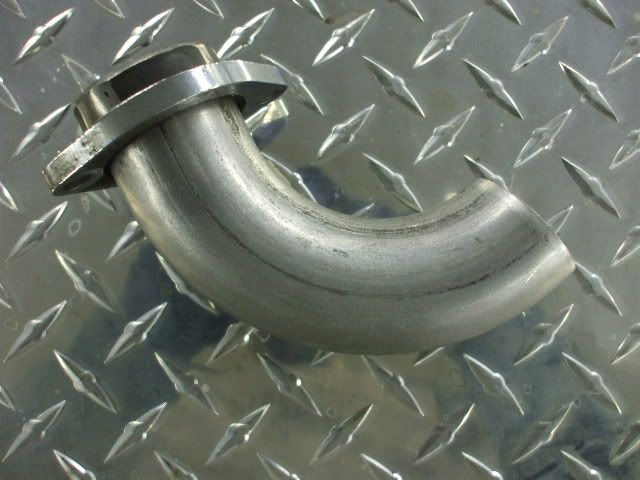
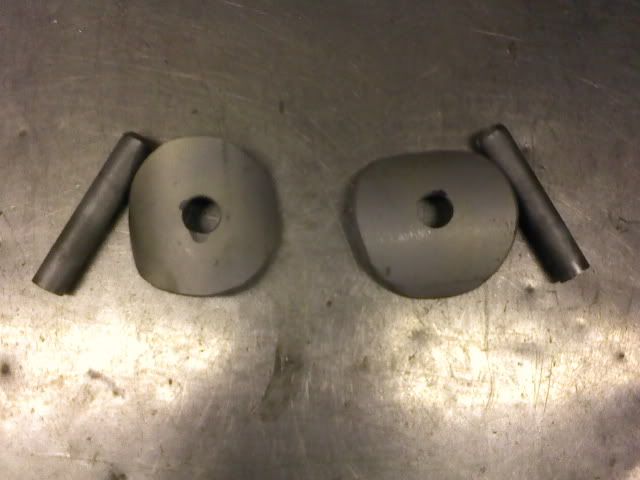
I grabbed a few tubes out of my box-o-bends to make the 1.75" ends, drilled some weld holes in the flange mount pieces I cut earlier.
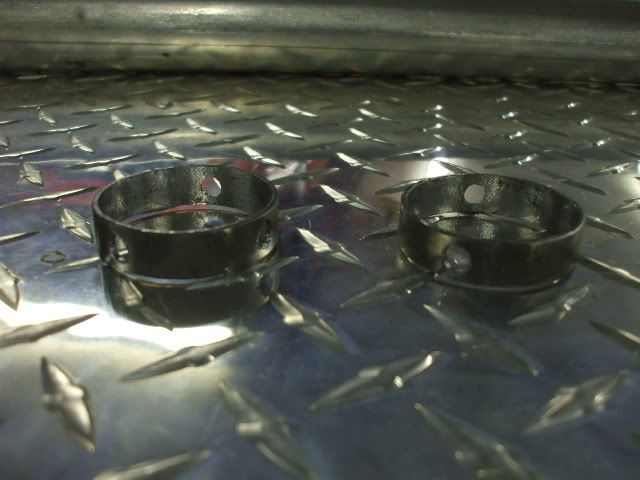
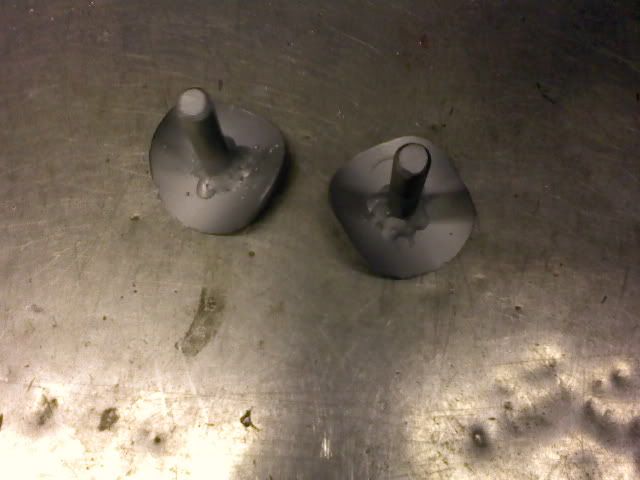
I plug welded them to the head pipes and fully welded the ends.
Smoothed
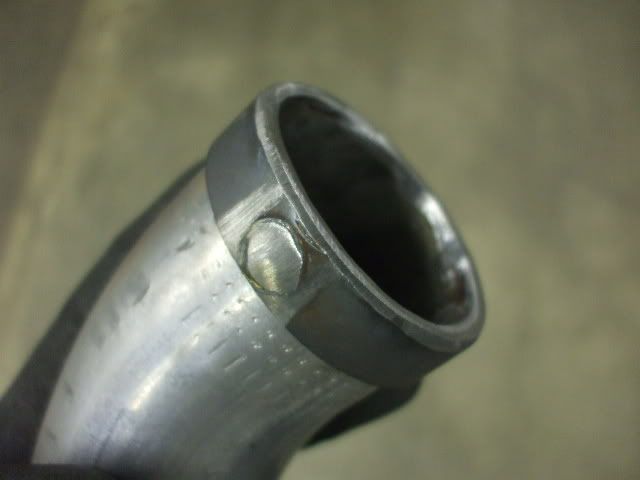
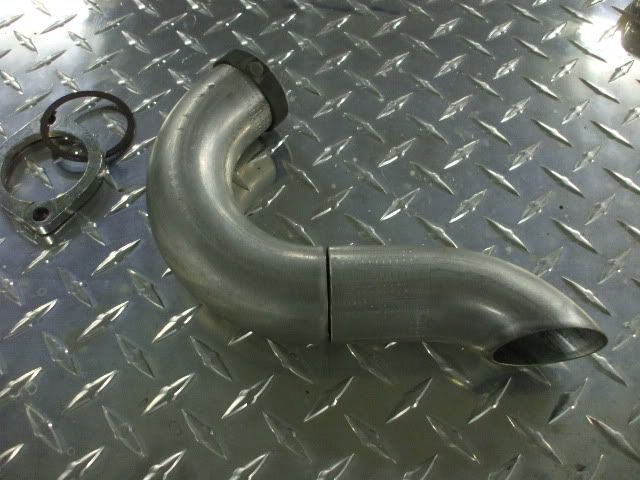
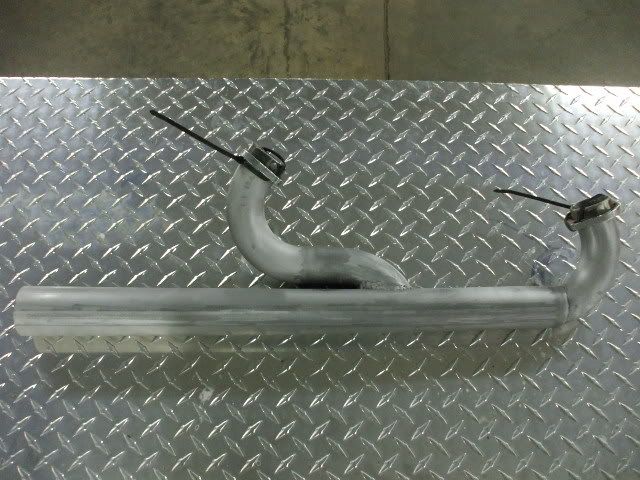
Here's the front bend welded to the tapered piece.
Here's where I had to change the look a little bit. If I was to run the rear pipe straight to the tapered piece it would be way too short so I marked & cut these pieces
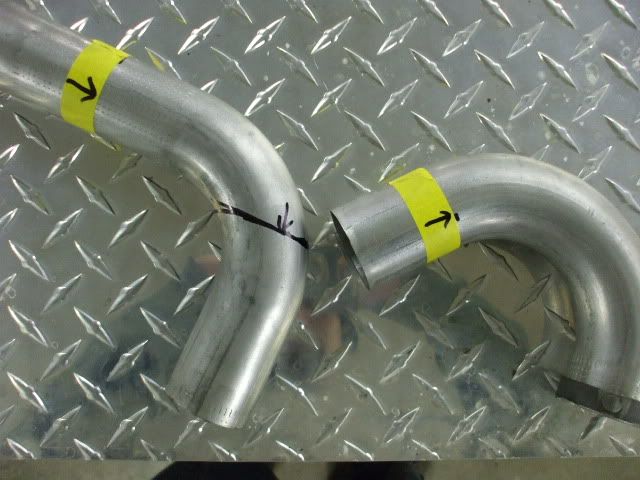
To form this to get a little bit of length in the rear pipe before it intersects the tapered piece.
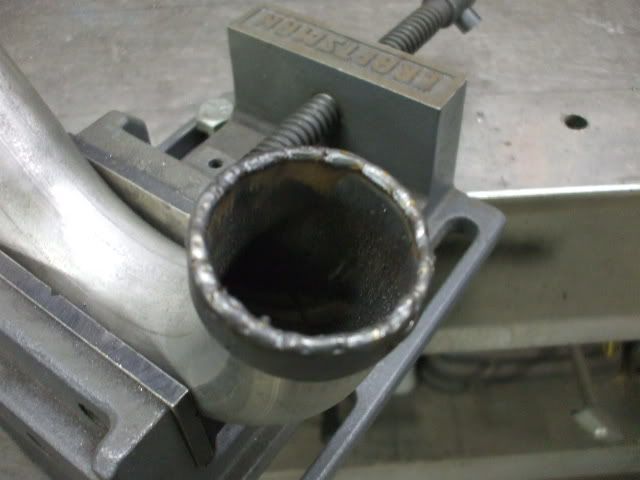
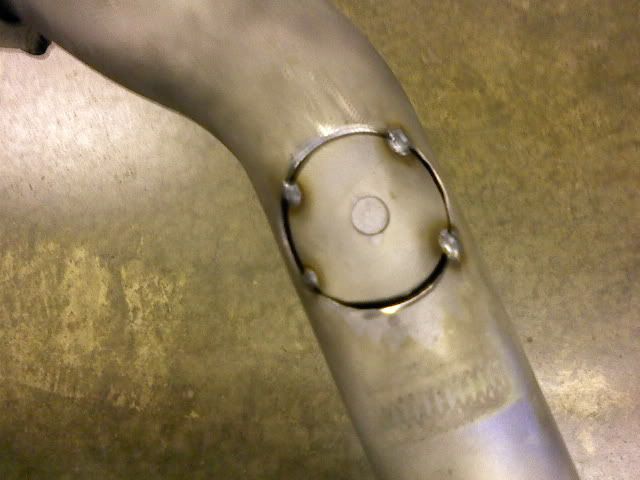
Because of the shape, this is the hole I had to make in the tapered piece for the rear pipe to enter.
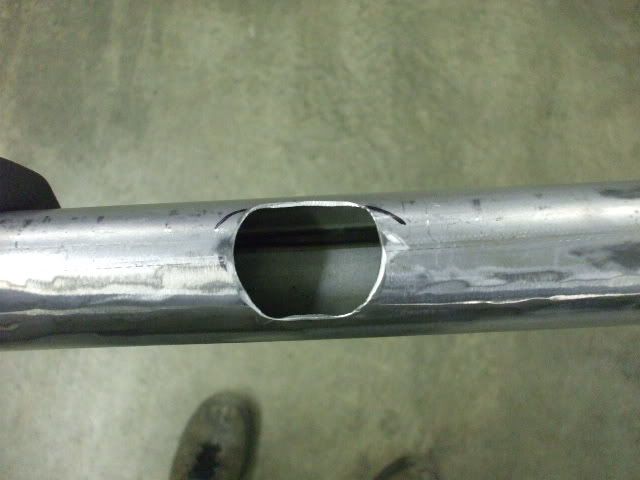
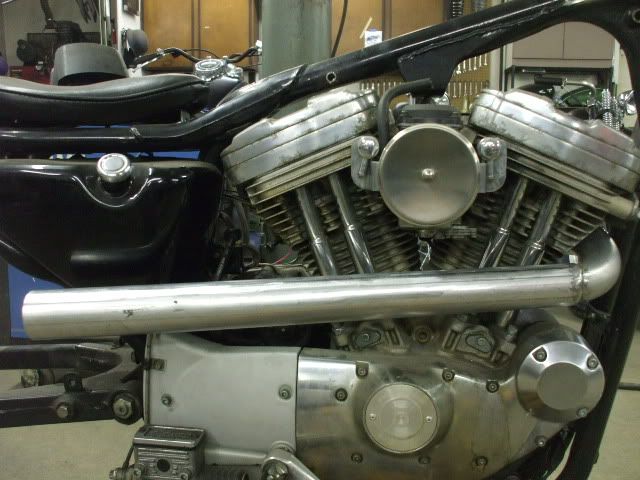
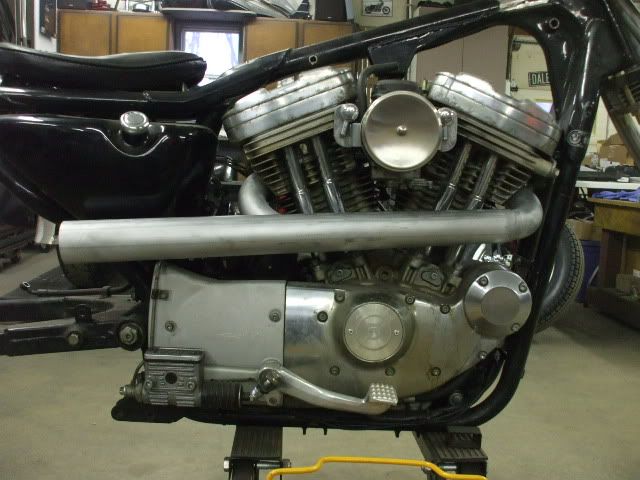
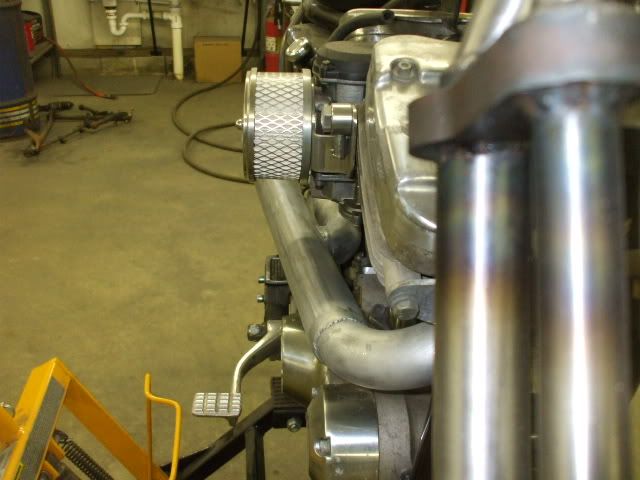
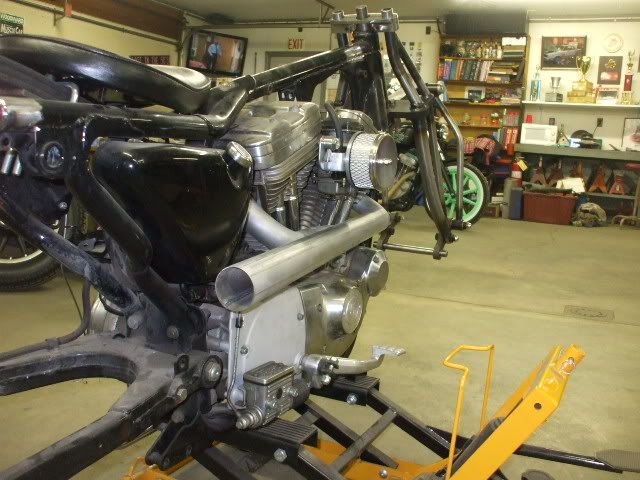
This part was a little challenging so I didn't think to take any pics but here it is welded together and installed
(this one)
and I haven't messed with my Sportster projects lately so last night I wanted to do something but realized I didn't have parts to really get in to anything. A few days ago my friend Mike from American Rides Choppers told me about a cool "how-to" for do it yourself Lake Headers that's on his friend's site http://www.oldtinrods.com/lakes_pipes.html and I thought something like that would be cool on a bike so...
I started by cutting the ends for the mount flanges and a 24" length of 2.25" exhaust tube.
If you checked out that link, or if you've seen Lake Headers on a rat rod you'll notice the pipe tapers from a smaller o.d. at the beginning to a larger o.d. at the end. I marked the circumference I wanted the smaller end to be on a piece of tape
then wrapped that piece of tape around the 2.25" tube and transfered the measurement.
This will be the end of my pie cut. I transfered the same measurement to the opposite end, marked the center of the two markings and taped off my cut line.
Here it is cut.
Next, following the directions in the how-to link, I SLOWLY worked the tube through my bench vice tacking it along the way. A little heat helps but not too much or the tube will collapse.
Here it is fully welded and smoothed.
The taper is subtle. I chose to use 2.25" tube instead of 3.5" because the larger diameter will be too much of an open pipe for anything smaller than 2 liters, although, while I was making this one I came up with an idea for getting the back pressure I need using a larger diameter tube.
I grabbed a few tubes out of my box-o-bends to make the 1.75" ends, drilled some weld holes in the flange mount pieces I cut earlier.
I plug welded them to the head pipes and fully welded the ends.
Smoothed
Here's the front bend welded to the tapered piece.
Here's where I had to change the look a little bit. If I was to run the rear pipe straight to the tapered piece it would be way too short so I marked & cut these pieces
To form this to get a little bit of length in the rear pipe before it intersects the tapered piece.
Because of the shape, this is the hole I had to make in the tapered piece for the rear pipe to enter.
This part was a little challenging so I didn't think to take any pics but here it is welded together and installed
Last edited by mreed; 04-07-2011 at 08:22 AM.
#2
04-07-2011, 08:17 AM

#5
04-07-2011, 09:00 AM
Like this
Thanks! Yeah, it might be a little toasty on the leg but I'll just ride it fast enough to blow the heat off!

#7
04-07-2011, 09:10 AM

Road Master
Join Date: Jan 2009
Location: Houston, TX
Posts: 866
Likes: 0
Received 0 Likes
on
0 Posts
Trending Topics
#8
04-07-2011, 09:17 AM
Thanks! Then weld! Pick up a cheapy mig and some scrap steel and just start!
Thanks. I don't know how it sounds yet. This weekend I'm doing some powdercoating on my guinea pig 883. I'll try it on that bike and take a video (but only if it sounds cool, lol).
Thanks. I don't know how it sounds yet. This weekend I'm doing some powdercoating on my guinea pig 883. I'll try it on that bike and take a video (but only if it sounds cool, lol).
#9
04-07-2011, 06:56 PM

Advanced
Join Date: Dec 2010
Location: Cayman Islands
Posts: 78
Likes: 0
Received 0 Likes
on
0 Posts
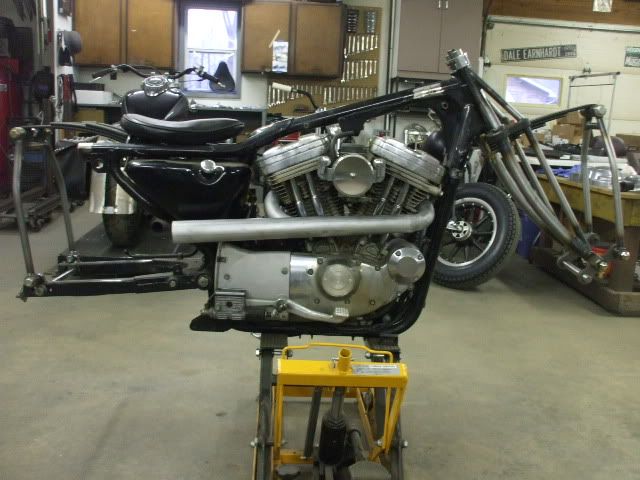
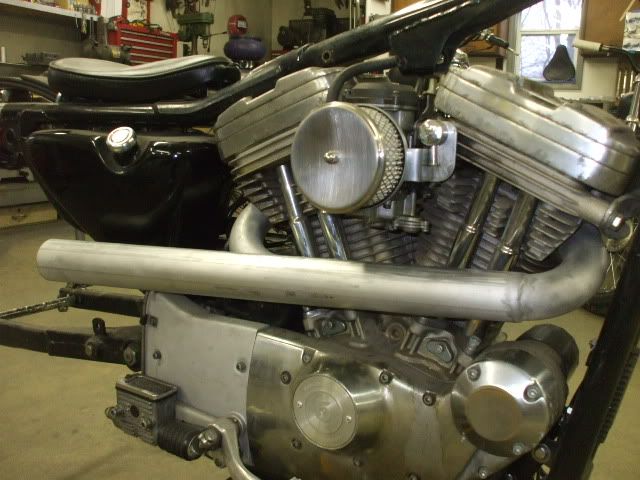
Looks good! Got a OT question for you though, that oil streak I see going down the side of the cover there near the front of the bike....I have a little oil that gathers up there too and running down the same area of mine and am trying to figure out where it is coming from beofre I go pulling that cover off again to redo the seal - O just did that before I put the bike back on the road. You got any ideas could help me out? Remember I'm new to harleys so am also unsure if this could be a common problem for those year engines which yours looks to be in the same year range as mine from the rear brake reservoir and oil tank - mine is a '99. Thanks for any help/insight you can give.
#10
04-07-2011, 07:28 PM
If you're talking about my stain that looks like it's coming from the second top bolt to the right from the ignition cover on the cam cover itself that's from a fuel issue that I inherited with the bike. The previous owner had a non-vented fuel cap and it would siphon the fuel right out of the overflow on the carb. If you look close you'll see that I'm missing the overflow redirect tube so the fuel just went everywhere and eventually stained the clear coat on that cover.
But...if you're getting a small amount of oil right there I would look to see how the crank case vents are routed. It may be pooling up in your air cleaner cover and dripping out onto that cover.
But...if you're getting a small amount of oil right there I would look to see how the crank case vents are routed. It may be pooling up in your air cleaner cover and dripping out onto that cover.

