
My 74 so far
#1
 08-07-2011, 05:53 PM

How I got it
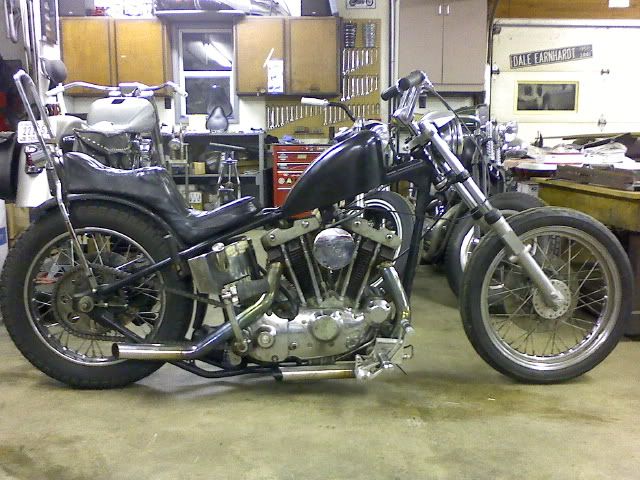
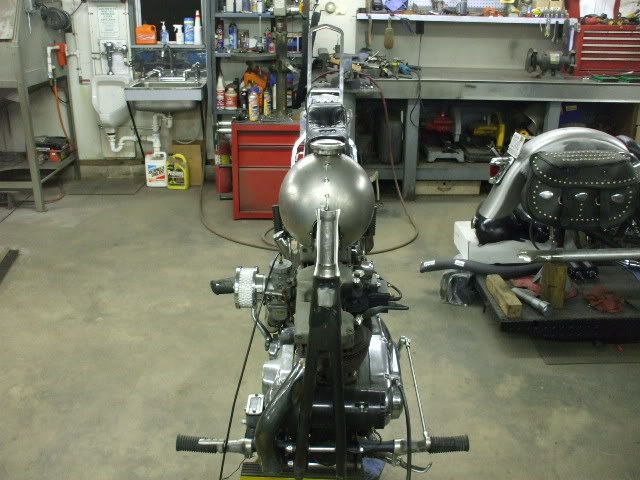
It was pretty much ready to ride. I'd list my complaints but I knew when I got it there were some areas I needed to address so I'll skip that part. I started with the foot controls.
Here's what it had
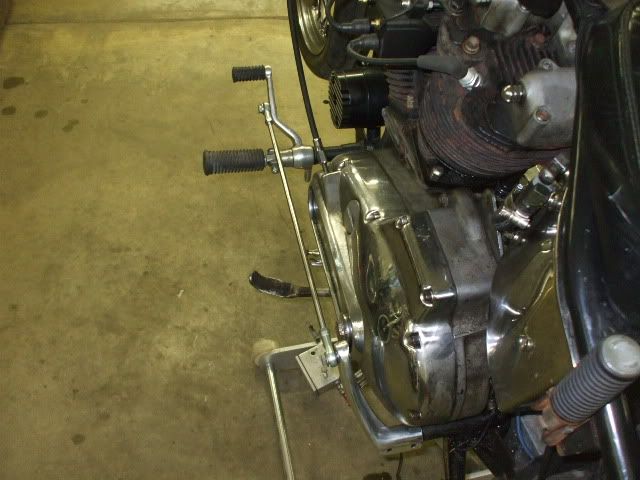
Left side shift...I had to move my foot back to get to the shifter arm.
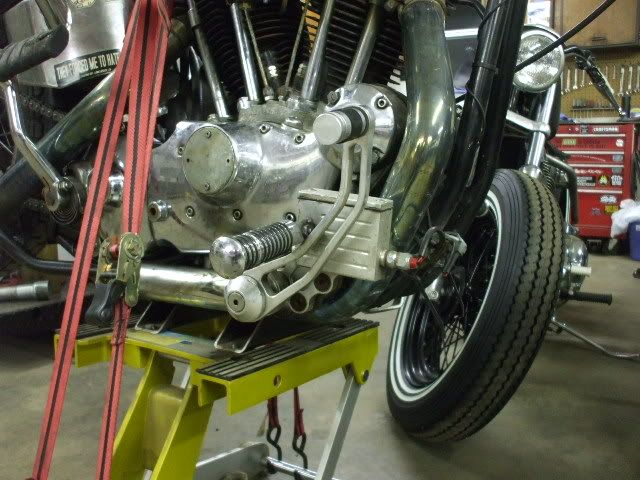
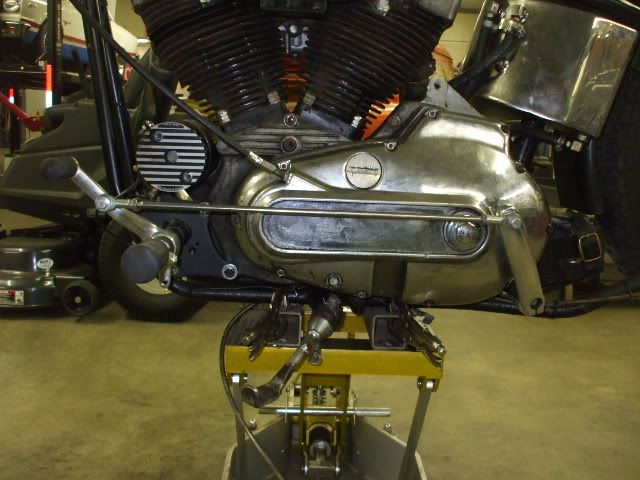
Stock Ironhead front motor mounts (chrome) and stock evo Sportster front motor mounts
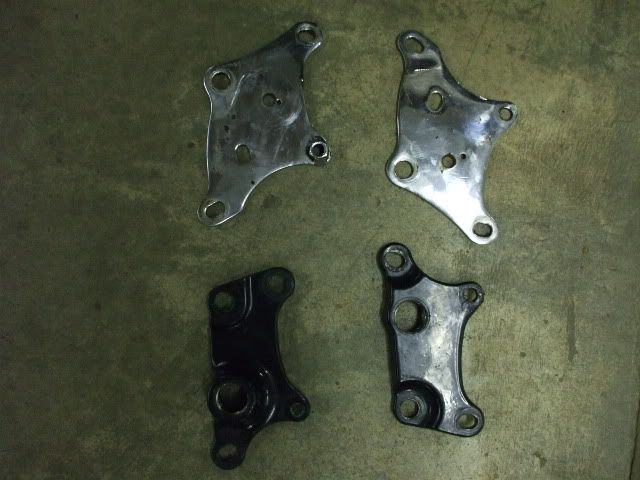
The motor side is the same so I bolted the respective sides together and used a transfer punch to locate the peg stand-offs
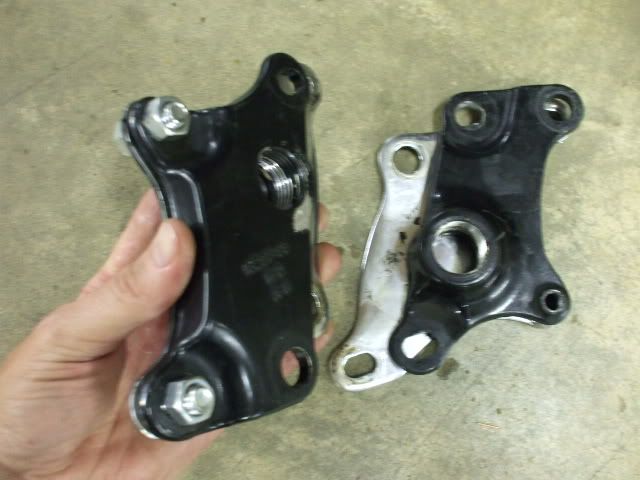
Mocked them up a couple of times and decided I wanted to extend them out a bit so I cut a couple lengths of tube to make up the difference and used an old cut off piece of handlebar to position everything while I welded it all together
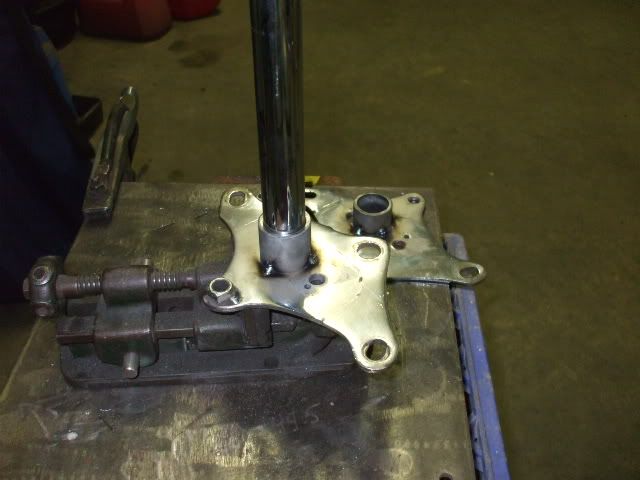
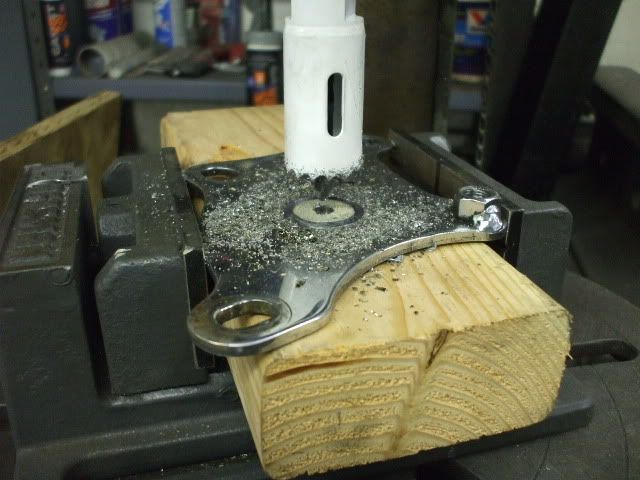
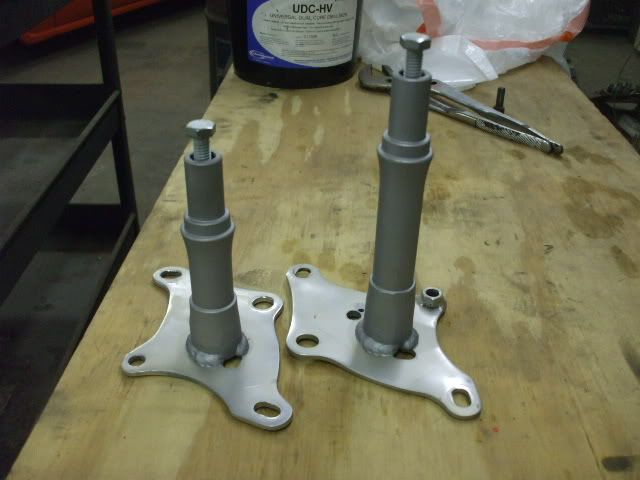
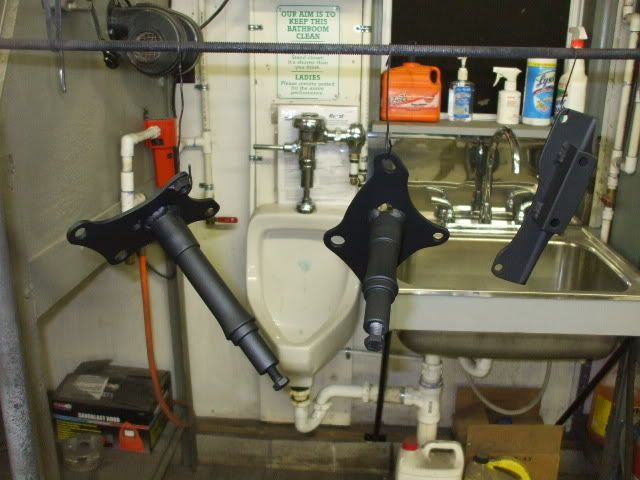
Here are the evo peg stand offs welded to the Ironhead motor mounts and powdercoated
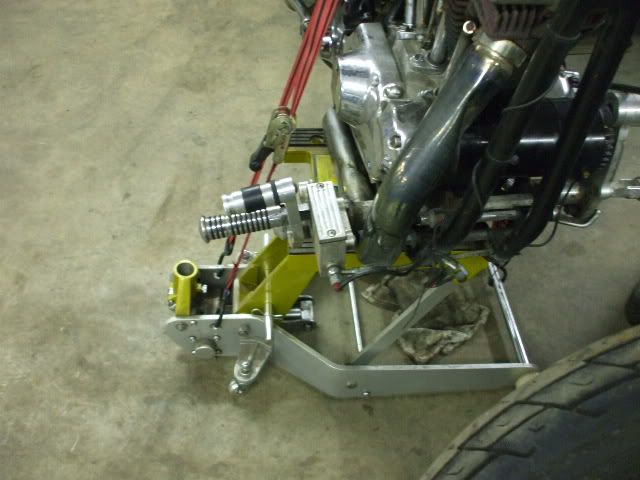
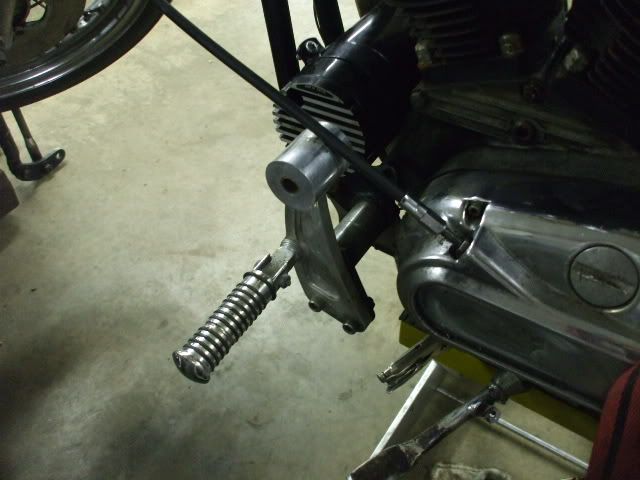
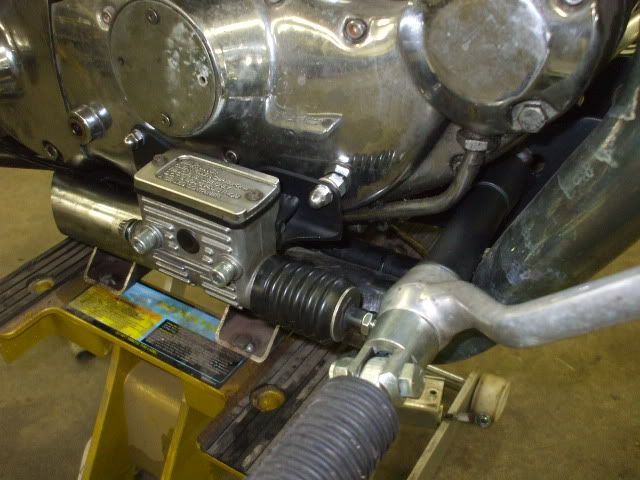
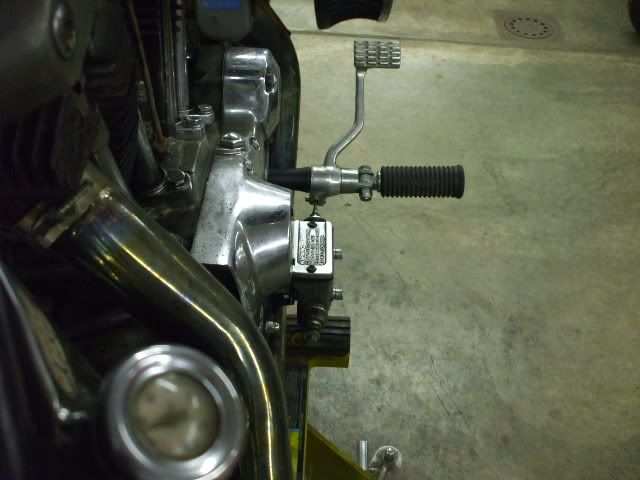
Drilled & tapped the evo shifter arm for the linkage rod

Drilled, tapped & cut the shift arm the bike came with
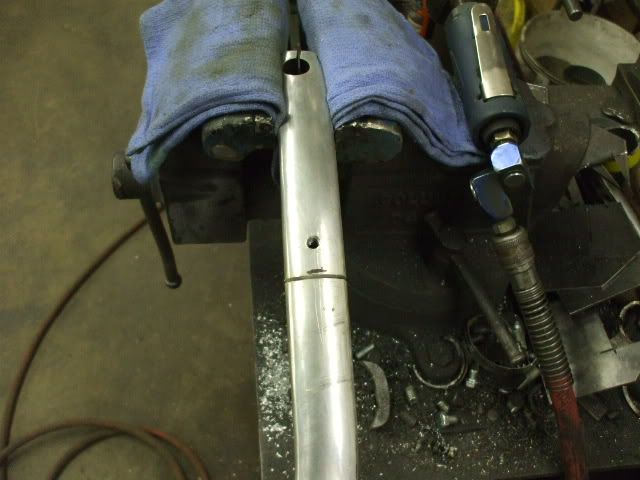
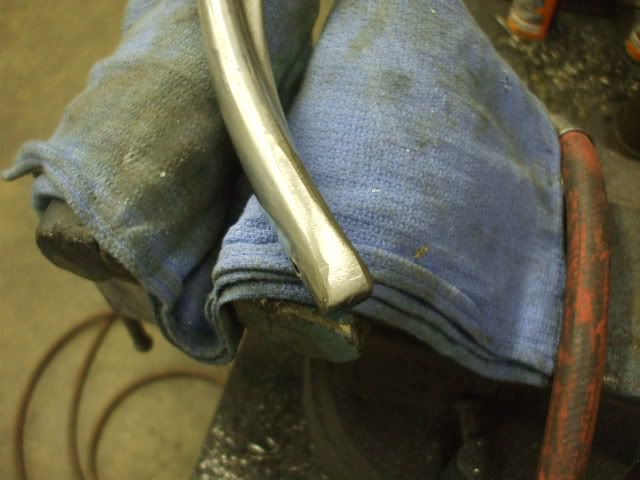
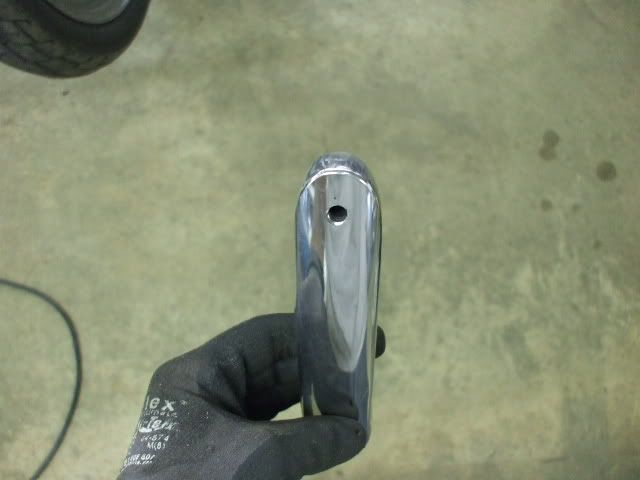
Shaped & polished
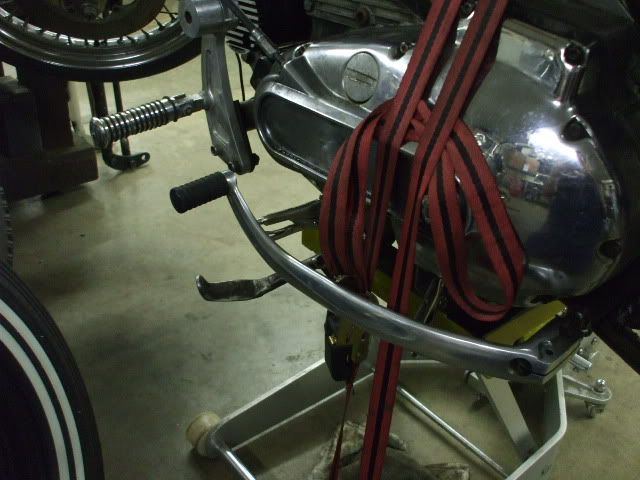
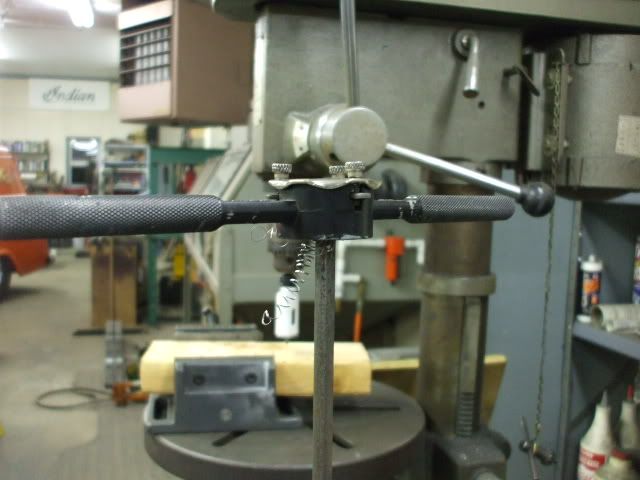
Made the linkage rod out of 5/16" round stock
I used the heims from the evo forwards
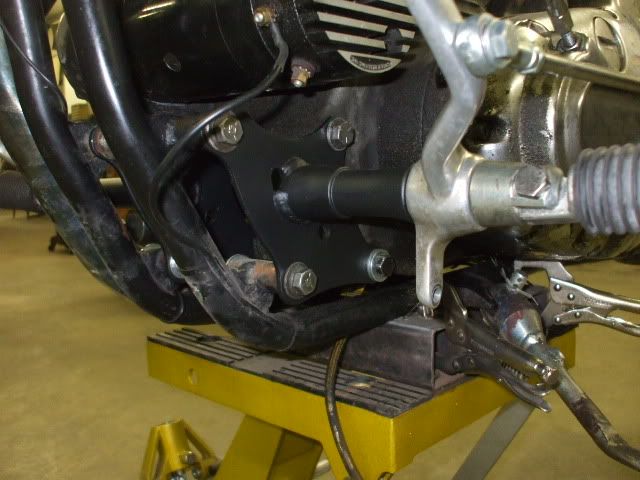
I wanted to mount the linkage rod on the opposite side but the rear heim hits the primary cover but it works fine this way
It was pretty much ready to ride. I'd list my complaints but I knew when I got it there were some areas I needed to address so I'll skip that part. I started with the foot controls.
Here's what it had
Left side shift...I had to move my foot back to get to the shifter arm.
Stock Ironhead front motor mounts (chrome) and stock evo Sportster front motor mounts
The motor side is the same so I bolted the respective sides together and used a transfer punch to locate the peg stand-offs
Mocked them up a couple of times and decided I wanted to extend them out a bit so I cut a couple lengths of tube to make up the difference and used an old cut off piece of handlebar to position everything while I welded it all together
Here are the evo peg stand offs welded to the Ironhead motor mounts and powdercoated
Drilled & tapped the evo shifter arm for the linkage rod
Drilled, tapped & cut the shift arm the bike came with
Shaped & polished
Made the linkage rod out of 5/16" round stock
I used the heims from the evo forwards
I wanted to mount the linkage rod on the opposite side but the rear heim hits the primary cover but it works fine this way
#2
08-07-2011, 05:54 PM
#3
08-07-2011, 05:55 PM
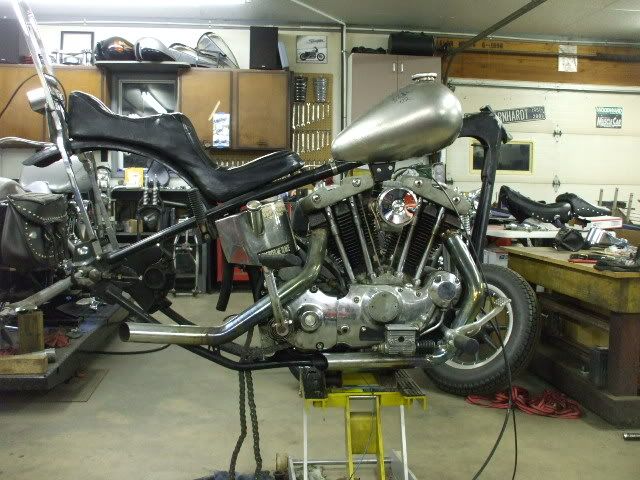
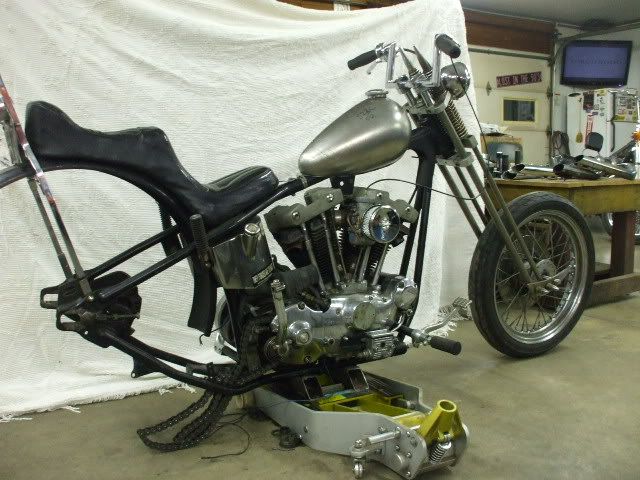
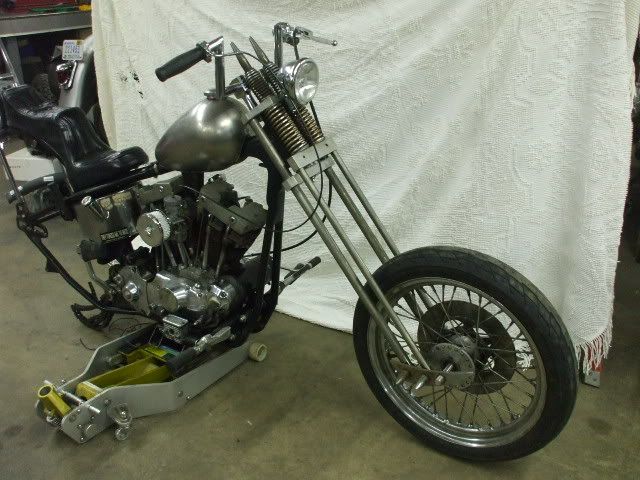
Next was the front end & gas tank. I like a peanut tank but the petcock location on this one left alot of miles in the tank.
I've had this funky Paughco Porkster tank laying around. Tried to give it away a couple times but noone wanted it so it was a good candidate to cut
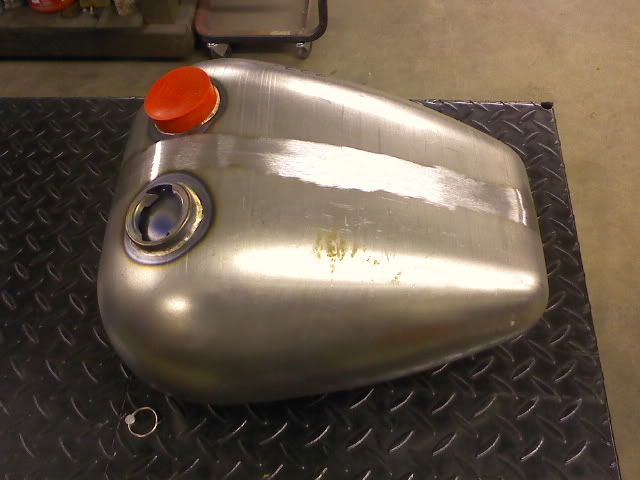
Removed the fake filler and real filler
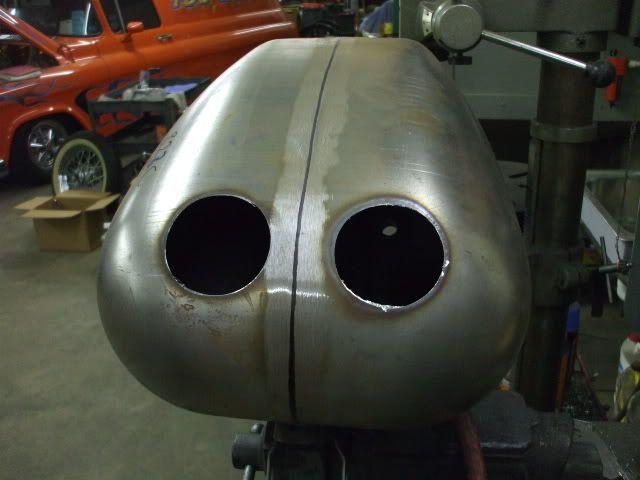
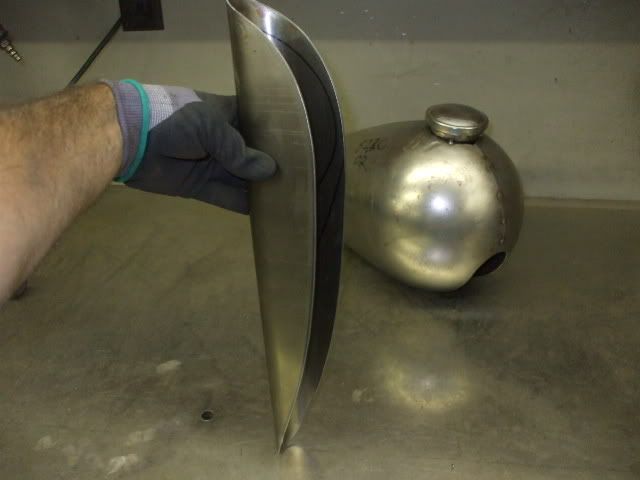
Measured & cut 5.5" from the center
I only have a mig at home so I tacked the sides together.

Cut for the tunnel
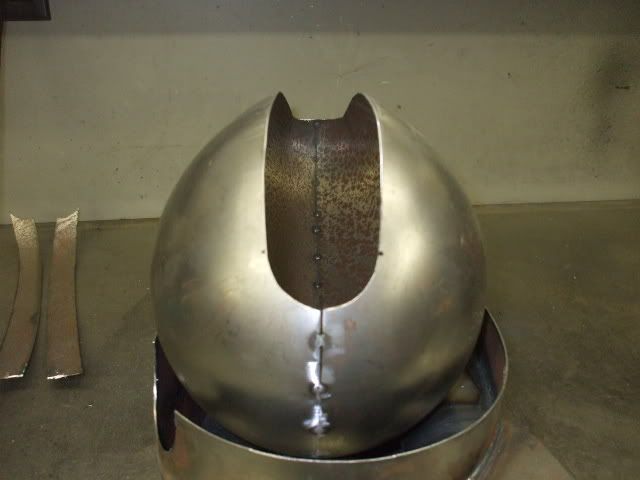
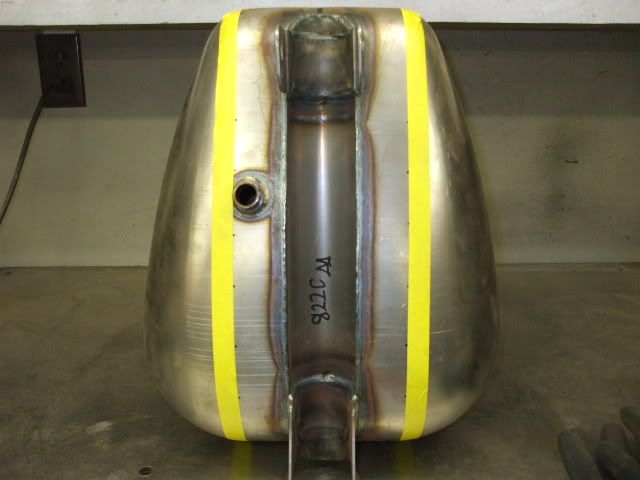
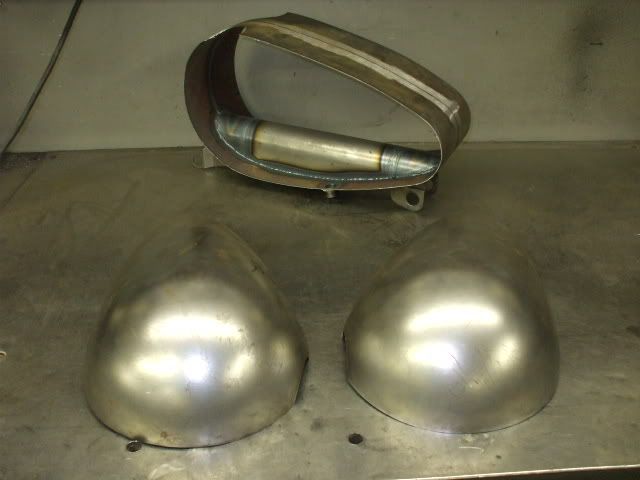
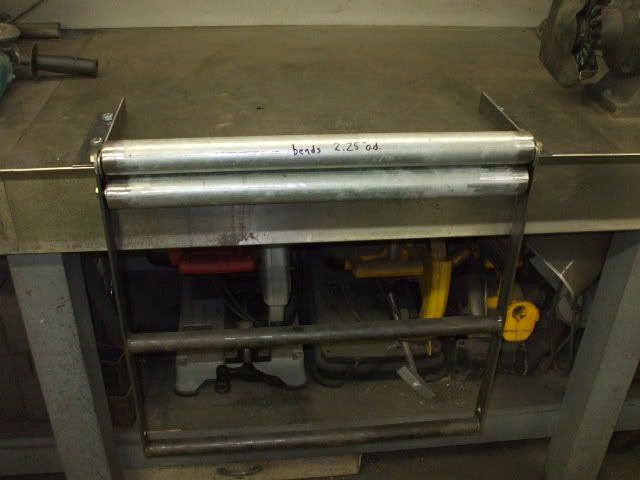
Here's the tunnel former I made a while back. I reused the filler neck that was on the tank originally
I'm going to tack in some hidden mount bungs then take it in to the shop in town to tig the whole deal
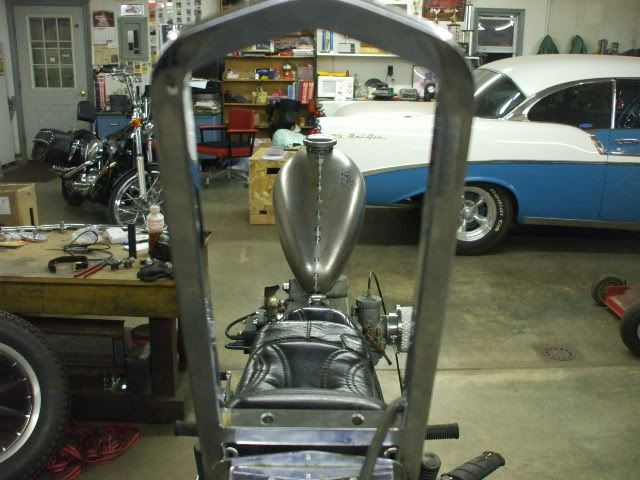
In that last pic you can see that I have sliced the frame neck vertically. I was told it was an early Paughco frame. I want to use a Columbus Custom narrow springer. I shot myself in the foot a couple months ago by converting the neck stem to 1". The center bore of the frame neck was less than that so a friend of mine made a new 1" neck so I can use modern bearings & all that.
I was a little nervous with that part so I didn't take any pics but here it is so far with my 6 over springer

I've had this funky Paughco Porkster tank laying around. Tried to give it away a couple times but noone wanted it so it was a good candidate to cut
Removed the fake filler and real filler
Measured & cut 5.5" from the center
I only have a mig at home so I tacked the sides together.
Cut for the tunnel
Here's the tunnel former I made a while back. I reused the filler neck that was on the tank originally
I'm going to tack in some hidden mount bungs then take it in to the shop in town to tig the whole deal
In that last pic you can see that I have sliced the frame neck vertically. I was told it was an early Paughco frame. I want to use a Columbus Custom narrow springer. I shot myself in the foot a couple months ago by converting the neck stem to 1". The center bore of the frame neck was less than that so a friend of mine made a new 1" neck so I can use modern bearings & all that.
I was a little nervous with that part so I didn't take any pics but here it is so far with my 6 over springer
#4
08-07-2011, 05:56 PM
Next will be the wheels. I'm going to lace a 16" hoop to this hub
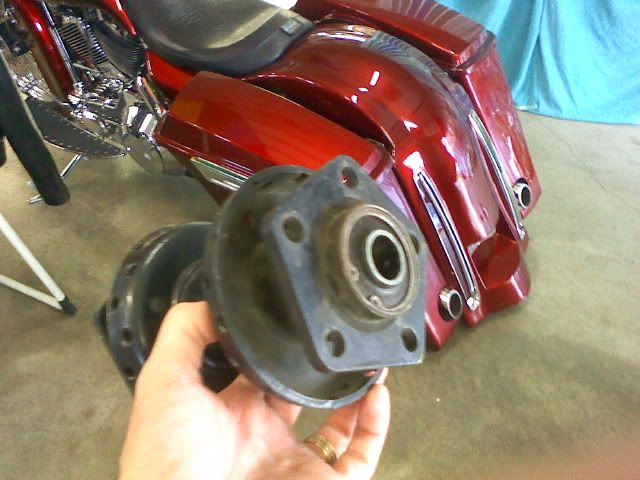
I'm waiting on a front tire so this is where it'll be for a couple days. I'm in Indiana. I'm hoping to get it buttoned up and riding before the nice weather leaves then tear it down this winter for a full on make-over.
Thanks.
I'm waiting on a front tire so this is where it'll be for a couple days. I'm in Indiana. I'm hoping to get it buttoned up and riding before the nice weather leaves then tear it down this winter for a full on make-over.
Thanks.
Last edited by mreed; 08-07-2011 at 06:00 PM.
#6
08-07-2011, 06:25 PM
#7
08-07-2011, 06:29 PM
Trending Topics
#8
08-07-2011, 06:52 PM
Road Captain

#10
08-07-2011, 07:23 PM
Cruiser