
My Mods Thread - 2013 Forty-Eight

#512
 04-22-2015, 06:33 AM
#513
05-27-2015, 05:28 PM
Clutch kit finally ordered. Should be here in a few days. I want the piece of mind of getting rid of a potential failure point with that riveted clutch plate HD installs in our bikes...
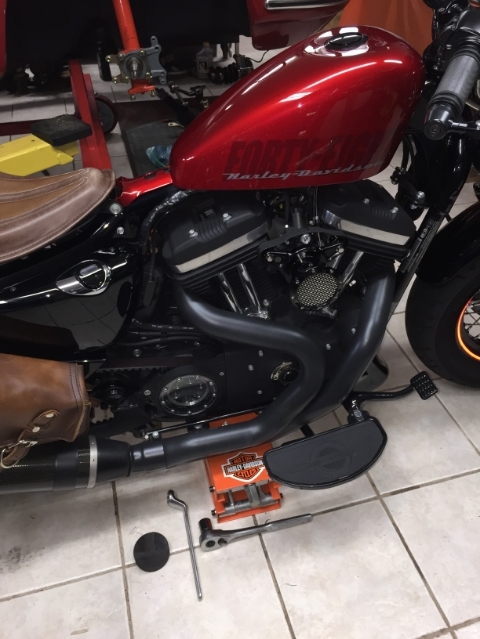
I am getting ready for this...
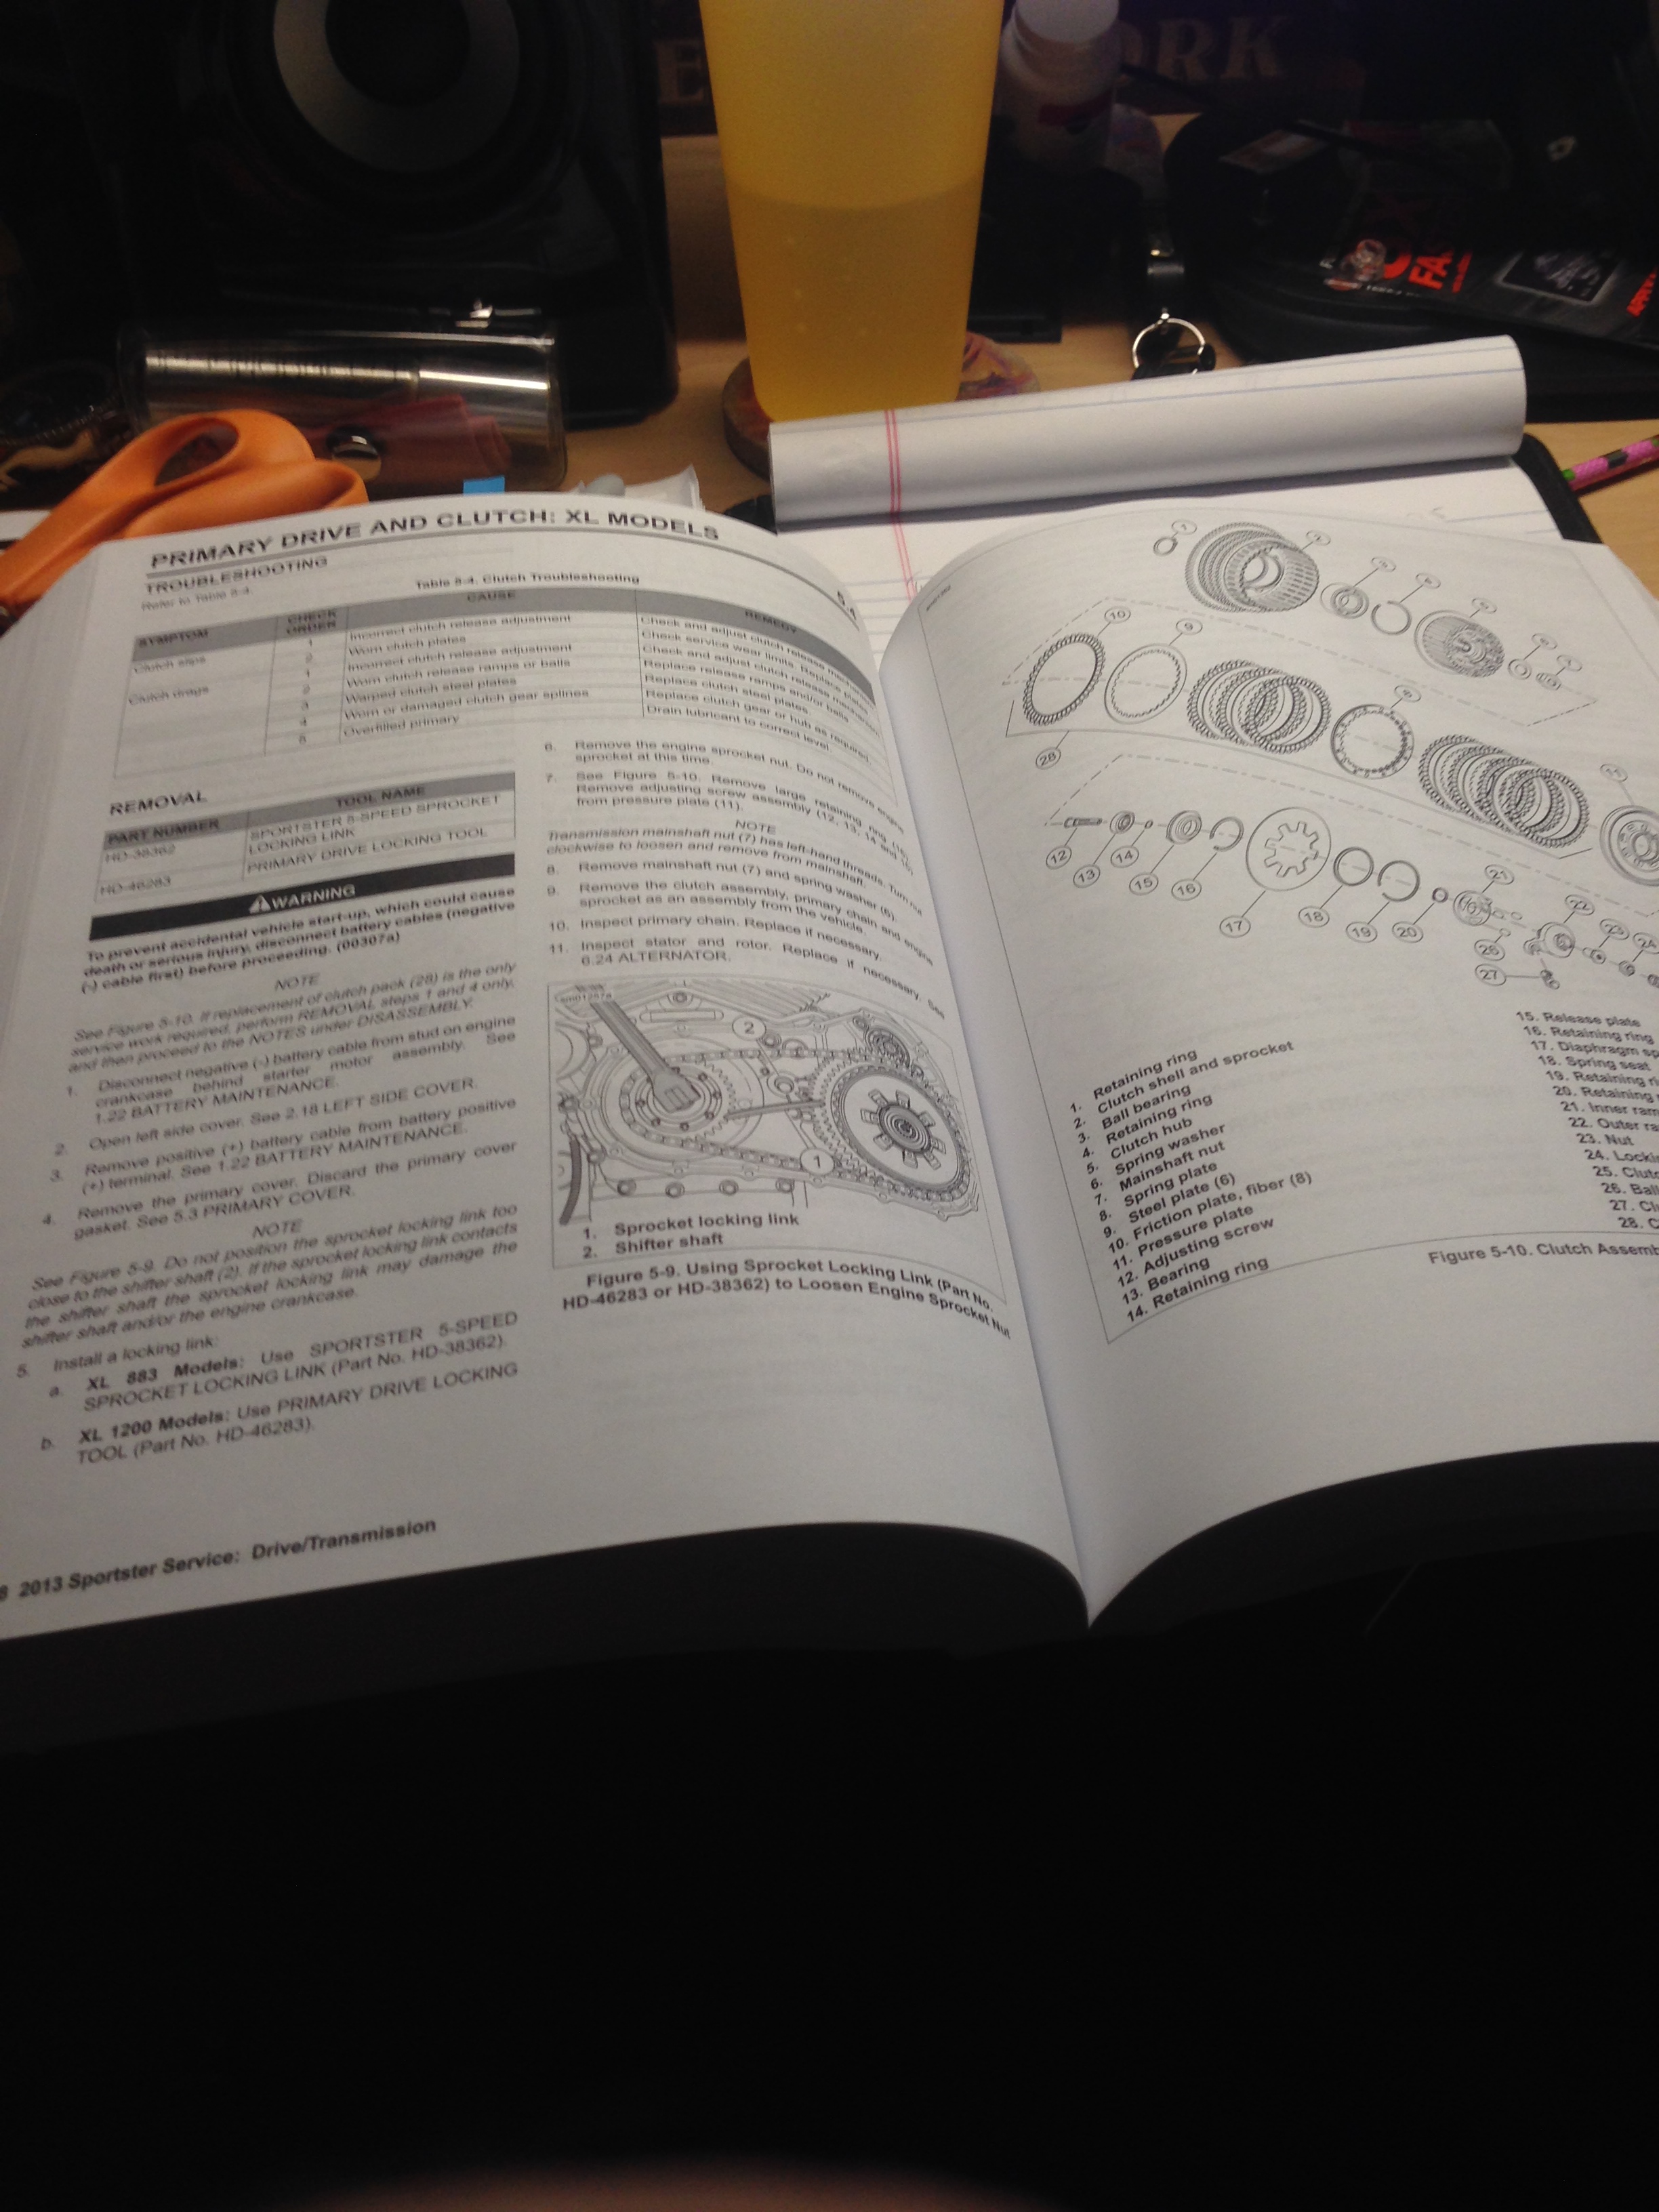
Steps outline in workshop manual:
Section 5.3 (page5-4) for Primary Cover removal
Section 5.4
For Removal of clutch pack: Page 5-8 ; Step 1-4 and Page 5-10 ; Steps 2,3,4,5,and 7
For Assembly of clutch pack: Page 5-12 ; Step 1,3,4,7,8,9,10,11,12,13
Part numbers of what it is required: I order most of it through Amazon and saved a few $$
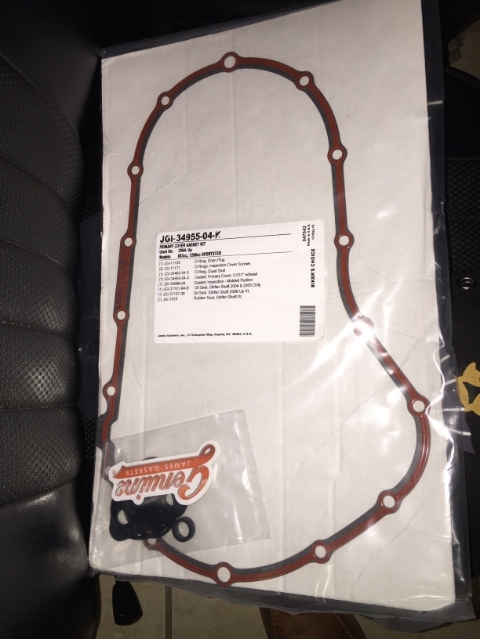
Gaskets I got as a , but here is the breakdown with parts number
Primary Cover Gasket - Part Number: 34955-04
Inspection Cover Gasket - Part Number: 34990-08
Derby Cover Gasket (quad ring) - Part Number: 25463-94A
O-rings - Part Number: (2) 11171 for Inspection cover, (1) 11105 for Oil drain plug, (1) 11179 for Clutch cable
Shift Bushing - Part Number: 40574-06 (not sure if I needed, but just in case)
Shifter Shaft Oil Seal - Part Number: 37107-06
2 quarts Formula+ primary lubricant - Part Number: 62600004 (Only one is needed but I want to change the oil again in about 500-1000 miles)
Retaining Ring - Part Number: 37908-90 (#21 in my parts diagram. Recommended to have a new one ready to use when installing everything back)
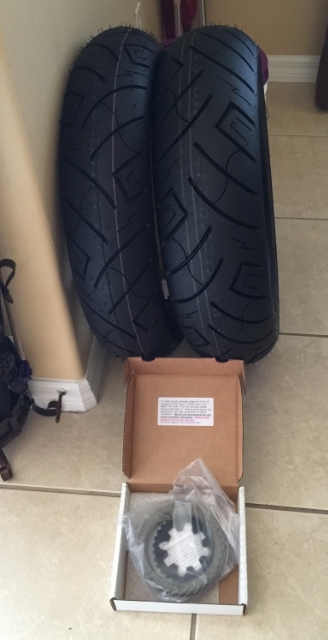
Clutch pack: going with Energy One -
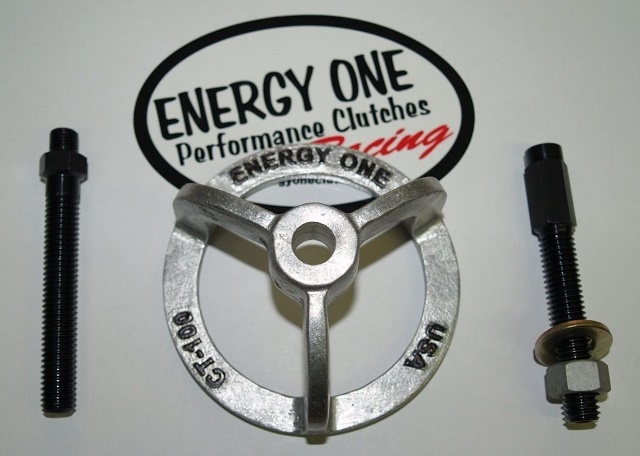
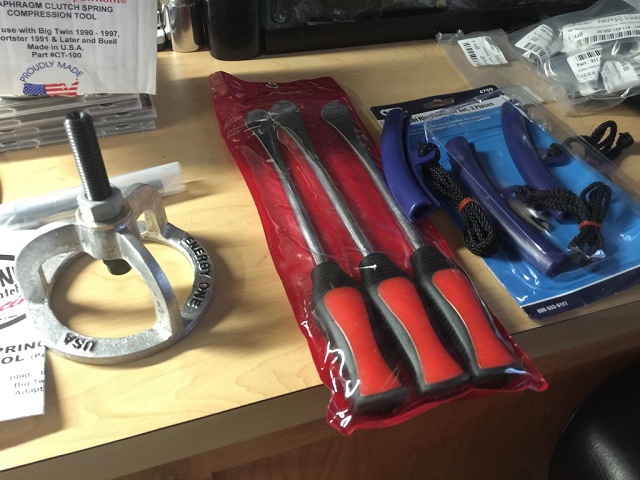
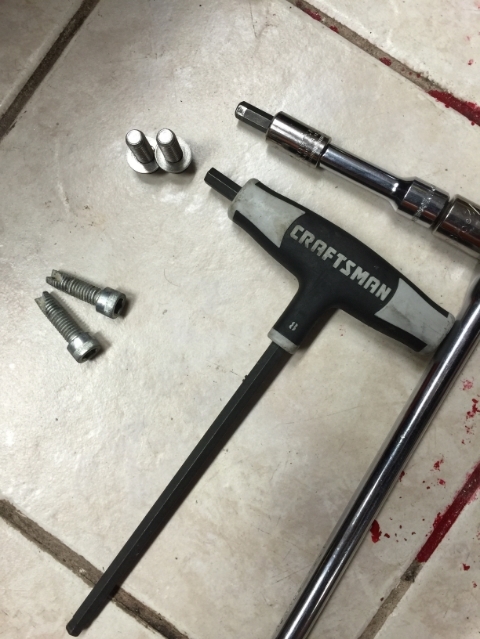
And the tool (must have the right tools for the job) -
Total was 189.83 for the parts listed including shipping (minus the oil and retaining ring, that I will buy locally).
Also ordered all the parts to do the Fat Bob wheels install - Thread on that here: New Fat Bob Wheels on 48?
I am getting ready for this...
Steps outline in workshop manual:
Section 5.3 (page5-4) for Primary Cover removal
Section 5.4
For Removal of clutch pack: Page 5-8 ; Step 1-4 and Page 5-10 ; Steps 2,3,4,5,and 7
For Assembly of clutch pack: Page 5-12 ; Step 1,3,4,7,8,9,10,11,12,13
Part numbers of what it is required: I order most of it through Amazon and saved a few $$
Gaskets I got as a , but here is the breakdown with parts number
Primary Cover Gasket - Part Number: 34955-04
Inspection Cover Gasket - Part Number: 34990-08
Derby Cover Gasket (quad ring) - Part Number: 25463-94A
O-rings - Part Number: (2) 11171 for Inspection cover, (1) 11105 for Oil drain plug, (1) 11179 for Clutch cable
Shift Bushing - Part Number: 40574-06 (not sure if I needed, but just in case)
Shifter Shaft Oil Seal - Part Number: 37107-06
2 quarts Formula+ primary lubricant - Part Number: 62600004 (Only one is needed but I want to change the oil again in about 500-1000 miles)
Retaining Ring - Part Number: 37908-90 (#21 in my parts diagram. Recommended to have a new one ready to use when installing everything back)
Clutch pack: going with Energy One -
And the tool (must have the right tools for the job) -
Total was 189.83 for the parts listed including shipping (minus the oil and retaining ring, that I will buy locally).
Also ordered all the parts to do the Fat Bob wheels install - Thread on that here: New Fat Bob Wheels on 48?
Last edited by wachuko; 05-28-2015 at 06:47 AM.

#517
06-02-2015, 08:06 AM
Thank you. I know that for many all the fun is riding... for me that is only half the fun... I get a lot of pleasure from just working on the darn thing... can't leave it alone. Well, the clutch is just a preventive measure... but not the wheels... I could have continue to use the current setup for many years...but could not leave it alone as I had this desire to go with tubeless setup since I got the bike.
I will start the work in the clutch this afternoon after work.
There are several threads on it but I will still take photos and share my experience with it.
Threads that I am using as guidance:
Found one here: Sportster extra plate clutch kit writeup
And found another one in the other forum: 06 Clutch Install
Last edited by wachuko; 06-02-2015 at 10:02 AM.
#518
06-02-2015, 03:25 PM
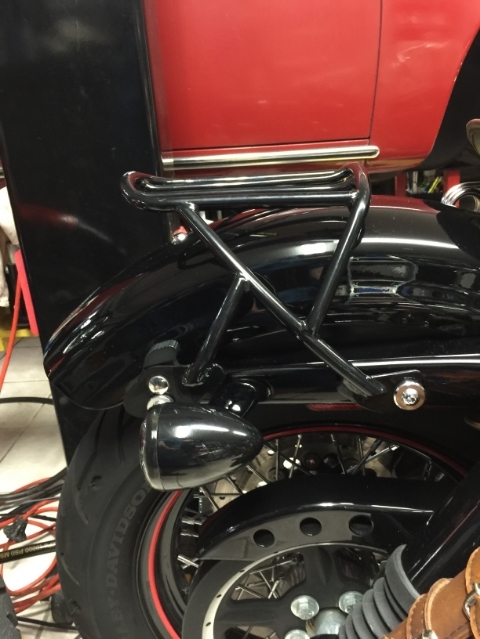
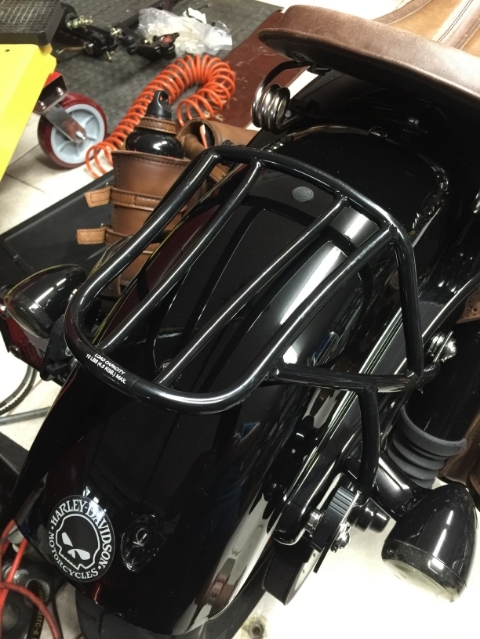
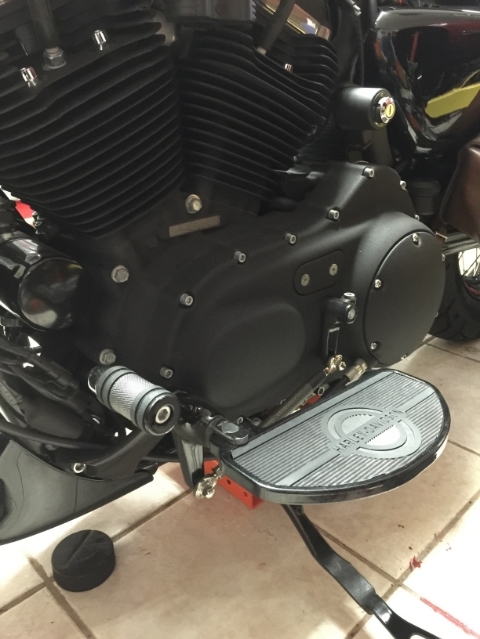
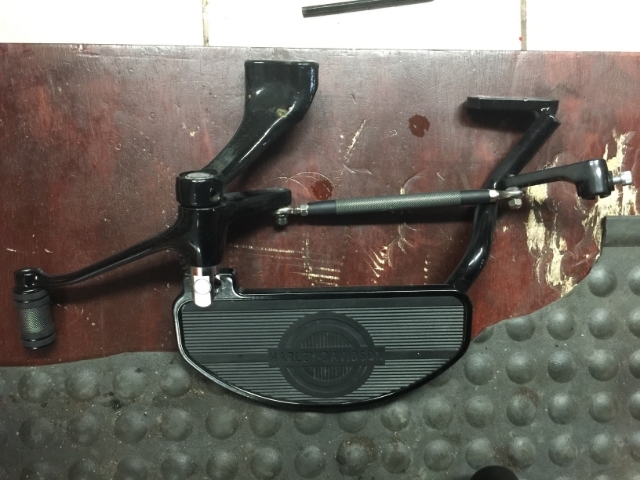
Rack arrived...quick photo and then it goes to the shelf for next trip... Still kicking myself for giving away the one I had... well, heck, I regret getting rid of the Nightster it was attached to...
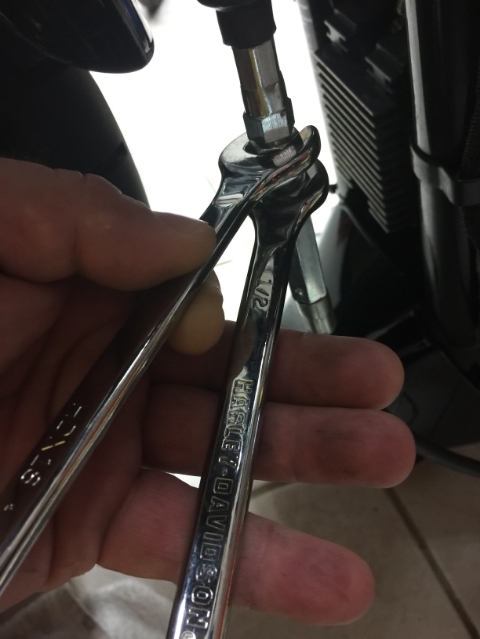
And on the clutch work. What is the first thing you must do? Put the stickers on the toolbox of course!

And on the clutch work. What is the first thing you must do? Put the stickers on the toolbox of course!
Last edited by wachuko; 06-02-2015 at 03:32 PM.
#519
06-02-2015, 04:09 PM
#520
06-03-2015, 08:58 AM
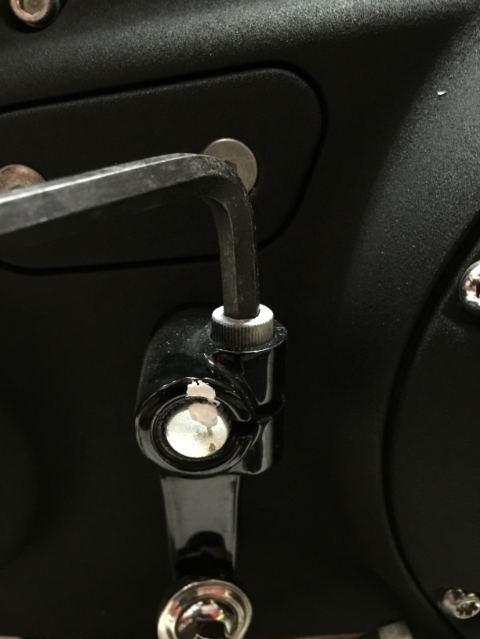
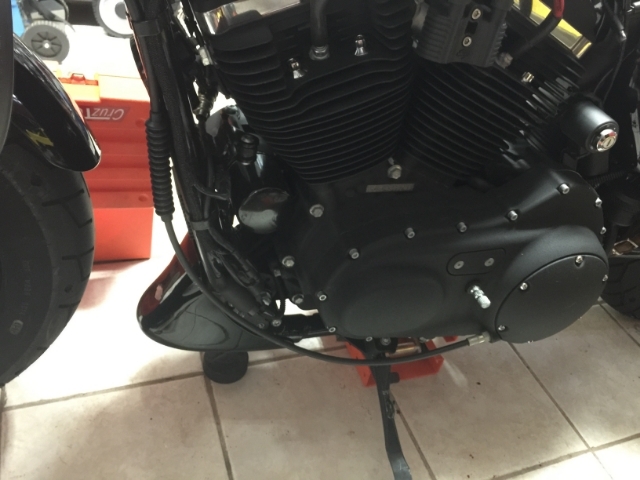
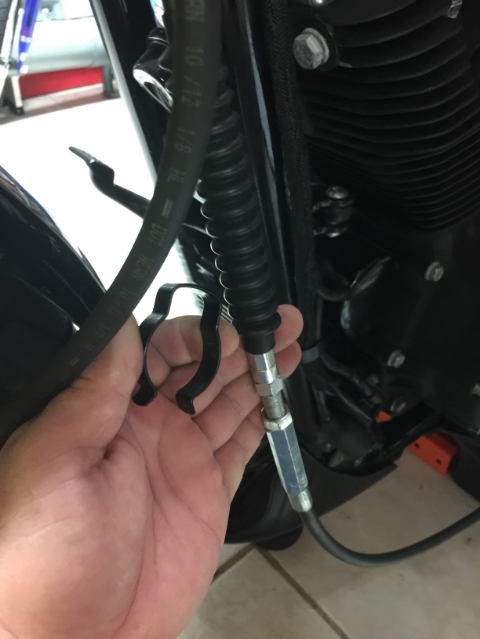
Loosen clutch cable adjustment
Drained primary oil
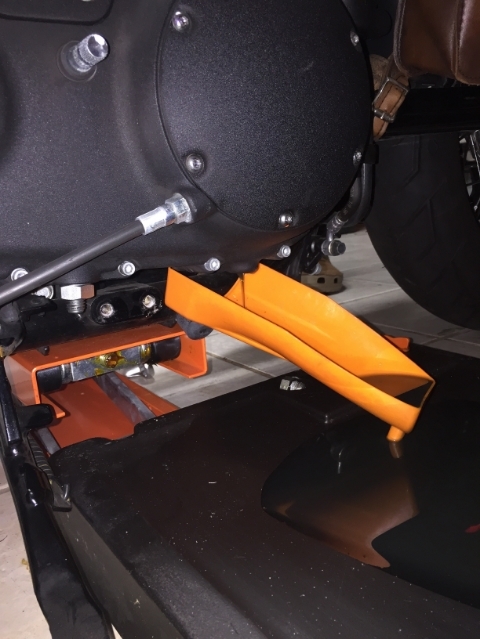
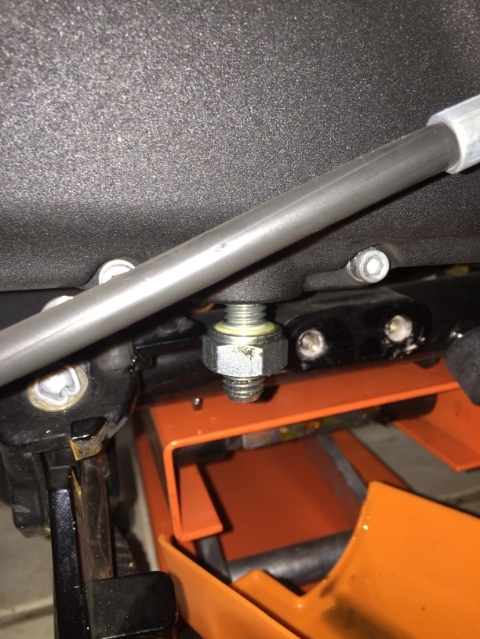
Loosen chain tensioner - I followed the recommendation from Chris on just loosen enough to turn so that I can get it back to the previous position quickly.
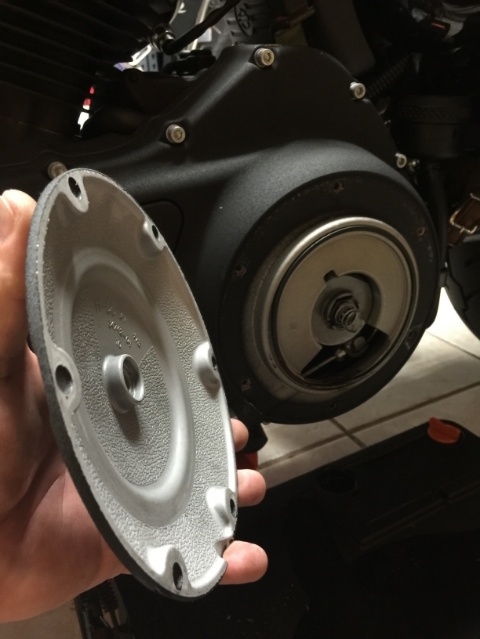
Remove cover
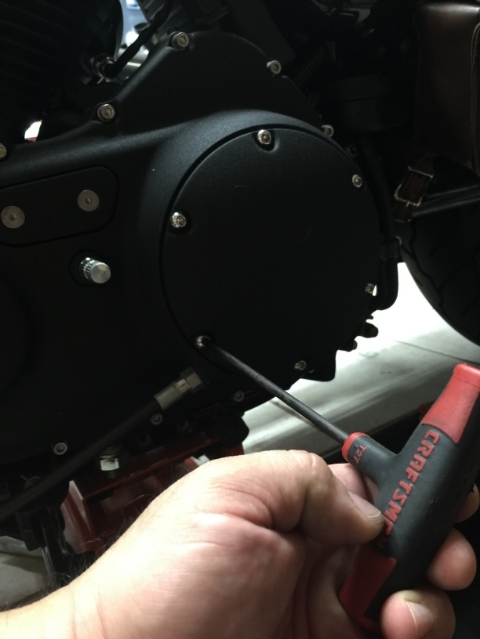
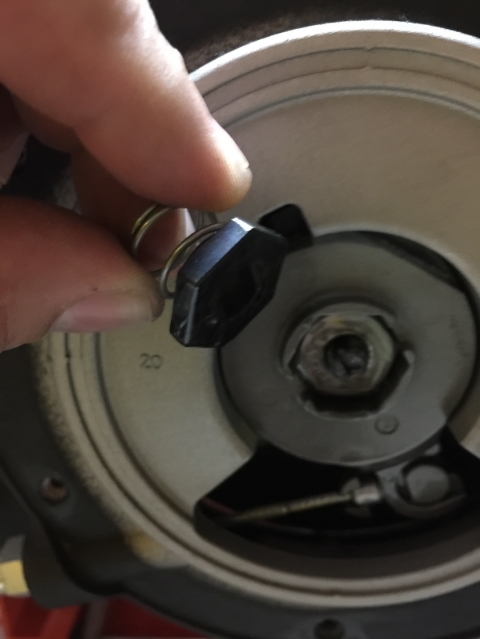
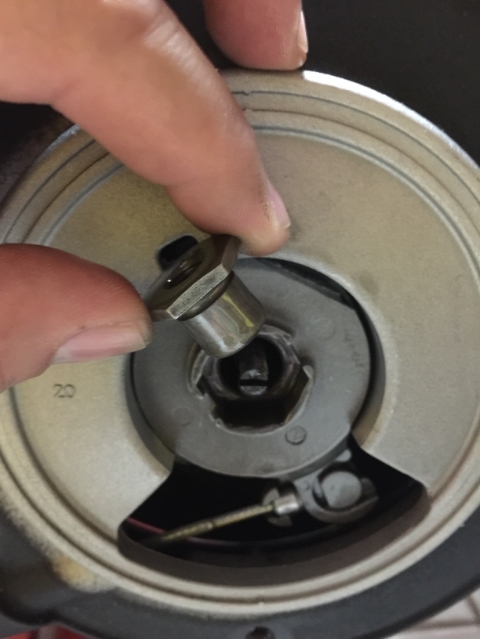
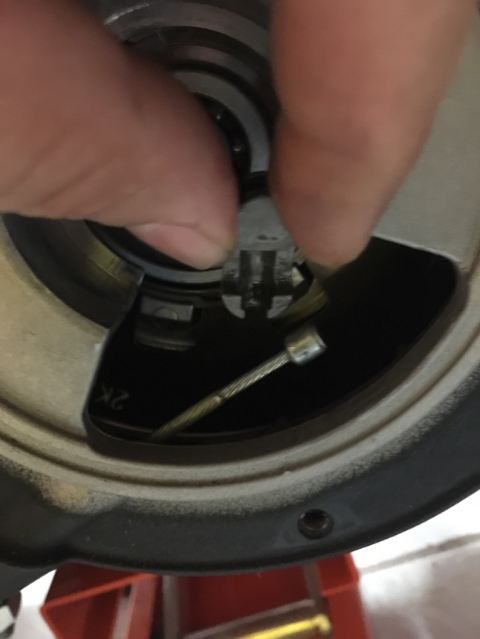
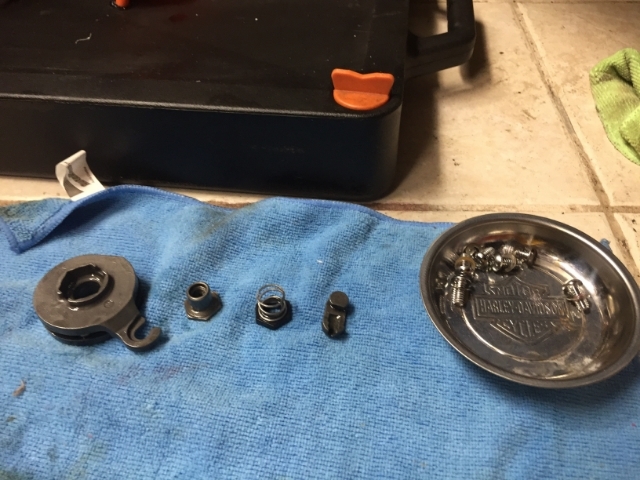
Remove spring with retainer nut
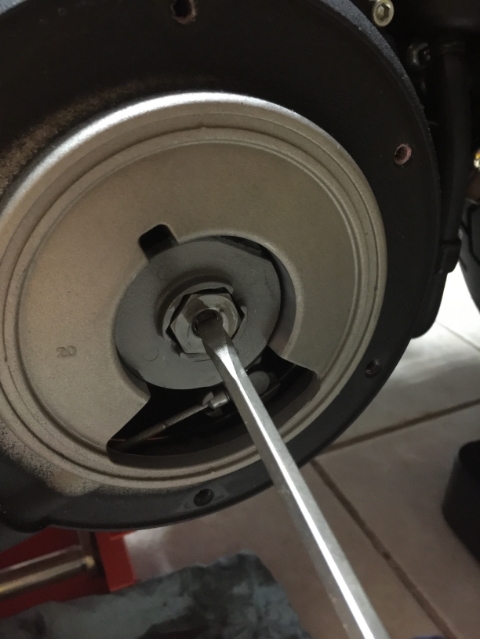
Using a small screwdriver (because it will need to go inside the nut to completely get it out), turn the adjuster screw clockwise until the nut comes off...
Slide out the ramp assembly and unhook from cable coupling
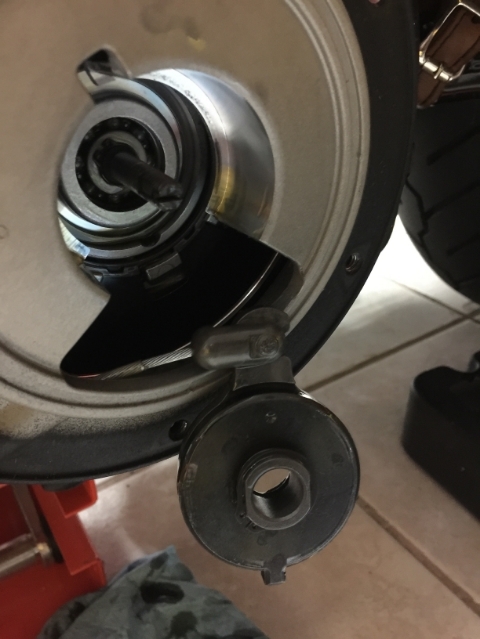
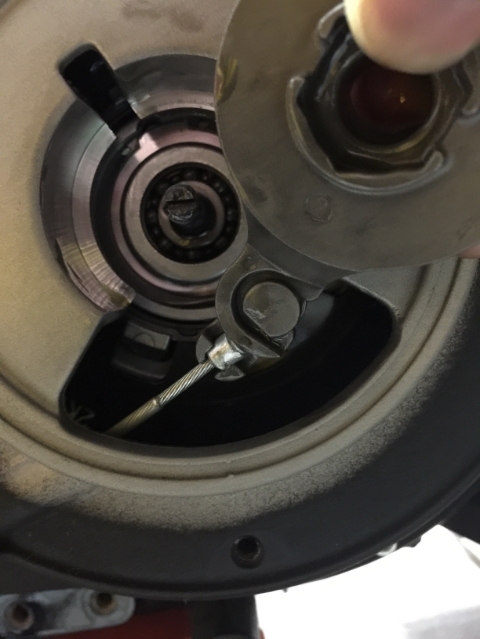

At this point you could remove the clutch cable... but all the threads and posts about this mentions that you can leave it in and avoid dealing with another seal... since the bike has less than 4K miles, I left it in place.
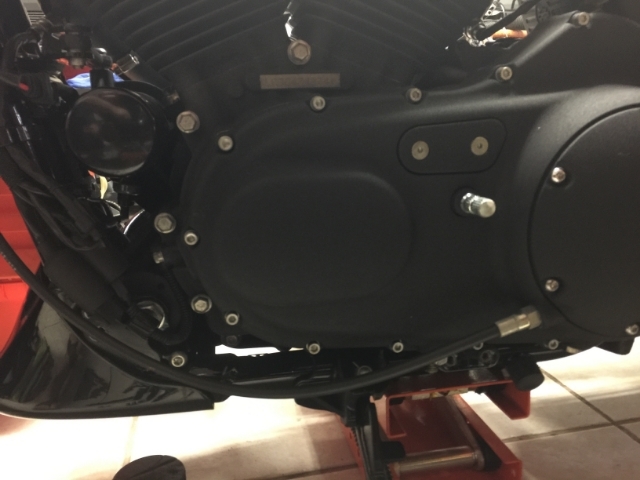
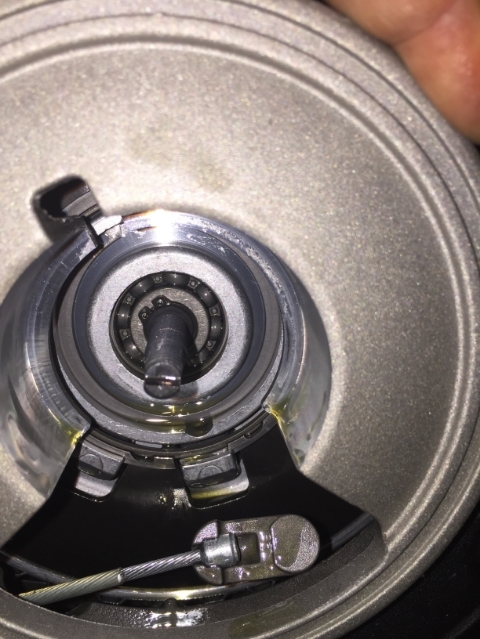
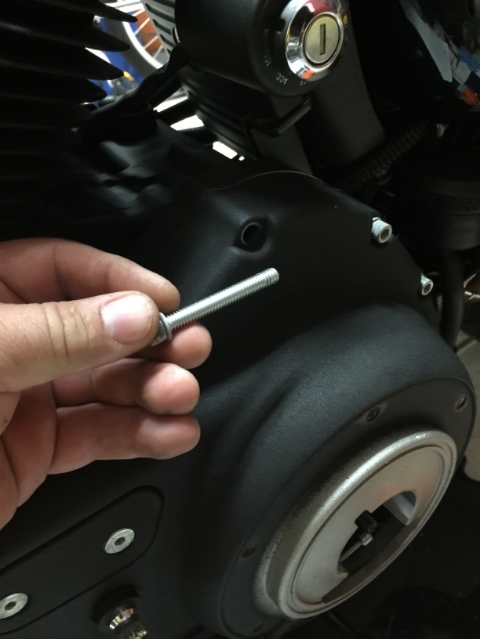
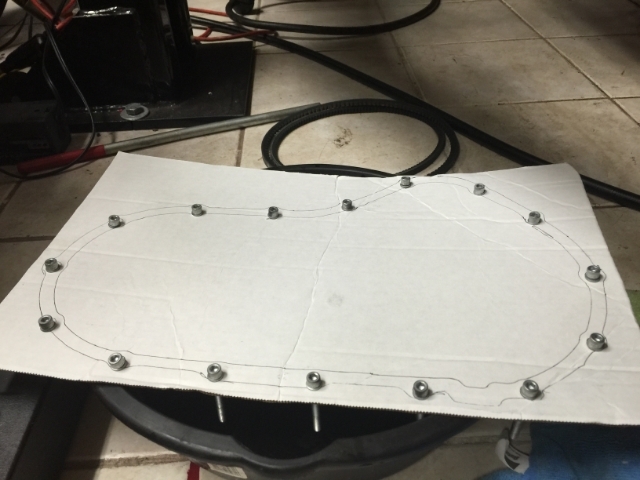
Now to remove the 16 bolts that hold the primary cover in place
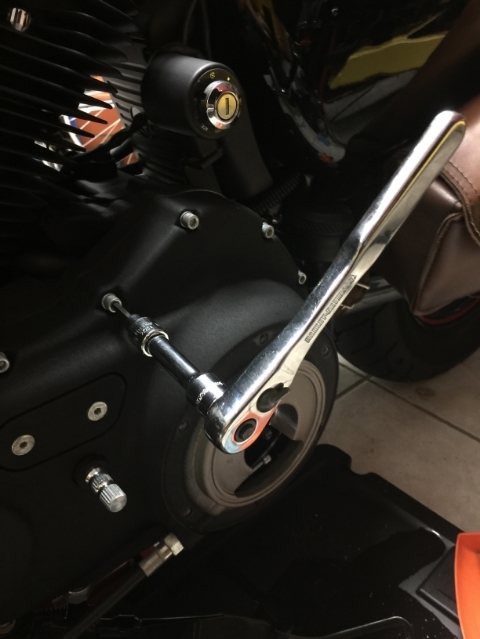
I had made this from the cardboard that the new gasket came in... turns out that there was no need... in my motorcycle, all 16 bolts are the same length.
Drained primary oil
Loosen chain tensioner - I followed the recommendation from Chris on just loosen enough to turn so that I can get it back to the previous position quickly.
Remove cover
Remove spring with retainer nut
Using a small screwdriver (because it will need to go inside the nut to completely get it out), turn the adjuster screw clockwise until the nut comes off...
Slide out the ramp assembly and unhook from cable coupling
At this point you could remove the clutch cable... but all the threads and posts about this mentions that you can leave it in and avoid dealing with another seal... since the bike has less than 4K miles, I left it in place.
Now to remove the 16 bolts that hold the primary cover in place
I had made this from the cardboard that the new gasket came in... turns out that there was no need... in my motorcycle, all 16 bolts are the same length.

