
Power-Slides - I would never do that - Fixing after the fun!
#1
 12-15-2013, 01:15 AM

Join Date: Nov 2010
Location: Red Banks, Mississippi
Posts: 17,464
Received 3,939 Likes
on
2,294 Posts
More than a few people have made comments about me playing around on my Sporty...pulling wheelies, burning out, doing powerslides etc.
Here's their chance to say "I told you so".
A few weeks ago I was at the shop, doing wheelies across the parking lot, and then some pretty good powerslides. Bummer we did not get any pics...wasn't doing it for pics...just having fun after a long day in the shop.
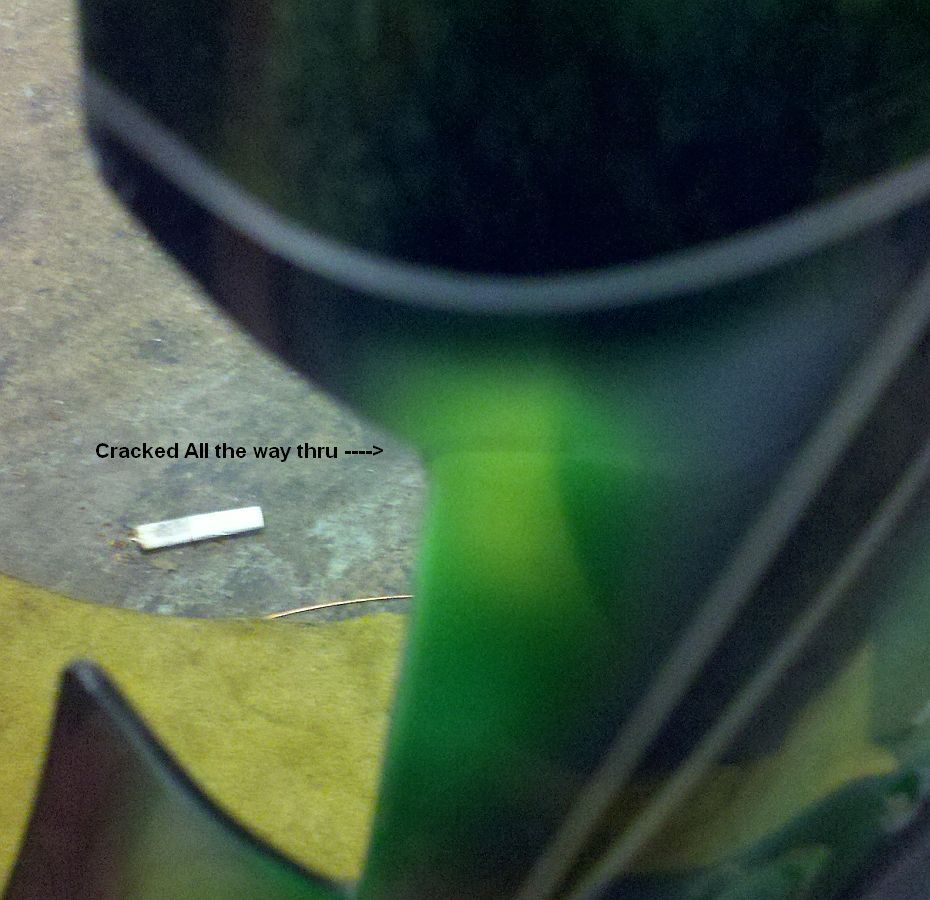
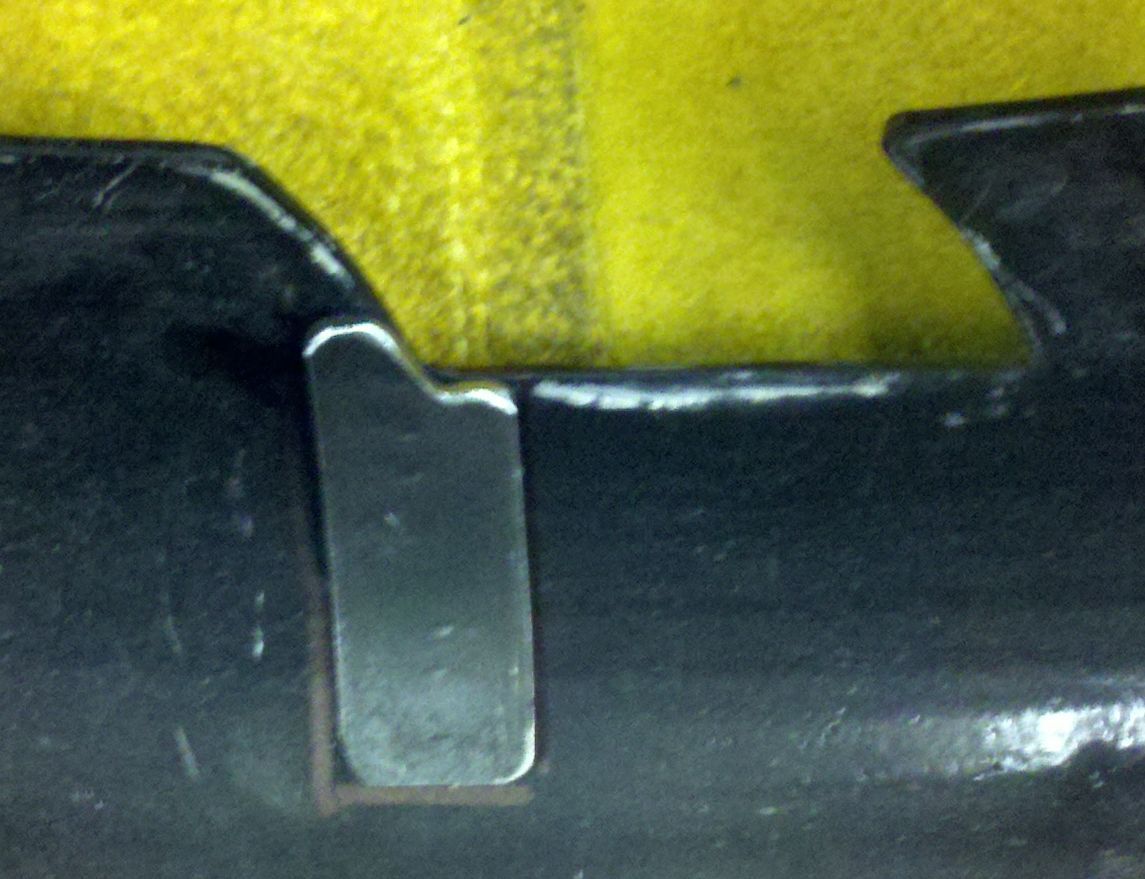
The next day I noticed that the rear fender had a crack in it...all the way thru and about 1.5" long.
It was not there before, I knew it had happened when I was messing around, but took awhile for Devin and I to figure out WHY it happened. The fender had been on there for over 4000 miles, lots of wheelies, lots of racing, lots of burn-outs, and some rough roads between Mississippi and Wisconsin, with no problems.
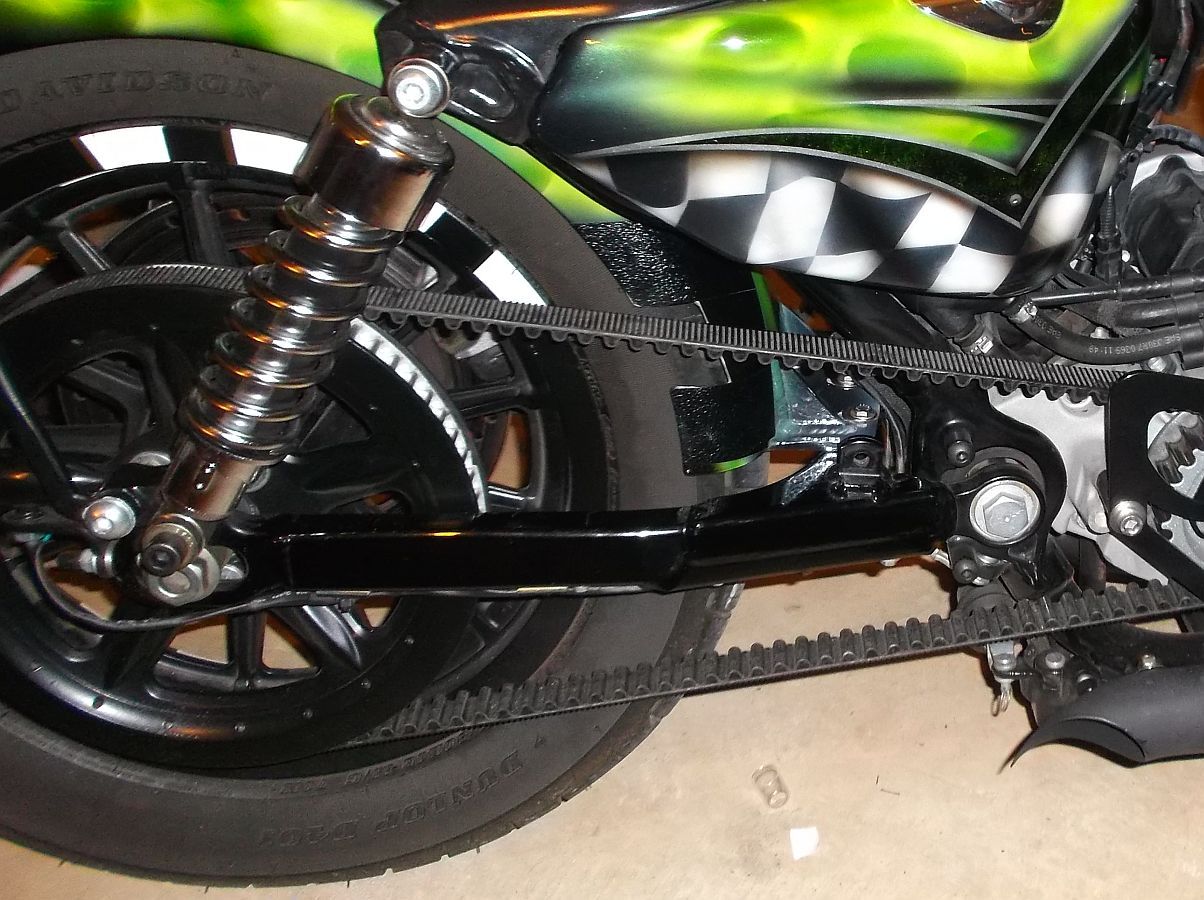
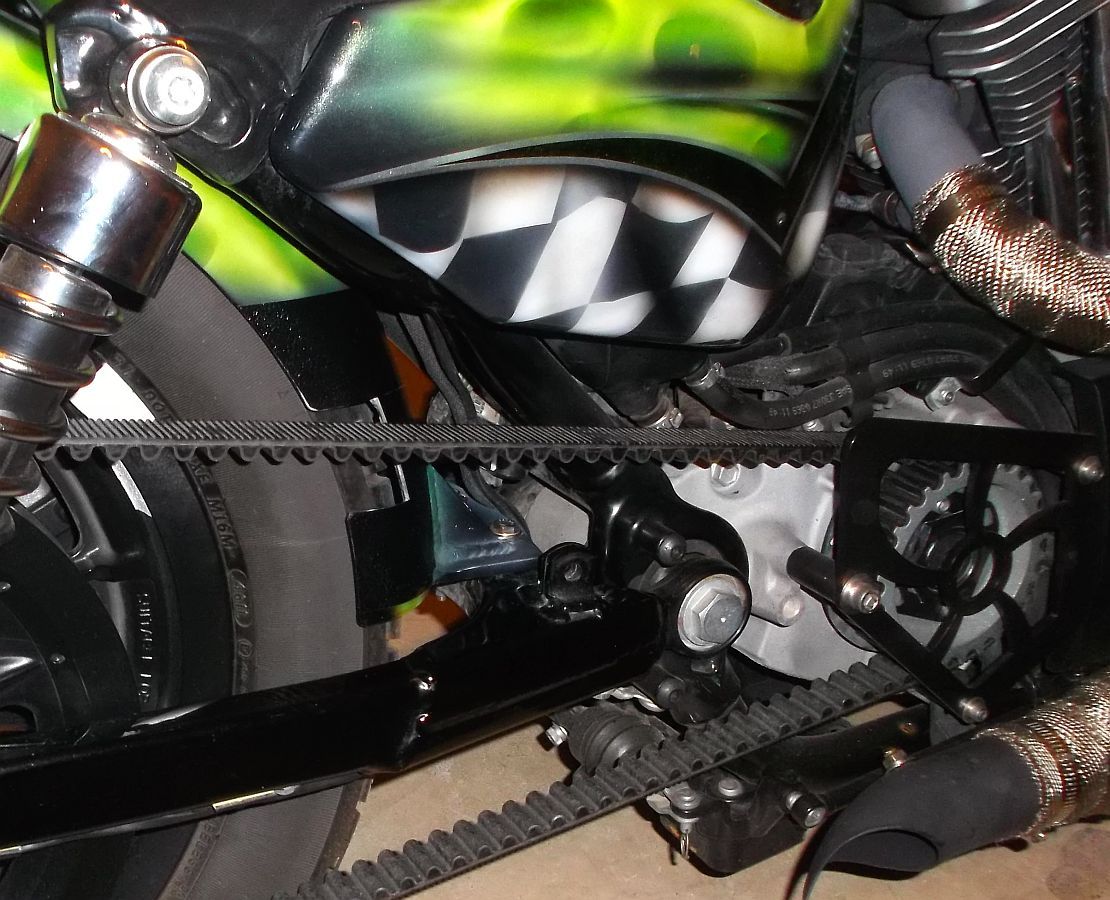
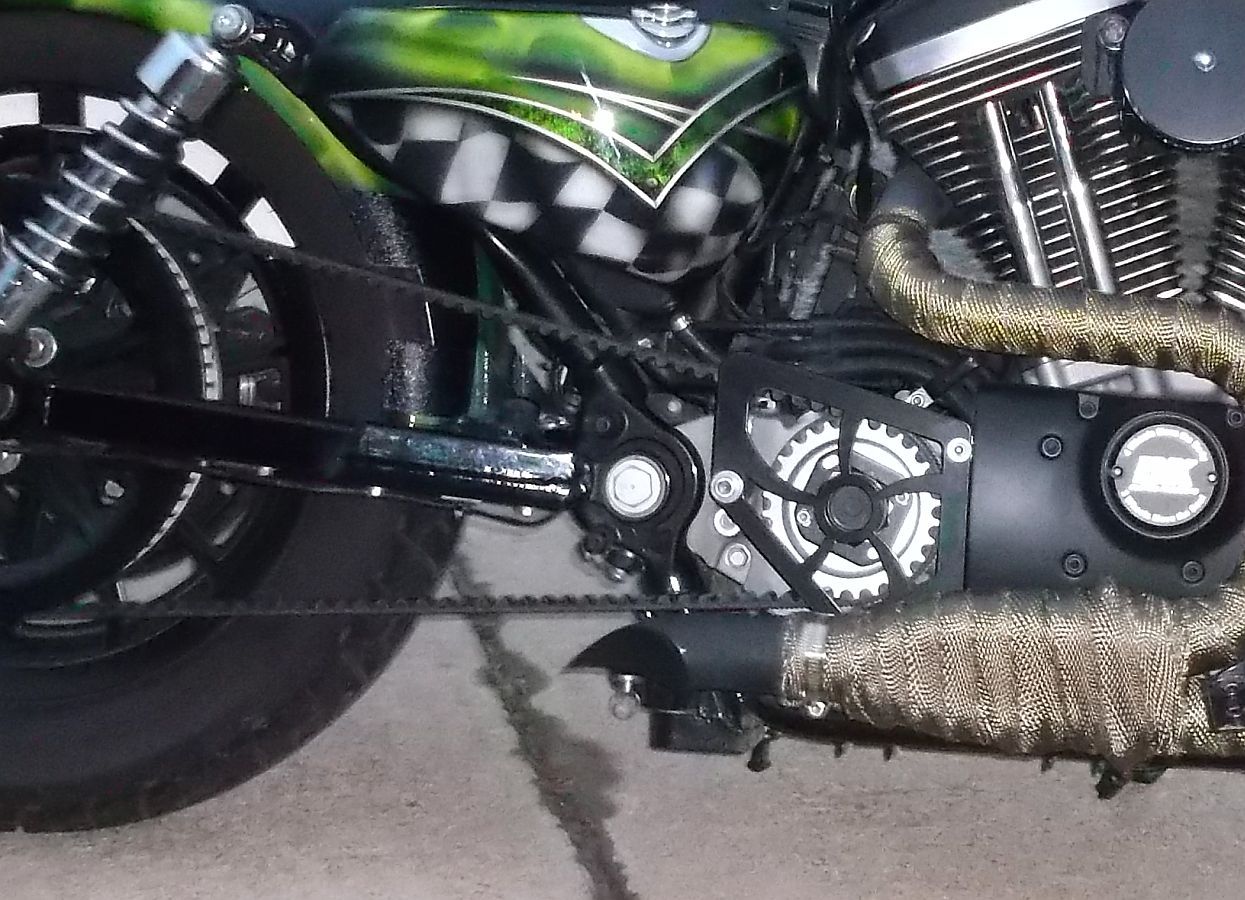
Realized that when I was doing the powerslides the swing-arm was flexing/shifting in the rubber mount. This flexing pushed the side of the fender into a protoype bracket I was testing and that sideways stress/pushing of the fender caused the failure at the weakest point-the cut-out for the belt.
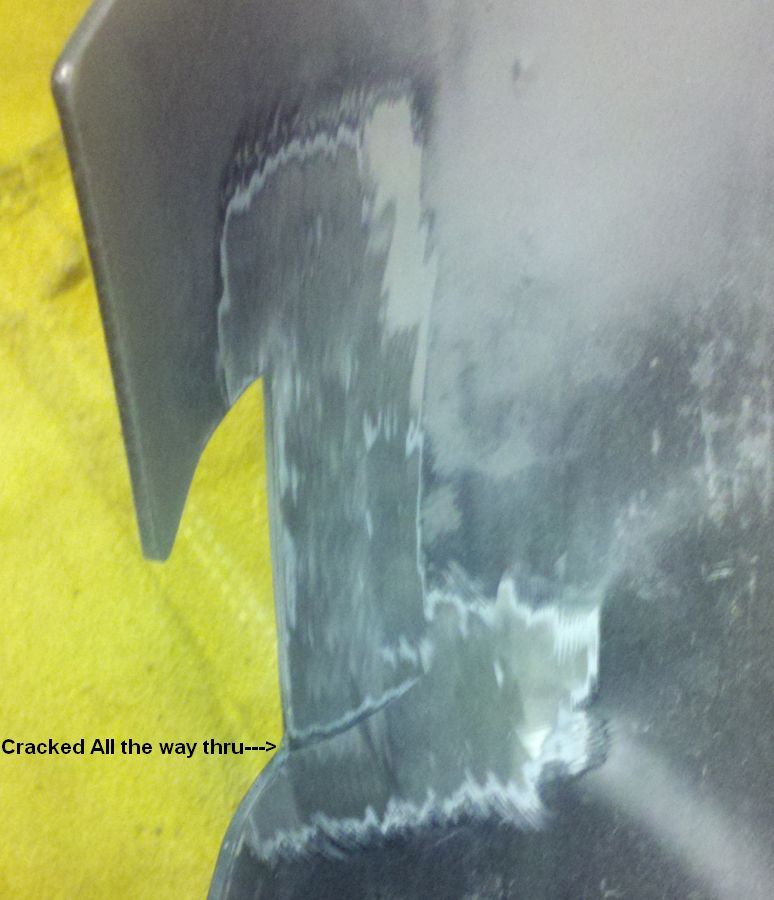
Knowing that any more riding would just make the crack spider out further, we pulled the fender.
I also pulled the offending prototype bracket and threw it in the recycle bin.
Any fix was going to mess up the paint, but there was no choice. We did not know how much, but came up with a red-neck way of trying to limit the paint damage.
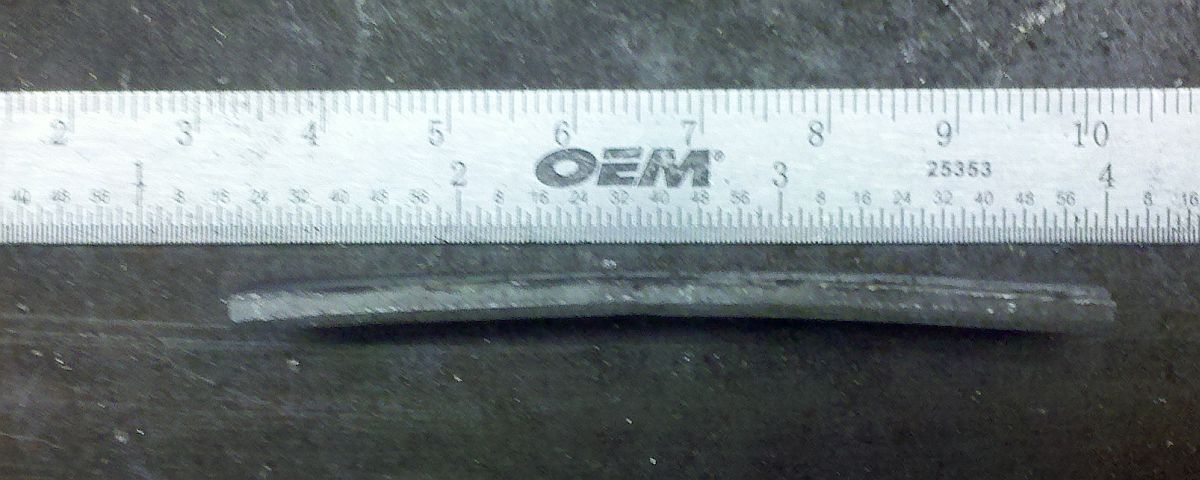
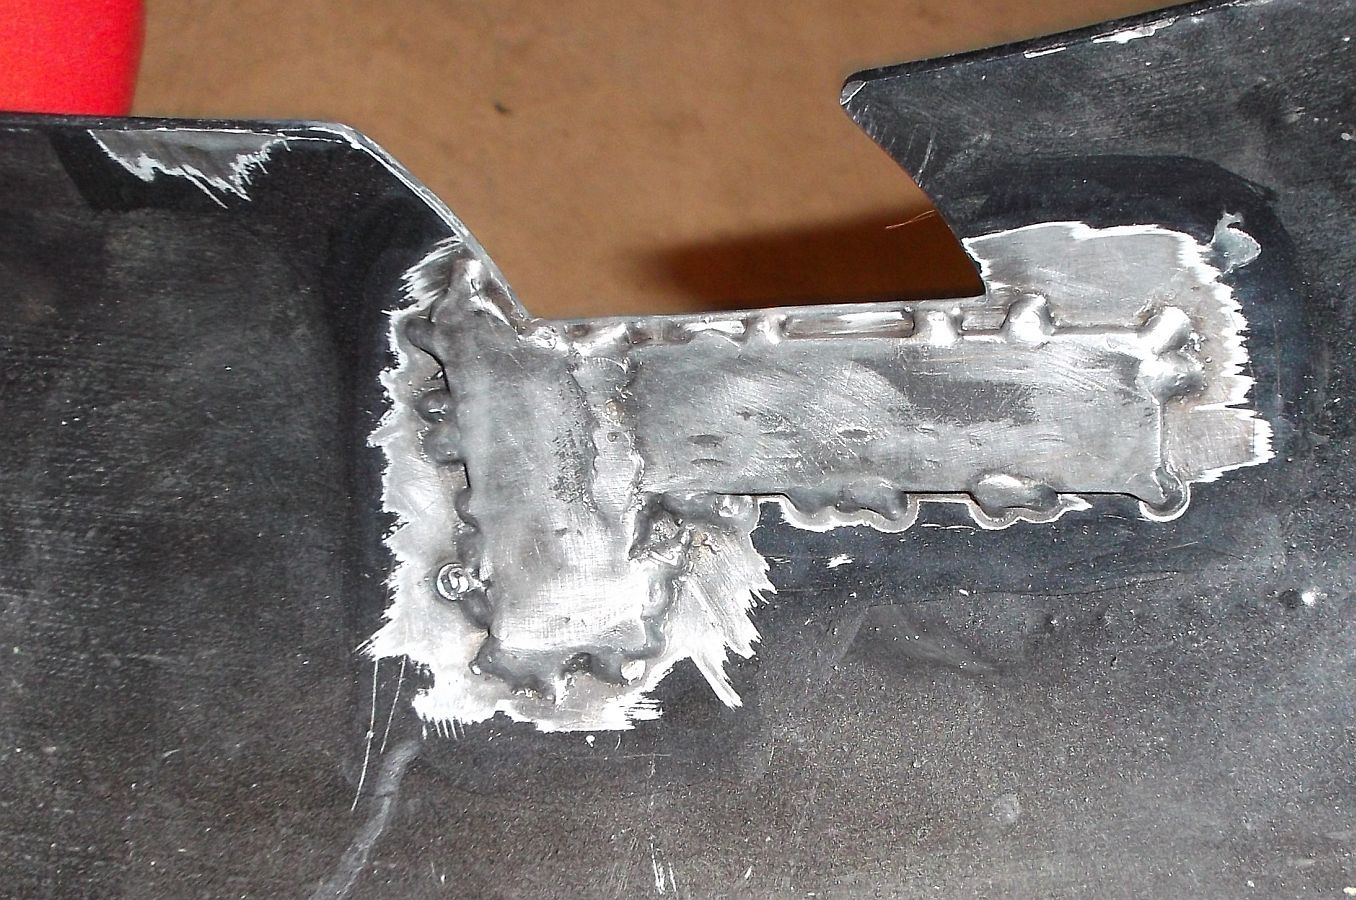
Looking at the two pieces to be welded in to give strength and prevent a re-occurrence.
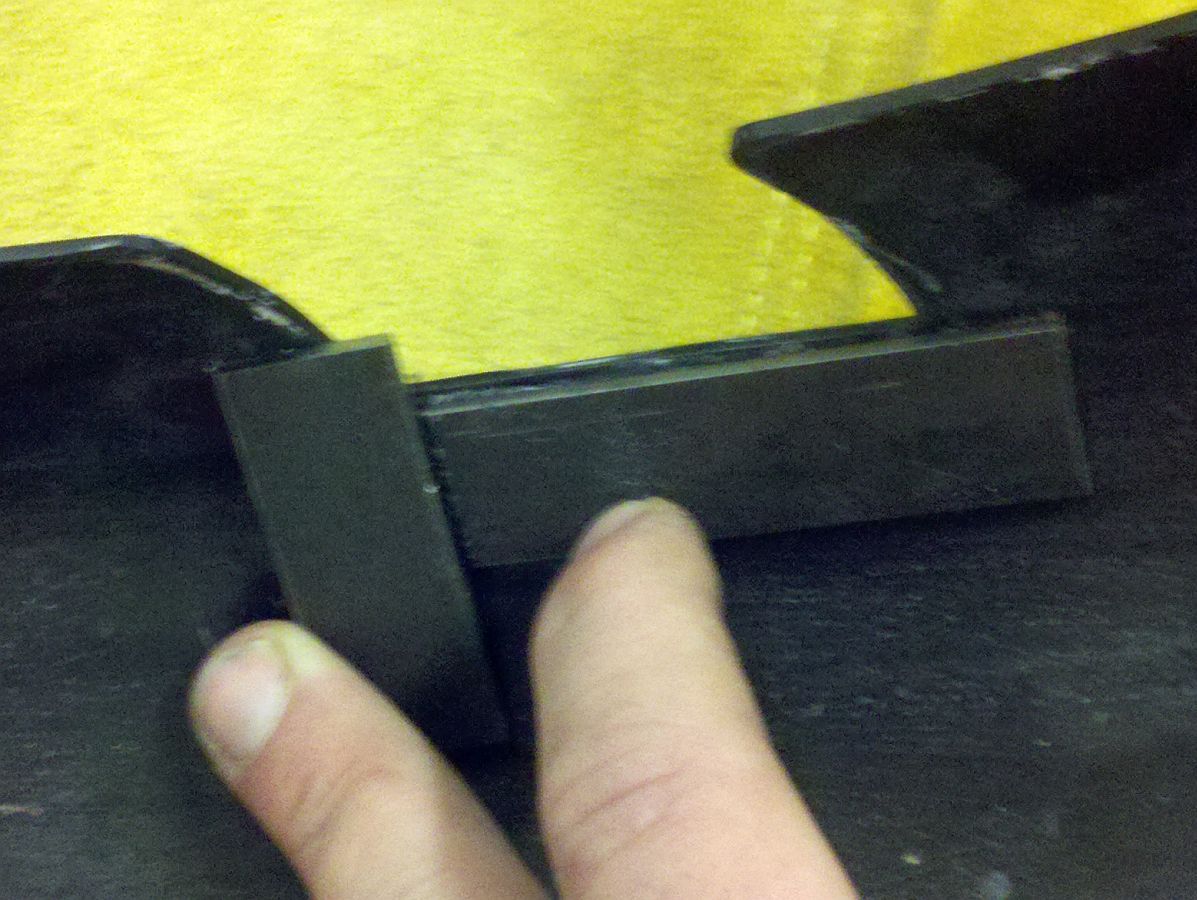
Had to notch this one and put one curve in it, matching the curve of the fender.
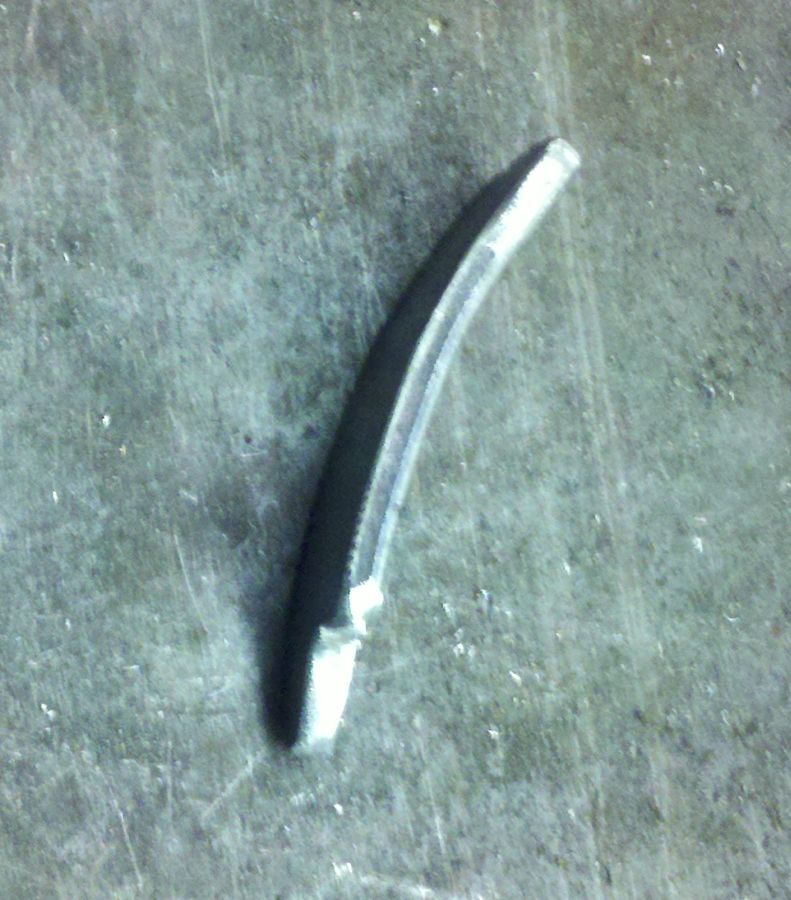
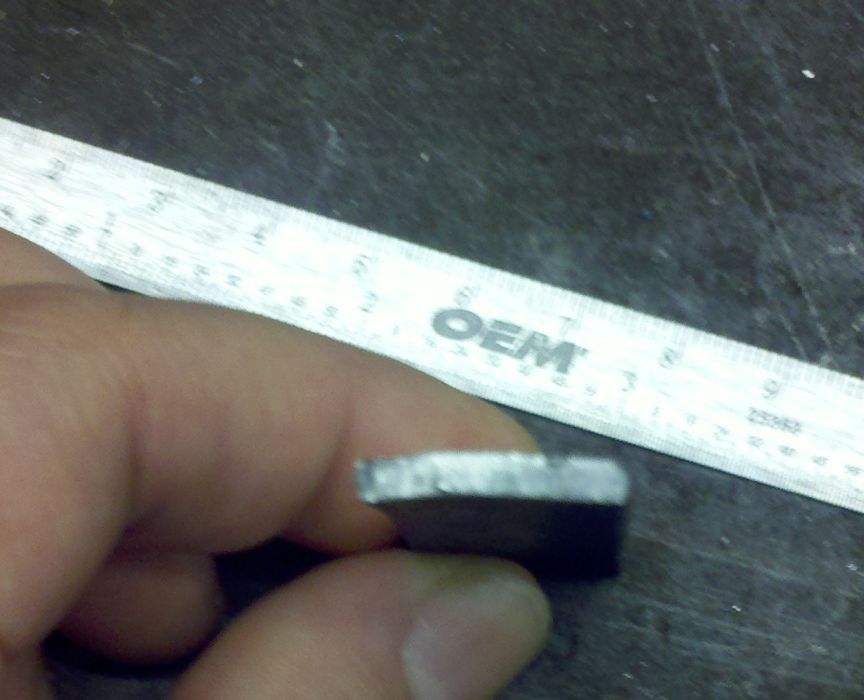
The second one needed TWO curves in it to match the curves of the fender.
Ok, here comes the red-neck part. :laugh
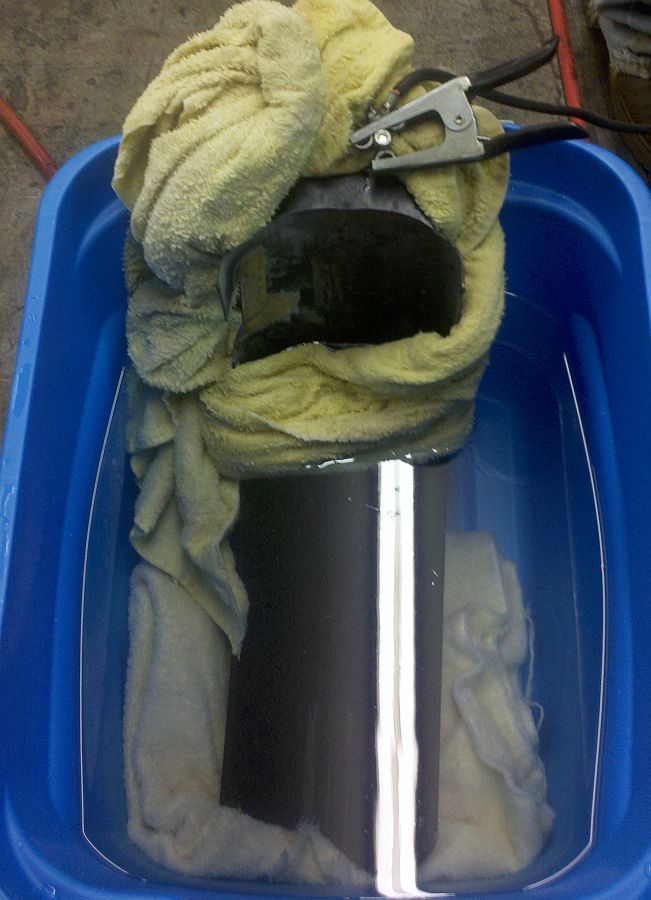
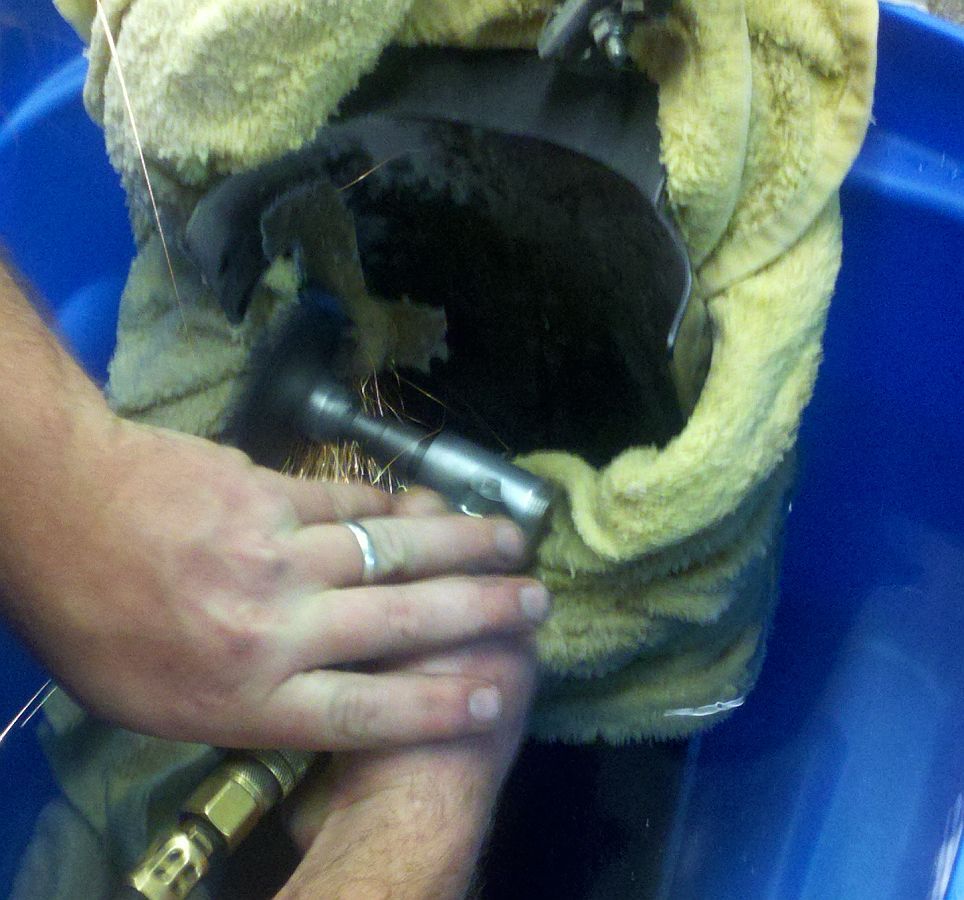
Decided to set as much of the fender as possible in a bucket of water, then wrap the rest of the fender in a wet towel.
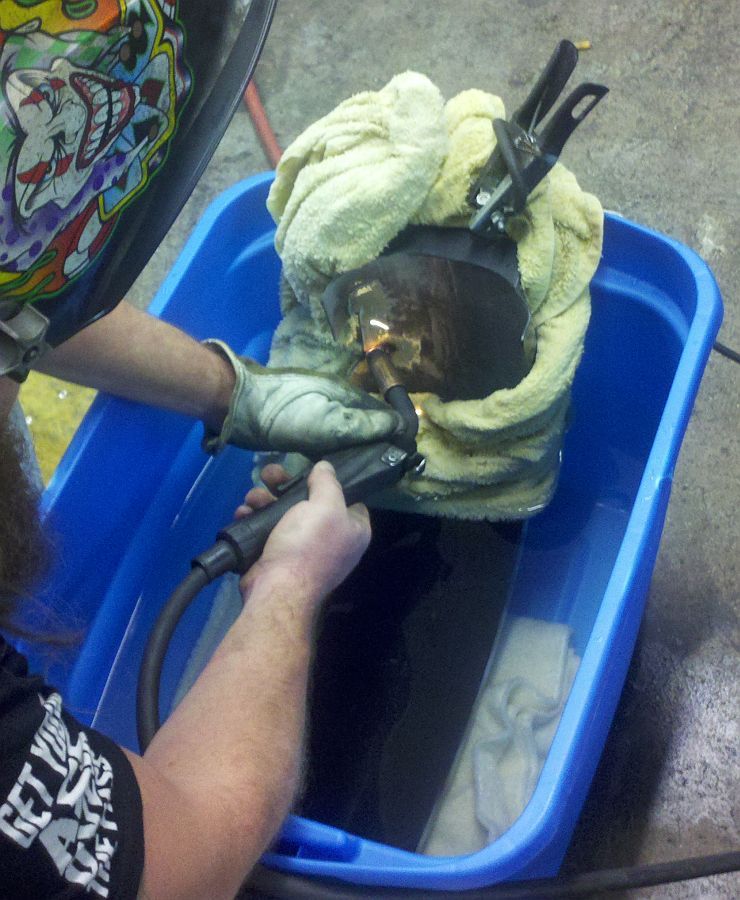
Also decided to do lots of tack welds on the support pieces, leaving time to cool in-between.
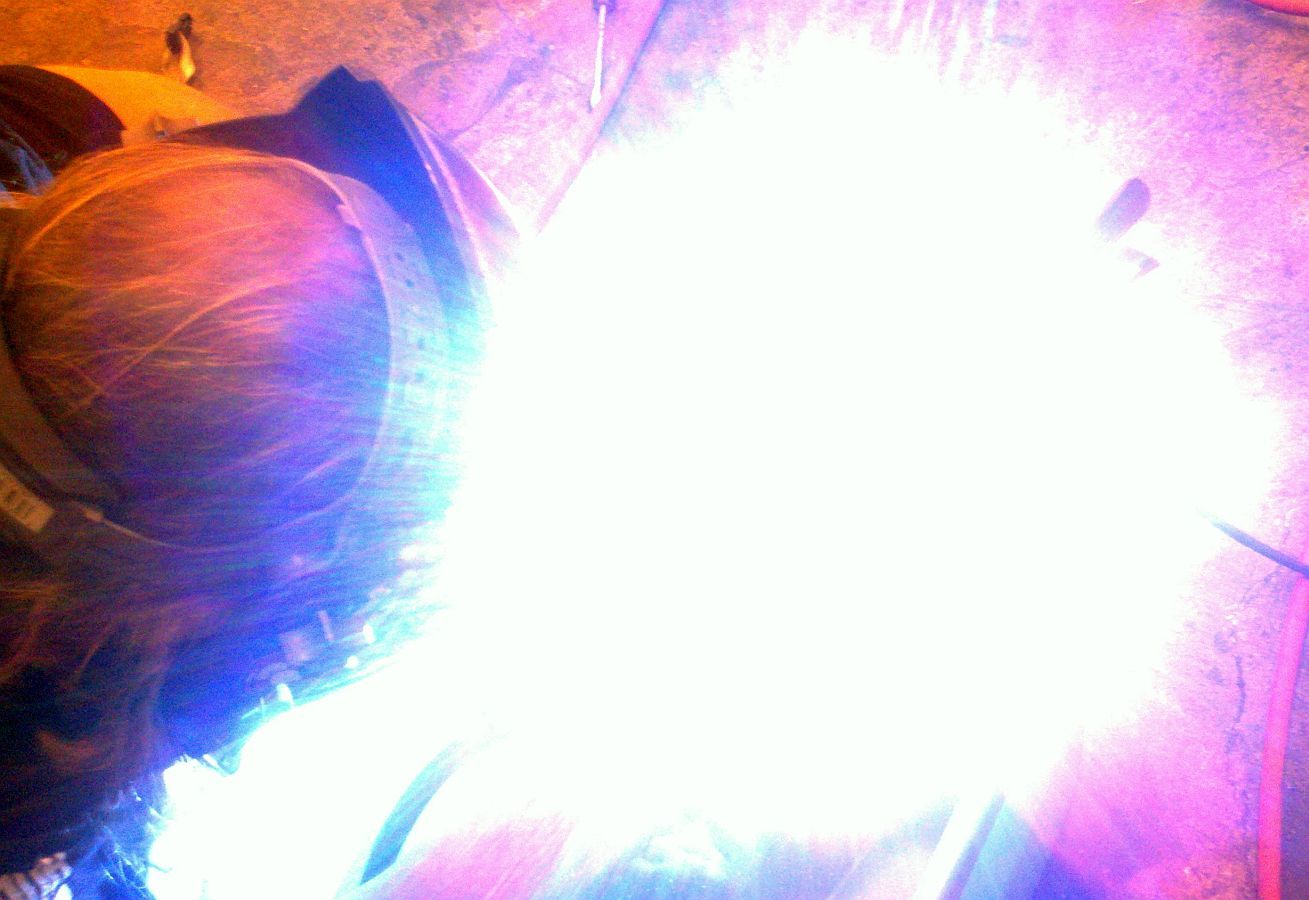
First up was to weld the crack. This part generated the most heat, as it was a full penetrating weld the entire length of the crack.
Next we had to clean up the weld so the support piece would fit flush.
Continued in next post....
Here's their chance to say "I told you so".
A few weeks ago I was at the shop, doing wheelies across the parking lot, and then some pretty good powerslides. Bummer we did not get any pics...wasn't doing it for pics...just having fun after a long day in the shop.
The next day I noticed that the rear fender had a crack in it...all the way thru and about 1.5" long.
It was not there before, I knew it had happened when I was messing around, but took awhile for Devin and I to figure out WHY it happened. The fender had been on there for over 4000 miles, lots of wheelies, lots of racing, lots of burn-outs, and some rough roads between Mississippi and Wisconsin, with no problems.
Realized that when I was doing the powerslides the swing-arm was flexing/shifting in the rubber mount. This flexing pushed the side of the fender into a protoype bracket I was testing and that sideways stress/pushing of the fender caused the failure at the weakest point-the cut-out for the belt.
Knowing that any more riding would just make the crack spider out further, we pulled the fender.
I also pulled the offending prototype bracket and threw it in the recycle bin.
Any fix was going to mess up the paint, but there was no choice. We did not know how much, but came up with a red-neck way of trying to limit the paint damage.
Looking at the two pieces to be welded in to give strength and prevent a re-occurrence.
Had to notch this one and put one curve in it, matching the curve of the fender.
The second one needed TWO curves in it to match the curves of the fender.
Ok, here comes the red-neck part. :laugh
Decided to set as much of the fender as possible in a bucket of water, then wrap the rest of the fender in a wet towel.
Also decided to do lots of tack welds on the support pieces, leaving time to cool in-between.
First up was to weld the crack. This part generated the most heat, as it was a full penetrating weld the entire length of the crack.
Next we had to clean up the weld so the support piece would fit flush.
Continued in next post....

#2
12-15-2013, 01:16 AM
Join Date: Nov 2010
Location: Red Banks, Mississippi
Posts: 17,464
Received 3,939 Likes
on
2,294 Posts
Next up was tacking in the support pieces, leaving a little cooling time between each tack...and keeping the towel as wet as possible on the paint side of the fender.

Done welding and smoothing out.
In the meantime we were riding without a rear fender.

Somehow I forgot to get any pics of what the bubbled paint looked like after the welding.
But this is what it looked like after removing all the compromised paint.
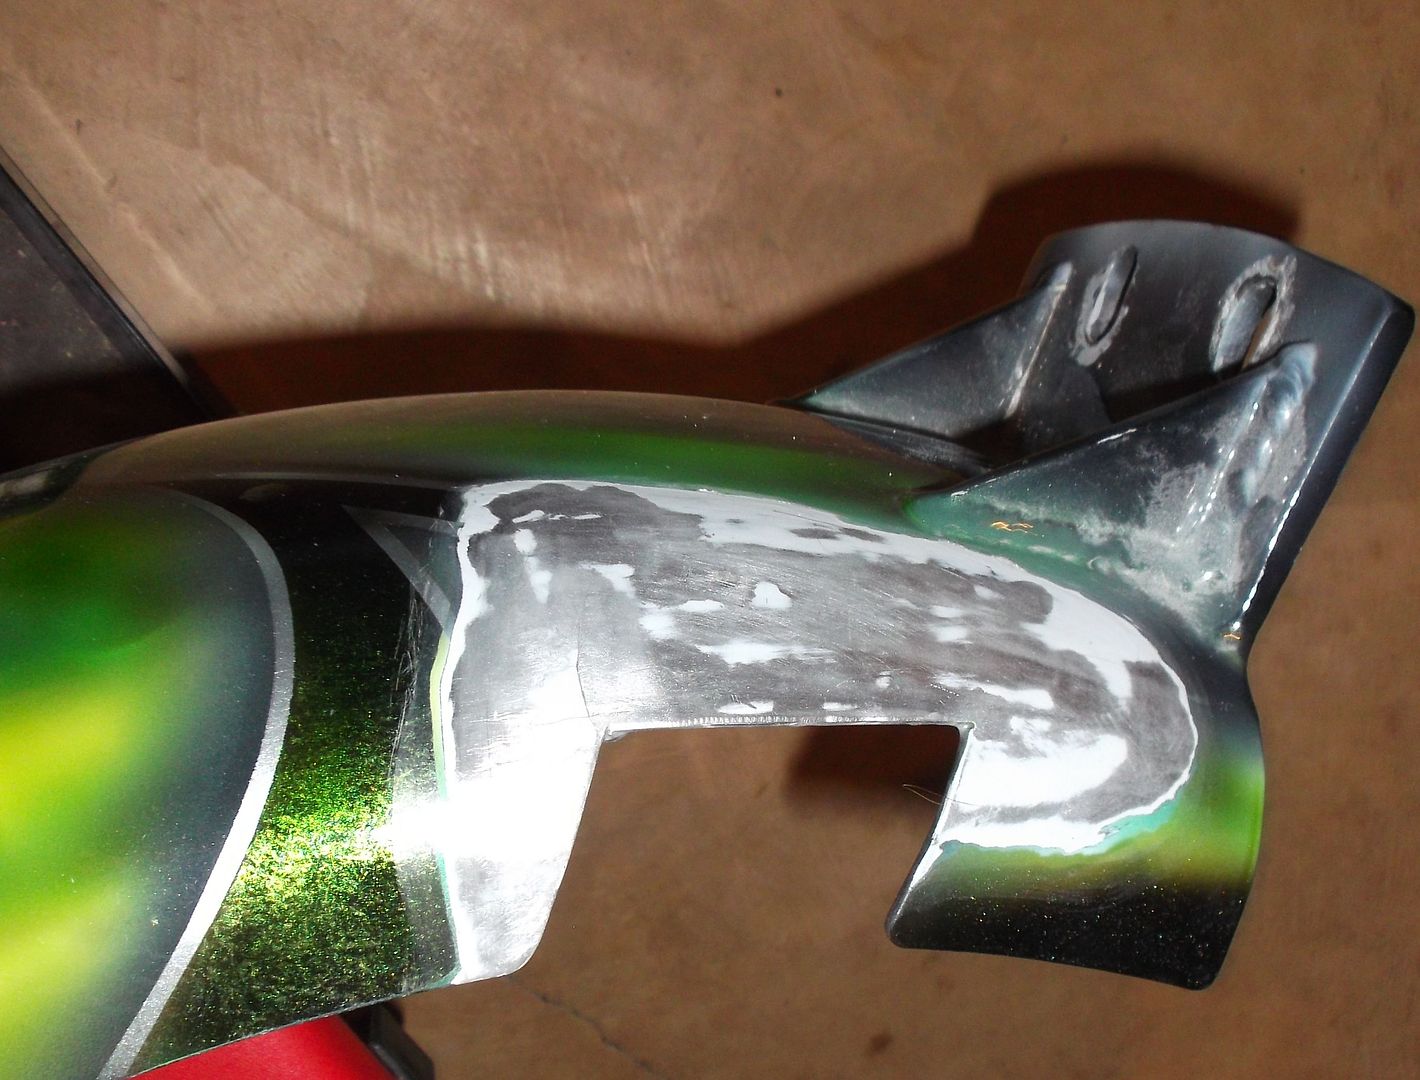
We then primed it and cleared it before the next step.
Since most of the surrounding area of this part of the fender is the black tire and black frame...I picked up a roll of black "non-slip" tape to cover the area where the paint was gone.
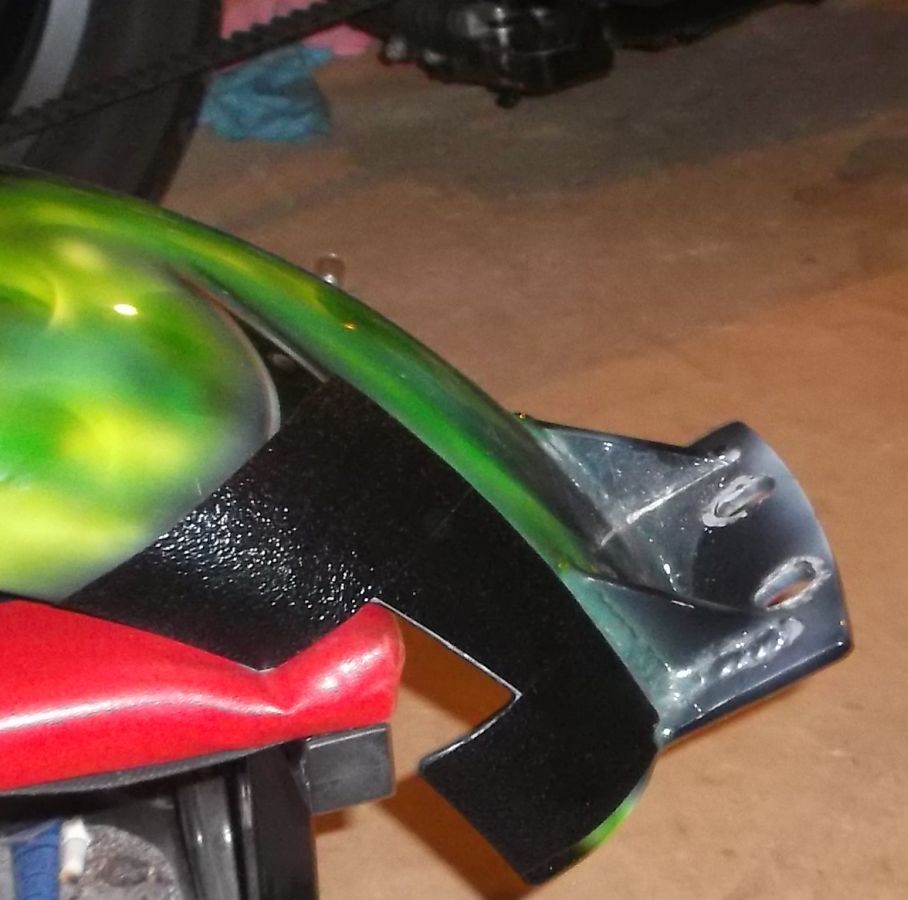
Just got the fender re-installed today.
Took it out for a little spin... It was a short one...no helmet, gloves or jacket in 34*...after a mile I headed back.
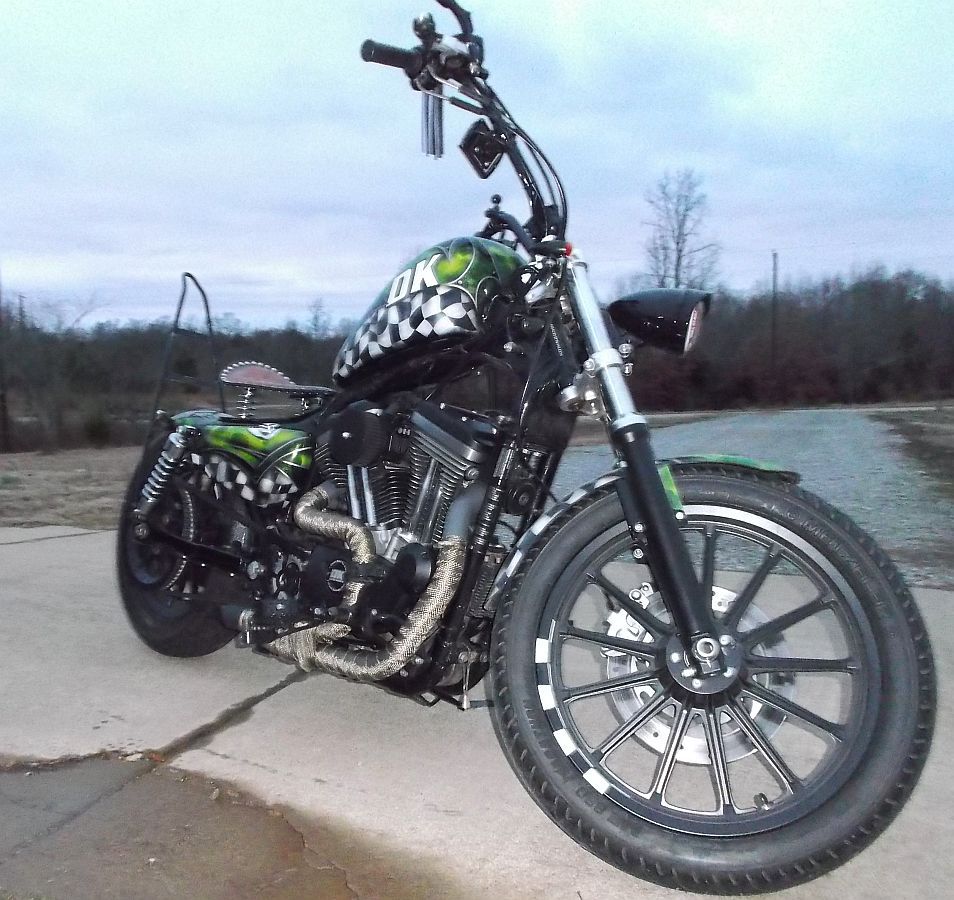
It's all ready for some more fun riding!
Done welding and smoothing out.
In the meantime we were riding without a rear fender.
Somehow I forgot to get any pics of what the bubbled paint looked like after the welding.
But this is what it looked like after removing all the compromised paint.
We then primed it and cleared it before the next step.
Since most of the surrounding area of this part of the fender is the black tire and black frame...I picked up a roll of black "non-slip" tape to cover the area where the paint was gone.
Just got the fender re-installed today.
Took it out for a little spin... It was a short one...no helmet, gloves or jacket in 34*...after a mile I headed back.
It's all ready for some more fun riding!
#3
12-15-2013, 05:16 AM

Road Captain
#4
12-15-2013, 06:36 AM
Club Member

#6
12-15-2013, 09:03 AM
#7
12-15-2013, 09:14 AM


Trending Topics

#9
12-15-2013, 07:26 PM
Join Date: Nov 2010
Location: Red Banks, Mississippi
Posts: 17,464
Received 3,939 Likes
on
2,294 Posts
Thanks! Not sure when/if I'll ever be crossing the pond again.
Now I have a bit over 3/8" clearance. I don't think it will flex that much. But replacing the bushings is now on my list. I don't see myself being any easier on the bike in the future. Too much fun! Thanks for the info.
Thanks!

Thread
Thread Starter
Forum
Replies
Last Post