"DIY MODS" and TRICKS to SAVE $$$$$$
#1622
Haven't seen this idea posted yet but I can't be the only guy to use this idea. I have the saddlebag guard bags on my bike - the one on the left with a water bottle and the full bag on the right for a first aid kit.
I didn't like the way the bags worked their way toward the outside of the bar much, so the first attempt to keep the bag upright was to use a small stainless hose clamp on the bar between the outside snap and the two inside snaps with the screw part of the clamp in the opening, supposedly blocking the bag's outward creep.
That didn't work though, as the bag material just started creeping up over the screw part. It was an ugly solution as well.
Next trick was to take some adhesive Velcro strips and cut them into about two inch strips. I put three of the fuzzy side strips across the top of the bar where I had marked the desired position of the bag with a Sharpie marker. The matching hook side of the material went into the corresponding area of the bag where it loops over the bar. I did the first strip of the hook side while the bottom of the bag was still hooked onto the bar so I would get the orientation right. I also kept the bend in the top part of the bag so the Velcro would have the best chance of holding and not being pushed out of place when the top was fastened over the bar.
After about three weeks of pretty steady riding and about 3,500 total miles on two HOT trips, the Velcro solution appears to be doing the job. I remove the bags every time I wash the bike or do maintenance where the side covers come off. No sign of anything coming loose. The bags stay on straight, and the water bottle holder is always in the same spot when I put the water bottle back.
Another hint - if you have trouble getting the bags over on to the second (tighter) set of snaps, leave the bags out in the sun till hot, or use a heat gun or hair dryer and then pull HARD to temporarily stretch the material enough to get the second set of snaps hooked up. Looks good, and probably helps with keeping the Velcro bonded in place.
#1626
Haven't seen this idea posted yet but I can't be the only guy to use this idea. I have the saddlebag guard bags on my bike - the one on the left with a water bottle and the full bag on the right for a first aid kit.
I didn't like the way the bags worked their way toward the outside of the bar much, so the first attempt to keep the bag upright was to use a small stainless hose clamp on the bar between the outside snap and the two inside snaps with the screw part of the clamp in the opening, supposedly blocking the bag's outward creep.
That didn't work though, as the bag material just started creeping up over the screw part. It was an ugly solution as well.
Next trick was to take some adhesive Velcro strips and cut them into about two inch strips. I put three of the fuzzy side strips across the top of the bar where I had marked the desired position of the bag with a Sharpie marker. The matching hook side of the material went into the corresponding area of the bag where it loops over the bar. I did the first strip of the hook side while the bottom of the bag was still hooked onto the bar so I would get the orientation right. I also kept the bend in the top part of the bag so the Velcro would have the best chance of holding and not being pushed out of place when the top was fastened over the bar.
After about three weeks of pretty steady riding and about 3,500 total miles on two HOT trips, the Velcro solution appears to be doing the job. I remove the bags every time I wash the bike or do maintenance where the side covers come off. No sign of anything coming loose. The bags stay on straight, and the water bottle holder is always in the same spot when I put the water bottle back.
Another hint - if you have trouble getting the bags over on to the second (tighter) set of snaps, leave the bags out in the sun till hot, or use a heat gun or hair dryer and then pull HARD to temporarily stretch the material enough to get the second set of snaps hooked up. Looks good, and probably helps with keeping the Velcro bonded in place.
I didn't like the way the bags worked their way toward the outside of the bar much, so the first attempt to keep the bag upright was to use a small stainless hose clamp on the bar between the outside snap and the two inside snaps with the screw part of the clamp in the opening, supposedly blocking the bag's outward creep.
That didn't work though, as the bag material just started creeping up over the screw part. It was an ugly solution as well.
Next trick was to take some adhesive Velcro strips and cut them into about two inch strips. I put three of the fuzzy side strips across the top of the bar where I had marked the desired position of the bag with a Sharpie marker. The matching hook side of the material went into the corresponding area of the bag where it loops over the bar. I did the first strip of the hook side while the bottom of the bag was still hooked onto the bar so I would get the orientation right. I also kept the bend in the top part of the bag so the Velcro would have the best chance of holding and not being pushed out of place when the top was fastened over the bar.
After about three weeks of pretty steady riding and about 3,500 total miles on two HOT trips, the Velcro solution appears to be doing the job. I remove the bags every time I wash the bike or do maintenance where the side covers come off. No sign of anything coming loose. The bags stay on straight, and the water bottle holder is always in the same spot when I put the water bottle back.
Another hint - if you have trouble getting the bags over on to the second (tighter) set of snaps, leave the bags out in the sun till hot, or use a heat gun or hair dryer and then pull HARD to temporarily stretch the material enough to get the second set of snaps hooked up. Looks good, and probably helps with keeping the Velcro bonded in place.
-Paddy
#1627
I've Needed a cup holder on my SG since I got it. I'm not a fan of the cruiser caddy type, nor do I want it on my bars. So, today I made one to fit a large Tervis cup, or my coffee cup.
4' of 1"x1/8th" aluminum flat stock
Spare Highway bar clamp
Some screws and paint (not painted yet)
I'm going to run around with it for a few days unfinished to see if it needs any modifications before sanding and painting.
https://docs.google.com/file/d/0B2cK...p=docslist_api
https://docs.google.com/file/d/0B2cK...p=docslist_api
How to: 2011 RK spot auxiliary lights & high beams
https://www.hdforums.com/forum/elect...igh-beams.html
https://www.hdforums.com/forum/elect...igh-beams.html
picked up a few canvas organizer bags from home depot today
http://www.homedepot.com/p/Husky-12-...9?N=5yc1vZc2g6
i attached this one to the inside of the saddlebag using the lid-strap screws
http://www.homedepot.com/p/Husky-Org...5?N=5yc1vZc2g6
this one is attached to the lid-strap itself, fits almost perfectly
http://www.homedepot.com/p/Husky-12-...9?N=5yc1vZc2g6
i attached this one to the inside of the saddlebag using the lid-strap screws
http://www.homedepot.com/p/Husky-Org...5?N=5yc1vZc2g6
this one is attached to the lid-strap itself, fits almost perfectly
#1628

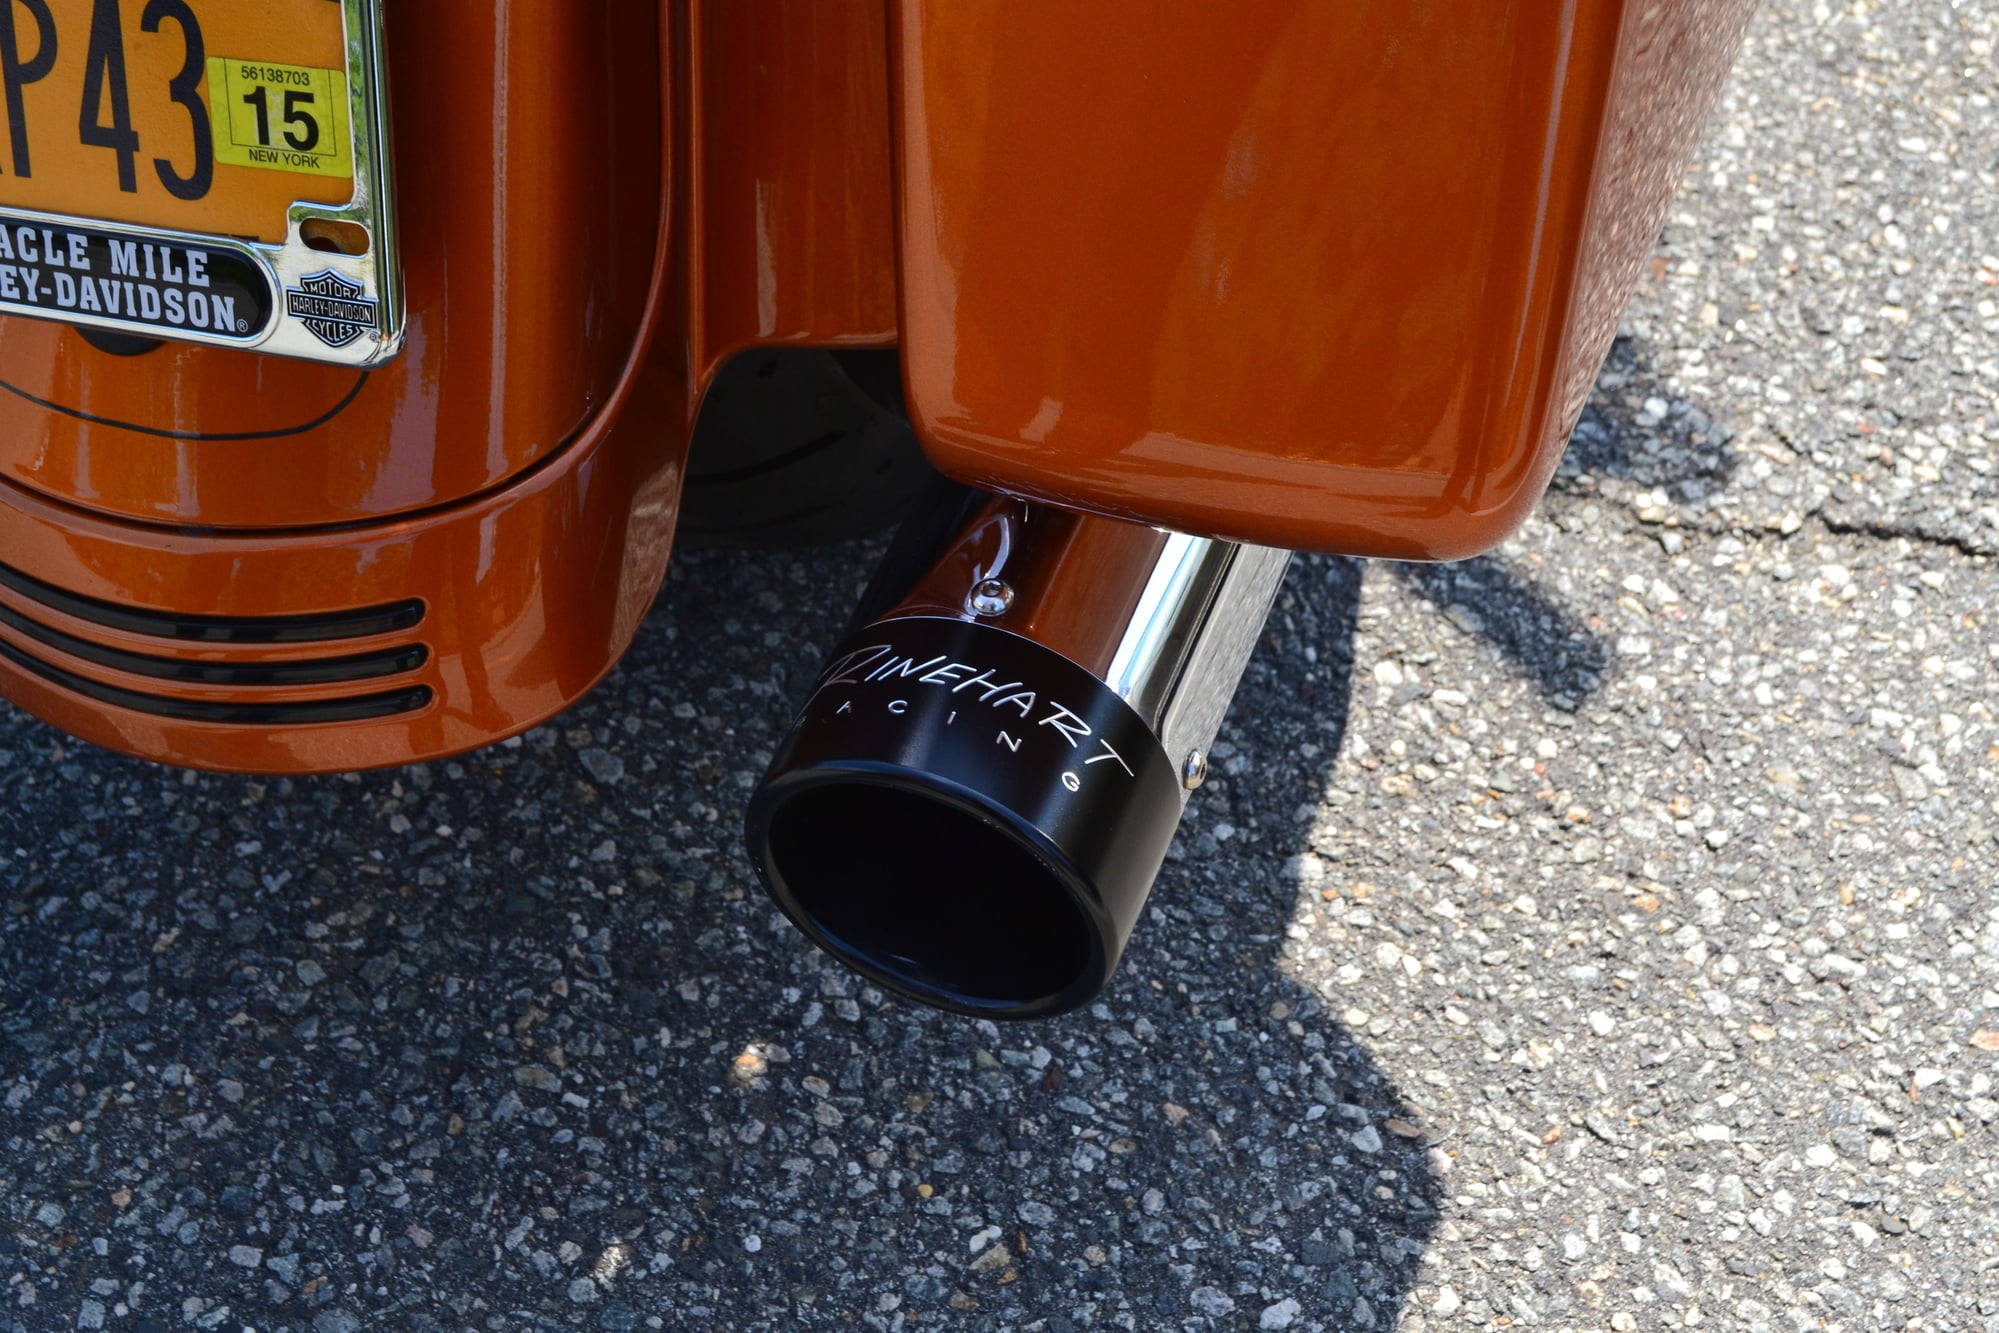
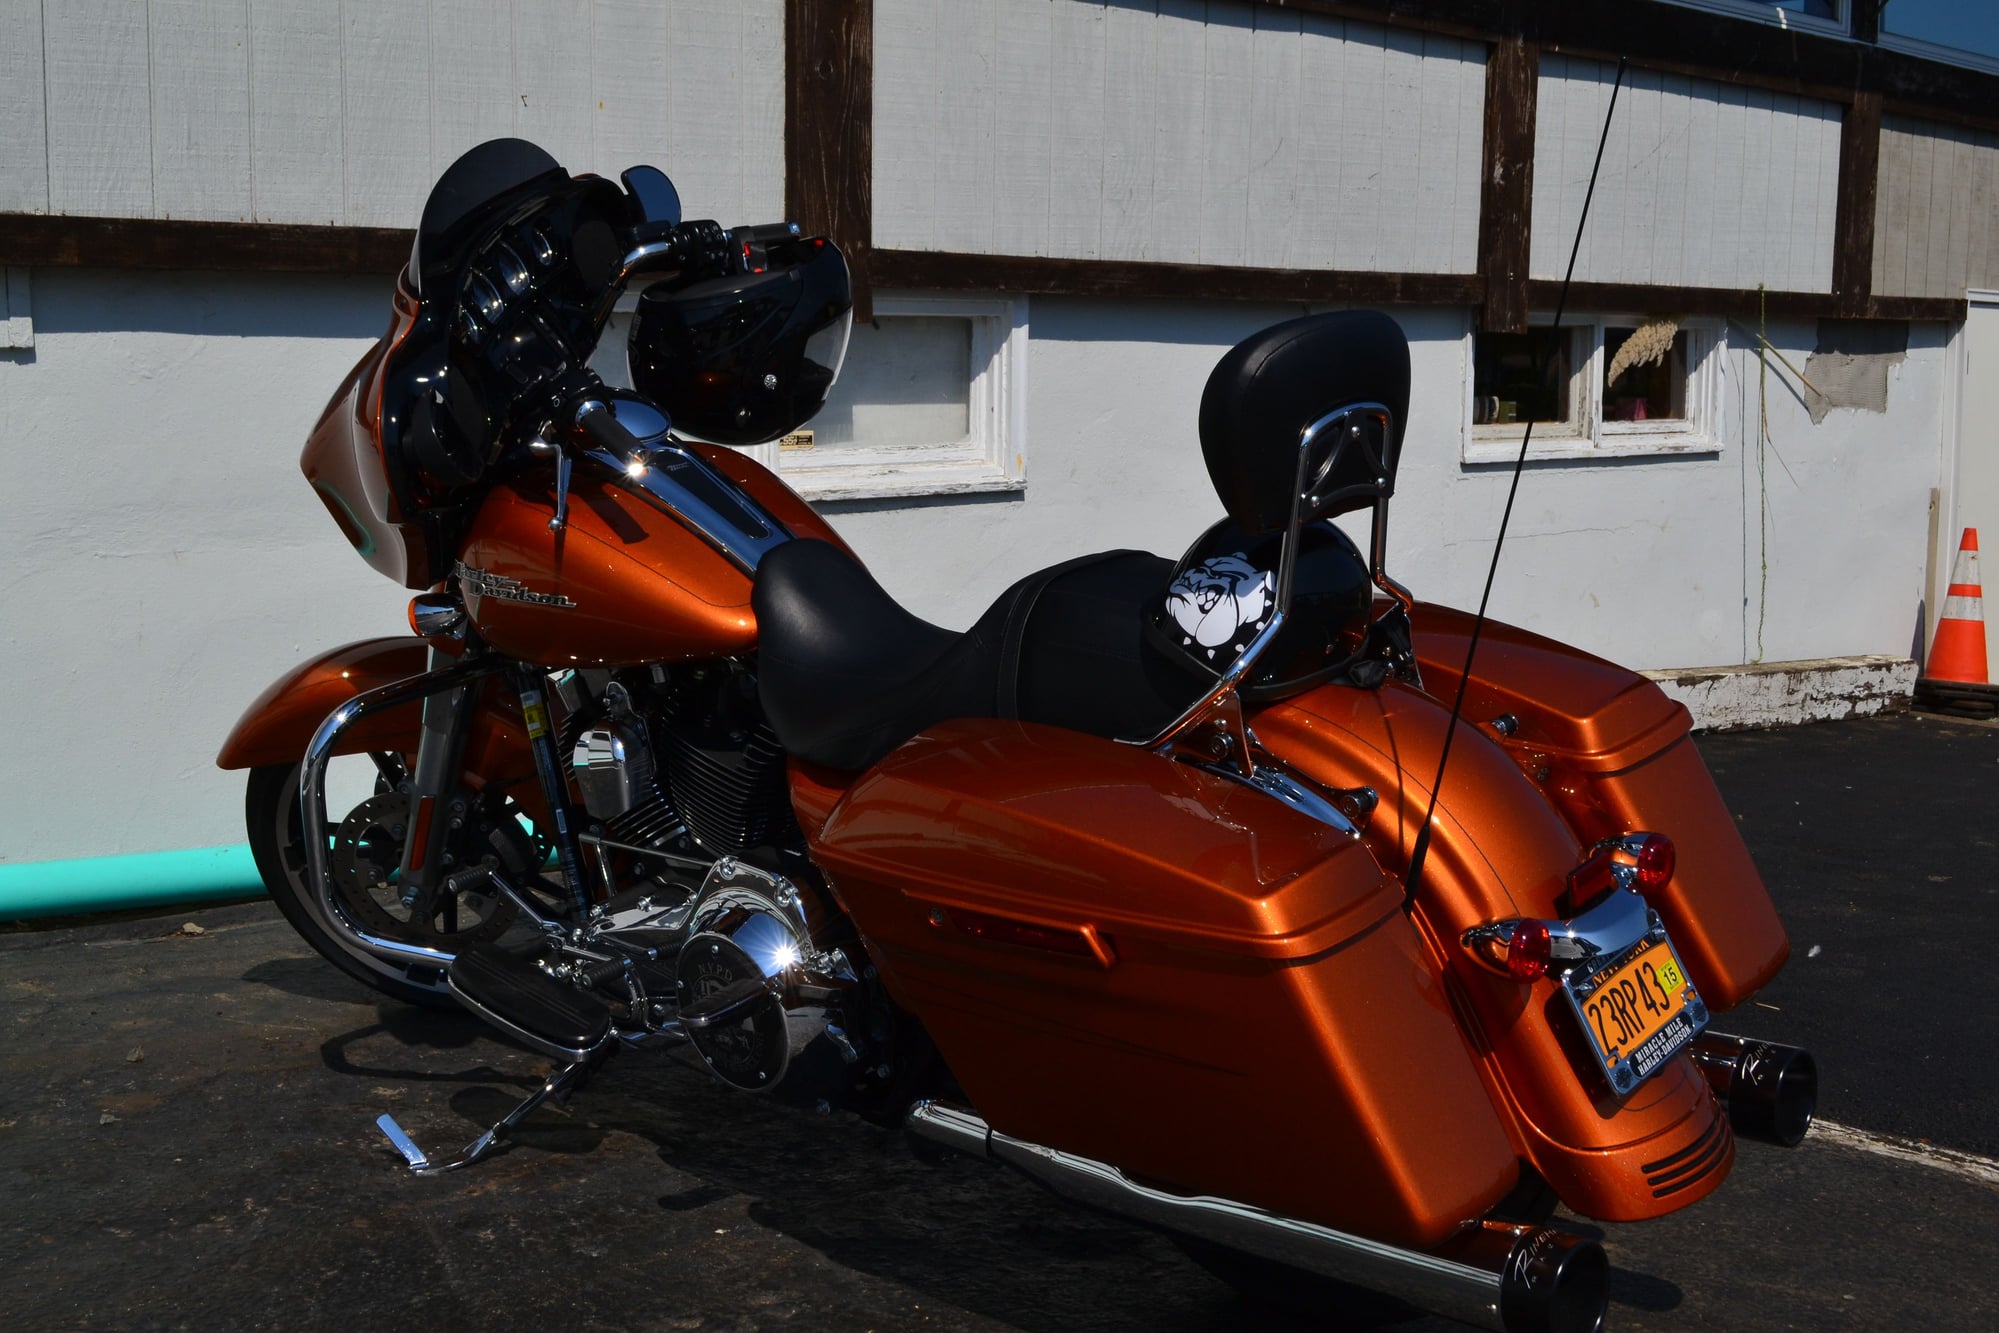
Installed Rhinehart slip ons.

Last edited by USMC70; 09-26-2014 at 09:51 AM.
#1629
#1630


