
CFR Knock-off Re-Packing, Notes and Pix...
#1
 05-18-2013, 01:54 PM

So I(you) cheaped out and bought a set of CFR K/Os, but after 100 miles they got so loud you couldn't hear for the next 2.5 days due to the ringin' in your ears....
I did a lot of research with regards to packing replacements everything from hi-temp chimney insulation blankets, to steel wool, to dirt bike silencer packing.
Well, the CFRKO baffles are about 22" long and tapered, so the dirt bike offerings were not going to fly as they are too small, in addition I'm not sure about the temp ratings, because it seems they have to be replaced more than I'd like.
The hi-temp chimney material would have worked, and most of them are 1/2" to 1" with a 1800f + temp rating. But I couldn't find it anywhere, unless I wanted to order it on line, and it seemed a little pricy for the amount you'd get.
Steel wool gets a lot of praise for longevity, but just seemed like a pain in the a$$ as you have to safety-wire it in place. Although I can safety-wire, I don't have the patients.
So I scoured the interwebs for solutions the past couple weeks, and long story short discovered Ultra High Temp Ceramic Insulation. It's rated at 1800f +, and comes in sizes ranging from 1/16" - 1" thickness x 24" wide, in lengths as long as you need.
I opted for the 1/4" so I could wrap it around about 3 +/- times to get good overlap.
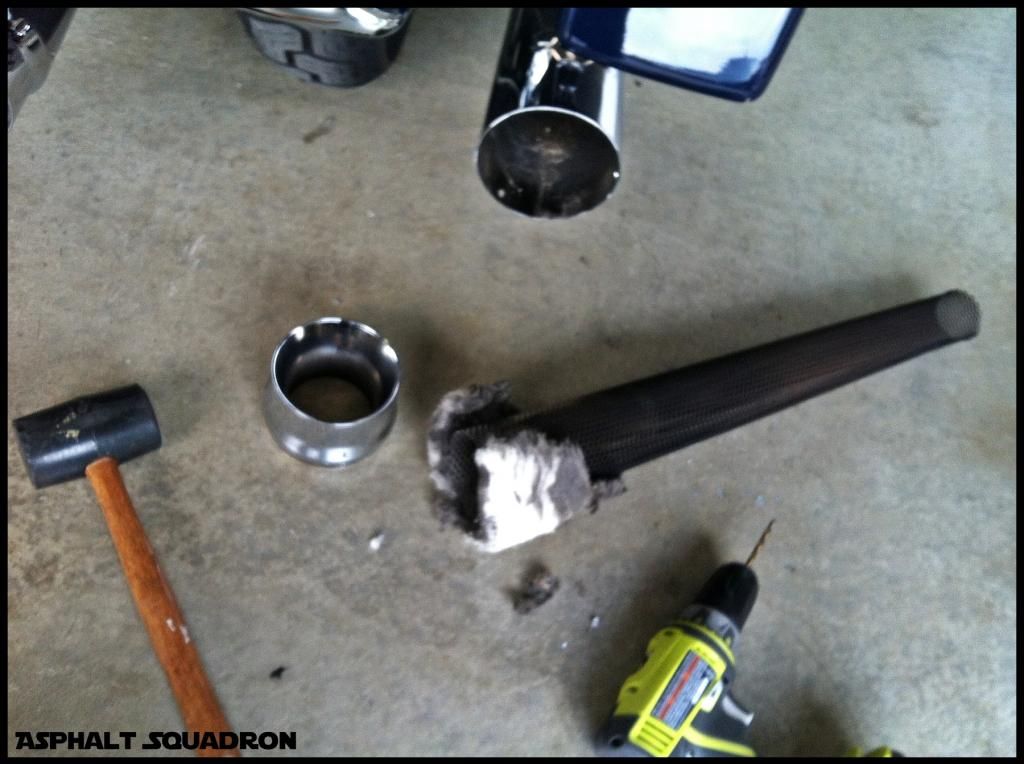
Rather than removing the entire muff, I jacked the bike up high enough to get the drill at the rivets. After drilling out the rivets I used a rubber mallet and tapped the caps off, and pulled the baffle out.
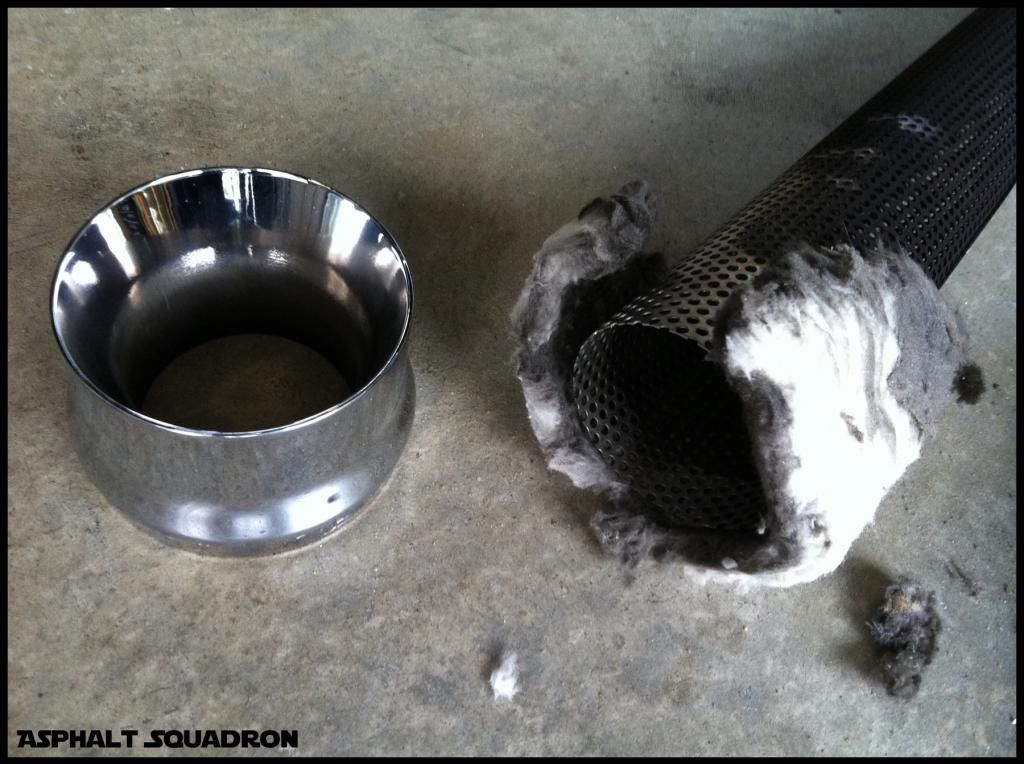
As you can see, thats all that was left of what looks to be home rated fiberglass insulation Probably wasn't even packed thick, and or tight.
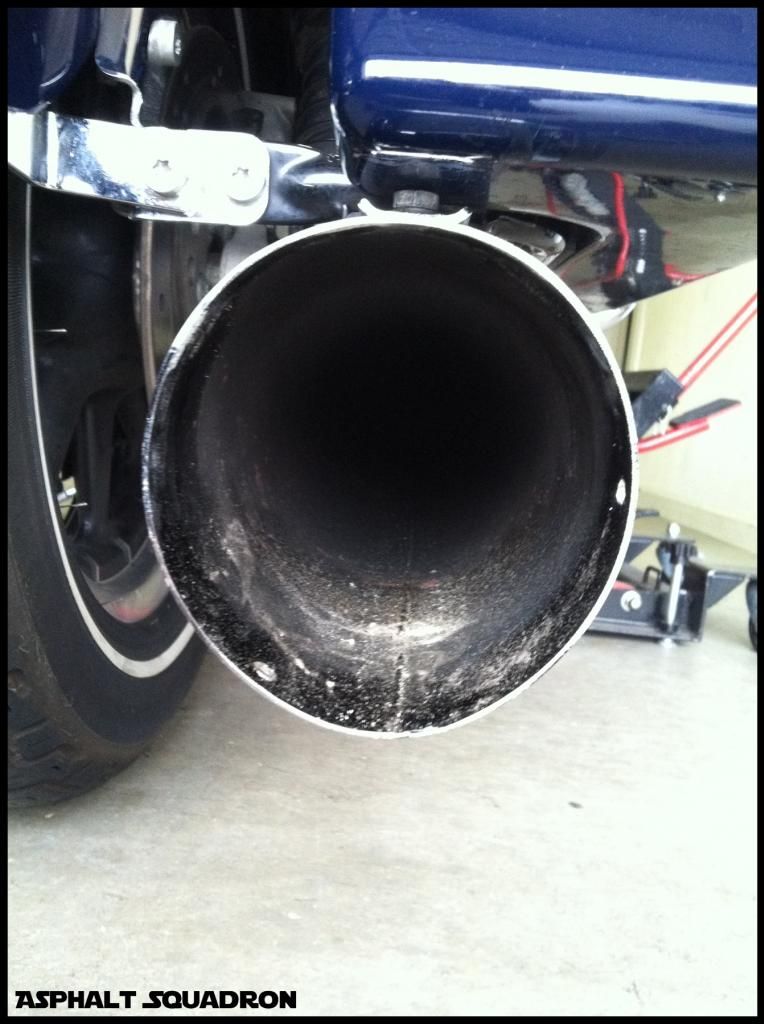
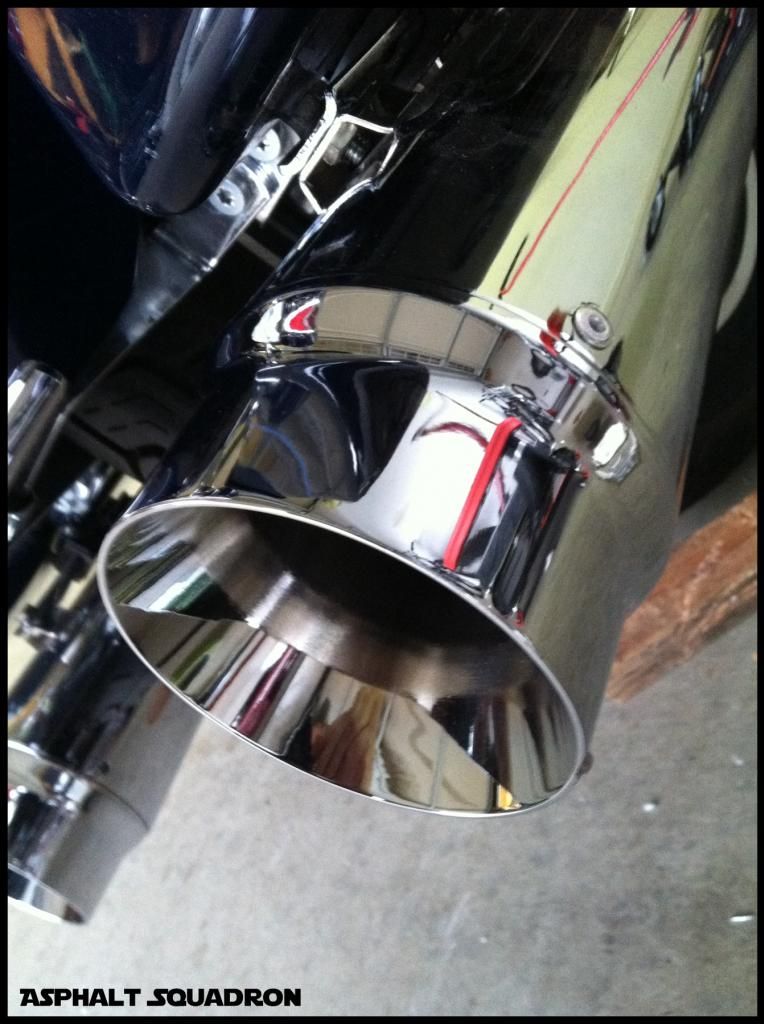
In the next pic, you see what happens to these cheep China imitations after removing the end cap...BOING! Instant egg shape.
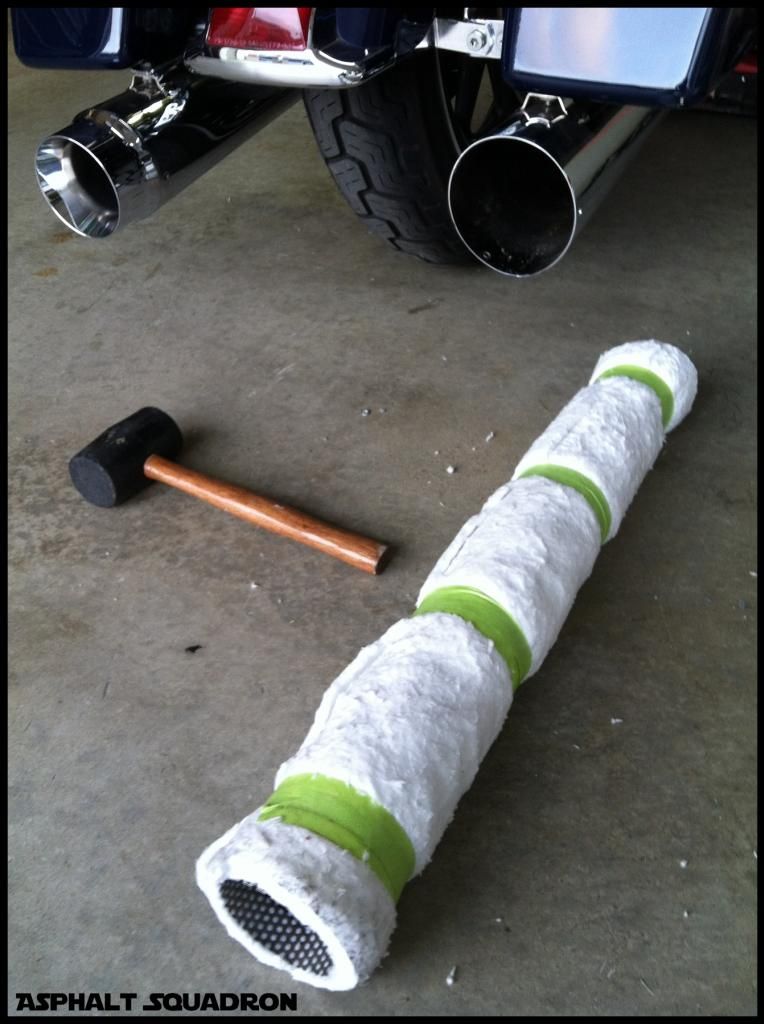
I didn't take a pic, but I believe I wrapped the insulation around tightly about three times, and secured with painters tape so it wouldn't move around during re-installation. Don't worry, the tape will burn off.
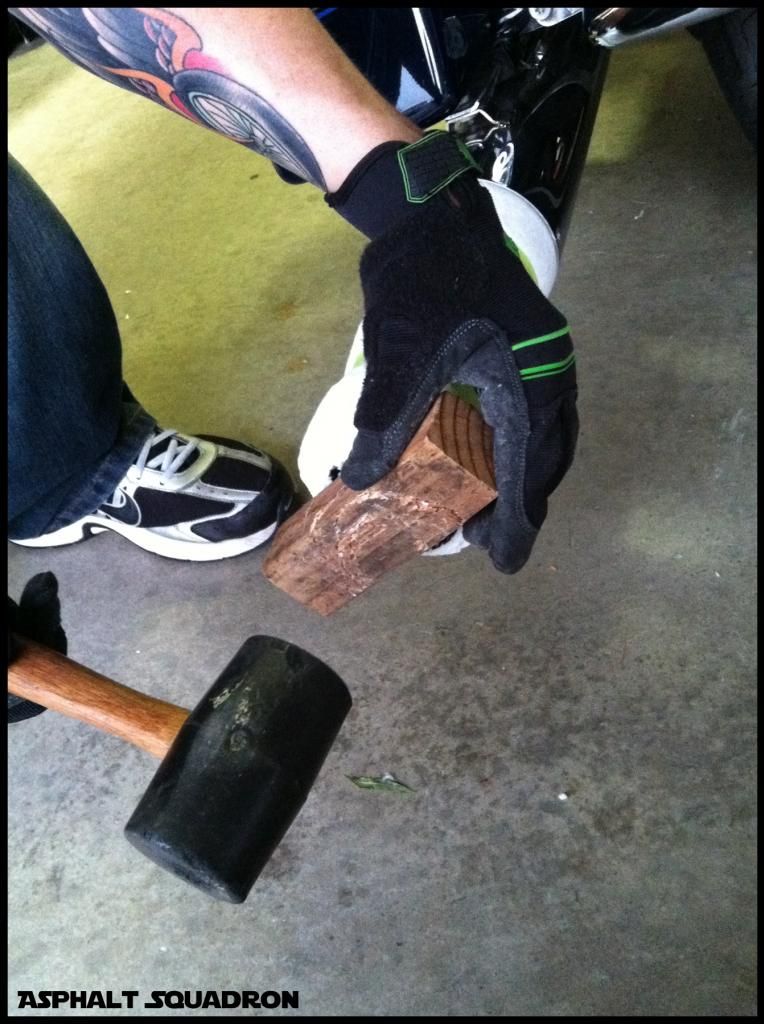
I pushed the baffle in by hand as far as I could get it, then tapped it the rest of the way in with a rubber persuasion stick and a block of wood. It went in fairly easy, if you have to give it all ya' got, then you need to remove some of the packing.
When done, I had to get out a set of wide pliers and reshape the baffle as it got bent outta shape with a lip from the hammering.
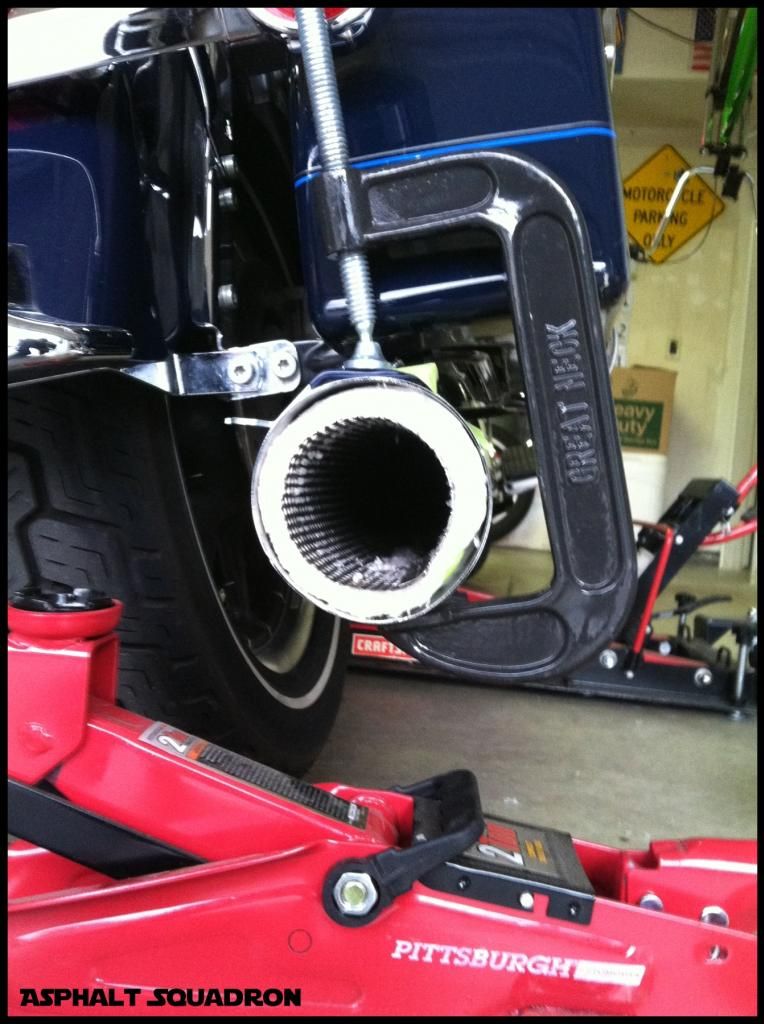
Before re-installing the end cap, I needed to combat the egg shape of the muff. I first tried to use a small jack...but quickly realized all it was going to do was lift the saddlebag up. After another Corona and some head scratching, I got out my big c-clamp, and a rubber covered valve handle (to protect the finish on the top of the muff) and tightened it until the muff was closer to being round again.
Next I lined the cap back up with the holes, and re-installed the rivets.
The first side took about 30-40 min total...not including the 15min Corona/brain storming session. A note to myself on the next side, I wrapped just a little less and the baffle went in a little easier. It should be snug, but not too hard to get back in.
After I completed the job I started the bike up and right away noticed a considerable difference. It still had the nice low rumble at idle, but didn't have the hollow tinny sound with it anymore. It's a little quieter too, I'd say about 15-20%.
After I put some miles on 'm, we'll revisit this thread for an update.
I did a lot of research with regards to packing replacements
Well, the CFRKO baffles are about 22" long and tapered, so the dirt bike offerings were not going to fly as they are too small, in addition I'm not sure about the temp ratings, because it seems they have to be replaced more than I'd like.
The hi-temp chimney material would have worked, and most of them are 1/2" to 1" with a 1800f + temp rating. But I couldn't find it anywhere, unless I wanted to order it on line, and it seemed a little pricy for the amount you'd get.
Steel wool gets a lot of praise for longevity, but just seemed like a pain in the a$$ as you have to safety-wire it in place. Although I can safety-wire, I don't have the patients.
So I scoured the interwebs for solutions the past couple weeks, and long story short discovered Ultra High Temp Ceramic Insulation. It's rated at 1800f +, and comes in sizes ranging from 1/16" - 1" thickness x 24" wide, in lengths as long as you need.
I opted for the 1/4" so I could wrap it around about 3 +/- times to get good overlap.
Rather than removing the entire muff, I jacked the bike up high enough to get the drill at the rivets. After drilling out the rivets I used a rubber mallet and tapped the caps off, and pulled the baffle out.


As you can see, thats all that was left of what looks to be home rated fiberglass insulation
In the next pic, you see what happens to these cheep China imitations after removing the end cap...BOING! Instant egg shape.

I didn't take a pic, but I believe I wrapped the insulation around tightly about three times, and secured with painters tape so it wouldn't move around during re-installation. Don't worry, the tape will burn off.

I pushed the baffle in by hand as far as I could get it, then tapped it the rest of the way in with a rubber persuasion stick and a block of wood. It went in fairly easy, if you have to give it all ya' got, then you need to remove some of the packing.

When done, I had to get out a set of wide pliers and reshape the baffle as it got bent outta shape with a lip from the hammering.
Before re-installing the end cap, I needed to combat the egg shape of the muff. I first tried to use a small jack...but quickly realized all it was going to do was lift the saddlebag up. After another Corona and some head scratching, I got out my big c-clamp, and a rubber covered valve handle (to protect the finish on the top of the muff) and tightened it until the muff was closer to being round again.

Next I lined the cap back up with the holes, and re-installed the rivets.

The first side took about 30-40 min total...not including the 15min Corona/brain storming session. A note to myself on the next side, I wrapped just a little less and the baffle went in a little easier. It should be snug, but not too hard to get back in.
After I completed the job I started the bike up and right away noticed a considerable difference. It still had the nice low rumble at idle, but didn't have the hollow tinny sound with it anymore. It's a little quieter too, I'd say about 15-20%.
After I put some miles on 'm, we'll revisit this thread for an update.
Last edited by Johnny Wolf; 06-23-2013 at 10:22 PM.
#2
05-21-2013, 03:27 PM
Thanks!!!
#3
05-21-2013, 10:43 PM
Yes, where did you find the ceramic packing you used?
I like the results you found; and will be interested in some mileage results as well.
http://www.mcgillswarehouse.com/fibe...-paper-blanket
http://www.fiberfrax.com/#Fiberfrax-Durablanket
http://www.firesleeveandtape.com/hig...ging-felt.html
http://www.pacorinc.com/pro_ceramics_blankets.php
I like the results you found; and will be interested in some mileage results as well.
http://www.mcgillswarehouse.com/fibe...-paper-blanket
http://www.fiberfrax.com/#Fiberfrax-Durablanket
http://www.firesleeveandtape.com/hig...ging-felt.html
http://www.pacorinc.com/pro_ceramics_blankets.php
#4
05-22-2013, 09:26 AM
Cruiser
Join Date: Jun 2012
Location: Arizona
Posts: 208
Likes: 0
Received 0 Likes
on
0 Posts
Subscribed!
Let us know where you got the packing you mentioned & how well it worked out after you get some mileage on them.
Thanks for posting your step by step with pics.
I've put about 8K on mine and I'm pretty sure the packing has also blown out on mine too.
I'd rather try to repack them & see how that works out, instead of shelling out $$ for another set of slip-ons, if it is worth the time & effort to repack them.
#5
07-01-2013, 01:53 AM

#6
09-03-2013, 03:50 PM
I'd like to know myself what kind of packing you used cause my knock offs are in desperate need of re-packing...I did a half a$$ job re-packin last night with some steel wool but would like a better alternative. And the factory packing in mine resembled steel wool but was real long almost like hair wrapped around the baffle??
#7
11-26-2013, 09:51 PM
Sorry for the delayed response, folks. Family 1st and I've been very busy. Two high-school teen girls both in different travel ball sports....nuff said.
I don't ride the the glide as much as I do my Sporty, and see "Family" above. I have a couple of thousand miles on the K/Os and they still look/sound the same, in comparison to the first couple hundred miles on the orig packing and it was almost non existent.
The material I researched and found on-line via Goggle is mentioned in my first post above "Ultra High Temp Ceramic Insulation.
Last edited by Johnny Wolf; 12-11-2013 at 05:34 PM.
Trending Topics
#8
11-27-2013, 12:35 PM
