Harley Davidson Dyna Glide: Air Intake Reviews and How-to
Give your engine a boost in performance, looks and sound by replacing or upgrading your air cleaner and intake.
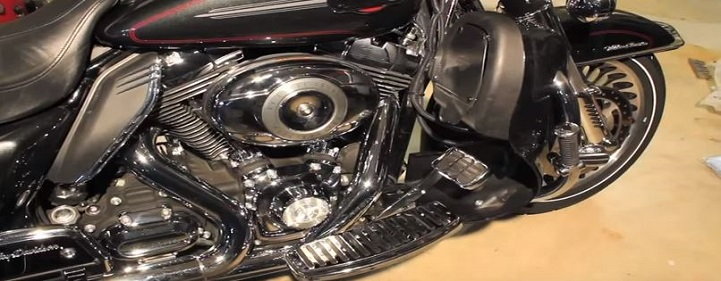
This article applies to the Harley Davidson Dyna Glide (2000-2016).
Harley Davidson big twin engine is a marvel of engineering, but it is still an air cooled twin with roots dating back to the 1950's, and it has been de-tuned over the years to meet pollution and noise regulations. Even with the quality engineering that goes into every bike, you can make it look, sound and perform better with an aftermarket intake that is less restrictive. You don't have to spend a lot of bills on this job either, unless you take it to a professional to do it for you. You really can't mess this job up, so read on, put those bills back in your wallet and get this job done in the comfort of your own garage.
Table of Contents
How to Replace Your Air Intake

Materials Needed
- Torx bit driver or ratchet
- T50 and T27 bits
- Socket set
Step 1 – Remove the air cleaner cover
Use a 1/2" ratchet or Torx bit driver and a T50 bit (for the one bolt) to remove the old air cleaner cover.
Step 2 – Remove air cleaner from housing
There are only three T27 screws that mount the air cleaner inside of the housing. They go through a small bracket into the air cleaner and into the studs inside the housing. Removing these three screws will allow the removal of the bracket and the air cleaner.

Step 3 – Remove breather tubes and housing
When you remove the stock air cleaner, you will see two short tubes coming out of the top of the air cleaner housing. These are the breather tubes and they go on the breather bolts. These bolts also mount the air cleaner housing to the intake manifold. Pop off the two hoses to get to the bolts underneath and remove the bolts. The air cleaner housing will practically fall off.
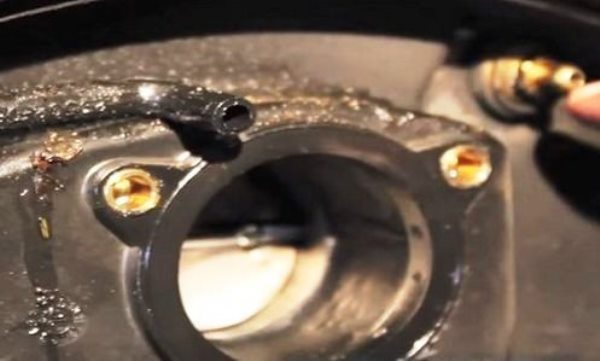
Figure 3. Remove the two breather tubes. 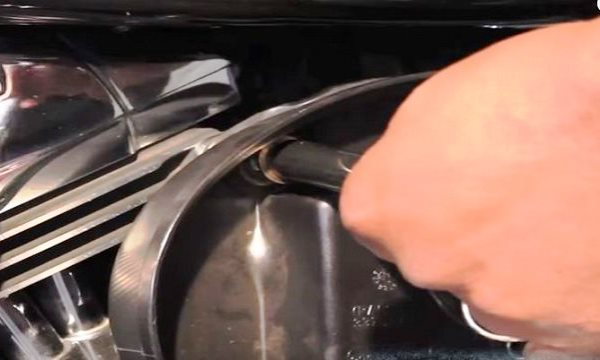
Figure 4. Remove the two breather bolts.
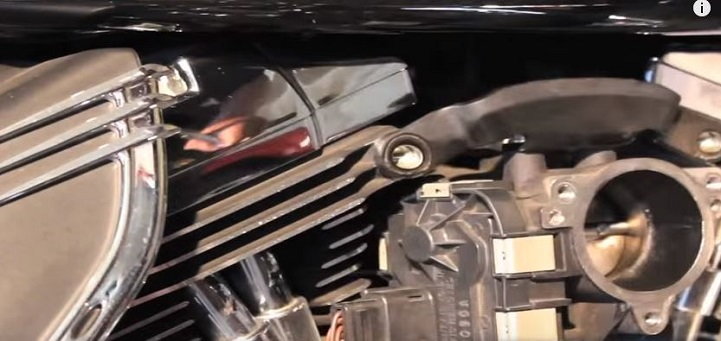
Step 4 – Install new air intake system
Once you have the air cleaner cover, filter and housing off the bike, the rest of the job depends upon the replacement product you purchased. For the most part, it will be the reverse of taking it apart, but there may be additional steps. For example, the Screamin' Eagle Stage 1 kit comes with a mount that you will put over the exposed intake manifold. You'll then install that new housing and filter, or whatever system you choose, according to those instructions. A very simple job well done. Follow the instructions provided with your parts.
Featured Videos: Intake Installation
-
How to Install a Screamin' Eagle Stage 1 Kit
-
High Performance Air Cleaner Kit Installation
Air Intake Reviews
There are quite a number of ways that you can really improve the performance of your bike, but changing out the air cleaner and intake is a great first step. The most significant performance gains will involve some level of invasive engine rebuilds, but two of the quickest and easiest ways of making a difference are to replace your exhaust pipes and air cleaner/intake. No matter how far down the performance path you travel, you are going to need to get rid of that restrictive factory air filter eventually, so why not start there? Read on to get some insight on the most popular brands on the market today and what they have to offer. This will make your purchasing decision a little easier and give you more time back to enjoy your ride.
Roland Sands Design |
Kuryakyn Hypercharger |
Screamin' Eagle Heavy Breather |
Screamin' Eagle Stage 1 Air Cleaner | |
|---|---|---|---|---|
Price |
$430-$500 | $300 | $280 | $150 |
Finish |
Various styles and options | Highly polished chrome | Chrome with bare cone filter | Bare filter element (various cover options) |
Sound |
Deeper Growl | Loud rumble | Loud Classic Harley | Loud Classic Harley |
Quoted HP Gains |
5+ hp | 7 to 9 hp | 2 to 3 hp | 10% hp with tuner |
Best Value: Screamin' Eagle (SE) Stage 1 Air Cleaner
Roland Sands Design

Price – $430-500
Finish – Polished chrome, blunt style
Sound – Deep, loud
HP Gains – 5+ hp
The RSD air cleaner comes in a wide range of styles and colors. This opens you up to the most customization options out there. RSD makes a low profile cleaner to give you more leg room and clearance from the stock and common football shaped cleaner. They also make a turbine model that is designed to look like jet turbine engines and give you a really unique style. Their cleaners can offer up to a noticeable five horsepower gain, which will keep you smiling all the way down the boulevard. Recommended for anyone looking to create the most unique look with a great sound and a larger budget to work with.
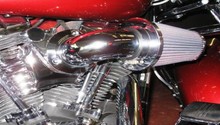
Kuryakyn Hypercharger

Price – $300
Finish – High polished chrome
Sound – Loud rumble
HP Gains – 7-9 hp
Kuryakyn is one of the most popular brands of aftermarket motorcycle products available today. Almost any bike you look at, no matter the maker or rider, you'll probably find something made from Kury installed. There is good reason for this; they make a great, high quality product at an affordable price. Their Hypercharger air cleaner system is no exception to this rule. It has a low profile look, gives a nice loud rumble and can make significant horsepower gains. Recommended if you want a low profile look and more shiny chrome for your bike, while making some impressive performance gains at a decent price.
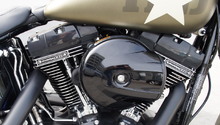
Screamin' Eagle Heavy Breather

Price – $280
Finish – Nakid cone
Sound – Loud, classic Harley
HP Gains – 2-3 hp
The brand Screamin' Eagle is owned by Harley Davidson, and produces factory OEM quality performance parts for all of their bikes. You know with Screamin' Eagle that you are going to get a high quality product with absolutely no fitment issues. Their install will be one of the easiest around. Their Heavy Breather air cleaner is no different. Their naked cone style air cleaner gives a unique, no nonsense, performance look to your bike. The sound is classic, loud Harley, and the look is raw and unrefined. However, you will have to cover it up in the case of rain with the provided cover. Recommended for those who want a different, raw look instead of flash and shiny chrome.
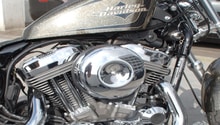
Screamin' Eagle Stage 1 Air Cleaner

Price – $150
Finish – Nakid oval
Sound – Loud, classic Harley
HP Gains – 10% increase with ECM tuner
The SE Stage 1 kit provides just the free breathing element and a way to mount it, but the cover is sold separately. You can even reuse many of the factory covers for a sleeper look, choose from dozens of options, or leave it raw and open. This naked element filter is a lower profile than stock, but allows a ton more air to flow. The kit works wonders when combined with a proper ECM tune and with stock pipes, and your bike is still smog legal and warrantied. The price makes this one affordable upgrade. Recommended if you want an upgraded in power, without paying a lot for it, and without a big change in the look.
Related Discussions
- Best Air Intake - HDForums.com
- Show Off Your Intakes! - HDForums.com
- The Best Air Cleaner - Advice/Opinions Wanted - HDForums.com
- Street Bob Air Intake - HDForums.com