Harley Davidson Dyna Glide: How to Replace Wheel Bearings
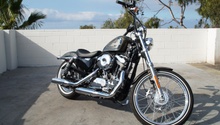
Big wheel, keep on turning! Well, it will, as long as you keep your bearings and wheels in good condition. Modern bearings are sealed and mostly maintenance free, but they do go bad and need to be replaced from time to time.
This article applies to Harley Davidson Dyna Glide models (2000-2016).
Wheel bearings are essential to the safe and efficient operation of a motorcycle. If they are not rolling with minimal friction, they can cause all manner of symptoms from noise to wobbles and weaves. Bearings don't need replacing often under most circumstances, but when they do, it is critical that they be replaced in a timely fashion. It is also of utmost importance that the job is done right. Don't know how to do the job? That is why I'm here.

Materials Needed
- Motorcycle jack
- Wrenches
- Socket and ratchet
- Bearing puller
- Freezer (optional)
Step 1 – Remove the wheels
For the sake of this brevity in this article, I am not going to detail how the wheels come off, but I will post a link at the bottom covering how to safely remove your wheels. In order to replace your bearings you will also have to remove the drive pulley from the rear wheel, and the axles from both. The brake discs can stay on, for front or back, because removing the bearings is not effected by them.
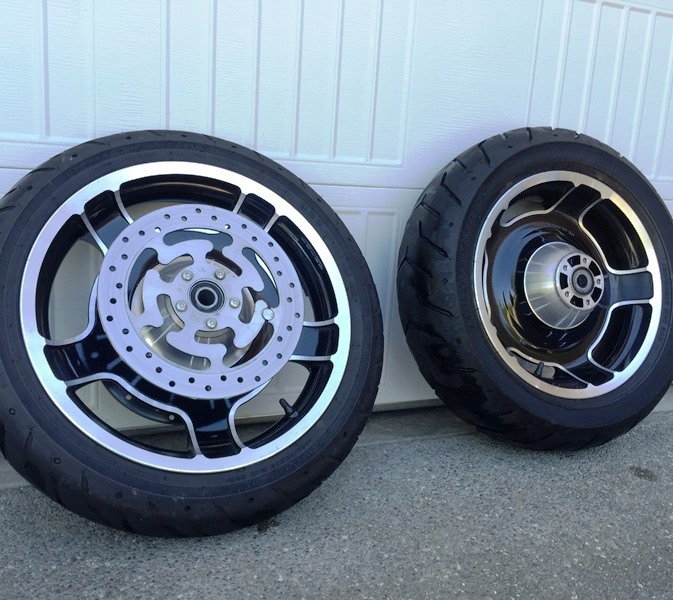
Figure 1. Typical Harley cast wheels. 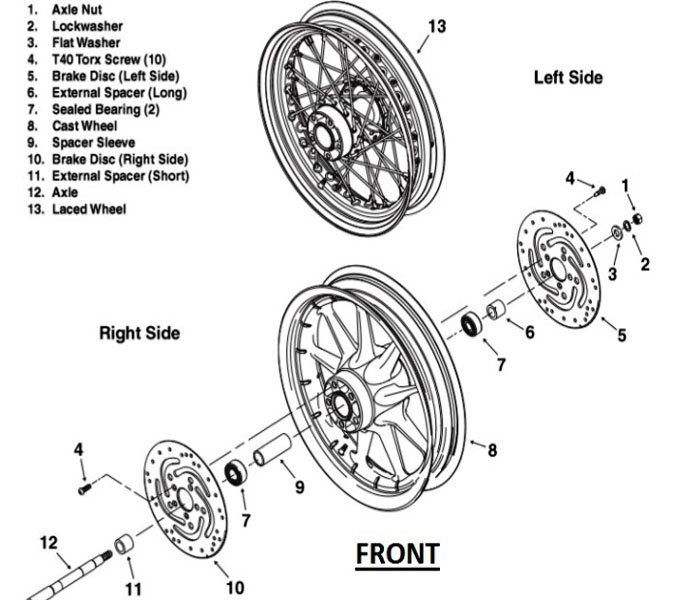
Figure 2. Front wheel exploded diagram. 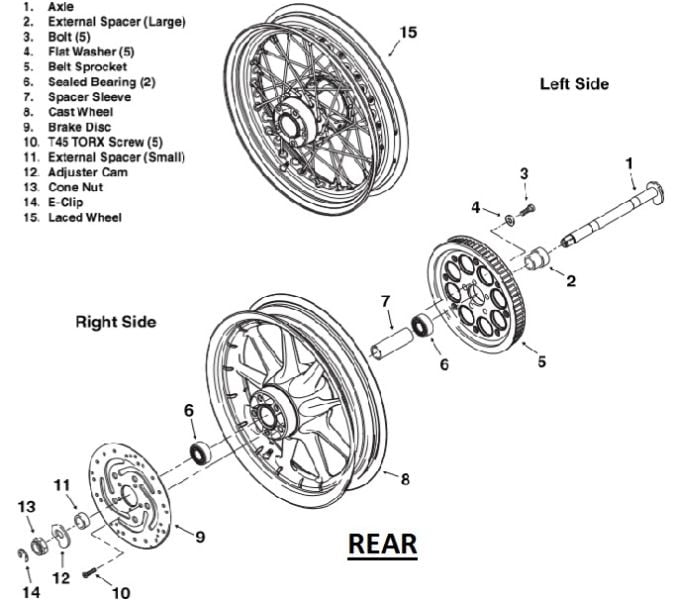
Figure 3. Rear wheel exploded diagram.
Step 2 – Remove the old bearings
The wheel bearings are in the center of your wheel hub and are the contact point between the hub and the axle, and ultimately your bike. In order to remove the old bearings from the wheels, you will need to use a wheel bearing puller. The puller catches the back side of the bearing and pulls it out as you tighten the long puller bolt. Once one side is out, take out the center spacer and set it aside. Removing the other side is the same process, but even easier.
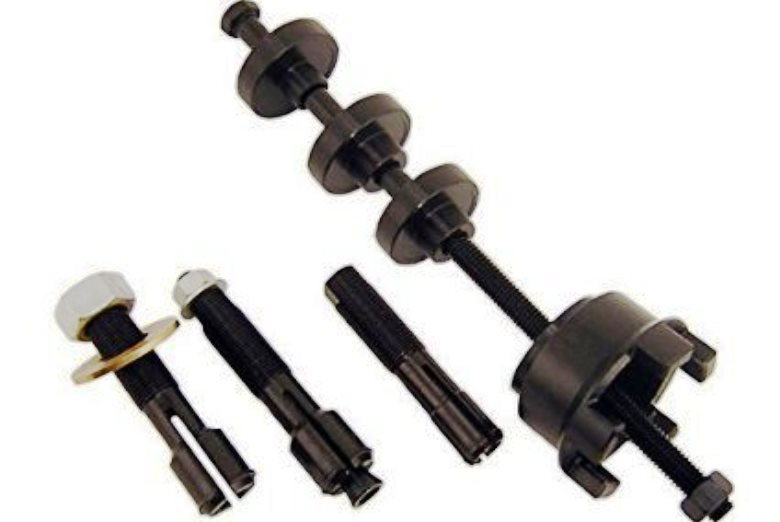
Figure 4. Wheel bearing puller. 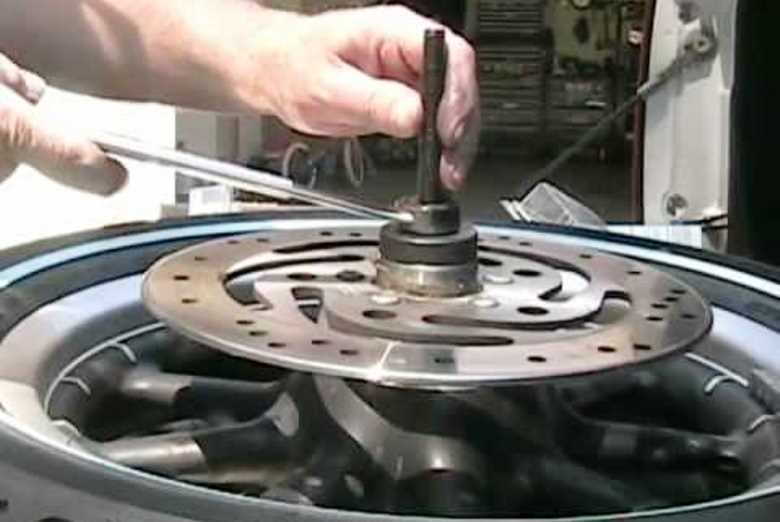
Figure 5. Tighten the bolt to slowly pull the bearing from the hub. 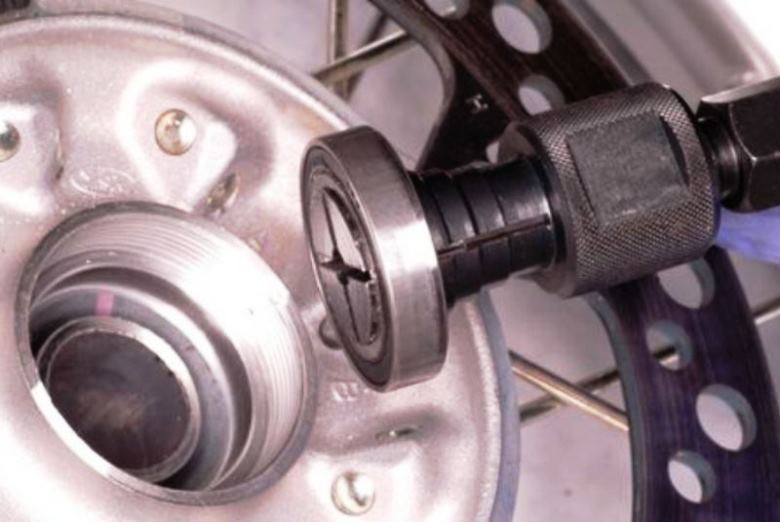
Figure 6. Bearing removed from the hub.
Pro Tip
Put the new bearings in your freezer for at least 30 minutes. The cold will shrink them just enough to make installation easier.
Step 3 – Install the new bearings
The bearing puller is also designed to install bearings. Clean the wheel first, making sure there are no burs or gouges that would make it hard to get the bearing in; you may need a file. Assembling the puller so it now pulls the bearing into the wheel, start cranking the puller until the bearing seats squarely. Put the center spacer in and install the bearing on the other side of the wheel.
Pro Tip
Don't forget the center spacer between the bearings!
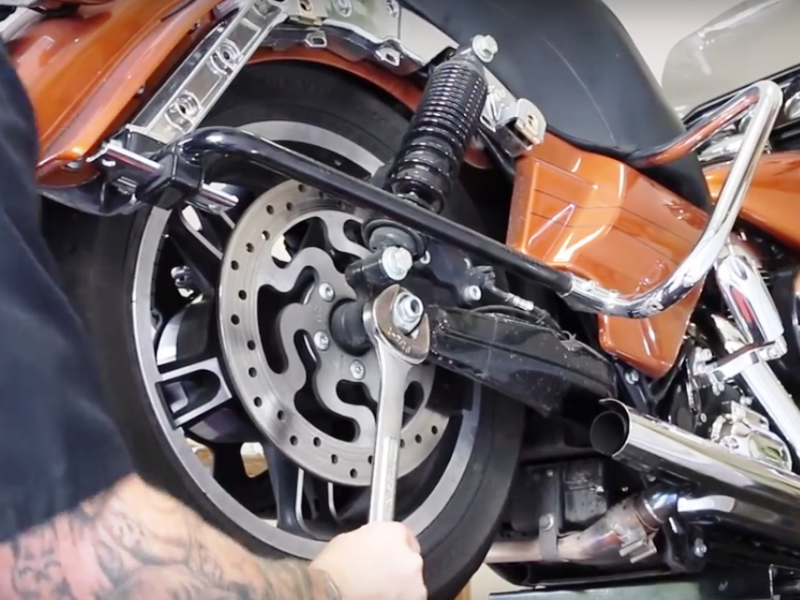
Step 4 – Reinstall the wheels
You already took them off, so putting them back on is easy. Make sure to get all the bolts tight and adjust the drive belt on the rear wheel properly. The videos under Related Discussions and Videos can show you how in detail.
Featured Video: Wheel Bearing Replacement
Related Discussions and Videos
- Replacing Dyna Wheel Bearings - HDForums.com
- Wheel Bearing Removal Install - HDForums.com
- Front Wheel Removal - YouTube.com
- Rear Wheel Removal - YouTube.com