Harley Davidson Softail: Shock Absorber Reviews and How to
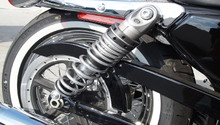
The shock absorber maintains the cushion-y ride feel as your bike moves up and down. Without the shock absorbers, the force would be transferred to the frame and make riding unbearable. If you question your shocks condition, replace them with new versions to restore the comfort your Softail originally came with.
This article applies to the Harley Davidson Softail.
Shock absorbers dampen the movement that occurs as your motorcycle travels over bumpy roads. They contain oil and/or air that is compressed, which cushions and absorbs the movement. Having an adjustable shock is very beneficial to the rider, as compression and rebound can be set to perform optimally on any road surface. Shock absorbers loose their dampening ability over time once the fluid mixes with dirt and breaks down due to temperature changes.
Table of Contents
How to Install Shocks

Materials Needed
- Motorcycle jack
- Ratchet strap
- Floor jack
- 3/4" wrench
- 3/4" socket with breaker bar (optional)
- Basic socket set with ratchet (6mm-14mm)
- Torx socket set
- Heat gun
- Zip ties
This guide is based on the Shotgun air ride shock installation for non-ABS equipped Softails. If your using a non-air ride shock, your instructions will not include steps for wiring and compressor installation.
Step 1 – Jack it up
Slide the jack underneath the frame towards the front. Remember that there's always a chance of failure when using a hydraulic jack. Use a mechanical jack or add a jack stand for safety. Strap your Softail to the jack to keep it from falling. Place a floor jack beneath the rear tire. You'll need to lower and raise it to gain access to the shocks.
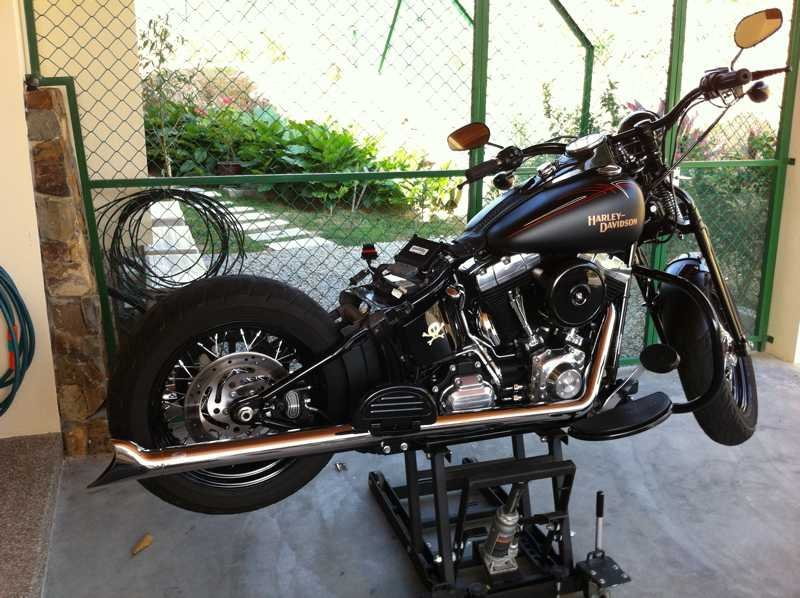
Figure 1. Jacking up and strapping a Softail. 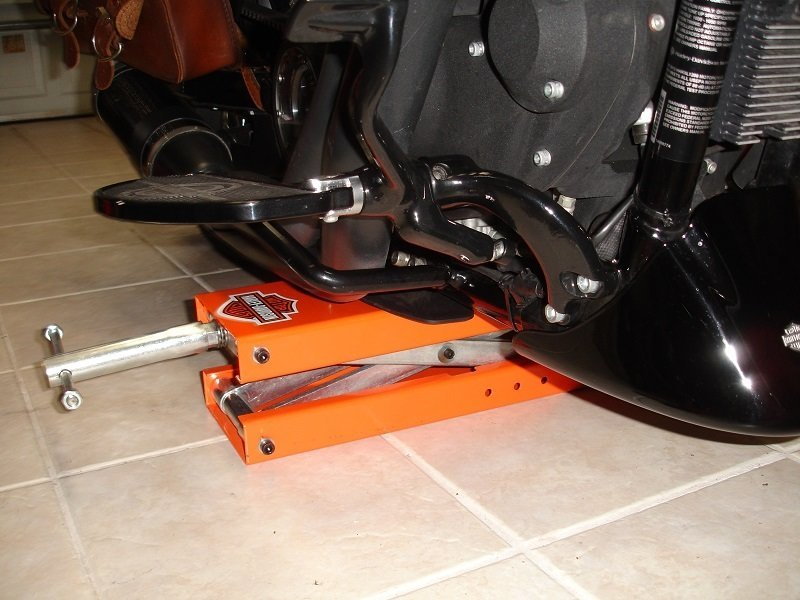
Figure 2. Using a mechanical jack.
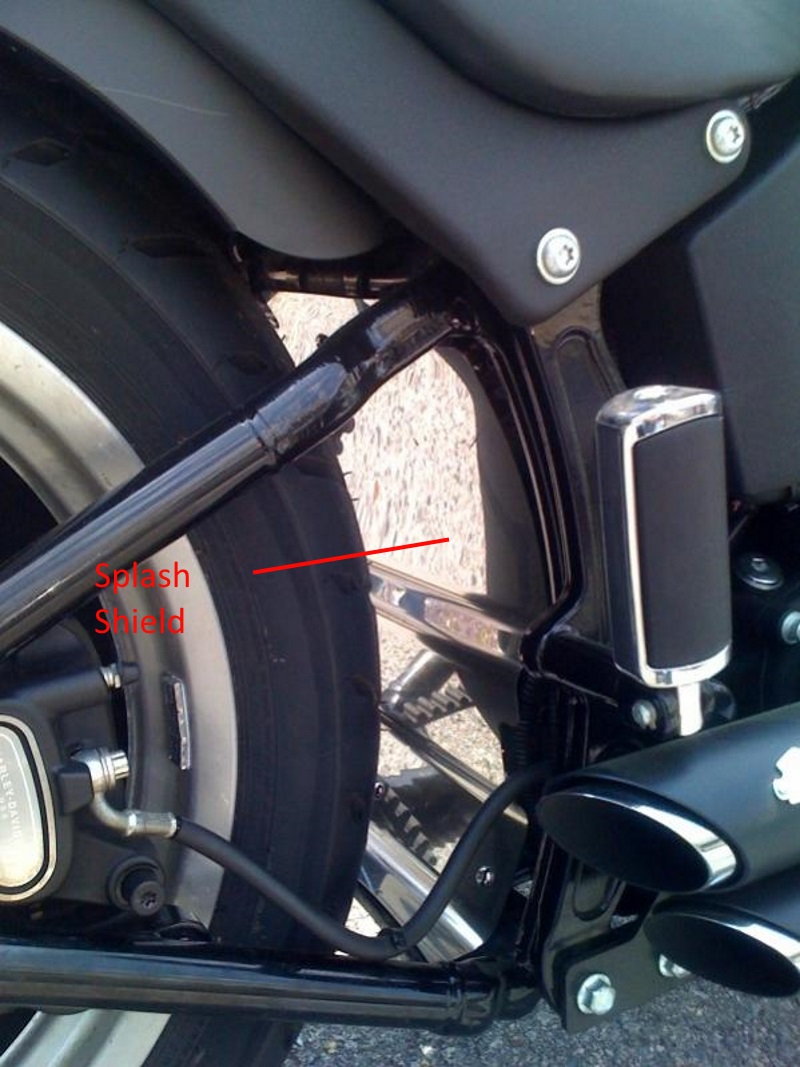
Step 2 – Remove seat, battery, and splash guard
Refer to the article How to Replace Battery for seat and battery removal. Locate the splash guard in front of the rear tire. Remove the two bolts at the bottom of the guard and lift upwards to separate it from the frame.
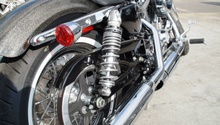
Step 3 – Remove the factory shocks
Start by removing the front shock bolts with a 3/4" wrench, then remove the rear shock bolts. These bolts may be tight, so have a breaker bar and 3/4" socket for back up.
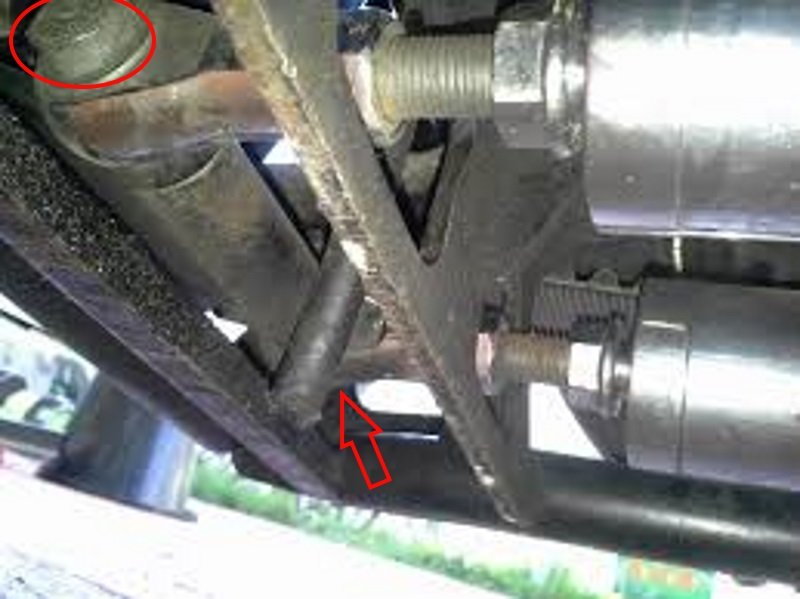
Figure 4. The front shock bolts. 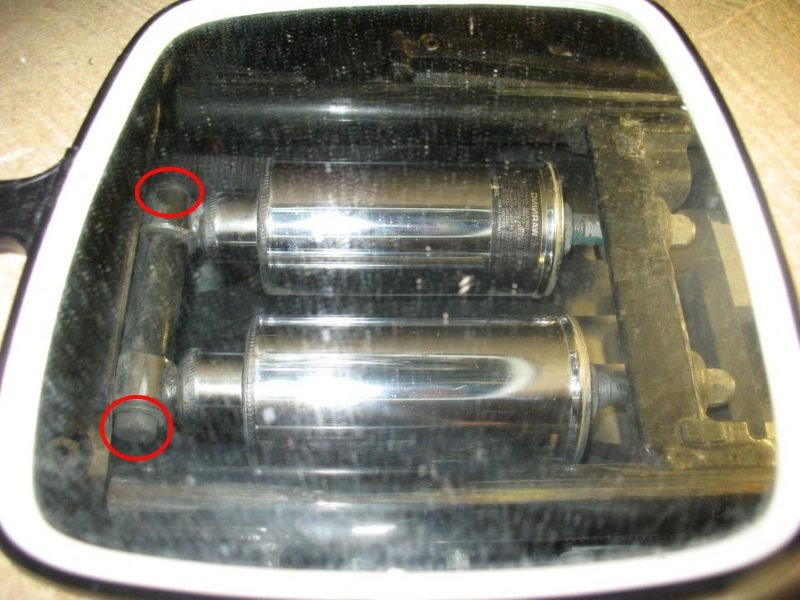
Figure 5. The rear shock bolts.
Step 4 – Install air compressor
For 2000 to 2006 model years, you'll need to tap two holes (tap included with the kit) to use the bolts supplied with the kit, or use bolts that will work with the existing thread pitch. The 2006 through current models already have two holes sized 1/4" to 20. As your installing the compressor, make sure the compressor head is pointed towards the right side of the bike. Apply a small amount of Loctite to the mounting bolts and leave the bolts semi-loose to allow for compressor re-positioning. Loosen the compressor pinch bolt and slide the compressor as far to the right as possible. This is to ensure clearance between the compressor and transmission bell housing. Tighten the mounting and pinch bolts.
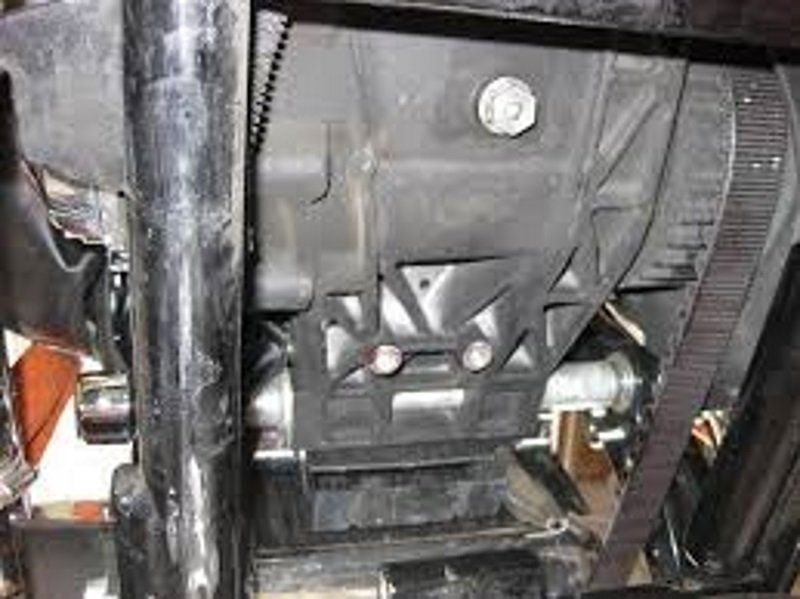
Figure 6. The air compressor mounting location. 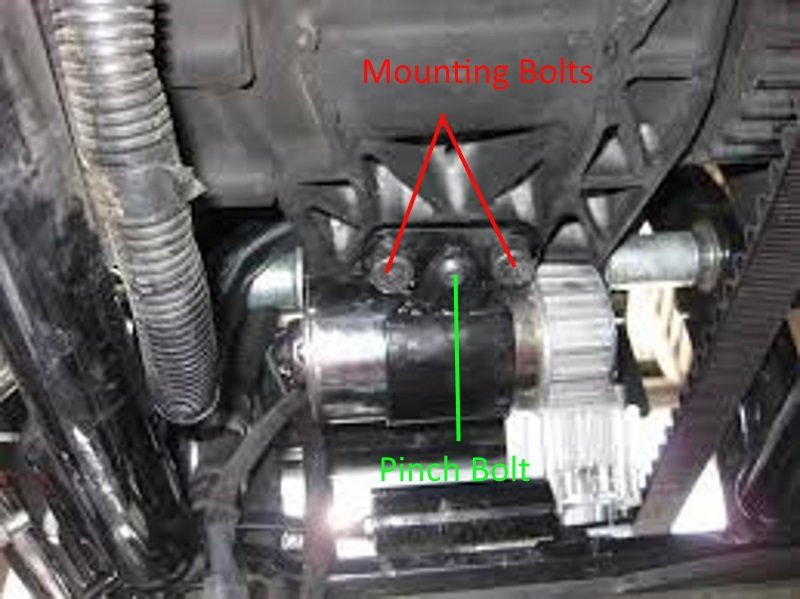
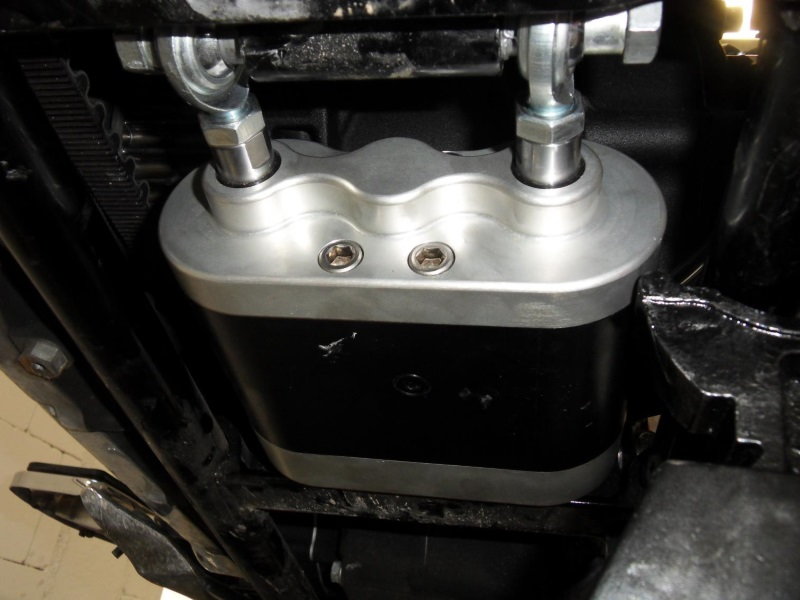
Figure 7. The air compressor installed.
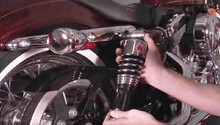
Step 5 – Install new shock
Place the new shock into its location. For the Shotgun shock, make sure the nameplate is facing up. With the eyelets facing the rear of the bike, bolt the shock to the swing arm. The shock manufacturer may want you to apply Loctite to the bolts. Don't fully tighten the bolts. Plug the airline into the compressor, then the shock. The compressor and shock use a quick disconnect fitting. Simply push the airline into the fitting to connect. Pull on the airline to check the connection. Now move the shock horizontally and install the front shock bolts. The shock manufacturer may want you to apply anti-seize on these bolts. Ensure the washers are placed onto the bolts and tighten any remaining loose bolts.
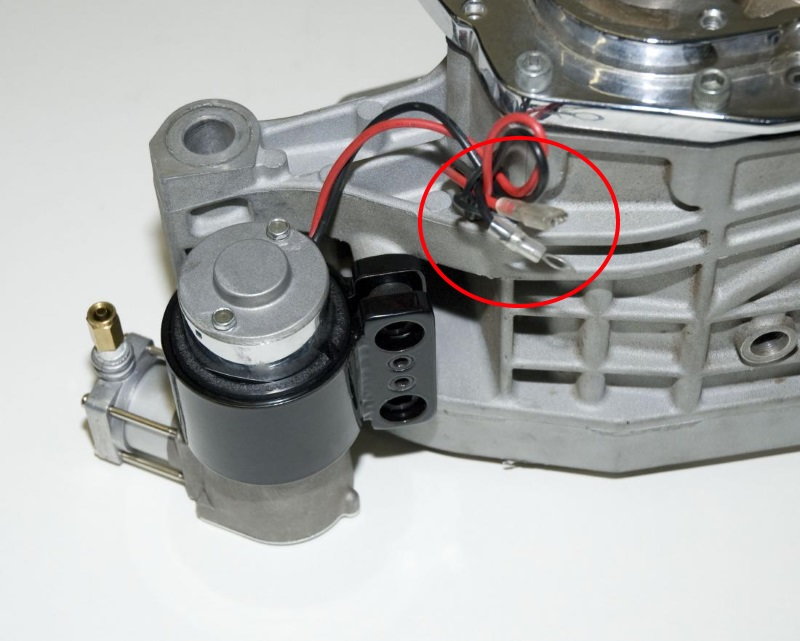
Step 6 – Install the wiring
Make sure the heat shrink tubing is on the wiring, then connect the wiring to the compressor and shock. Use a heat gun to shrink the tubing over the connections and zip tie the wiring together. Route the wiring through the hole in the right side of the battery box. Check the wiring routing from the compressor and shock, up to the battery box. Zip tie the wiring to the frame to avoid contact with the swing arm and tire during suspension travel.
Step 7 – Install the air compressor switch
Install the switch to the horn bracket by removing the horn bracket nut. Route the switch wiring underneath the left side of the fuel tank. Make sure the wiring passes underneath the ground strap. Re-install the battery and connect the red and black wires from the relay harness to it. Plug the switch wiring into the relay wiring and inspect for clearance issue between the tire and fender. Press the rear switch down to lower the bike. If no clearance issue are present, heat shrink the connections and re-install the splash guard as well as seat.
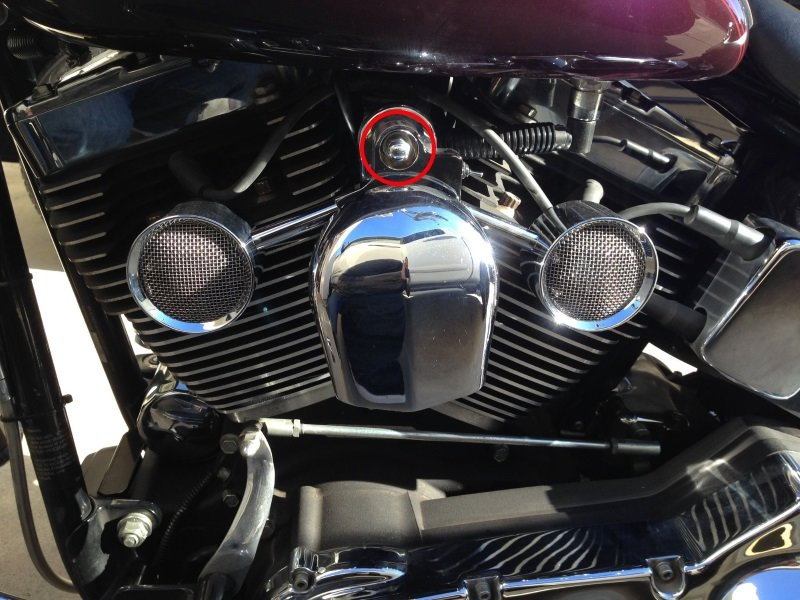
Figure 10. The horn bracket nut. 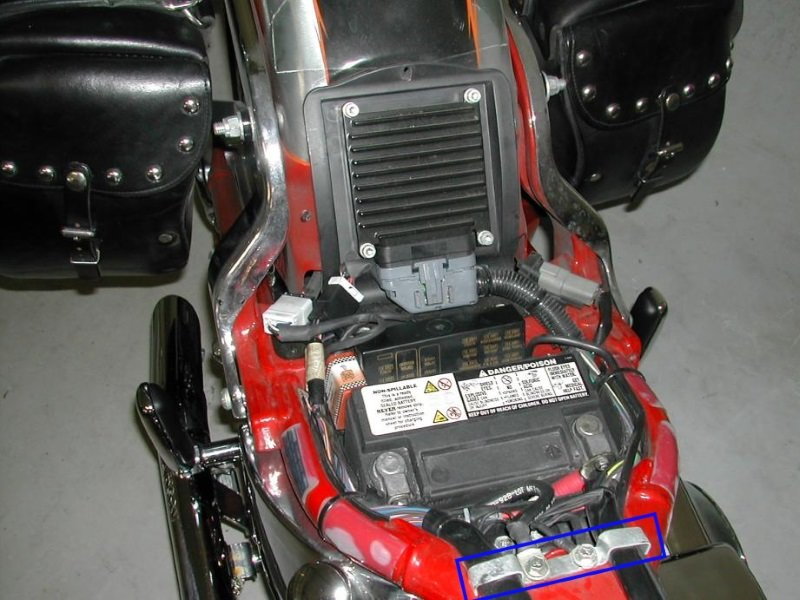
Figure 11. The ground strap.
Shock Absorbers Review
There are not many choices when it comes to buying shock absorbers for your Softail. There are several popular brands, however, and each has features unique to the brand. Your able to choose from a shock with countless positive customer feedback, a well made air ride shock, or a shock that is customizable to your riding style and size. When your Softail exhibits jarring over bumps and starts to sag on the kickstand, replace and upgrade your shocks to these easily adjustable aftermarket versions.
Progressive 422 |
Shotgun Air ride |
Works Performance | |
|---|---|---|---|
Price |
$500 | $1,500 | $800 |
Lifespan/Expected Mileage? |
30,000 miles | 50,000 miles | 30,000 miles |
Ride Height Adjustable? (Y/N) |
Yes | Yes | Yes |
Compression/Rebound Adjustable? (or Both) |
Both | Both | Both |
Warranty |
1 Year | Lifetime | 1 Year |
Best Quality: Shotgun
Best Value: Progressive
Progressive 422
Price – $500
Lifespan/Expected Mileage? 30,000 miles
Ride Height Adjustable? Yes
Compression/Rebound Adjustable? Both
Warranty – 1 Year
The Progressive 422 shock is known throughout the Harley community for its quality and ride comfort. Progressive Suspension was founded in 1982 and is the largest aftermarket motorcycle suspension manufacturer in the United States. Progressive rigorously test and inspects its shocks before shipment to ensure each shock will meet the manufacturing standard. Up to two inches of ride height can be adjusted and a heavy duty version is available for two riders. Recommended for its popularity and positive reviews.
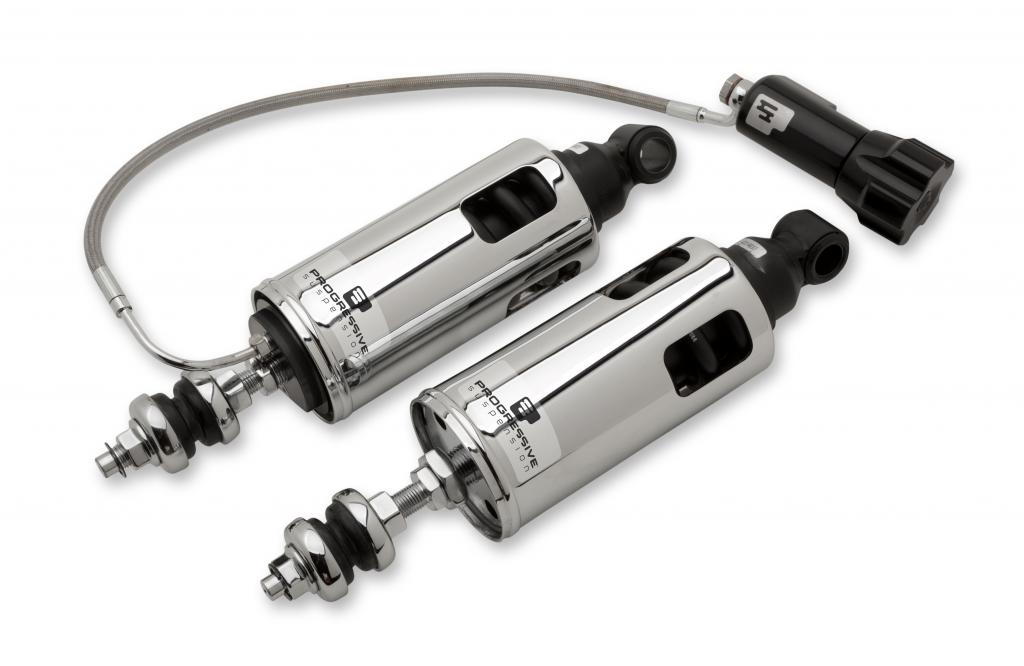
Shotgun Air Ride

Price – $1,500
Lifespan/Expected Mileage? 50,000 miles
Ride Height Adjustable? Yes
Compression/Rebound Adjustable? Both
Warranty – Lifetime
The Shotgun Air Ride shock is the number one choice in air ride for your Softail. From the moment the box is opened, you know this shock is a quality product. The shock body is made entirely from metal and uses quick disconnect fittings for easy air line installation. The ability to adjust compression and rebound with the flip of the switch defines ease to the user and leaves worrying about rough roads a thing of the past. Shotgun backs its shock with a lifetime warranty, which is an unheard amount of time in the shock market. Recommended if you want a top of the line air ride suspension.
Works Performance

Price – $800
Lifespan/Expected Mileage? 30,000 miles
Ride Height Adjustable? Yes
Compression/Rebound Adjustable? Both
Warranty – 1 Year
Works Performance is proud to offer a hydraulically adjustable shock or wrench adjustable shock. These shocks can be purchased in black or chrome and have 1 7/8" of ride height adjustment. Works engineers and manufacturers their shocks in house using state of the art C.N.C. machining. They offer a 30-day return if your unsatisfied with the shocks damping/valving and can adjust it to your application. Recommended if you're looking for a customizable shock.
Related Discussions and Sites
- Anything Better than Progressive 422 - HDForums.com
- Softail Rear Shocks - HDForums.com
- Softail Shocks - HDForums.com
- Shotgun Shocks - ShotgunShock.com
- Progressive 422 Shocks - ProgressiveSuspension.com
- Works Softail Shocks - WorksPerformance.com