Harley Davidson Sportster: How to Add XM Satellite Radio
Satellite radio is a refreshing change from FM/AM radio. Unless you have a fancy factory system (not offered on the Sporty) or aftermarket head unit with XM built-in, you are going to need to install an add-on unit.
This article applies to the Harley Davidson Sportster (1994-2016).
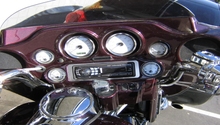
Harley doesn't offer any sort of infotainment system on the Sportster, because the wind in your face, the sound of the engine, and the countryside gliding by are supposed to be all the entertainment you need. But if you commute on your bike, or want to ride out on a Sunday while enjoying the game on the radio, you are going to want an audio system. For more information on installing basic or more advanced audio system, see the links at the bottom of the page. This article will focus on adding a satellite radio receiver to the typical bike-mounted stereo system. Add-on satellite radio installation kits make installation easy, as most are almost completely plug and play. It can be difficult adjusting volume and changing stations while riding with gloves on, so choose a receiver with large, easy to use controls that will allow you to stay focused on the road.

Materials Needed
- Wire stripping pliers
- Soldering gun or crimping pliers
- Rosin core solder
- Basic SAE socket set
- Ratchet
- Phillips and flat head screwdrivers
- Voltmeter
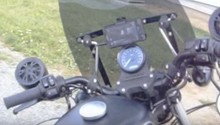
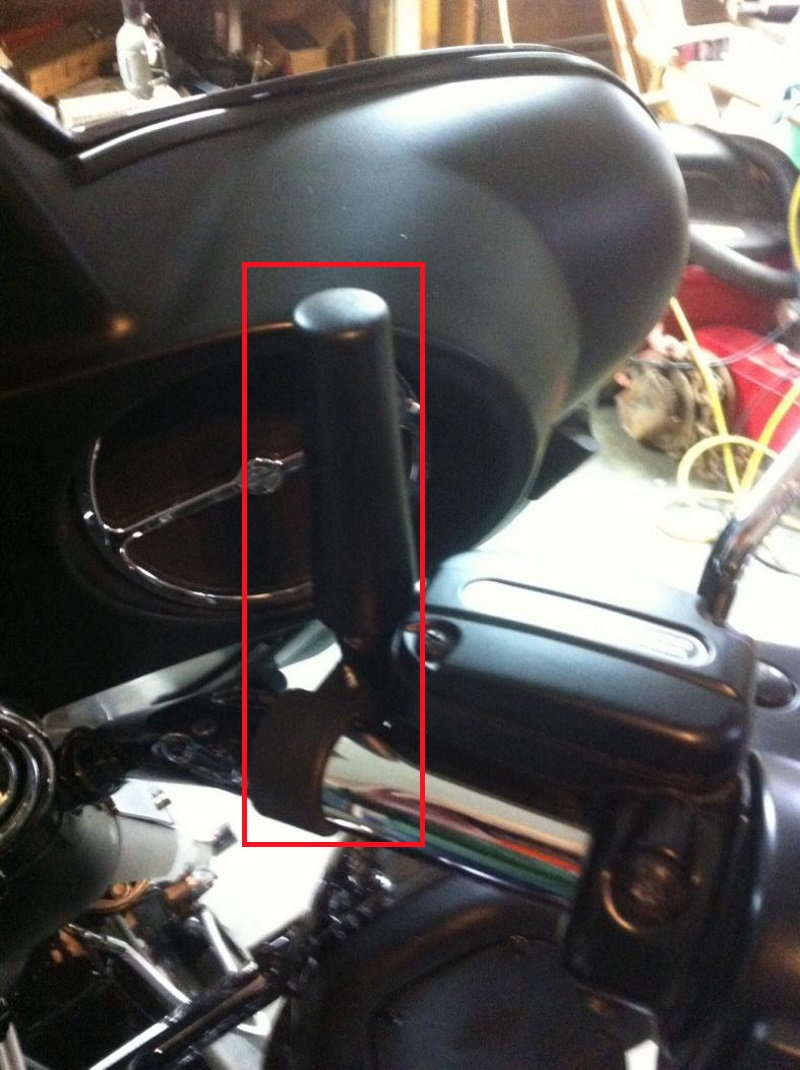
Step 1 – Mount the pedestal
Install the provided mounting clamp to the handlebar, then attach the pedestal mount to the back of the pedestal. Attach the pedestal to the mounting clamp and tighten any required bolts.
Step 2 – Install the power adapter
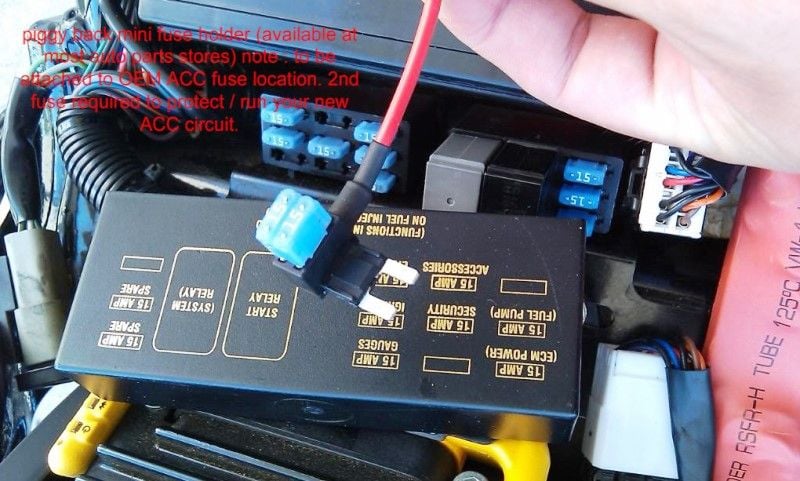
A power adapter may be needed to power on the satellite radio portable receiver. Connect the adapter to power and ground on your vehicle. It is best to take power from an accessory circuit that powers on with the ignition. Without a wiring diagram for your particular year, you'll need a voltmeter to find it.
Good places to look for a power circuit to tap into are in the fuse box, or in the wiring to the lights. The Sportster is a simple bike without a lot of extraneous wiring, but you should be able to find a wire to splice into. Avoid taking power directly from the ignition, or ECM. The ground wire can be directly connected to any screw on the engine or chassis that is nearby and has a good ground.
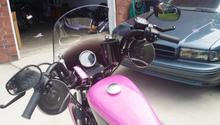
Cleanly route the wiring along the frame and near existing wiring with cable ties. Ensure the wiring is away from moving parts and sources of high heat.
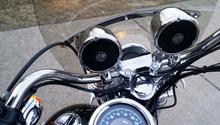
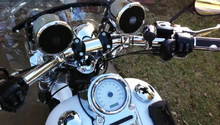
Step 3 – Mount the XM radio antenna
To achieve maximum reception, point the antenna vertically.
Your antenna can be clamped onto the handlebars or stuck nearly anywhere (with adhesive or a clamp) the length of cable allows. Route the wiring along the frame near existing wiring and secure it with cable ties for a clean installation. Connect the antenna signal wire to the satellite radio receiver.
Featured Video: Harley Davidson Sirius Install
Related Discussions
- Best Handlebar Speaker System - HDForums.com
- Boom Handlebar Speaker Mounting - HDForums.com
- Batwing Fairing Mounted to Sportster - HDForums.com