Harley Davidson Touring: How to Install Halo Headlights
Changing out your stock headlight for one equipped with an "angel eyes" Halo ring is almost as easy as just changing the light bulb inside the headlight. Only a little more difficult is wiring up a Halo ring to light separate from the headlight, but the awesome look and greater lighting makes the effort more than worth it.
This article applies to the Harley Davidson Touring (2000-2015).
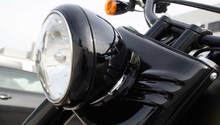
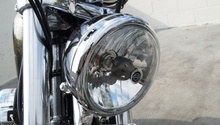
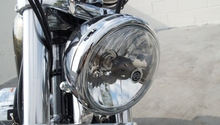
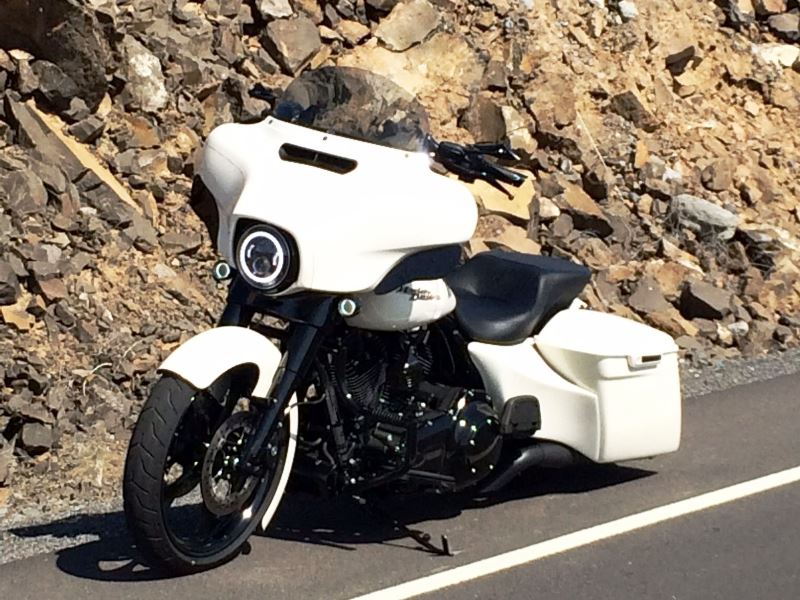
There’s a new headlight in town. The Halo headlight is often referred to as “angel eyes” because of the white or colored ring around the main light. Most of these headlights will not only provide more light on the road ahead, but illuminate the sides as well on your ride down a dark desert highway. They also make it easier to see in the day time. Halo headlights have become a popular aftermarket customization today for people who want to replace their standard headlights with a custom headlight that provides a brighter path and a cool look.

Materials Needed
- Phillips screwdriver
- Shop towels
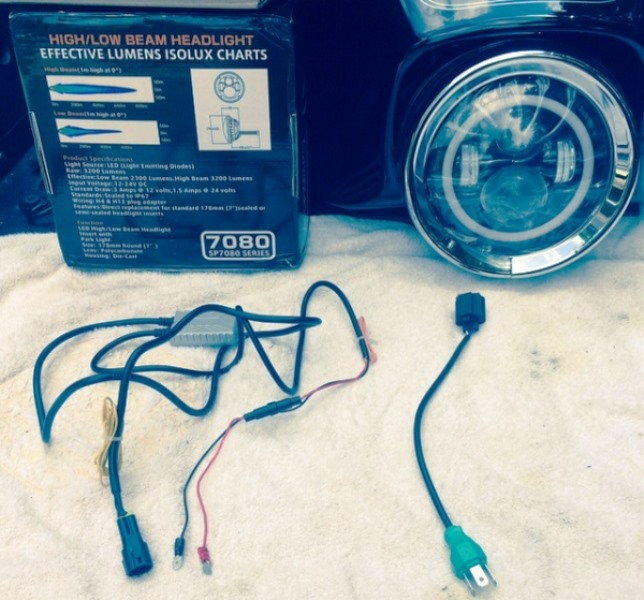
The process is quick and easy. For as little as $89.99, you can pick up a decent Halo headlight that you can install yourself with the tools you have at home. Optionally, you can purchase and install a Halo headlight trim ring or an LED strip lighting that will do basically the same thing. However, if you prefer a more effective headlight, you are better off getting yourself the complete Halo headlight. Basic installation is much like handling a standard headlight assembly with a few additional differences. Having this done by a dealership will run you around $81 for roughly 30 minutes of labor. We will show the installation process with steps to include the Halo options. With various Harley Davidson Touring models, versions and build years, there will be some nuances with the installation process. Since the degree of difference is minimal, the following installation procedure should cover your particular model well enough to successfully complete your Halo headlight installation.
This installation process is designed for removing a sealed beam unit or Halogen headlight from a Harley Davidson Touring motorcycle with a single round headlight. Frame mounted fairing bikes with dual headlights are much different and are not covered here.
Pro Tip
Note that it is always a good idea to read through any instructions that came with your unit before beginning. Even the best make mistakes.
Step 1 – Protect the paint
As a precautionary measure, cover your front fender with a few layers of towels. Even the most careful do-it-yourselfers can drop a tool on a painted surface. If you have one, remove your windshield. And to avoid getting zapped, remove your ignition fuse. If you are sporting a faring, this process will be similar with the exception of your headlight bezel. If this is the case, remove the bezel before proceeding with this process.

Step 2 – Remove headlight trim ring
Using a Phillips screwdriver, remove the screw from the bottom of the headlight trim ring. Once it is lose, carefully remove the headlight ring from the casing.
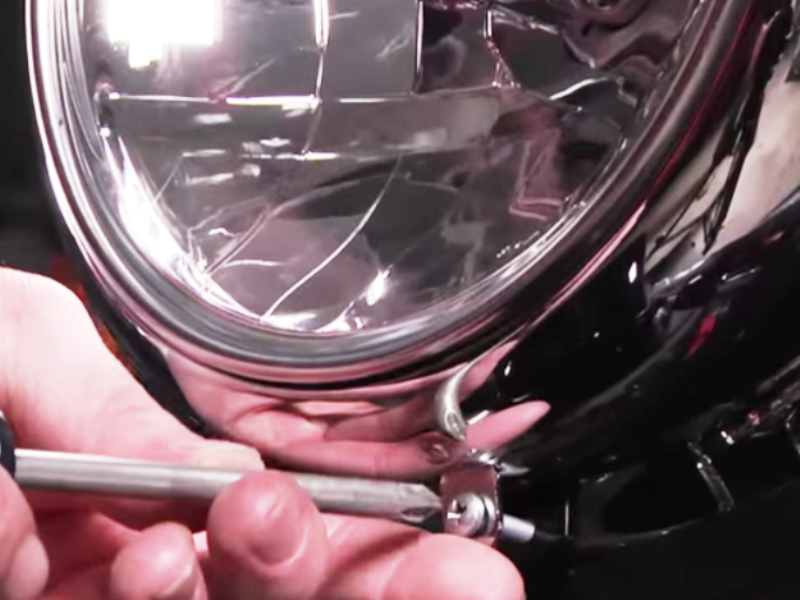
Figure 3. Traditional trim ring screw. 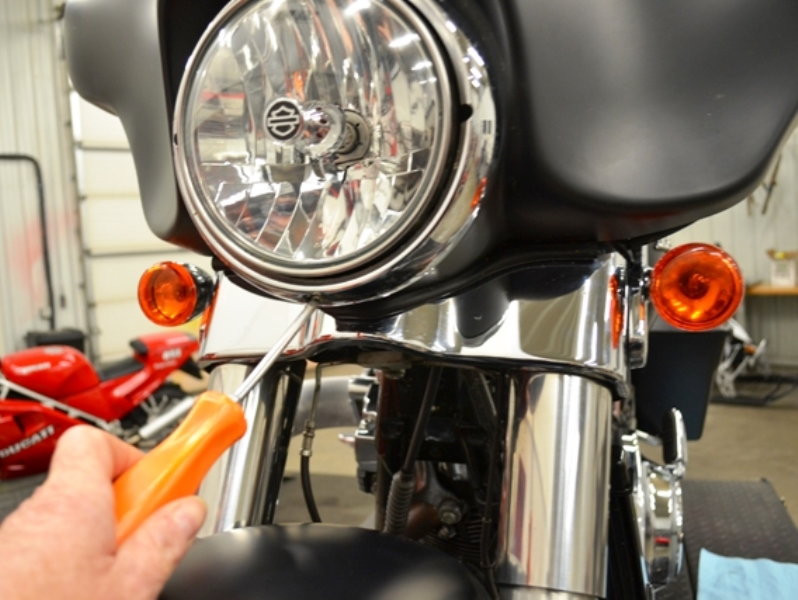
Figure 4. Modern trim ring.
Pro Tip
In some models you will need to rotate the headlight trim ring about 45 degrees to release it. (Also, note the location of the grooves in the headlight trim ring.)
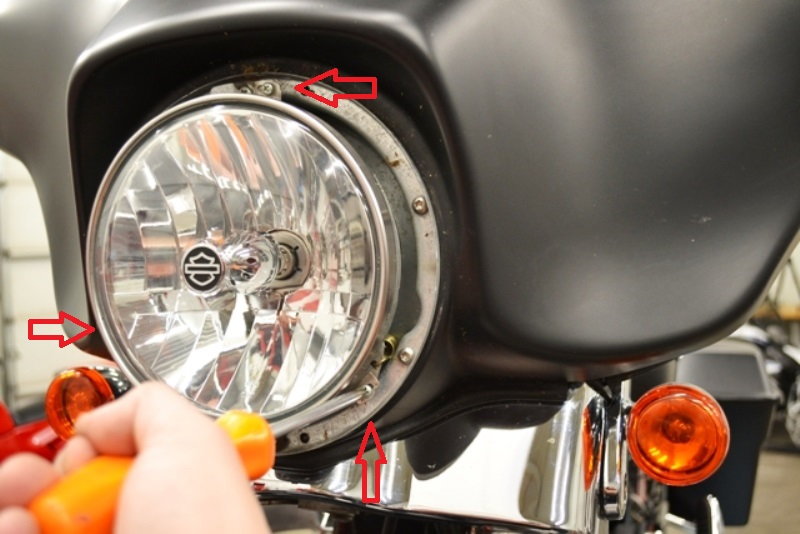
Step 3 – Remove retaining ring
With your Phillips screwdriver, unscrew the retaining ring screws that attach the headlight to the headlight body. (Be sure not to mess with the adjustment screws, or you will spend extra time readjusting your headlight.) Remove the retaining ring with one hand while holding the headlight in the other hand. Then, while holding the headlight with one hand, remove the plug wires attached to the back of the headlight. (If you don’t hold the headlight, it may fall out onto the floor or your fender.)
Pro Tip
If the plug is stubborn, try carefully wiggling it from side to side. Don't try prying it with a screwdriver.
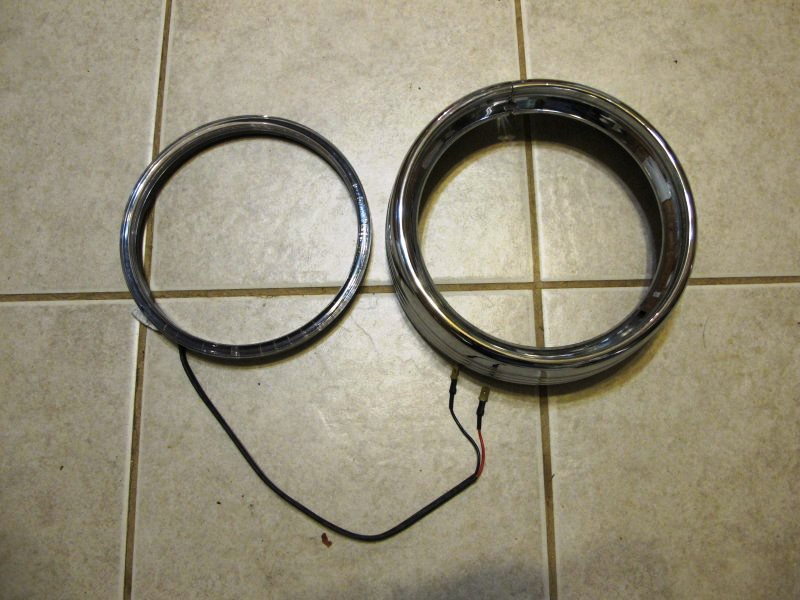
Step 4 – Mount the new Halo headlight
Some Halo headlight styles require only replacing the headlight lens itself, with power coming from an extra plug into the headlight bulb wiring. Some, install outside of the lens and replace one of the two metal rings holding the light. This is where reading your specific choice of product's instructions is useful. No matter what you choose, chances are it will be similar to the unit you just took out. If needed, install your old headlight bulb in the new lens, but be sure not to touch it with your bare hands.
Pro Tip
At this point, it is a good idea to check for proper functionality. It can save you time in case there is a connectivity problem.
Step 5 – Wire the Halo
Some Halo lights just get their power from the main headlight bulb with a separate plug, while others need to be wired to a power source. Since the headlight circuit always has power when the bike is running, it a good place to get power from. You may want to wire a switch into the unit, so you can choose from headlight and Halo, or just Halo alone, for maximum effect.
Step 6 – Reassembly is the reverse process
Place the retaining ring over the headlight and attach the ring with the screws that were previously removed. Check again for correct fit and tightness (not too tight). Replace the headlight trim ring with the bottom screw attachment 45 degrees to the right. Carefully turn the trim ring, so the screw attachment aligns with the housing screw hole. Check for proper fit to the headlight body. Attach the trim ring with the screw previously removed.

Pro Tip
Check for correct functionality of low and high beams. Check for headlight alignment to make sure the beams are pointing down the road correctly. You should check them on a flat surface at night, pointing toward a wall from a distance of 25 feet and adjust accordingly if needed.
Related Discussions
- Daymaker LED Halo Headlight - HDForums.com
- Halo Ring Installed - HDForums.com
- Halo Headlight - HDForums.com
- LED Headlamp Kit Installation Instructions - Harley-Davidson.com