Harley Davidson Touring: Stereo Sound Diagnostic
Isolating problems with your radio can be a real pain. So instead of playing the guessing game, use this article to find out what is causing your audio problem.
This article applies to the Harley Davidson Touring (2000-2016).
While some riders prefer the sounds of wind flowing through their helmets, the many of us just want to listen to our jams. A stock stereo system can go bad lots of ways, such as corrosive wires, blown speakers or a malfunctioning head unit. Each problem has its own specific symptoms that gives you ability to easily pinpoint and find the problems. This guide aims to show you what these specific symptoms are so you can easily diagnose a problem.

Materials Needed
- Test light
- Flashlight
- Ohm meter
Step 1 – Check your fuses
"It's a blown fuse."
Probably the most common cause when the stereo or anything else electrical stops working suddenly is a blown fuse. Replacing it may solve the problem, or it may just be a symptom of a deeper issue.
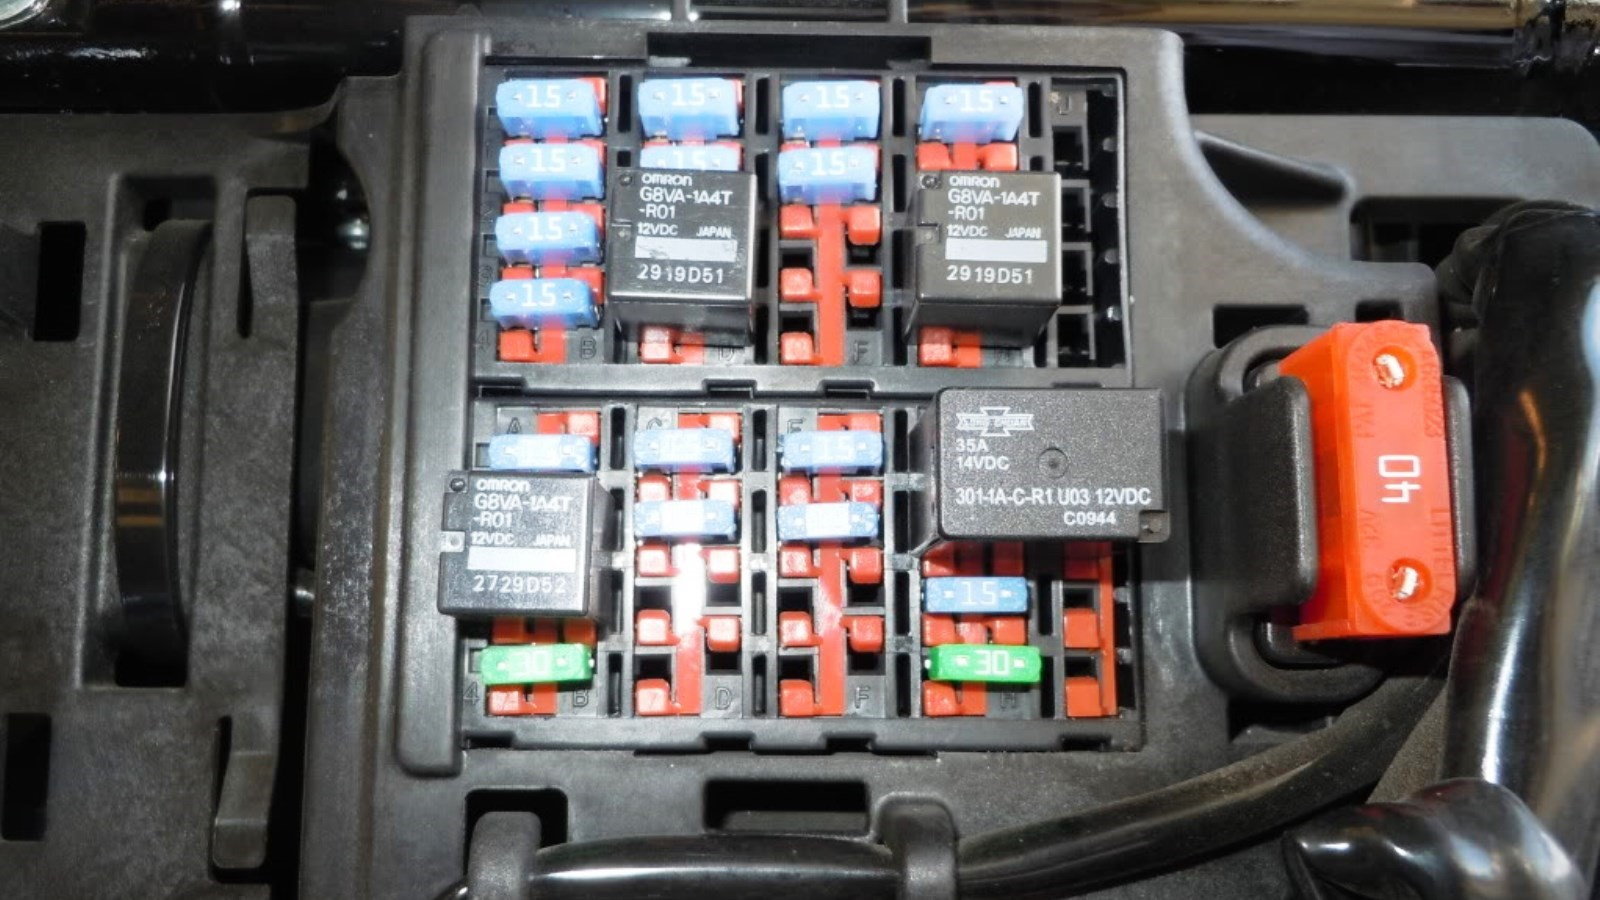
Fuses are directly tied to the entire functionality of the sound system and if they fail, so will the entire unit. I can not recommend this enough, always check your fuses first. Sometimes, you'll get lucky and find a blown or burnt fuse. On a Harley Davidson Touring model, the fuses are either under a side cover on the bike or under the seat, depending on the model. Open the fuse box up on your motorcycle and locate the radio fuse using the diagram on the cover. Use a test light to check the electricity. If nothing is present, pull the fuse and inspect it. If it is blown, you typically see the burnt out connection inside. Replace the fuse.
Pro Tip
Although replacing it will fix the problem at hand, a blown fuse usually points to a larger problem, such as a malfunctioning speaker. So it is recommended to still inspect the system even after it is repaired.
Step 2 – Check the wiring
"Probably a loose wire."
This is the second most common thing to check. Bike vibration and a rough road can sometimes cause the wires to come loose or break.

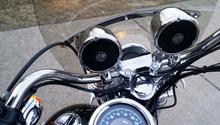
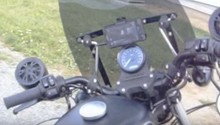
First and foremost, you are going to have to remove the outside of the fairing, because all the wires are inside. Once it's off, you'll see a mess of assorted wires–all of which are different colors. The back of the stereo head unit should be obvious, and the wires coming out of it are a great place to start. Look for loose, pinched, or melted wiring.
- Take your flashlight and look for any burnt wires or cut wires.
- If you find any wires that are not working, replace them.
- Once you are finished with the visual inspection, take your test light and check for power going into the head unit.
- Trace the power wire from the head unit back to the switch, and on, and on.
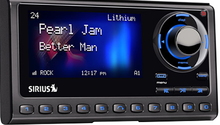
- You can test the head unit by connecting a jumper wire to it directly from the battery to check if it is functional.
- Look for loose ground wires and screws, as well.
Other things to look for are loose wires. Unfortunately, these can be quite hard to isolate, as they may test fine but loose contact only on rough roads. So give every wire an additional tug to ensure they are kept in place.
Step 3 – Low impedance speakers
"You don't have enough power."
In order for everything to work properly with modern computerized solid state sound systems, you need to match the amp, speakers and head unit. Any mismatch can cause issues.
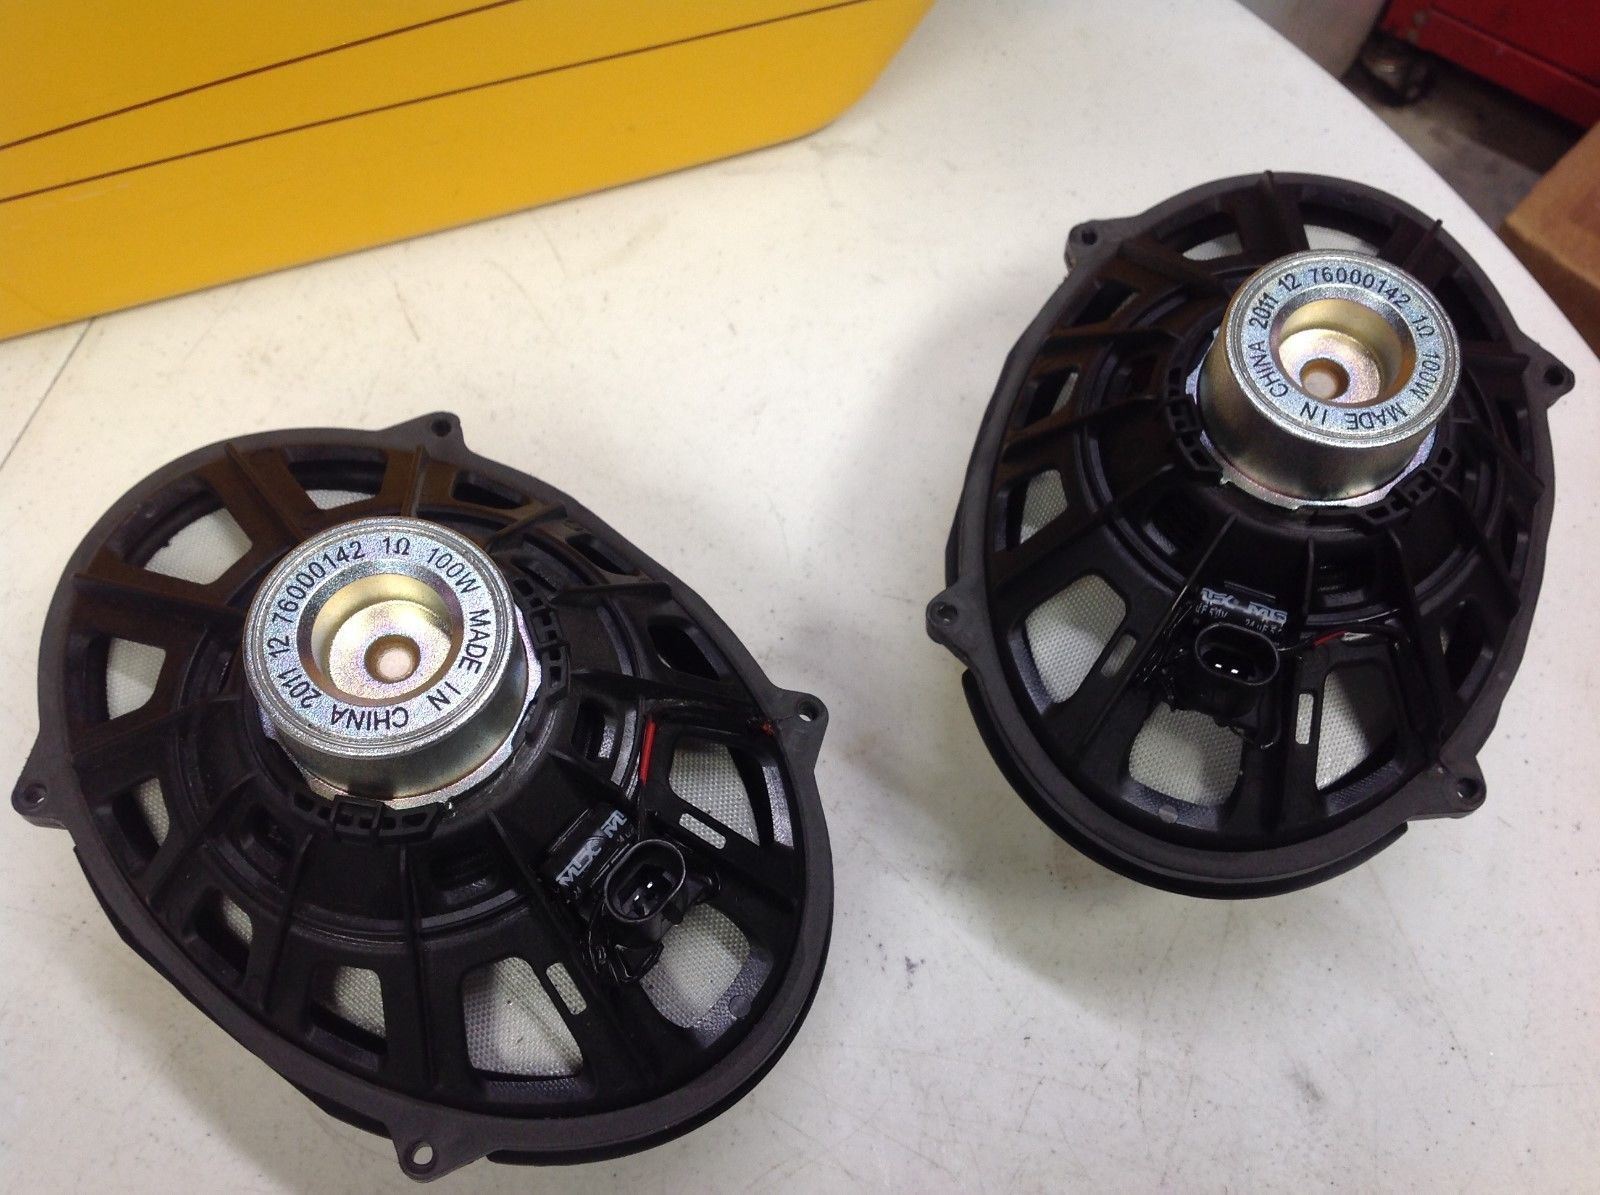
Although impedance on speakers can fluctuate according to its use, lower ohm speakers generally require more power. Your stock radio is made to work with eight ohm speakers, anything less will cause problems on your bike such as sound fading out. A good telltale symptom is when the speakers fail 15 to 30 minutes into a drive. Low impedance speakers draw a lot more power out of the amp when you turn up the volume and can cause fired amps, or at the very least poor sounding speakers.
- Check the speaker wiring using an ohm meter.
- Check any markings on the back of the speakers.
- If the ohm read less than eight, replace the speakers.
Related Discussions
- Stereo Sound Problems on 2000 Road Glide - HDForums.com
- Stereo Problem (Crackling Sound) - HDForums.com
- Harmon Kardon Radio Problems - HDForums.com