Hot Seat: Biltwell Banana Install

Transforming a Sportster into a retro-styled tracker, one part at a time.
I’ve had my Sportster for a couple of years now. I’ve enjoyed the journey of riding, maintaining, and learning my bike. I’ve learned what I like and dislike, and I have realistic expectations of what I want to change and what I want to do with the bike. With a course set, I recently began acquiring parts for my Sportster’s transformation into a retro-flavored street bike.
When I initially purchased my Sportster, it included a large selection of spares, including three seats. Unfortunately, none of them were what I was looking for. The previous owner, being focused on long-distance touring, choose his accommodations for comfort over cool factor. While there’s nothing wrong with a comfy seat, they don’t at all suit the ‘70s street tracker vibe I’m going for with this build. As a result, one of the first purchases I made after bringing the bike home was a suitable saddle.

I opted for the diamond stitch pattern on my Banana.
Biltwell had me covered with their Banana seat, available in diamond-stitched or tuck & roll styles. I opted for the former. When it comes to choosing new headquarters for your hindquarters, some degree of comfort does come into play, even in cases like mine where feeling good is secondary to looking good.
To that end, the Biltwell Banana is upholstered with molded foam padding that swells in thickness from 1.5” up to 2.5” where it matters most, under your butt. That said, anyone buying this seat notices that it looks right for their project and probably thinks no further of it. Unlike the previous owner of my bike, I have no intentions of riding this bike to Sturgis and back, so if it gets uncomfortable after an hour or two on the road, I can handle it.

I don’t envy anyone who chooses to hitch a ride on the back of my Sportster.
This is where the styling comes in. Regardless of which stitch pattern you use, this seat looks straight out of the ‘70s, with a narrow, low-profile teardrop shape and a “harlot hump” (sorry, ladies) in the rear. It shows off the bike’s frame and gives the bike a sleek, purposeful look. It’s the sort of subtle visual improvement you’d expect from a fender or tank upgrade, but with a lot less effort.
While the stock Sportster rear fender has threaded inserts for either a solo seat or a two-up configuration, the Banana seat lay somewhere in between, requiring careful drilling. On a Sportster Hugger like mine, this can be especially nerve-wracking, since the low stance of the bike means that the rear tire is precariously close to the fender — it’s easy to drill through the rear fender and puncture the rear tire in the process.

The Biltwell Banana really suits the bike’s aesthetic and looks right from every angle.
While replacing the rubber is part of the plan for the bike, I opted to employ a motorcycle lift to unload the rear suspension and get the bike sitting closer to straight up & down to make measuring and drilling easier. On a Sportster, this can be a dicey proposition, since the side stand on the left side of the frame and the low exhaust pipe on the right mean that there are only a few places for the jack to go — and none of them are particularly secure.
Thankfully, I devised a technique to get the job done: slowly ease the jack in from the right side, while carefully pulling the bike toward you, bringing the bars level. Once it feels somewhat solid on the jack pads, continue lifting slowly until the bike is at the desired height, checking often to make sure it’s not about to topple over. Once I had the bike where I wanted it, with both wheels off the ground, I employed a pair of paving stones under the side stand for peace of mind, and strapped the bike to the lift on the right side.

My old, mangled fender. It was easier — and cheaper — to source a replacement than it was to repair this one.
With the bike ready, I began removing components for the install. While the seat could be installed quite simply from here, I had other plans. The rear fender was dented and tweaked from the previous owner, and I had bent a rear turn signal in a crash during my first year riding. Having picked up replacements for both at a swap meet, I started out removing nearly everything behind the tank.
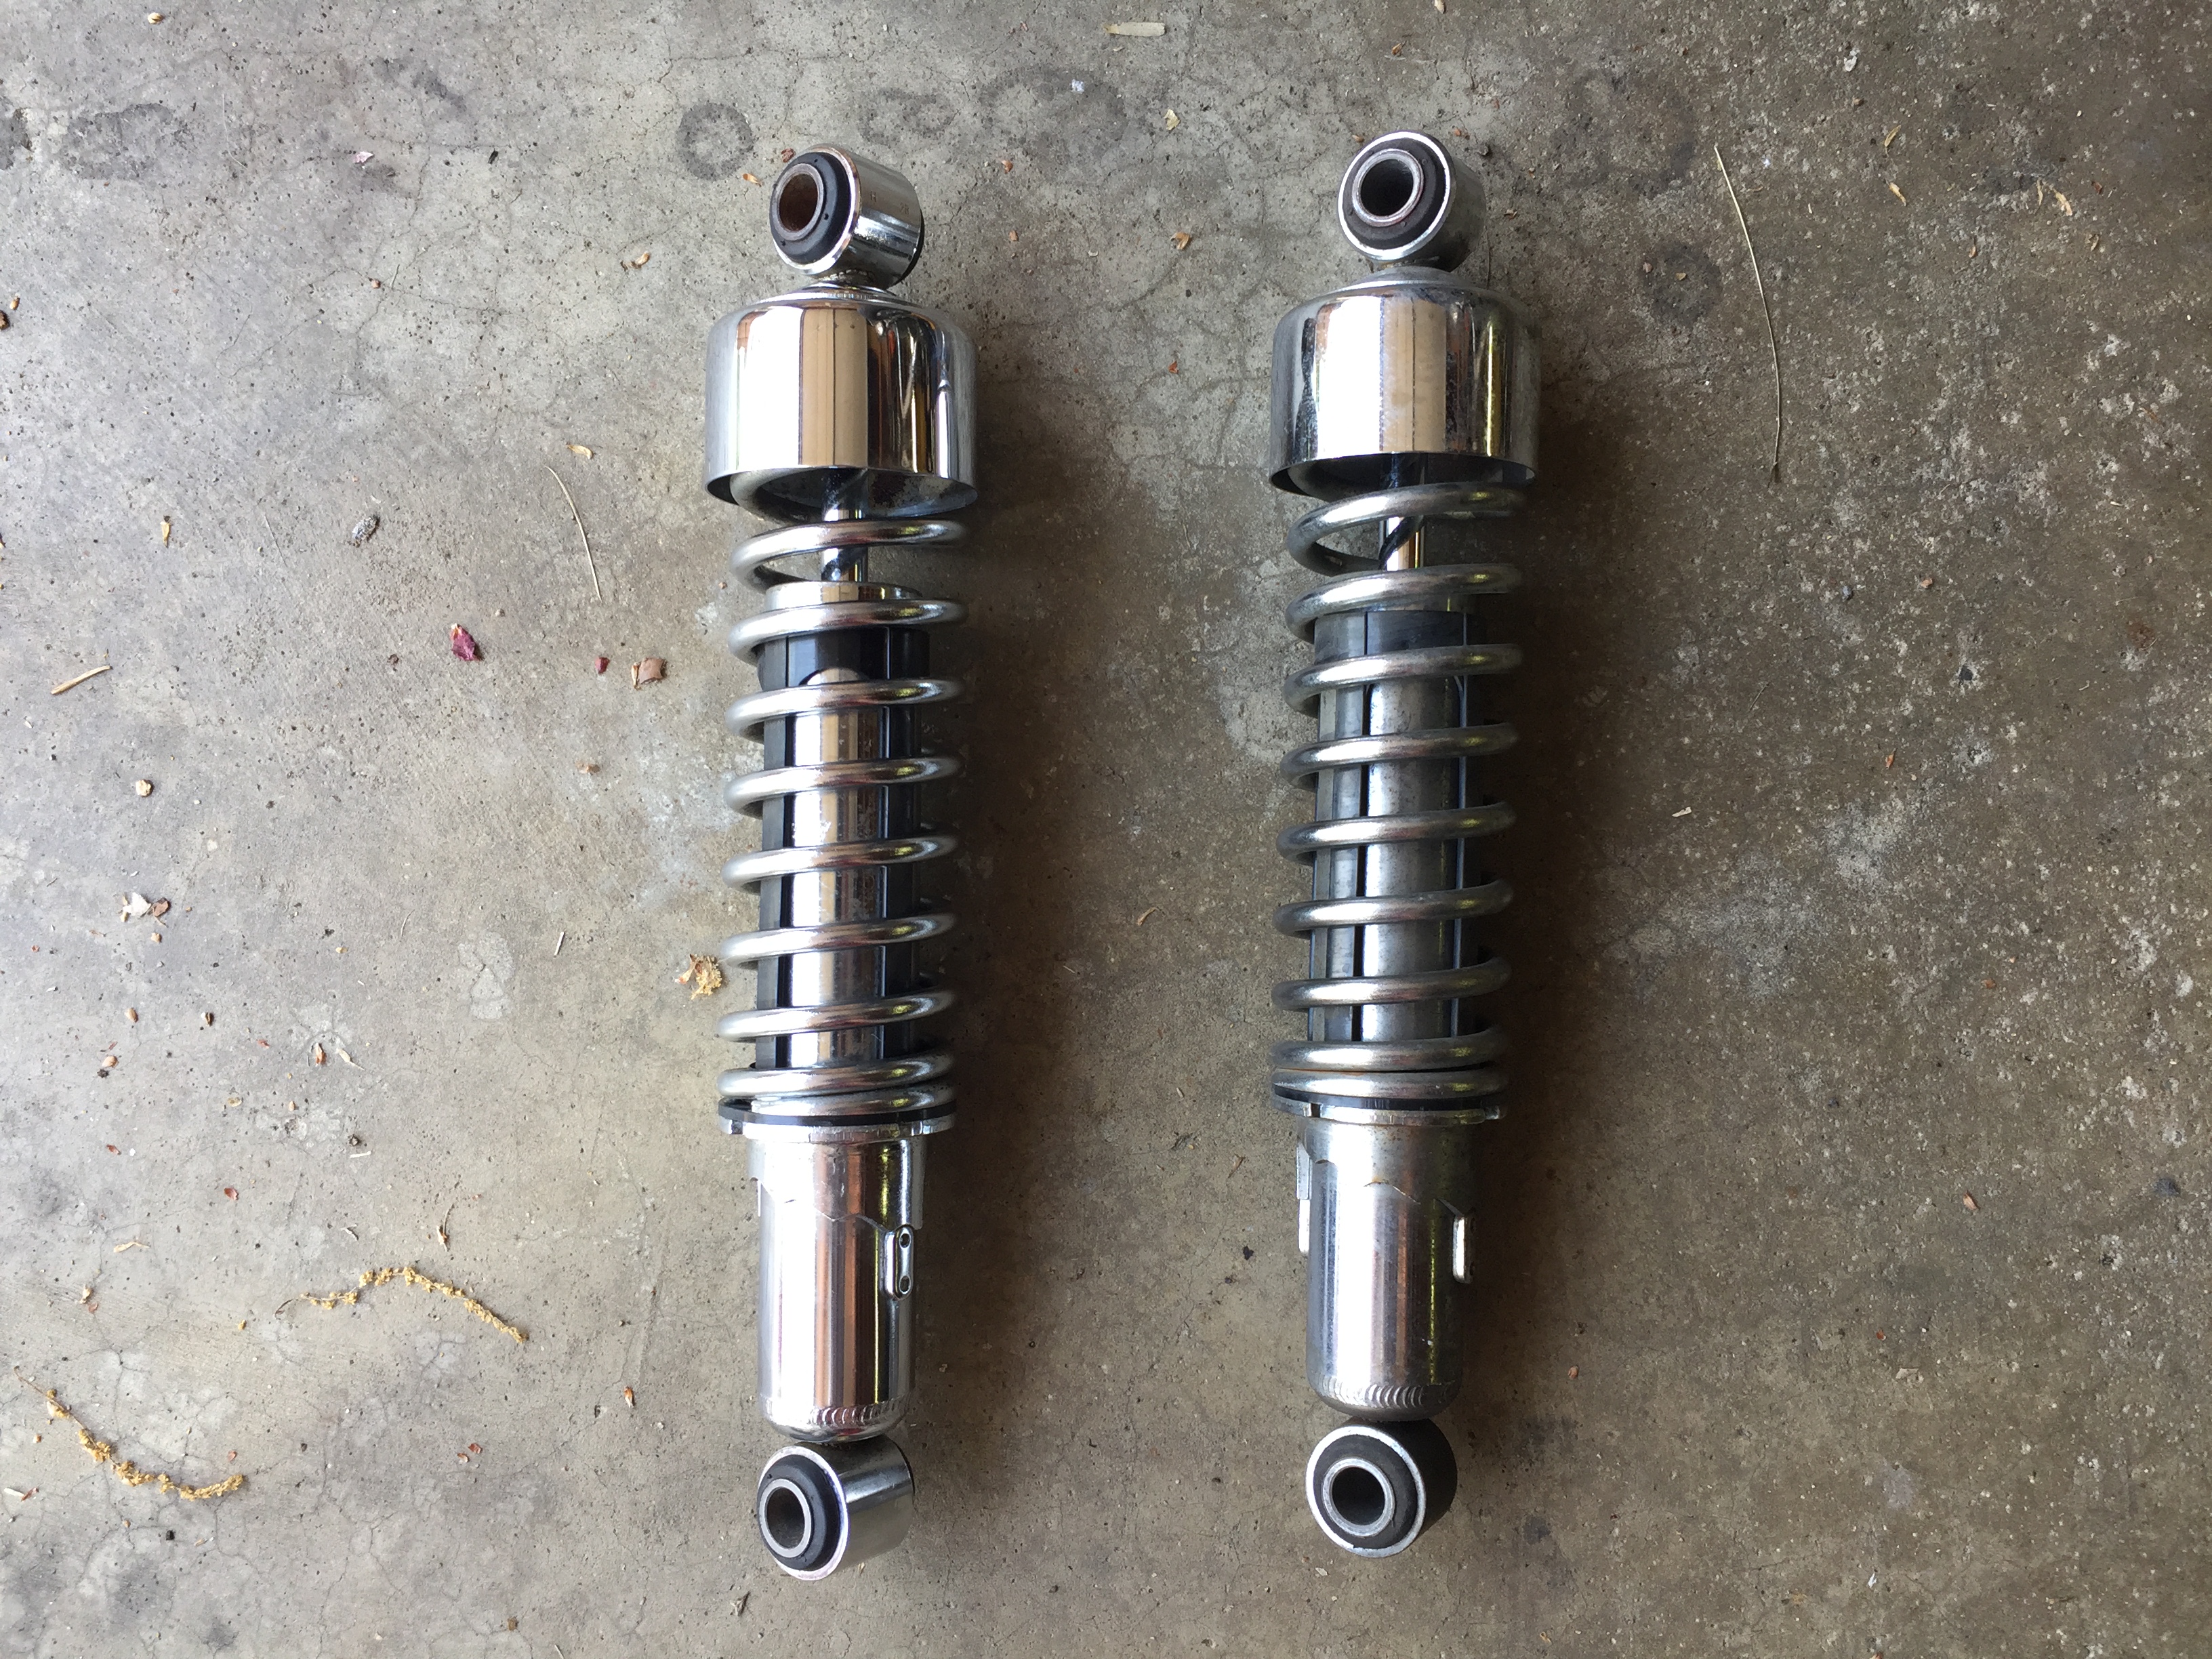
While they were off, I cleaned and polished the shocks. Clean on the left; grimy on the right.
Removing the rear turn signals required snipping of the positive and negative wire on either side. I made sure that I left plenty of meat on both ends for crimping or soldering when it came time for reassembly. I also took this opportunity to undo the upper shock bolts, thus dropping the rear tire and giving plenty of space to work underneath the fender — and drill into the new one with impunity. This also allowed me to finally rid myself of the saddle bag and back rack mounts, ridding myself once and for all from the last reminders of this bike’s previous life as a long-distance tourer.
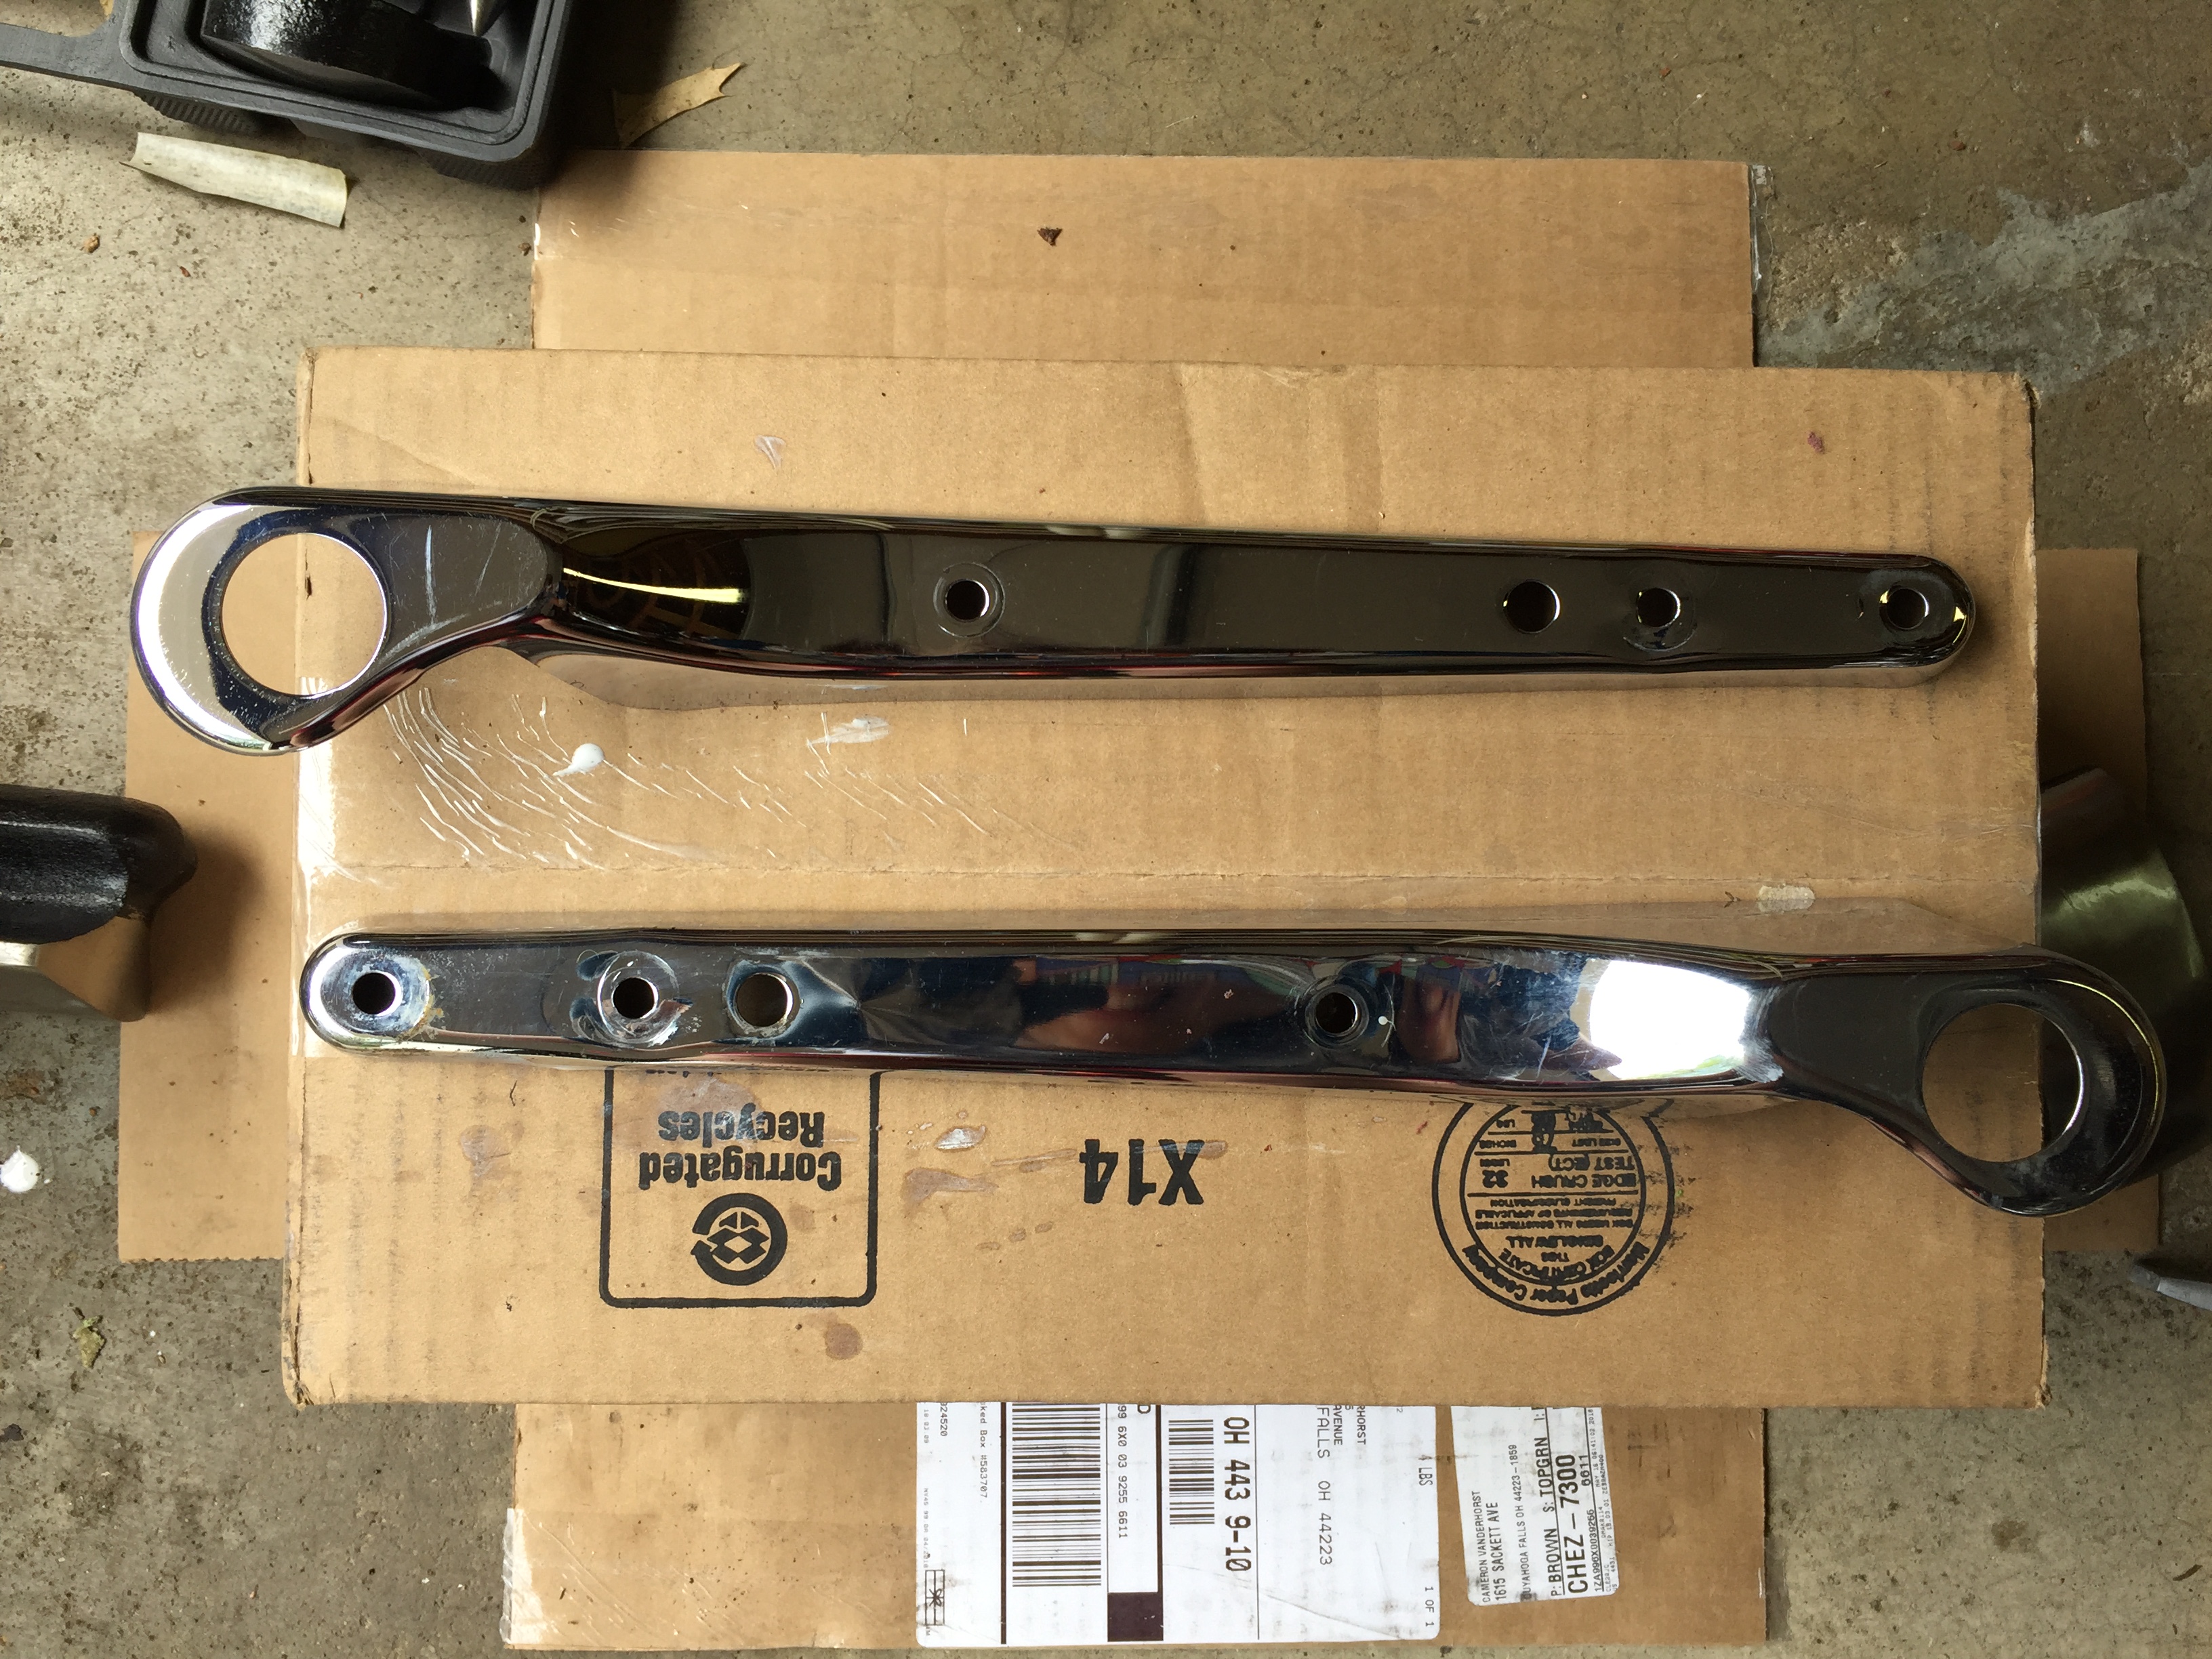
I also straightened out and polished the rear frame trim. Compare the top to the bottom — quite a dramatic change!
After unplugging and removing the rest of the wiring related to the taillight, the rear fender came off without a hitch. Still attached were the riveted in mudguard and turn signal wire retainers. Those would be drilled out and transferred to the new fender later, but for now, I was more focused on drilling the hole for my new seat.
continued…