Dyna Glide ModelsSuper Glide, Super Glide Sport, Super Glide Custom, Dyna Glide Convertible, Super Glide T-Sport, Dyna Glide Police, Dyna Switchback, Low Rider, Street Bob, Fat Bob and Wide Glide.
please please let me know what you do
i just got mine and I'm not sure what time going to do now
I'm having the same problem with it hitting the firks
My shop isn't heated and it's snowing here, so no work on the bike. But here's the plan: swap the two "bent" brackets so they dog-leg inboard instead of outboard. May need to add washers between the bent brackets and the other brackets to get the spacing you want.
The fork tube clamps will face inboard and connect to the bent brackets. Not sure how that will work with the clamps you are using, but at least it clears the forks.
Thanks for the advice
My buddy at work who is good at this kind of stuff is on vacation for 2 weeks
So it will have to wait
I will keep anyone who wants to know updated
I'm also going to have to buy the headlight housing too
Found it on eBay for pretty cheap $23 shipped
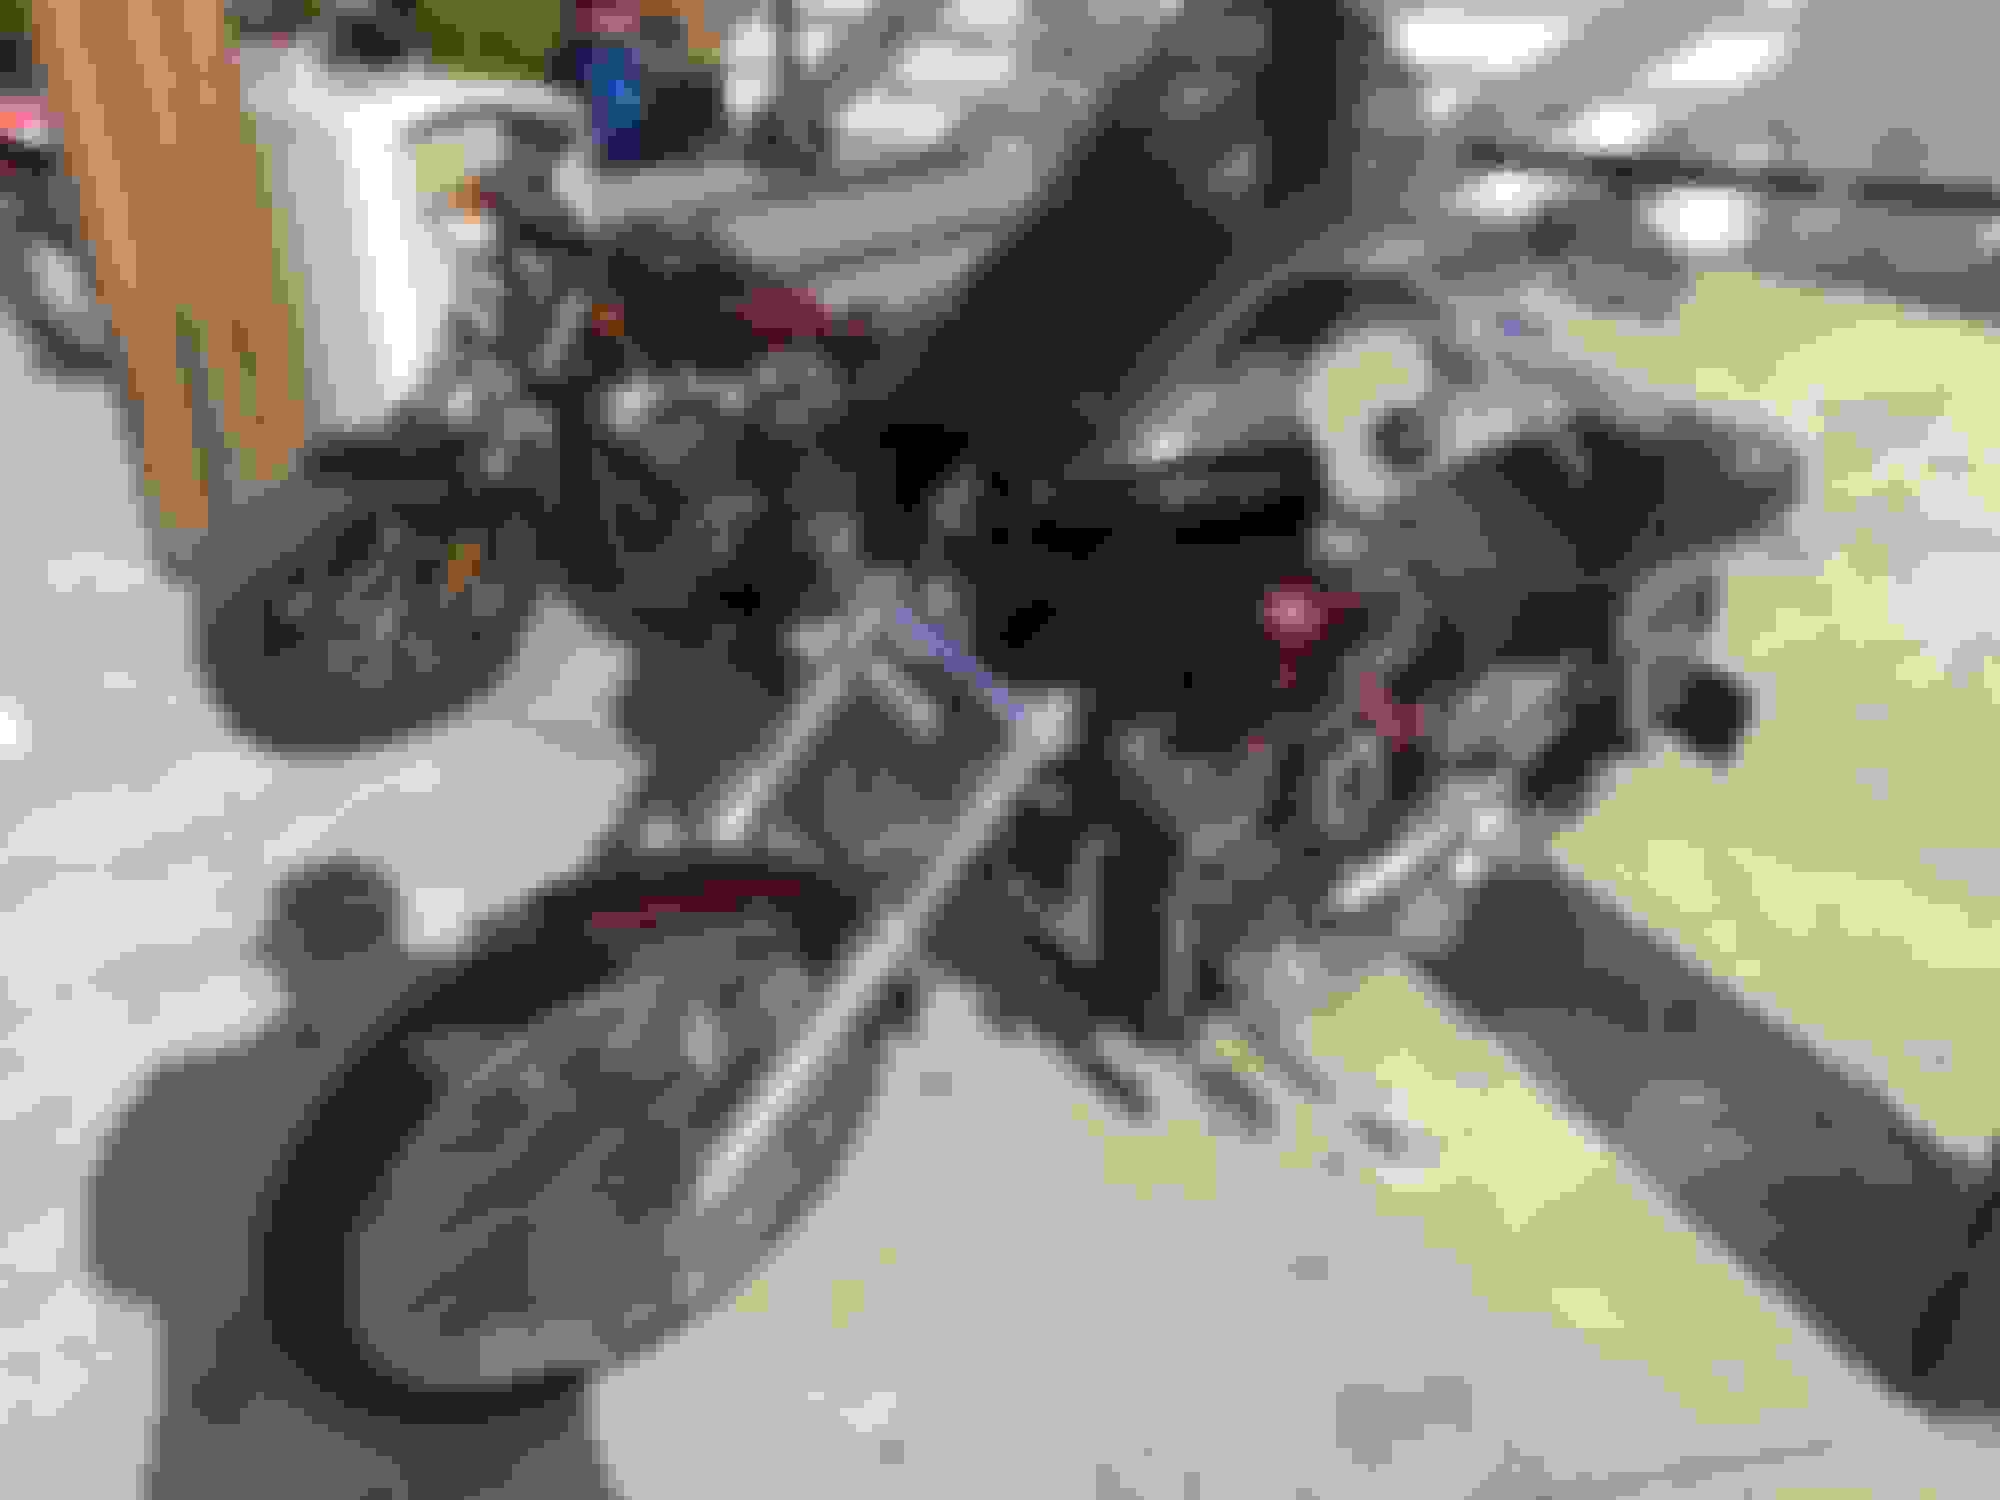
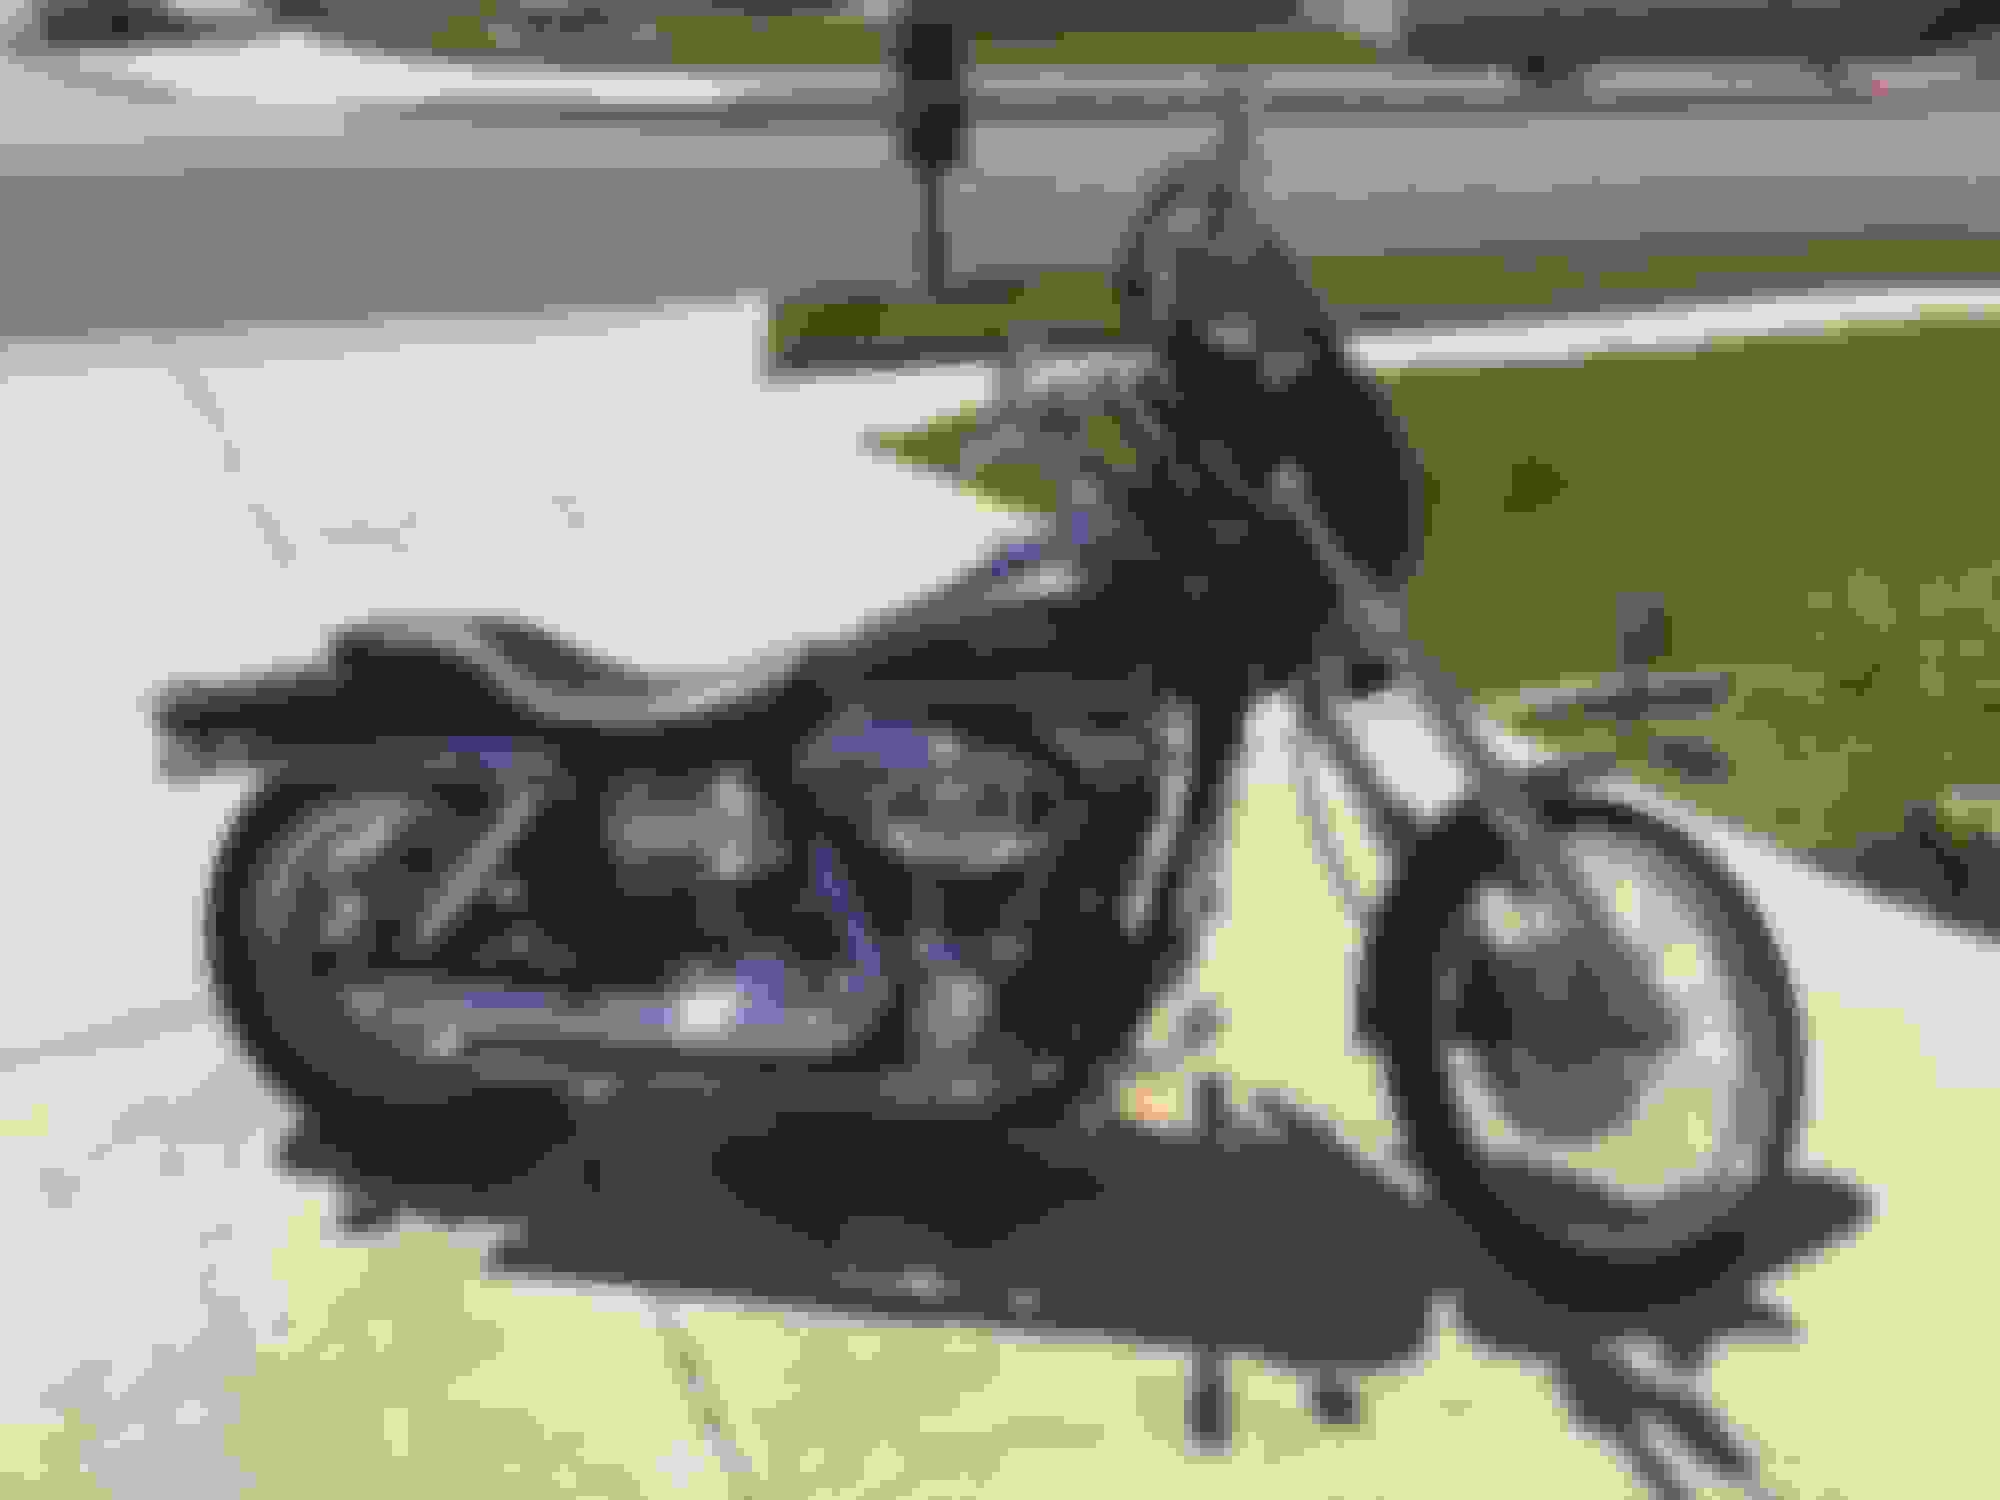
Okay for anyone who has a wide glide this is for you
I have an 06 and wanted this fairing but wasn't sure if it would fit, but with the help of this forum and some friends I believe I made it work
I go mine from villain2hero
His fairing is pretty thick
Down part is you have to drill out the fairing, but I understand why
So this is how I got it
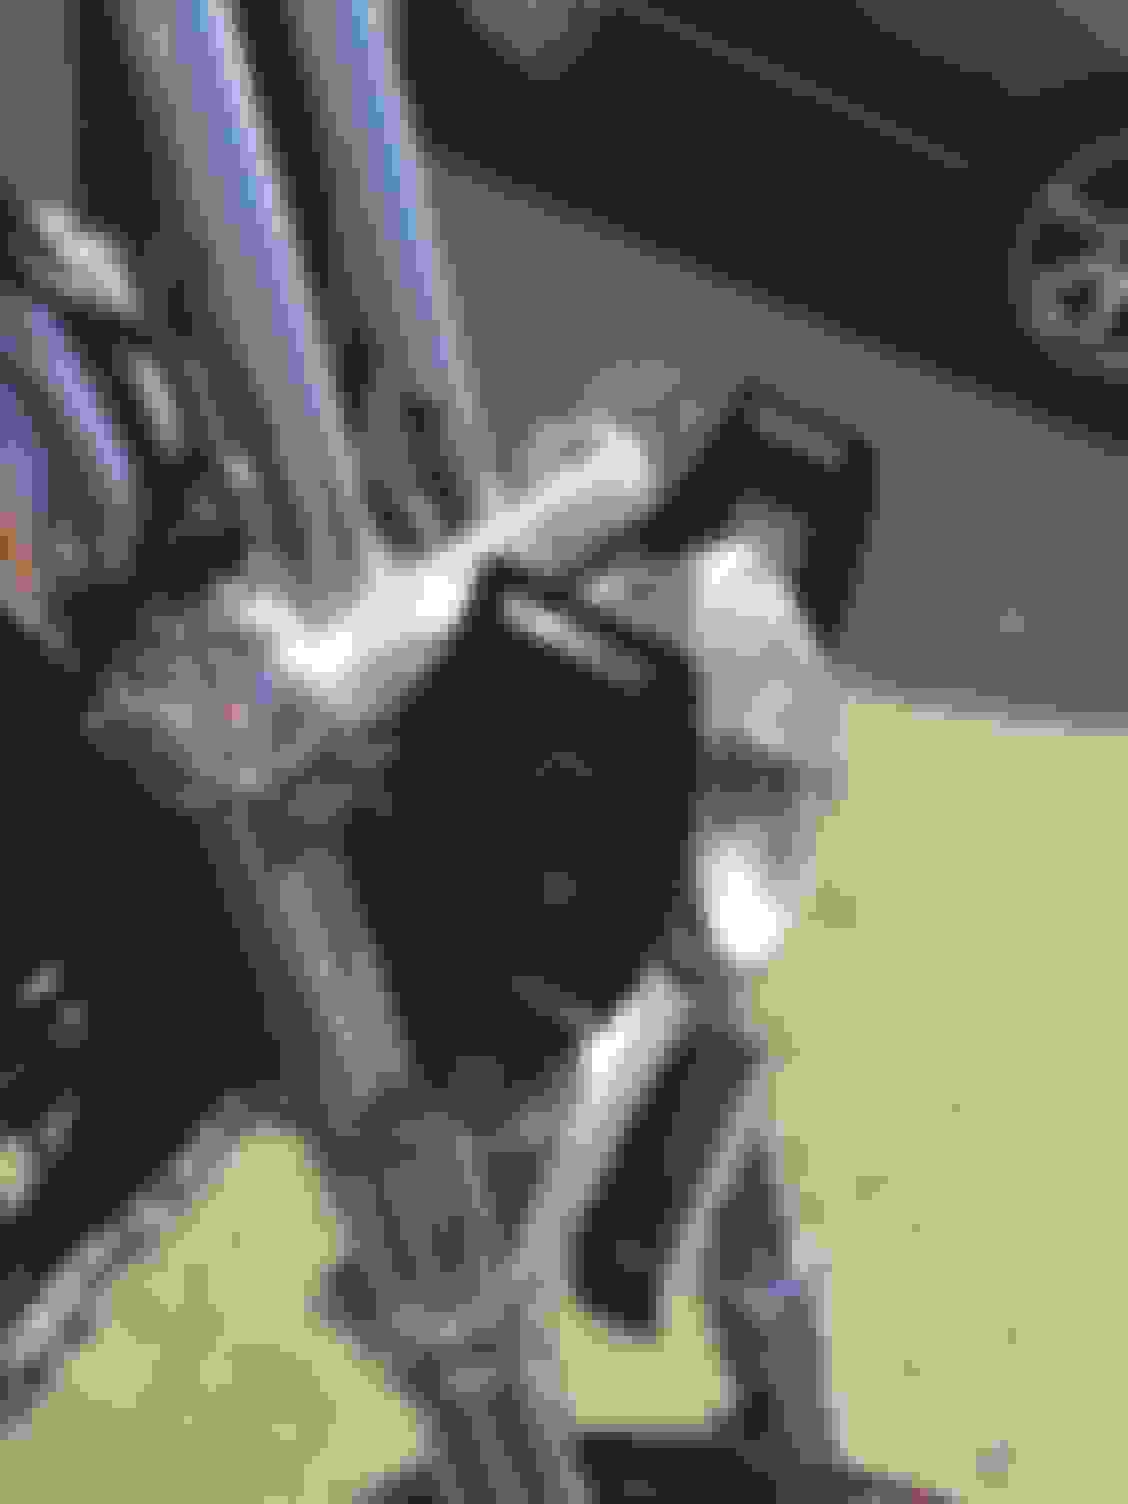
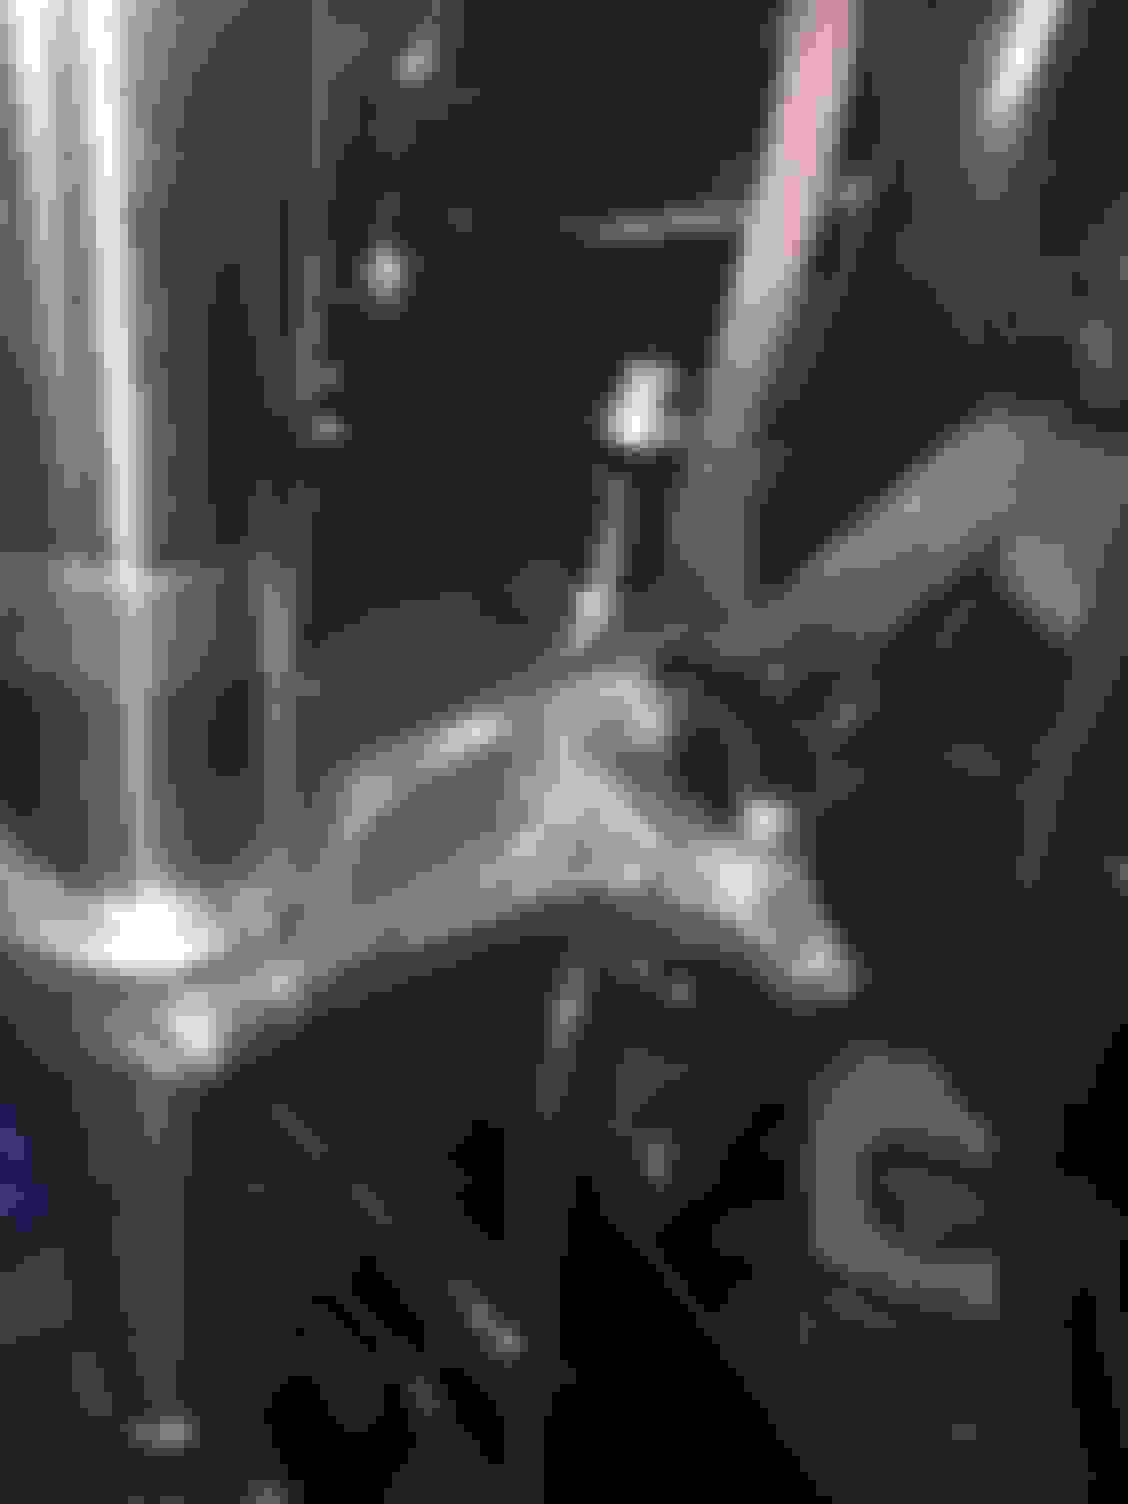
Because I have a WG I have a bit more rake and I needed the fairing to match up with the bike so I had to mess with the brackets
So what I did was flip the brackets that are attached to the fairing upside down
Then I Switch them from one side to the other like this
Next I switched the brackets that attach to the forks from one side to the other like this
When I bolt them to each other I did not need any spacers what so ever. It was a little off but as you tighten the bolts then line right up
I'm waiting on my headlight bucket so that will have to wait to line up with the fairing.
This is what I looks like on the bike
I'll post up when I finish the headlight and paint
How much work was it to get these fairing ready for paint? I hear some bad things about some of the fiberglass on some of these cheap fairings.
A guy I met just got the V2H fairing, said it compared to his old connely. Took it to one moto painter and the guy criticized it pretty heavily, normal fiber glass stuff, pinholes, needed sanding to smooth it out. But this guy also said he'd never heard of JDs either so I'm guessing he's a purist. He took it to a normal paint shop they quoted him 200 with sanding and all.
I just ordered the V2H one. At half the price of the connellys and the fact that it seems like the dude is super chill
Emperor, how tall are your bars? I'm really thinking about getting this fairing and I'm curious to see where this 12inch windshield will fall on my bars.
A guy I met just got the V2H fairing, said it compared to his old connely. Took it to one moto painter and the guy criticized it pretty heavily, normal fiber glass stuff, pinholes, needed sanding to smooth it out. But this guy also said he'd never heard of JDs either so I'm guessing he's a purist. He took it to a normal paint shop they quoted him 200 with sanding and all.
I just ordered the V2H one. At half the price of the connellys and the fact that it seems like the dude is super chill
I just bought the villian 2 hero Tsport repop and for the $300+ they charge, its an awesome deal. the quality is great and requires minimal paint prep. It is comparable to some of the higher grade/more expensive fairings. I would recommend maybe getting better/ attractive mounts. I bought some inexpnsive black 49mm mounts from amazon to use withthe mounting brackets. I used a rubber spacer and extended bolts with a 16" windscreen to create a DYI anti buffeting kit like JDFabs sells. i also used some bolt head caps to keep it clean and hide the windscreen bolts. http://www.villain2hero.com/cpage-windscreen.html
 03-14-2017, 10:42 AM