Sitting in traffic, I felt very inadequate with only the side mount run/stop/turn lights on the rear of my new soft tail. I also quickly tired of bumping into the left side tag bracket when walking around the bike. As a result, I began looking for a tail light/tag bracket that I liked.
I do like the run/stop/turn function of the stock lights. I have two other bikes with all-in-one run/stop/turn units, but I wanted more visibility and most importantly, I wanted it where drivers are used to seeing it, in the center of the fender! The same install process pertains to those adding an all-in-one run/stop/turn unit to the fender. The only difference is you will also need to run wires for your signals. The stock side mounts use the same wire for stop & turn lights. For a brake light in the fender mount unit you will have to run a dedicated wire from the harness under the seat to the new light. If like me, you are getting rid of the side tag mount, you don�t need the wires running to it. Those wires however are very useful providing a convenient hot & ground wire. They are relocated to operate the new tail light with an added wire for the brake light function. To lose the side tag mount you will also have to replace the left side signal stalk as it is two pieces incorporating the tag bracket. Fortunately, the right-side stalk is the one-piece and a perfect fit. Order one from your dealer, flip it over and replace the 2-piece stalk on the left-side.
The tag light plug has two wires on the fender side. On the harness side there are three wires. The center one is your brake light wire (blue w/red stripe). Run/tail light is blue. Ground of course is black. You can get different plugs from the dealer with three wires on both sides and replace them, adding a wire to the brake light for simplicity next time you want to remove the fender. I simply cut the brake light wire ahead of the plug and spliced my new brake light wire to it using a bullet connector. As both stock tag light wires are black, you will have to test them for polarity. Clearly mark the hot wire. I didn�t have any blue w/red stripe wire for the brake light so substituted yellow, which I had on hand.
You can either run the new wires under the fender support/strut like the stock wires or run them under the fender. If using the fender support location, you will need to drill a hole through the fender behind the signal stalk. The wires between this hole and the new light will have to be supported to avoid tire contact. If running the wires under the fender, you will also have to be careful to place them so there is no way the tire can touch the wires.
If your tail light requires the fender to be drilled for attachment, start by covering the fender with blue painters� tape. Place the tail light where you want it and mark hole locations. The light can also be taped in place if you�d like to stand back and see how it looks before committing to drilling your fender. Make sure you have it centered and straight before marking the holes!
It is strongly suggested that you obtain rubber grommets from the local hardware store for running wires through the fender. While at the store, buy a package of adhesive backed �mounting blocks� used for attaching zip ties. These will be used to anchor the wires under the fender. Make sure the fender is CLEAN before attaching the mounting blocks!
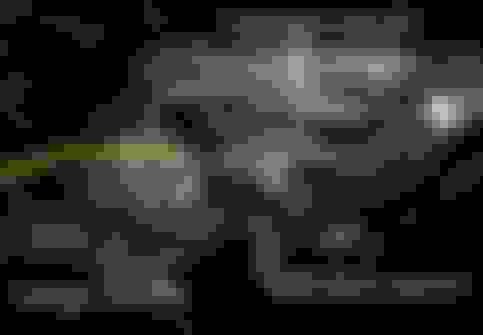
The next photo shows the stock couplings together with the new bullet connector for the brake light. To keep everything neat and in place, the stock couplings fit into brackets from which they have not been replaced (yet) in this photo. The stock light brackets (L&R) will be found side-by-side.
That's about all there is to it! The stock lights using one wire for two functions threw me a curve trying to figure out how to wire this, but in the end, it was right there in front of me the whole time.
I too am having the same problem with rotating my stock plate on my 21 fxbb. It won�t sit snug, or catch on the lip like it does sideways. Real pain in the a**. I got the plate/turn signal relocation kit from Harley online, but having quite a bit of trouble figuring out the install. So this kid that you got do you have a link for it? Would you consider it a fairly simple install?
 02-02-2019, 07:32 PM