Poor man and his S&S crank
#1
 01-09-2016, 08:01 PM

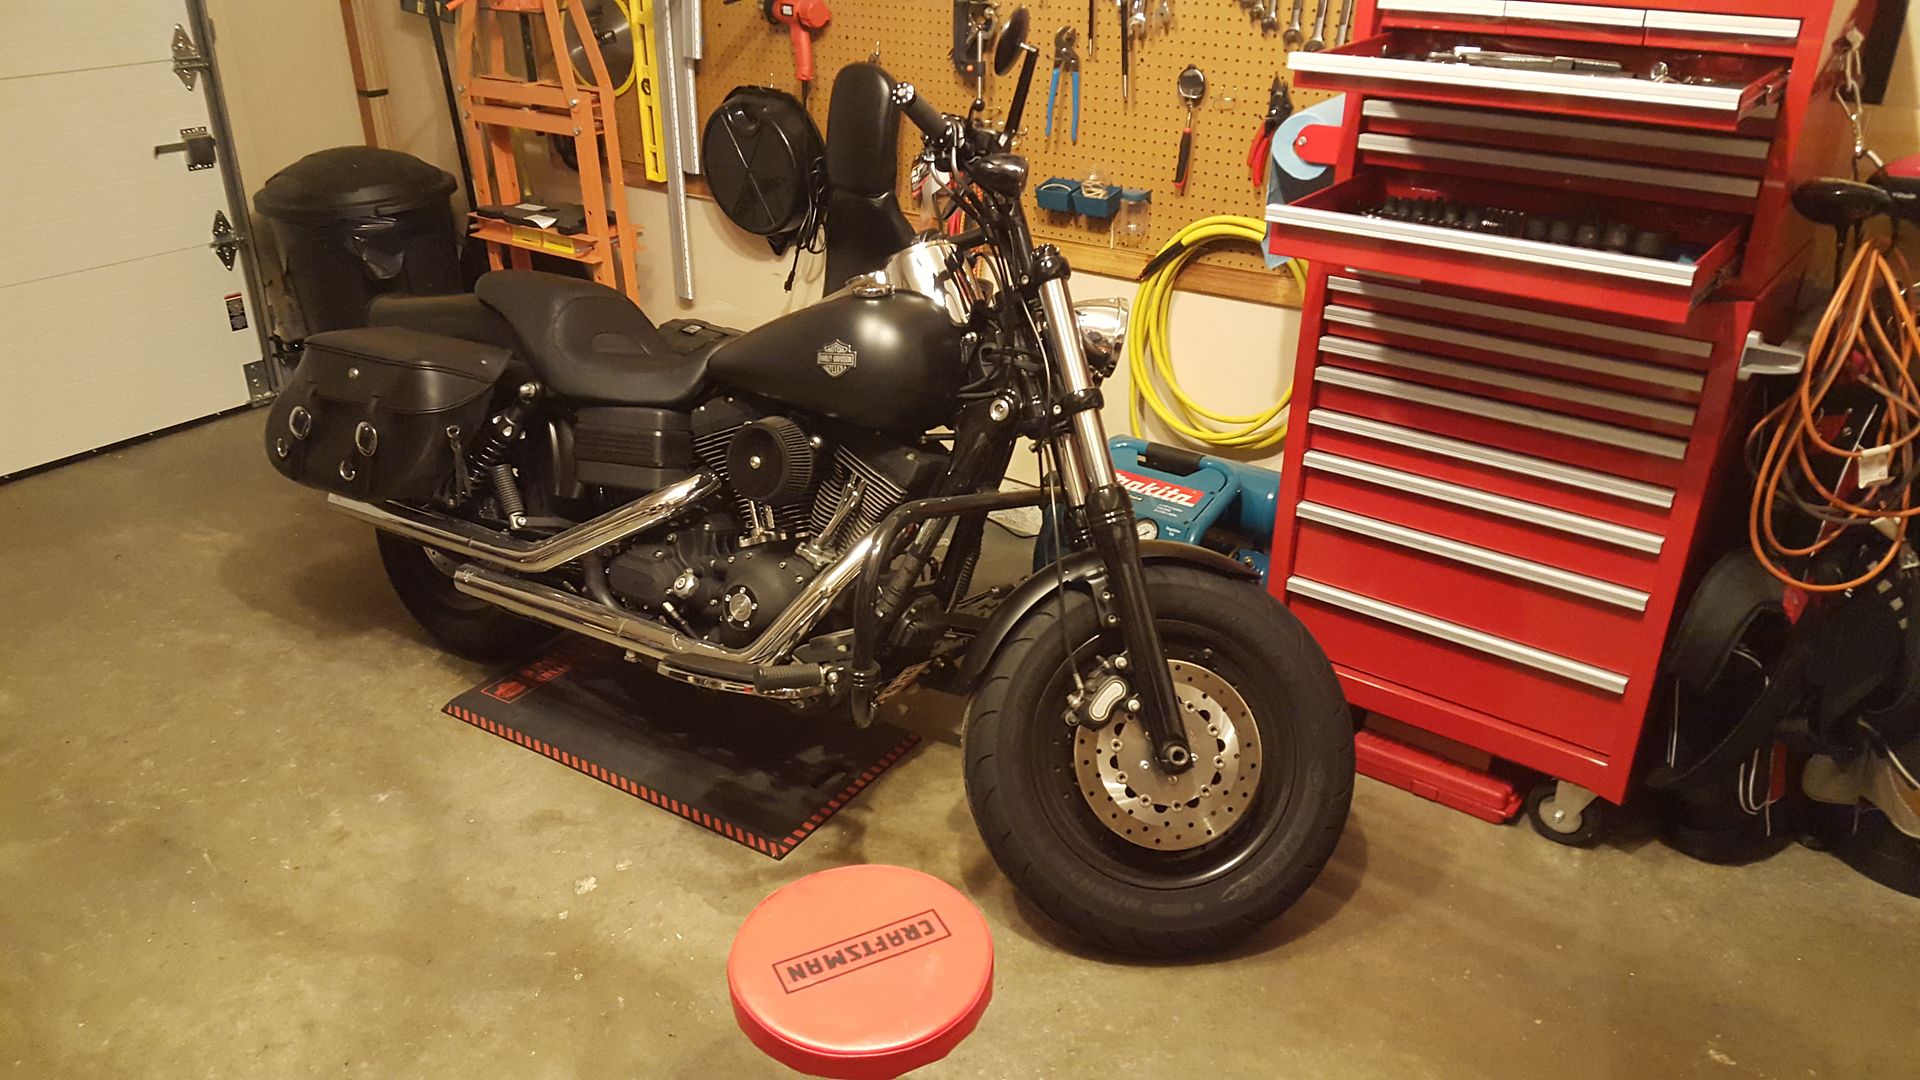
I guess it's time I start sharing what I've been up to. Background: I bought my '09 Fat Bob new in June 2009. At the time I didn't really own any tools or know how to use them. Since then I've gotten into just about every part of the bike if you've followed any of my past threads. Everything I've learned is from reading and my own experience.
Sometime last summer I started looking into doing a budget 103 build as a project for the winter. I had already been into the rockers, cam chest, primary, transmission, etc but hadn't pulled the cylinders. That idea quickly changed when I grabbed an S&S 106 kit 4th of July weekend from Leatherup.com at what I believe was a pricing error. My local mechanic said it was below dealer cost. From there I thought well if I'm going that far. .I'd really like to get the bottom end taken care of at the same time. Things snowballed quickly and as you can figure out from the title I ended up with an S&S 4 3/8 crankshaft. Above all I appreciate quality parts and at the end of the day I wanted to get rid of the stock tapered rod ends and I like everything I've read about what S&S did with their crankshaft. It should stand up to future upgrades if I go 117" some day, no problem. For tear down I won't be going into a lot of detail as HD Pilot has an excellent thread "Engine Build Time" if you look for it. Any questions just ask. So what started as a simple 103 build is now a 106 with a nice (and expensive) crankshaft, hence the title. I want to do something with the heads but we'll see.
Without further ado here's some pics to get going. I'll probably come back and add detail as I have time.
S&S 106" Cylinder
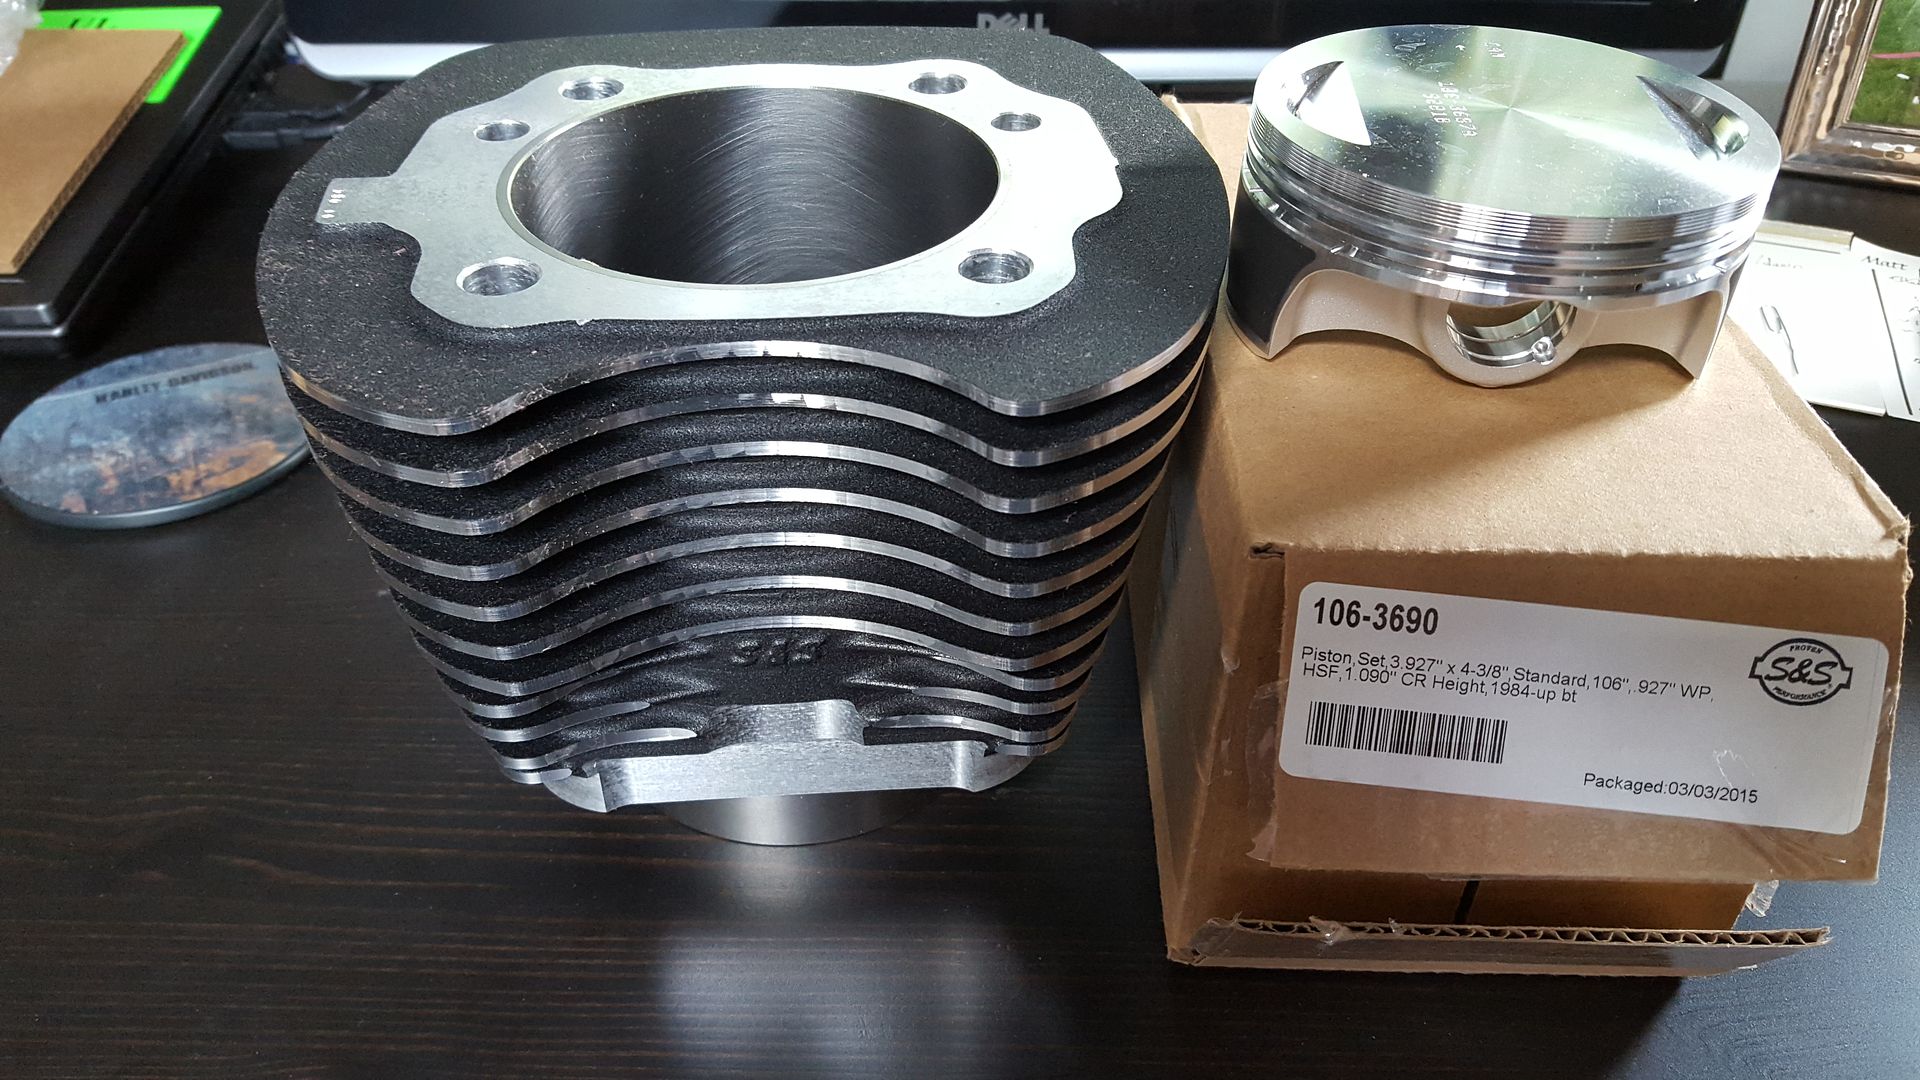
Mic'ing the piston
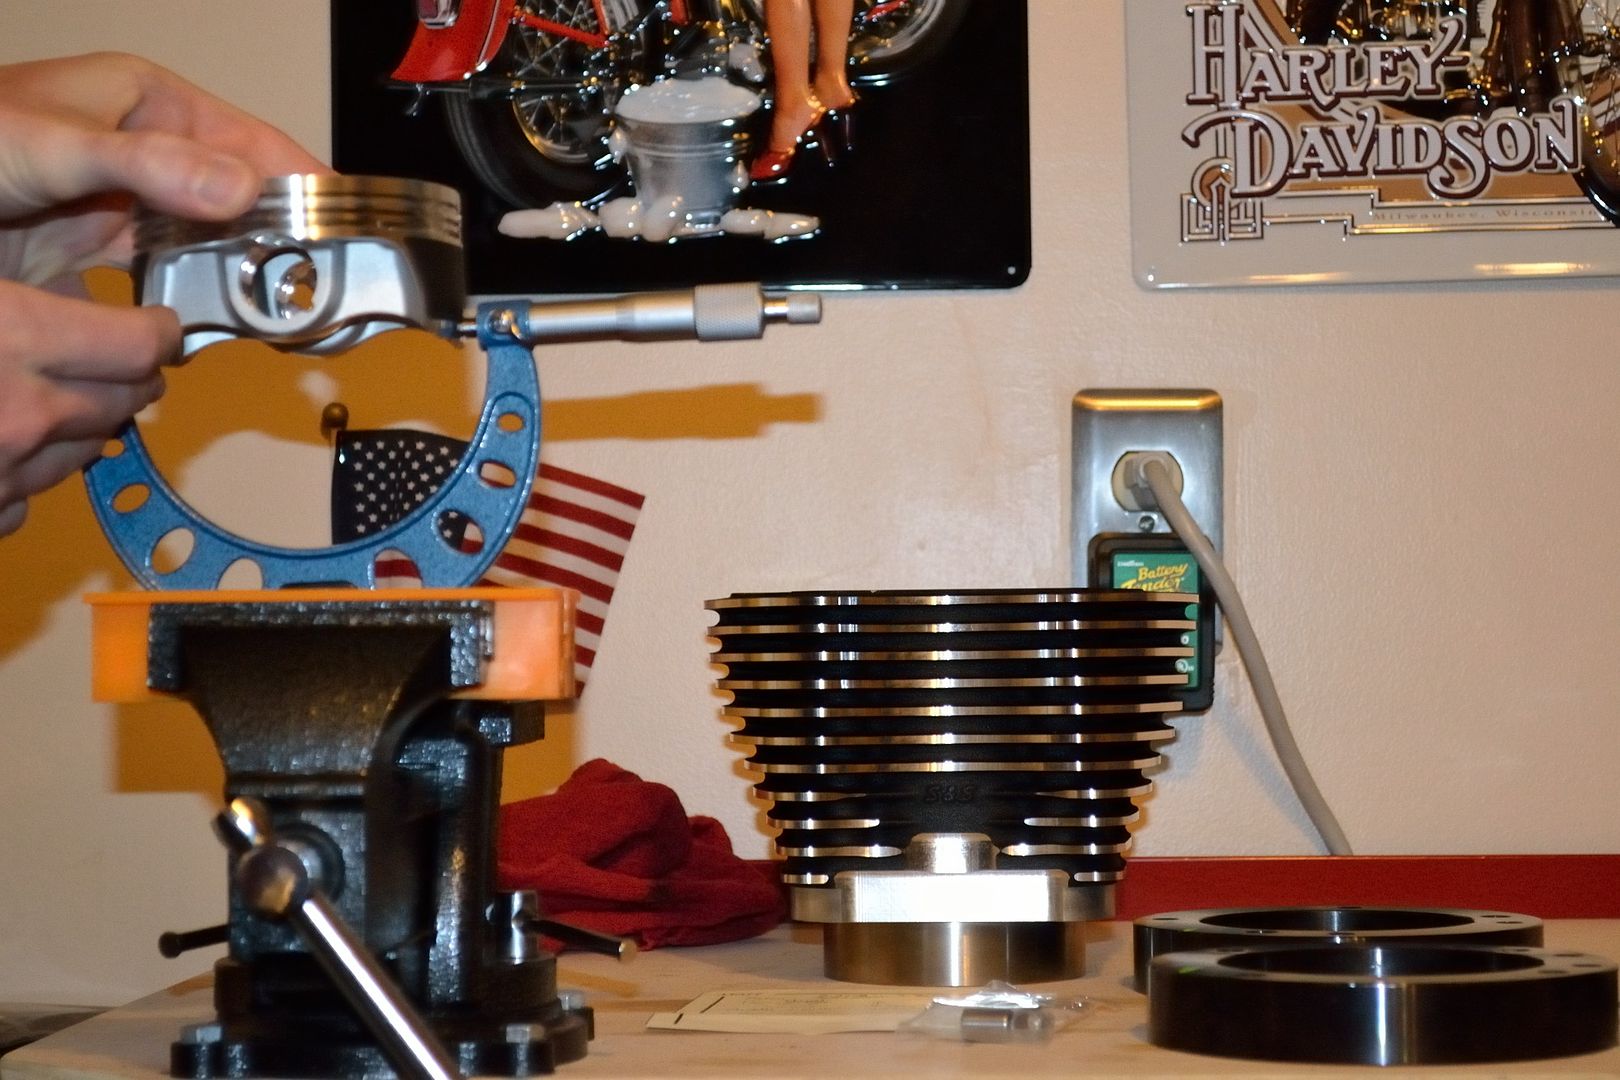
Cylinder in torque plates
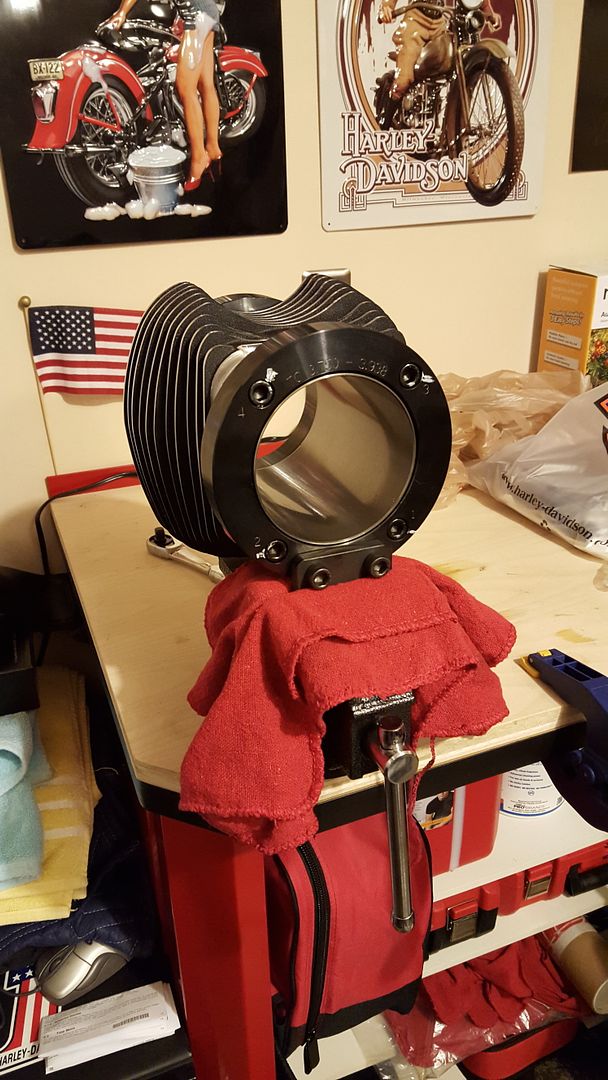
Bore gauge
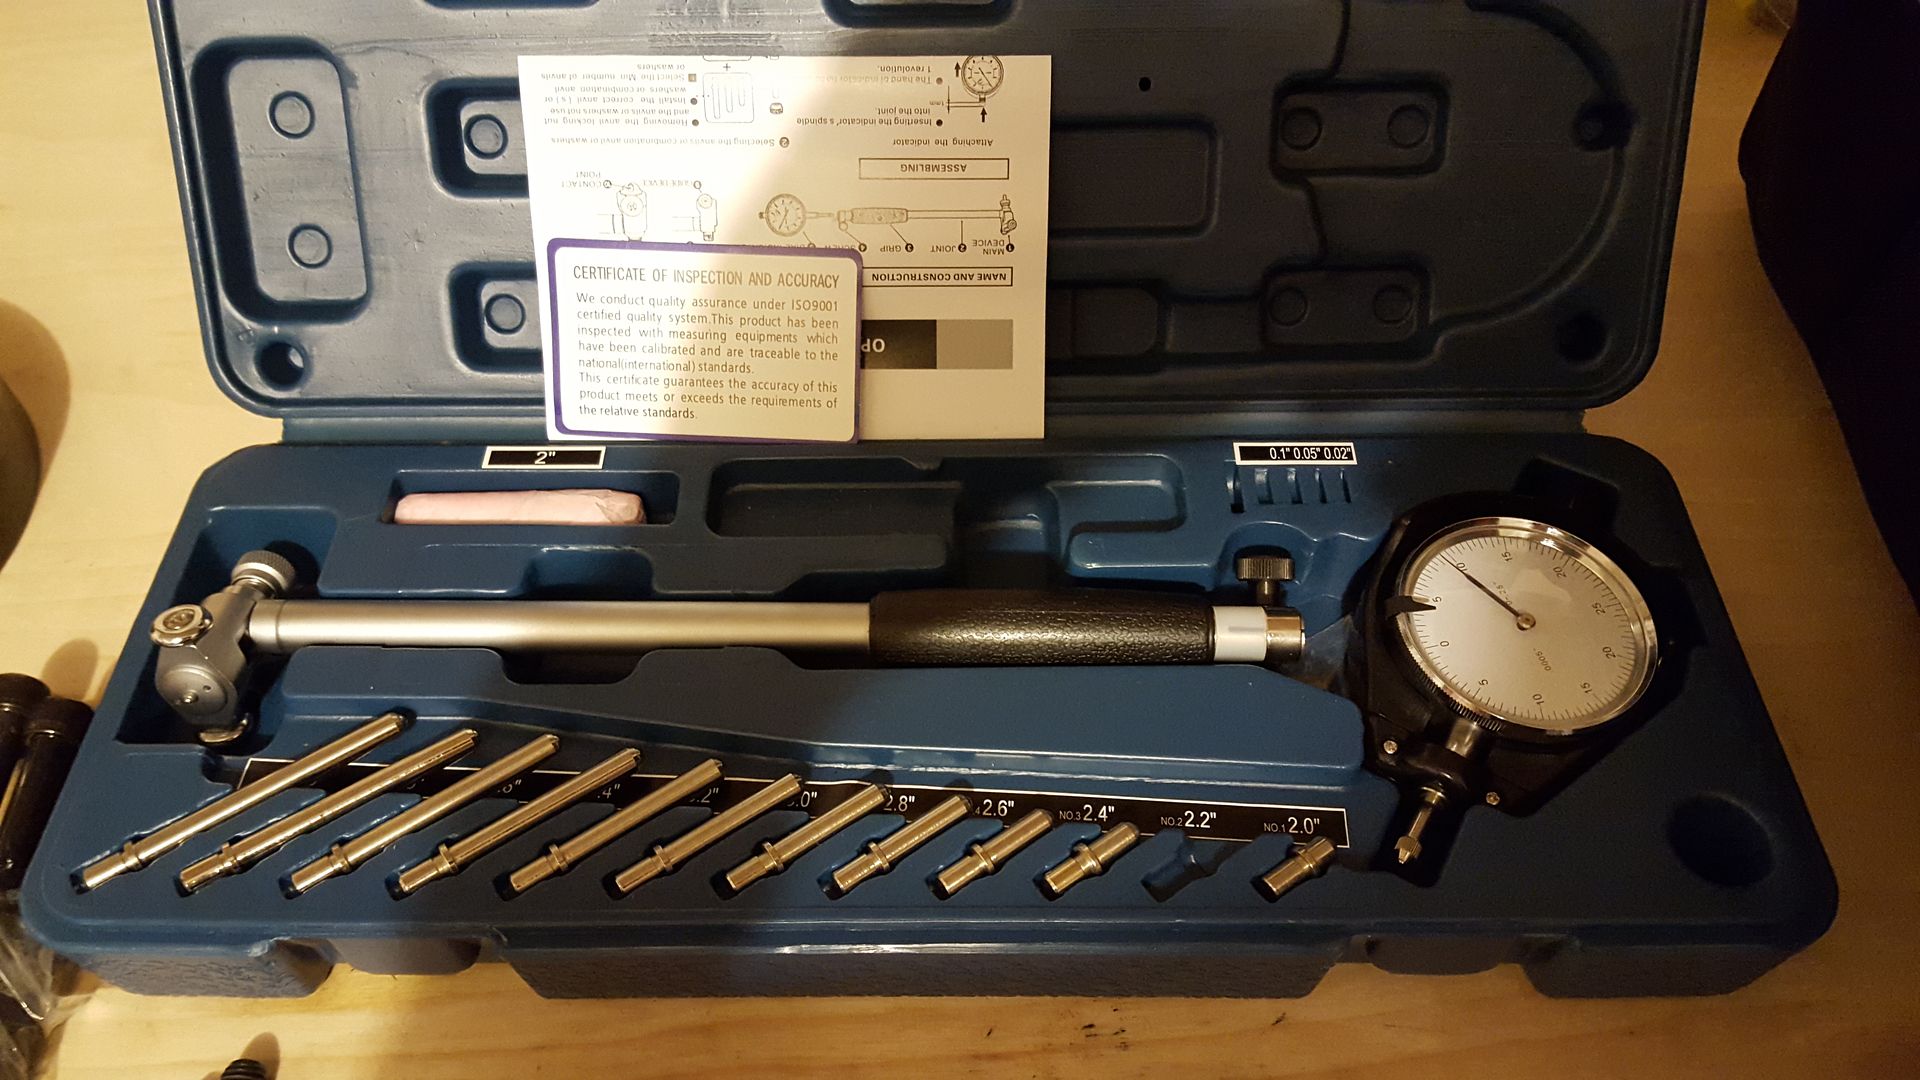
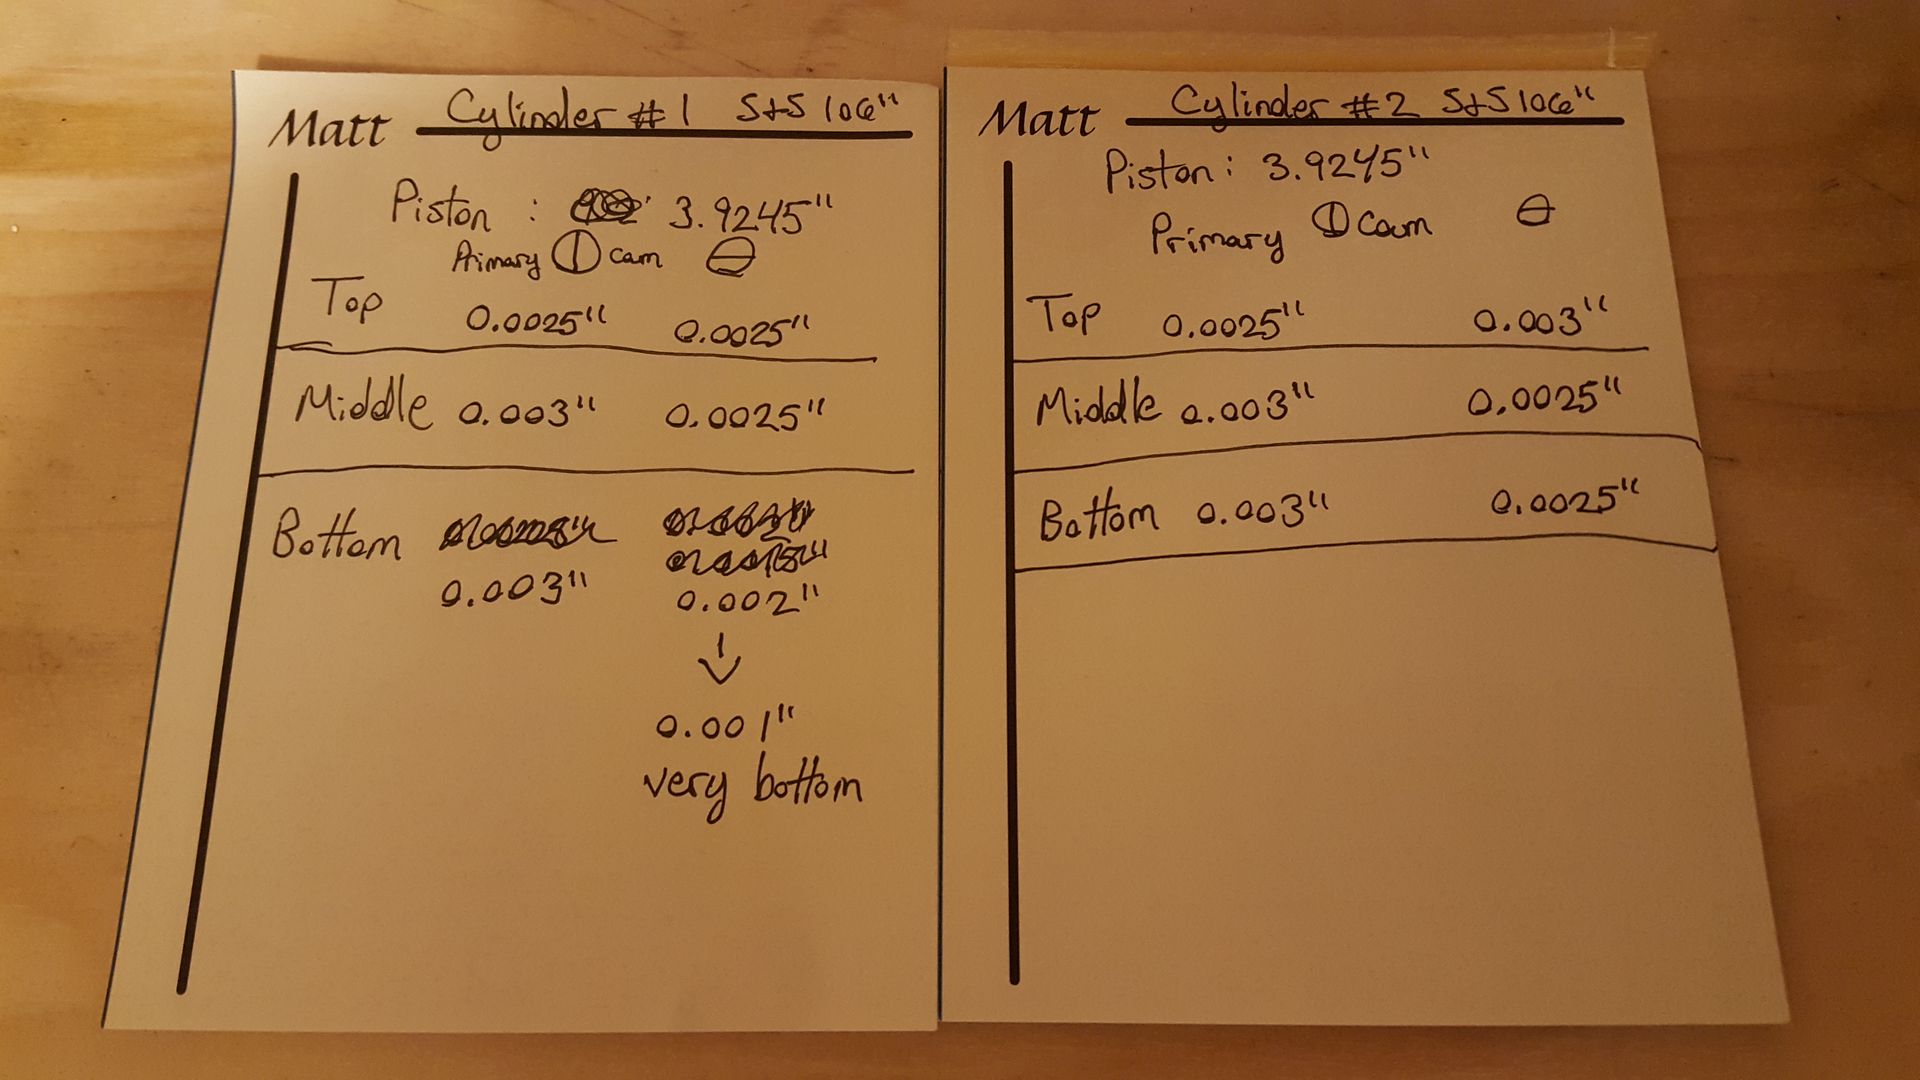
Checking the runout and taper of the cylinders

With forged pistons these were the #'s I got, about where you want them to be and I found the measurements to change each time since I don't have expensive micrometers:
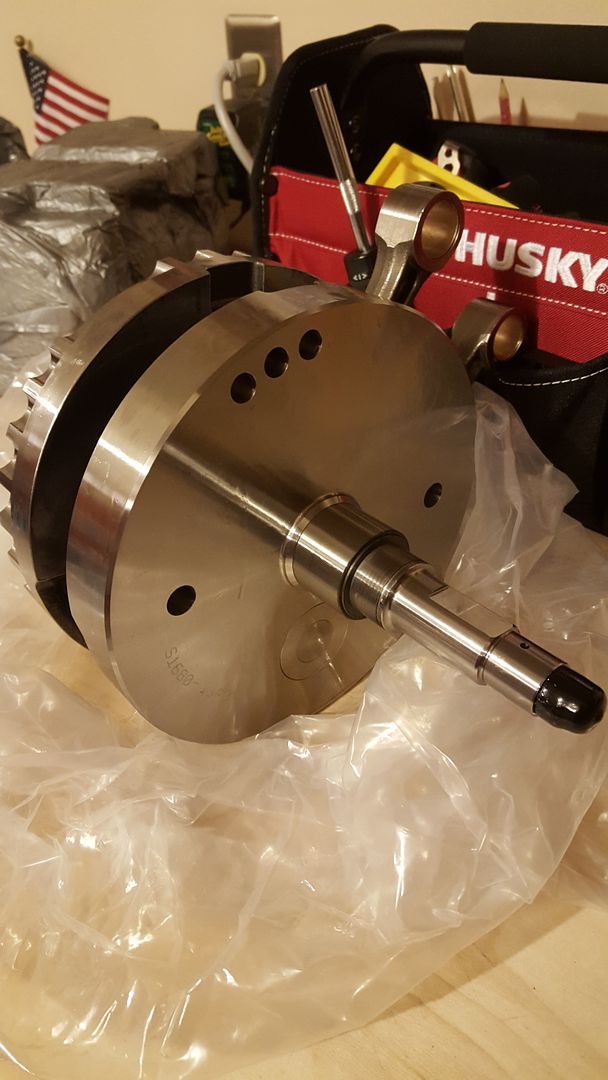
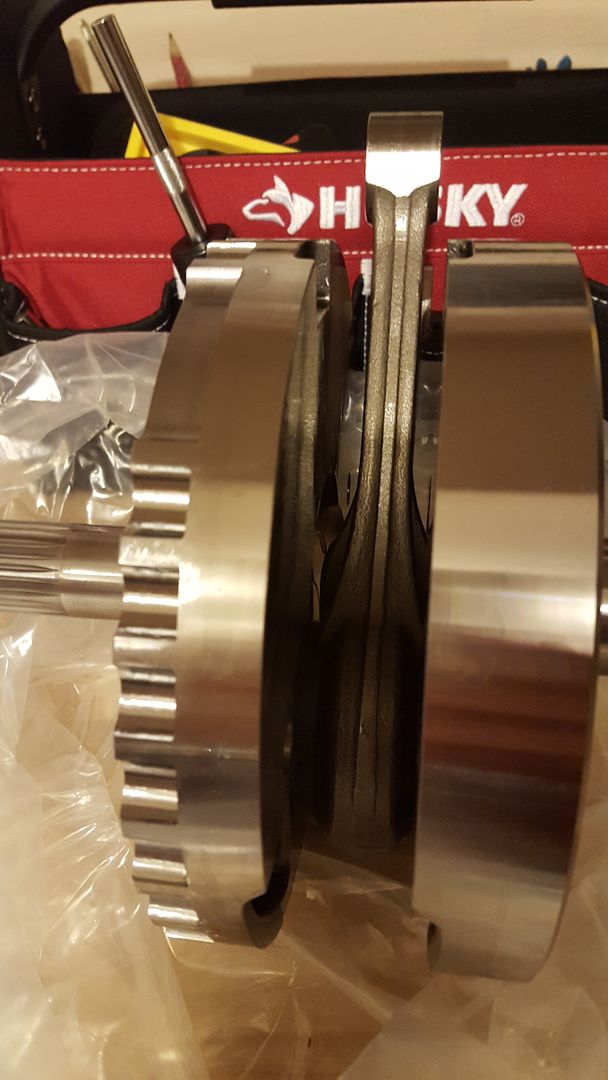
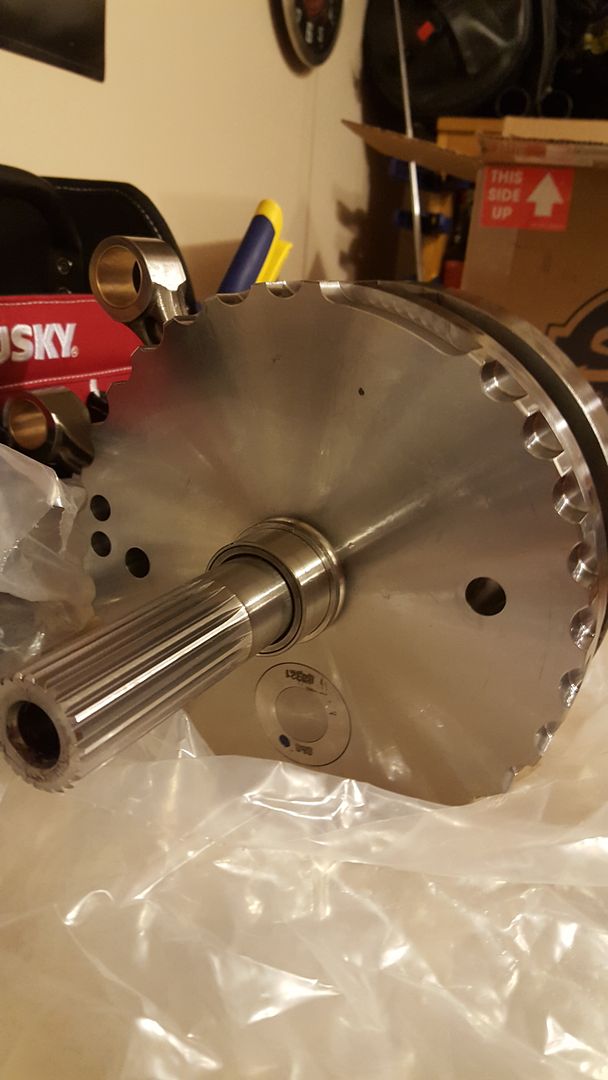
Here's some shots of the beefy S&S crankshaft:
Sometime last summer I started looking into doing a budget 103 build as a project for the winter. I had already been into the rockers, cam chest, primary, transmission, etc but hadn't pulled the cylinders. That idea quickly changed when I grabbed an S&S 106 kit 4th of July weekend from Leatherup.com at what I believe was a pricing error. My local mechanic said it was below dealer cost. From there I thought well if I'm going that far. .I'd really like to get the bottom end taken care of at the same time. Things snowballed quickly and as you can figure out from the title I ended up with an S&S 4 3/8 crankshaft. Above all I appreciate quality parts and at the end of the day I wanted to get rid of the stock tapered rod ends and I like everything I've read about what S&S did with their crankshaft. It should stand up to future upgrades if I go 117" some day, no problem. For tear down I won't be going into a lot of detail as HD Pilot has an excellent thread "Engine Build Time" if you look for it. Any questions just ask. So what started as a simple 103 build is now a 106 with a nice (and expensive) crankshaft, hence the title. I want to do something with the heads but we'll see.
Without further ado here's some pics to get going. I'll probably come back and add detail as I have time.
S&S 106" Cylinder

Mic'ing the piston

Cylinder in torque plates

Bore gauge

Checking the runout and taper of the cylinders

With forged pistons these were the #'s I got, about where you want them to be and I found the measurements to change each time since I don't have expensive micrometers:

Here's some shots of the beefy S&S crankshaft:


Last edited by mattVA; 02-05-2016 at 07:50 AM.
#2
01-09-2016, 08:15 PM
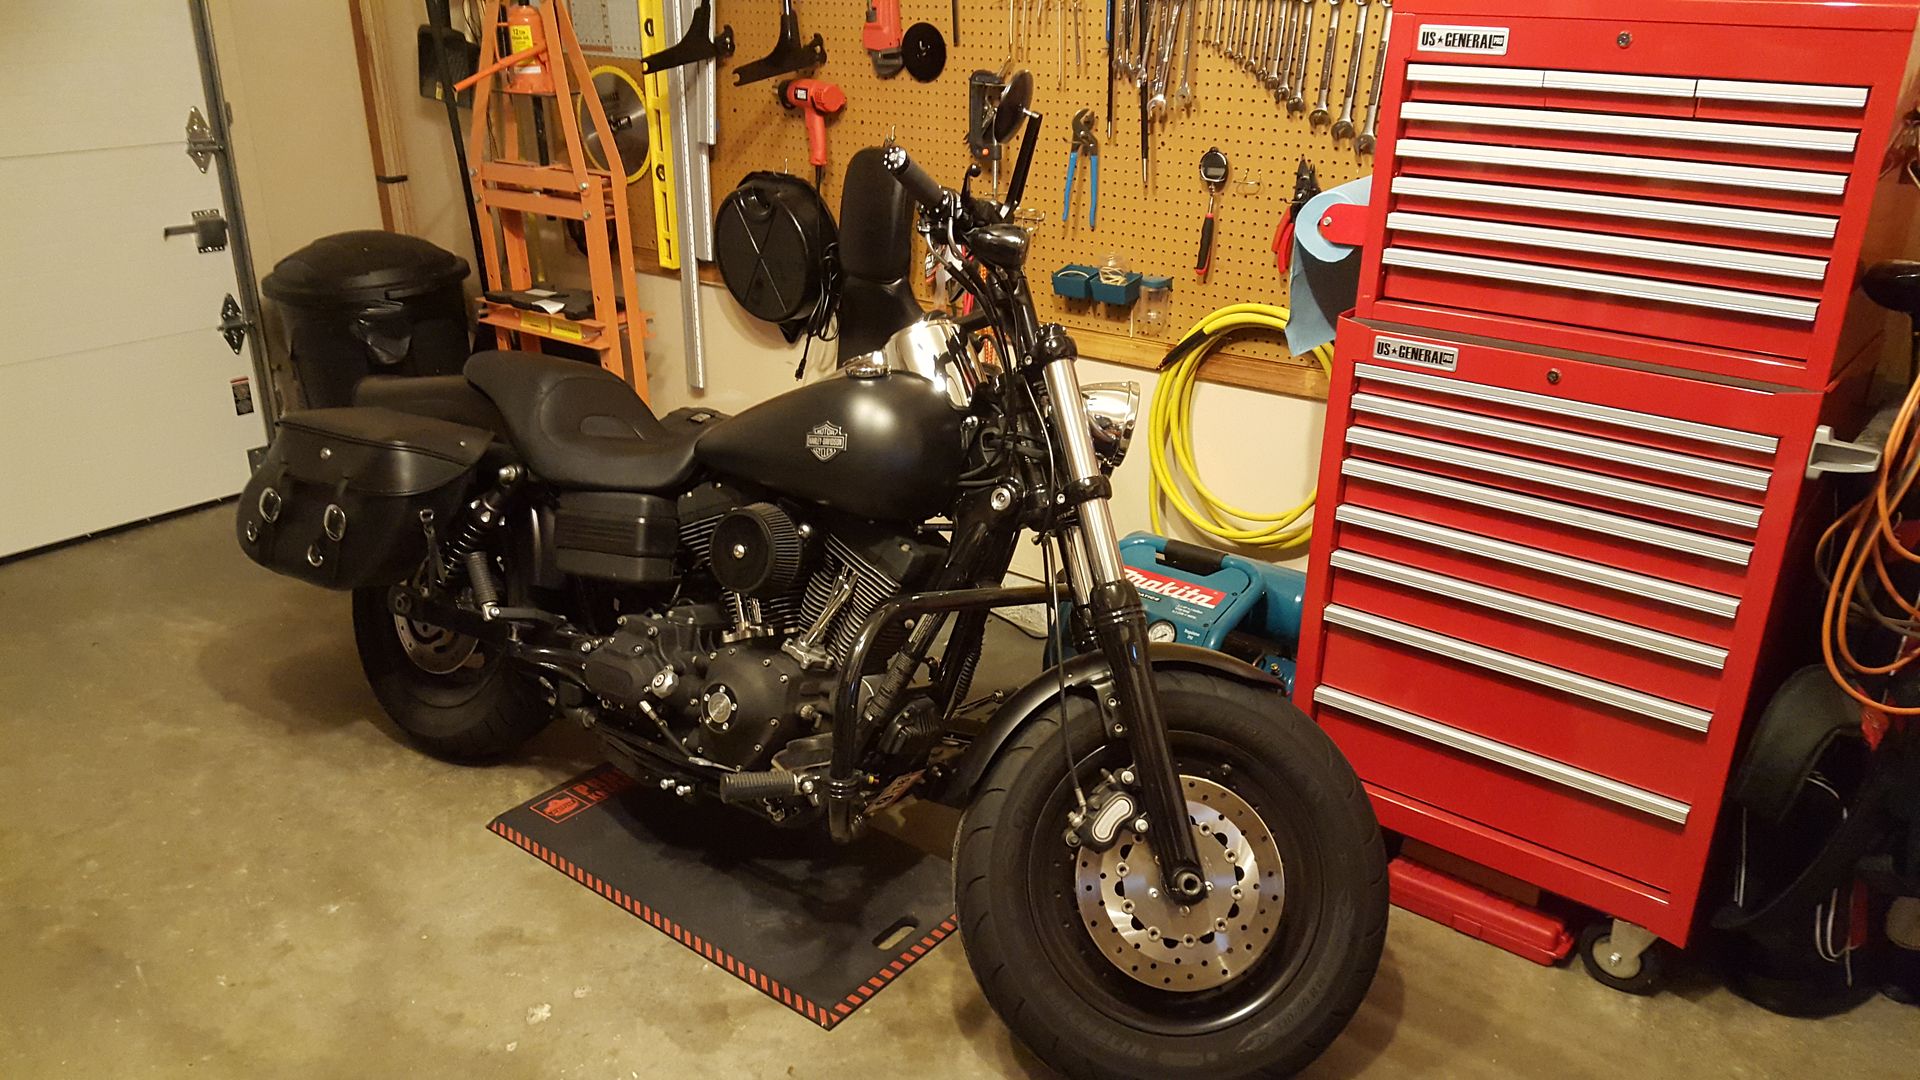
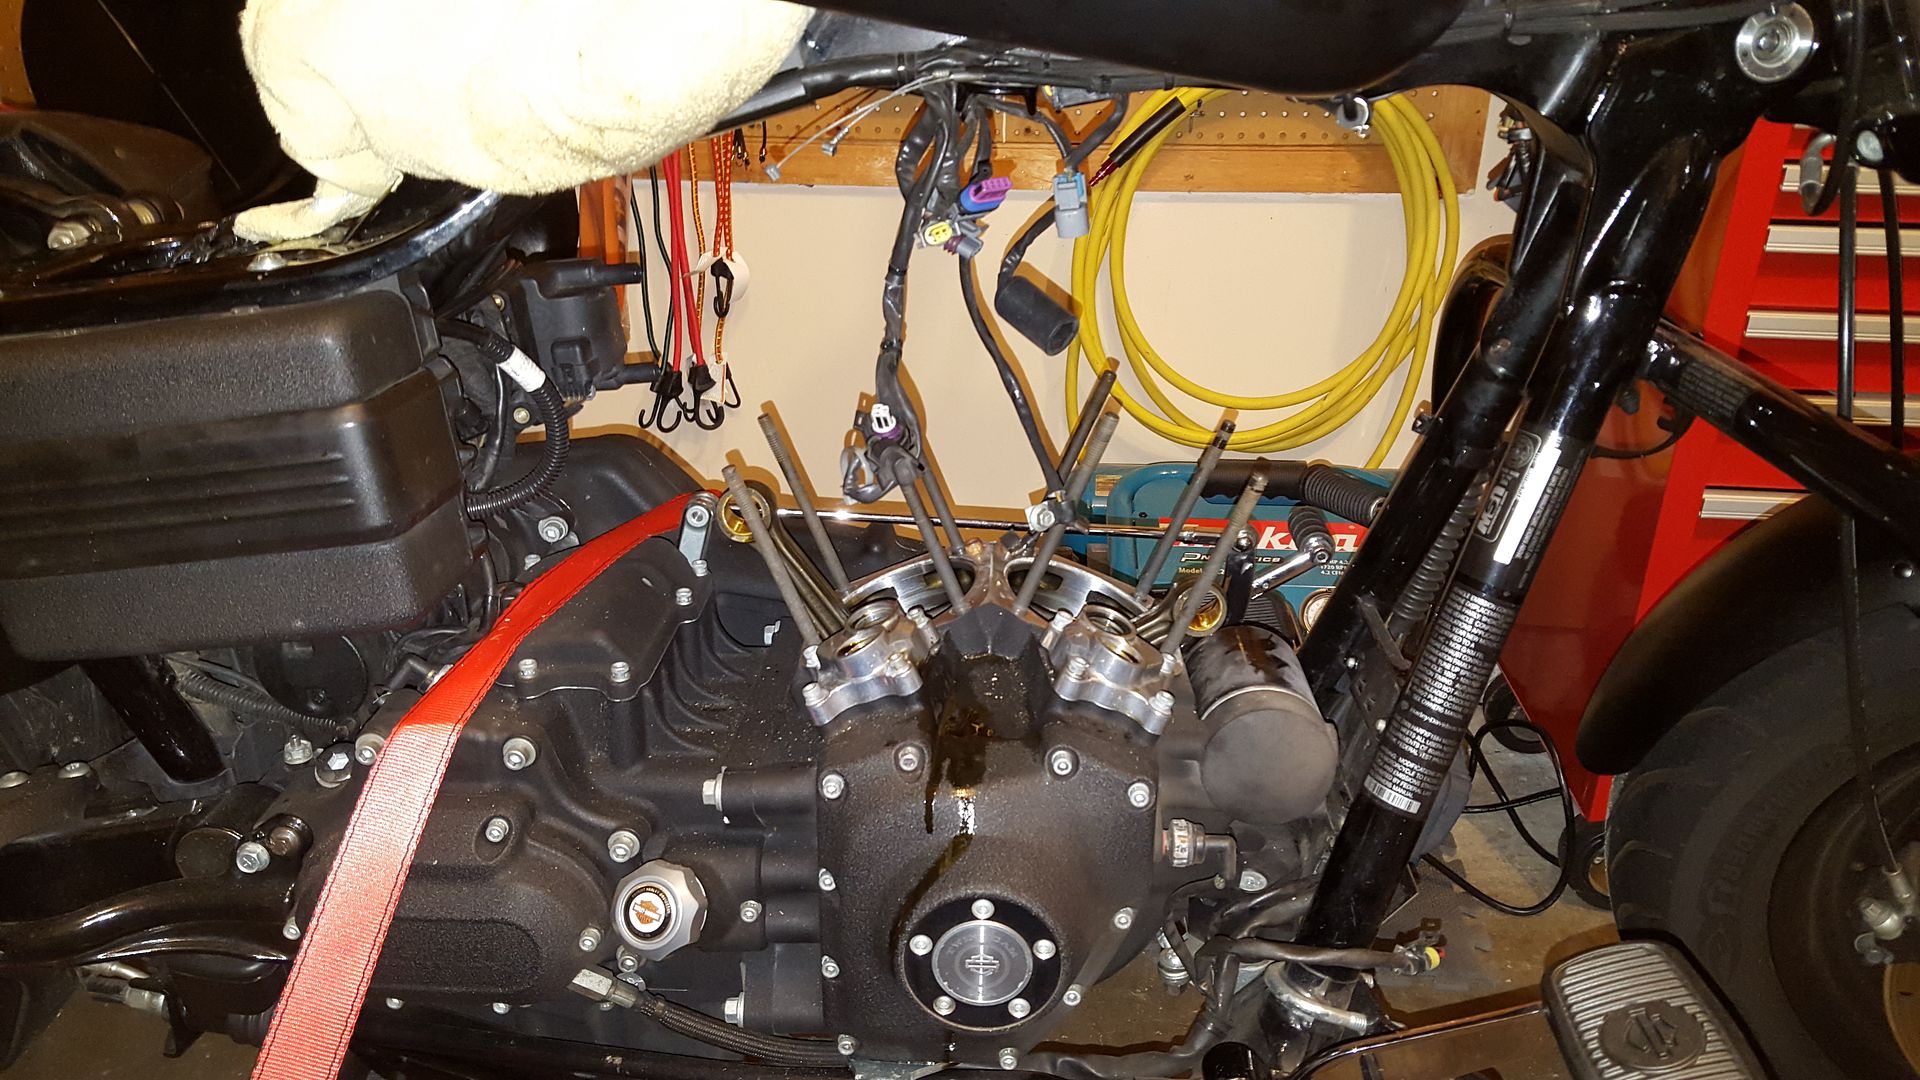
Getting ready to get started:
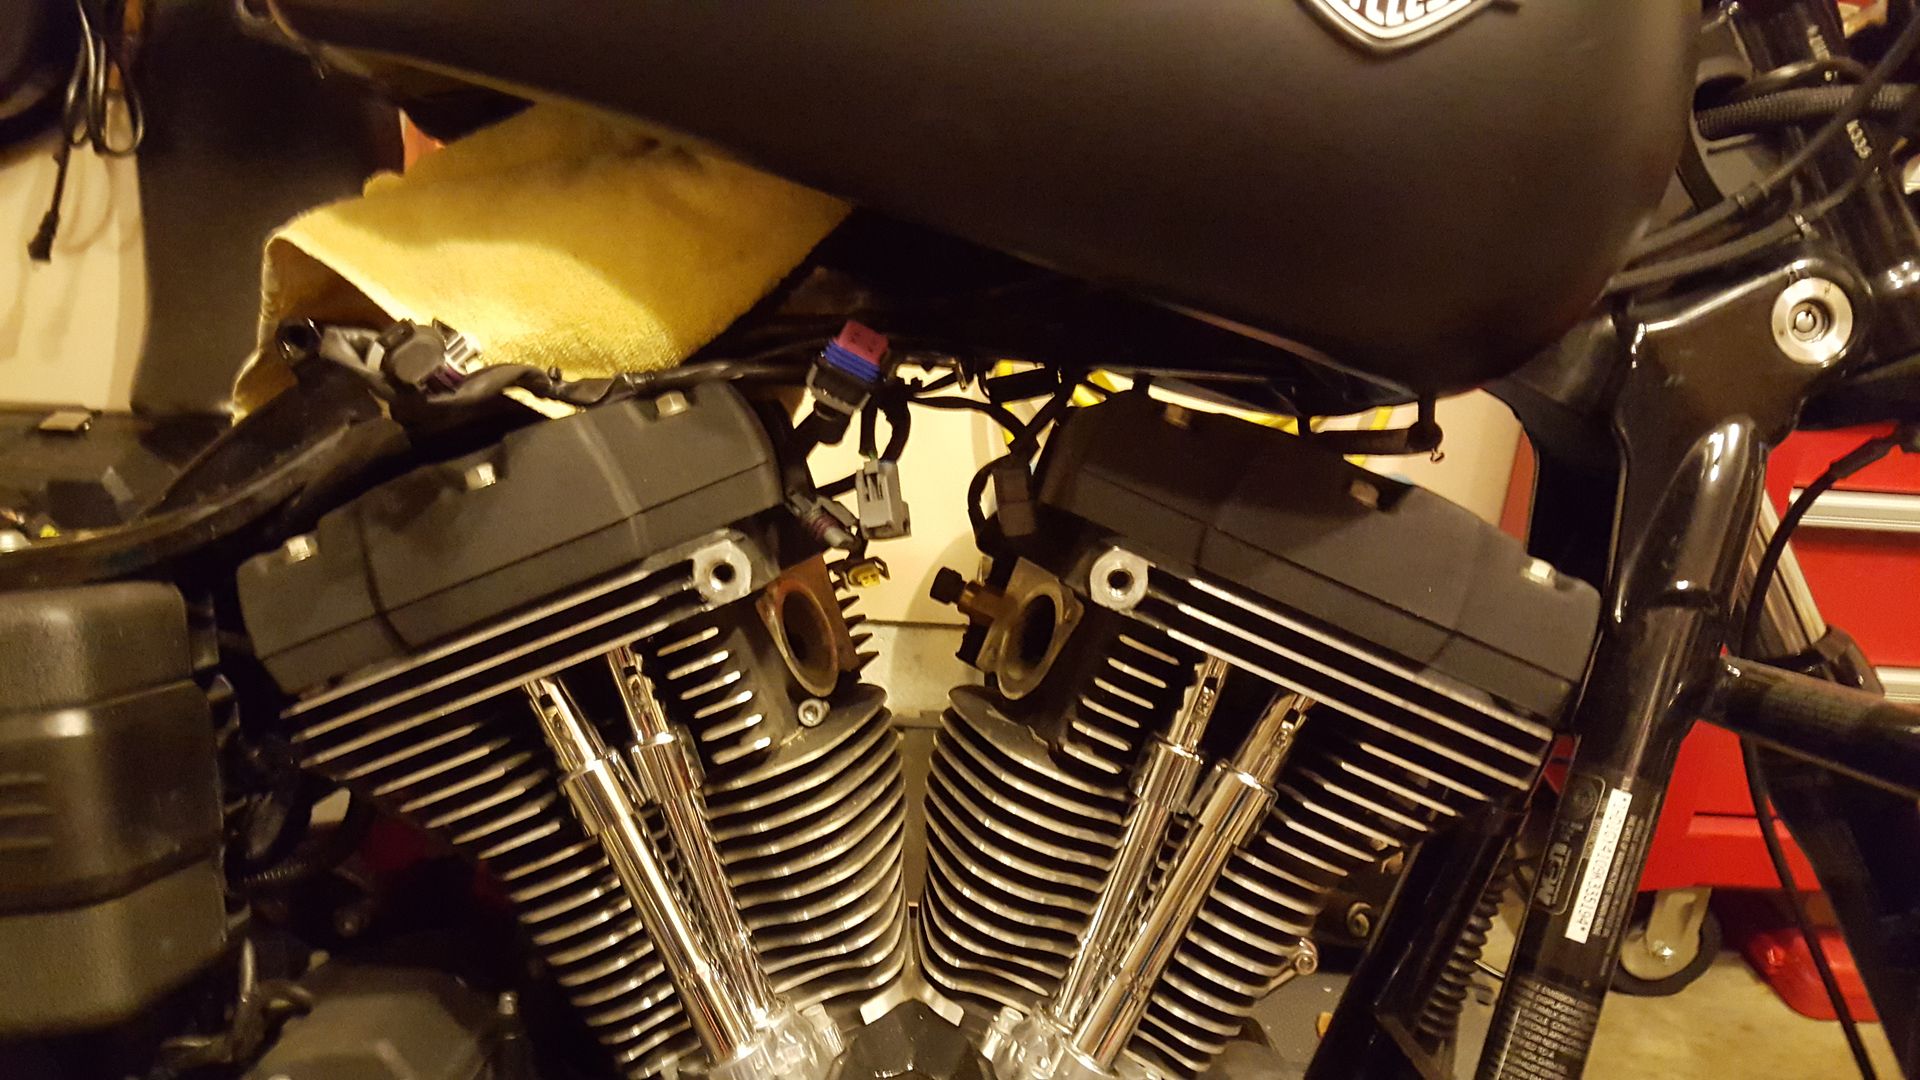
Exhaust off:
Intake off:
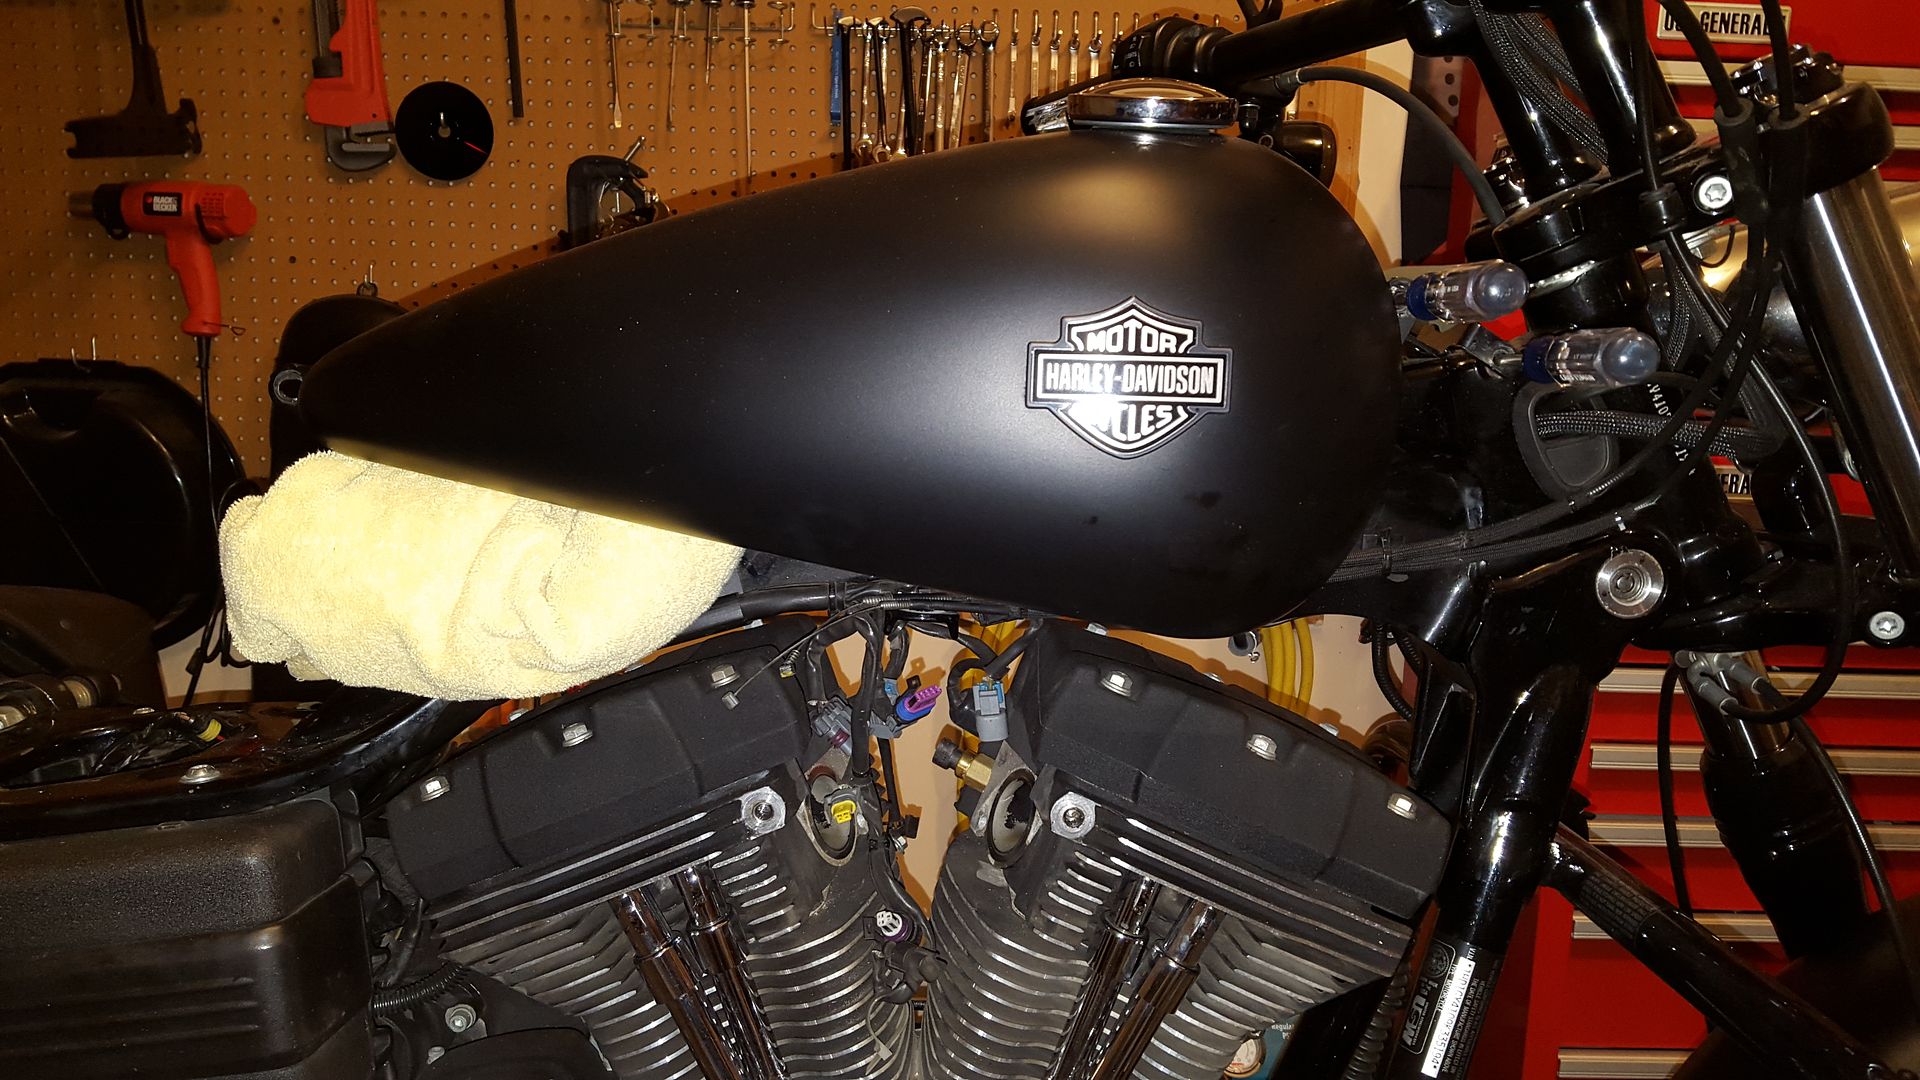
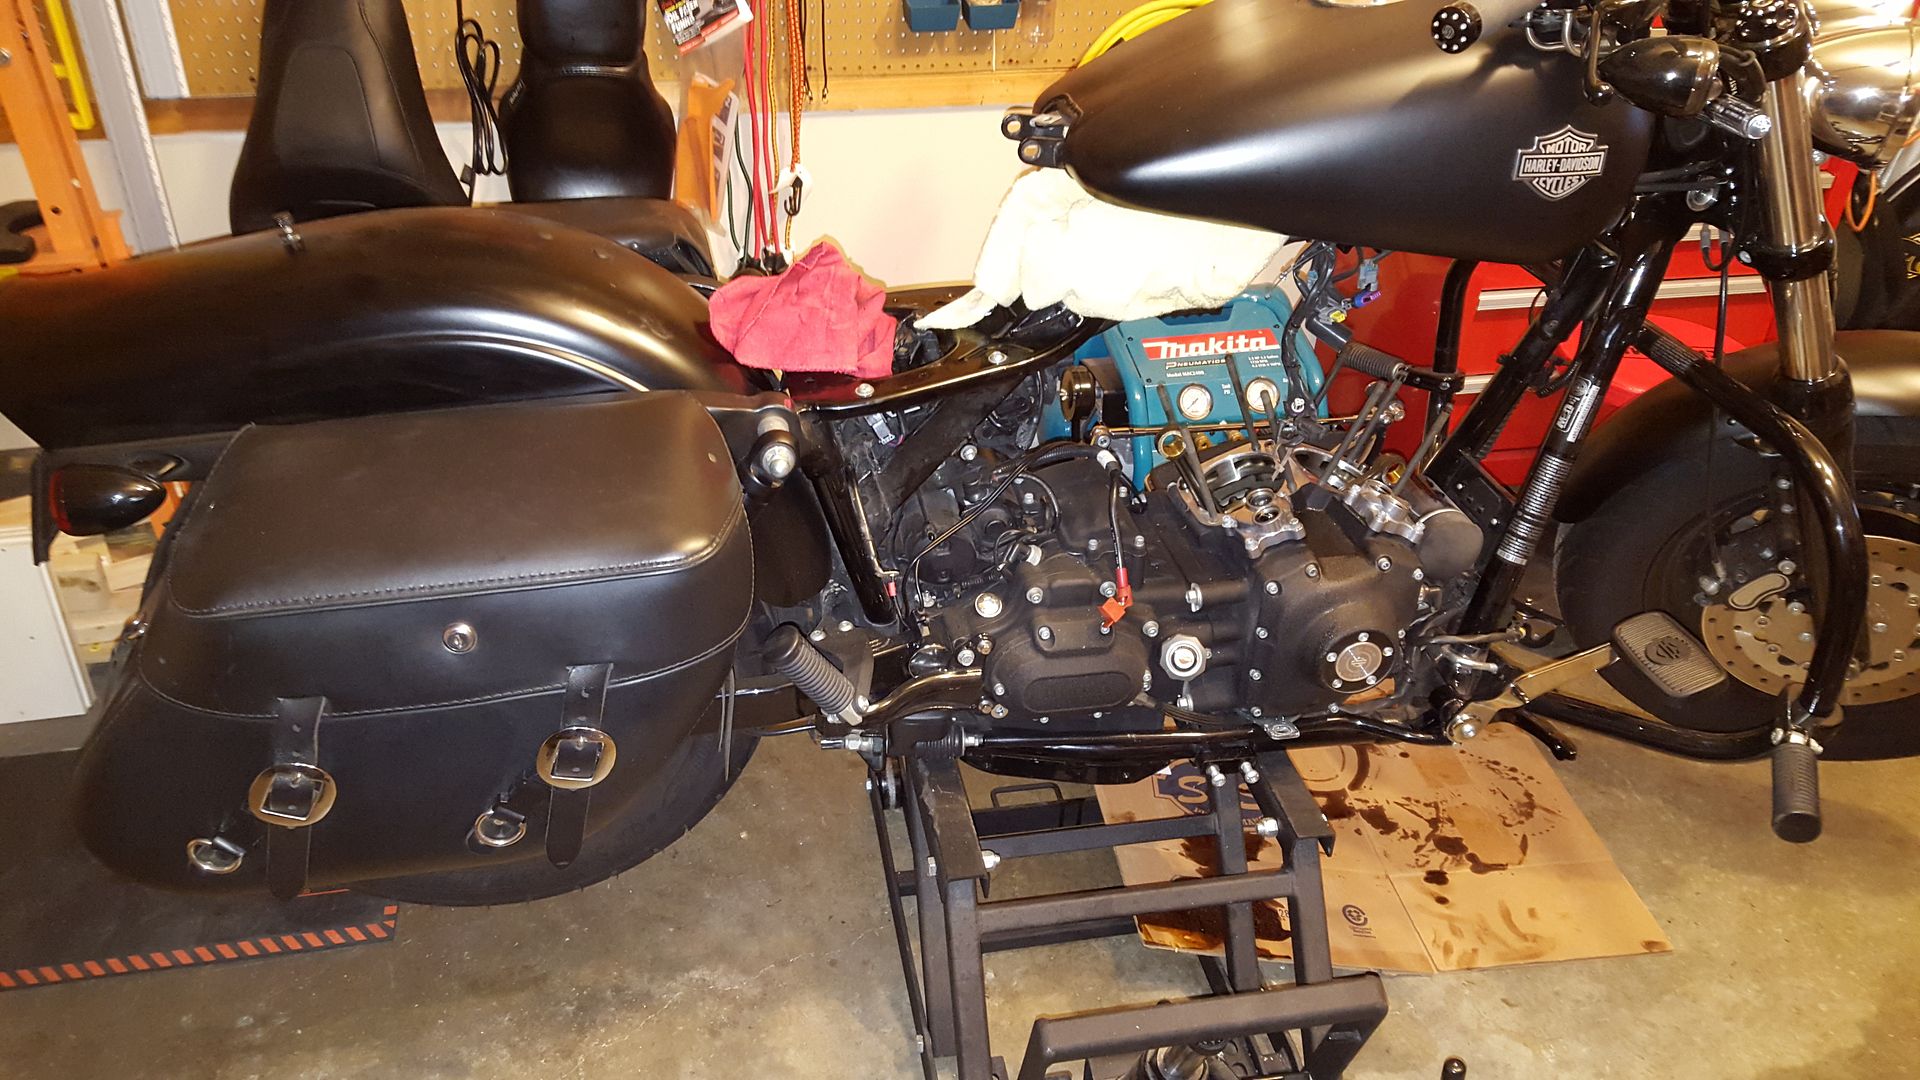
I really didn't want to pull the tank. Luckily using a 2" tank lift I bought years ago and some creativity I was able to get enough room:
Front cylinder off:

Both off:
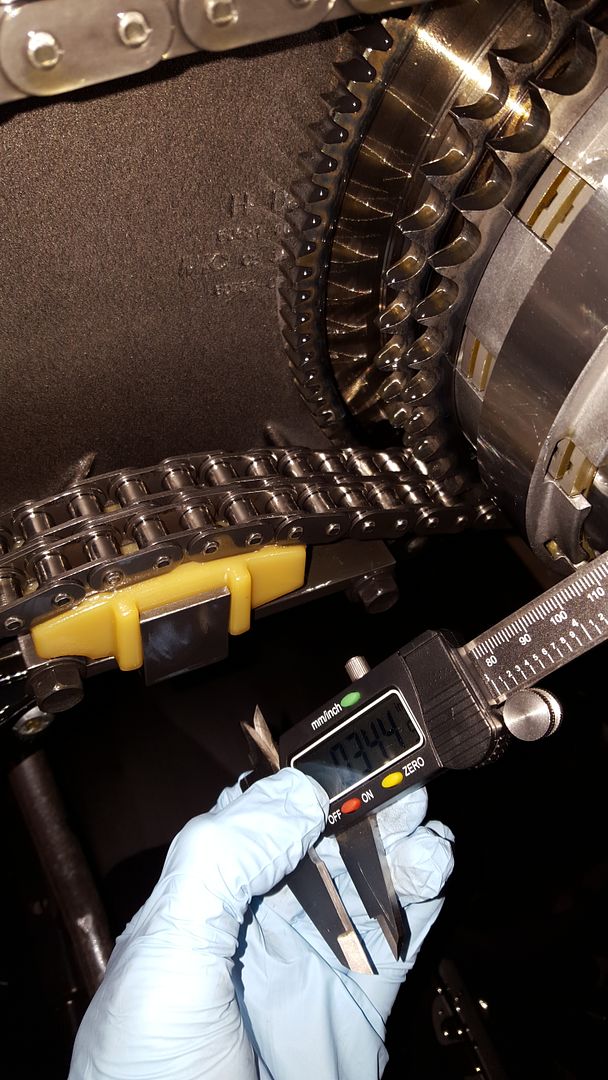
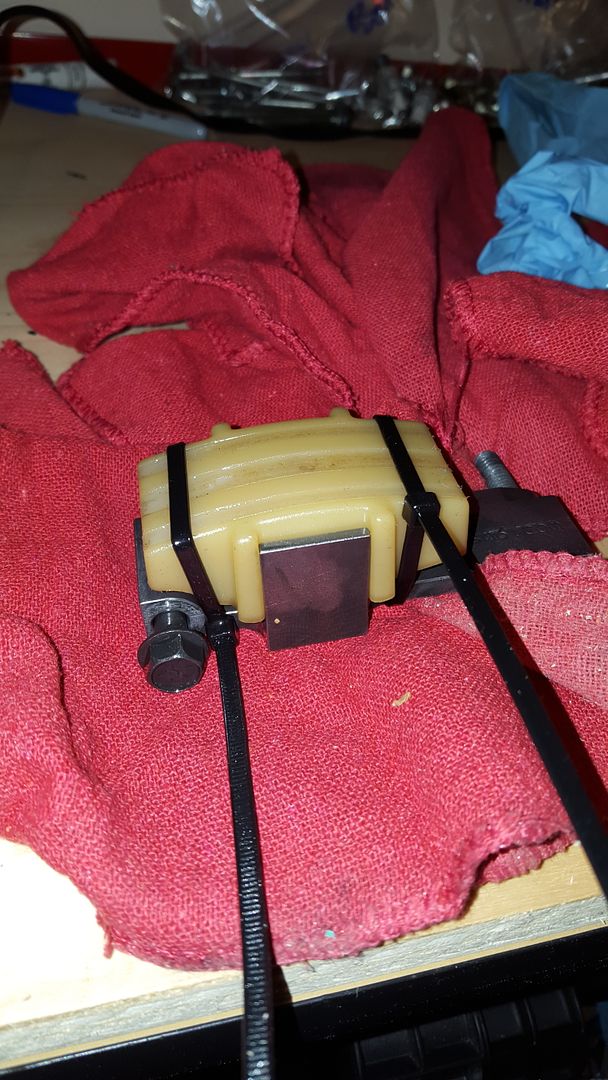
Hayden tensioner after some miles, pretty close to their 3/8" spec:
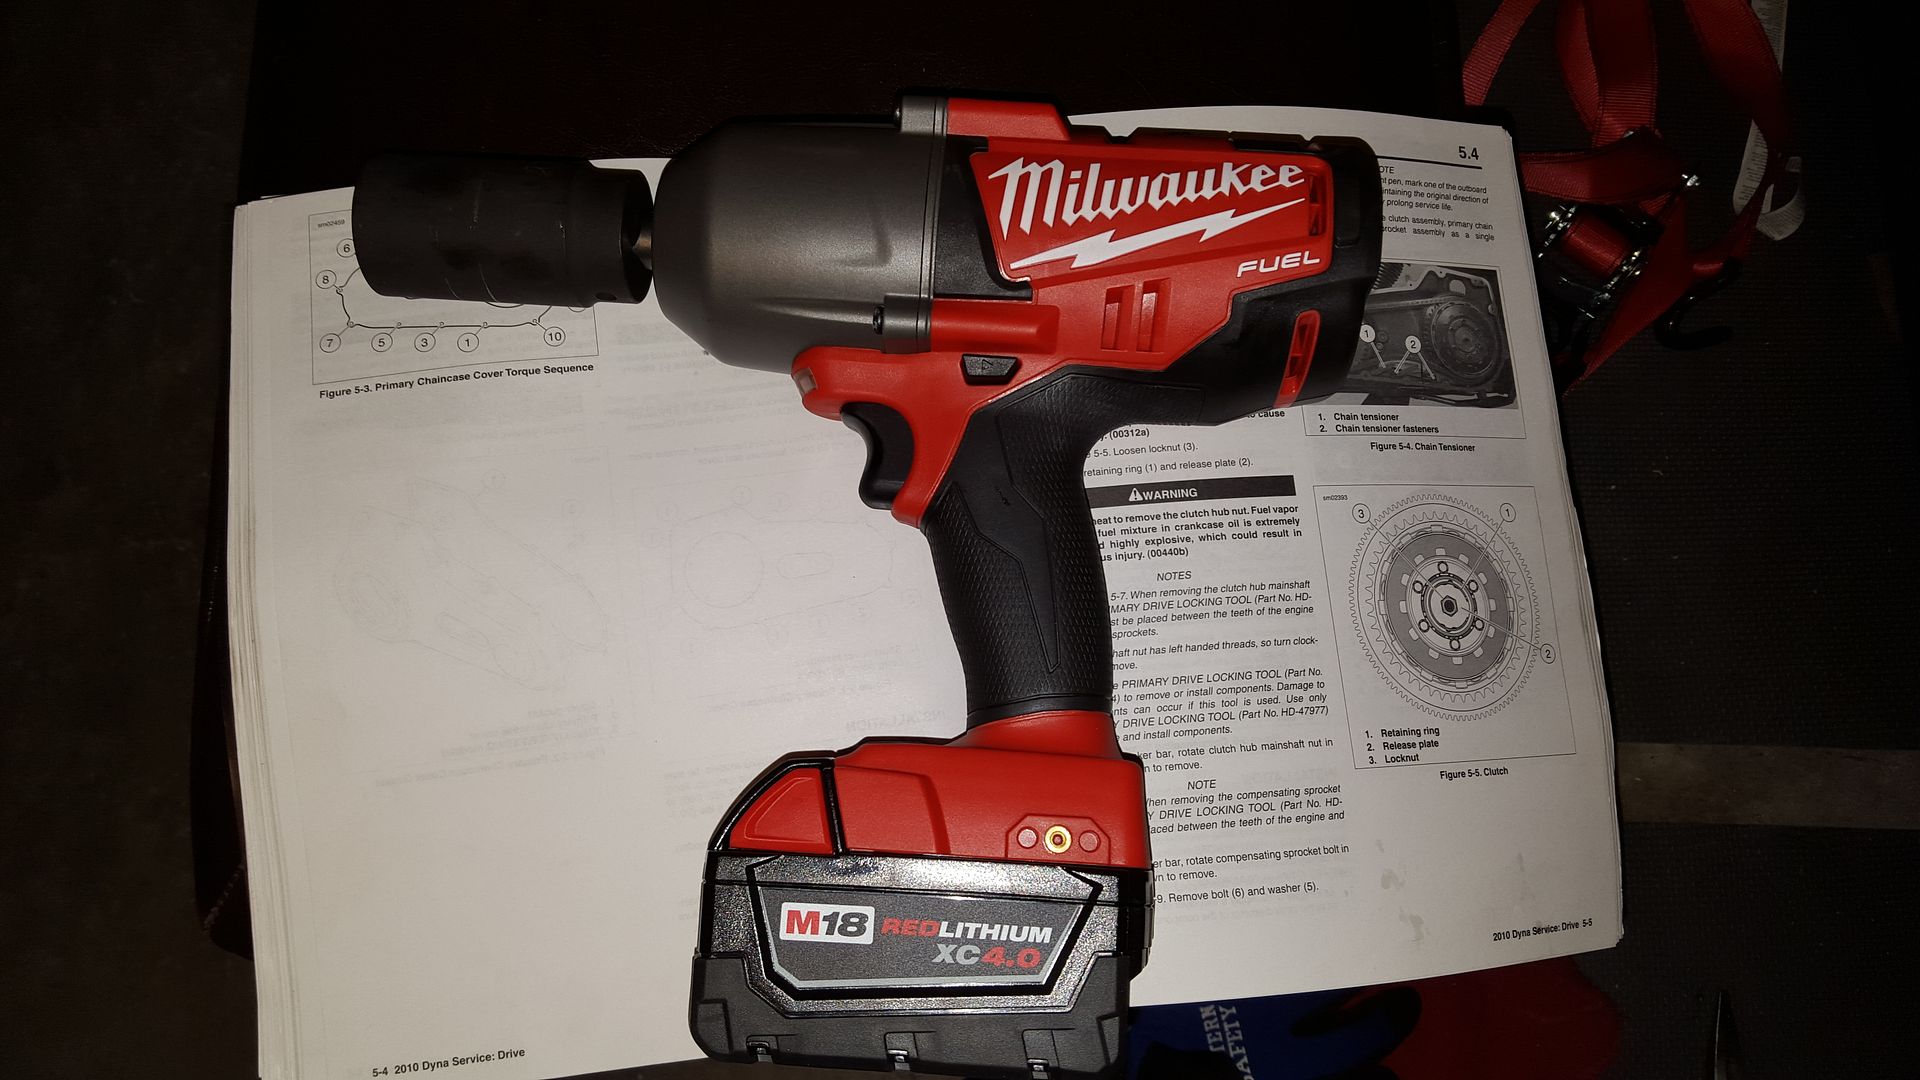
I decided to have a little fun since I'm tearing most everything out. .gave my impact a go on the compensator and clutch bolts:
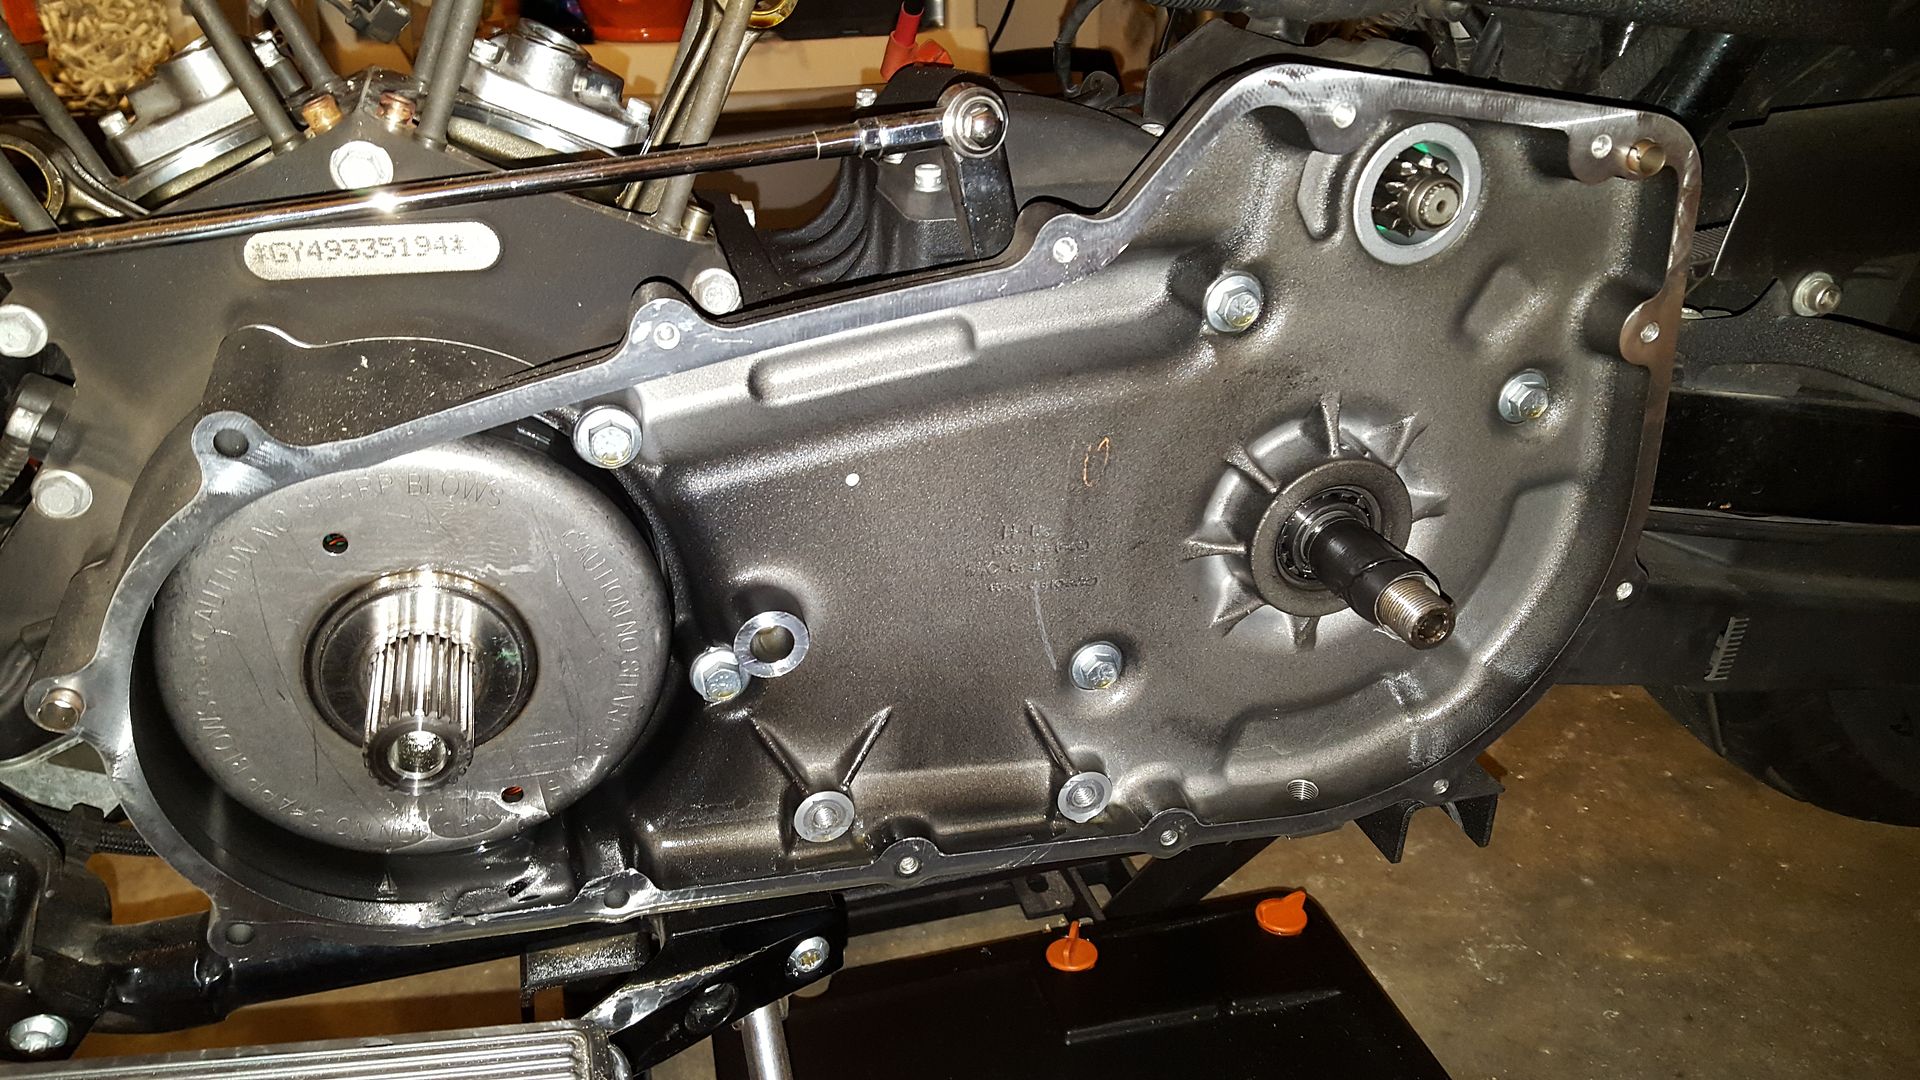
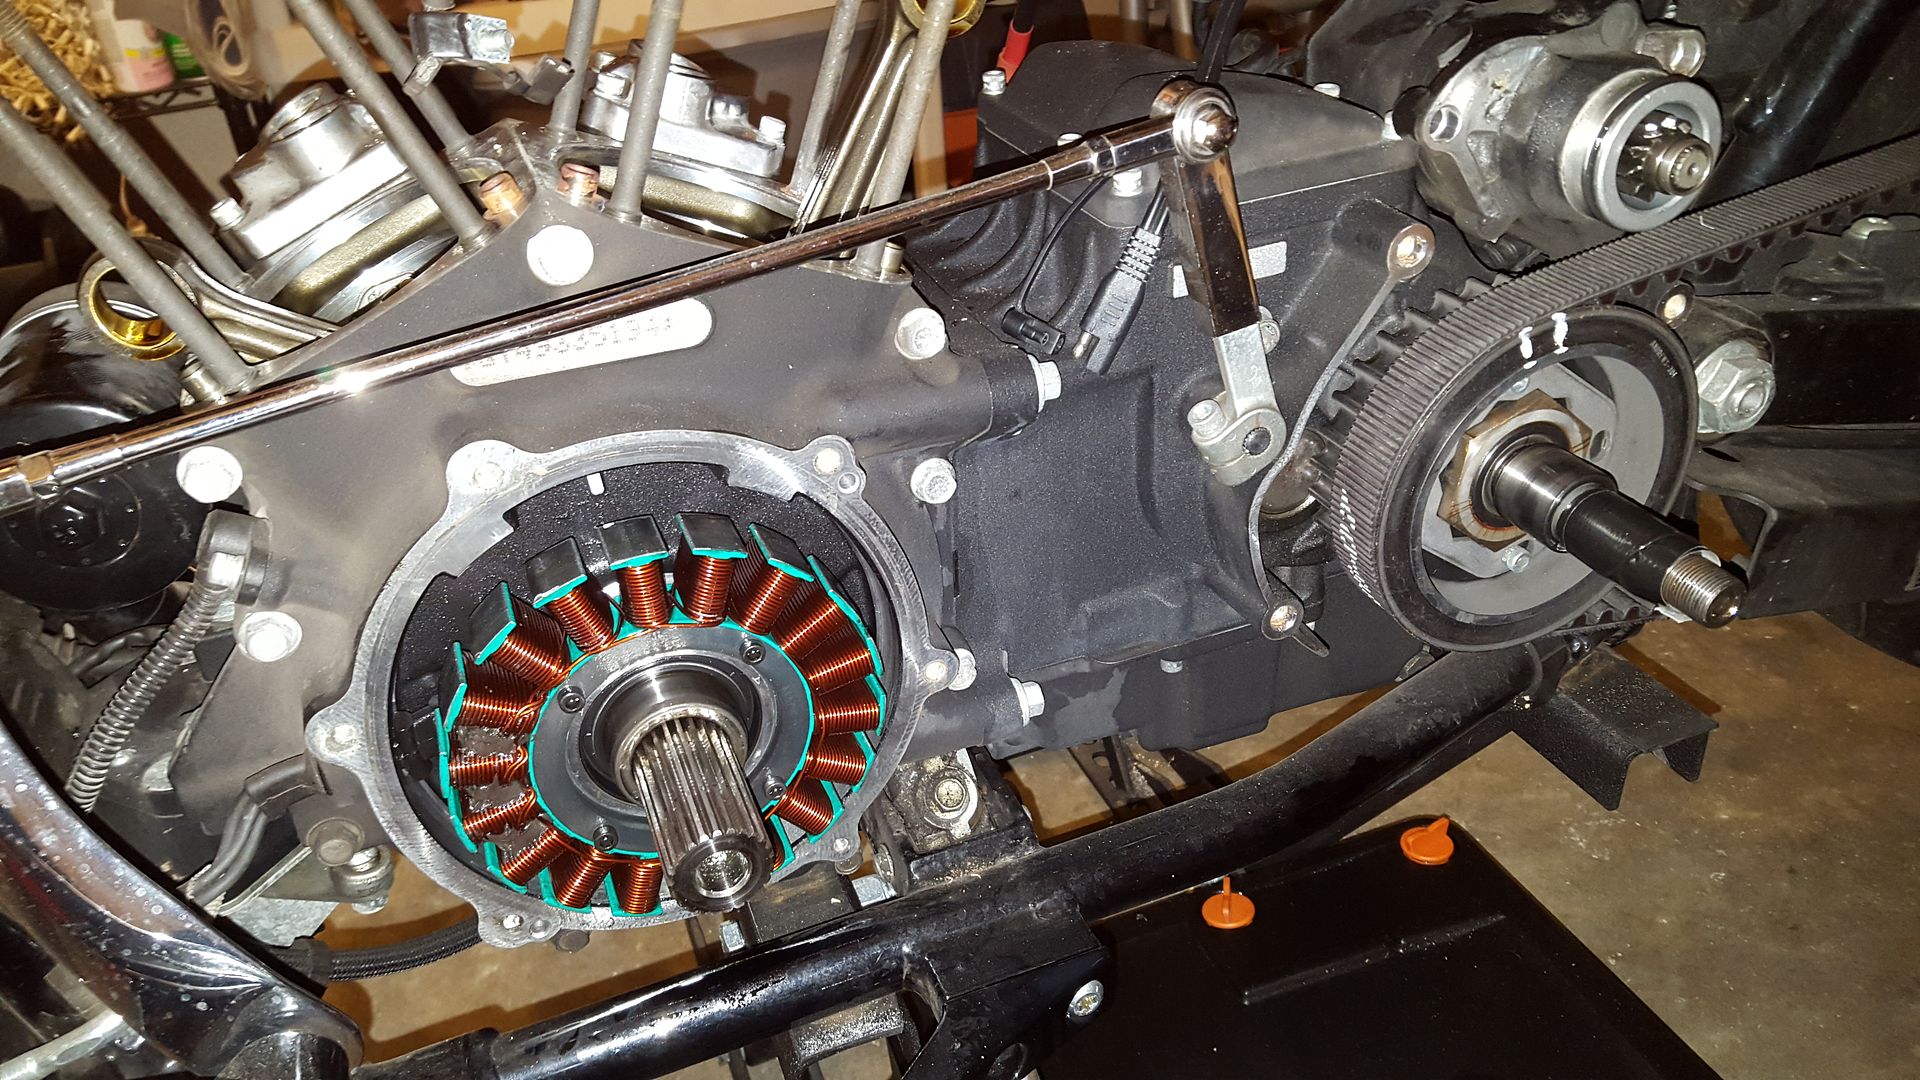
Inner primary off:
Parts organization using some totes:
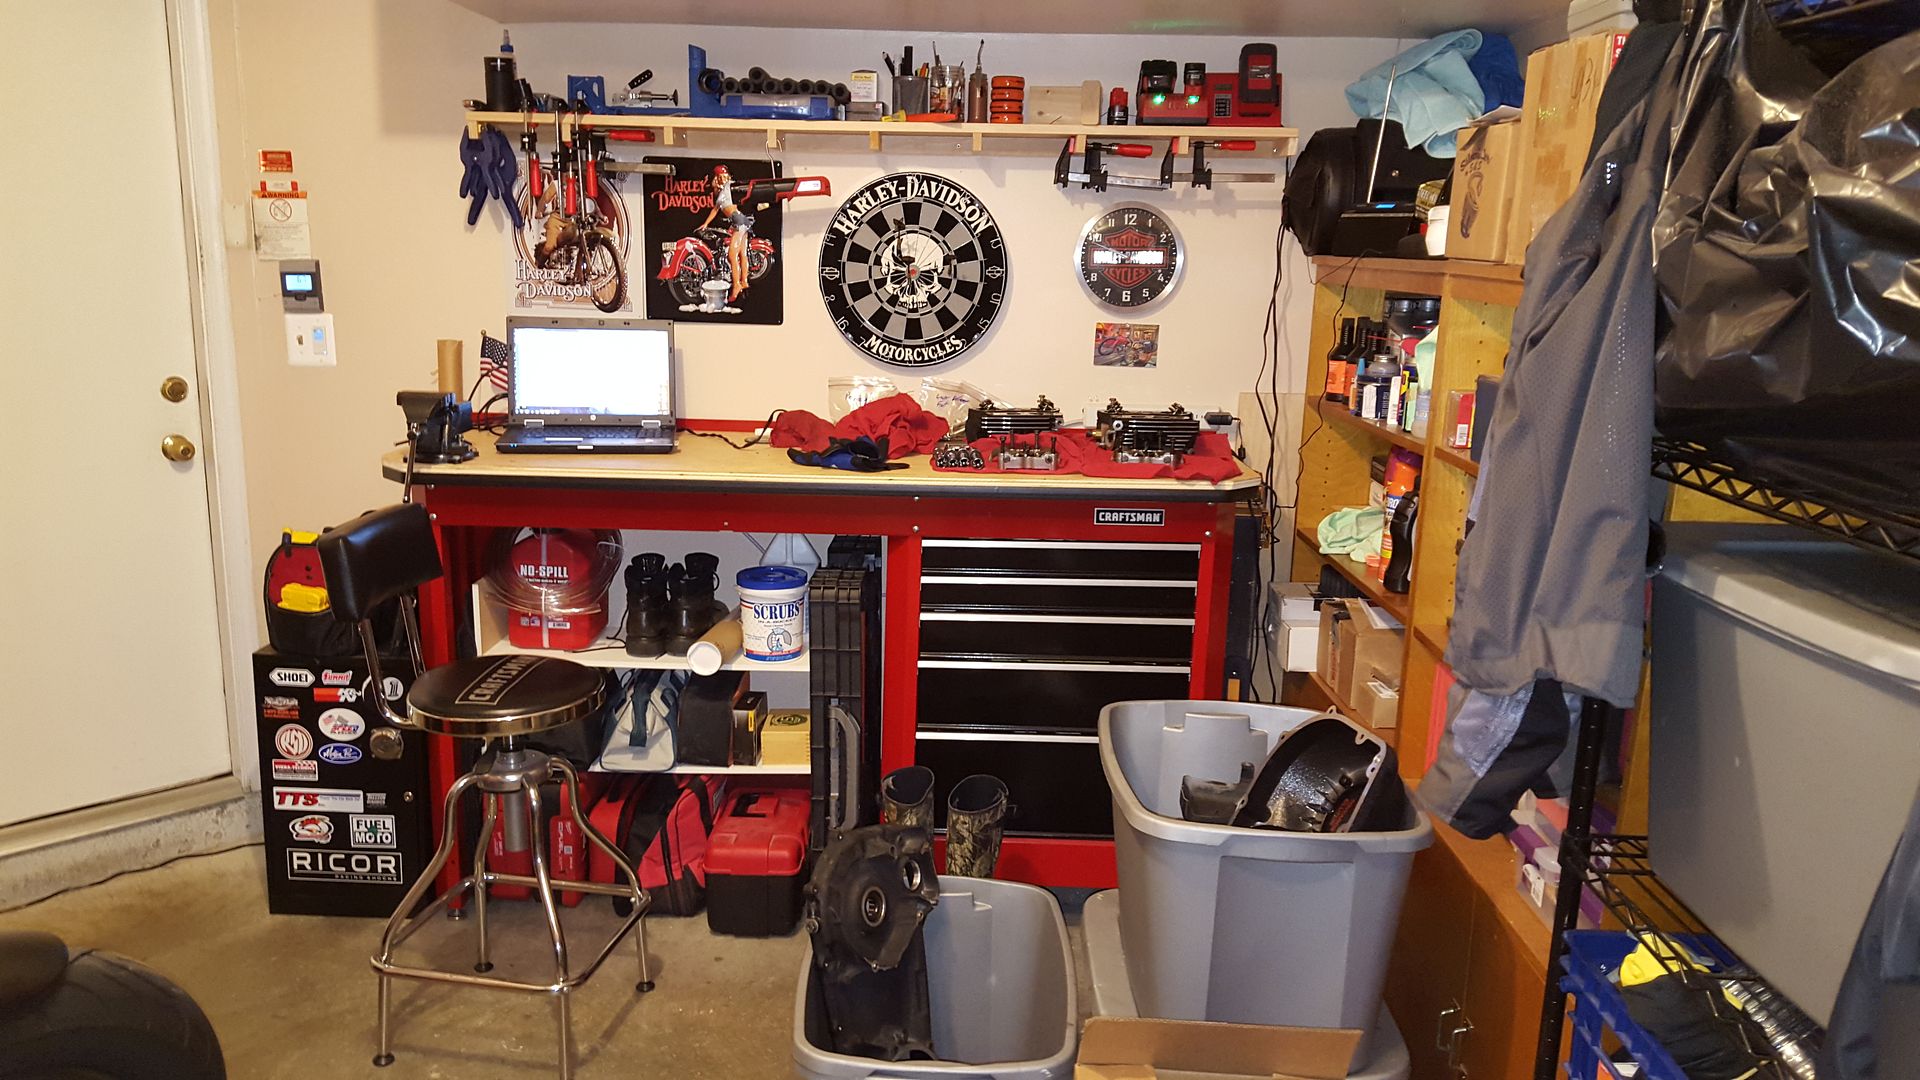
Another shot of bike on lift:
No build is complete without some battle scars:
Transmission supported with a ratchet as well as another around frame to the jack. .
Case out and on the engine stand:
I had to remove my Predator motor mount to get the clearance needed to get the crankcase out. After doing so it was a piece of cake. Just support the engine with a scissor jack.
I will likely take more pictures and get more detailed moving forward.

Exhaust off:

Intake off:

I really didn't want to pull the tank. Luckily using a 2" tank lift I bought years ago and some creativity I was able to get enough room:

Front cylinder off:

Both off:

Hayden tensioner after some miles, pretty close to their 3/8" spec:


I decided to have a little fun since I'm tearing most everything out. .gave my impact a go on the compensator and clutch bolts:


Inner primary off:

Parts organization using some totes:

Another shot of bike on lift:

No build is complete without some battle scars:

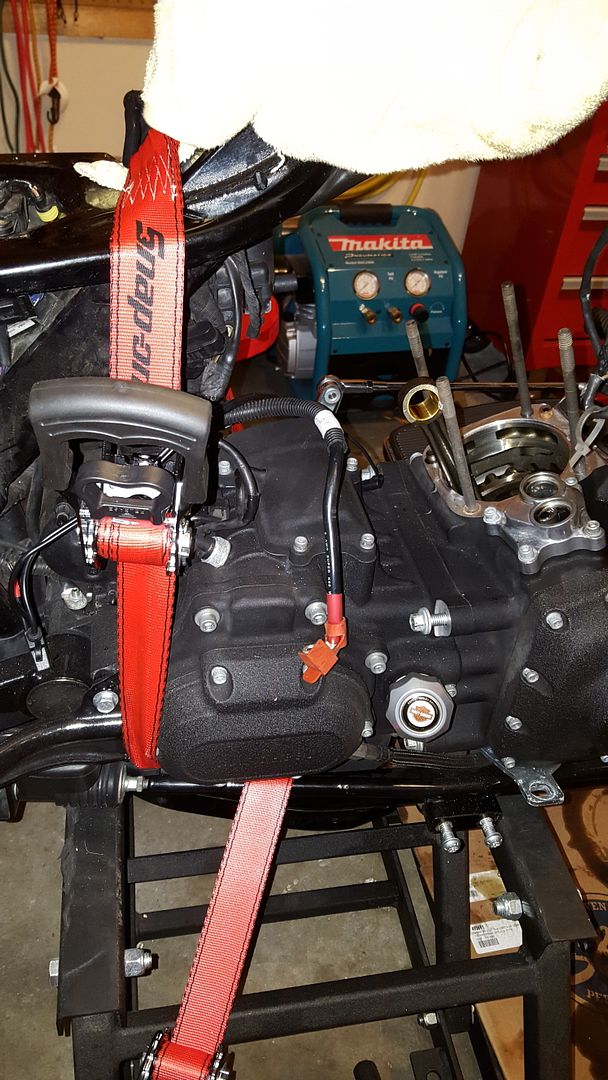
Transmission supported with a ratchet as well as another around frame to the jack. .

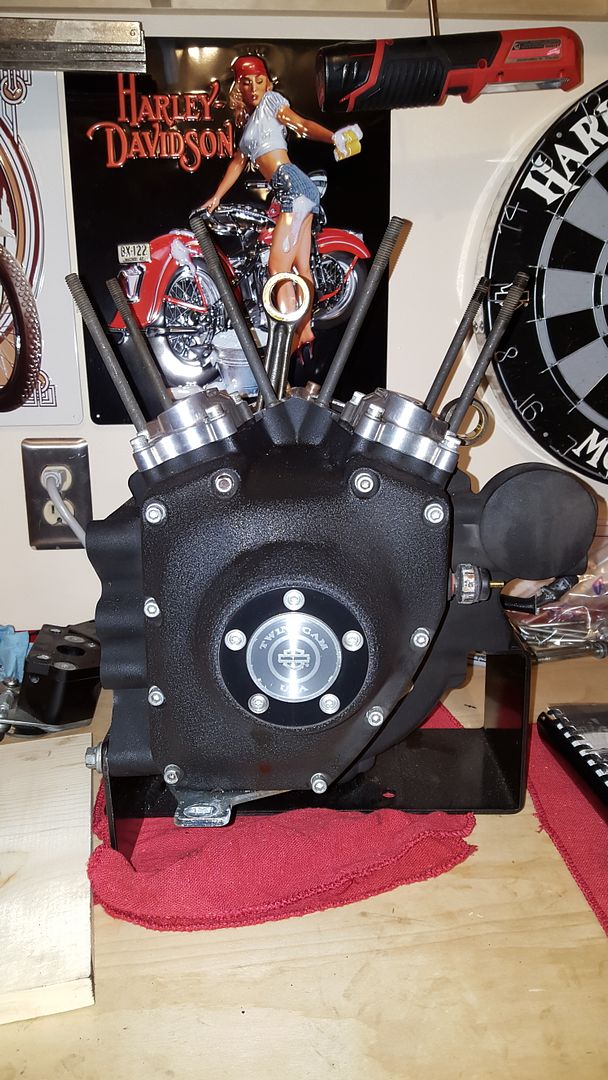
Case out and on the engine stand:

I had to remove my Predator motor mount to get the clearance needed to get the crankcase out. After doing so it was a piece of cake. Just support the engine with a scissor jack.
I will likely take more pictures and get more detailed moving forward.
The following 2 users liked this post by mattVA:
randyp (08-01-2016),
Rusty Springs (10-22-2022)
#3
01-09-2016, 08:15 PM


The following users liked this post:
eighteight (10-21-2022)
#4
01-09-2016, 09:10 PM
Seasoned HDF Member
#6
01-09-2016, 09:35 PM
Looking forward to seeing the progress.
Since your going as far as the bottom end service are you adding the timkin to your case? Are you welding your crank to further reiforce the S&S crank?......just some thoughts, so that it will be stout for the future when you go bigger w/ more HP & TQ.
EDIT: definitly do some work to the heads for sure. Makes a world of difference and that's where the numbers shine.
Last edited by HD Bobber; 01-09-2016 at 09:40 PM.
#7
01-09-2016, 10:02 PM
Trending Topics
#9
01-09-2016, 10:24 PM
Looking forward to seeing the progress.
Since your going as far as the bottom end service are you adding the timkin to your case? Are you welding your crank to further reiforce the S&S crank?......just some thoughts, so that it will be stout for the future when you go bigger w/ more HP & TQ.
EDIT: definitly do some work to the heads for sure. Makes a world of difference and that's where the numbers shine.
Since your going as far as the bottom end service are you adding the timkin to your case? Are you welding your crank to further reiforce the S&S crank?......just some thoughts, so that it will be stout for the future when you go bigger w/ more HP & TQ.
EDIT: definitly do some work to the heads for sure. Makes a world of difference and that's where the numbers shine.
#10
01-09-2016, 10:26 PM