The Wide Glide Frankenstein Trike Conversion Has Begun...
Hacked, Conversions and Trailering"Harley Sidecar, Conversion Trikes and Motorcycle Pull Behind Trailering Enthusiasts"
A forum for the discussion of your sidecar, Conversion Trike or Pull Behind Motorcycle Trailer.
The Wide Glide Frankenstein Trike Conversion Has Begun...
I've wanted to do this for quite some time
The innocent victim awaits...
Rear wheel, rear fork, and rear brake caliper are outta here!
New rear fork installed
Side bar: As I was preparing to torque the pivot shaft of the new rear fork to 75 ft-lbs I was straddling the bike; left foot on the 1 1/8", bending over to the right to keep the 1 1/8" socket and the torque wrench squared up. The Lady came out in to the garage on her way to the office and said, 'I guess you plan on a face plant today? Get on the right side of the bike!' Being the deviant I am I needed an image. She held the combination wrench while I got the 75 ft-lbs on the right side. She's a good sport, that one Some times you need an extra set of hands; sometimes, you just need a gal in heels
Carnage is good
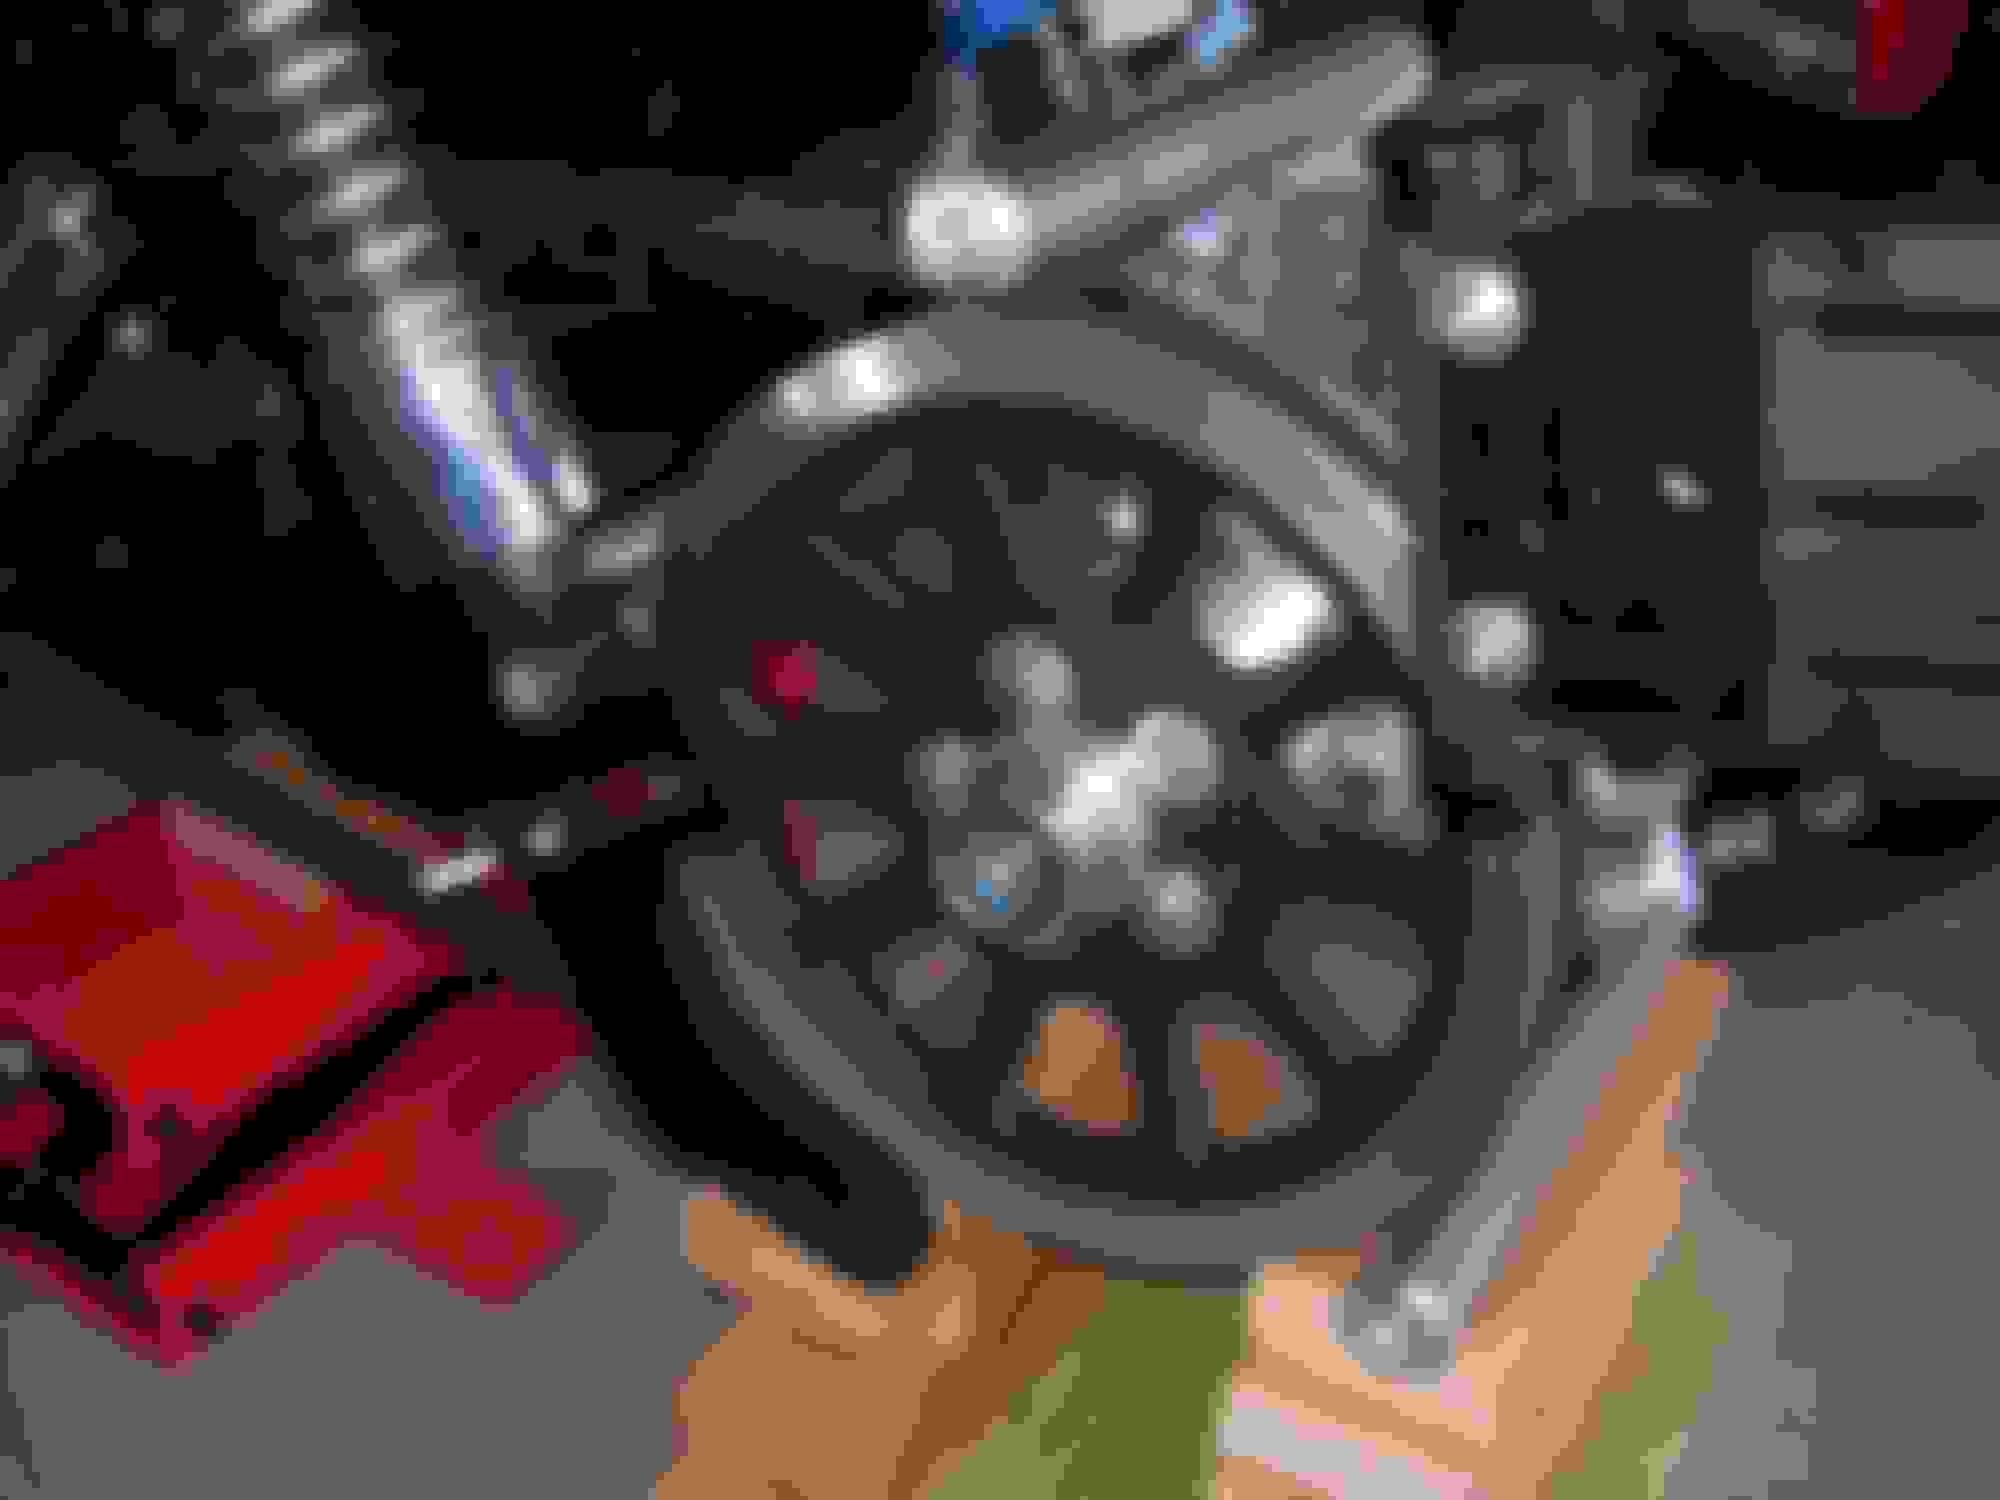
The Frankenstein 38" Sport Trike rear. This is some seriously, very well made goodness.
The 15" wheel with Hankook 265/50-15 tire installed on the right/brake side.
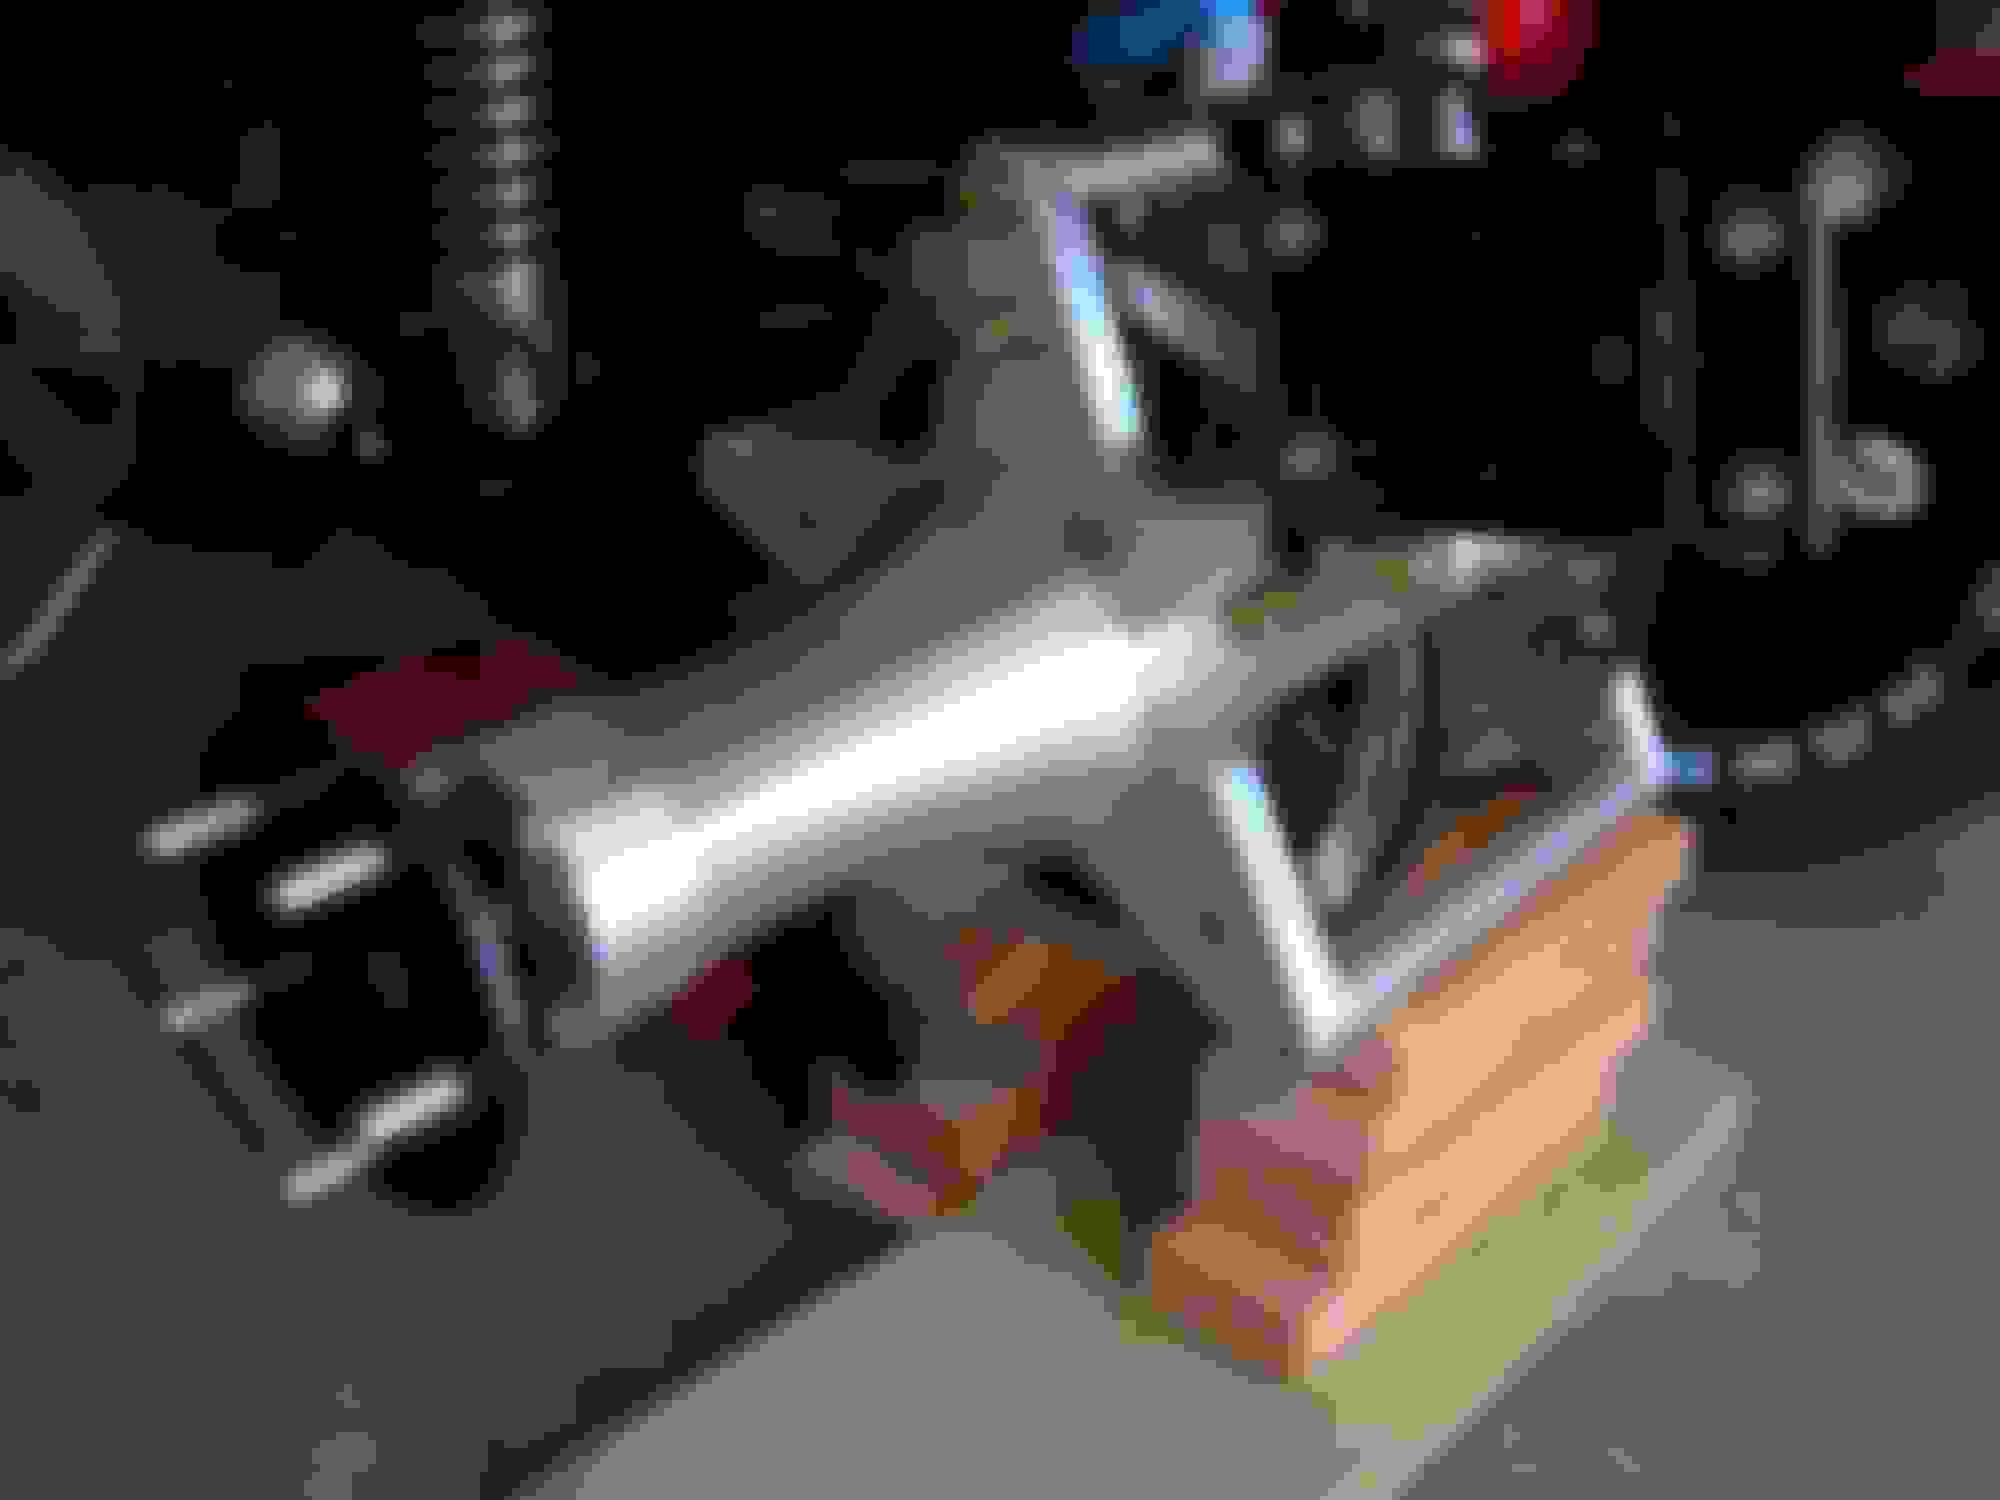
The driveline side axle installed in the billet housing.
The driveline side star plate and axle removed to install the belt pulley.
Pulley installed.
Ready to begin positioning under the Wide Glide.
Starting to get an idea of what this beast is going to look like
There's still a great many things to do, but the conversion is underway. She won't ever be truly done; I've already got ideas for doing apes and an open belt primary with foot clutch and jockey shift. They're never done, they just evolve. I'm hoping my special order front wheel will be here by the end of May. That 21 x 3.50 wheel will be the finishing touch on stage one of the conversion.
This 38" Sport Trike Frankenstein kit is absolutely tier 1; this is nice stuff! A big shout out to Daniel at Frankenstein for all the help he gave getting this organized, and a shout out to Kayla at WanaRyd for hooking me up with the package deal on that front wheel The fenders are a prep and paint; hopefully by the end of next week they're going to be ready.
I'll add more images as the carnage continues! Now, it's 5 o'clock somewhere
My old man has the 38" kit under his Evo softail. I installed most of it, you don't find better quality stuff anywhere. Every part on that kit is top notch! He runs the same tires with the polished aluminum wheels. If you have enough power, the thing will get light up front, I guarantee it. Those tires don't slip! They are what made me go ahead and try a Hankook car tire under my bike recently. So far, so good!!
These are about the proportions your setup should have....
Not a fan whatsoever of the Jenga stack, but that's what it takes to get it done The drive line side star plate and axle installed.
Not caring at all for the Jenga stack; the drive line side wheel mounted in case she might slip as I position and align the rear fork bolts to the star plates. She'd land on her wheels should she slip, and not the billet
Aligned the rear axle to the rear fork, got the mounting bolts in and kicked out the Jenga stack Now, she's on her own 3 feet again. And she'll never have a tip over; neat, how that works
Still much to do; that sinful flip out HD afterthought of a license plate mounting bracket has to go, immediately, it almost touches the 265 tire; and that rear brake line is about 2 feet longer than is needed. And many more changes are coming.
Tested her out on the J&S Rock solid!
Pro tip: don't try this with a triked Dyna and one of those cheap modded Sears/HF lifts; there will be bitter tears
A long day; and I think it's time for some celebration I just love this thing! And this is just the first of several stages of planned upgrades.
 05-05-2018, 04:09 PM


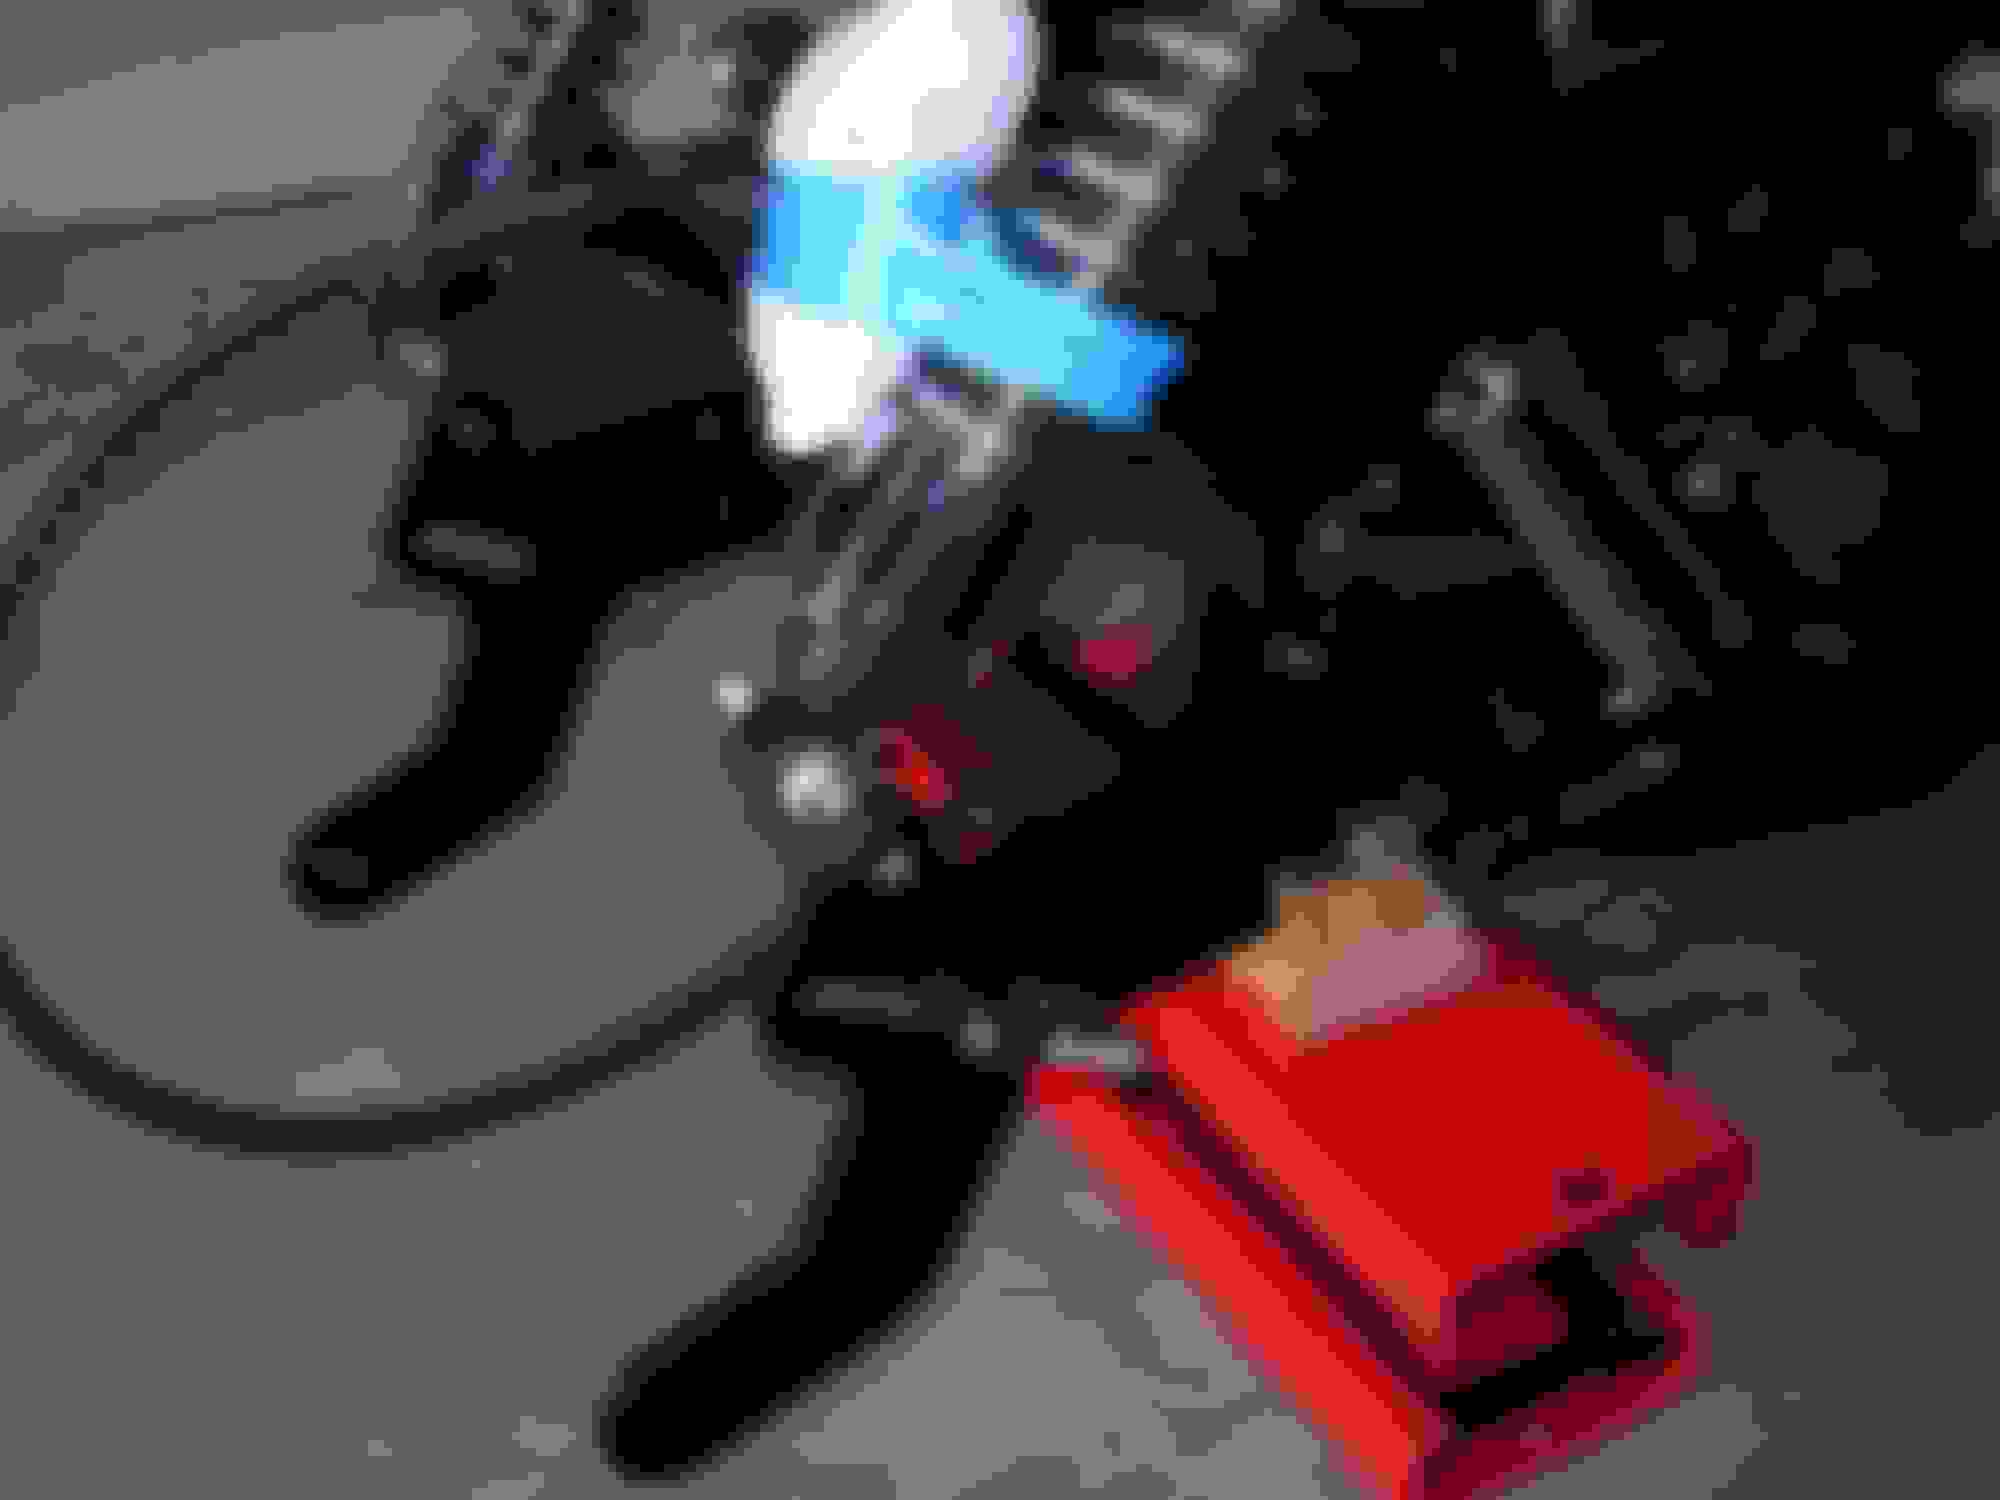
 Some times you need an extra set of hands; sometimes, you just need a gal in heels