Okay, I'm adding a heated seat to my 2017 Ultra and have ran into a snag. They have changed the auxiliary harness on the 2017's to part number 69201599
Now, I have found the 325a connector that has three wires, and it plugs into the 325b connector that also has three wires, where I'm confused is that I have no idea where the terminal off of the fused battery lead plugs into.
The instructions say "release the secondary lock of 325b, and insert terminal from B+ into cavity 3" ...anyone have an idea what the "secondary lock" and "cavity three" might be??
Just plugging it in to the 325a doesn't yield 12volts to the the 4pin molex, so I assume the fused B+ lead has to be used
I installed the adapter in my new 2017 Limited to power my heated Hammock seat. Why would Harley not make an adapter that is plug and play? This requires doing some wiring to the battery and connector 325.
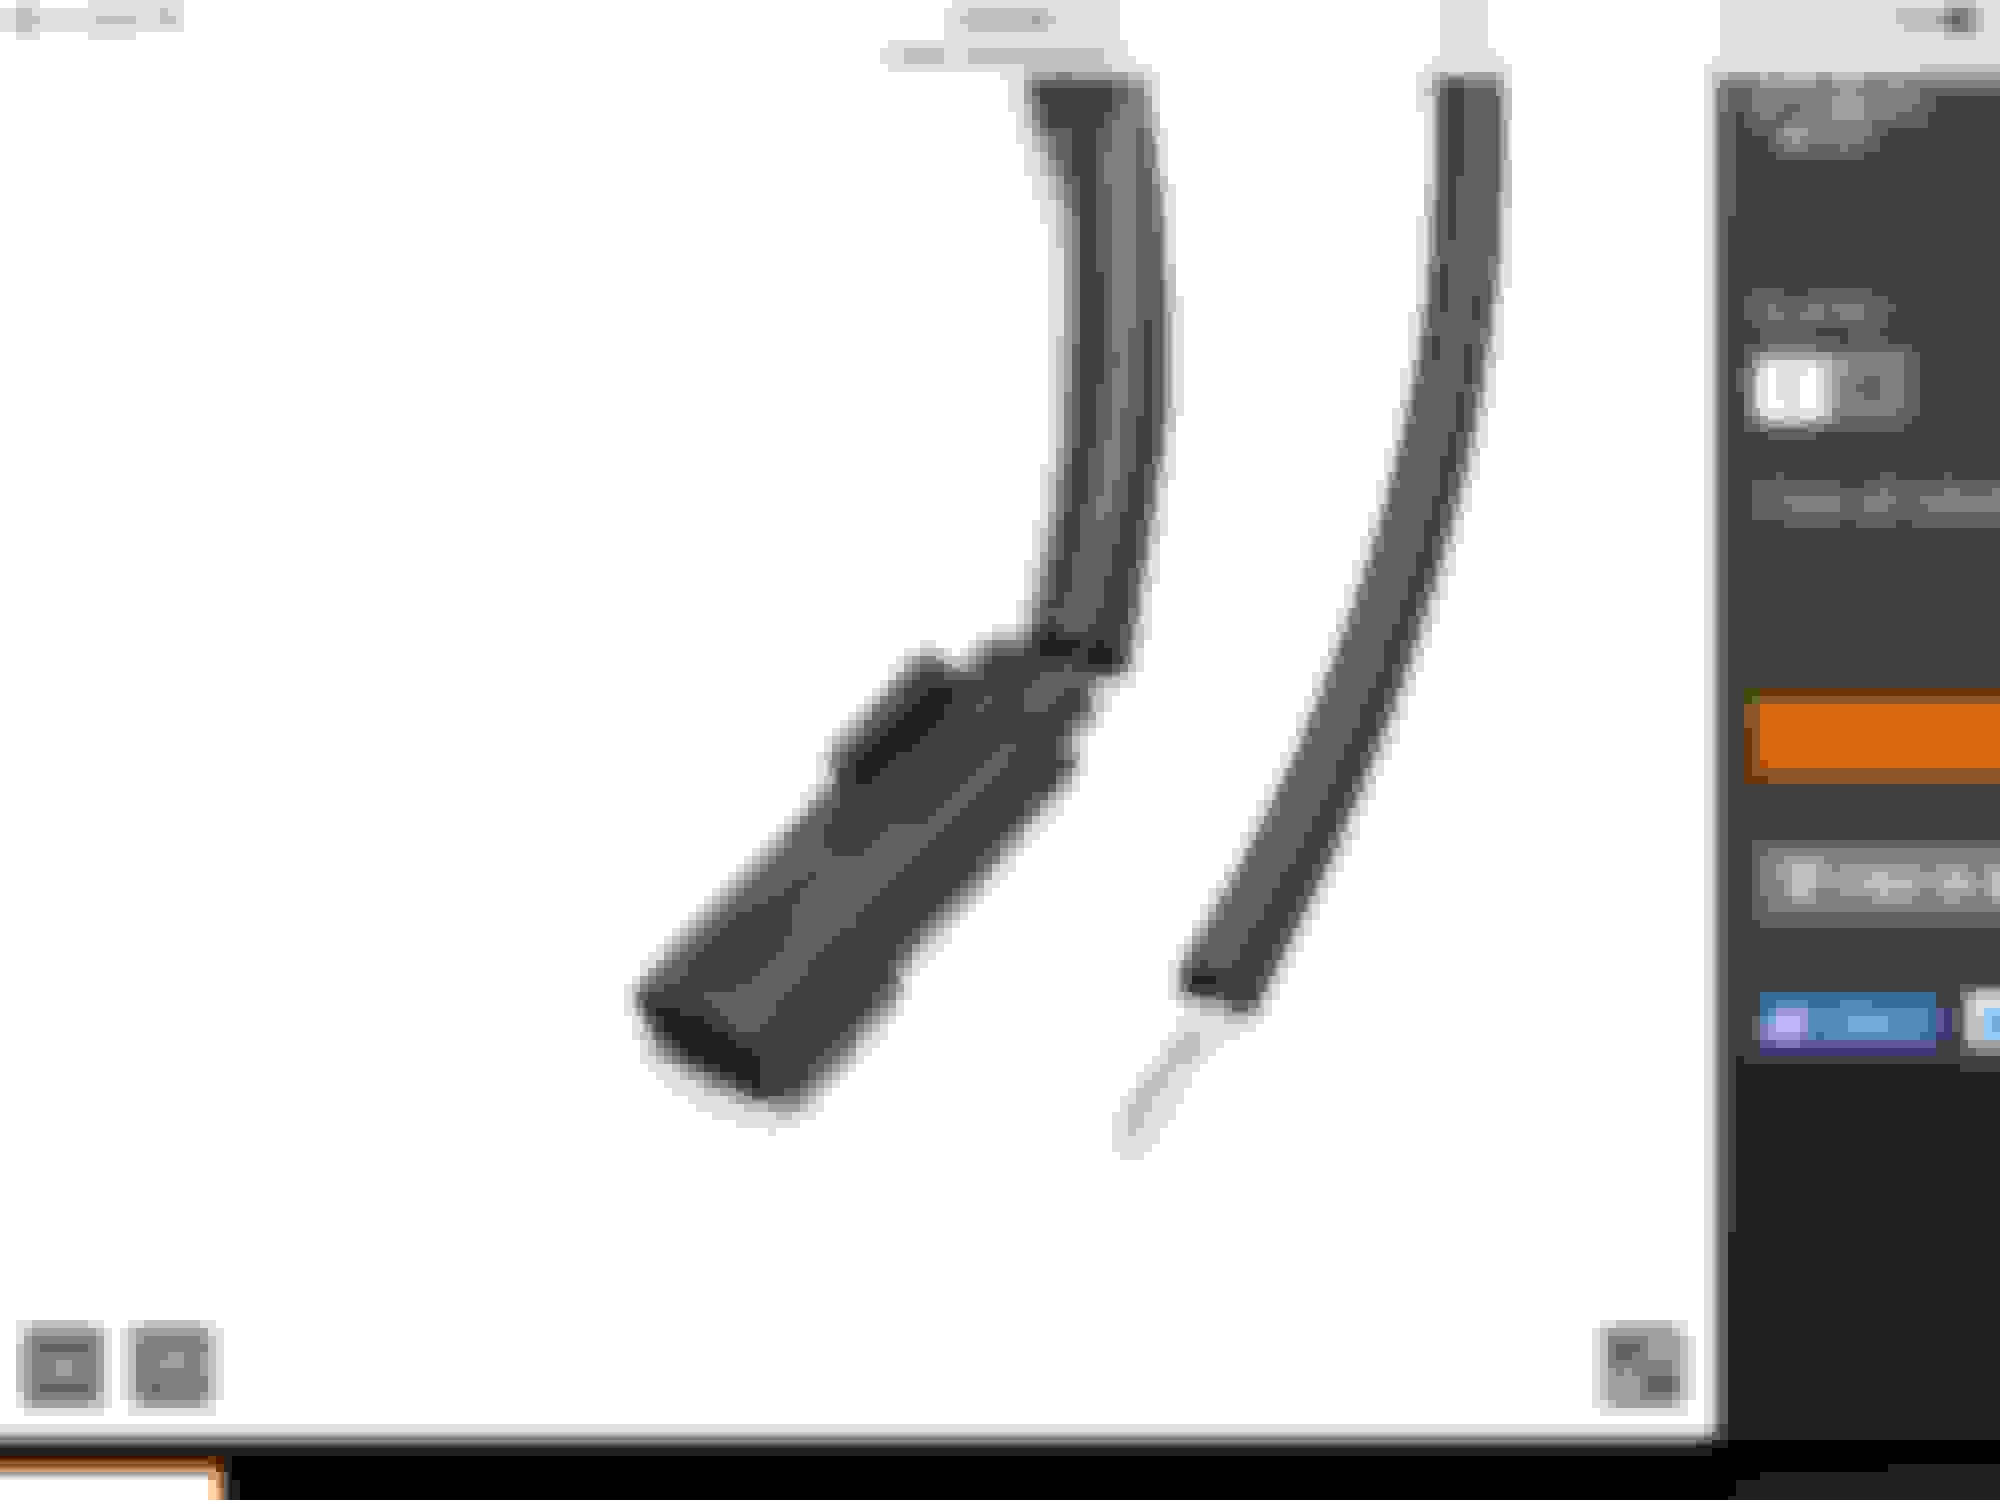
The connector 325 (#1 in Figure 1) only had two wires and a dummy pin installed on my bike. The dummy pin is white in color. You have to take the 325 connector apart to remove the dummy pin from the connector.
Before you begin, take a picture of the wires in the 325 connector to ensure you don't misplace wire locations if you accidentally pull one of the original wires from the 325 connector.
On the end of the 325 connector that has the female pins, the end opposite the wires, take a very small screwdriver and gently pry the secondary lock "center" of 325 connector up and out of the connector body. You will see a very small slot in the center "lock" that you can place a very small screwdriver tip. Be very careful and do not lose the center lock.
That will expose the connector pins and allow you to remove the dummy pin.
The new fused wire pin shown in Figure 2 is inserted into the now empty 325 connector position 3. Pay attention to the orientation of the two wires already installed in the 325 connector when inserting the new pin, rotate the new pin to match the original two wires pin orientation.
Reinstall the center secondary lock, with all three wires now in place in 325 connector.
You should now have the plug with three wires.
Route the new fused wire (#3 in Figure 2) to your + Positive battery post and install the ring terminal onto the battery + post.
Plug the new harness into 325 connector.
The 3 wires with shrink tubing that are coming from the harness (Harness 2 in Figure 2) are not used, they are included if adding more accessories to allow a hard-wire point in the future.
If you removed the 10A inline fuse from the new wire, reinstall and tie all wires to secure in position. route the new 4 pin plug for the seat to be located in front of the battery, plug in the seat and reinstall the seat and you are done.
No, I am not a Harley tech, but I am an engineer, I agree the instructions are very vague. Hope this helps, I did this a couple of weeks ago, so this is from memory.
Jerry
Last edited by KY HDRider; 10-01-2016 at 09:39 AM.
I bought this same accessory wire harness to install my garage door opener. Decided it was easier to just use an empty acc. plug within the fairing vs using this harness, so it got stuck in junk drawer.
As KY above said, but this harness has 3 wires. (None are 12V) The one end has a connector for only 3 spots, the other end connector has spots for 4 wires. The one end of that harness with the rubber watertight plug has a white dummy plug instead of a wire. You remove the dummy plug and push the end from the second wire harness (with the fuse) into that spot. Connect other end of that single wire harness to battery pos side.
The connector (325) on my bike has 3 wires already---, the only dummy plug I see is on the molex plug that came in the kit and it is labeled (#2)
These pics show that you are under the left side cover, I can see the drive belt. I don't have a service manual, so I'm not sure what the connector in your picture is? Maybe the diagnostic connector?
The 325 connector is under the right side cover on the other side of the bike. It looks exactly like the image in Figure 1 of the installation instructions.
And suddenly everything makes sense! I'm such an idiot sometimes...
Well, I guess I'll have to give up. I can't for the life of me find the secondary lock on the connector. I see a slot in the white part of the female end, but that isn't it. I think without a picture I'm dead in the water again.

 09-30-2016, 09:36 PM