
Custom Dynamics LED and Plasma Rods Install on a 14 Street Glide Warning Lots of Pics
#1
 12-06-2013, 10:29 AM

I ordered the BCM Complete LED Turn Signal Conversion Kit, part # GEN200-KIT-BCM and the 8" Red Mega Plasma Rod (pair) part # GEN-MPLASMA-RED-PR, I also added 2 of the PDC (plasma dual converter) so i can use the rods as Run, Brake & Turn. Part# TFC3
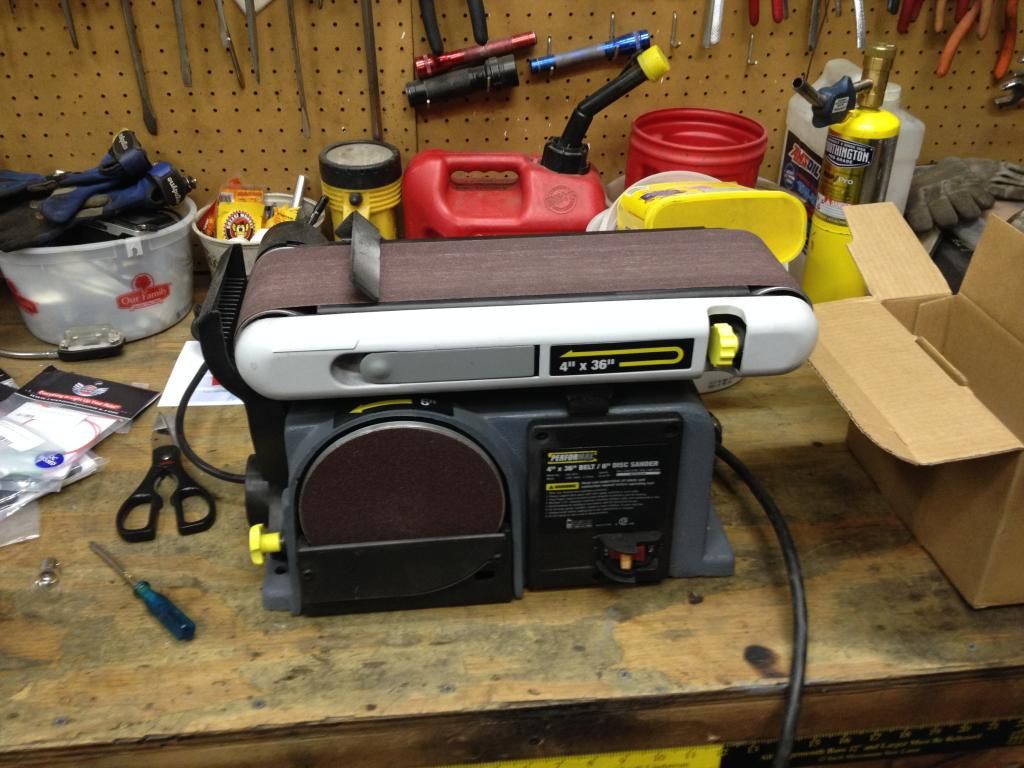
The Led lights are easy to do, just pop off the lens cover with a penny or screw driver (there is a slot) then undo the bulb and toss in the led light, There is a slot for a screw driver as there is no bulb to grab onto to twist it in. Then twist the light to wrap up the wires. Here is where i did a mod, the directions said I MIGHT have to trim the plastic gasket for the cover to snap on. I didn't like that idea, my thought was i might let moisture in, so i took out my belt sander and sanded down the taps just a touch so they weren't binding up with the gasket.
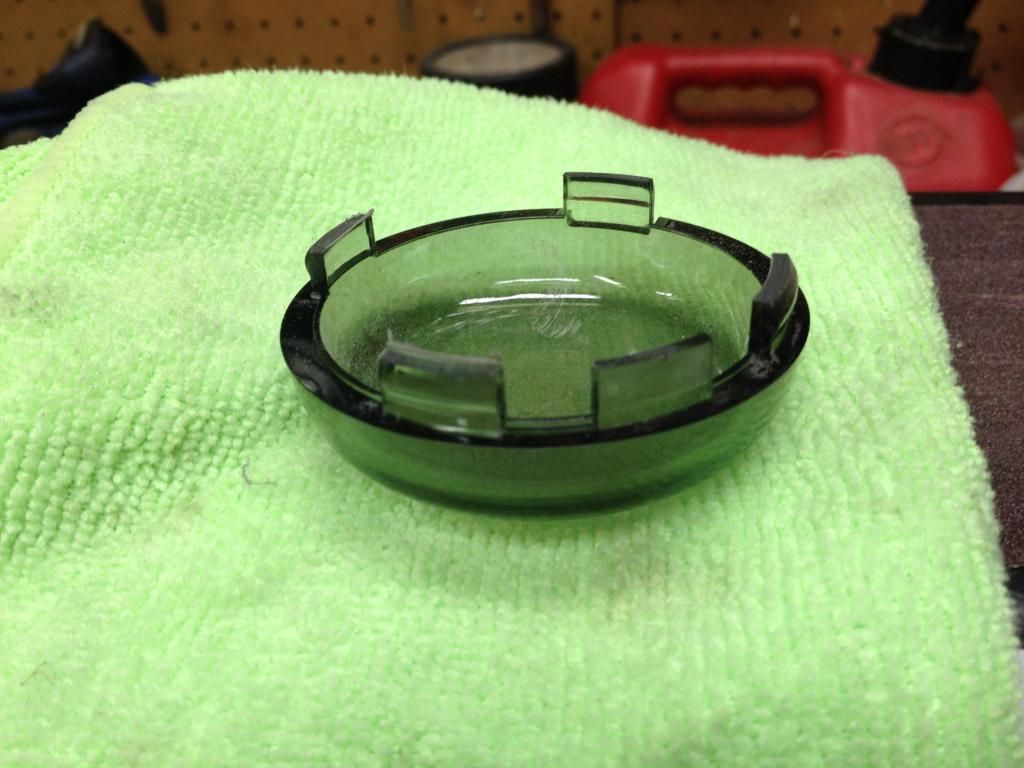
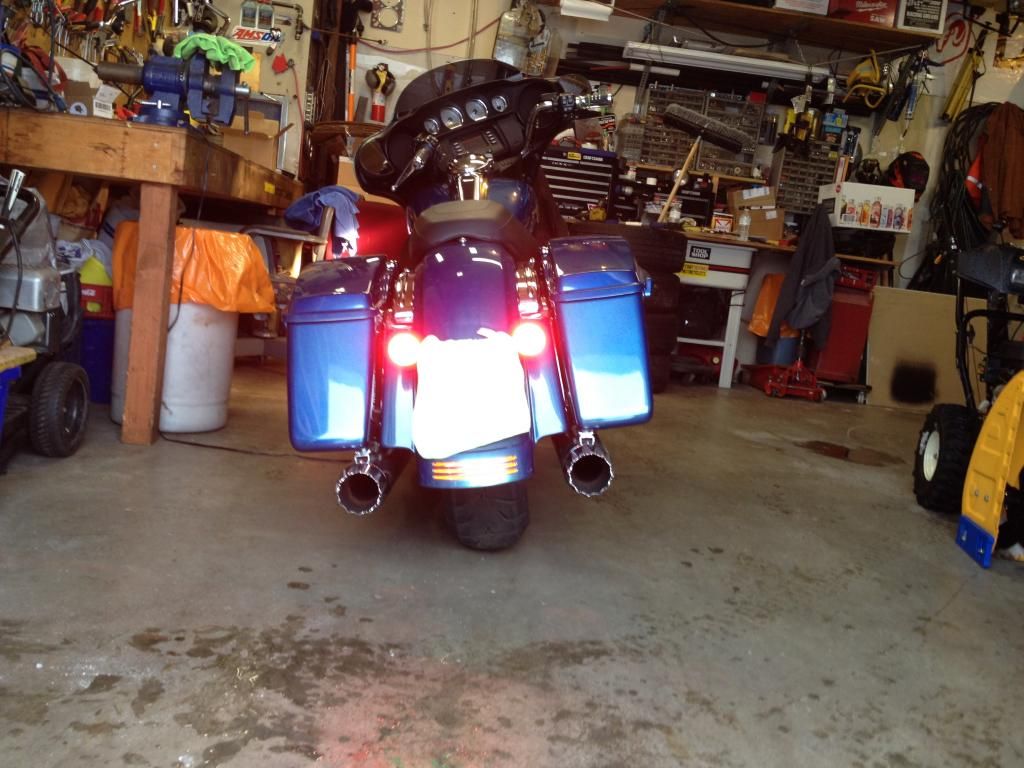
So here are some before picture of stock lights
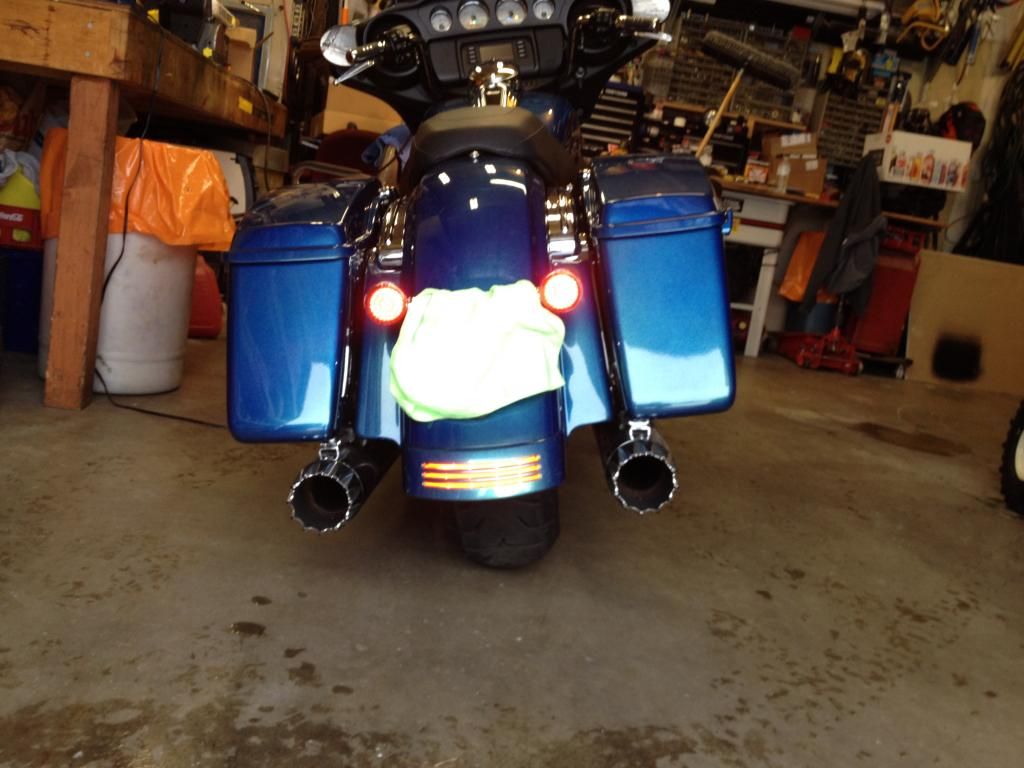
Running lights
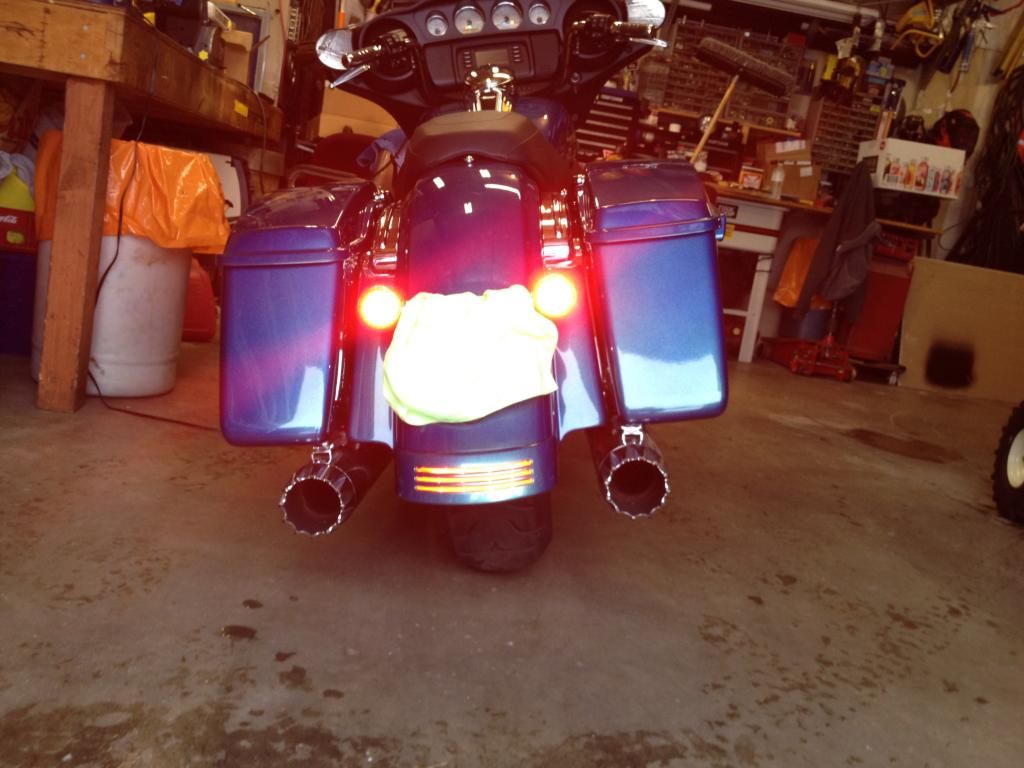
Brake lights
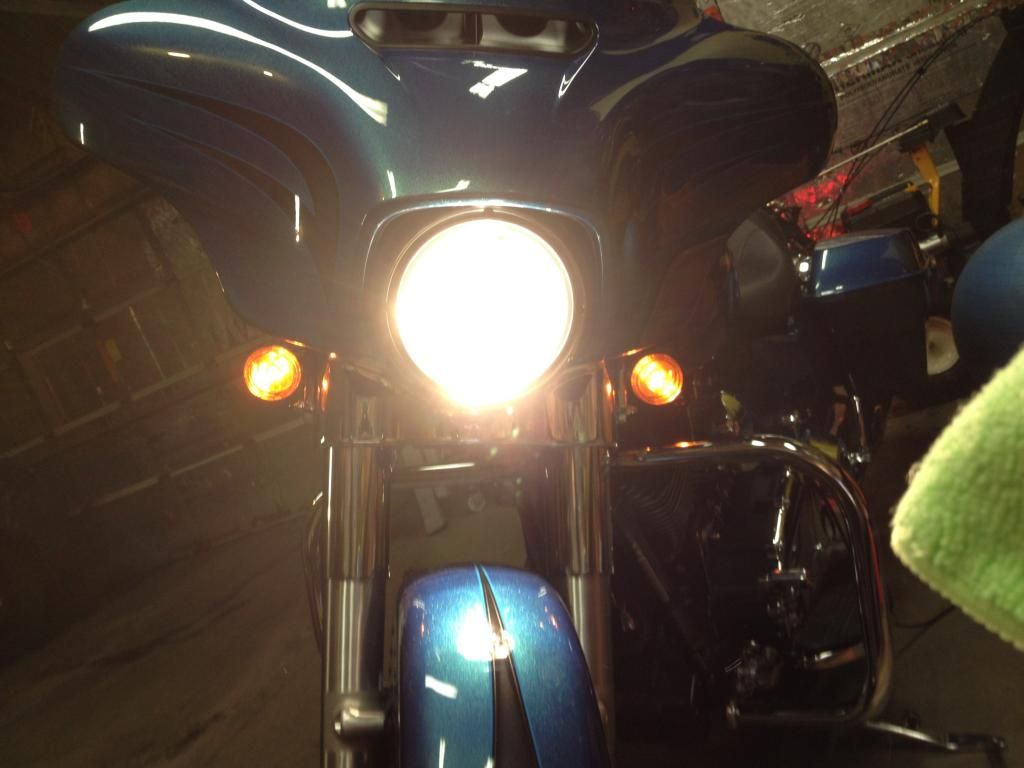
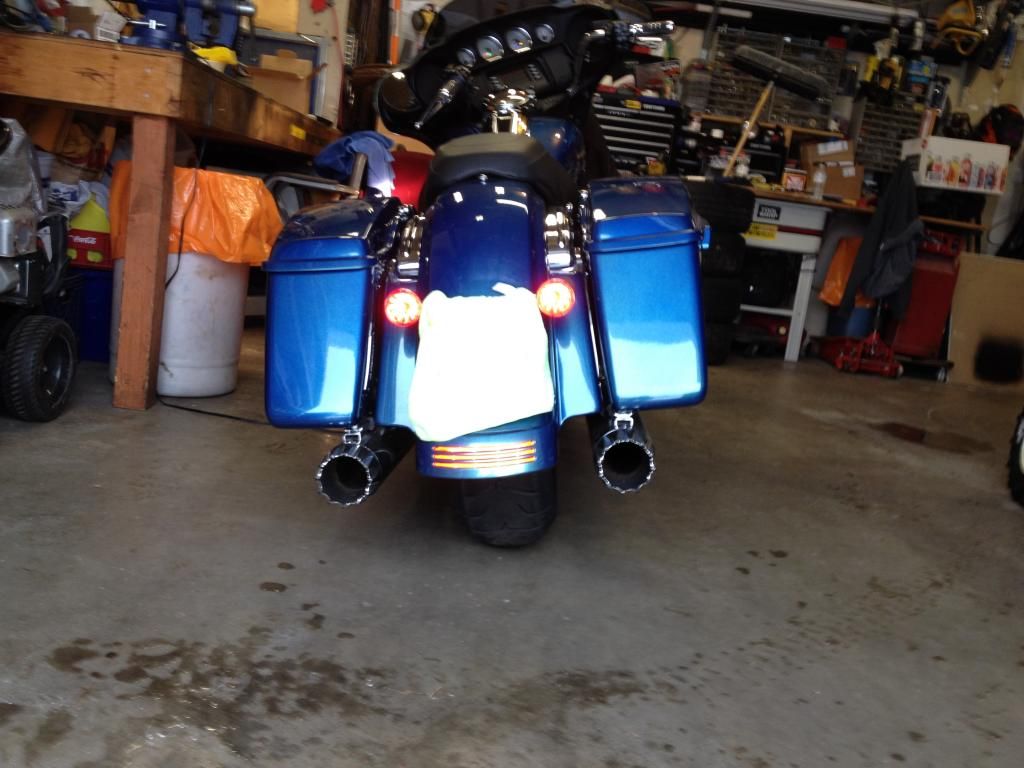
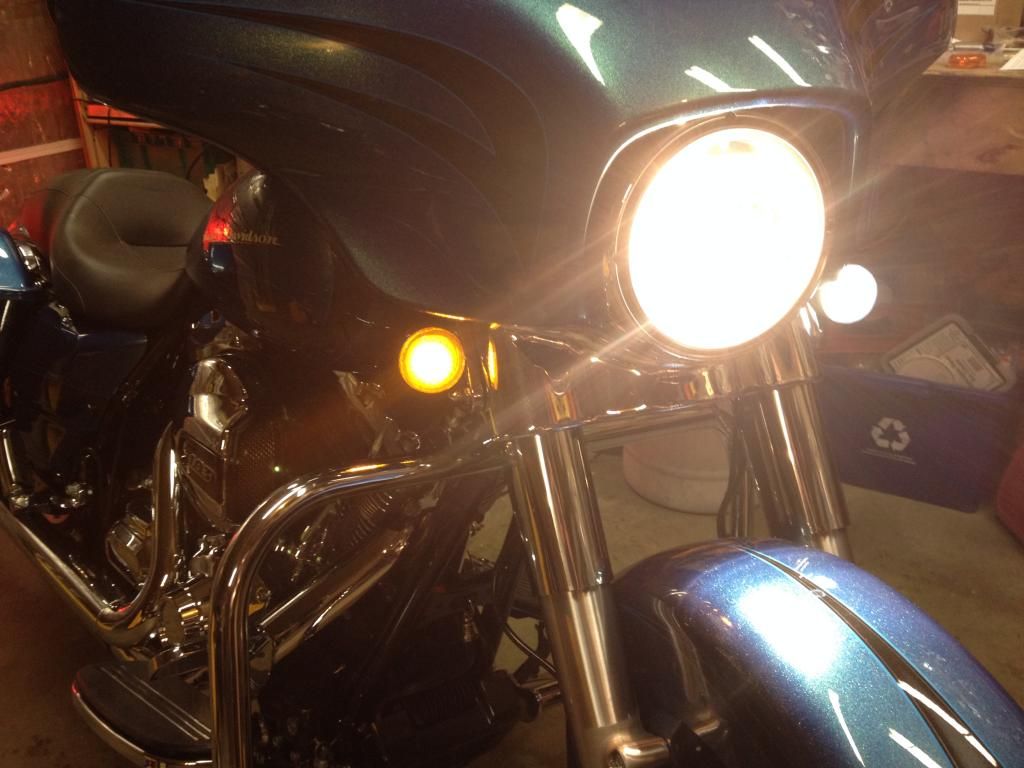
AFTER
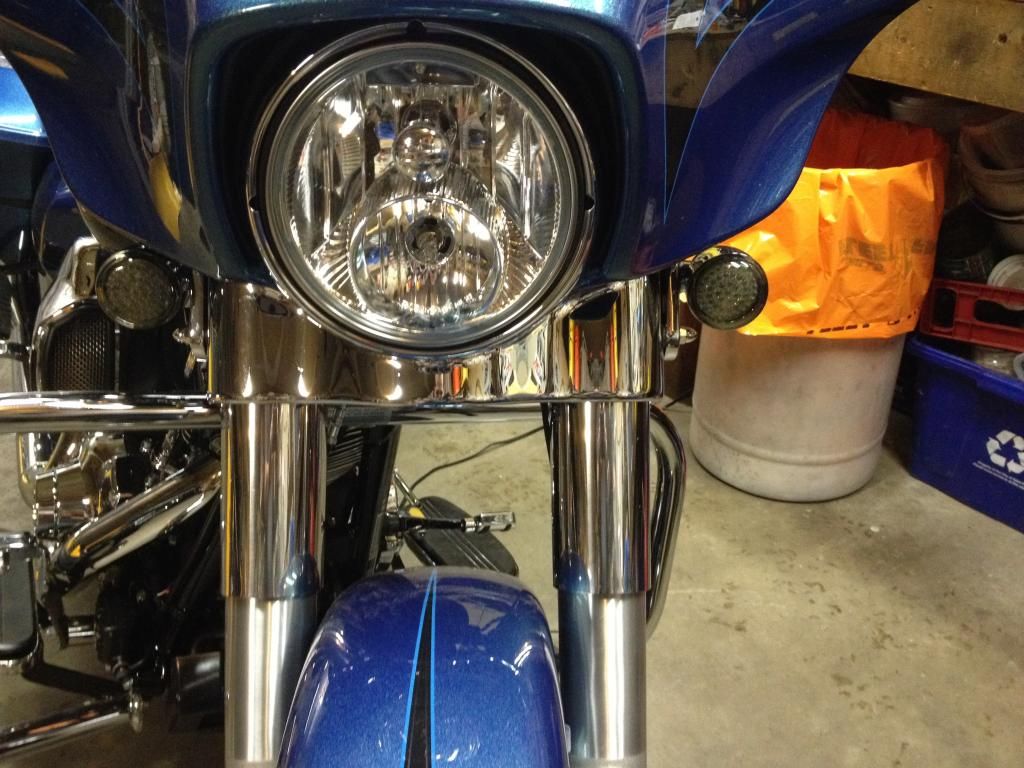
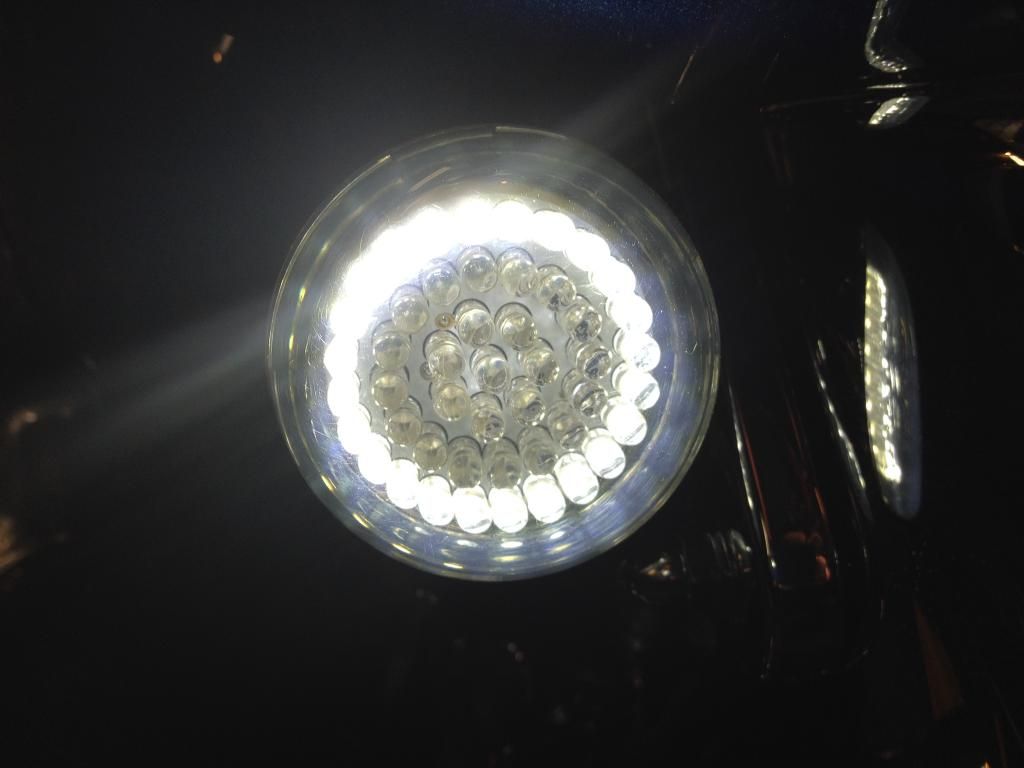
UP CLOSE YOU CAN SEE THE HALO
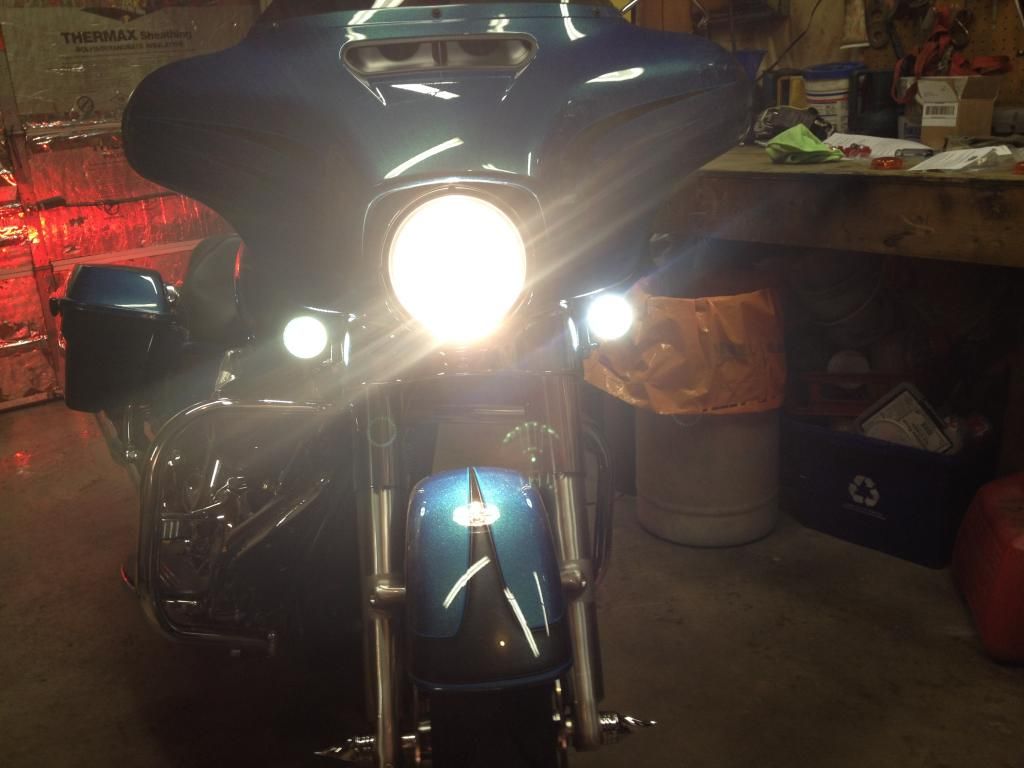
LED RUNNING
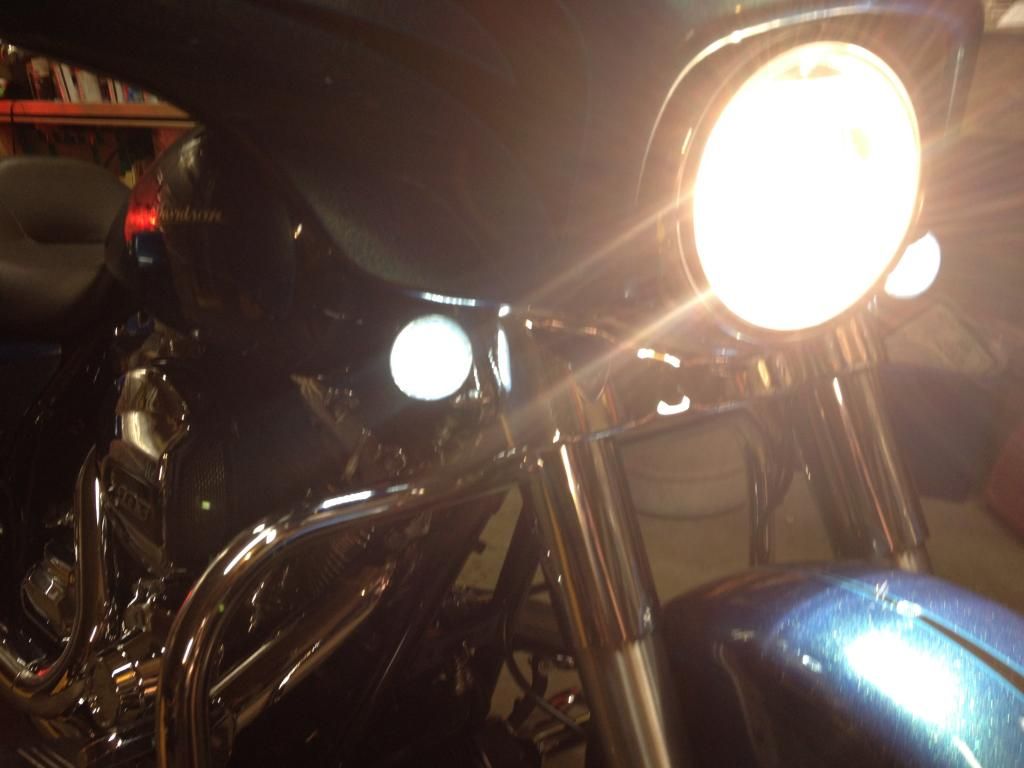
LED BRAKE
Now for the Plasma Rods.
I did some searching as to how to attach these lights and there are a few different ways.
One way i found was to attach a piece of 3/4'' round wood on the plastic fender. https://www.hdforums.com/forum/touri...asma-rods.html
I wasn't liking that too much, I also found that a guy filled the cavity with silicone and stuck the plasma light to that.
I wanted a way that i can remove the light if i wanted to without making it a big deal, You never know i might want a new bike again in a few years.
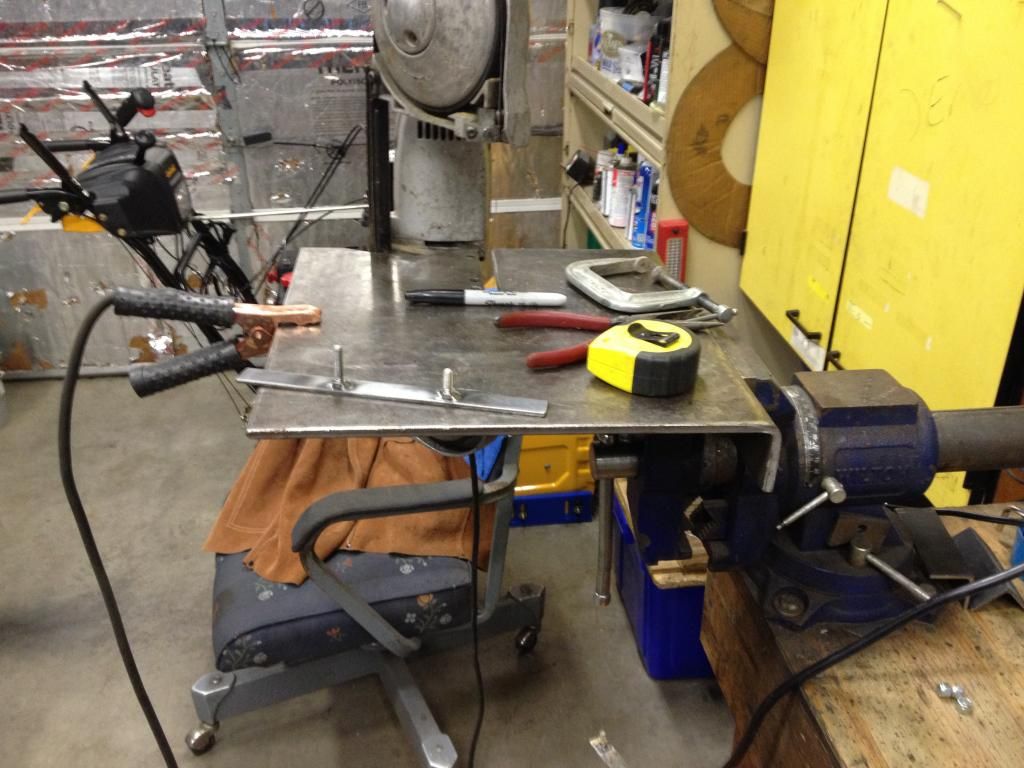
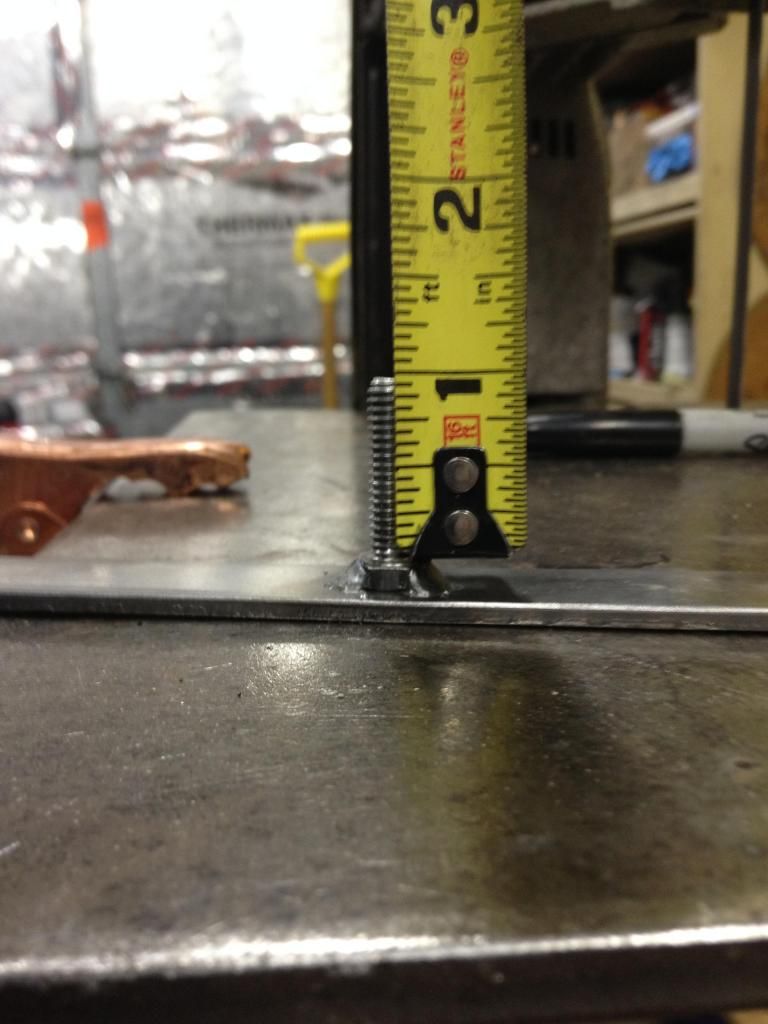
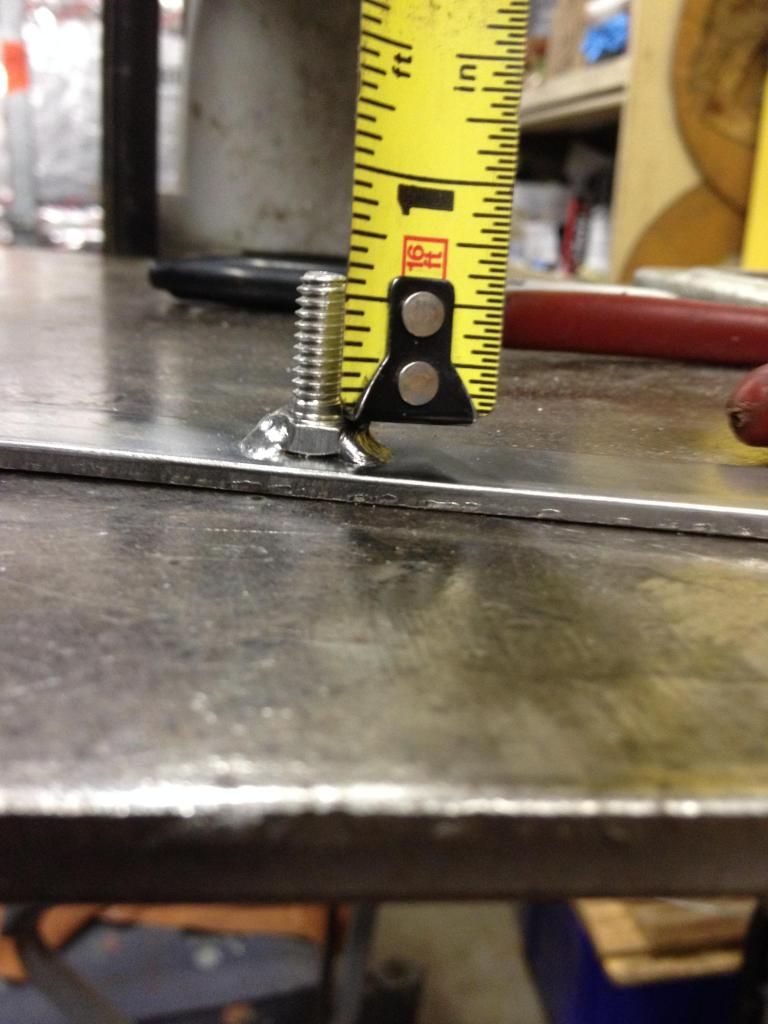
Well i decided i wanted to use the existing bolt holes on this bracket for my mounting area.
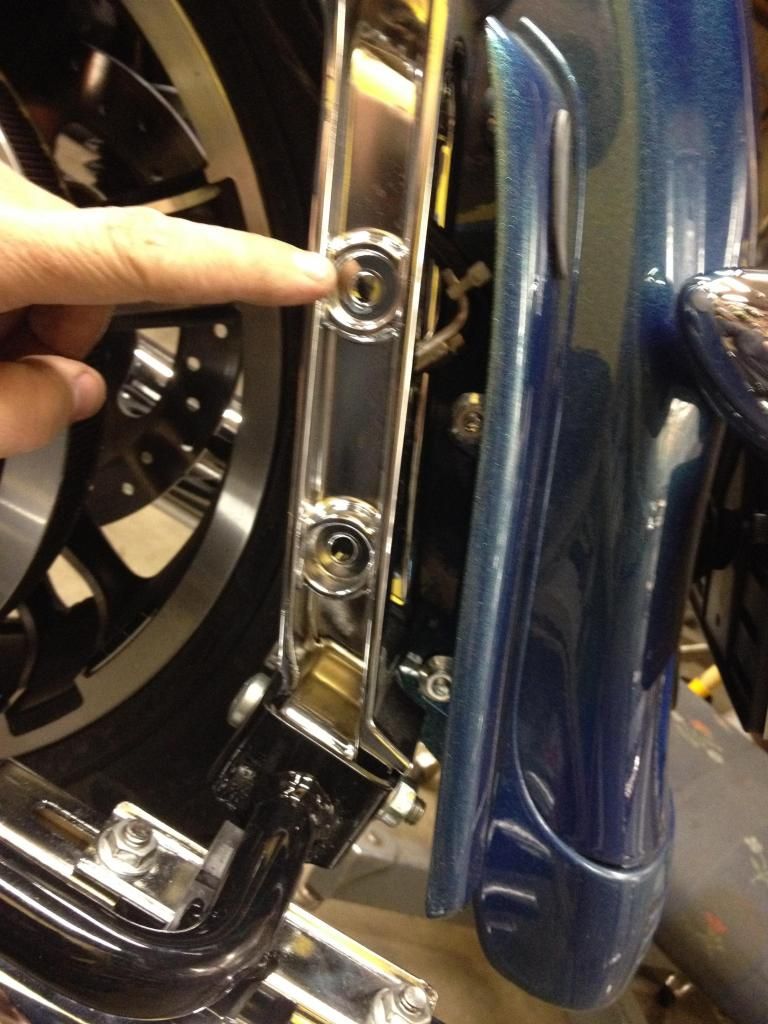
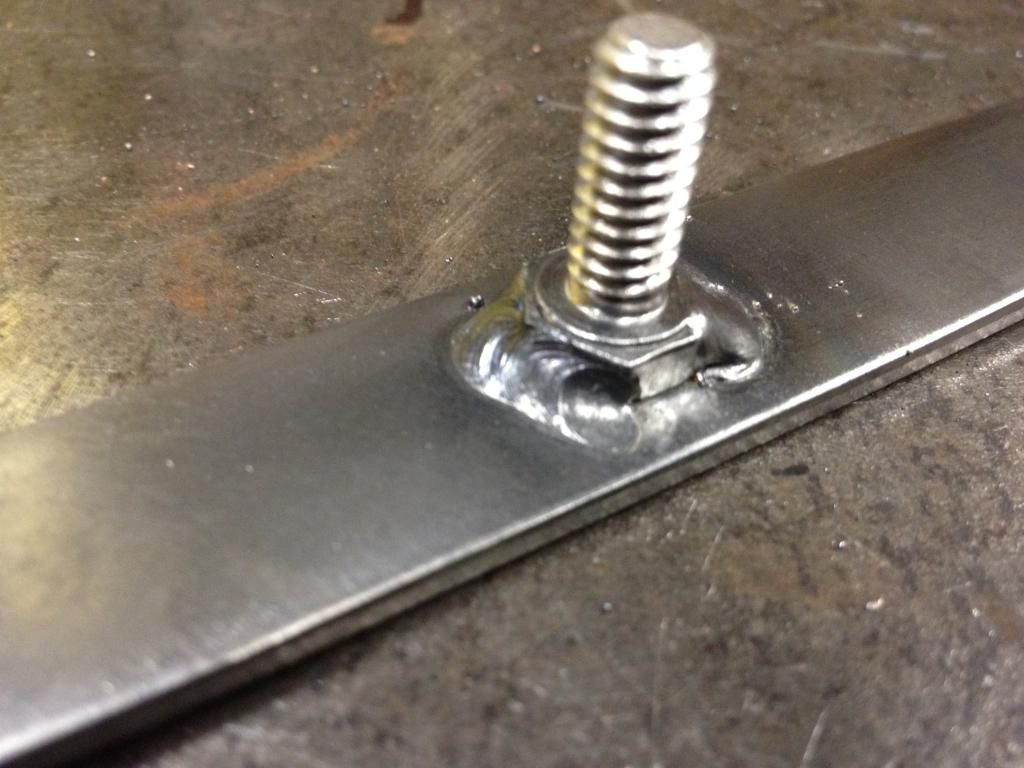
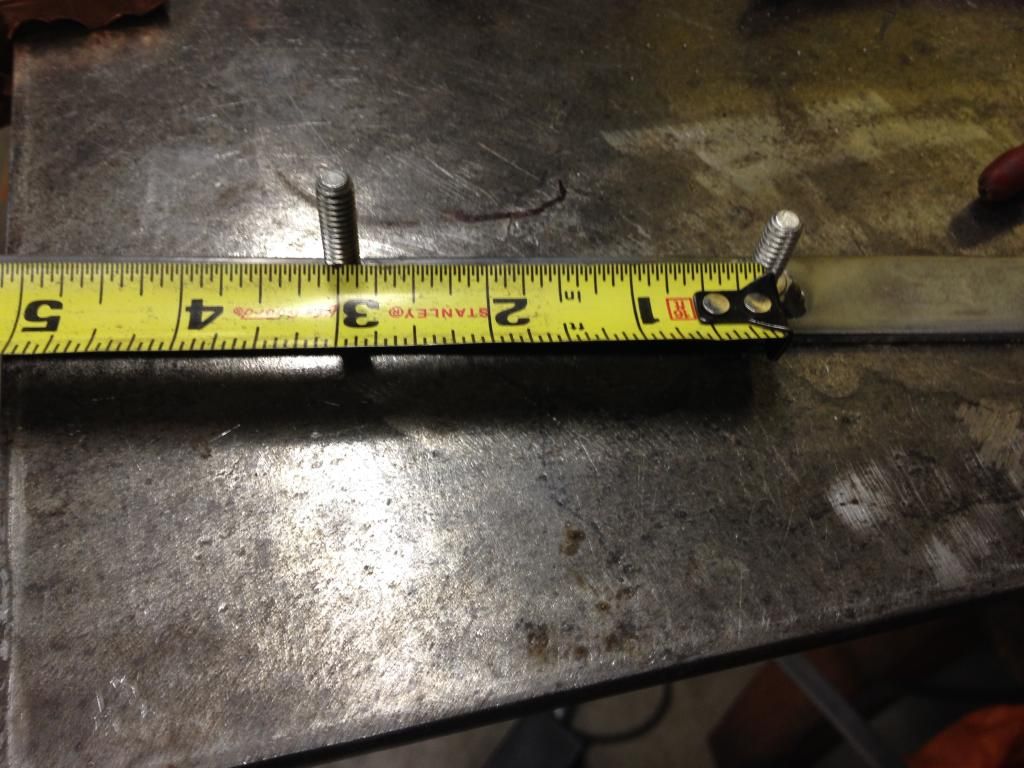
I went to menards and bought a piece of flat stock that fits just perfect inside the bracket. I then used some 1\4" bolts.
The Led lights are easy to do, just pop off the lens cover with a penny or screw driver (there is a slot) then undo the bulb and toss in the led light, There is a slot for a screw driver as there is no bulb to grab onto to twist it in. Then twist the light to wrap up the wires. Here is where i did a mod, the directions said I MIGHT have to trim the plastic gasket for the cover to snap on. I didn't like that idea, my thought was i might let moisture in, so i took out my belt sander and sanded down the taps just a touch so they weren't binding up with the gasket.


So here are some before picture of stock lights

Running lights

Brake lights

AFTER


UP CLOSE YOU CAN SEE THE HALO


LED RUNNING

LED BRAKE

Now for the Plasma Rods.
I did some searching as to how to attach these lights and there are a few different ways.
One way i found was to attach a piece of 3/4'' round wood on the plastic fender. https://www.hdforums.com/forum/touri...asma-rods.html
I wasn't liking that too much, I also found that a guy filled the cavity with silicone and stuck the plasma light to that.
I wanted a way that i can remove the light if i wanted to without making it a big deal, You never know i might want a new bike again in a few years.
Well i decided i wanted to use the existing bolt holes on this bracket for my mounting area.

I went to menards and bought a piece of flat stock that fits just perfect inside the bracket. I then used some 1\4" bolts.


Last edited by 14 FLHX; 12-14-2013 at 03:23 PM.
#2
12-06-2013, 10:41 AM


So now i bolted them on with nylon lock nuts and stuck the plasma rods to it.

Time to wire them up.
I tucked the wires in and zip tied them up.


Now its time to Install the PDC, it has a single red on one side and a orange and red on the other.
I soldered the single red to the red from the plasma rod


Then I put a ring connector on the two black wires from the plasma rods and connected it to the battery.

Now here its where you have to get the right wires to get the run, brake and turn to work properly.
Orange wires go to the solid BLUE wire, Left rod RED gos to the BLUE-PURPLE on the bike, Right rod RED goes to the BLUE-BROWN on the bike.
here is where i made my connection, i didnt want it back by the tire as there is much more chance of moisture and problems down the road.


Last edited by 14 FLHX; 12-06-2013 at 01:15 PM.
#3
12-06-2013, 10:44 AM


#5
12-06-2013, 11:03 AM
Tourer
Join Date: Jul 2009
Location: Delaware
Posts: 315
Likes: 0
Received 0 Likes
on
0 Posts
Very nice write up.
FYI: For those who wish to use 3/4 round molding for mounting, I agree with 14FLHX. Using wood molding would not be a good choice. I used the newer style (Cheap) plastic molding that can be found at any home hardware store. It will never deteriorate over time like the wood molding would.
FYI: For those who wish to use 3/4 round molding for mounting, I agree with 14FLHX. Using wood molding would not be a good choice. I used the newer style (Cheap) plastic molding that can be found at any home hardware store. It will never deteriorate over time like the wood molding would.
#7
12-06-2013, 11:58 AM

Trending Topics
#8
12-06-2013, 12:17 PM
Stellar HDF Member