Shovelhead A place to talk about Shovelheads.

1979 FXS Rebuild

Thread Tools
 
Search this Thread
 
  #211  
Old 08-15-2018, 09:37 PM
Joe12RK's Avatar
Joe12RK
Joe12RK is offline
Seasoned HDF Member
Thread Starter
Join Date: Jun 2012
Location: CT
Posts: 5,217
Received 1,410 Likes on 880 Posts
Default

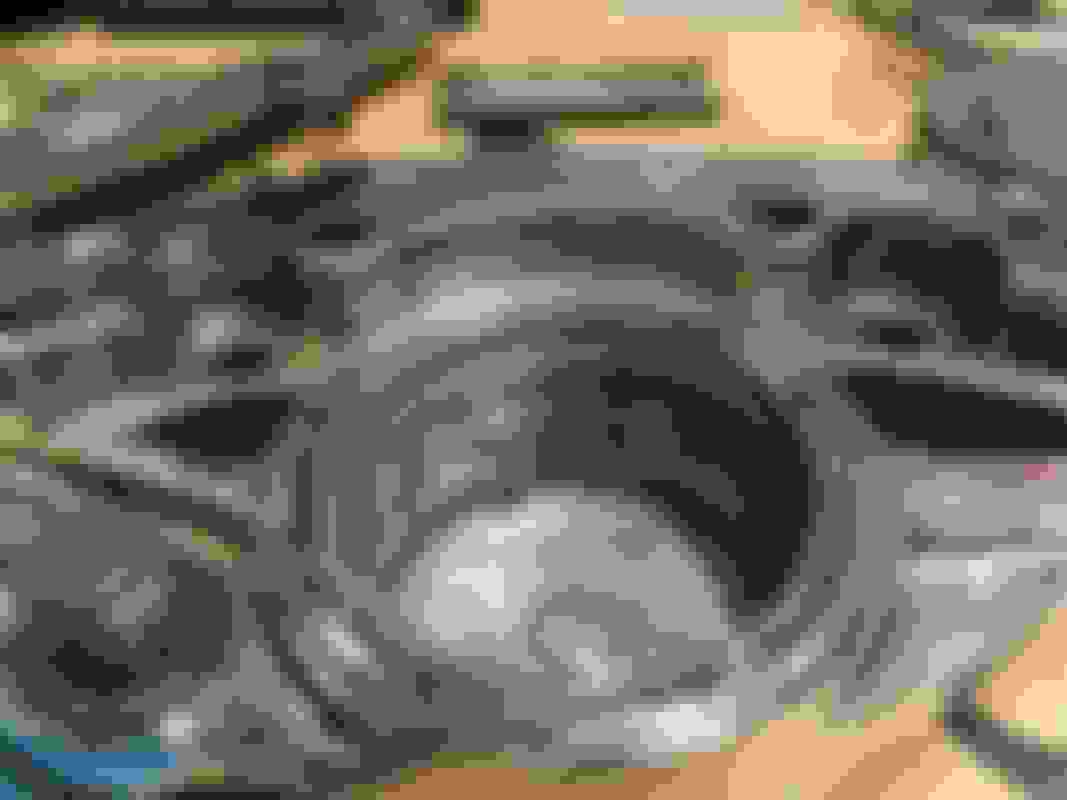
My big worry is the piston bore - I cleaned it up as best I could but it still looks like it may leak. Is there anything that can be done to fix it? Hone it? JB Weld? It's an aftermarket chrome one.


Maybe time for another caliper with the bore like that and the wallowed out holes?

https://www.ebay.com/itm/HARLEY-BANA....c100005.m1851
 

Last edited by Joe12RK; 08-15-2018 at 09:56 PM.
  #212  
Old 08-15-2018, 09:44 PM
TwiZted Biker's Avatar
TwiZted Biker
TwiZted Biker is offline
Club Member
Join Date: Mar 2009
Location: Niles Canyon Ca.
Posts: 64,404
Received 47,902 Likes on 17,471 Posts
Default

Honestly I'd do some digging for an aftermarket 4 piston replacement for that whole setup, those single mount banana calipers where a headache even when they worked. Do some hunting on Ebay and you'll find everything fairly cheap if you piece things together.
 
  #213  
Old 08-15-2018, 10:03 PM
Joe12RK's Avatar
Joe12RK
Joe12RK is offline
Seasoned HDF Member
Thread Starter
Join Date: Jun 2012
Location: CT
Posts: 5,217
Received 1,410 Likes on 880 Posts
Default

I thought about that but wouldn't know what to look for or how to mount it...
 
  #214  
Old 08-15-2018, 10:53 PM
TwiZted Biker's Avatar
TwiZted Biker
TwiZted Biker is offline
Club Member
Join Date: Mar 2009
Location: Niles Canyon Ca.
Posts: 64,404
Received 47,902 Likes on 17,471 Posts
Default

You find a complete kit that fits yours look over the parts then go hunting, most that stuff was pretty plug & play for shovels.
 
  #215  
Old 08-28-2018, 08:15 PM
Joe12RK's Avatar
Joe12RK
Joe12RK is offline
Seasoned HDF Member
Thread Starter
Join Date: Jun 2012
Location: CT
Posts: 5,217
Received 1,410 Likes on 880 Posts
Default

Summer is time for doing lots of things besides garage work - we only get a few months and everything is jammed into them. I also had a few false starts, buying the wrong stuff, etc.


The paint cured, and I cleaned up the wheels. I mounted the disk and rotor and was going to assemble the wheel, but then I realized I hadn't bought new seals yet. Another false start...


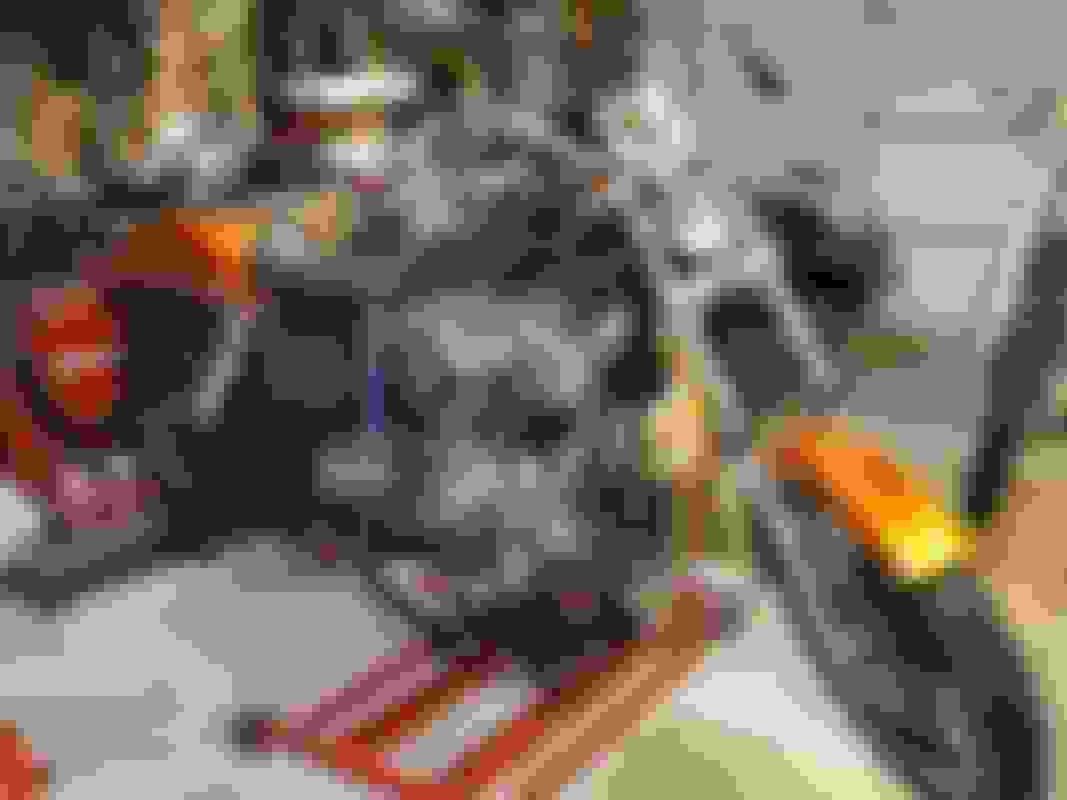
I got new bushings for the caliper mounts - it was very straightforward to press out the old and press in the new ones:


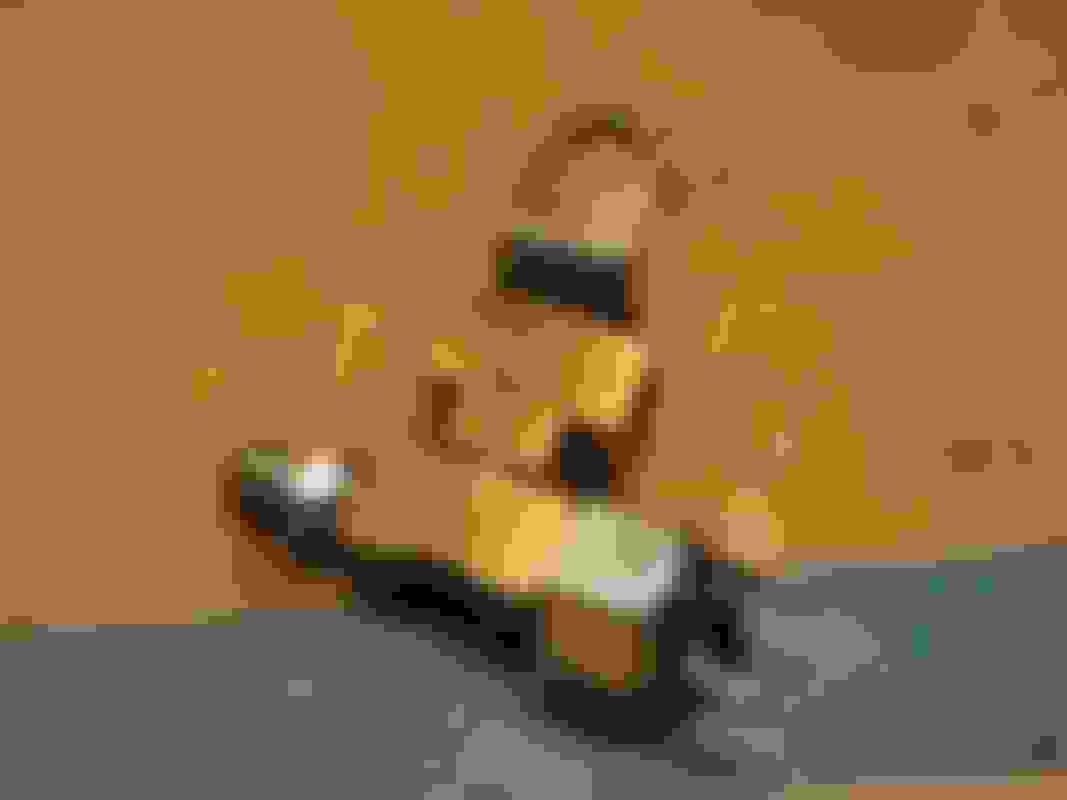
The holes in the caliper mount and support rod were wallowed out and my first thought was to replace the 1/2" bolts with 9/16", but it turns out the short 9/16" bolts are full thread and that wouldn't make a good pivot. So I got some 1/2" bronze sleeves and cut them to size. The OD is 5/8" and I drilled the parts to fit. I glued the sleeves in with green loctite just in case.


I have a question on torquing the bolts and nuts, on the support arm. Being they use castle nuts and cotter pins, I suspect you just snug them to take out slop and pin them in place. But maybe that is a belt and suspenders thing and I should torque the nuts? Who can tell me what is right?
 
  #216  
Old 08-28-2018, 08:23 PM
johnjzjz's Avatar
johnjzjz
johnjzjz is offline
Seasoned HDF Member
Join Date: Nov 2006
Location: la la land jerzey
Posts: 12,275
Received 4,535 Likes on 2,872 Posts
Default

tighten it up and its a quality thing, if its going to stretch the bolt to go to the hole and back it off -- BUT default to tight even almost too tight

they wreck everything when left to move around
 
  #217  
Old 08-28-2018, 08:40 PM
Uncle Larry's Avatar
Uncle Larry
Uncle Larry is offline
Seasoned HDF Member

Join Date: Jan 2011
Location: Southeast Michigan 15 Minutes East Of Hell
Posts: 147,600
Received 47,779 Likes on 18,557 Posts
Default

I remember doing the wheels on my 79 FXEF ... had the tires off but masked them quite the same as you did after polishing them ... I mounted them on my brake lathe and let it spin them slowly and polished to a brilliant shine ... of course the spoke bright spots took some elbow grease ( and some skin too ) but they came out great
 
  #218  
Old 08-29-2018, 07:28 PM
Joe12RK's Avatar
Joe12RK
Joe12RK is offline
Seasoned HDF Member
Thread Starter
Join Date: Jun 2012
Location: CT
Posts: 5,217
Received 1,410 Likes on 880 Posts
Default

Thanks guys!

Tonight was a big night! I finally have everything I need and installed the back wheel. Final assembly, with new seals, was straightforward following the shop manual:


I even got my wife to help by pushing the axle in while I held the wheel and lined everything up. Then the brake anchor rod and chain and chain guard.


It's starting to look like a bike now:


Next I'll install the side stand and lower it to the ground. Then I can align the back wheel, adjust the chain, and tighten everything up. I may even roll it outside into the sun
 

Last edited by Joe12RK; 08-29-2018 at 09:54 PM.
The following users liked this post:
Uncle Larry (08-29-2018)
  #219  
Old 08-30-2018, 06:23 AM
Architect's Avatar
Architect
Architect is online now
Seasoned HDF Member
Join Date: Apr 2010
Location: Long Island, New York
Posts: 7,751
Received 4,913 Likes on 2,560 Posts
Default

Oh, they like to be in the SUN!!!

Looking good for sure, digging that color.
 
  #220  
Old 08-30-2018, 09:18 PM
Joe12RK's Avatar
Joe12RK
Joe12RK is offline
Seasoned HDF Member
Thread Starter
Join Date: Jun 2012
Location: CT
Posts: 5,217
Received 1,410 Likes on 880 Posts
Default

Thanks, I'll wait until the weekend to bring it out, it would have been dark by the time I was done. Meanwhile I finished up a lot of little things.

I am going for clean handlebars without the switch housings, so I needed to move the front brake switch. I first thought of going from this:


To something like this, and even bought the special tap for the banjo fitting:


But wiser people said there wouldn't be enough meat for a good seal. So I got another tee and a VW brake switch and did this:


Clean everything up, make the last of the electrical connections, and it's done:


Quick Reply: 1979 FXS Rebuild


All times are GMT -5. The time now is 01:17 PM.