2012 FXDB Foward to mids and a 30t pulley conversion, need help
Dyna Glide ModelsSuper Glide, Super Glide Sport, Super Glide Custom, Dyna Glide Convertible, Super Glide T-Sport, Dyna Glide Police, Dyna Switchback, Low Rider, Street Bob, Fat Bob and Wide Glide.
2012 FXDB Foward to mids and a 30t pulley conversion, need help
I tore my primary down today because I want to reinstall mid controls and I also want to replace my 32t for a 30t pulley.
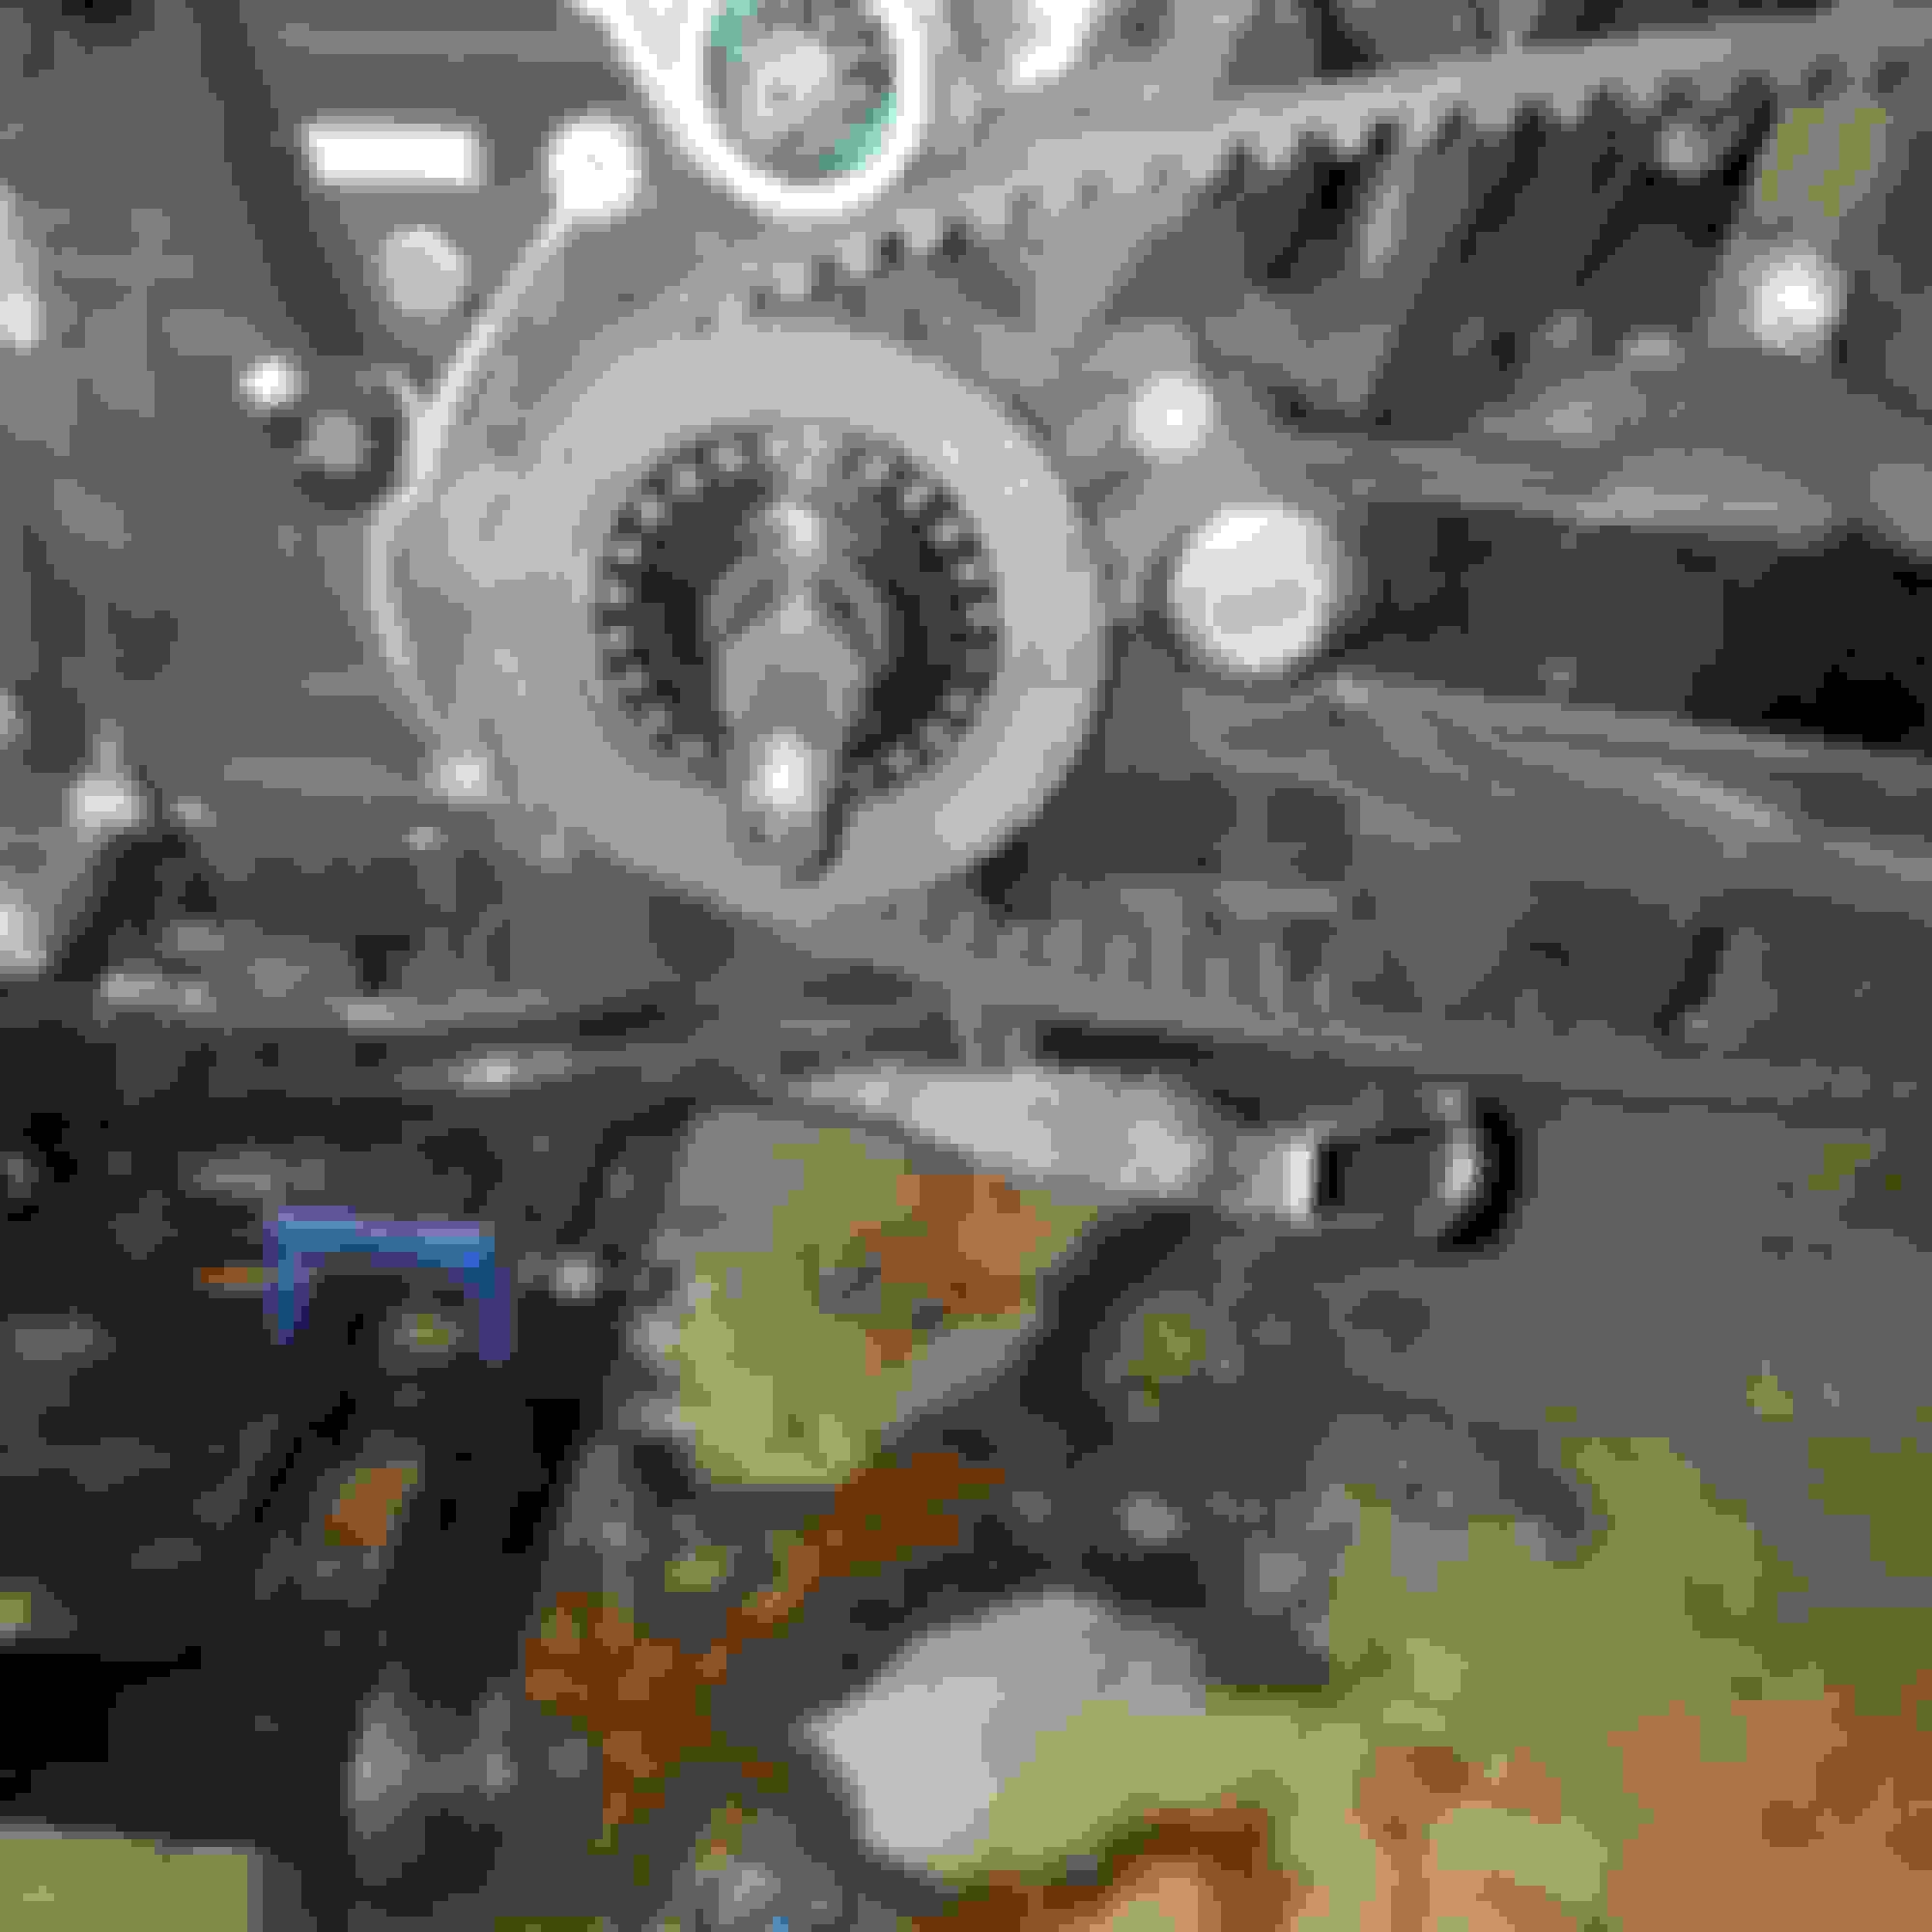
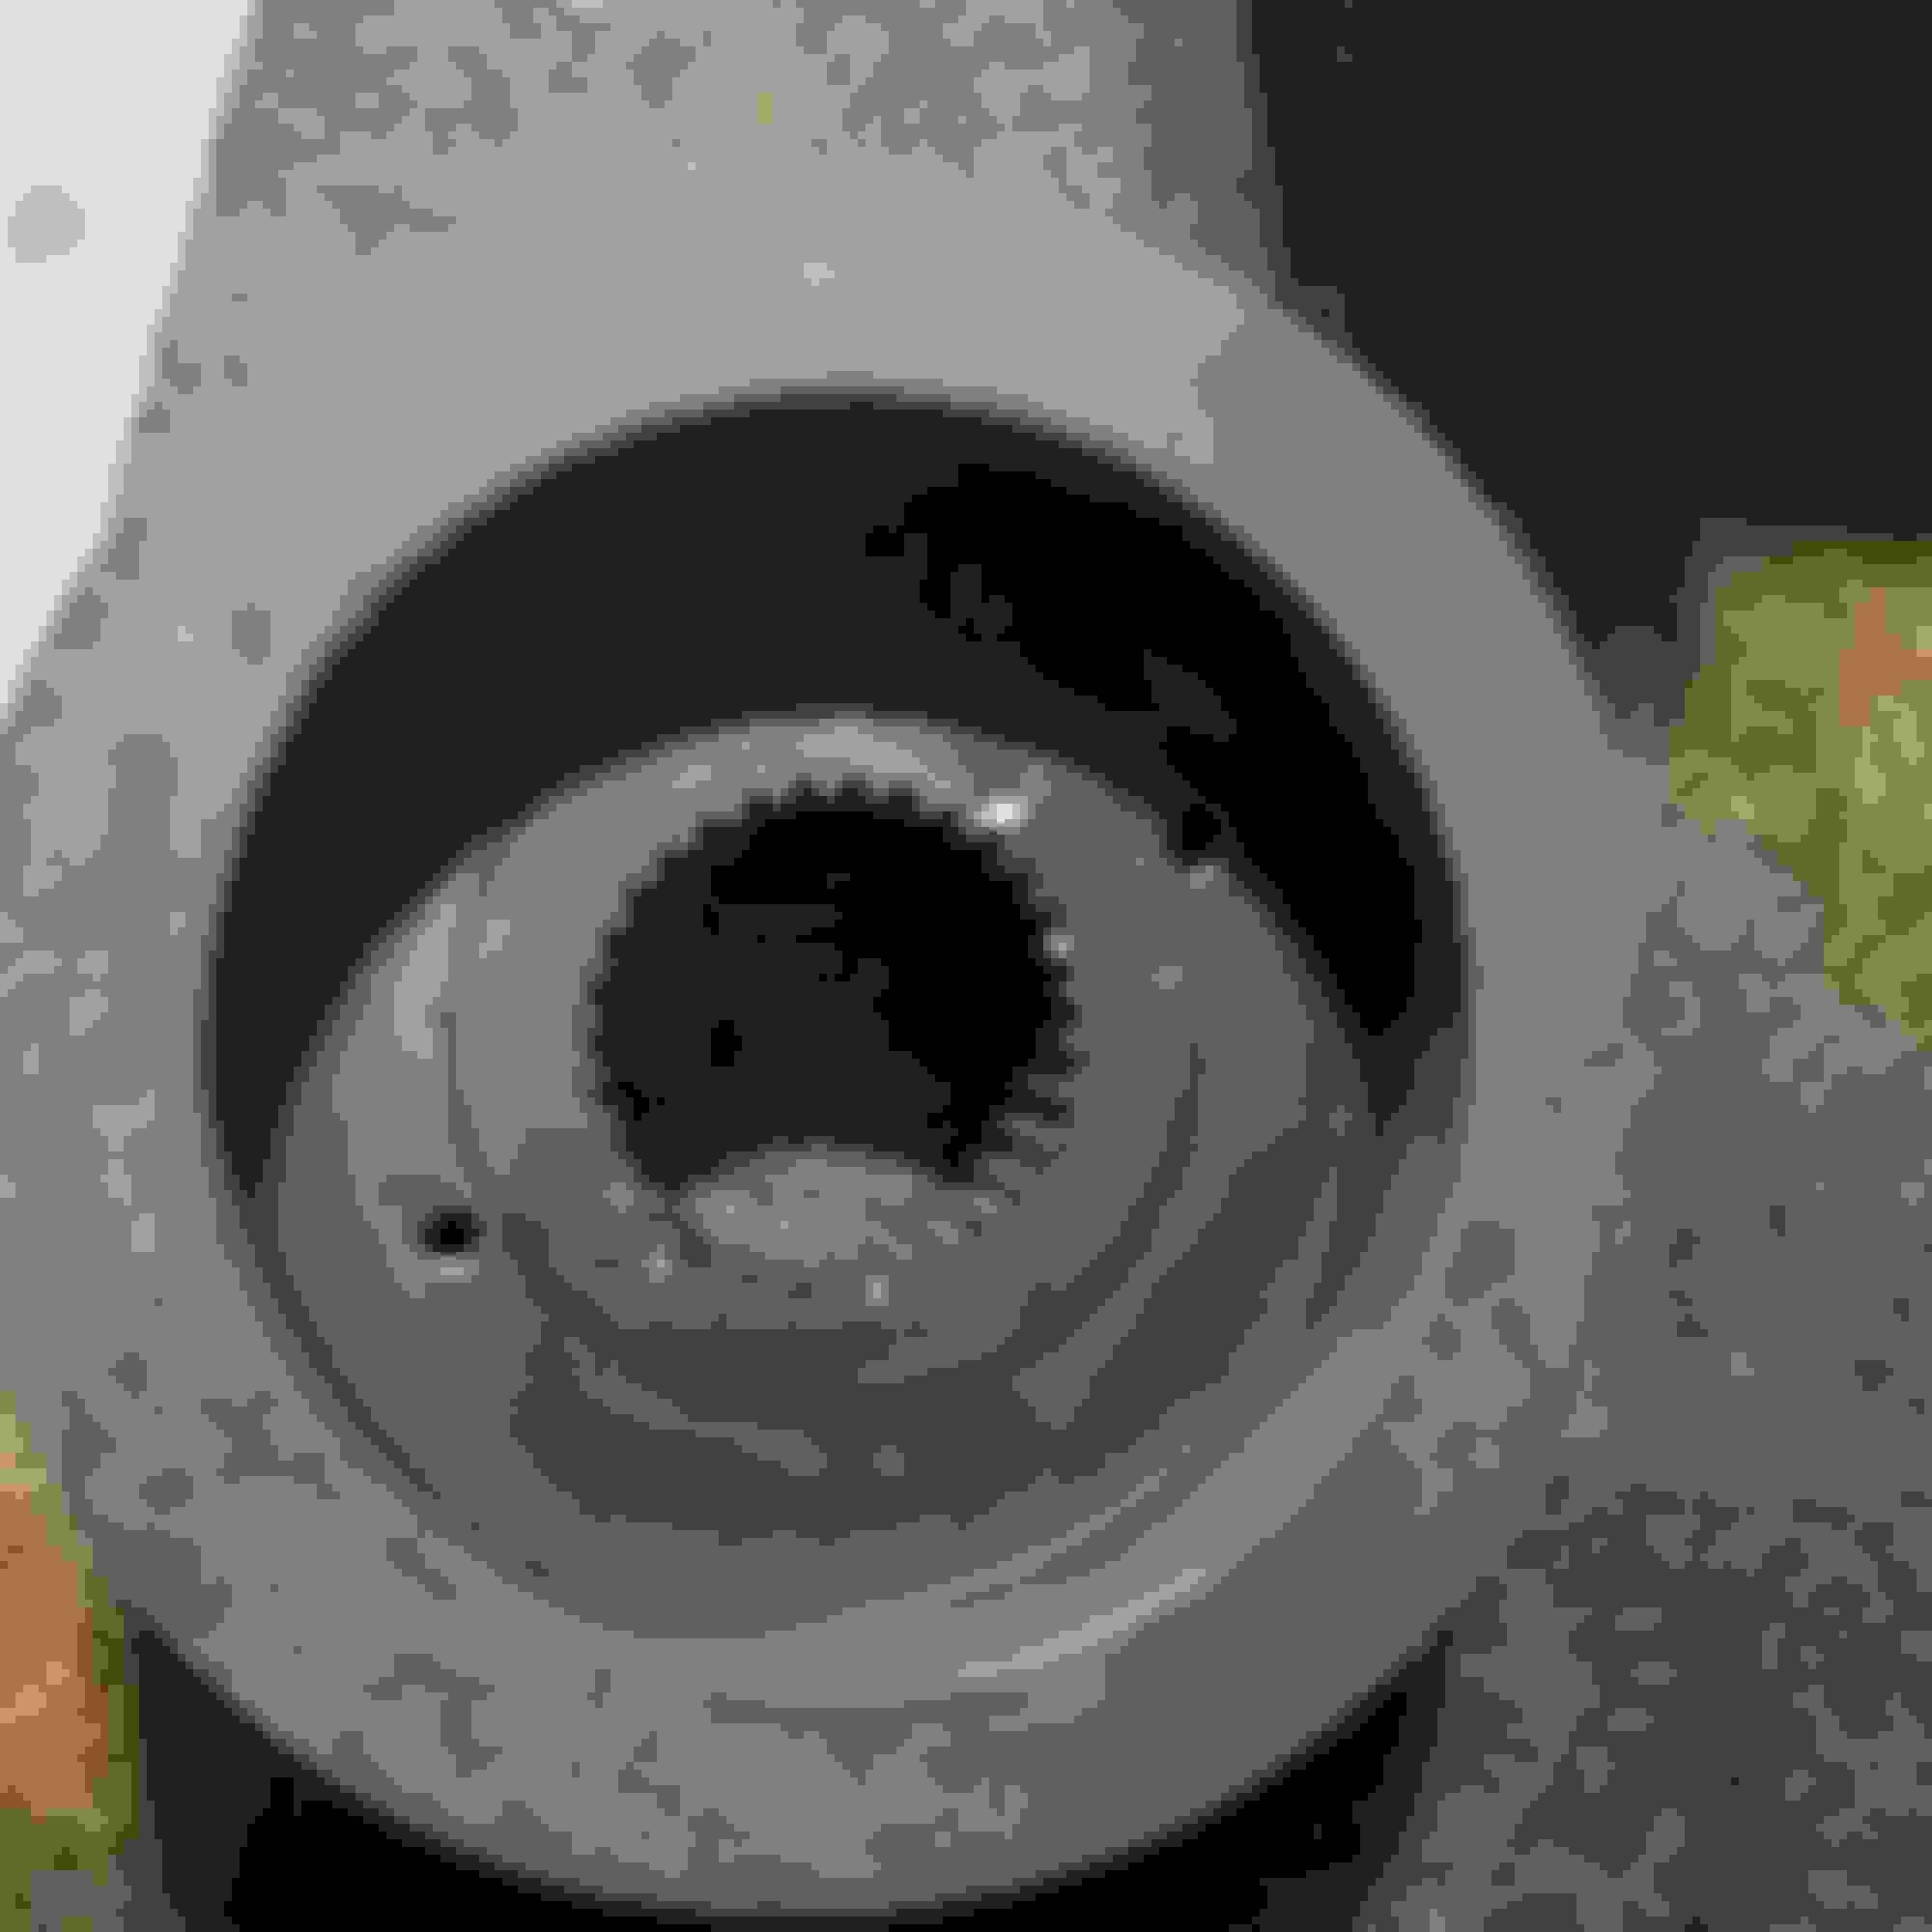
After I removed both the compensator and the clutch basket, I noticed a small round black bushing laying at the bottom of the primary cover. Luckily I snapped pics as I went along.
Is the lone bushing in the first pic the same one that's in the second pic attached to where the shifter shaft comes through?
I am pretty sure it is but a second opionion would be greatly appreciated.
Also my compensator and clutch basket didn't come out all in one piece. The compensator ended up basically falling out and I had to fight to get the clutch basket out. Because of this struggle the chain jumped many teeth and there is no way it's going to go back in with the chain and all teeth lined up in the same position that it came out.
I noticed all the slack of the chain stays at the bottom. Is all I have to do is put it all back in and get the top portion of the chain as taught as possible thus leaving all the slack at the bottom.
Does anything else in the compensator and clutch basket need to be lined up?
I am going off of a 2009 dyna manual and a lawabidingbiker.com video. In the video they make it look so easy. When they take their inner cover off you see no little parts come falling out. When I took mine off all the dowel bushings fell out and now I have to figure out where the fell out of.
Do I need a final drive sprocket locking tool to get the pulley off? My manual says that I will need one but in all the 30t forums that I read I never saw anyone saying that this tool is needed.
I did try the use a breaker bar to remove the 2-1/4 pulley nut and it didn't even budge. Tomorrow I am going to borrow an electric impact wrench from a friend. If that doesn't work I will drill the nut and break it off.
last how is my tensioner looking. The bike has 19,000 miles on it. This is my first Harley and my first time ever opening up a primary so I really don't know if my tensioner is well worn.or not.
Any input would be greatly appreciated. Also If anyone knows of any other video links that would be helpful they would be greatly appreciated.
Last edited by Valleyofthegun; 08-17-2018 at 12:15 AM.
Lot's of questions - First, I can't stress enough to have the correct manual, read the steps you have to do and in the order you have to do them several times. This helps avoid putting things together only to have to go back and take them apart.
.
After I removed both the compensator and the clutch basket, I noticed a small round black bushing laying at the bottom of the primary cover. Luckily I snapped pics as I went along.
Is the lone bushing in the first pic the same one that's in the second pic attached to where the shifter shaft comes through?
I am pretty sure it is but a second opinion would be greatly appreciated. - YES, YOU ARE CORRECT. Here is a diagram of the inner and outer primary to include the alignment dowels for the inner primary.
- NOTE: You need a new gasket/seal kit in order to put the primary back together and avoid having leaks.
Also my compensator and clutch basket didn't come out all in one piece. The compensator ended up basically falling out and I had to fight to get the clutch basket out. Because of this struggle the chain jumped many teeth and there is no way it's going to go back in with the chain and all teeth lined up in the same position that it came out.
I noticed all the slack of the chain stays at the bottom. Is all I have to do is put it all back in and get the top portion of the chain as taught as possible thus leaving all the slack at the bottom.
Does anything else in the compensator and clutch basket need to be lined up?
Chain direction of rotation is what is most important here. Follow the procedure in the manual regarding taking out the slack at the top of the chain and adjusting the tension.
I am going off of a 2009 dyna manual and a lawabidingbiker.com video. In the video they make it look so easy. When they take their inner cover off you see no little parts come falling out. When I took mine off all the dowel bushings fell out and now I have to figure out where the fell out of.
See the link I provided above for a drawing showing the dowels and location. Should be in the manual as well.
Do I need a final drive sprocket locking tool to get the pulley off? My manual says that I will need one but in all the 30t forums that I read I never saw anyone saying that this tool is needed.
I did try the use a breaker bar to remove the 2-1/4 pulley nut and it didn't even budge. Tomorrow I am going to borrow an electric impact wrench from a friend. If that doesn't work I will drill the nut and break it off.
I used the locking tool though others have used different techniques. Multiple applications of PB Blaster followed by the appropriate socket and breaker bar should get the job done. Be careful if you resort to cutting off the nut as you could damage the output shaft.
last how is my tensioner looking. The bike has 19,000 miles on it. This is my first Harley and my first time ever opening up a primary so I really don't know if my tensioner is well worn.or not.
New Tensioner Shoe from the dealer is what I recommend.
YOU also need a new compensator bolt to replace the one you removed. They are a one time use bolt as they strech when torqued.
Thanks for the info.
I did buy a new compensator bolt. I also bought new inner primary bolts because I believe they are one time use only.
On my chain tensioner. Do you know if only the shoe can be replaced or do I have to replace the entire unit?
As far as I can find by doing searches in the Web, I have to replace the entire unit, which is 100$. Of that is the case I think I am just going to reuse the one I have because there is still plenty of meat on it.
Lot's of questions - First, I can't stress enough to have the correct manual, read the steps you have to do and in the order you have to do them several times. This helps avoid putting things together only to have to go back and take them apart.
.
After I removed both the compensator and the clutch basket, I noticed a small round black bushing laying at the bottom of the primary cover. Luckily I snapped pics as I went along.
Is the lone bushing in the first pic the same one that's in the second pic attached to where the shifter shaft comes through?
I am pretty sure it is but a second opinion would be greatly appreciated. - YES, YOU ARE CORRECT. Here is a diagram of the inner and outer primary to include the alignment dowels for the inner primary.
- NOTE: You need a new gasket/seal kit in order to put the primary back together and avoid having leaks.
Also my compensator and clutch basket didn't come out all in one piece. The compensator ended up basically falling out and I had to fight to get the clutch basket out. Because of this struggle the chain jumped many teeth and there is no way it's going to go back in with the chain and all teeth lined up in the same position that it came out.
I noticed all the slack of the chain stays at the bottom. Is all I have to do is put it all back in and get the top portion of the chain as taught as possible thus leaving all the slack at the bottom.
Does anything else in the compensator and clutch basket need to be lined up?
Chain direction of rotation is what is most important here. Follow the procedure in the manual regarding taking out the slack at the top of the chain and adjusting the tension.
I am going off of a 2009 dyna manual and a lawabidingbiker.com video. In the video they make it look so easy. When they take their inner cover off you see no little parts come falling out. When I took mine off all the dowel bushings fell out and now I have to figure out where the fell out of.
See the link I provided above for a drawing showing the dowels and location. Should be in the manual as well.
Do I need a final drive sprocket locking tool to get the pulley off? My manual says that I will need one but in all the 30t forums that I read I never saw anyone saying that this tool is needed.
I did try the use a breaker bar to remove the 2-1/4 pulley nut and it didn't even budge. Tomorrow I am going to borrow an electric impact wrench from a friend. If that doesn't work I will drill the nut and break it off.
I used the locking tool though others have used different techniques. Multiple applications of PB Blaster followed by the appropriate socket and breaker bar should get the job done. Be careful if you resort to cutting off the nut as you could damage the output shaft.
last how is my tensioner looking. The bike has 19,000 miles on it. This is my first Harley and my first time ever opening up a primary so I really don't know if my tensioner is well worn.or not.
New Tensioner Shoe from the dealer is what I recommend.
YOU also need a new compensator bolt to replace the one you removed. They are a one time use bolt as they strech when torqued.
I did a bunch of research before I tore into this project. I have all the correct replacement bolts and gaskets needed to complete the job correctly. I ordered them all in advance.
the devil bushings threw me off because I never saw any of those in anything that I read or any of the videos that I saw. Also in every video that I watched the compensator sprocket comes off by itself along with the clutch basket all is one unit if you grab both of them correctly and pull them at the same time. This wasn't the case with my bike. My compensator sprocket along with the five plates behind it all pretty much fell off. Since posting I have found a few videos that shows you how to put the compensator back together correctly and how to tension the chain correctly. It all looks pretty straightforward so I don't think that's going to be an issue for me.
like I said in my other reply that I do think I'm going to reuse the tensioner that I have because I think I could get another 50,000 out of it before needs to be replaced. If I was able to just replace the shoe I would do it now but that doesn't seem to be an option.
once again thank you for the input is greatly appreciated
To get the mainshaft nut off I tried heat and an electric impact the gun. I would heat the nut then hit it for sixty second intervals with the gun. I repeated this process many times and nothing it wouldn't budge. I ended up borrowing a second impact gun from a mechanic friend who said his was powerful. Heat, impact, heat, impact and still nothing.
I then switched over to intervals of heat and a 4ft breaker bar. I put so much effort into loosening the nut I am positive of I put anymore the swivel mechanism was going to snap.
With all my available options exhausted the only thing left was to drill it off.
My clutch basket wore a ring into the nut so it was really hard to tell where the inside of the nut was. I first drilled test holes and I would walk them towards the inside of the nut little by little. After I realized where the inside of the nut was I grabbed a bit that was a hair thinner than the nut. I took my time and went really slow, trying to ensure I didn't hit the threads or the pulley.
Needless to say I hit both.
The damage is minimal and the threads are definitely Mechanically sound still but i am quite pissed at myself.
I should have tried to locate a more powerful impact gun..My buddies gun had alright power but I know there are stronger ones out there.
well, at least going forward getting my mainshaft nut off will be much easier. I ended up investing in a 3 guyz nut, which only get torqued to 55 ft lbs and then to the next hole. From all the reviews and from what 3 guyz says their nut comes off much easier while providing much more surface e area to distribute the pressure.
This was my first mainshaft nut removal. You live and you learn.
You can see where i nicked the shaft. It really sucks
3 guyz nut
You can see where i went in a bit too far and hit the pulley. Also sucks.
I had to drill as well and did the same thing. Make sure you inspect that mainshaft for damage as well but you should be ok. The tensioner is a good idea to replace as the ratcheting machanism can cause the chain to end up too tight. The Baker Attitude Chain Tensioner works great for me.
I had to drill as well and did the same thing. Make sure you inspect that mainshaft for damage as well but you should be ok. The tensioner is a good idea to replace as the ratcheting machanism can cause the chain to end up too tight. The Baker Attitude Chain Tensioner works great for me.
Ya, it sucks. I woke up still a bit pissed at myself. I seriously thought that I was missing the threads.
I did inspect the mainshaft and it was perfect.
As far as replacing my chain tensioner, I would like to replace it but unfortantly I am light on funds right now. My plan is to reuse my current one and replace it down the road. Going by the current wear pattern I should easily be able to get another 20,000 mile out of it. Luckily the tensioner is very easy to replace so I can.just do it in the future .
The hits keep coming.
I went to put on the primary gasket and I saw a fresh flake of metal. I got down on my hands and knees to look and i saw a 1.5 inch section under the compensator that got gouged right where the gasket sits.
I used a wood block as a locking bar like I saw in many videos. When I was torqueing both the compensator bolt and the clutch basket nut the block would often violently give way.
I think the chain dug into the primary when I was torqueing the clutch basket nut.
I ended up breaking out my dremel with the hand whip engraving attachment and a grinding stone. I put the speed down real low and slowly knocked down the burs that were created from the chain, being extremly careful not to remove any extra aluminum.
I buttoned up the primary and added fluid and so far there is no leak. I won't really know if it will hold until I put some miles on the bike.
Doing this job brought home the importance of having the correct tools. The job in itself isn't very difficult but it was made difficult because I didn't have the right tools, nor a helper.
The next time I do this job I am going to invest in the steel locking bar, a platform lift and a powerful impact gun.
You can get away with using wood blocks but with the amount of torque required, if the wood block does give way, it gives way quite violently. My wood block gave way several times.
Having a platform lift that could raise the bike to waist level or higher would have been a huge help. It would of allowed me to see what was happening under the bike and it would have kept the bike from moving all over the place when I started add high torque.
Well the primary side is almost done. I just have to put the shifter on and the foot peg.
Next I have to add mid controls to the brake side, which should be much, much easier.
Then I have to pull my exhaust and put back in the o2 sensors so I can run powervision to recalibrate the speedo.
 08-17-2018, 12:13 AM