Wild 1 Chubby 12" Outlawz Installation
#31
 09-07-2012, 01:16 PM

ghoticov
good job so far i like the looseing of the riser trick!
I read early in your post about the grips with no glue
your bike might be new enough where they are the "glueless type" of
grips check into that before you fudge that up on that sweet ride mang
keep taking pics
good job so far i like the looseing of the riser trick!
I read early in your post about the grips with no glue
your bike might be new enough where they are the "glueless type" of
grips check into that before you fudge that up on that sweet ride mang
keep taking pics
I have never heard of glue less grips. Lol My grip does lock into the clutch and switch housing and can't slide without the whole housing moving around. Would that be those type of grips?
#32
09-07-2012, 01:20 PM
That sucks that your throttle & idle didn't reach! +2 should do, but like already said, double check with string. Too long is a problem too for interference and rubbing. When you get all that done, get a late model Heritage top clamp for your risers and get rid of the 2 piece top clamps.
#33
09-07-2012, 01:36 PM

Ultimate HDF Member
Yes. The housing locks it in. Good job so far. Any updated pics?
#34
09-07-2012, 01:43 PM
Ah ha! Thanks...that's exactly what it does. I never knew I didn't have to use glue because of that. I learn something new everyday on this forum.
I will have some updated pics this weekend but they will still have the stock cables on them. Then....hopefully next weekend I can take on the task of putting on all the Chromite II cables.....more research on installing all that now. Lol
I will have some updated pics this weekend but they will still have the stock cables on them. Then....hopefully next weekend I can take on the task of putting on all the Chromite II cables.....more research on installing all that now. Lol
#35
09-07-2012, 05:31 PM
#36
09-07-2012, 08:25 PM

#38
09-07-2012, 08:33 PM
I put everything back on, only took about 10 minutes. My switch housing wires are not connected though (see other thread here ... https://www.hdforums.com/forum/softa...extension.html ) and the old stock cables are a tight fit... the brake line is unbolted from both mounts in order for me it to reach my bars.
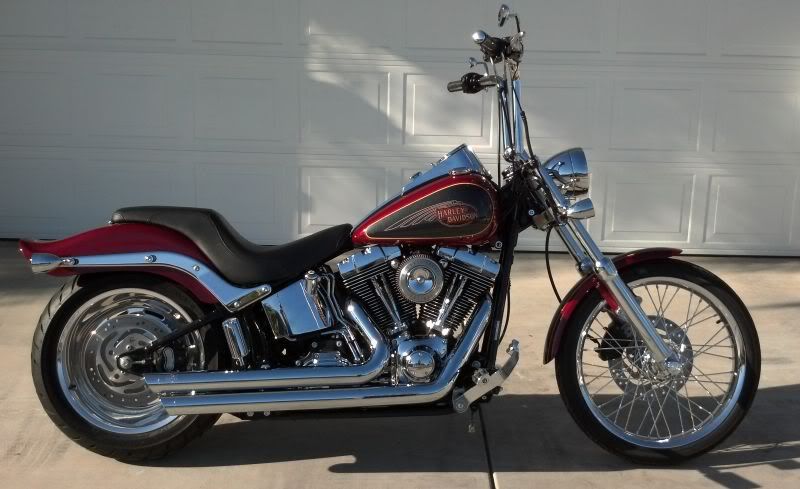
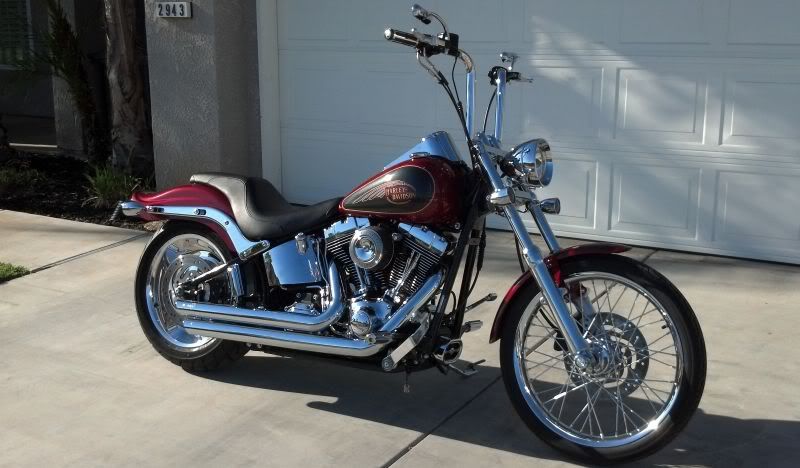
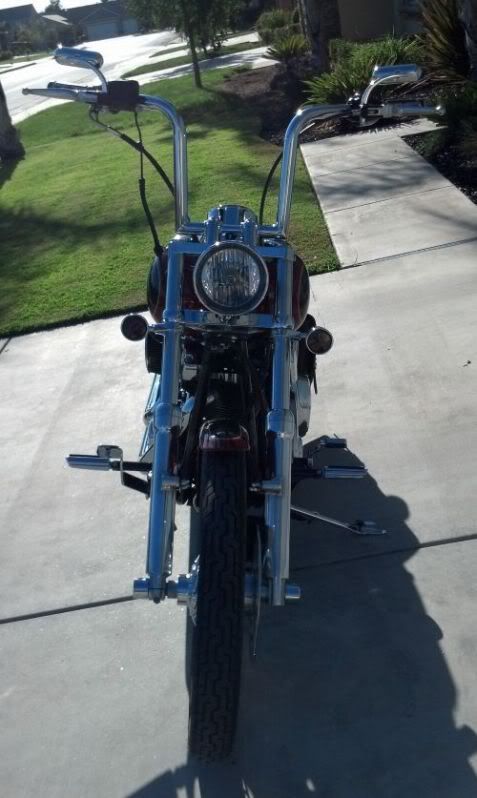
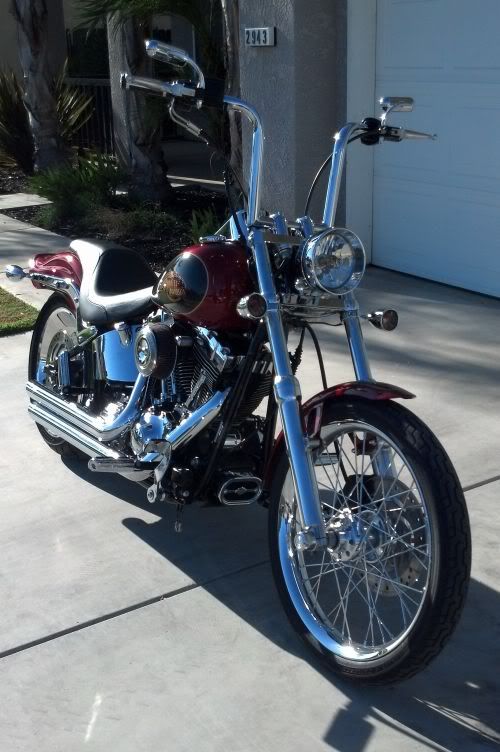
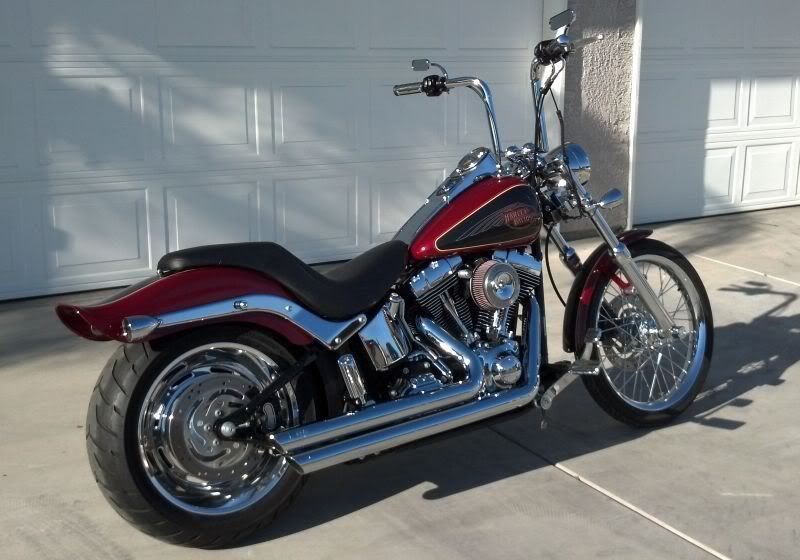
I just rolled the bike out to take some updated pics. I LOVE THE OUTLAWZ CHUBBY BARS!!! They look so good the way they follow the lines of the forks and then break off. They are also as (or more) comfortable than my stock bars were... plus the wiring is all cleaned up. Once I get the Magnum Shielding Chromite II cables on, it's going to look sweet!
I also have a used TRI BAR LED Tailight that should deliver tomorrow (thanks sagebrush1976!)... it will give me something to install while waiting on my cables. lol I am worried about installing the cables but I figure if I can do this much, I can take on the cables now.
Here are some pics with the new bars and old cables (notice how tight the cables are). lol
#39
09-07-2012, 08:33 PM
#40
09-07-2012, 09:20 PM