
My 2013 Iron 883 Cafe Build.
#11
 10-29-2014, 01:59 PM

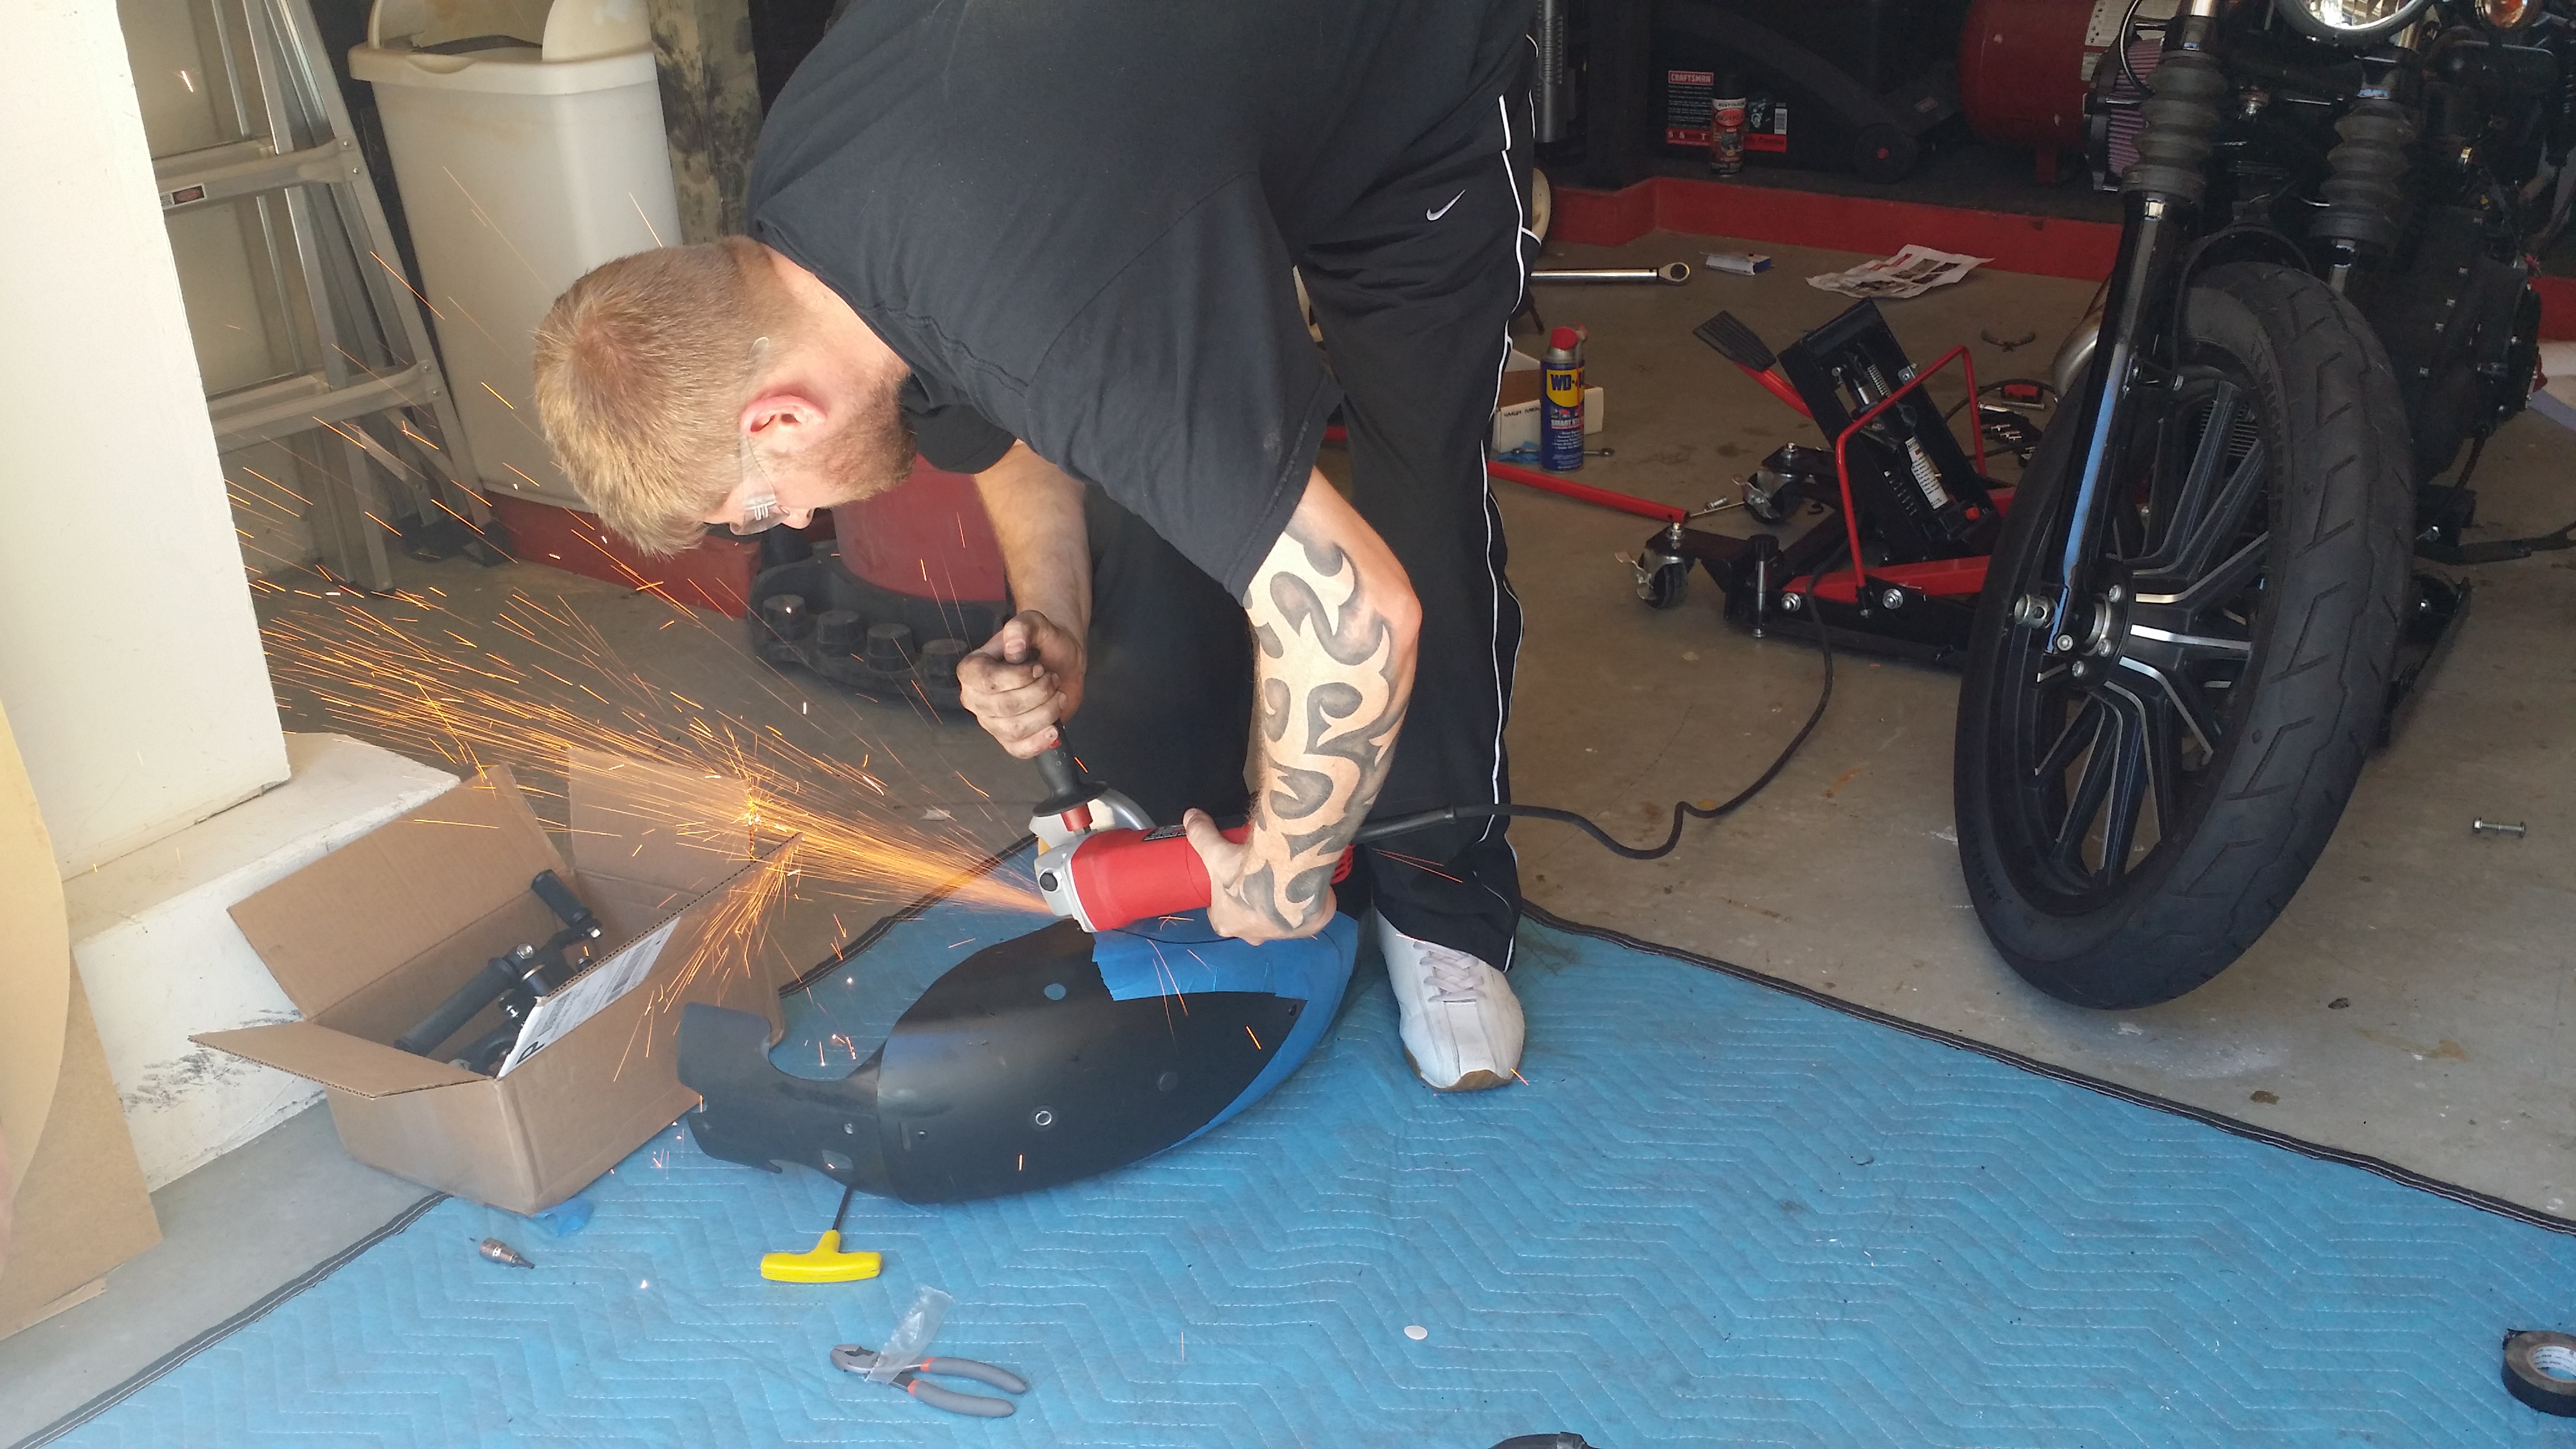
Now it was time for the fender chop. I must admit it was pretty scary……first time here fellas. Thanks to my wife for the pics…..dramatic effect you know lol
I laid down some tape and used a paper plate to get the arcs that I wanted. Made sure it would hide under the seat and got to chopping.
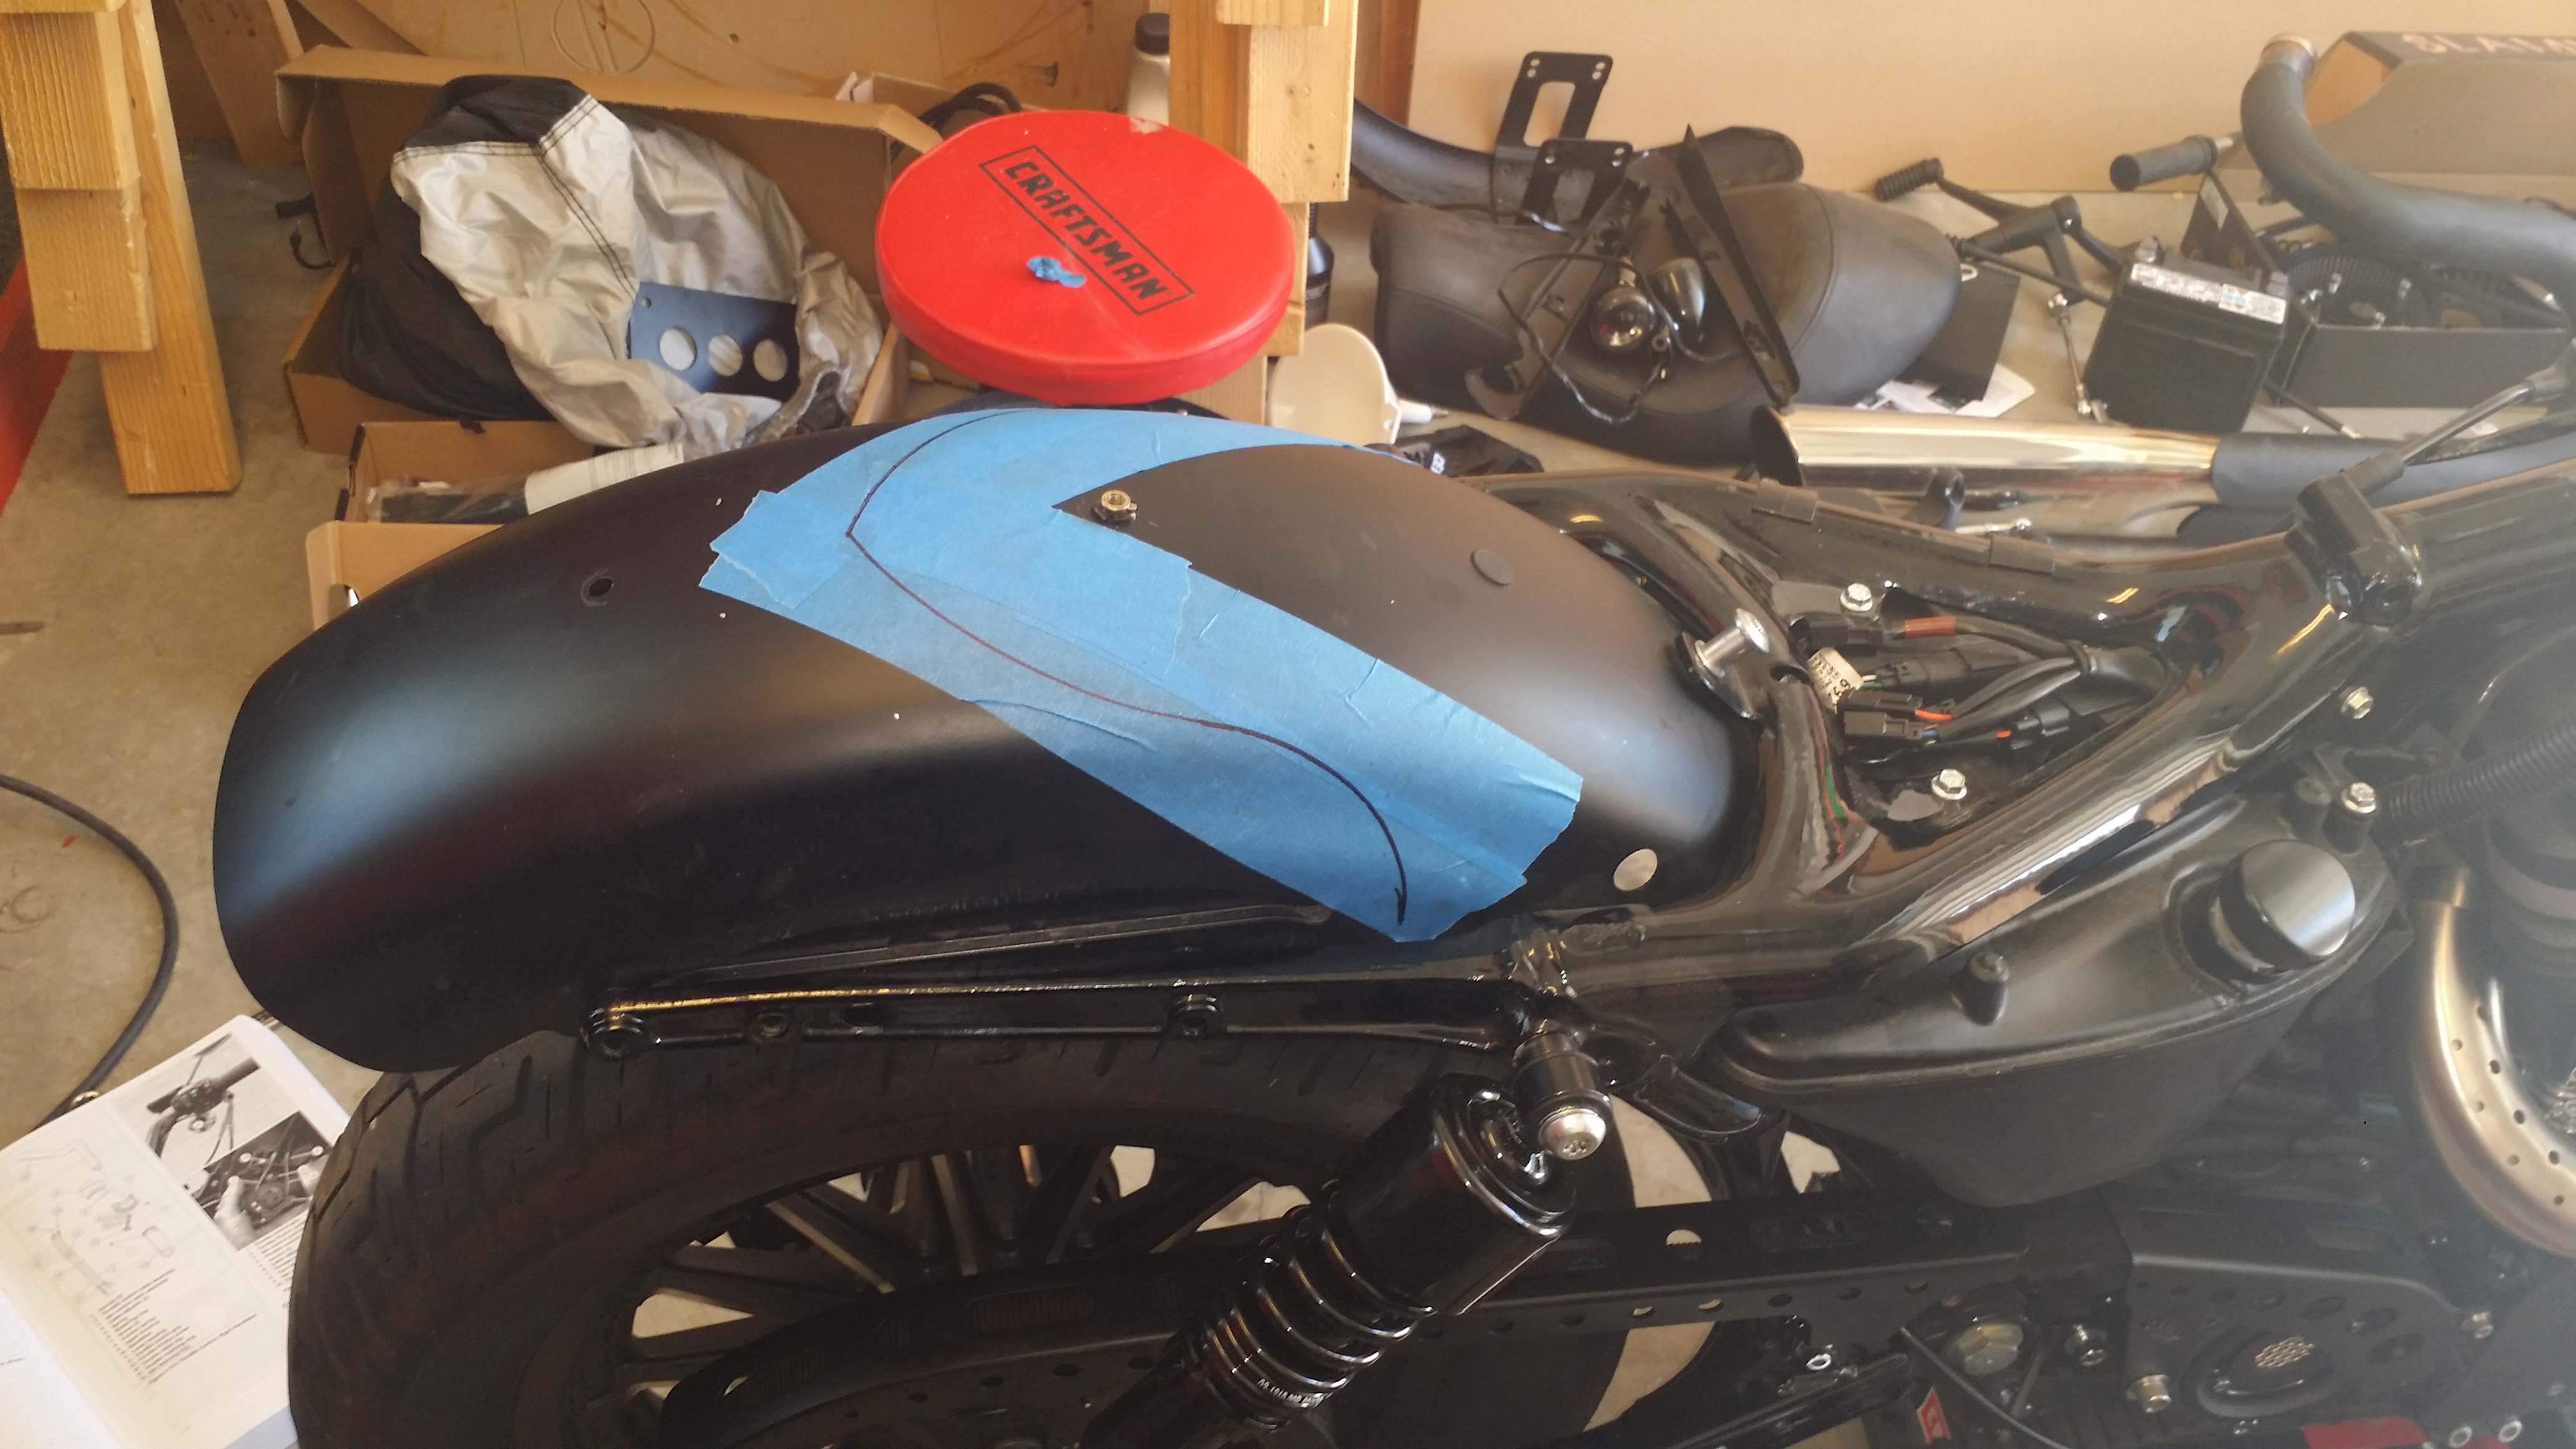
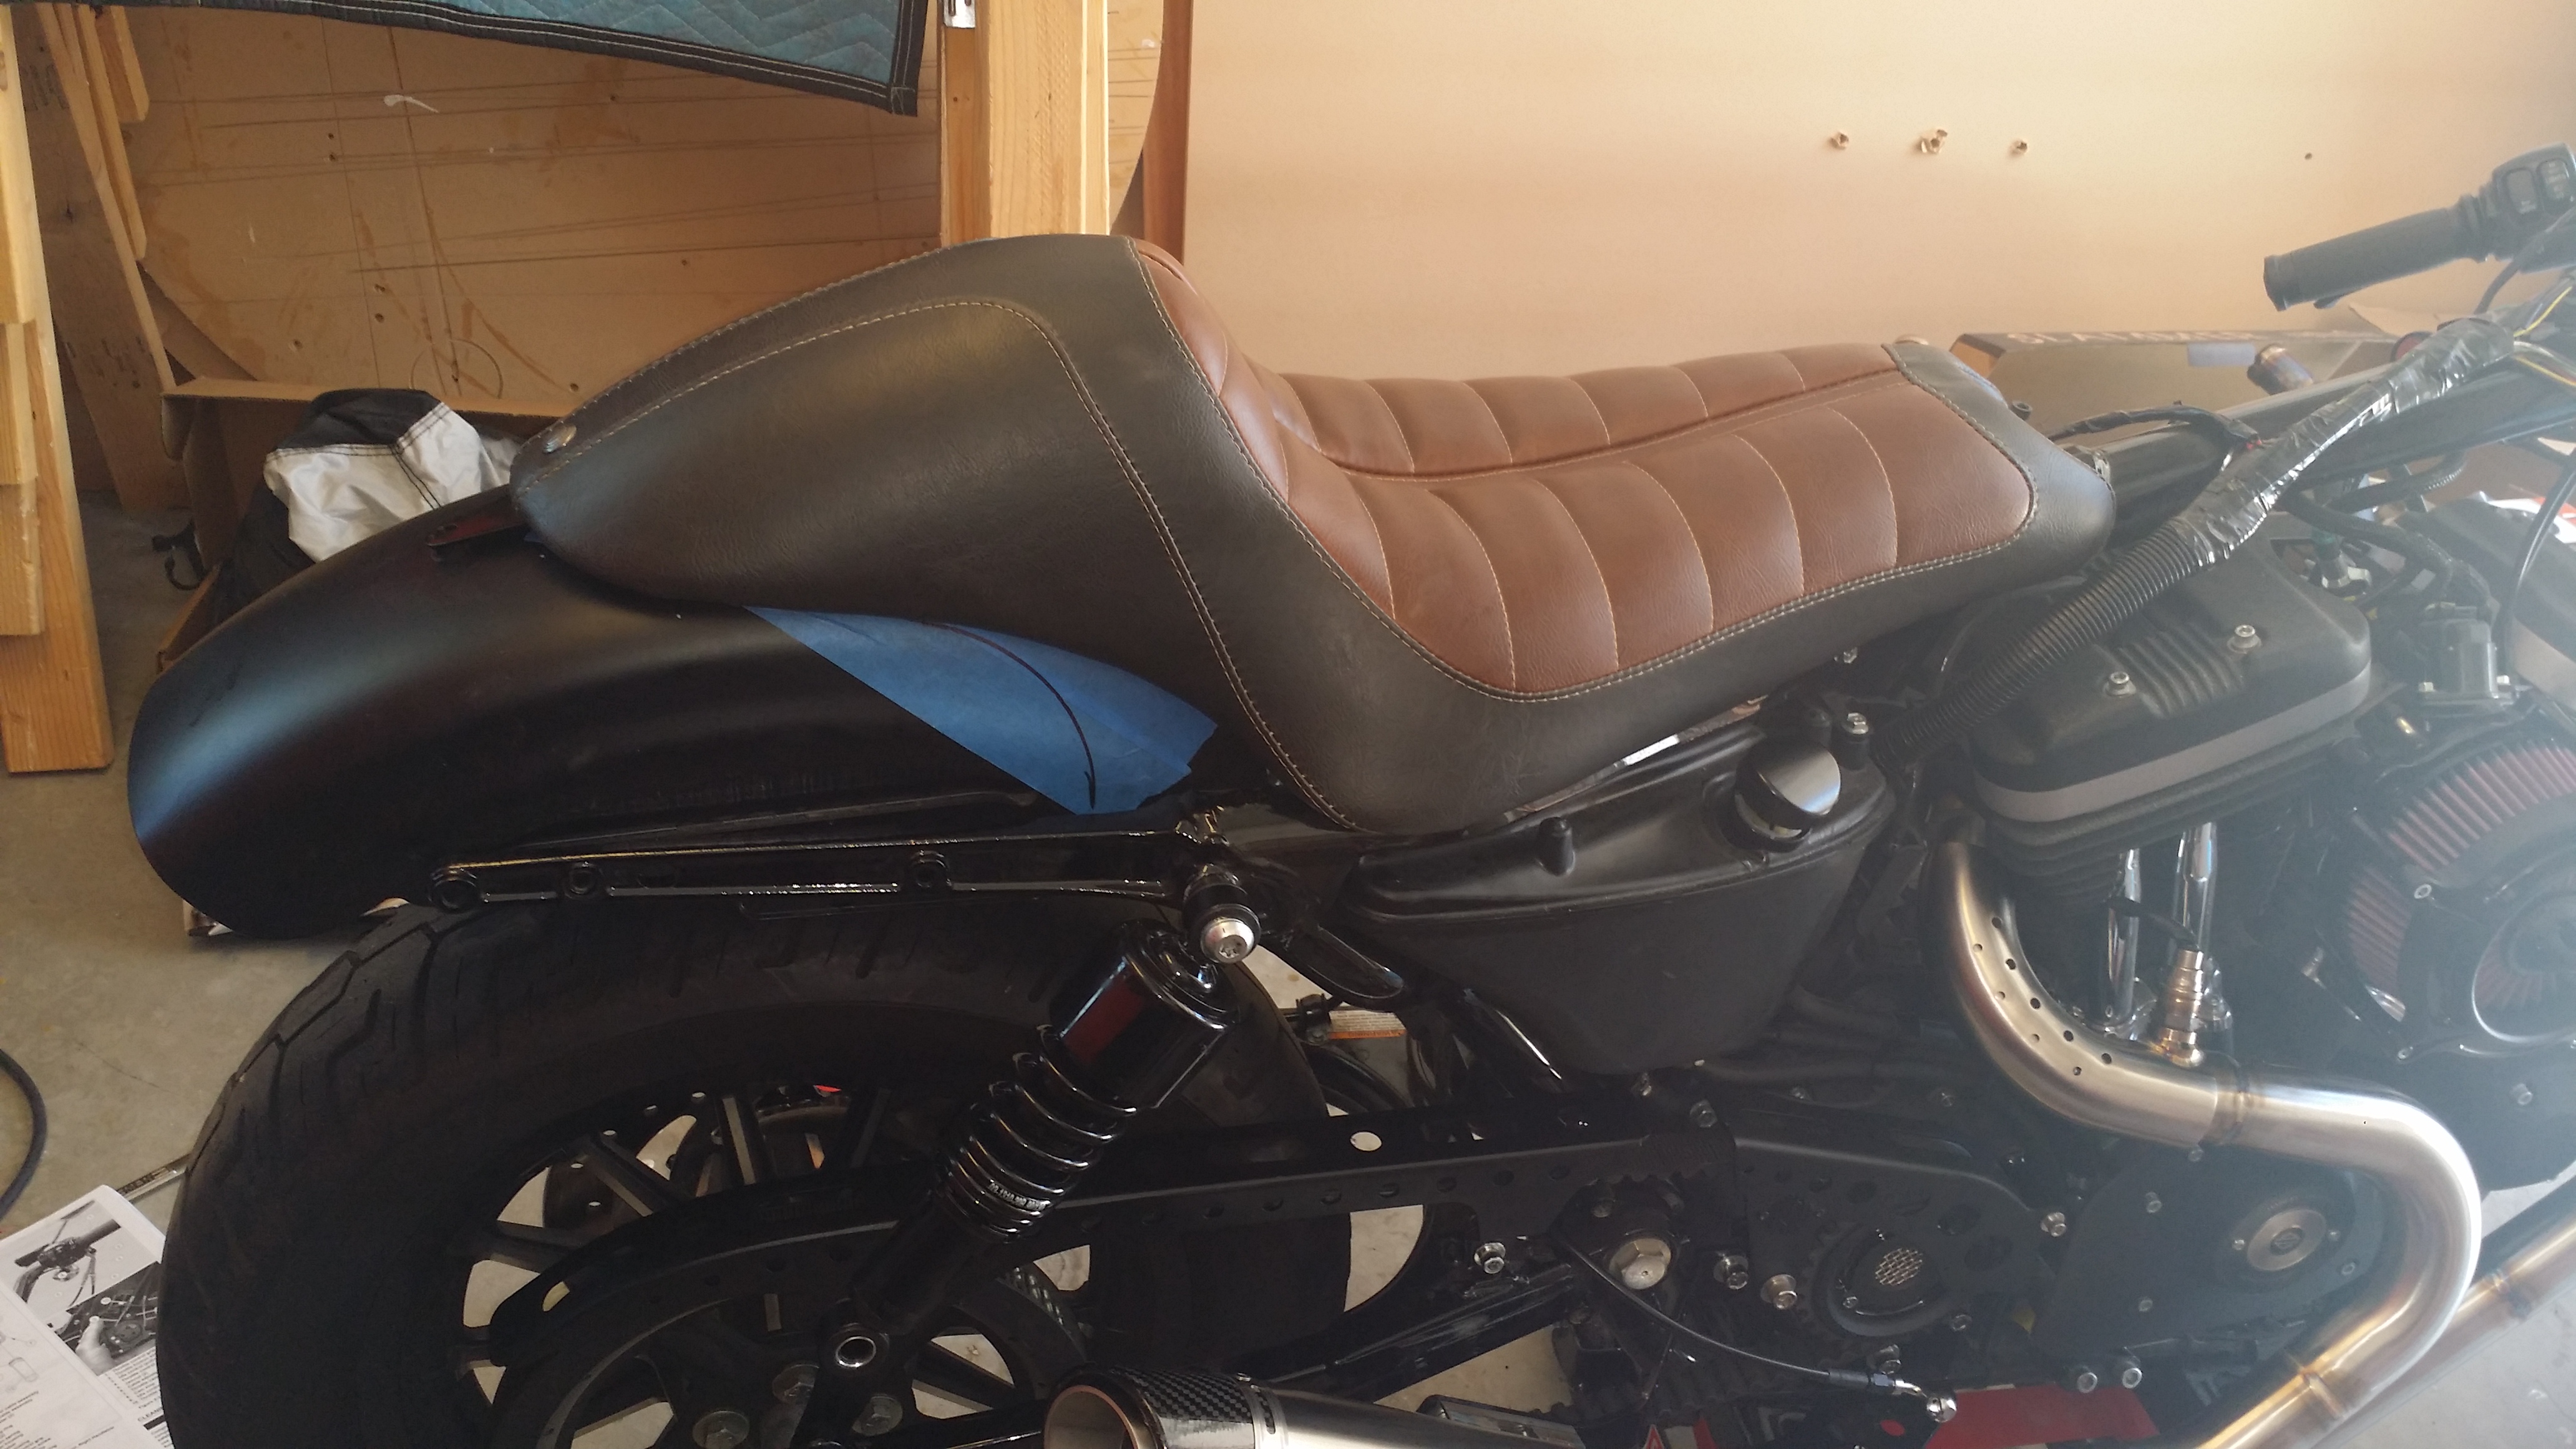
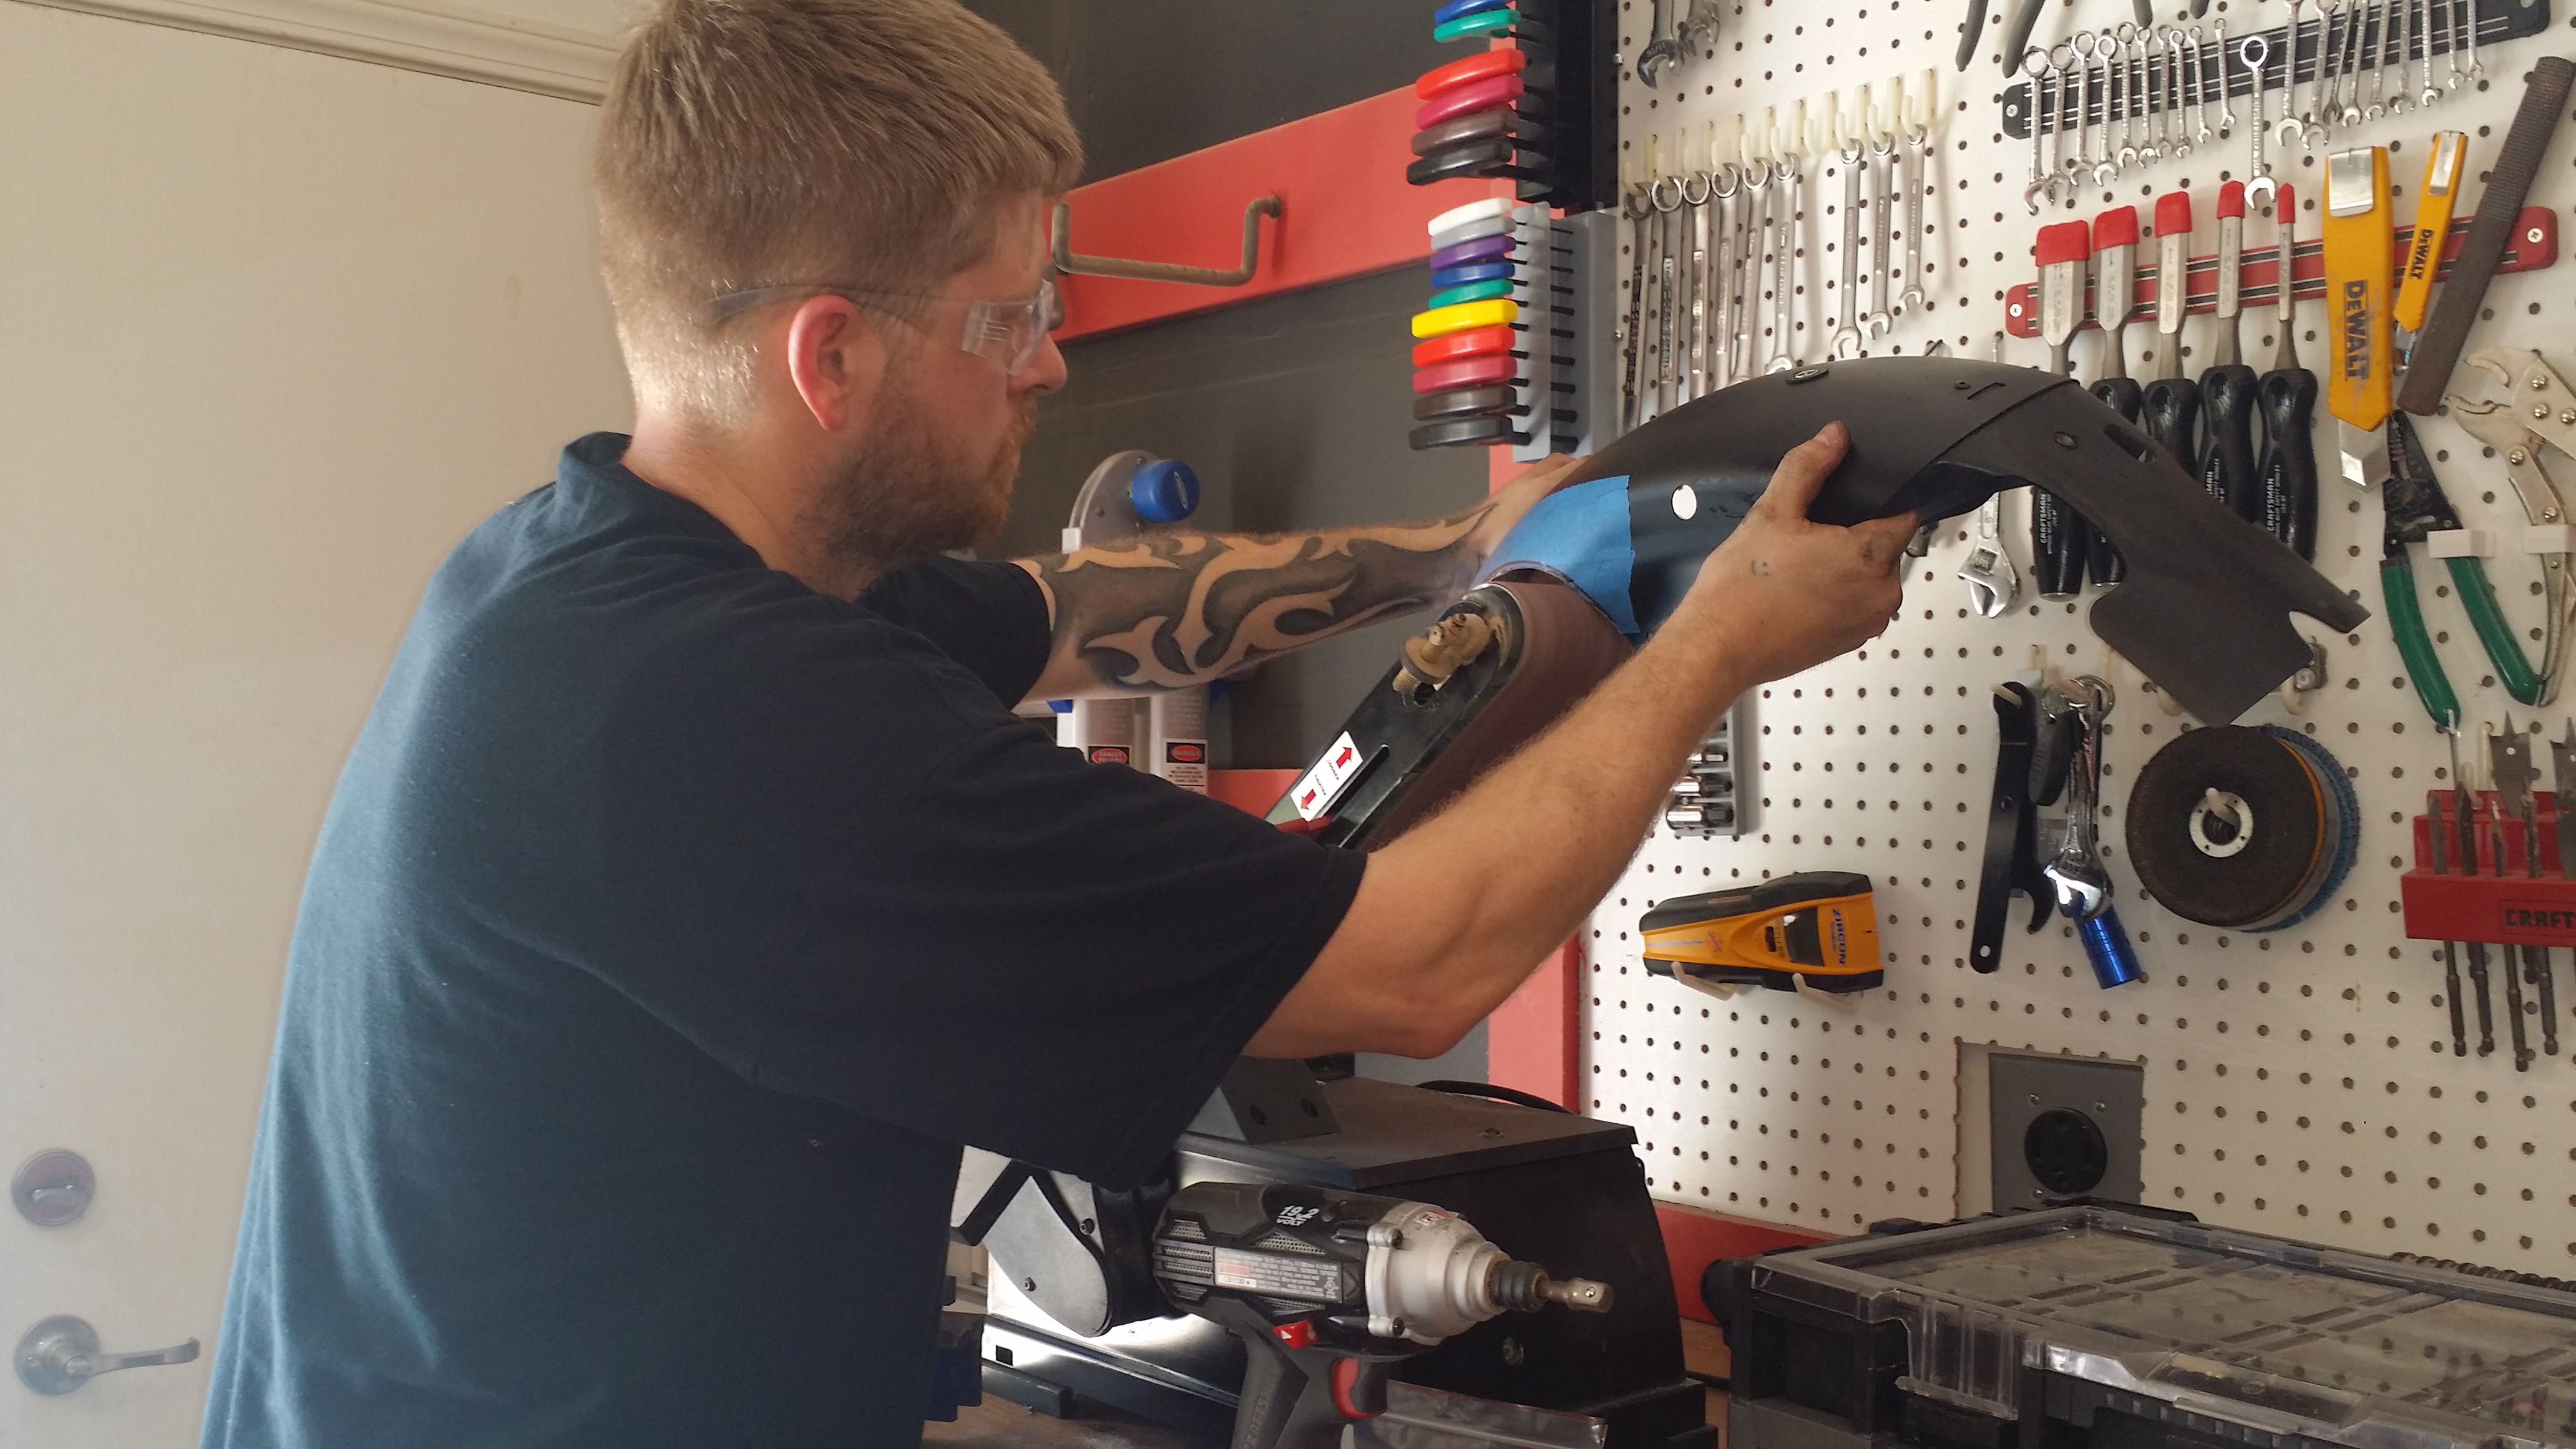
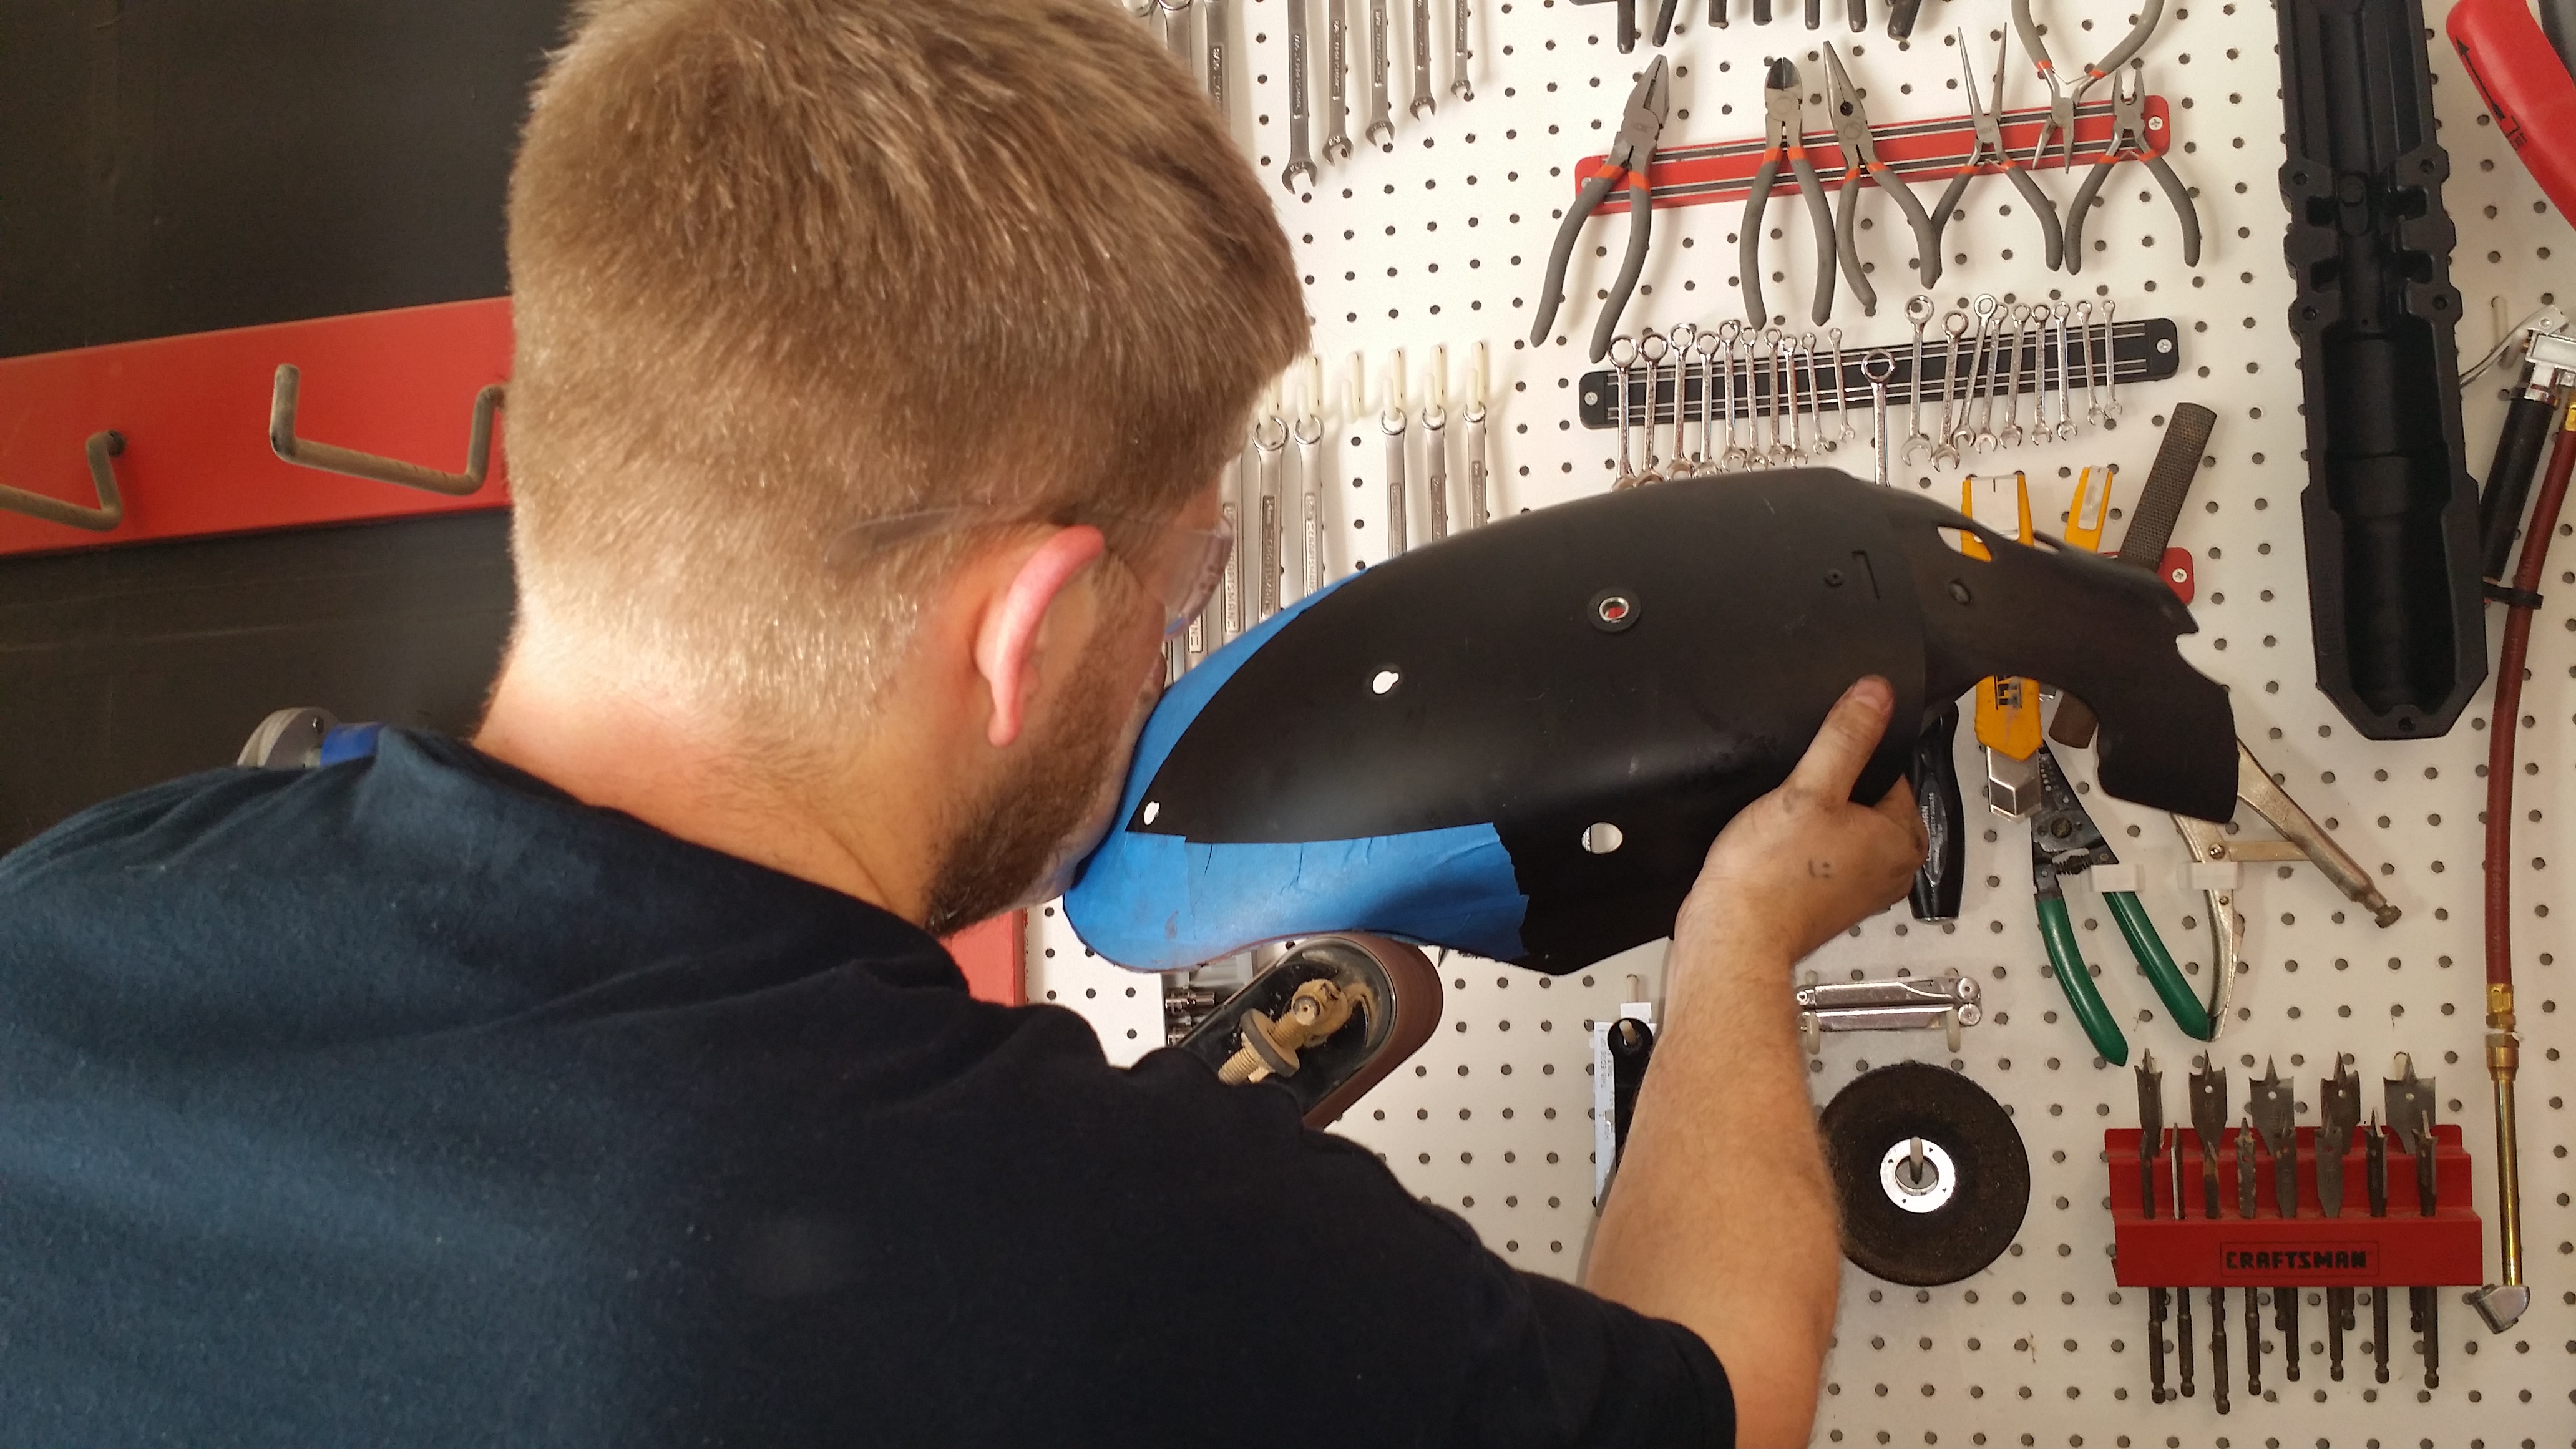
Fit perfectly!!!!
I laid down some tape and used a paper plate to get the arcs that I wanted. Made sure it would hide under the seat and got to chopping.


Fit perfectly!!!!


#12
10-29-2014, 02:08 PM
Next was the strut cut.
Now originally I planned on mounting the rear turn signals to the left over struts but ended up mounting them in the fender.
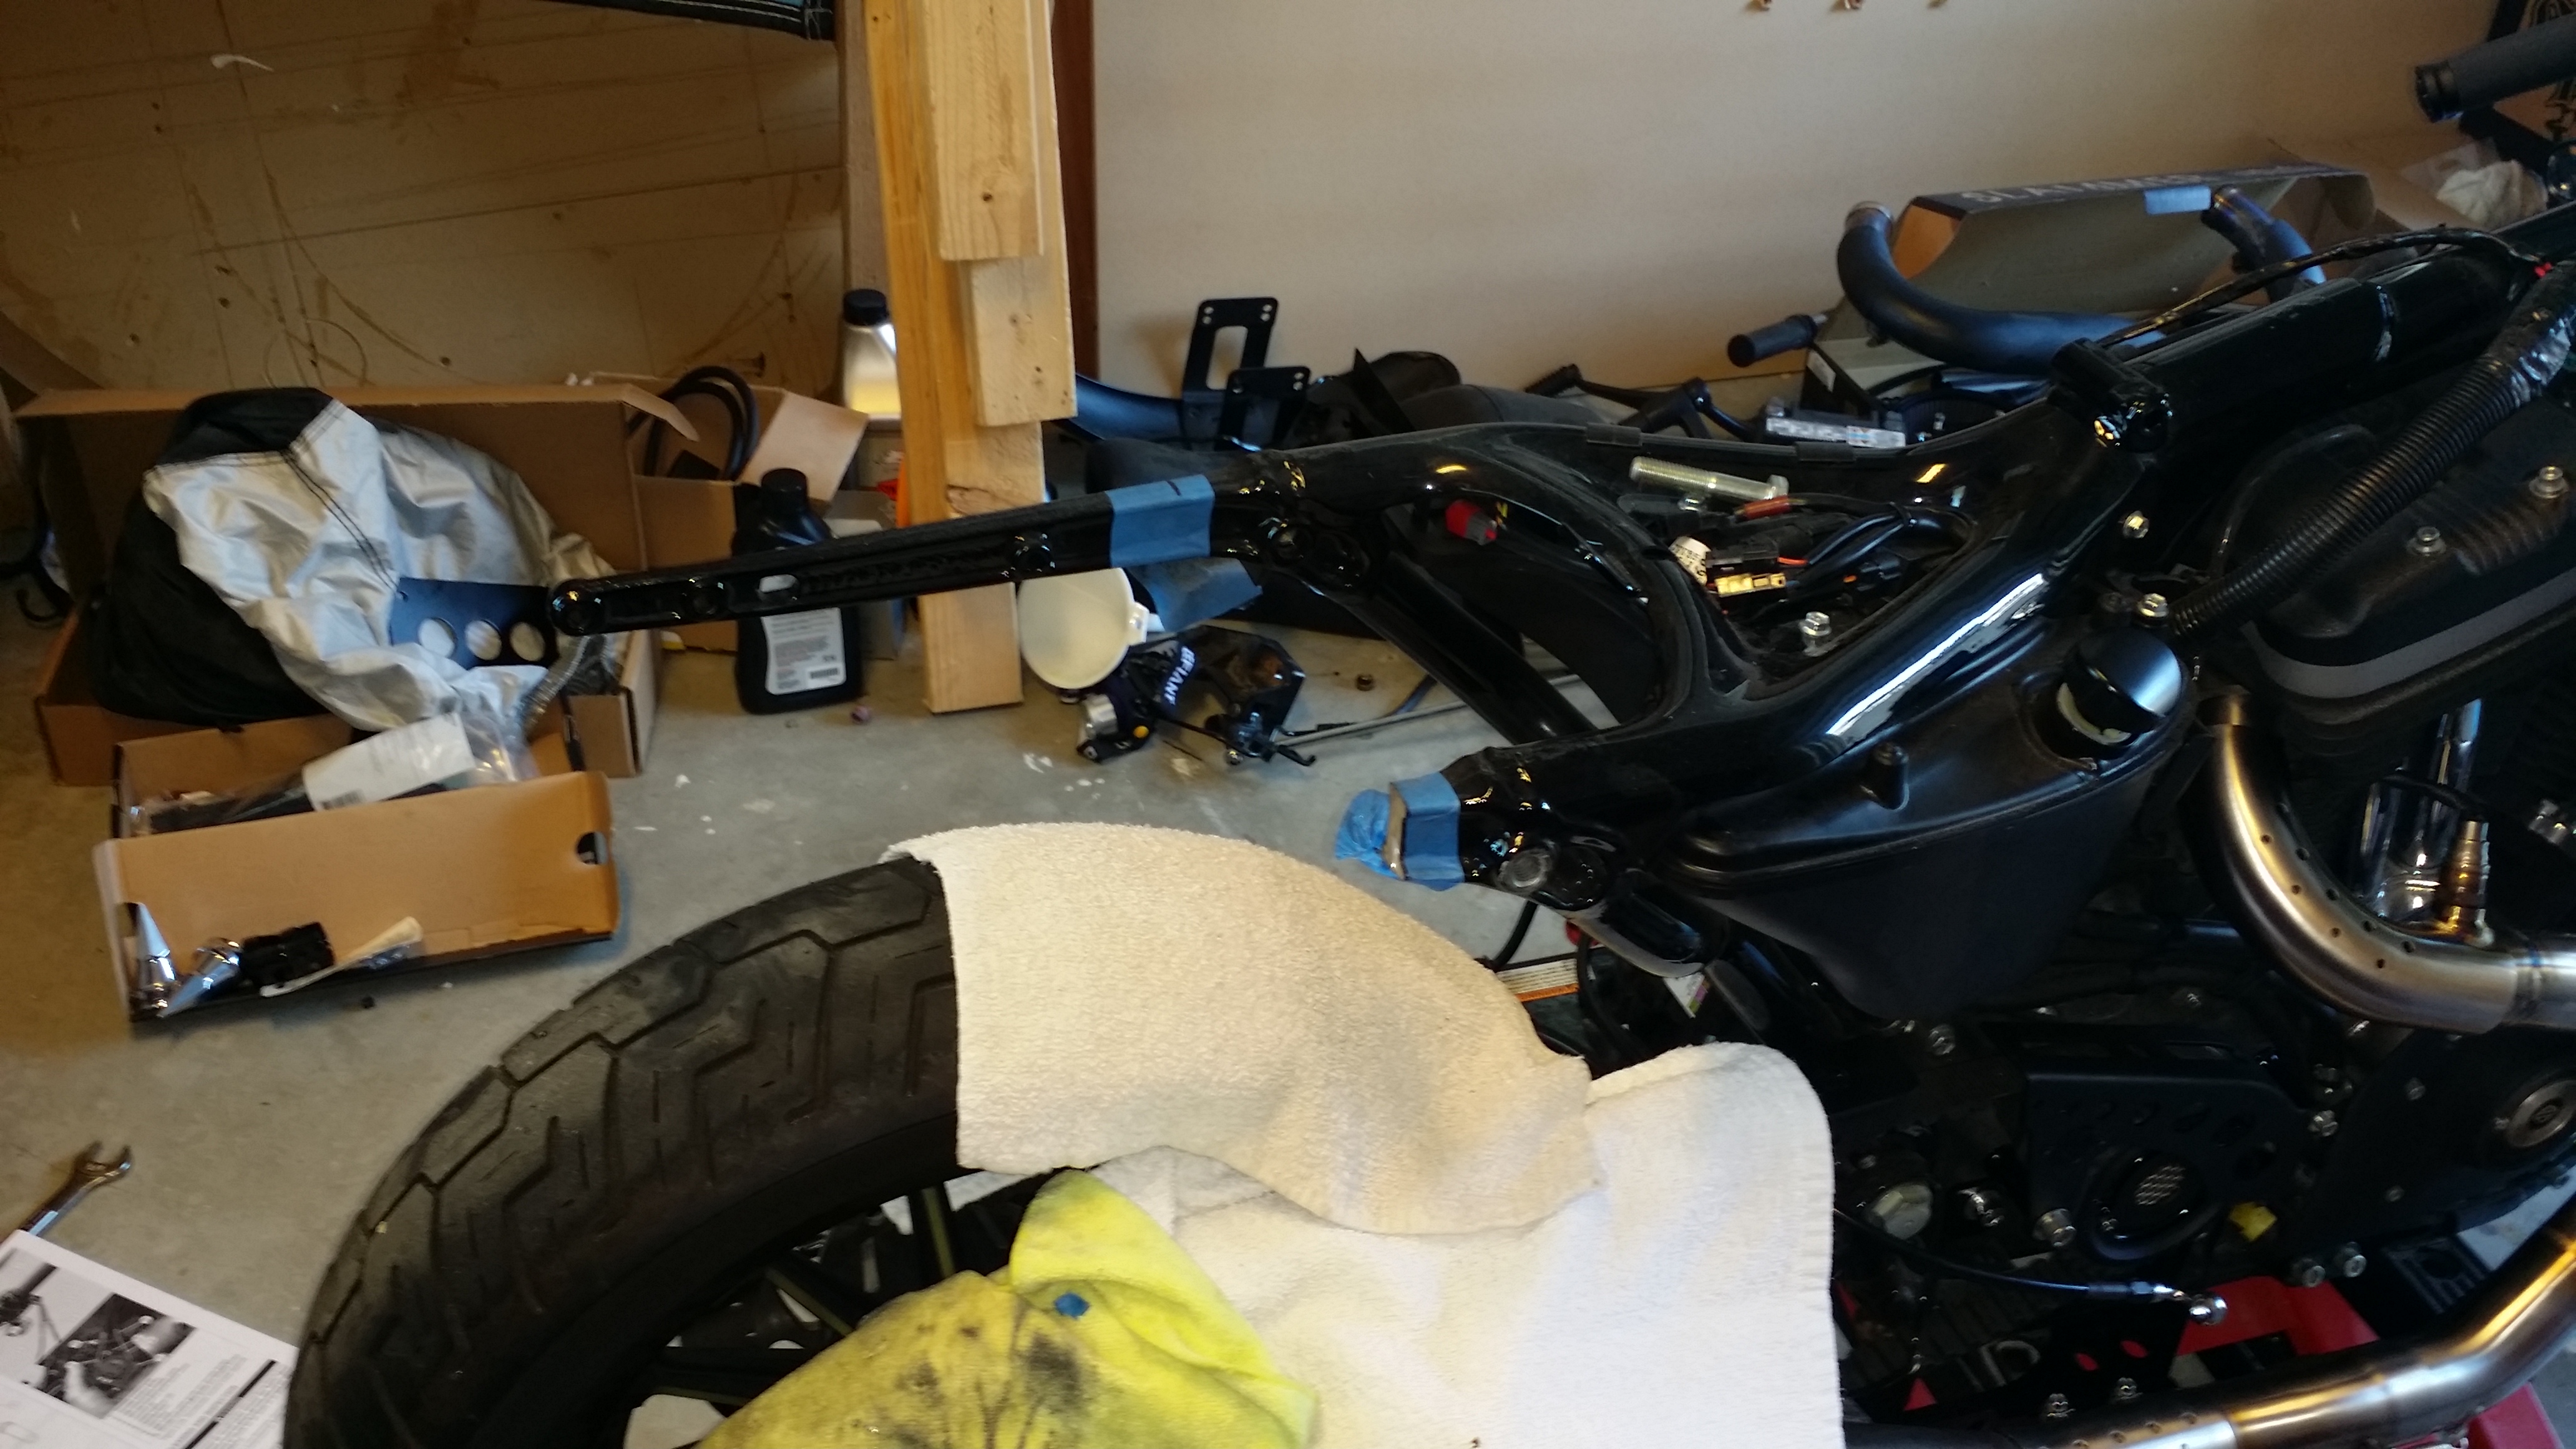
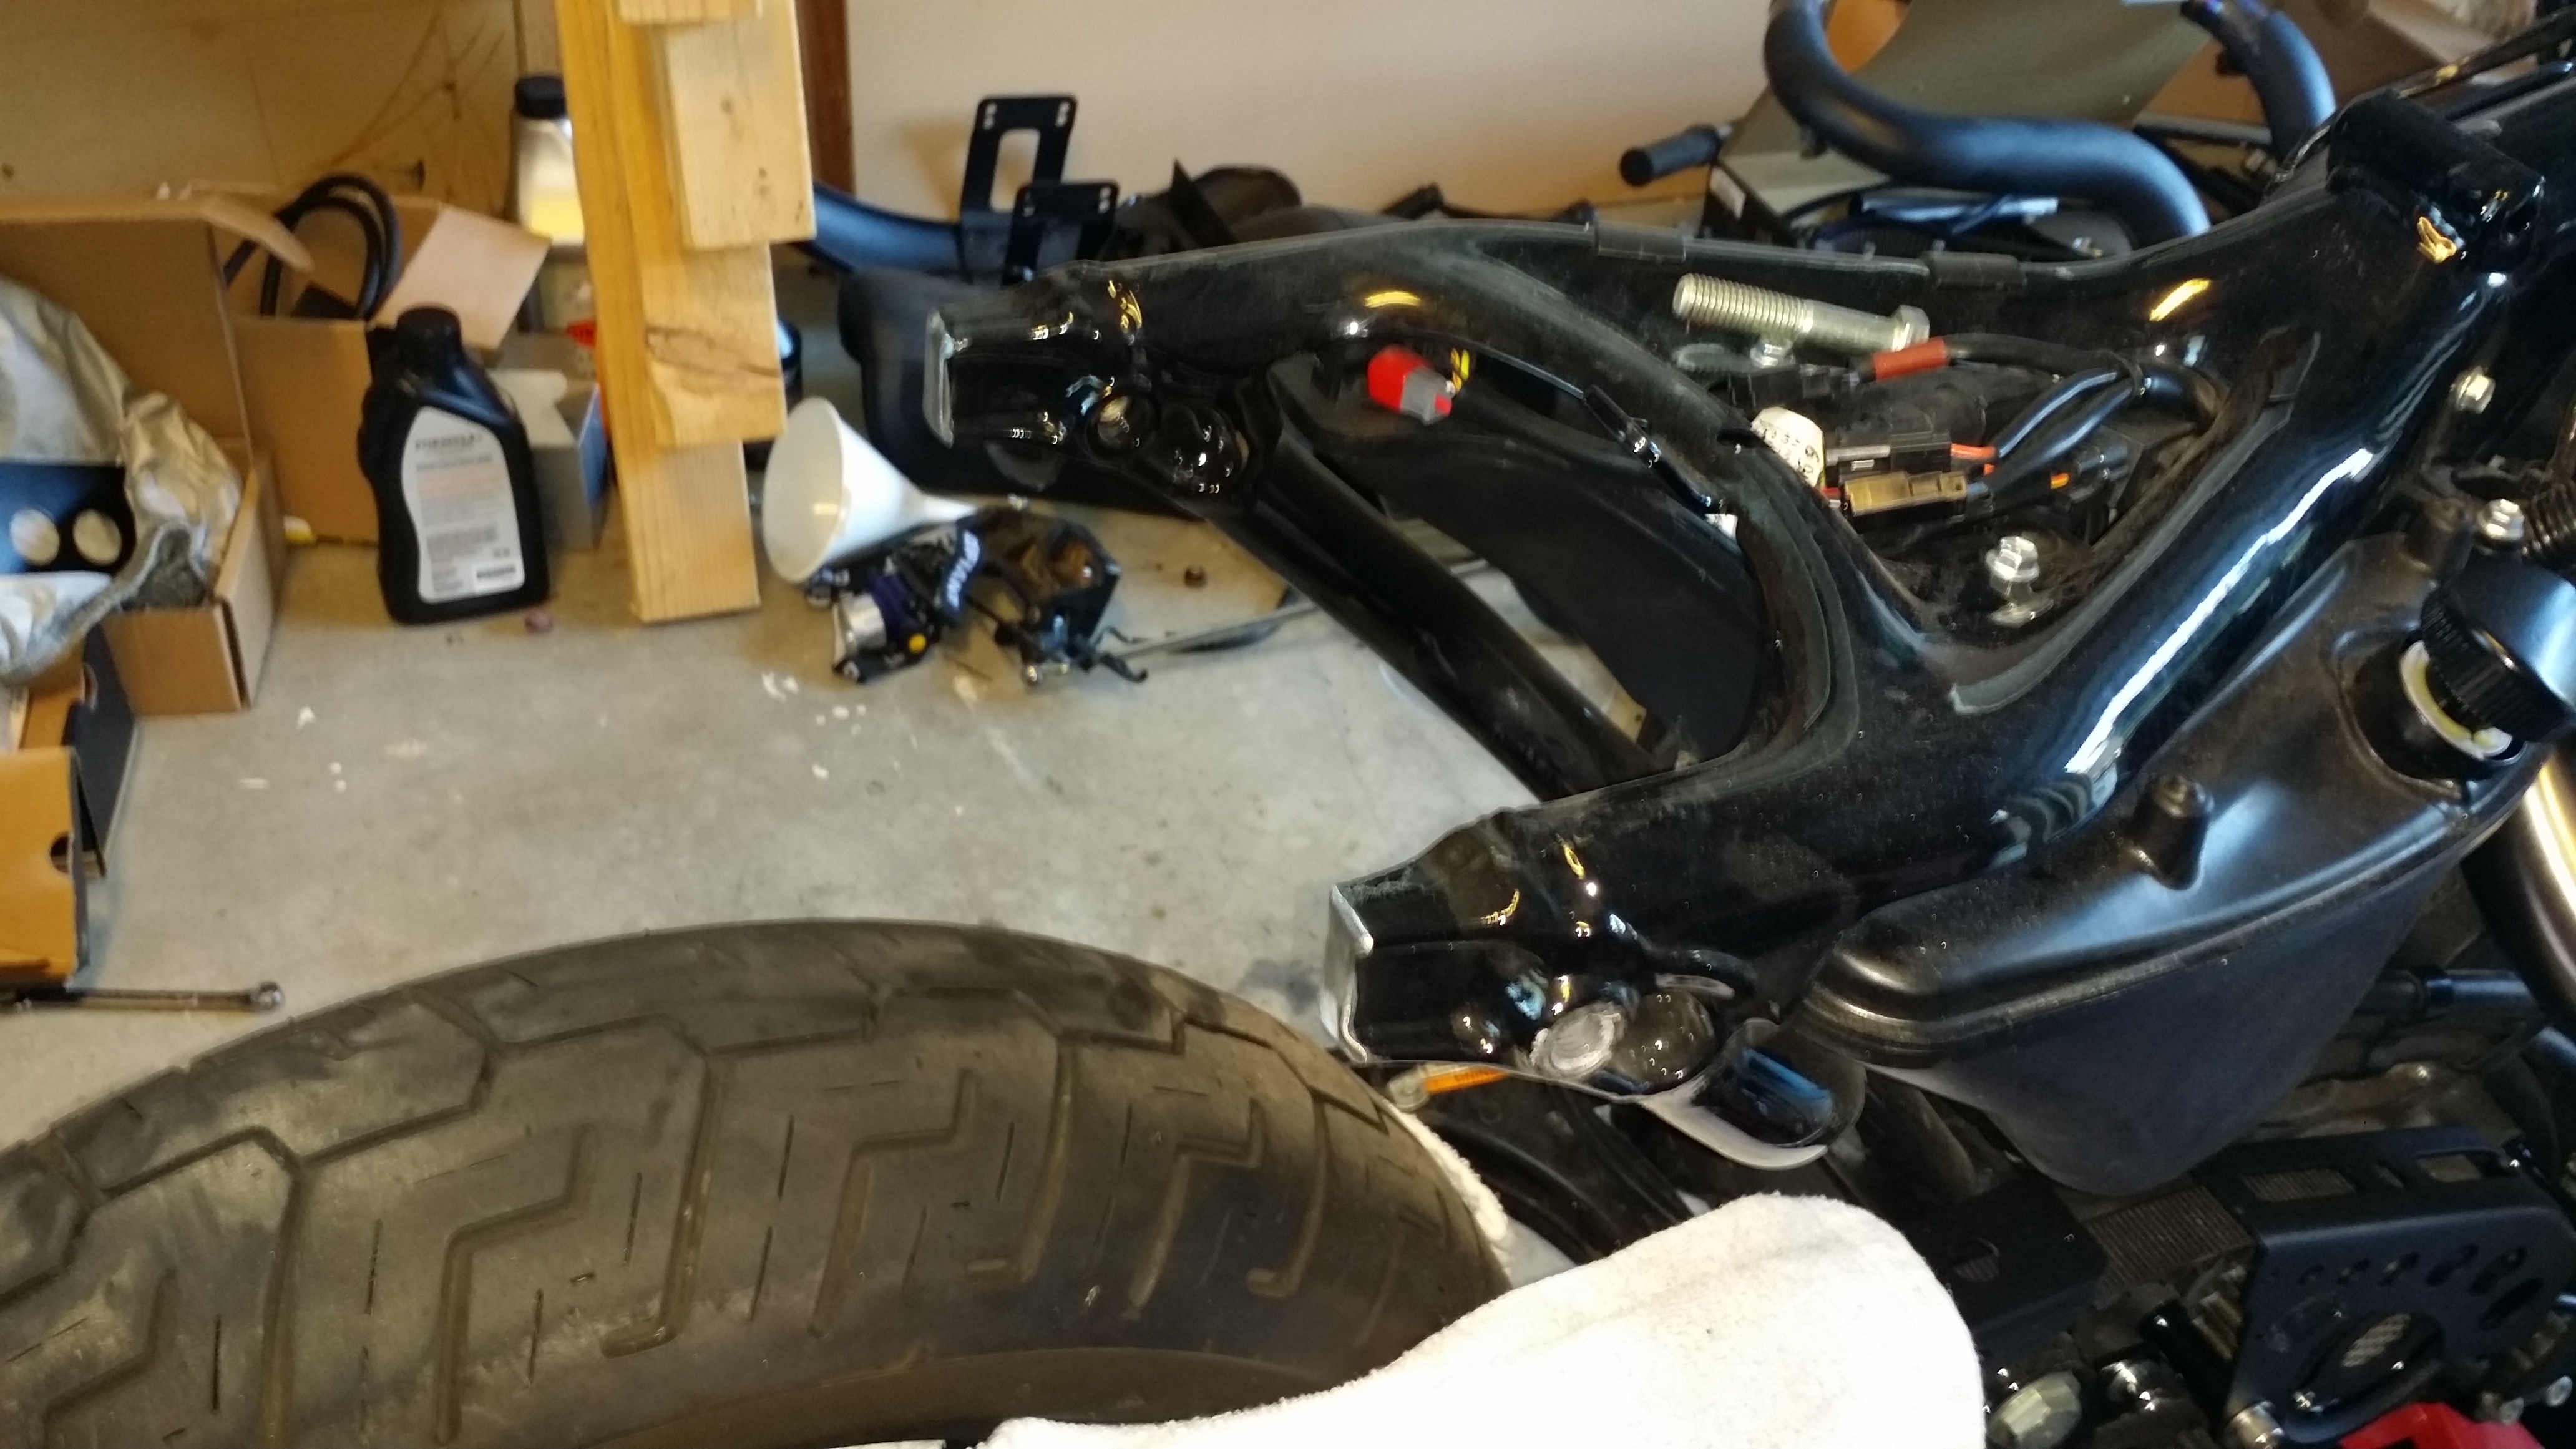
The upper shock bolt holes are threaded all the way thru the frame but the bolt itself just goes about half way. So I decided this would be a perfect way to mount the rear fender. I drilled holes to match the shock bolts and used 1/8th in spacers on either side of the fender to mount from the inside. Very solid.
Now originally I planned on mounting the rear turn signals to the left over struts but ended up mounting them in the fender.
The upper shock bolt holes are threaded all the way thru the frame but the bolt itself just goes about half way. So I decided this would be a perfect way to mount the rear fender. I drilled holes to match the shock bolts and used 1/8th in spacers on either side of the fender to mount from the inside. Very solid.


#13
10-29-2014, 02:49 PM
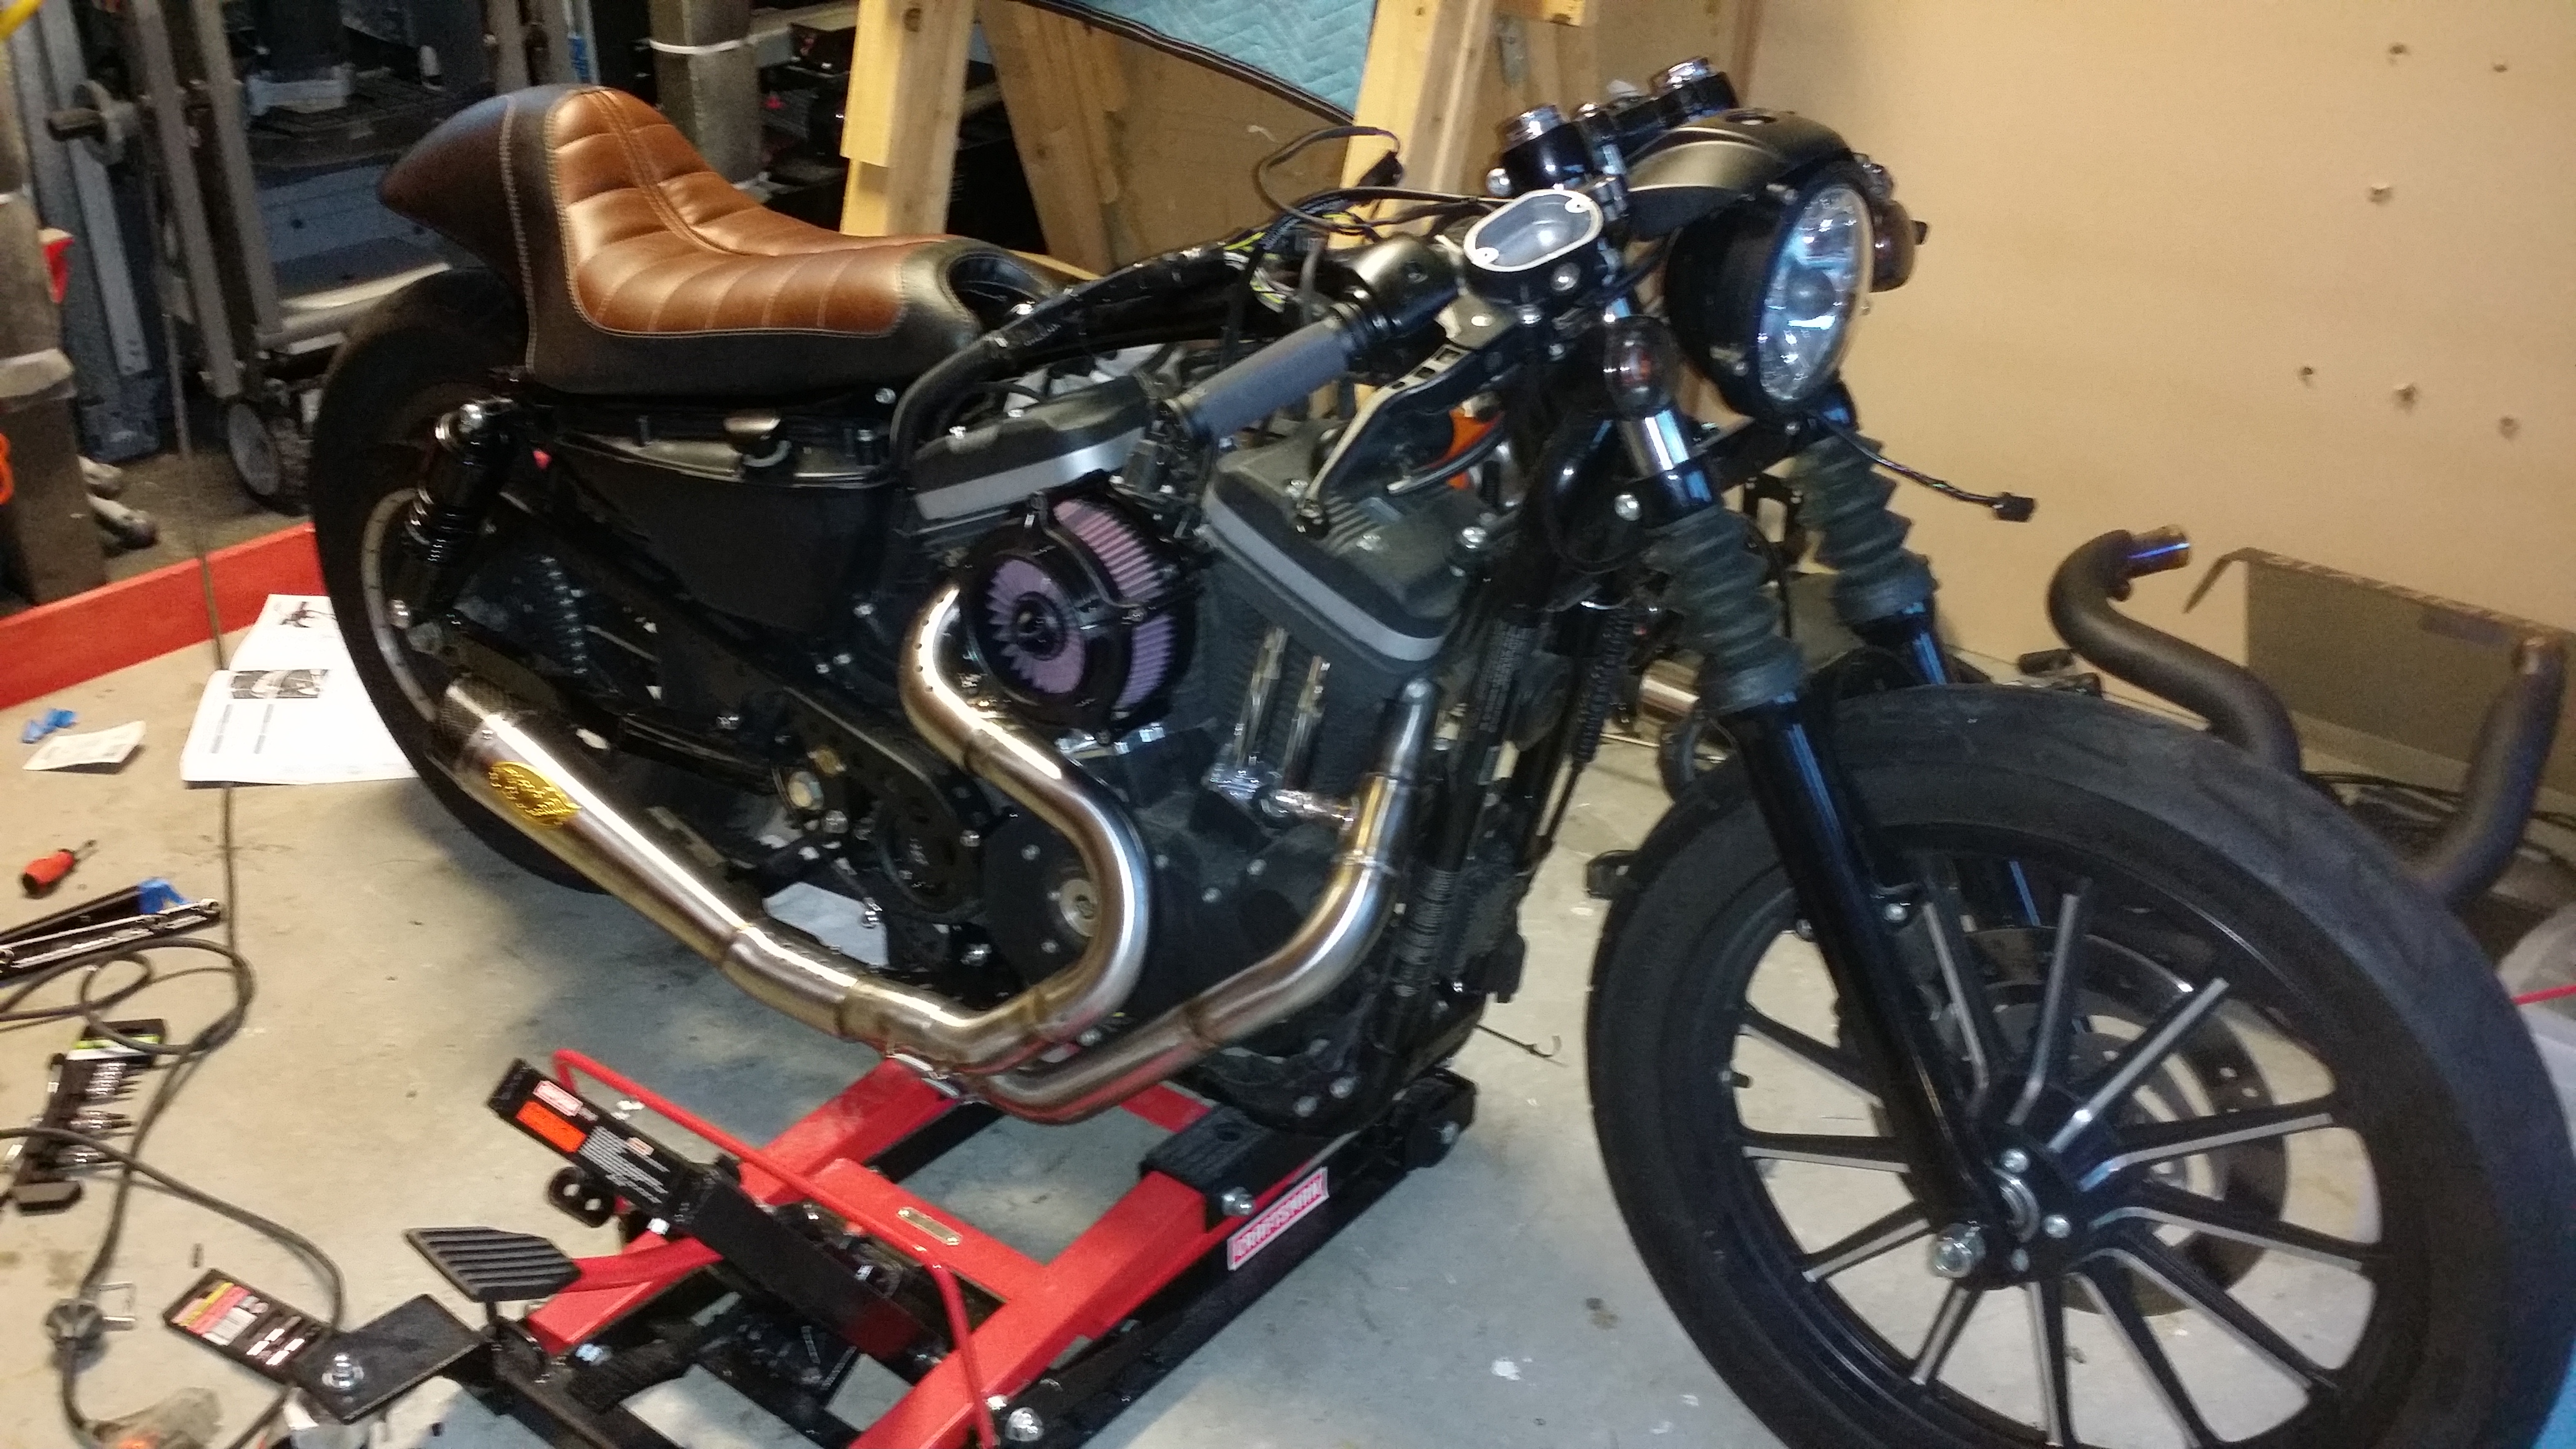
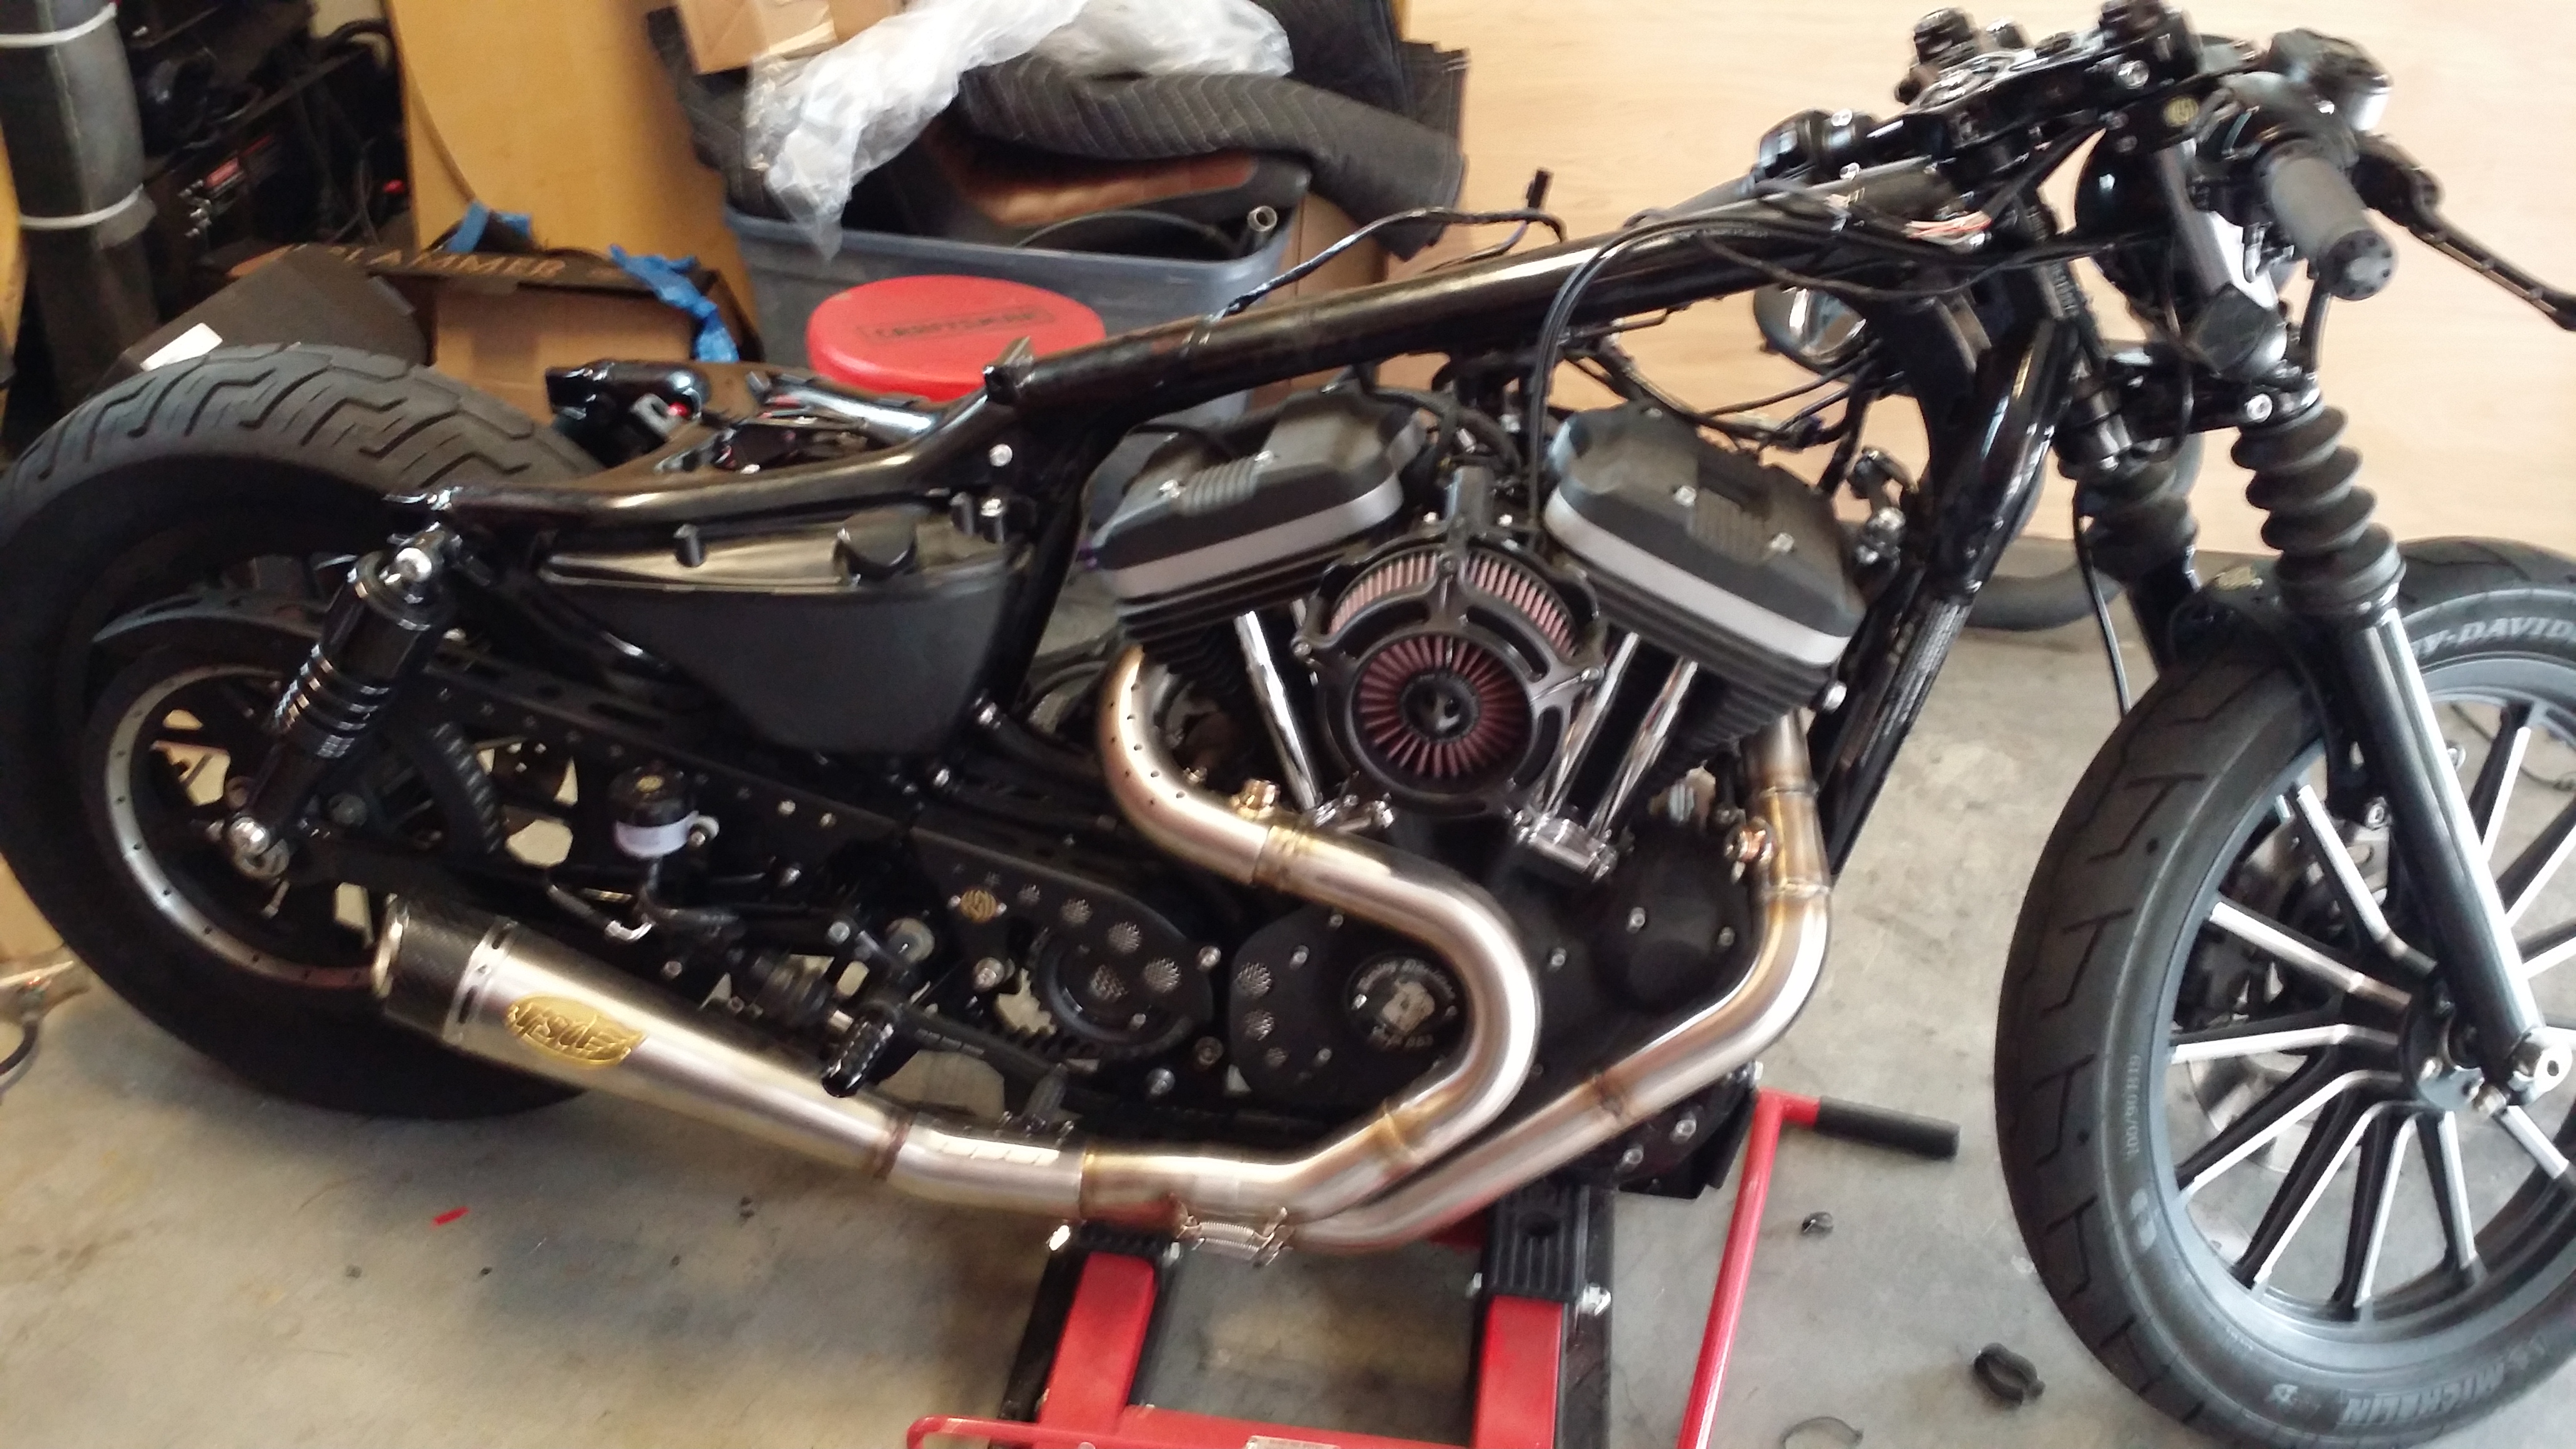
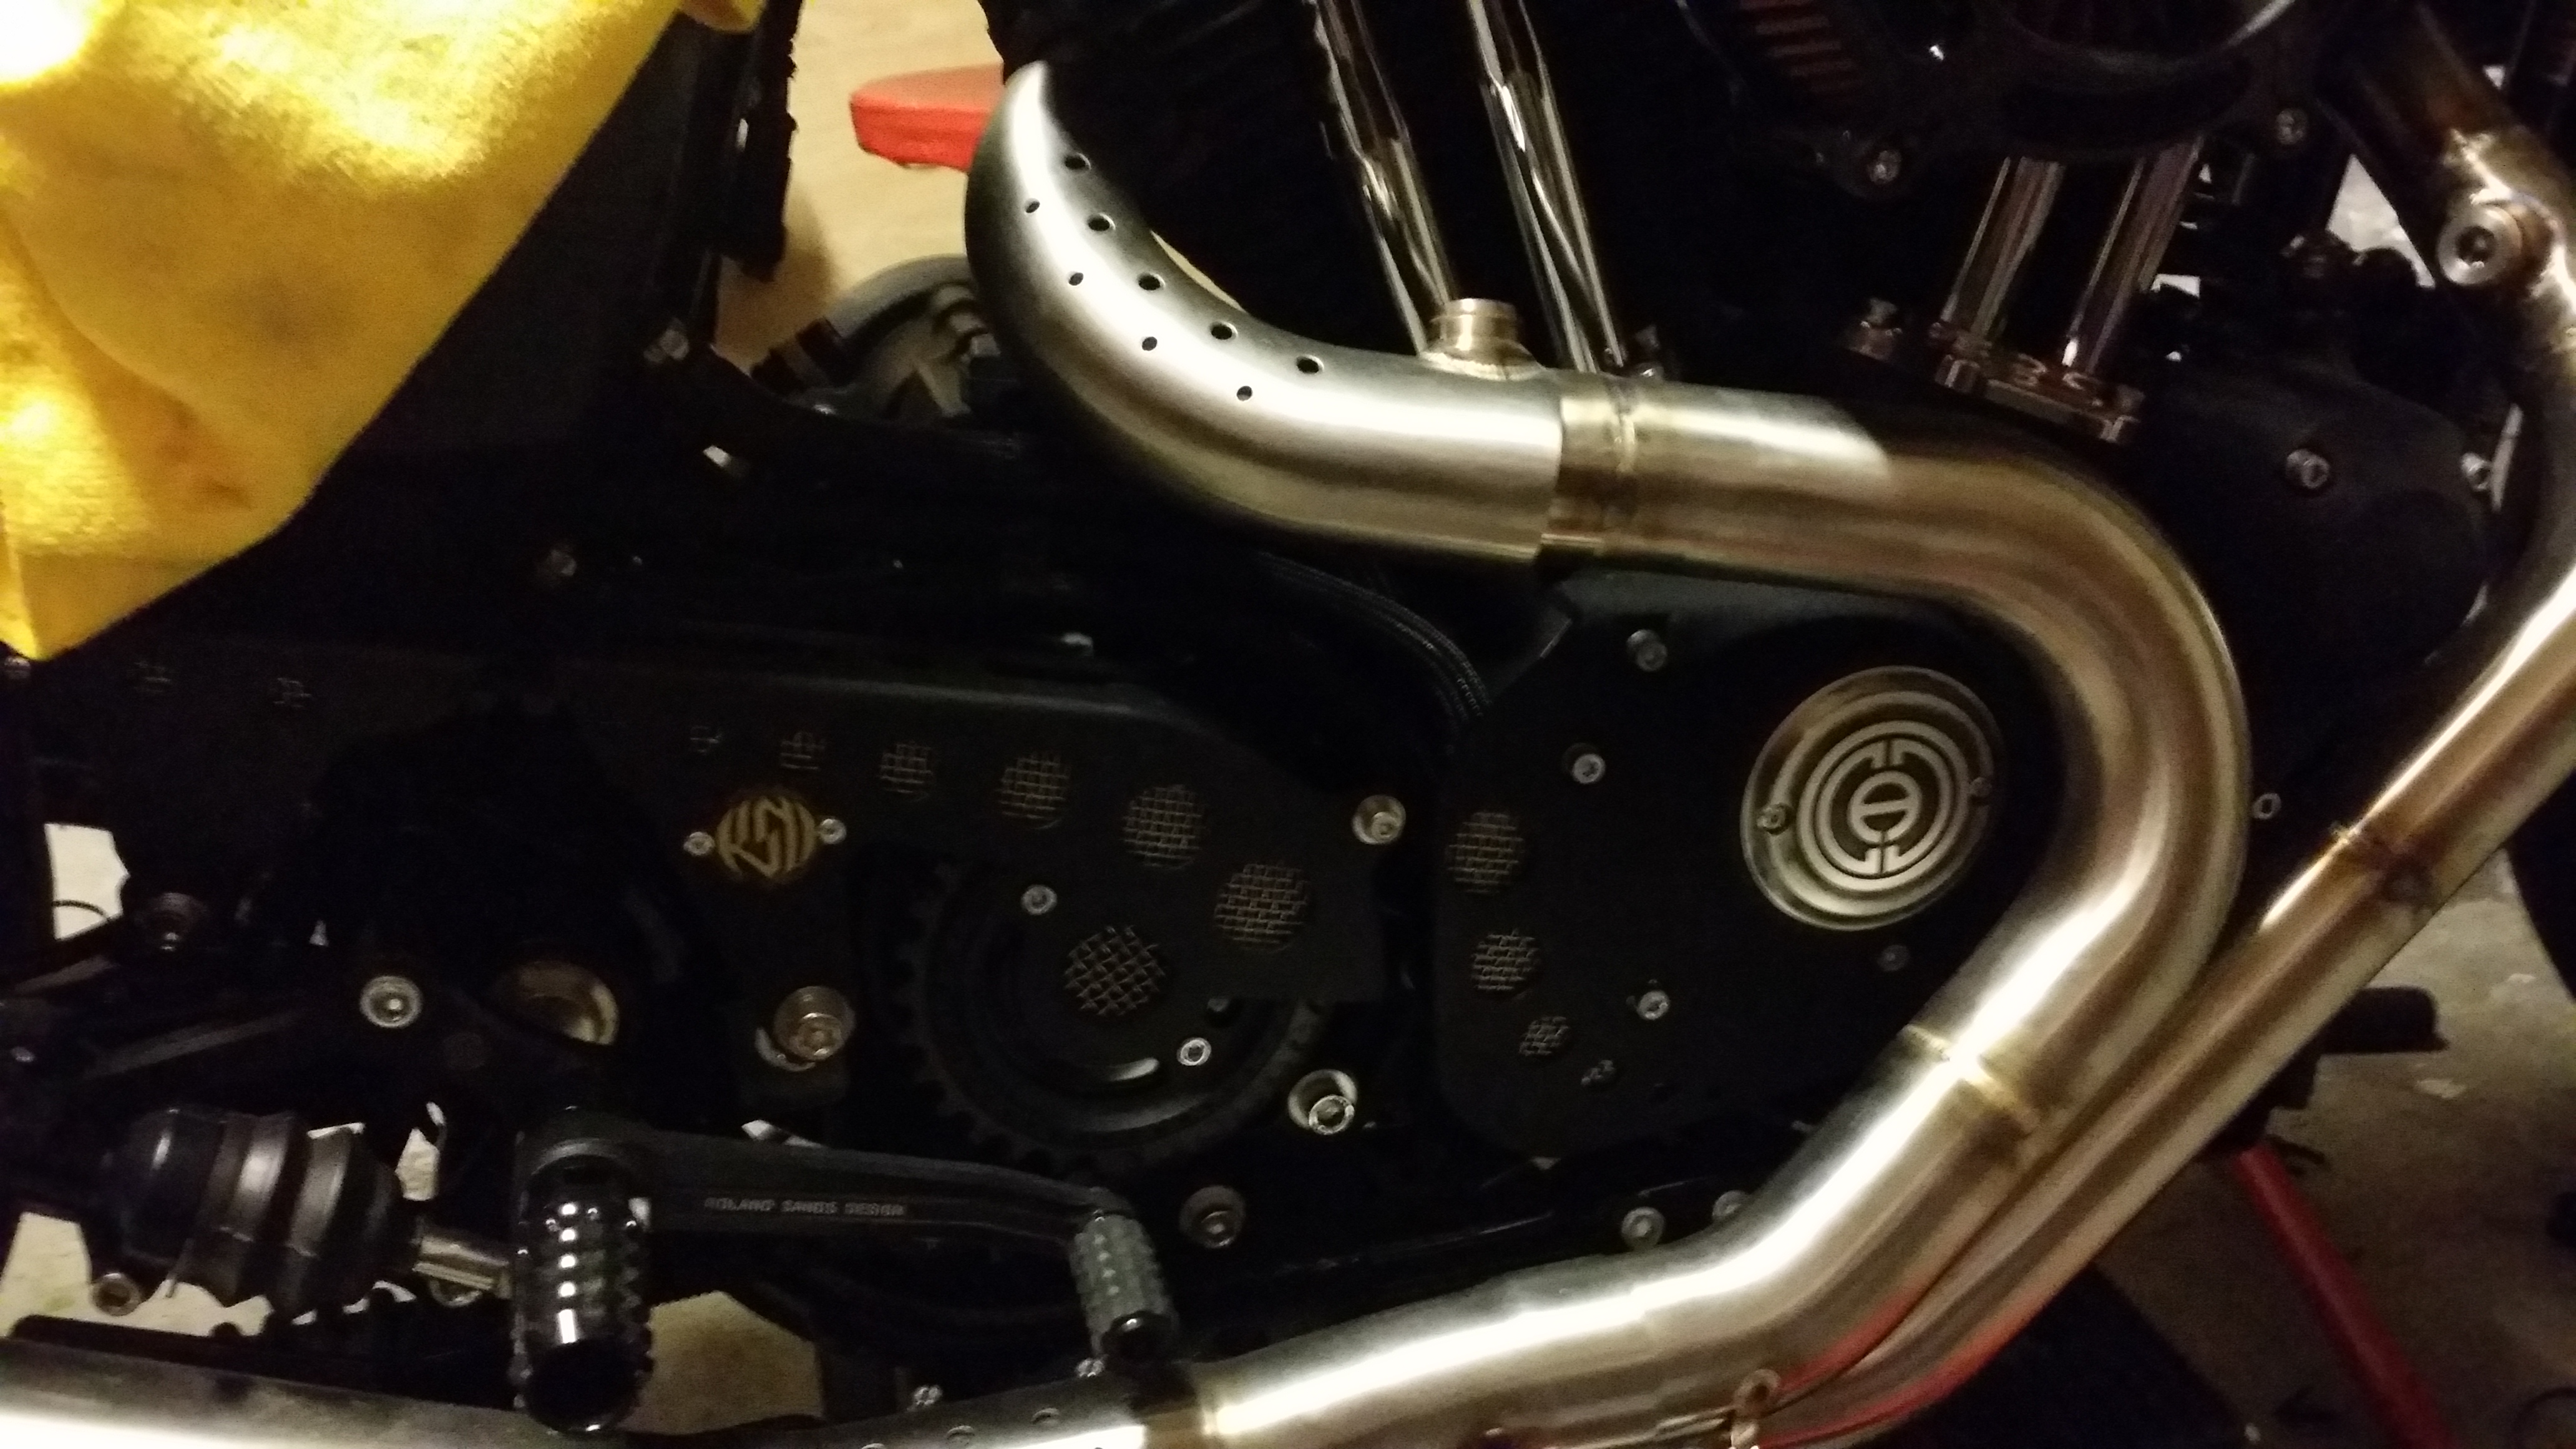
Got rid of the Chainsikle rear sets….never used and got the RSD rearsets. I love the design much better and the placement of the master cylinder is much better.
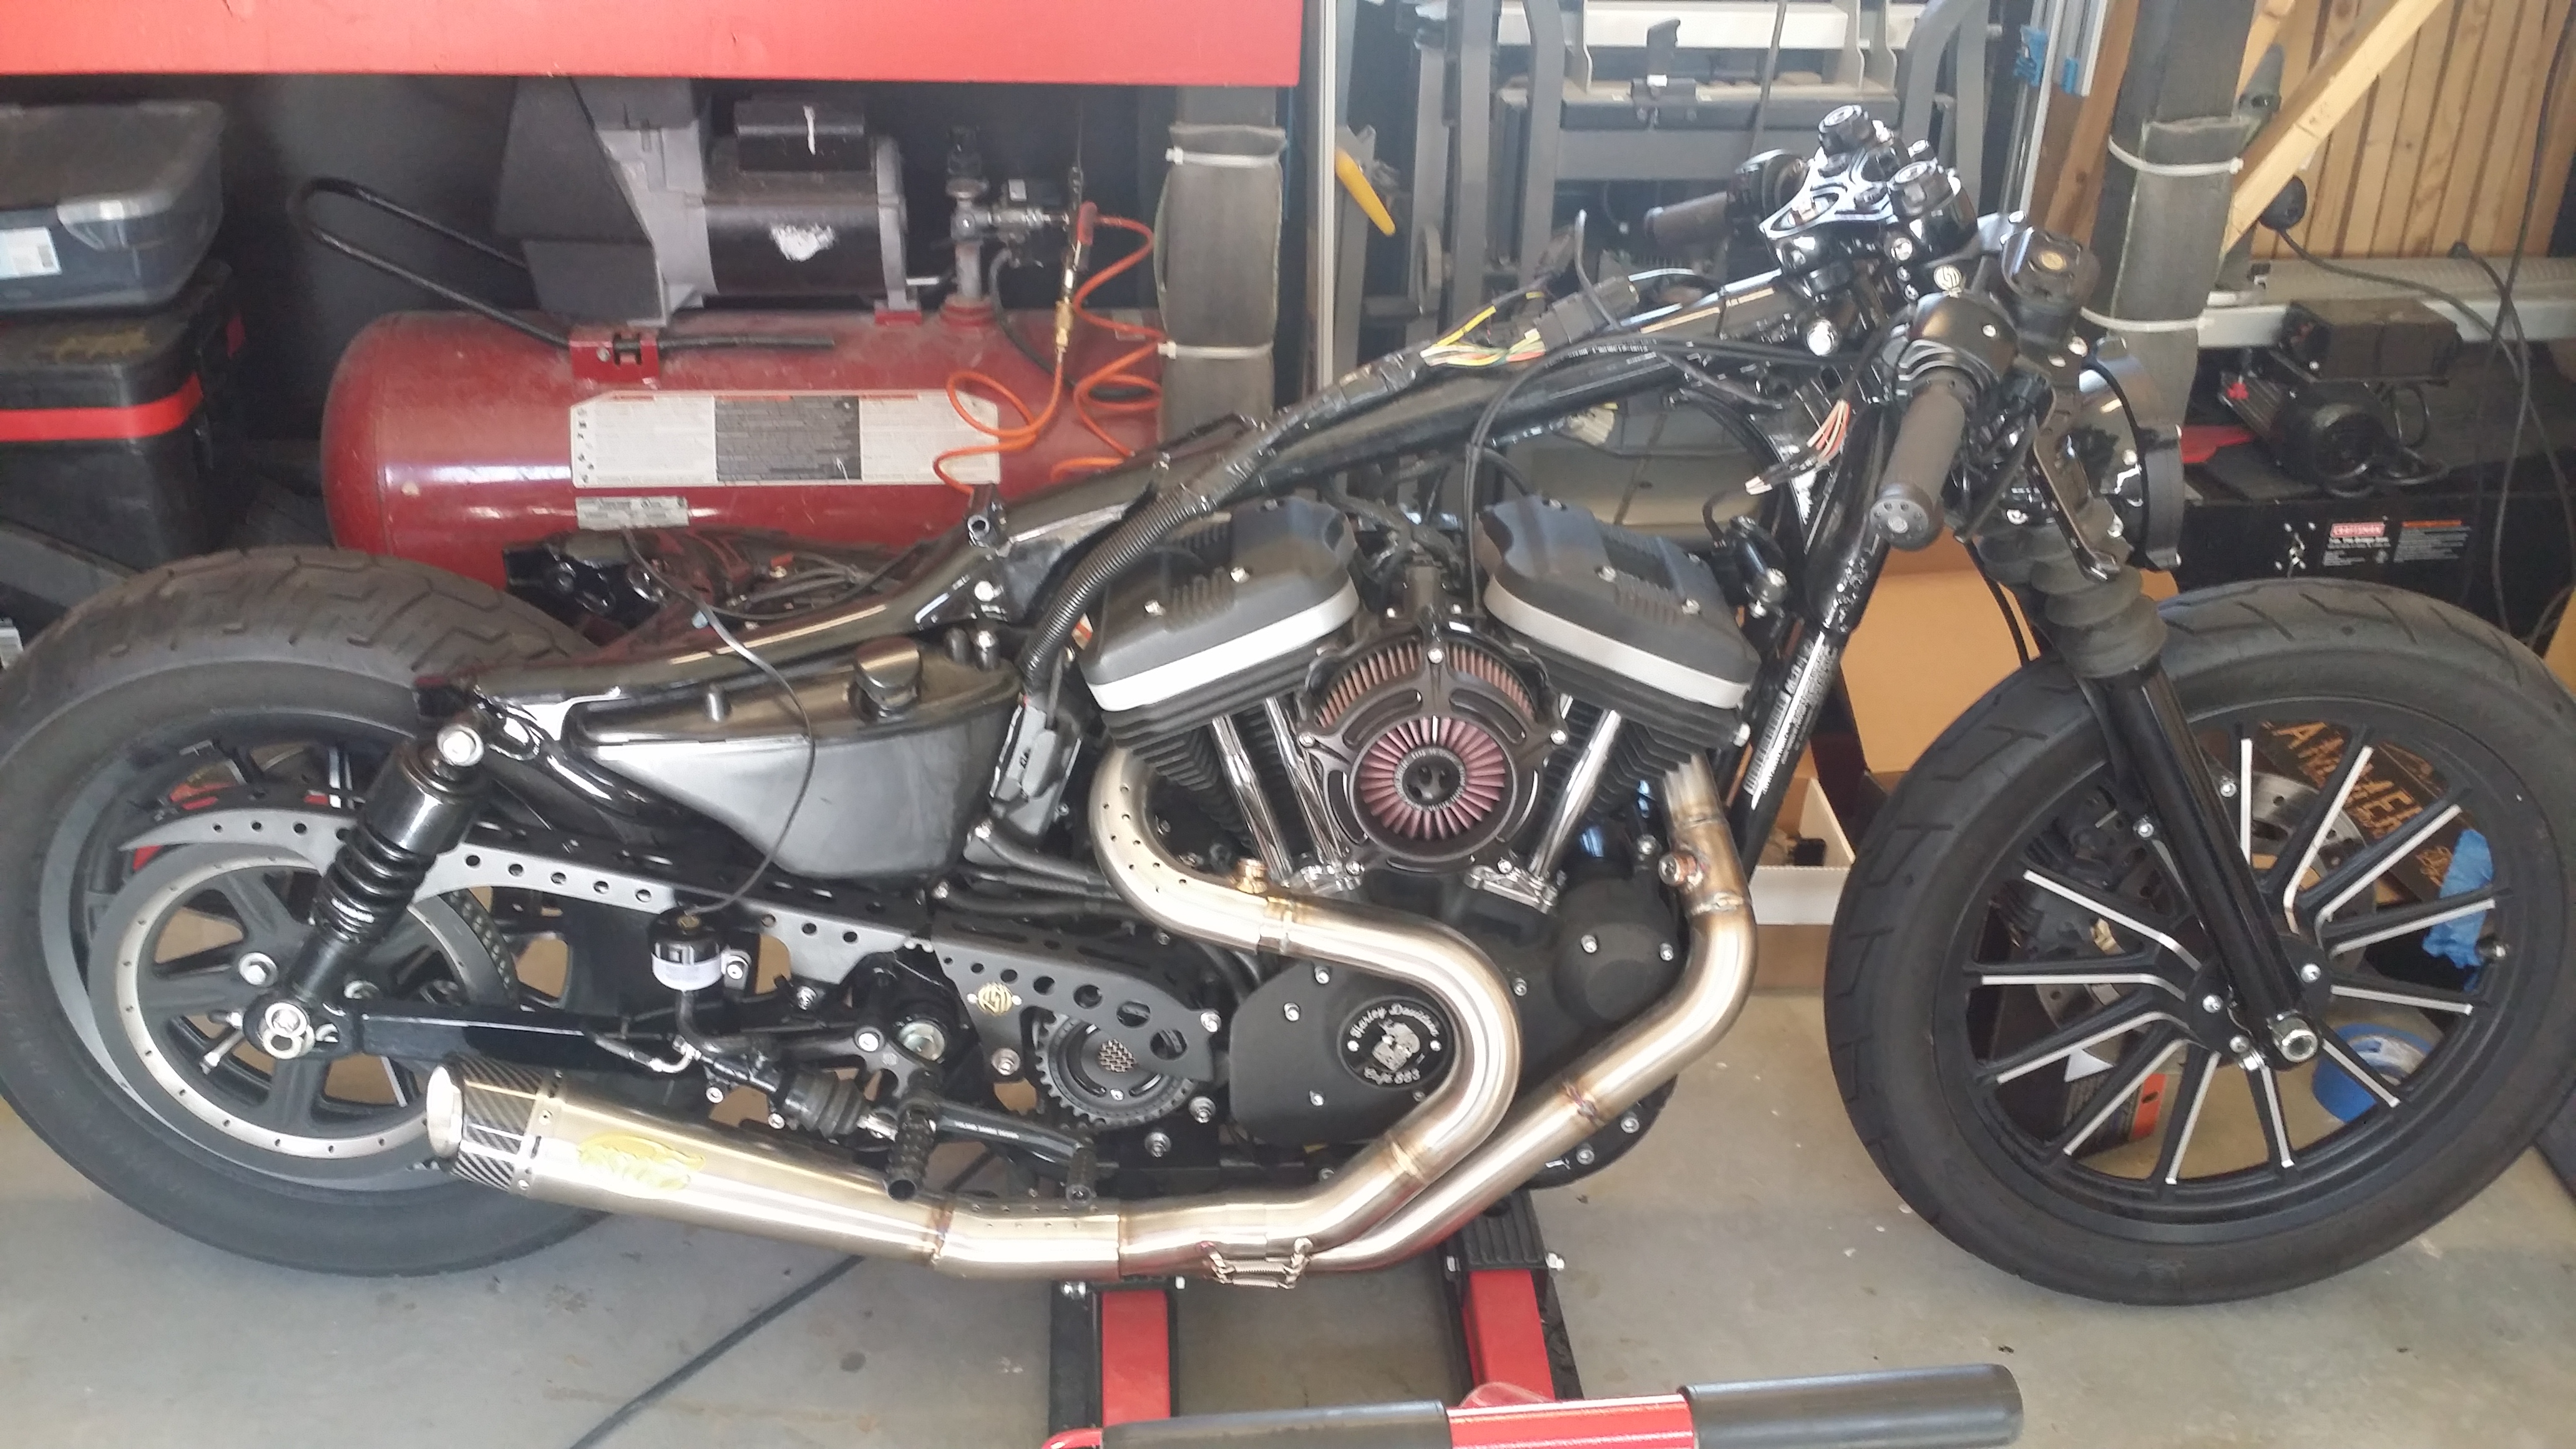
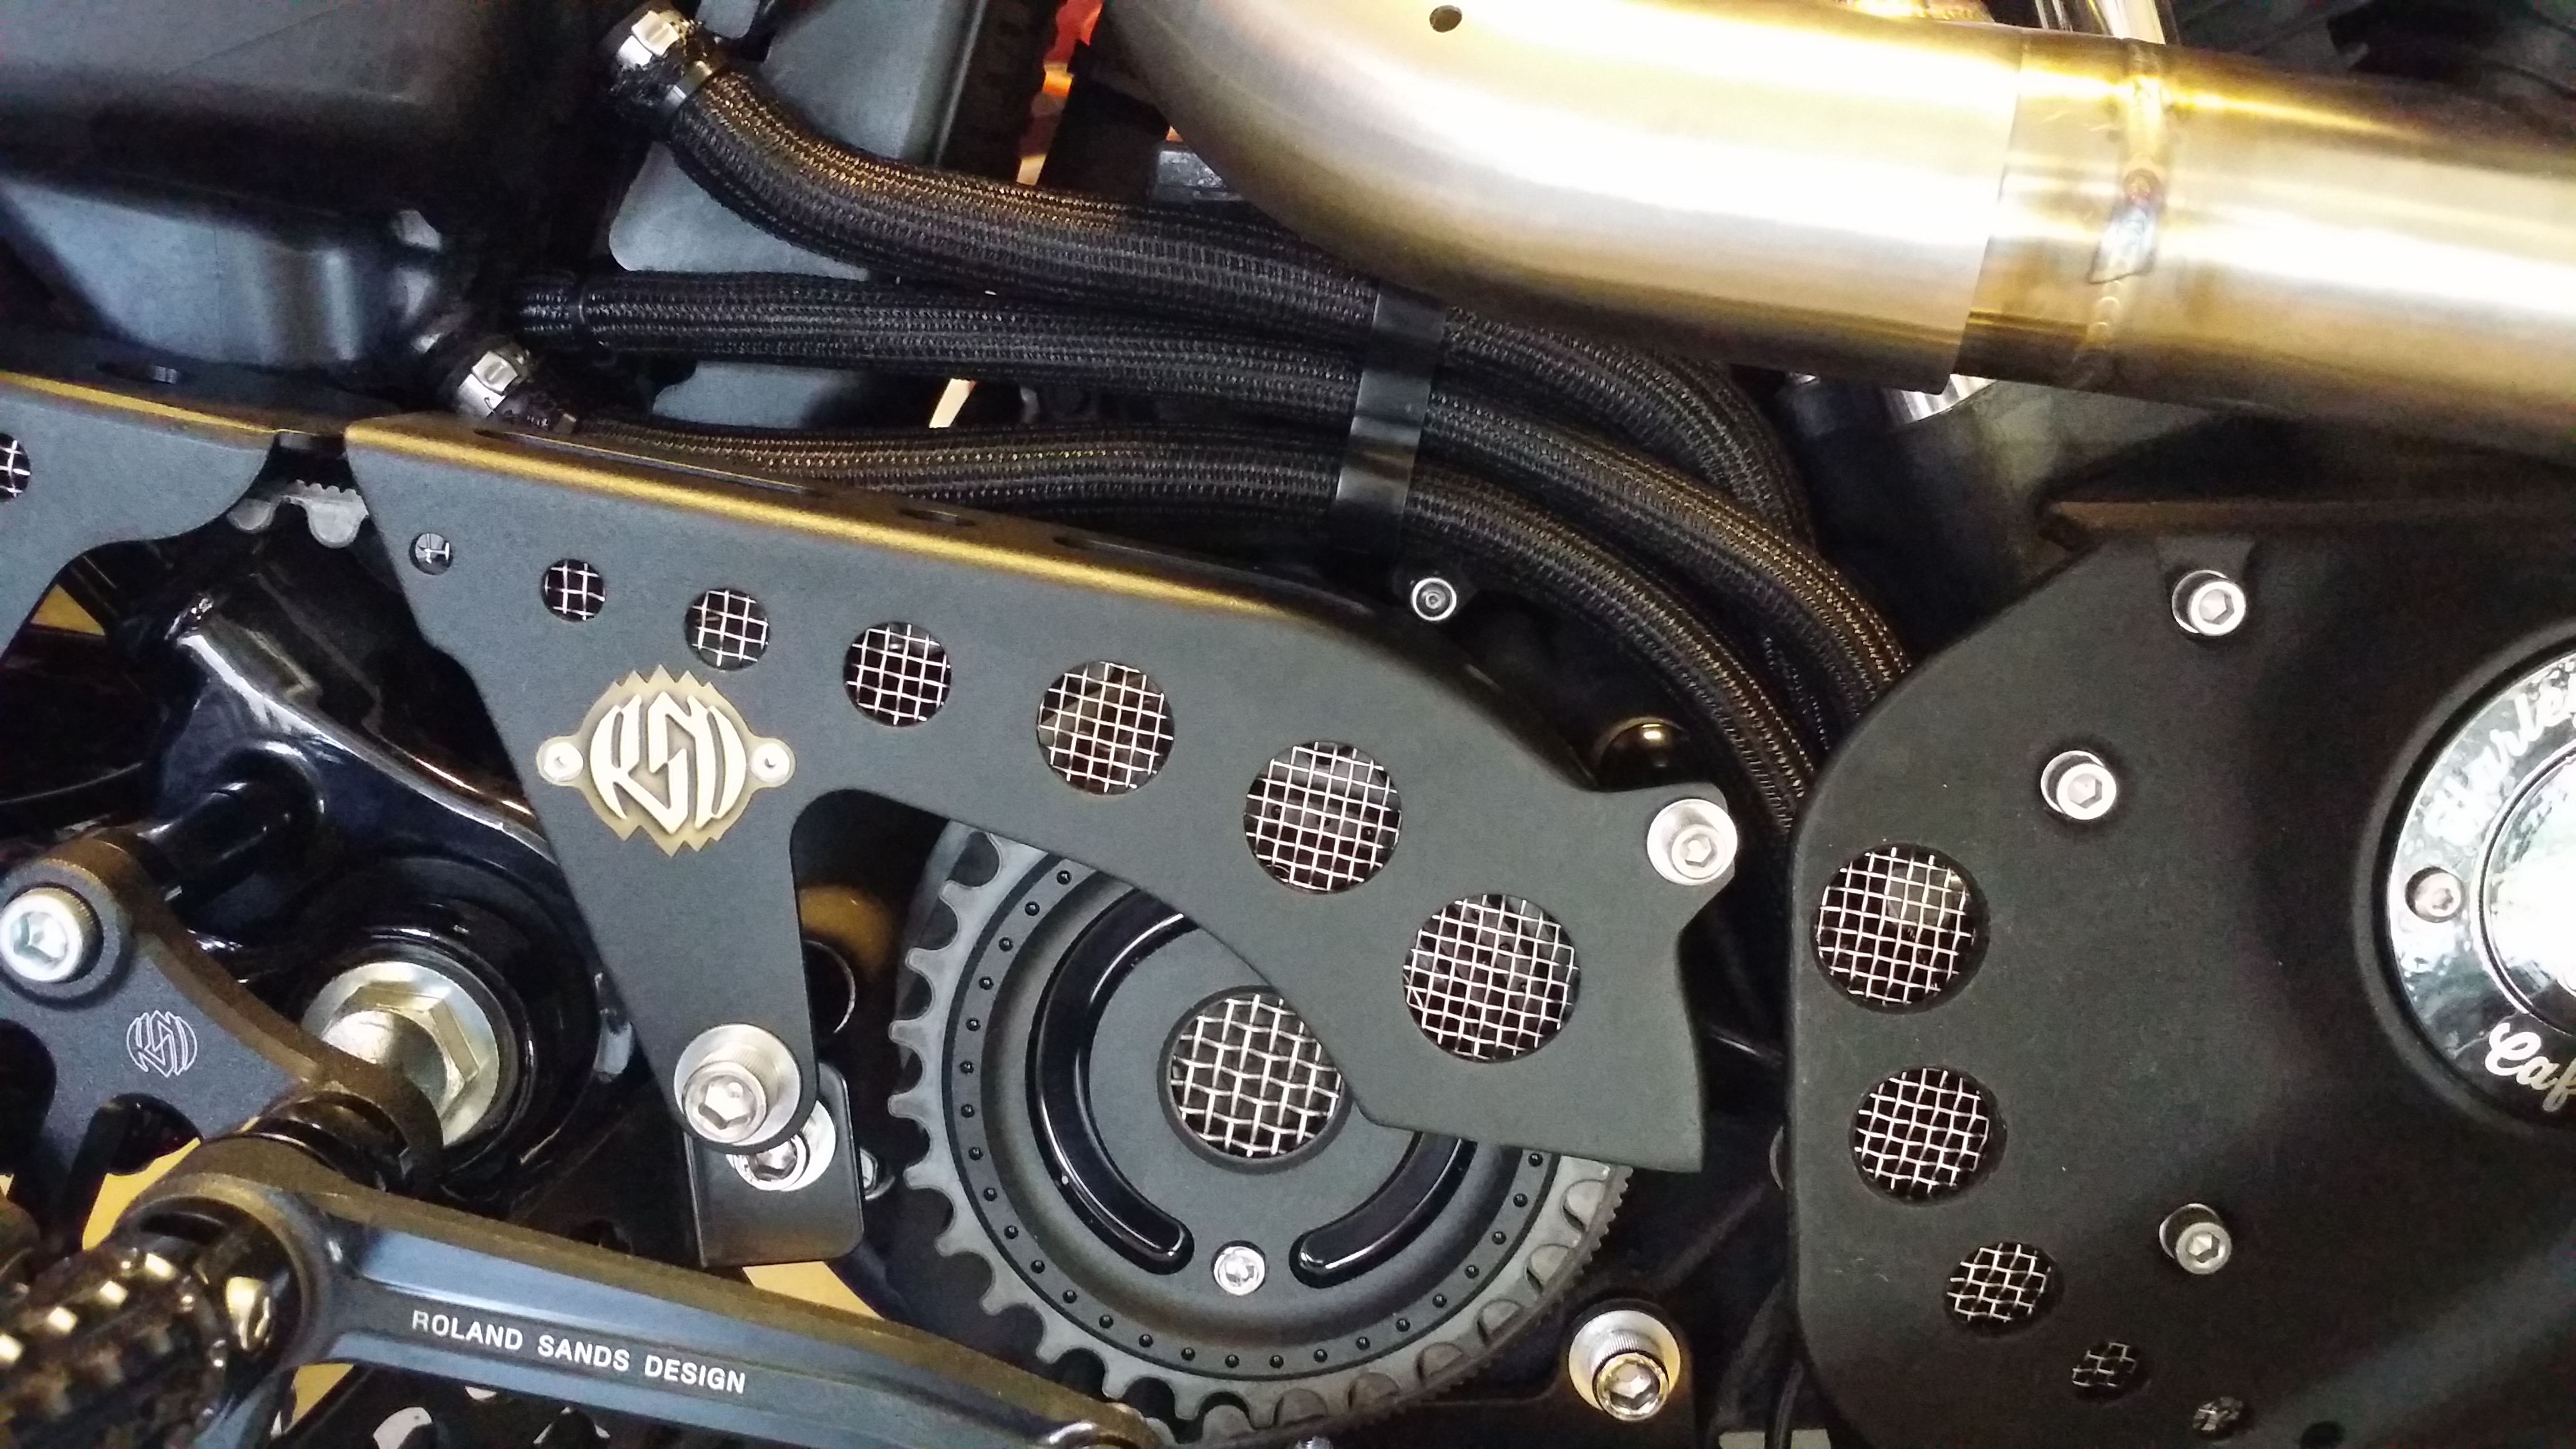
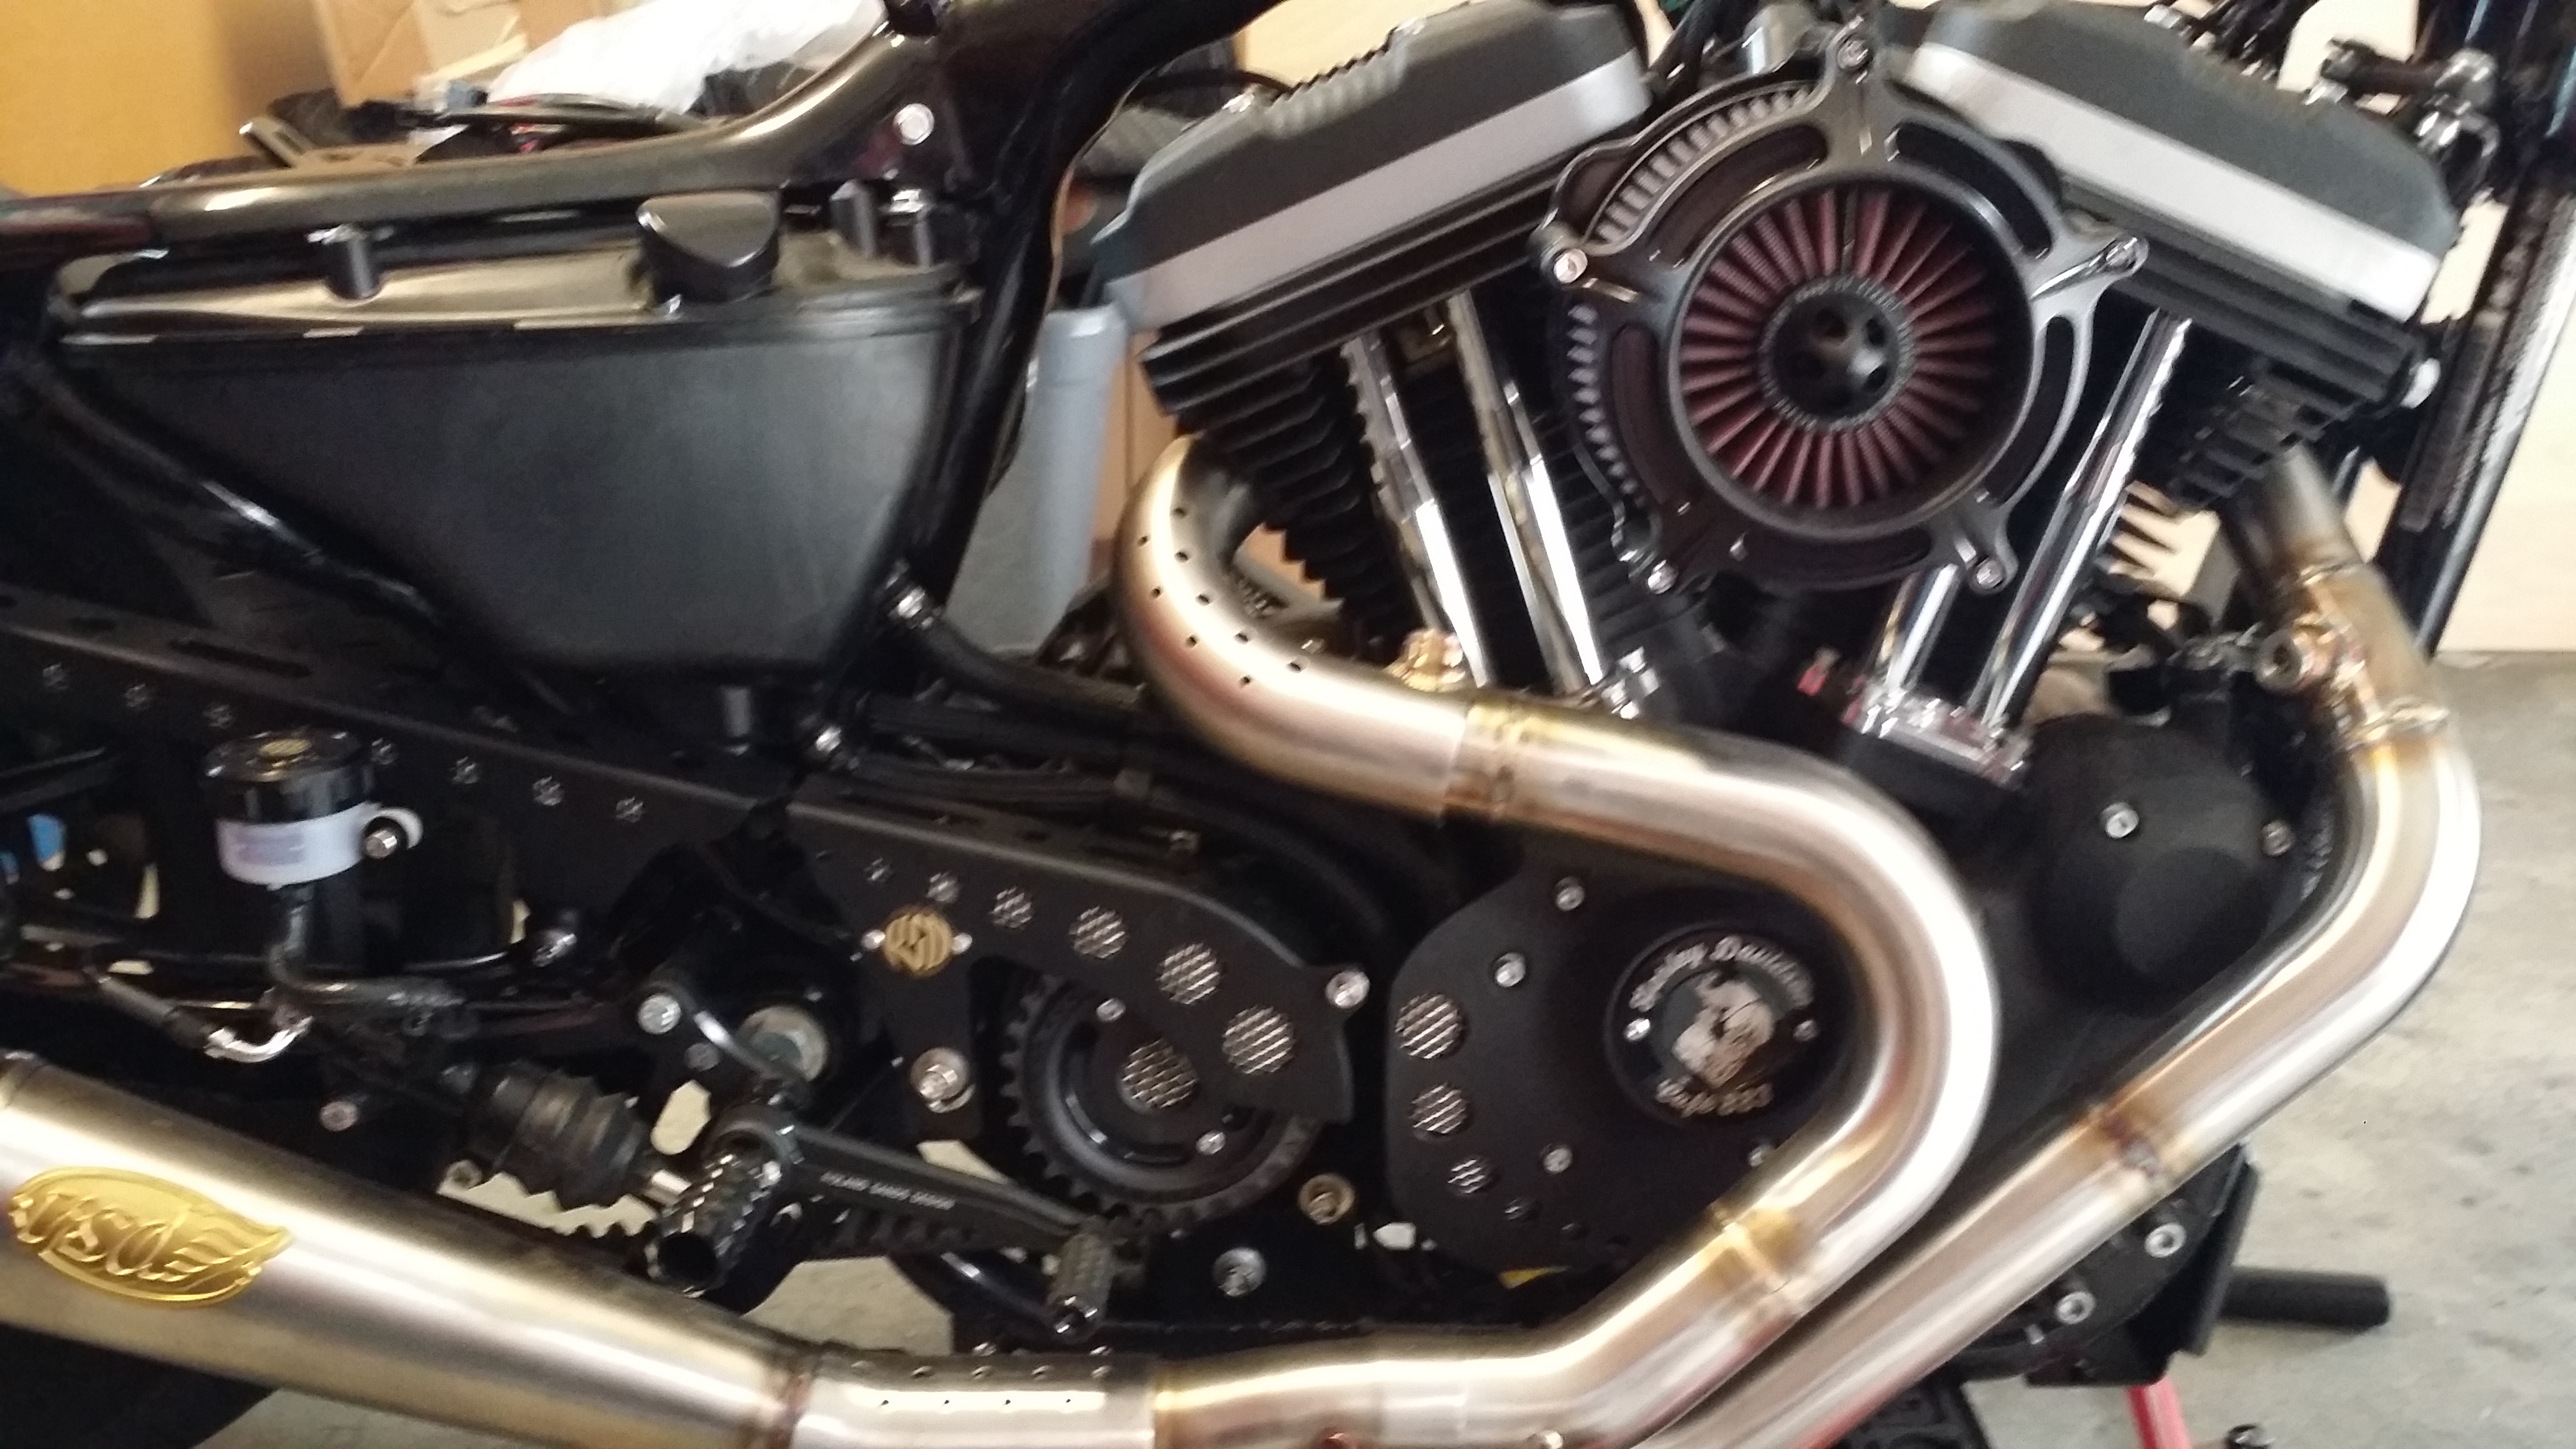
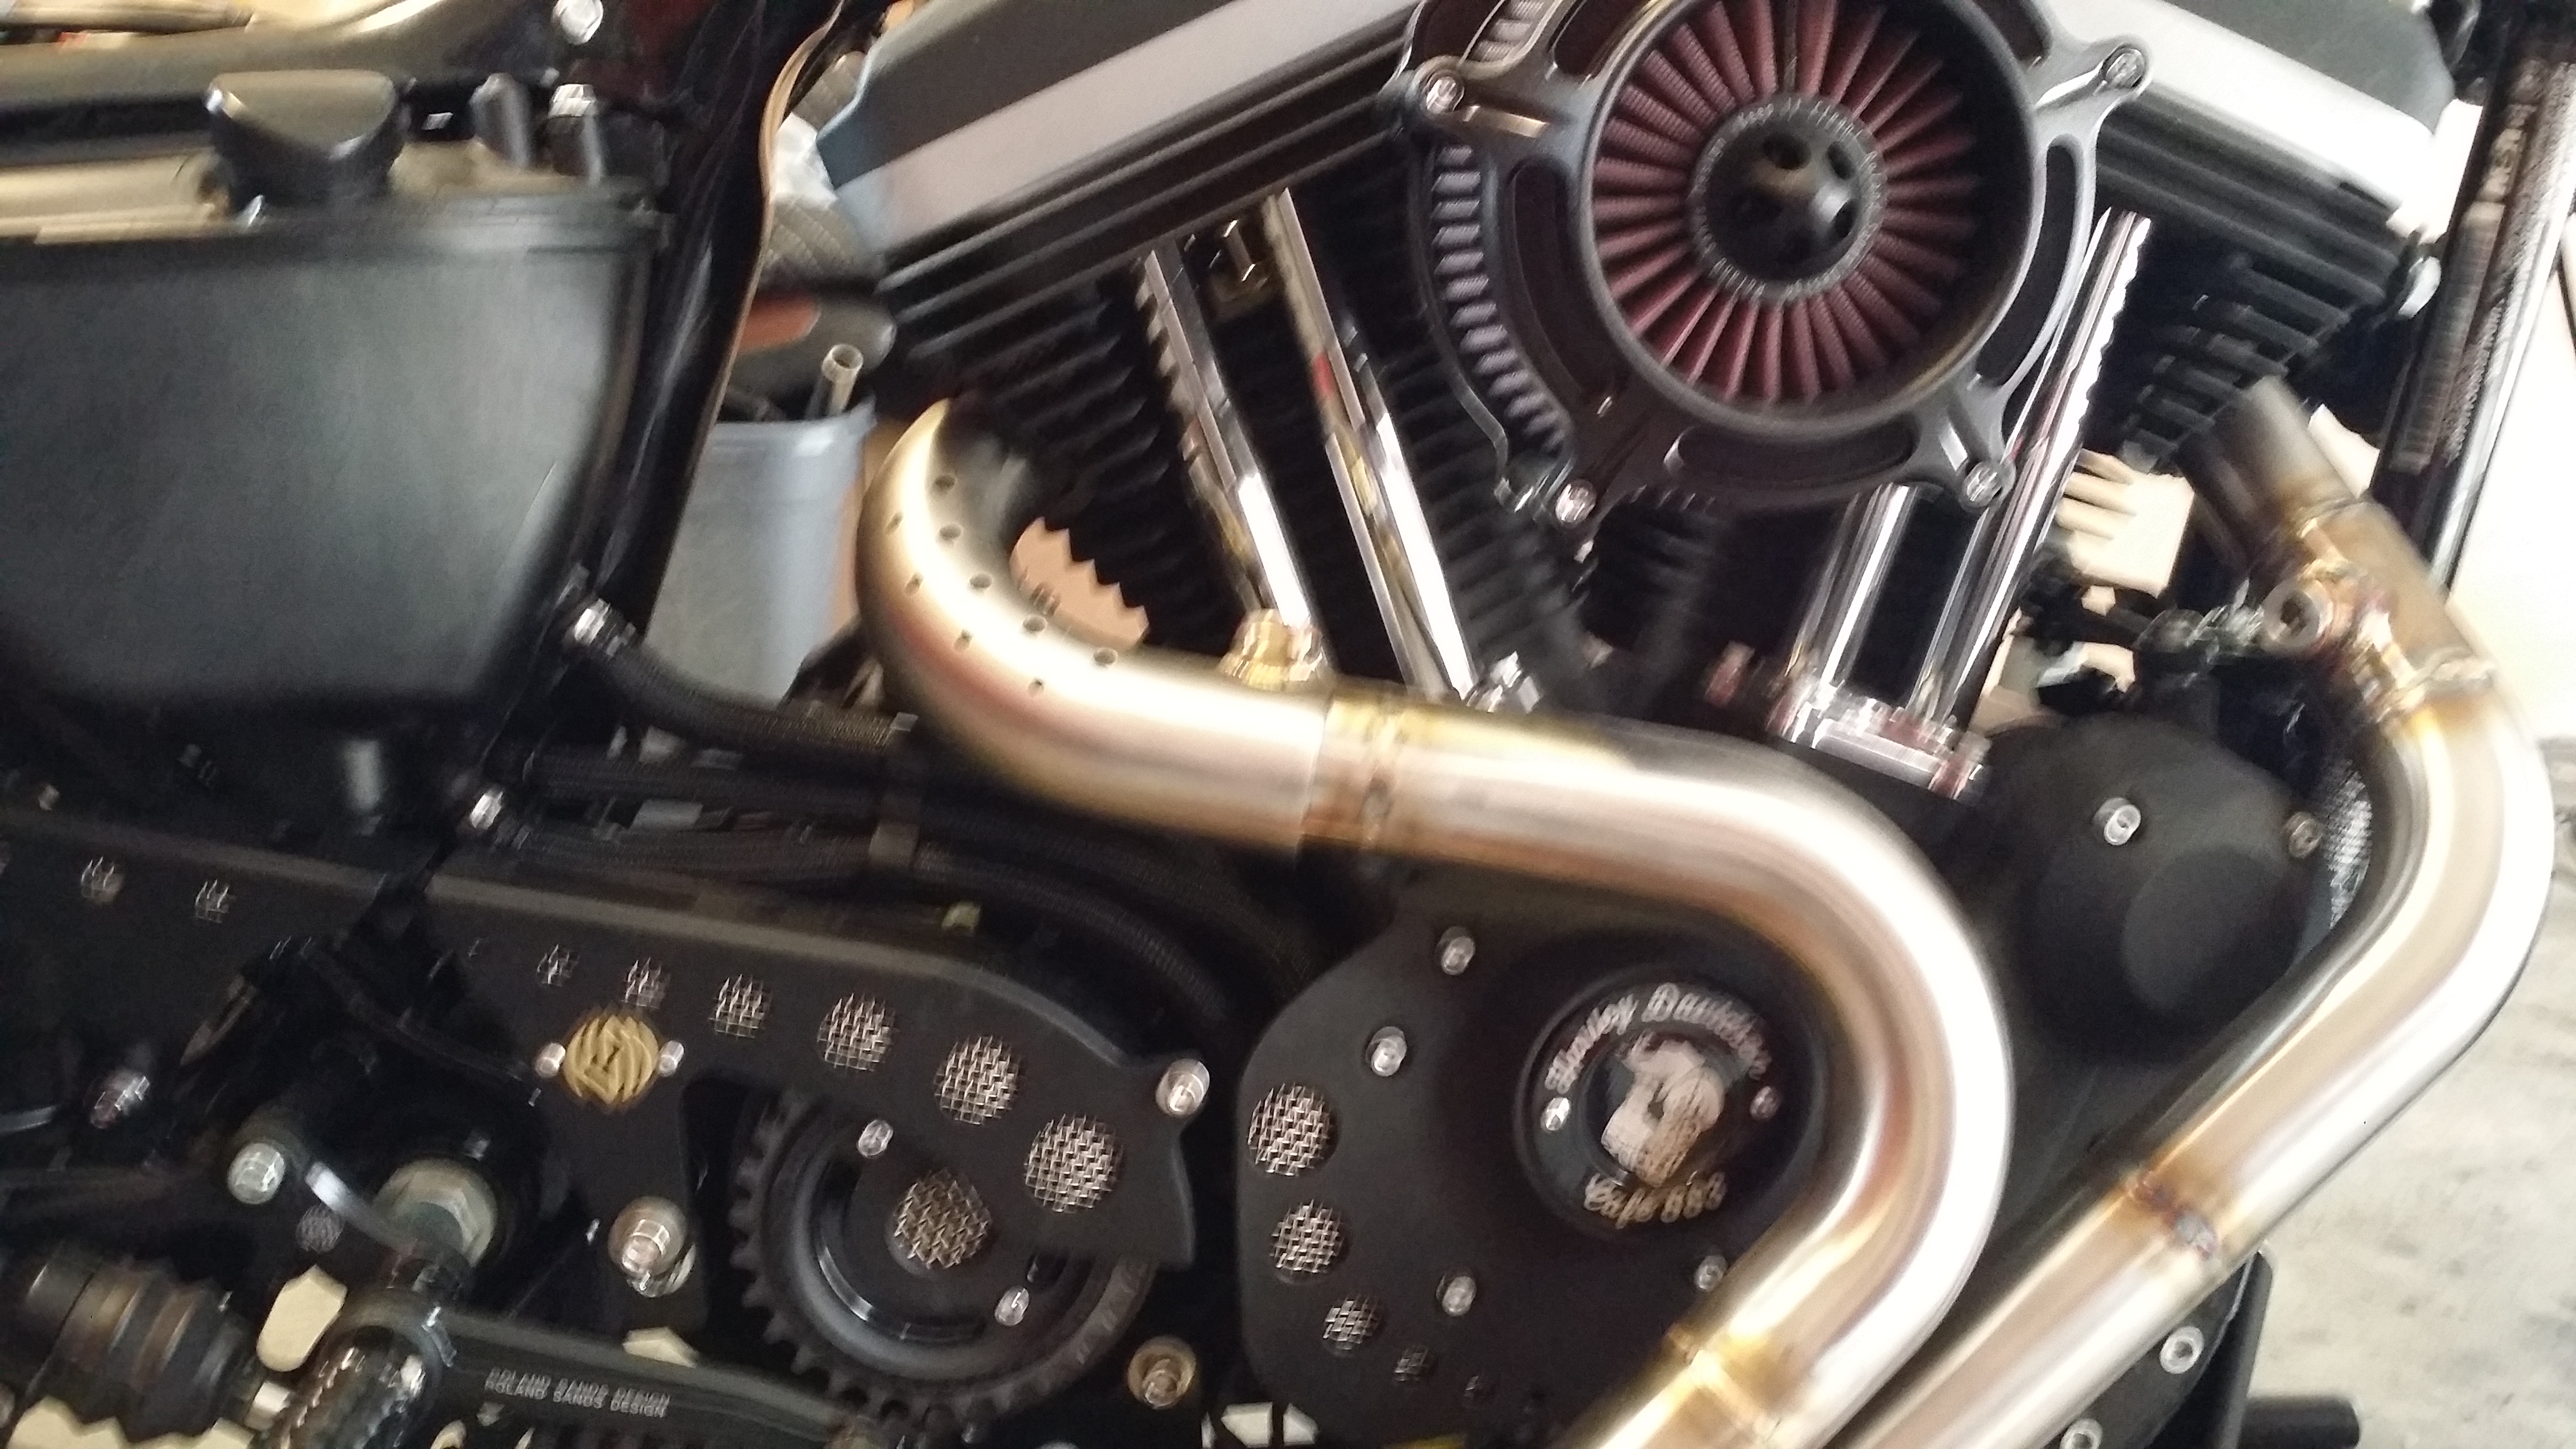
Next decided to remove the exhaust and bore some tracker holes in the cam cover to match the RSD pulley cover.
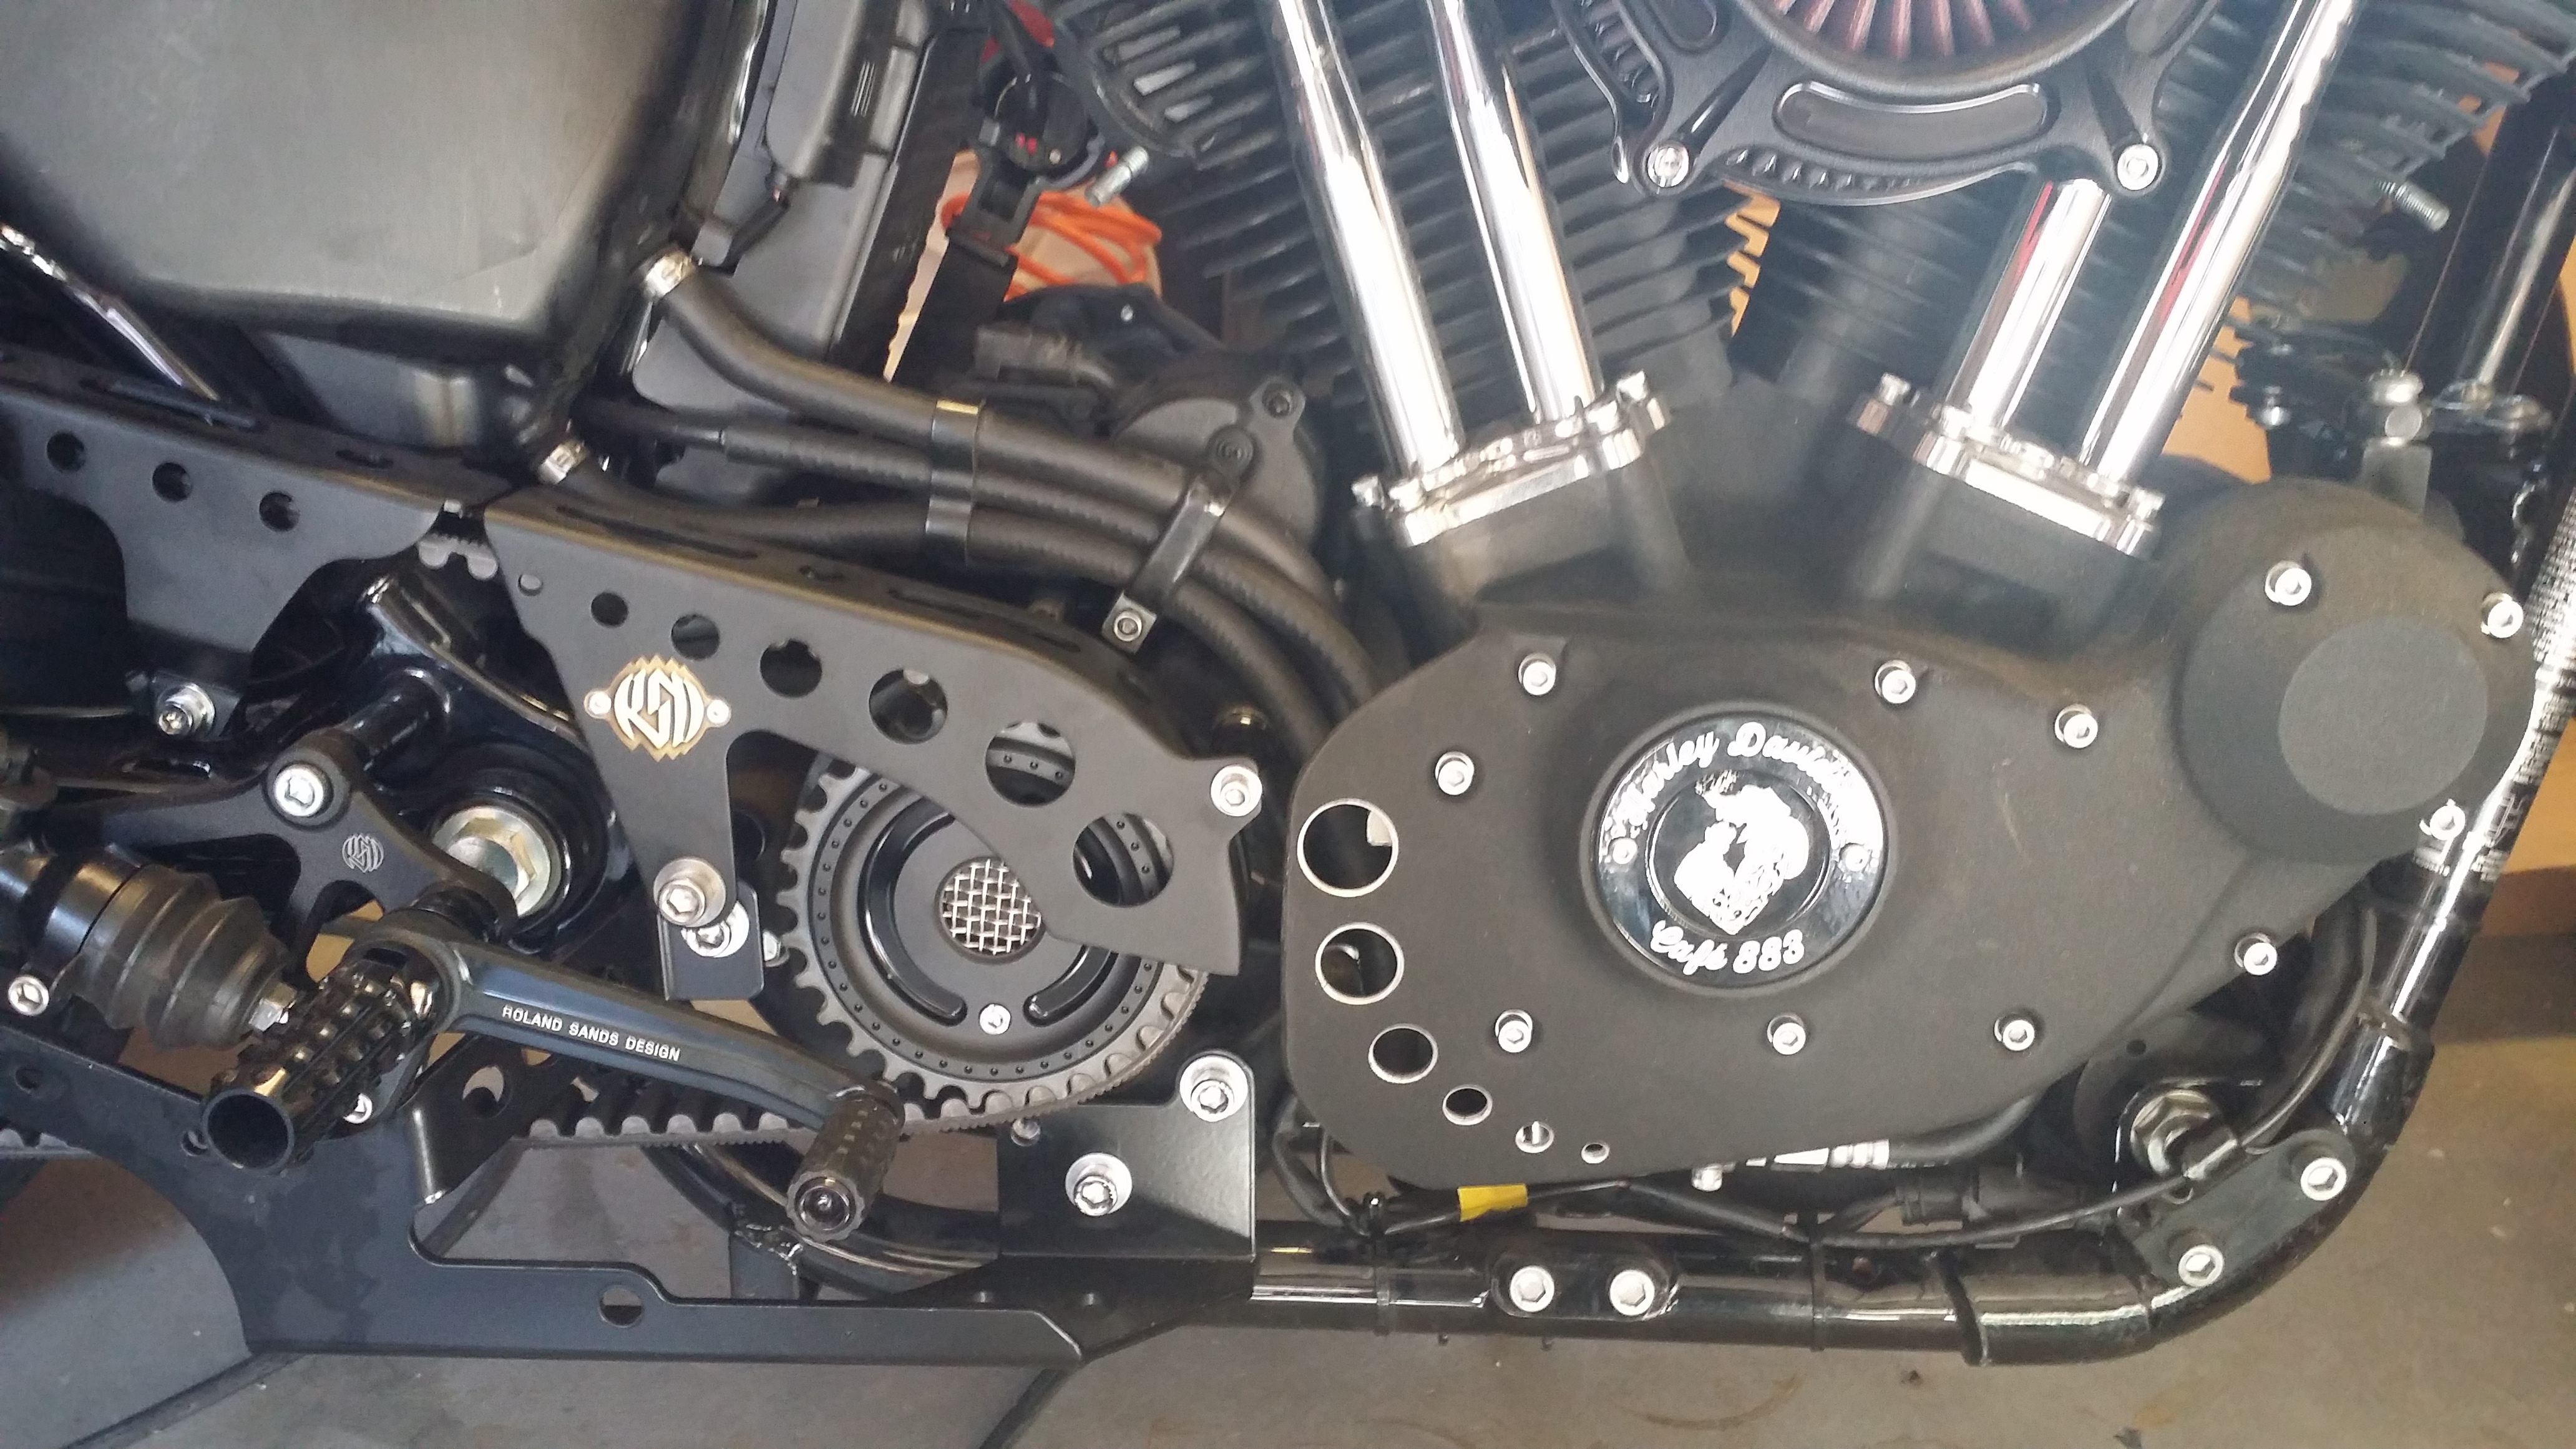
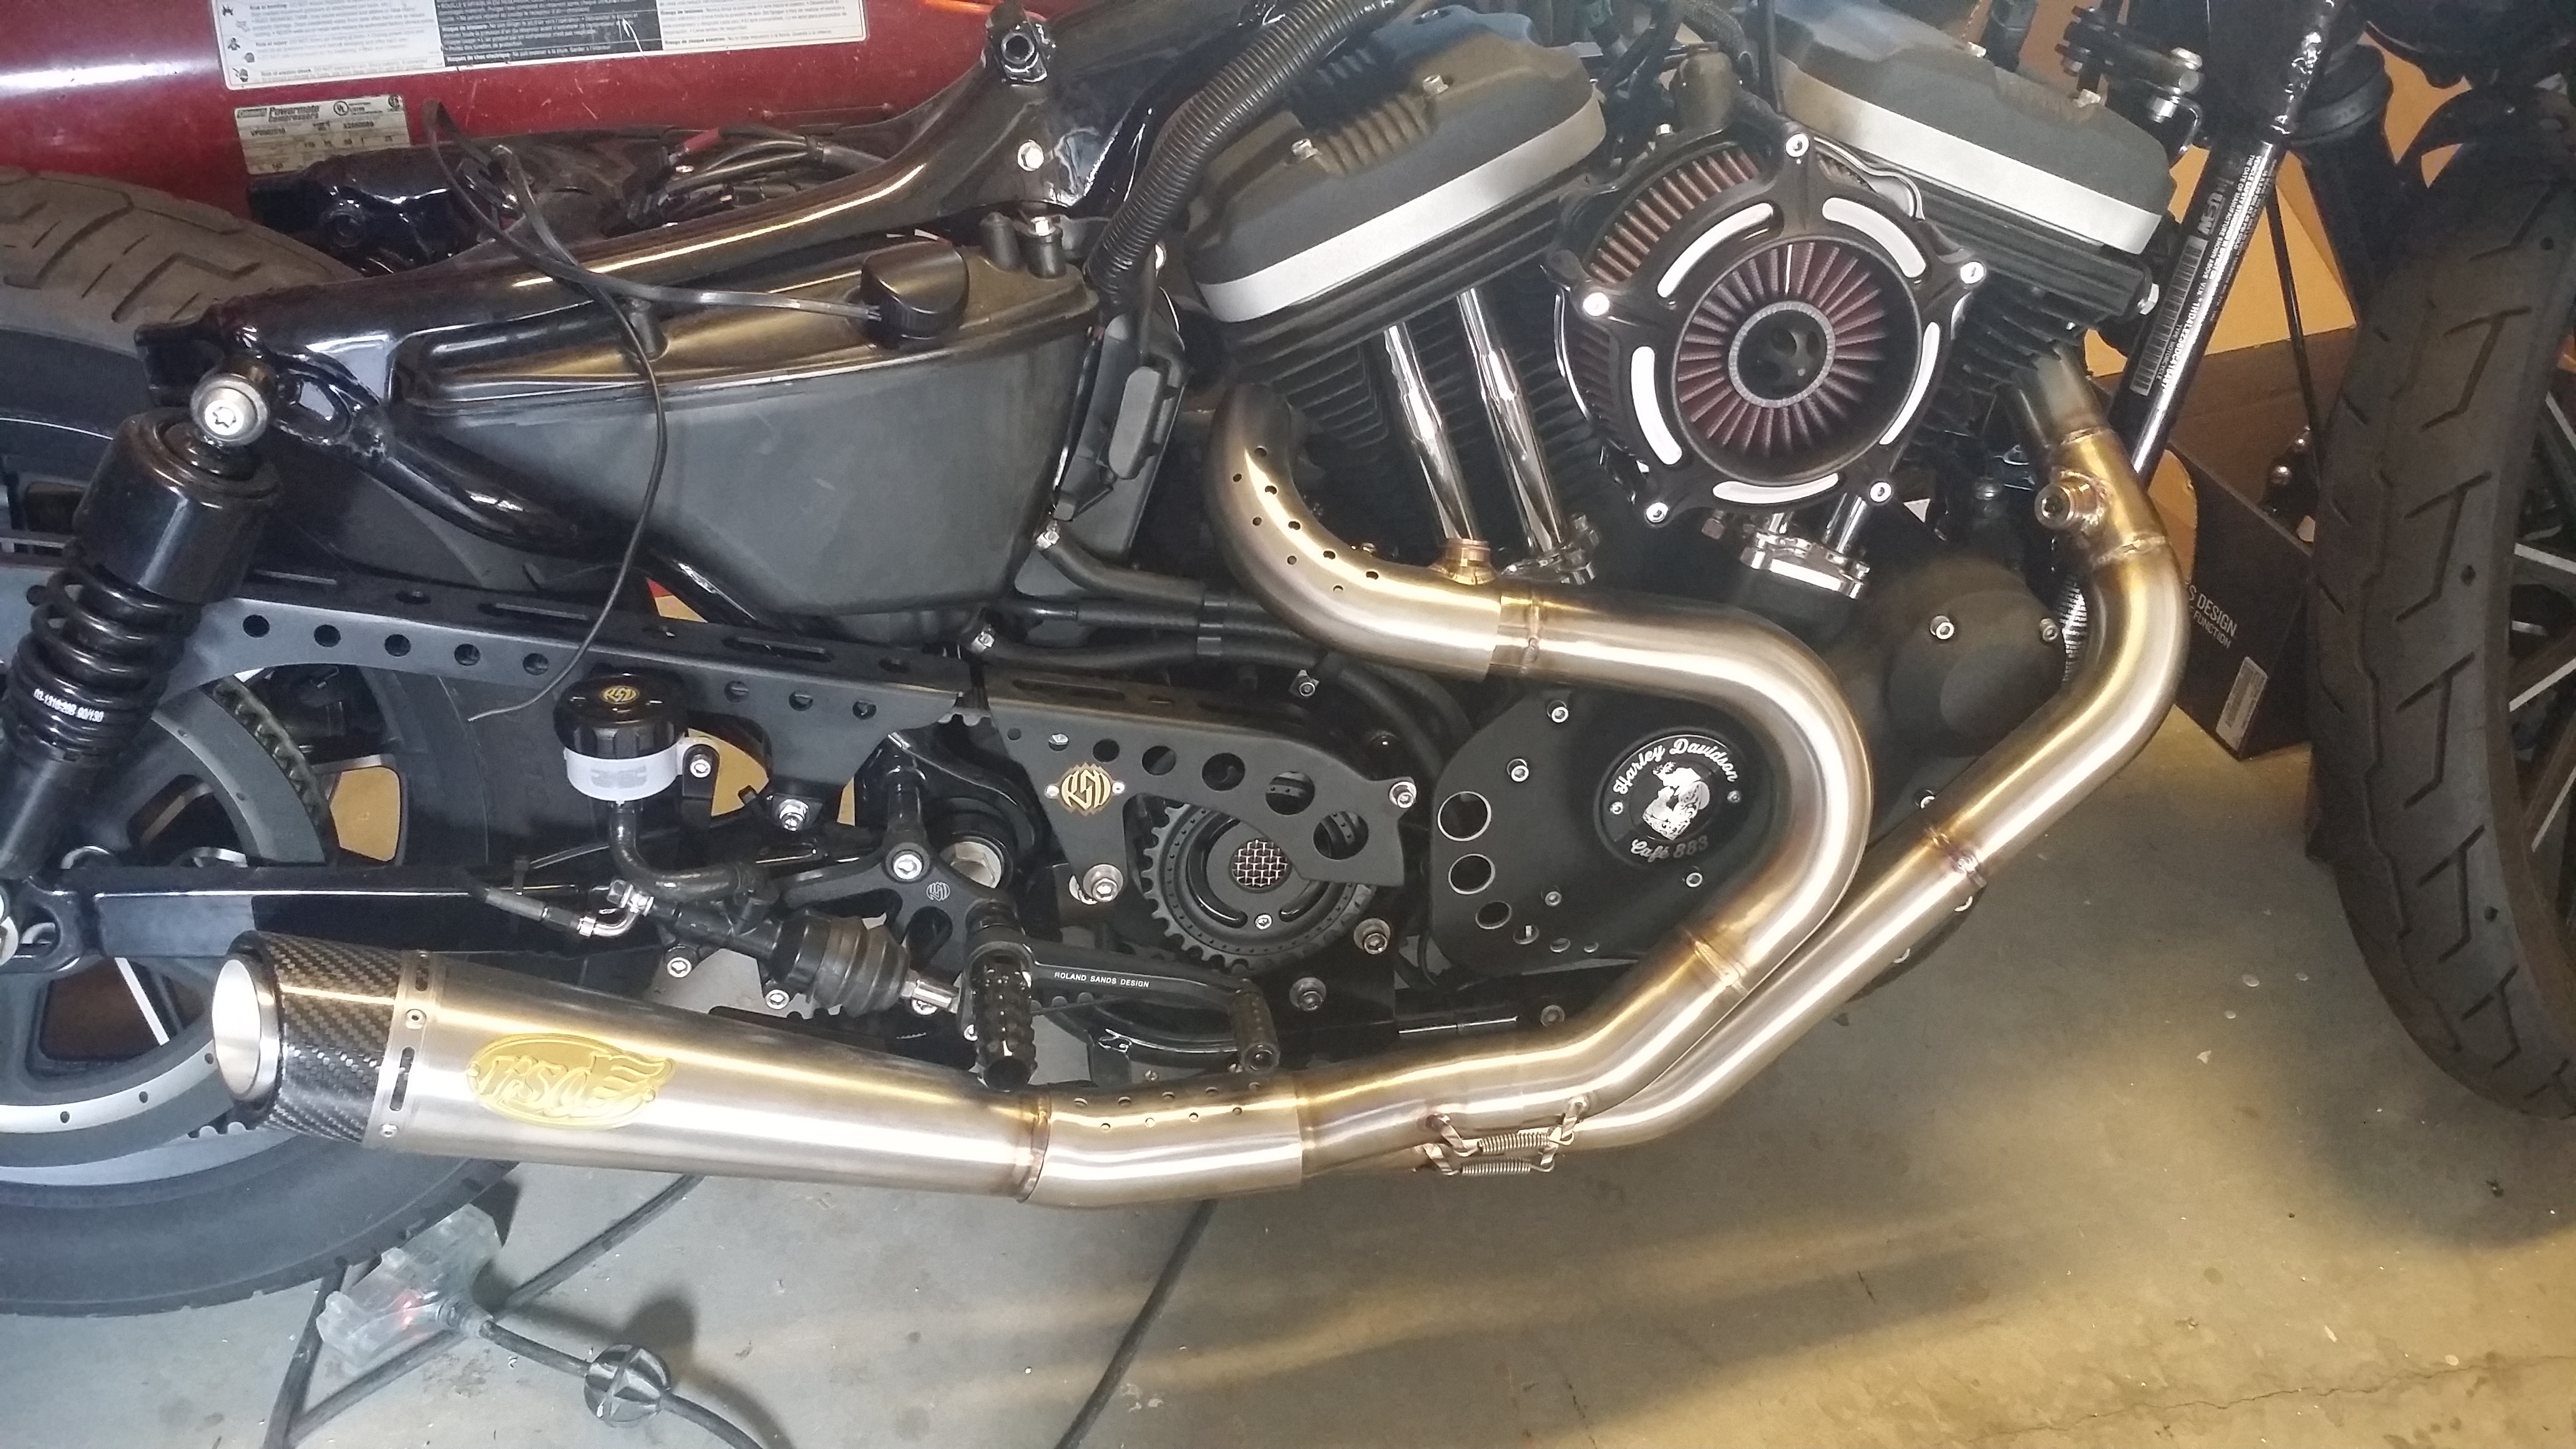
Next decided to add some stainless woven mesh behind the holes for contrast and added it behind both pulley and belt guards for uniformity.
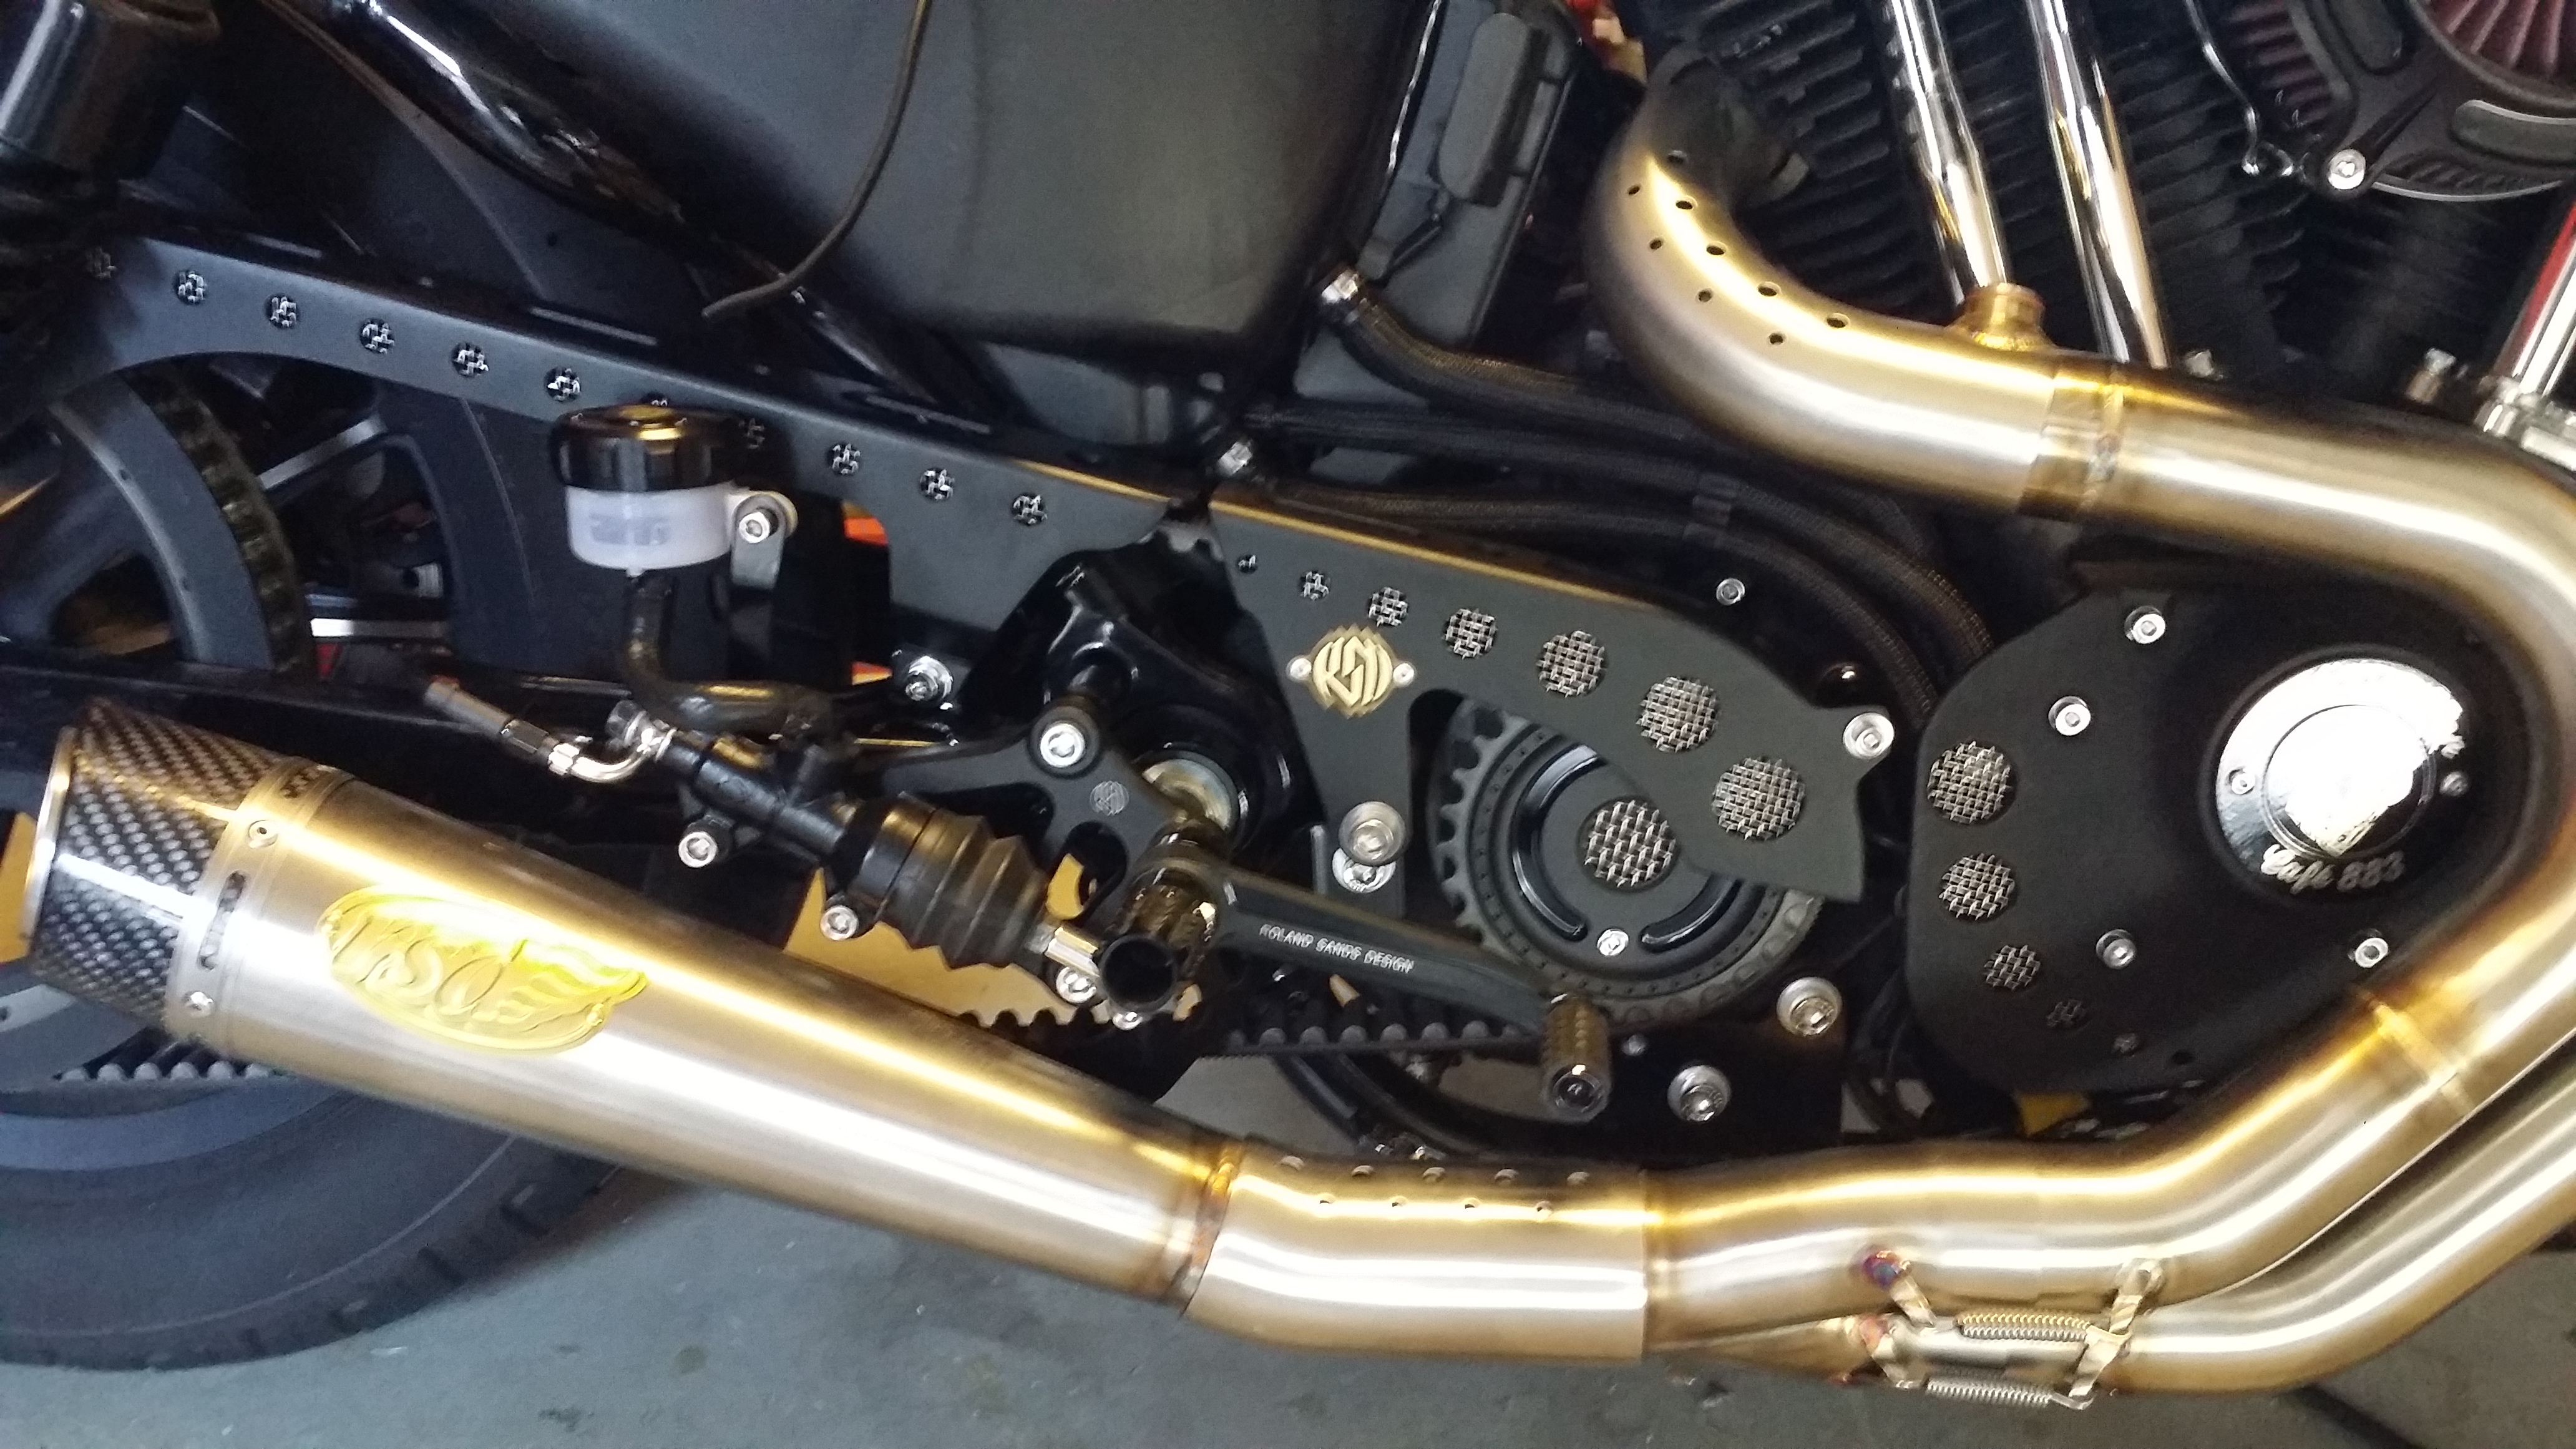
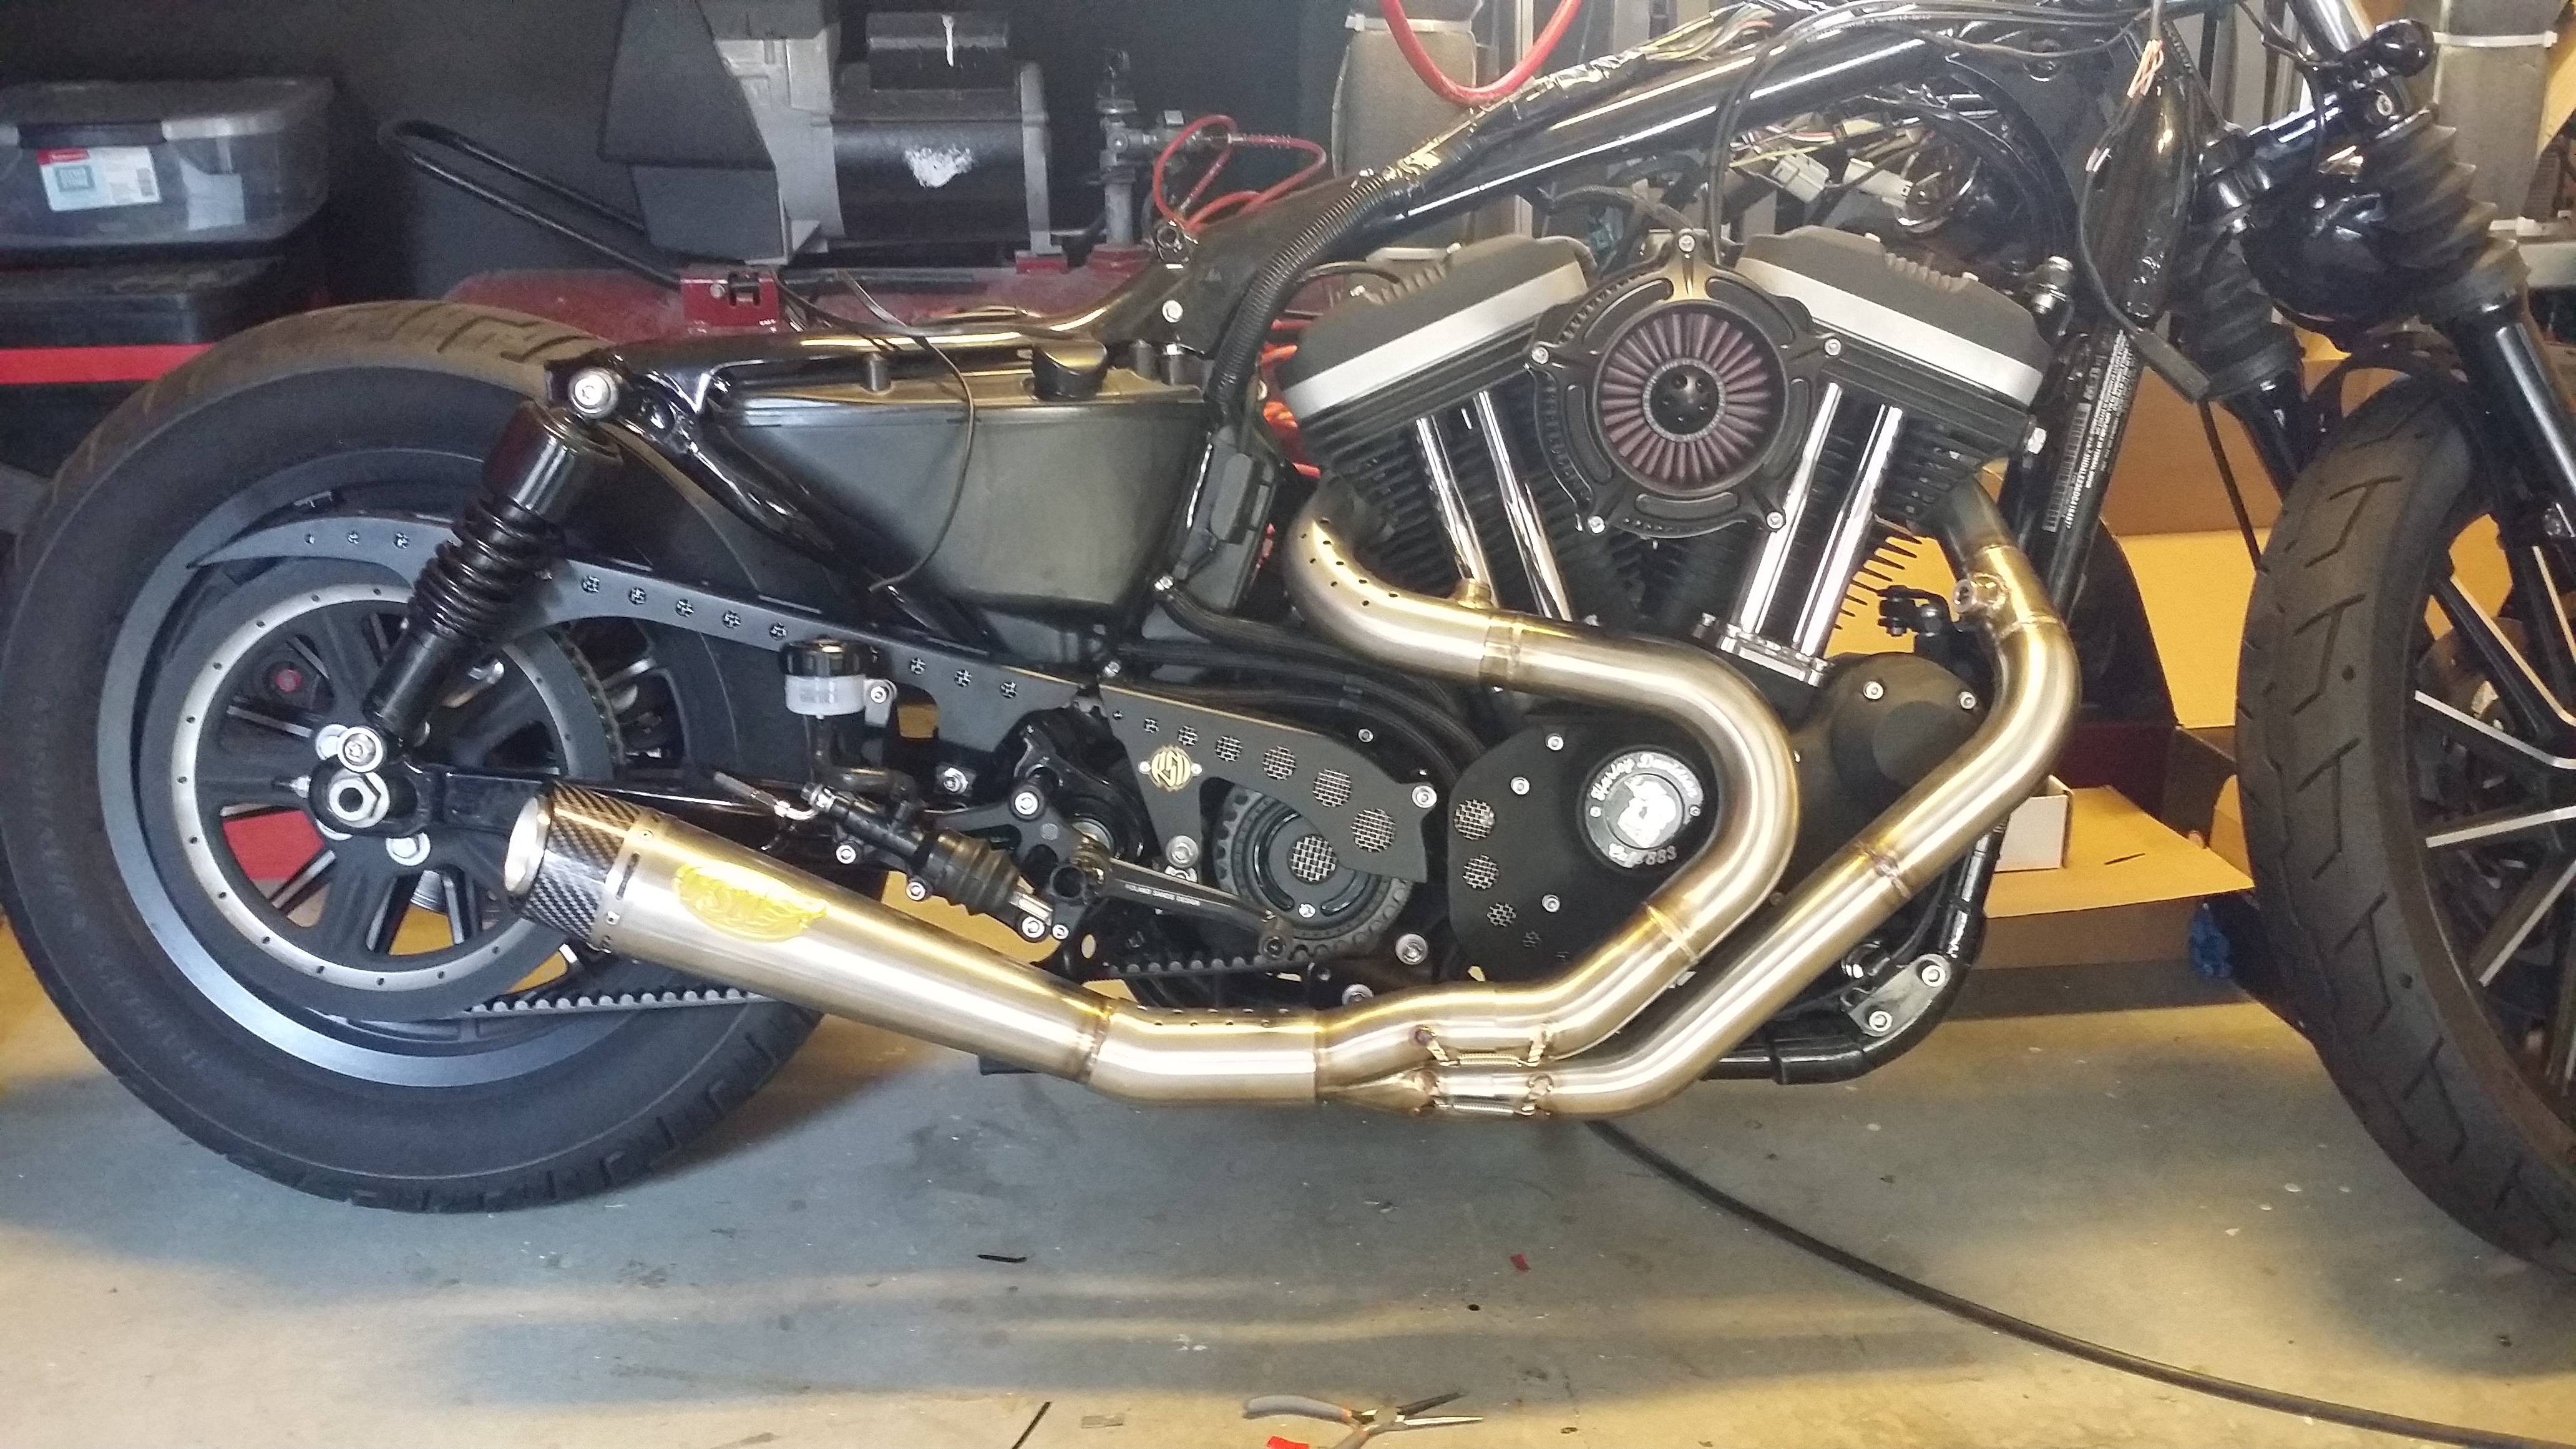
Then I wrapped the oil lines and all electrical in the Flexo F6 braided loom. I think it looks pretty good. It is heat resistant up to 257 degrees so hopefully it will hold up.

#14
10-29-2014, 03:00 PM
I saw this video on youtube:
I fell in love with this bike. I did some research and found his build thread here:
http://xlforum.net/vbportal/forums/s....php?t=1552801
Fred Phuket’s Nightster…specifically how clean it was inspired me to do almost a complete rerunning / rewiring of the electrical. Plus more that will be posted later….
So with that said. I decided to relocate the ECM and reroute some wiring under the bike.


#15
10-29-2014, 03:09 PM
Then I had a custom points cover milled by FigureMachine.com with my family logo. As you can see it came in bare aluminum. I used a wire brush and 3M 400 grit sponge to get rid of the mill marks and soften it a bit.
Next I used some Birchwood Case Aluminum Black to age and darken the piece. Turned out great and goes with the bike perfectly.
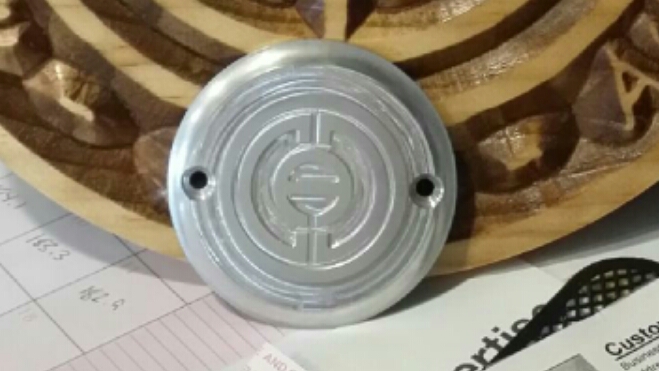
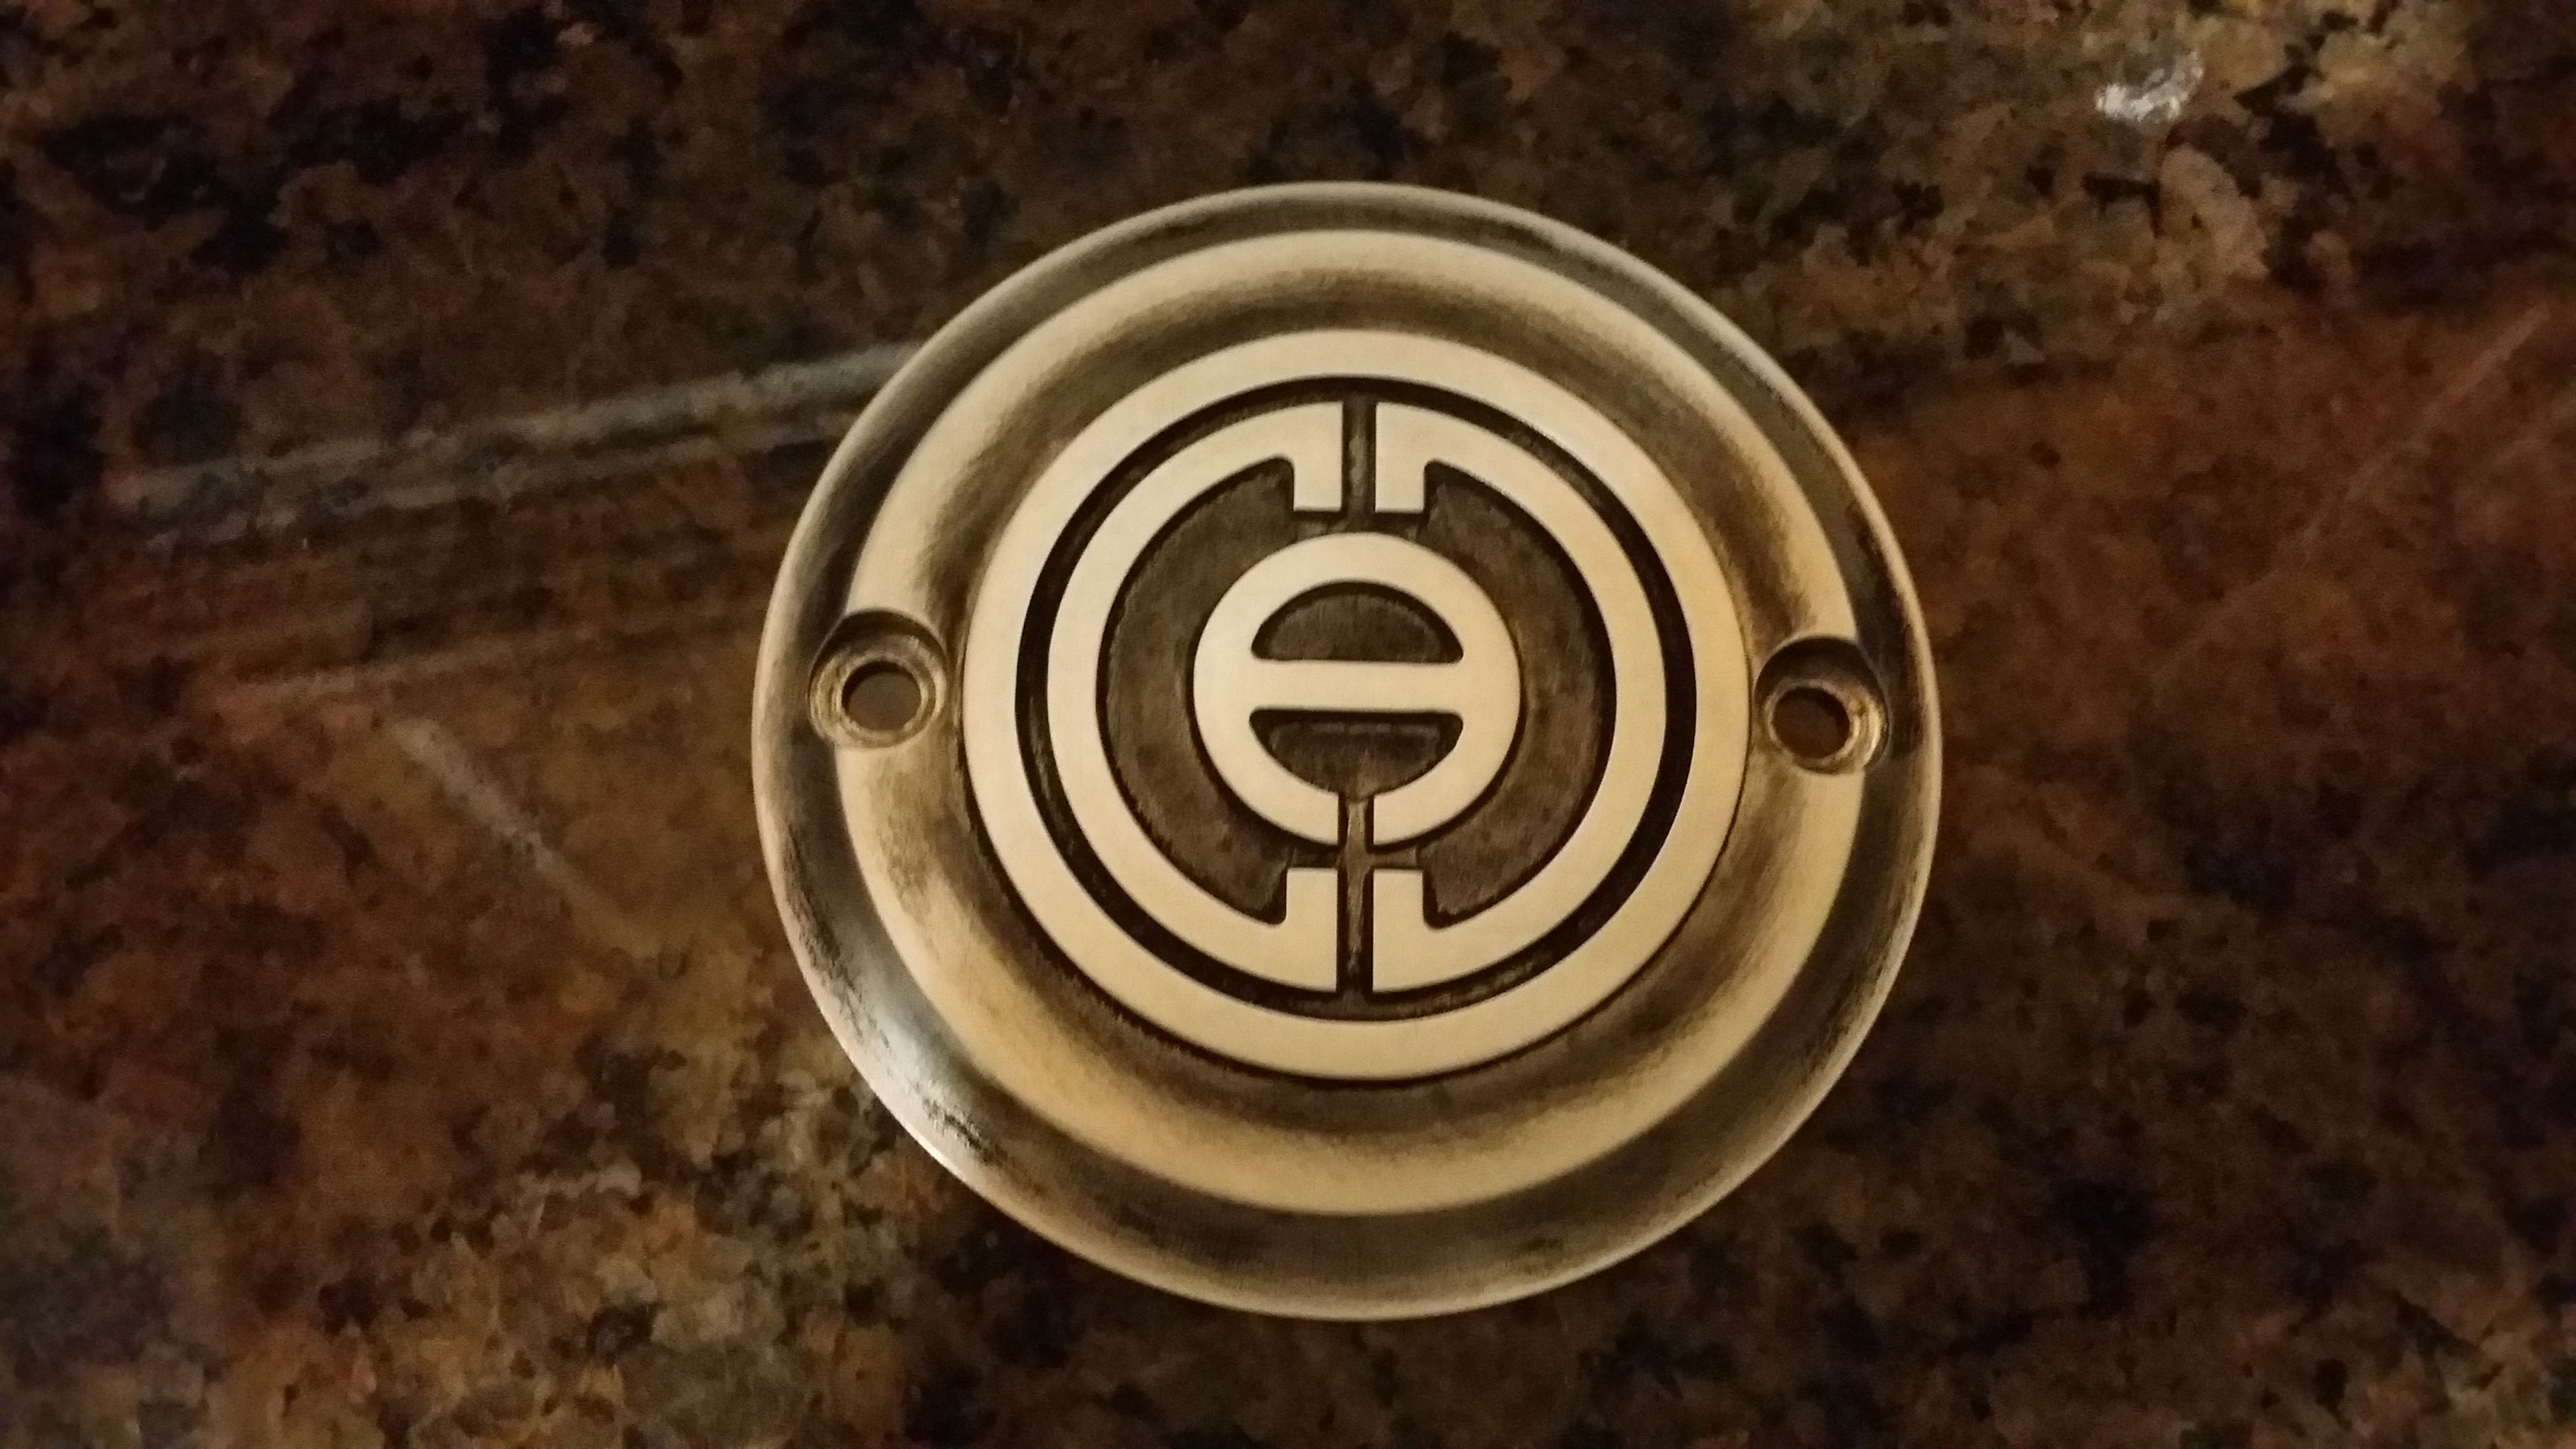
Next I used some Birchwood Case Aluminum Black to age and darken the piece. Turned out great and goes with the bike perfectly.


#16
10-29-2014, 03:29 PM

#17
10-29-2014, 05:43 PM
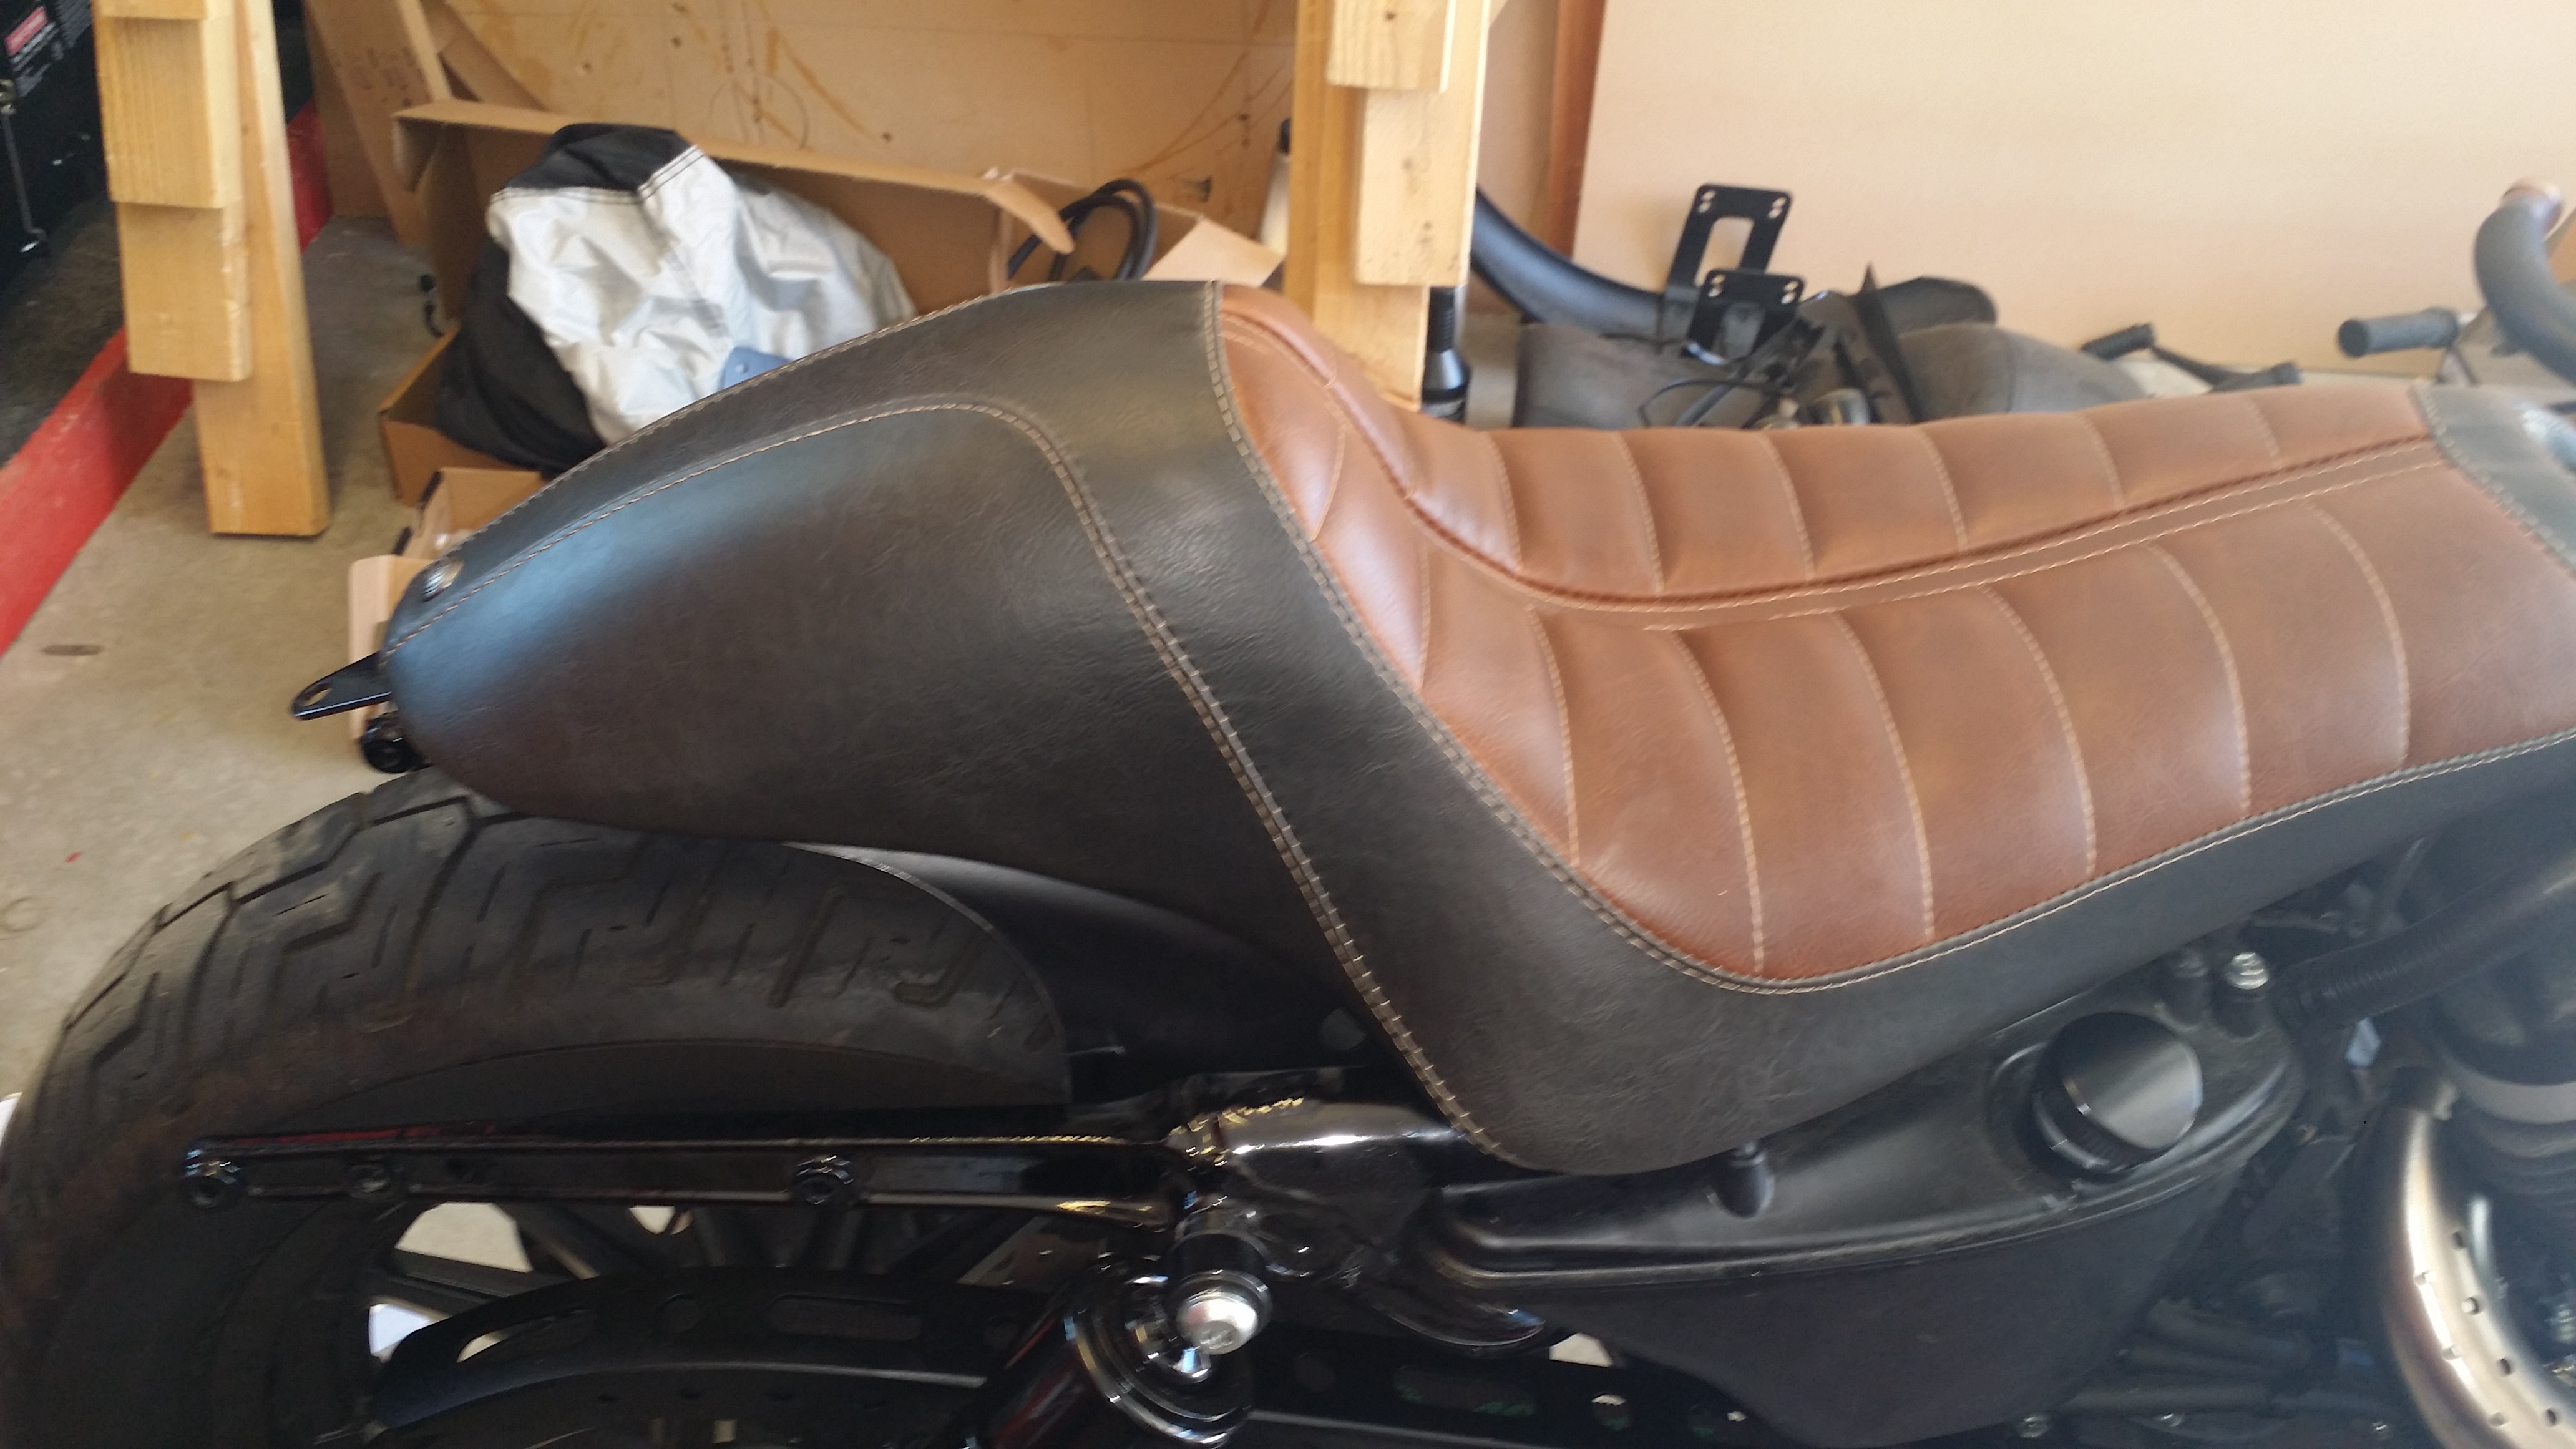
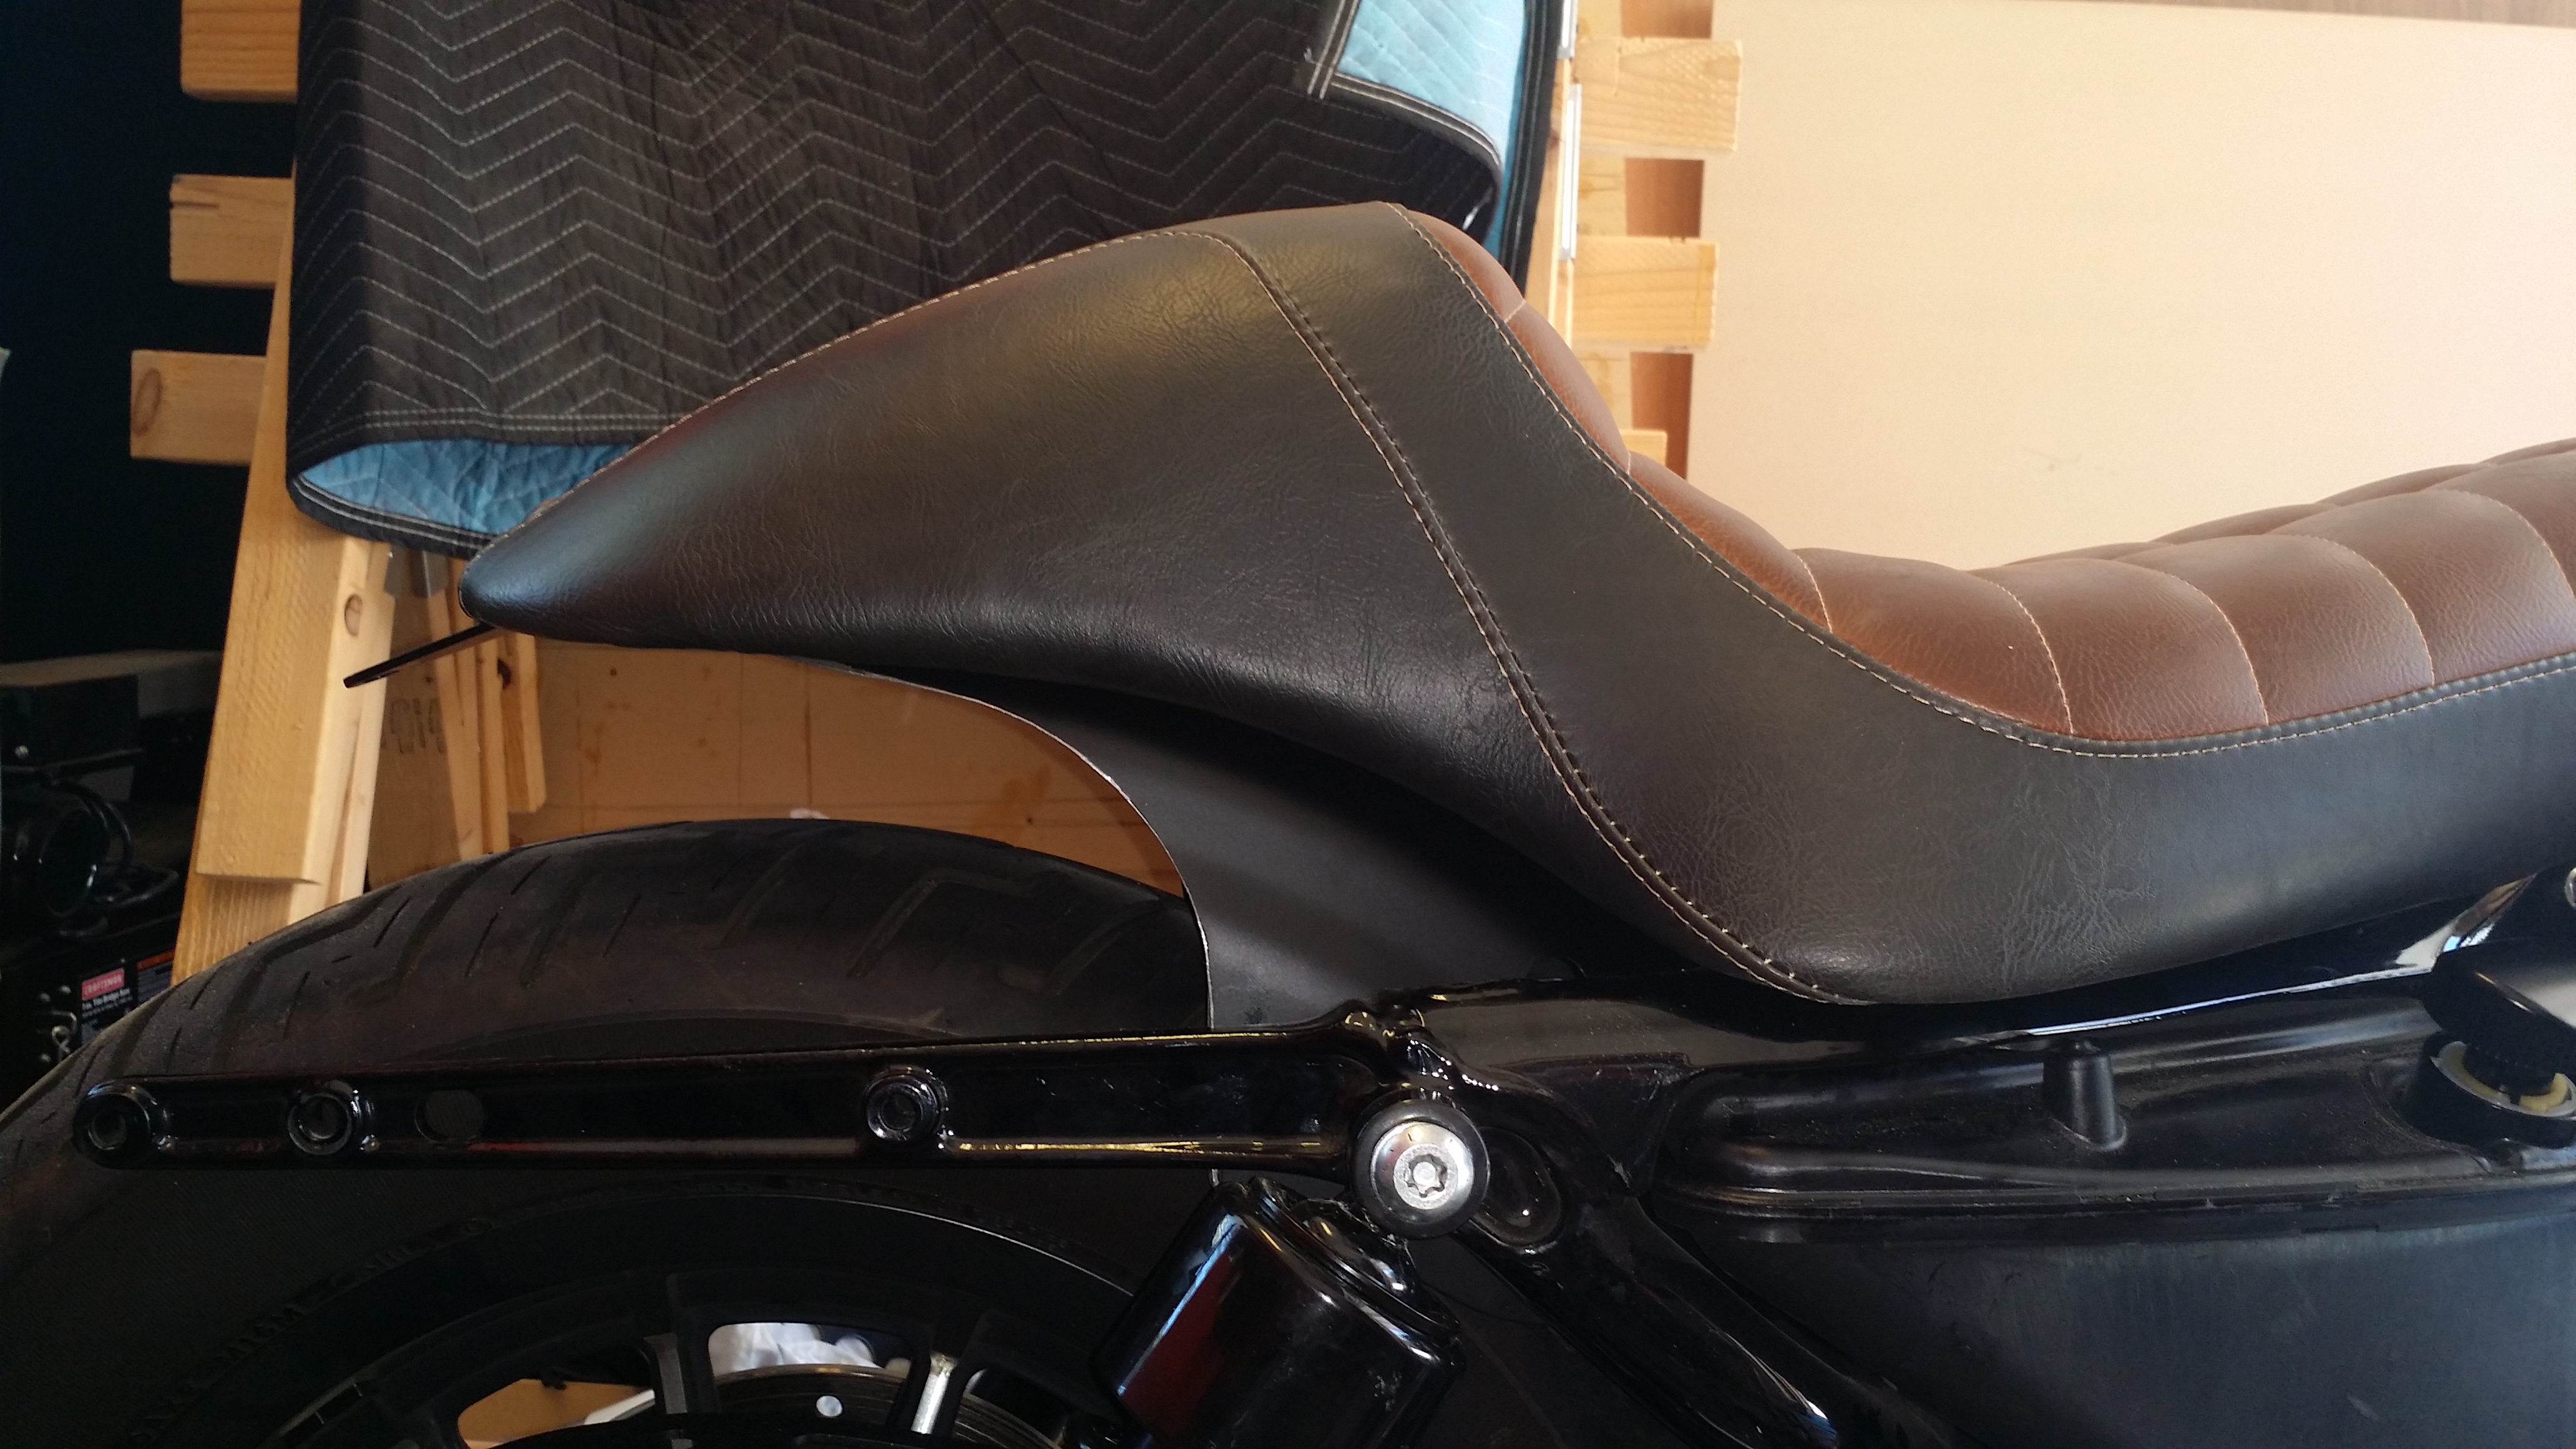
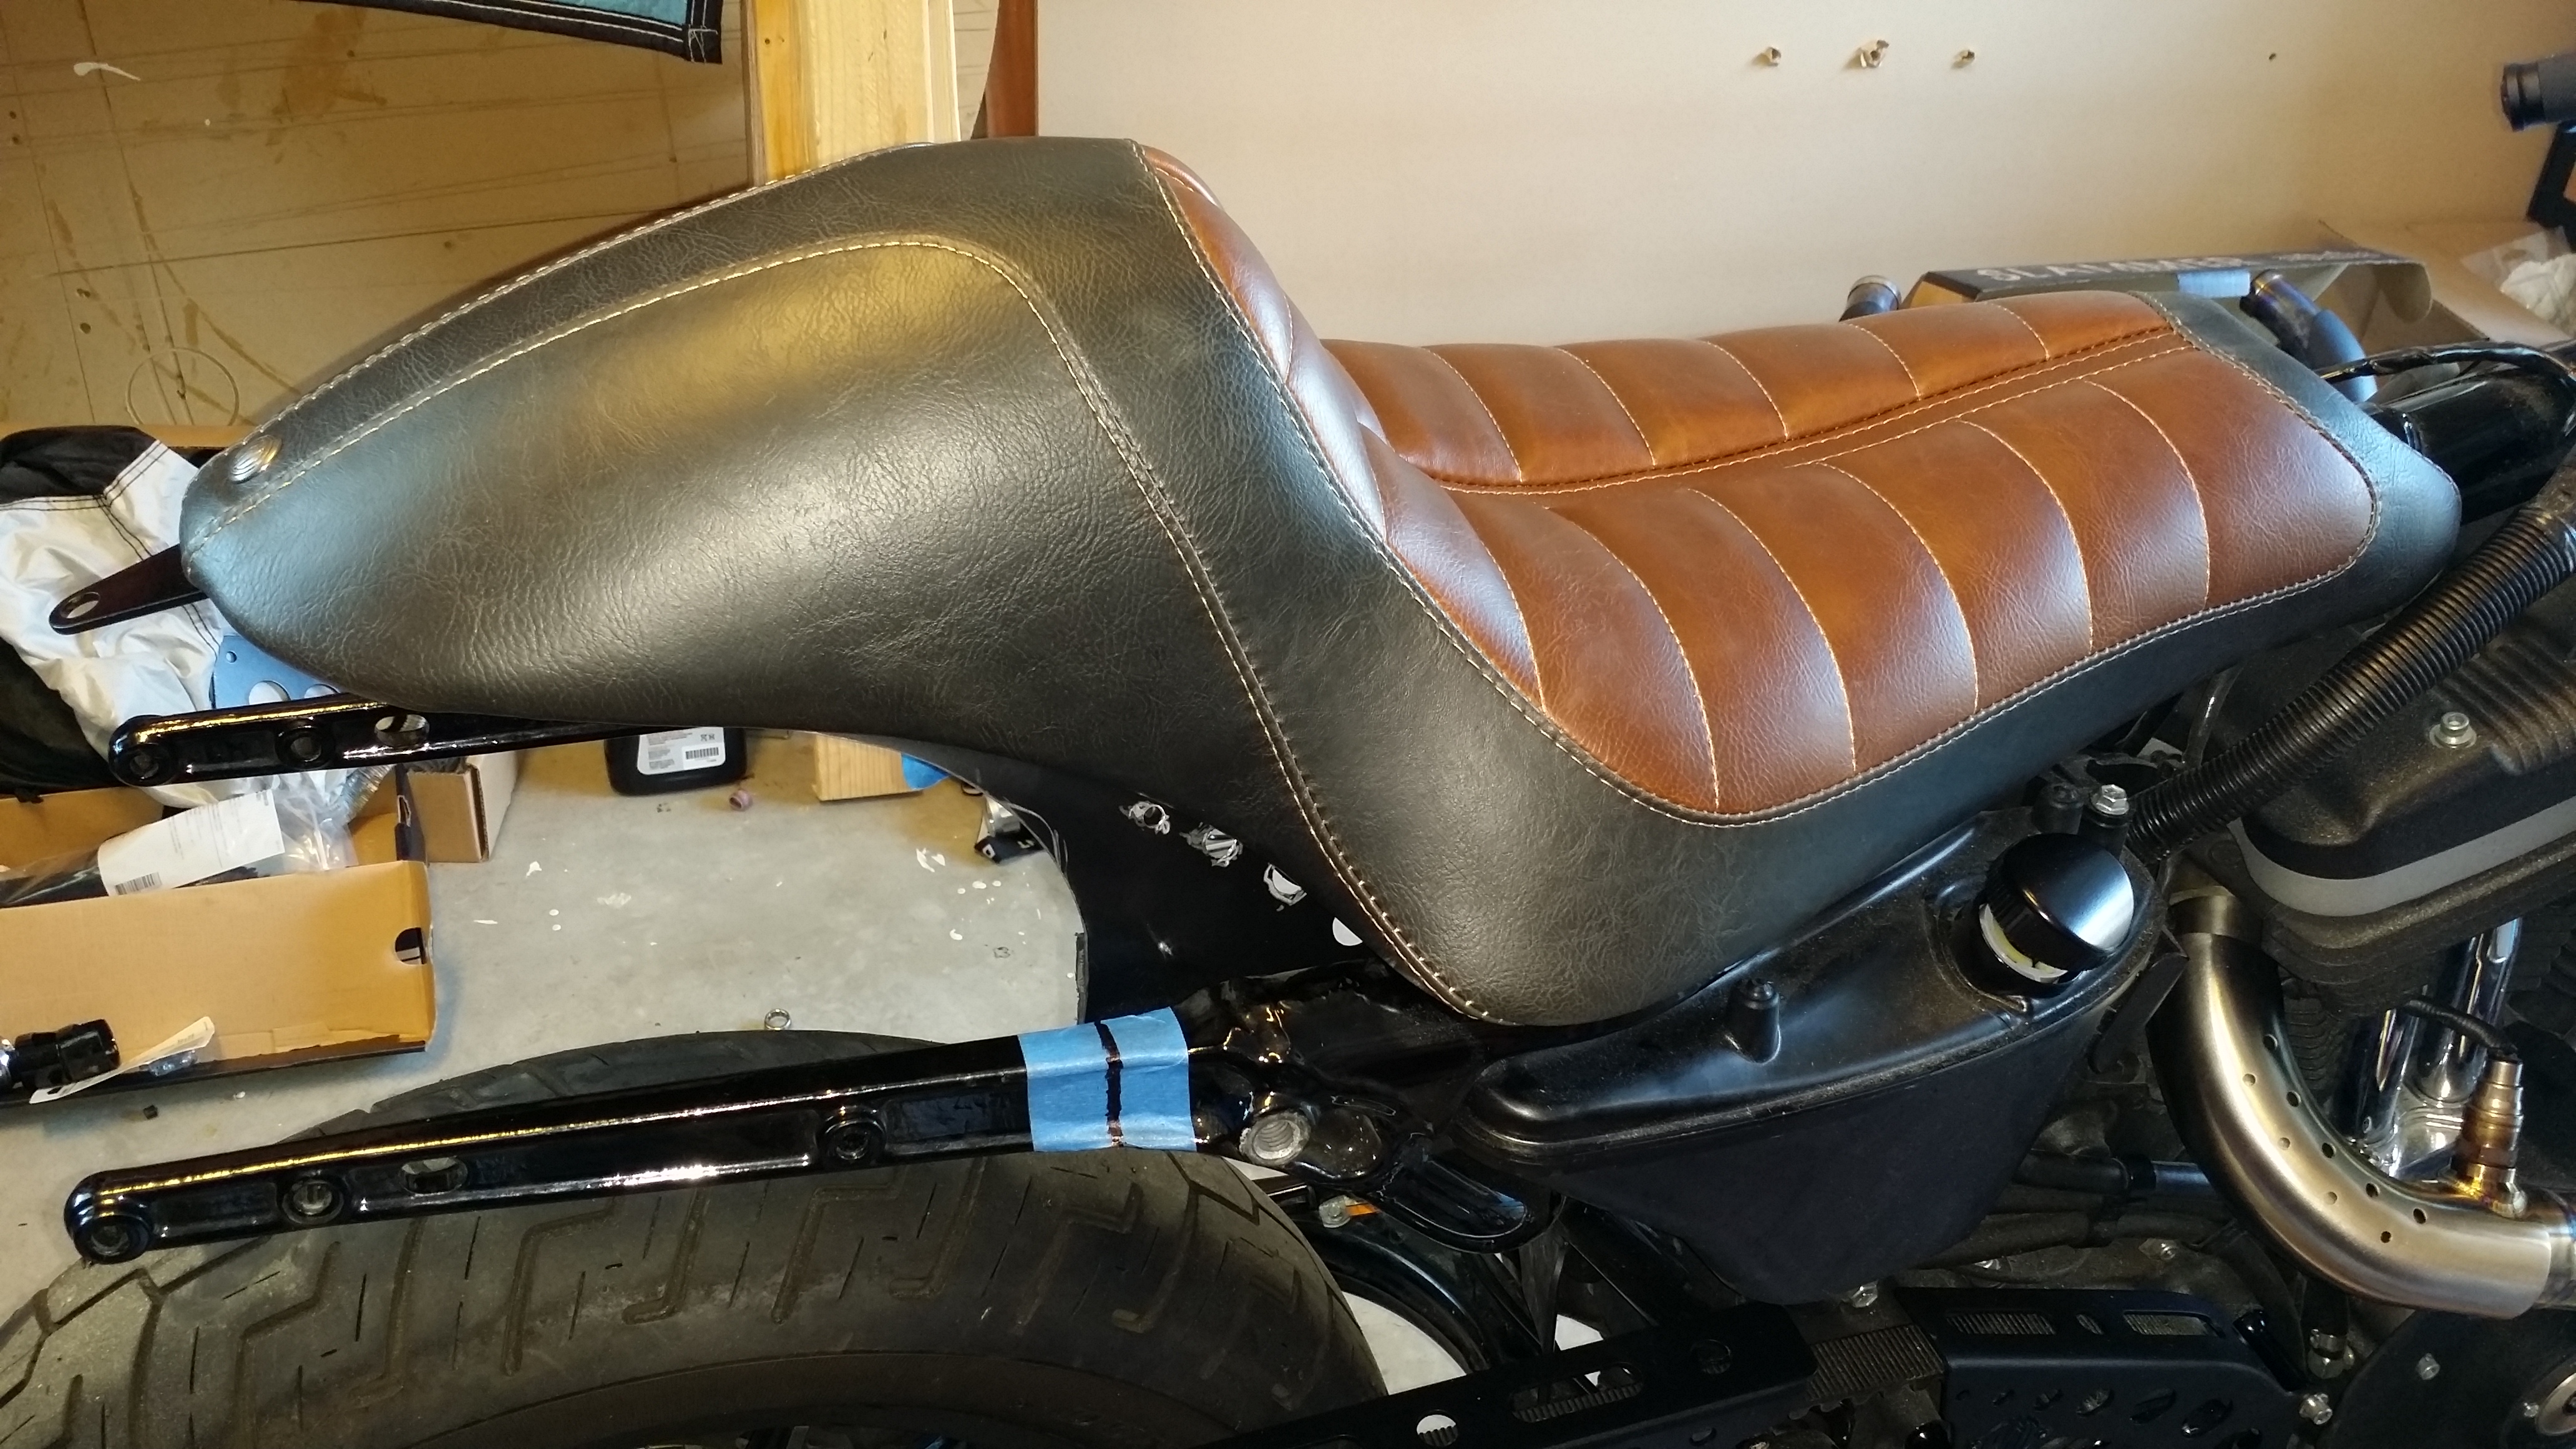
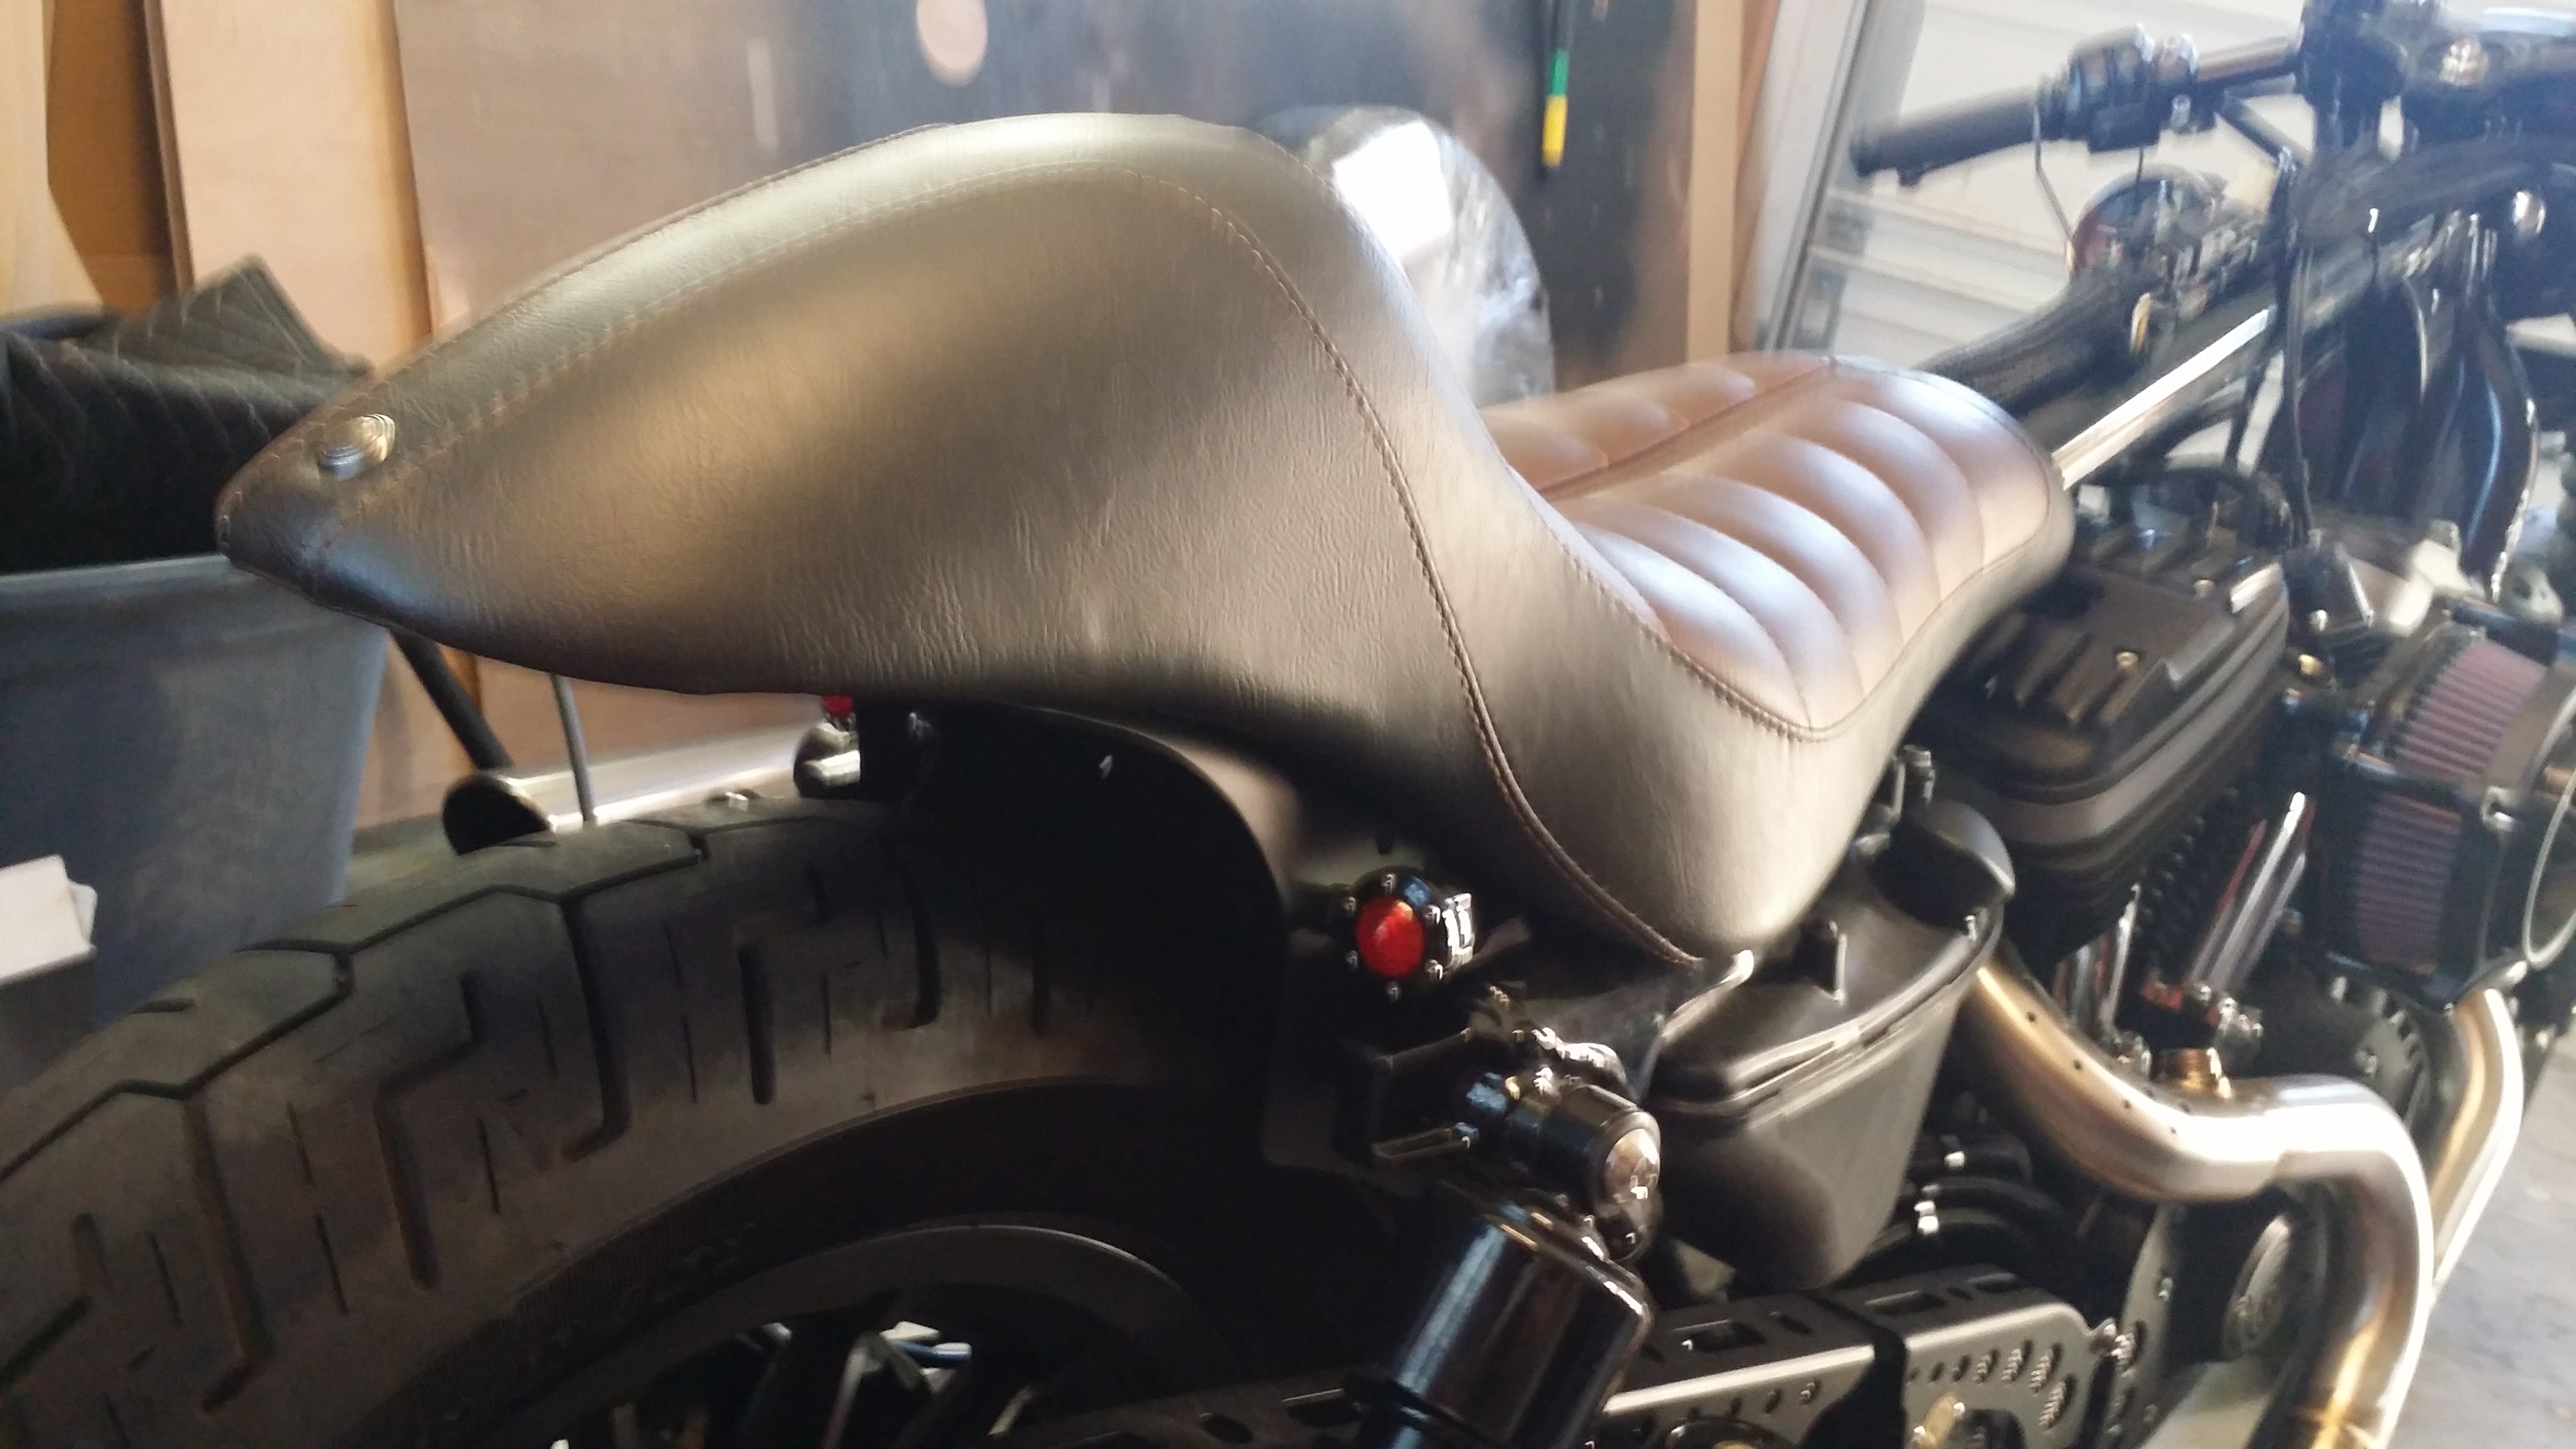
I don't know if it is the easiest but I do like it the best. I really like the shape of the cowl on the seat, but its a must IMO to cut the fender to match. Just sitting it on the fender as designed does not have the same effect.
The other options are to replace the seat pan and rear fender with some kit. I don't like this option as much because most of the kits out there are just too small or too blocky. RSD has just released there café rear section which looks really good and was certainly an option but I am liking where mine is going so far.
#18
10-29-2014, 05:44 PM


#19
10-29-2014, 06:20 PM
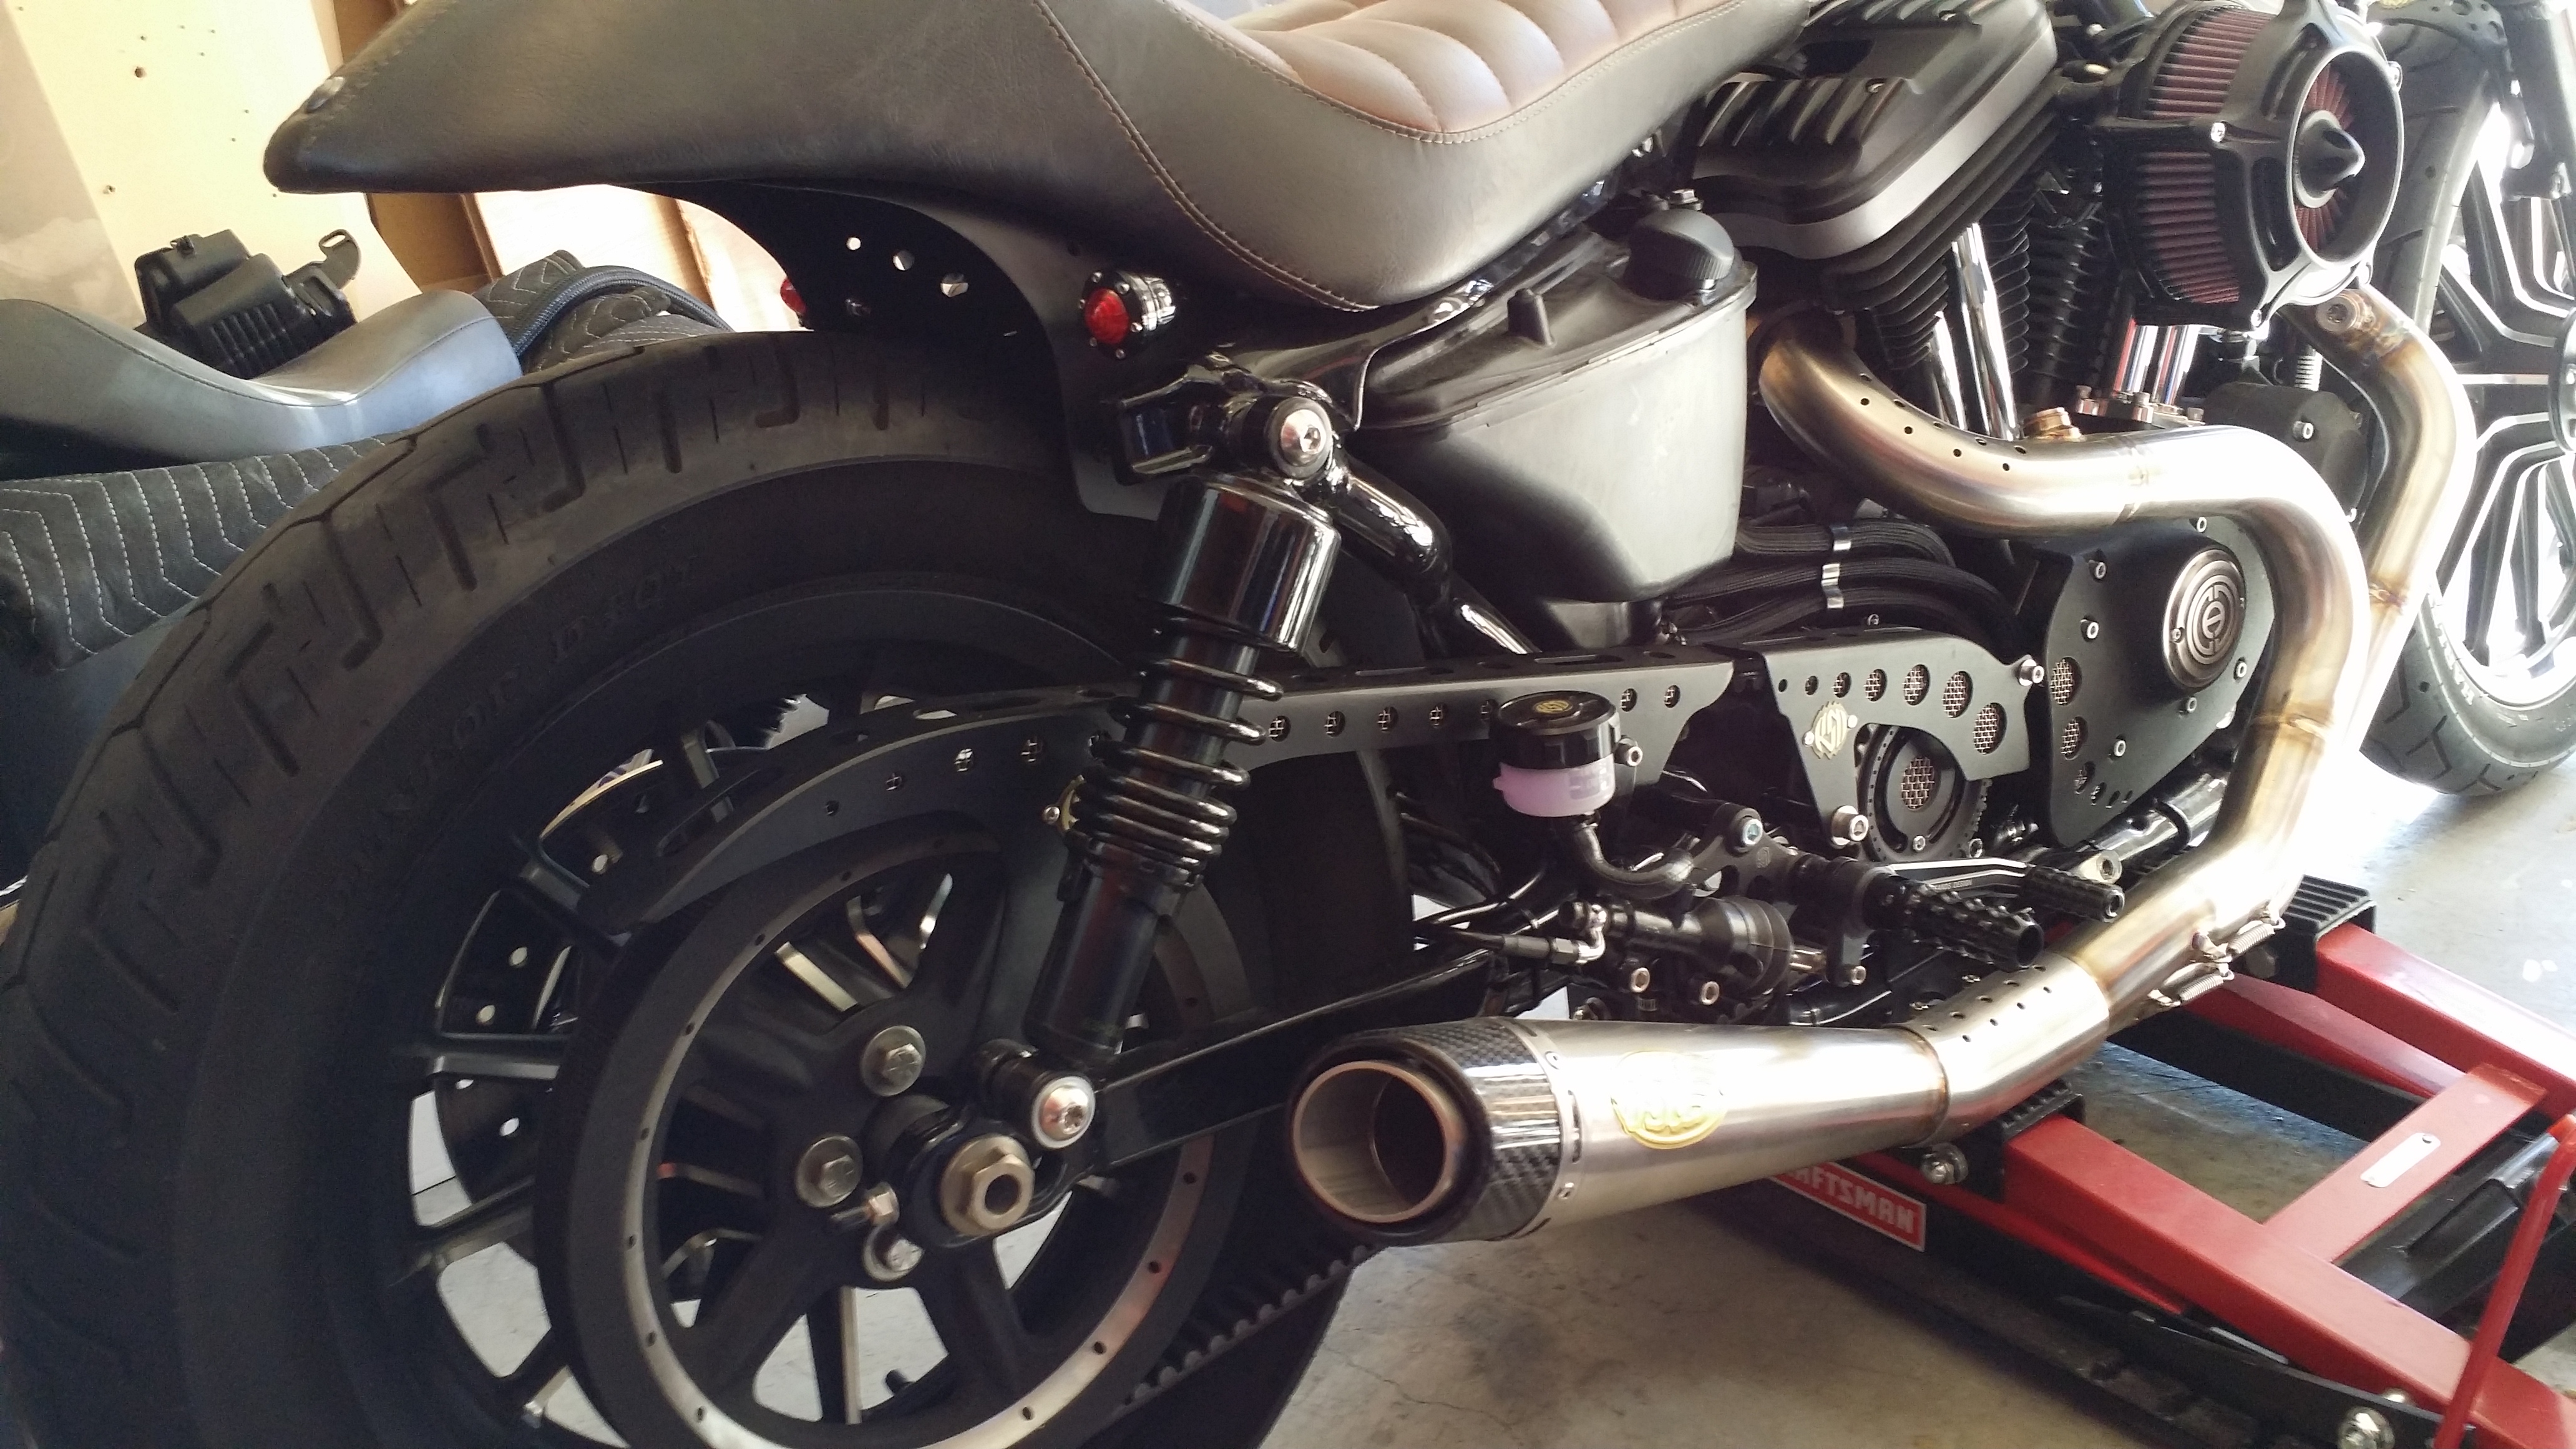
Other parts installed:
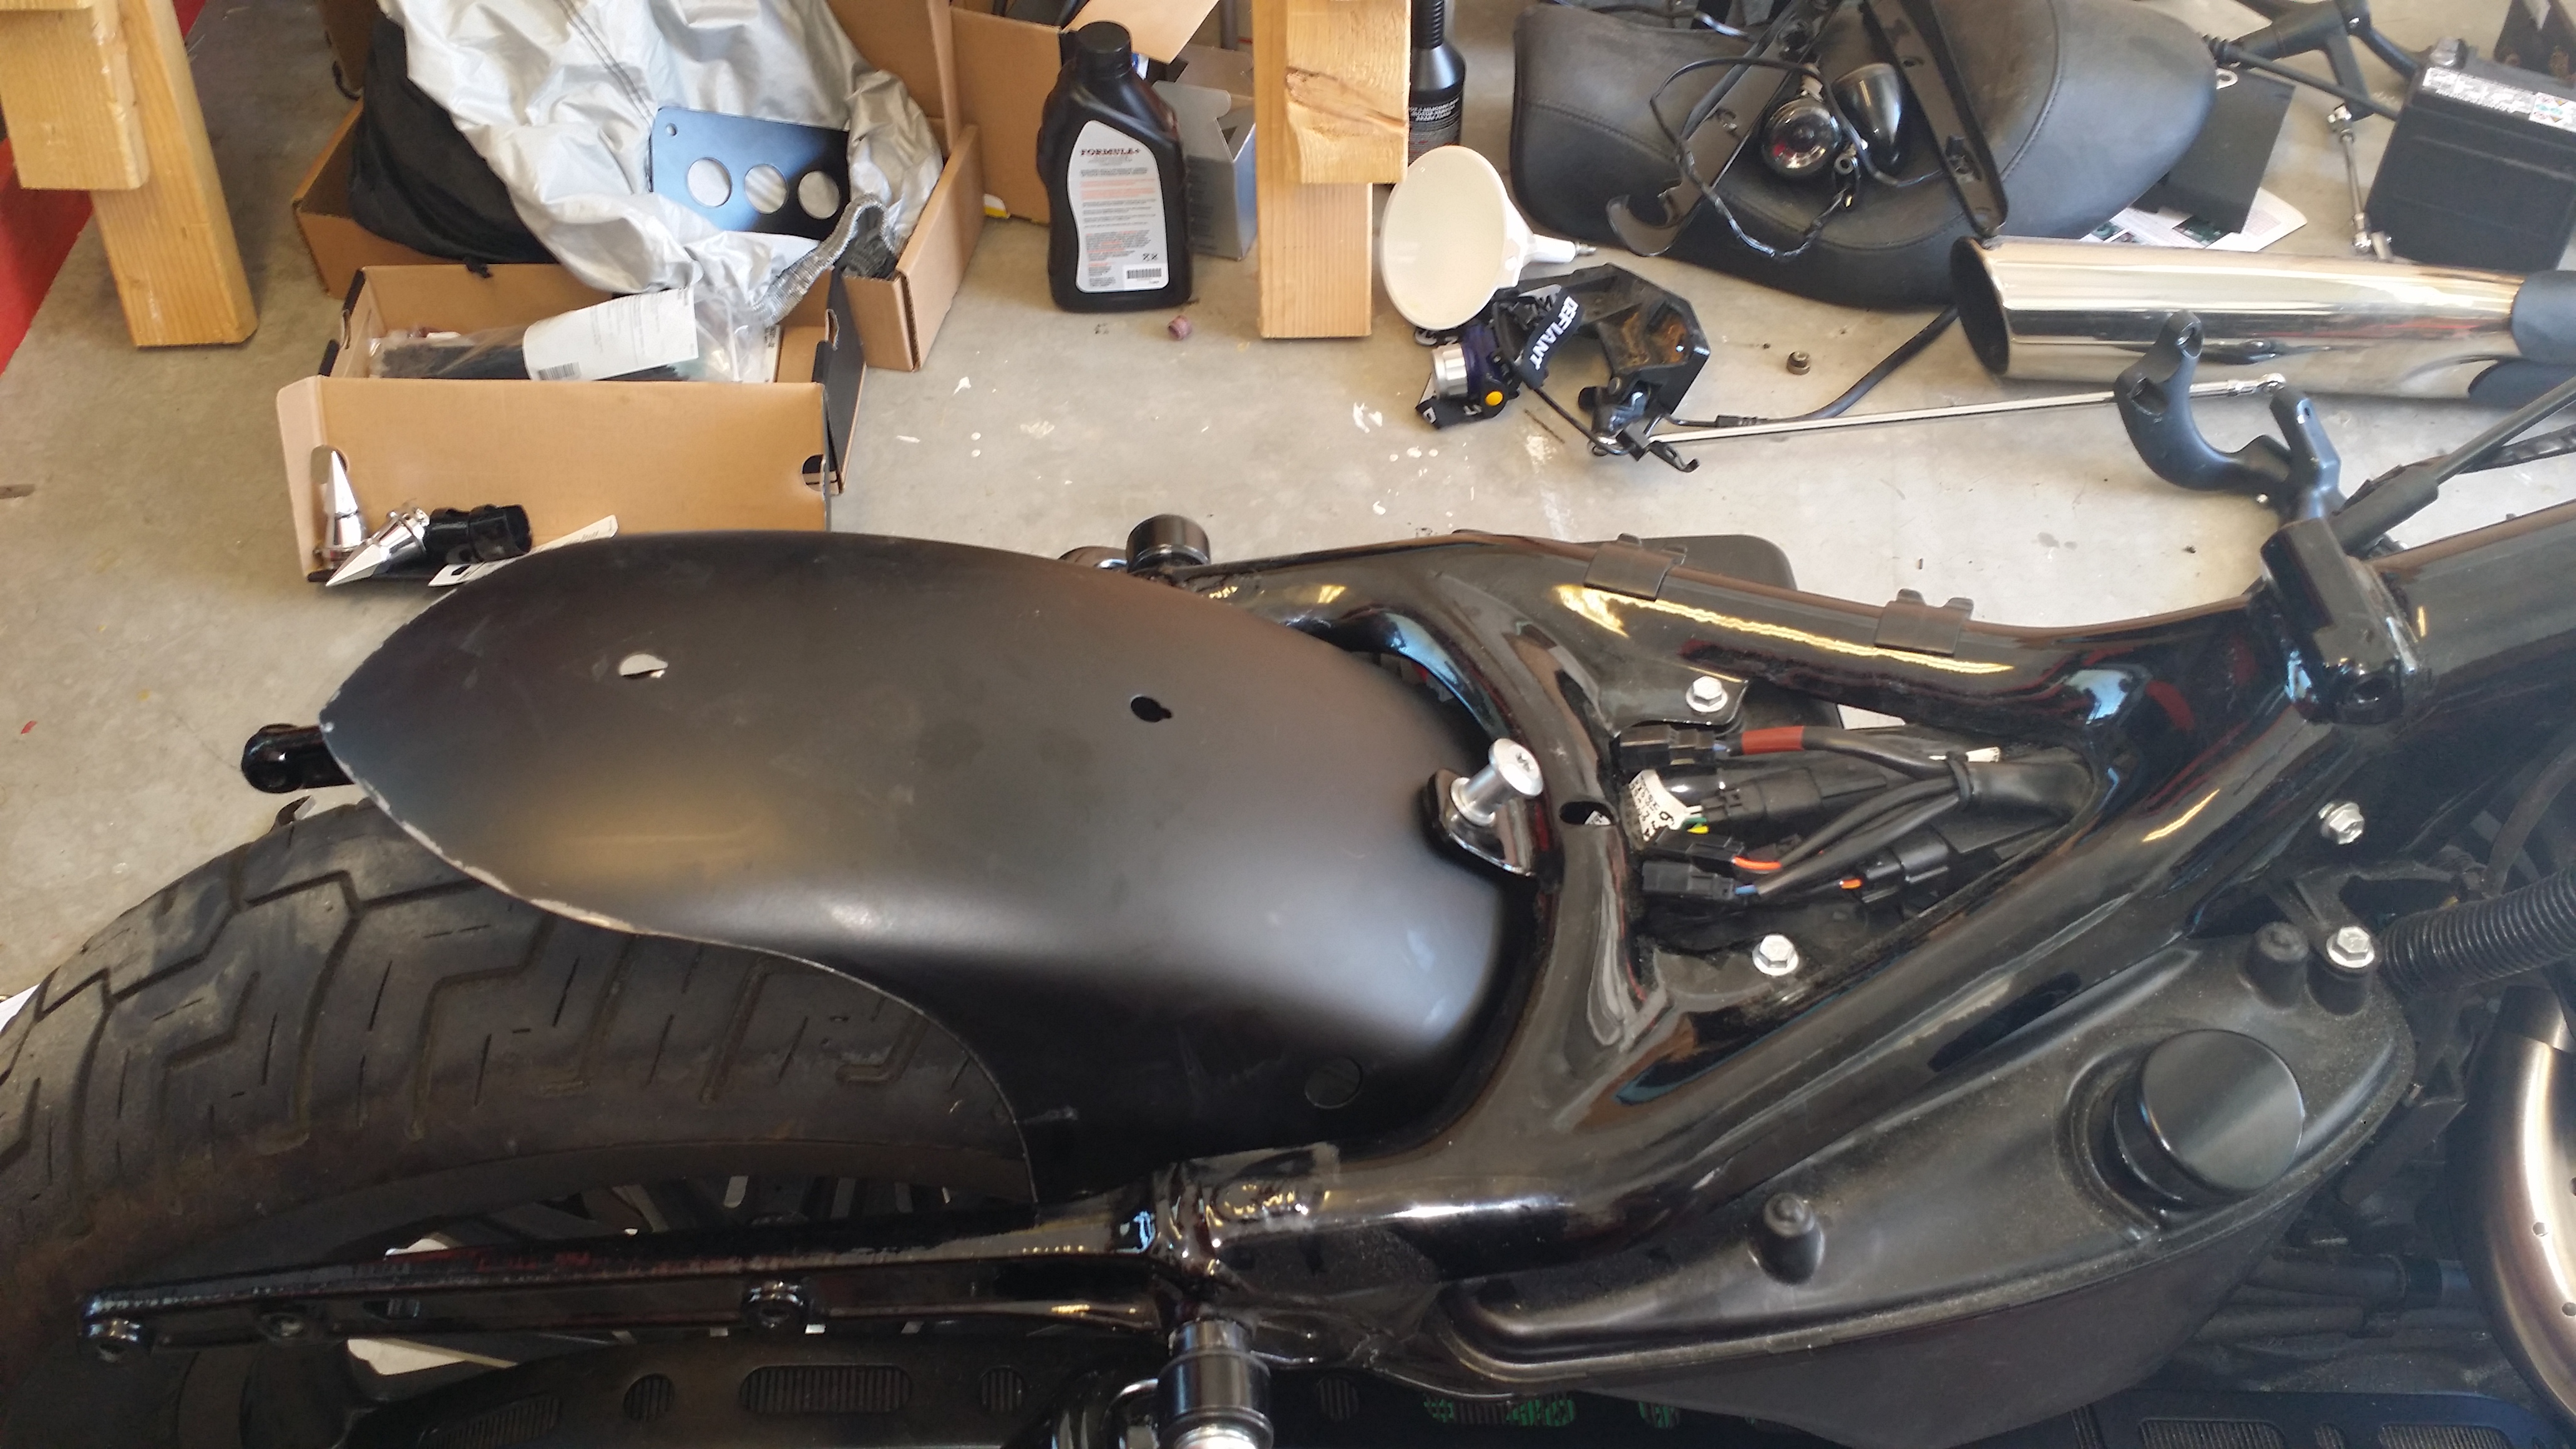
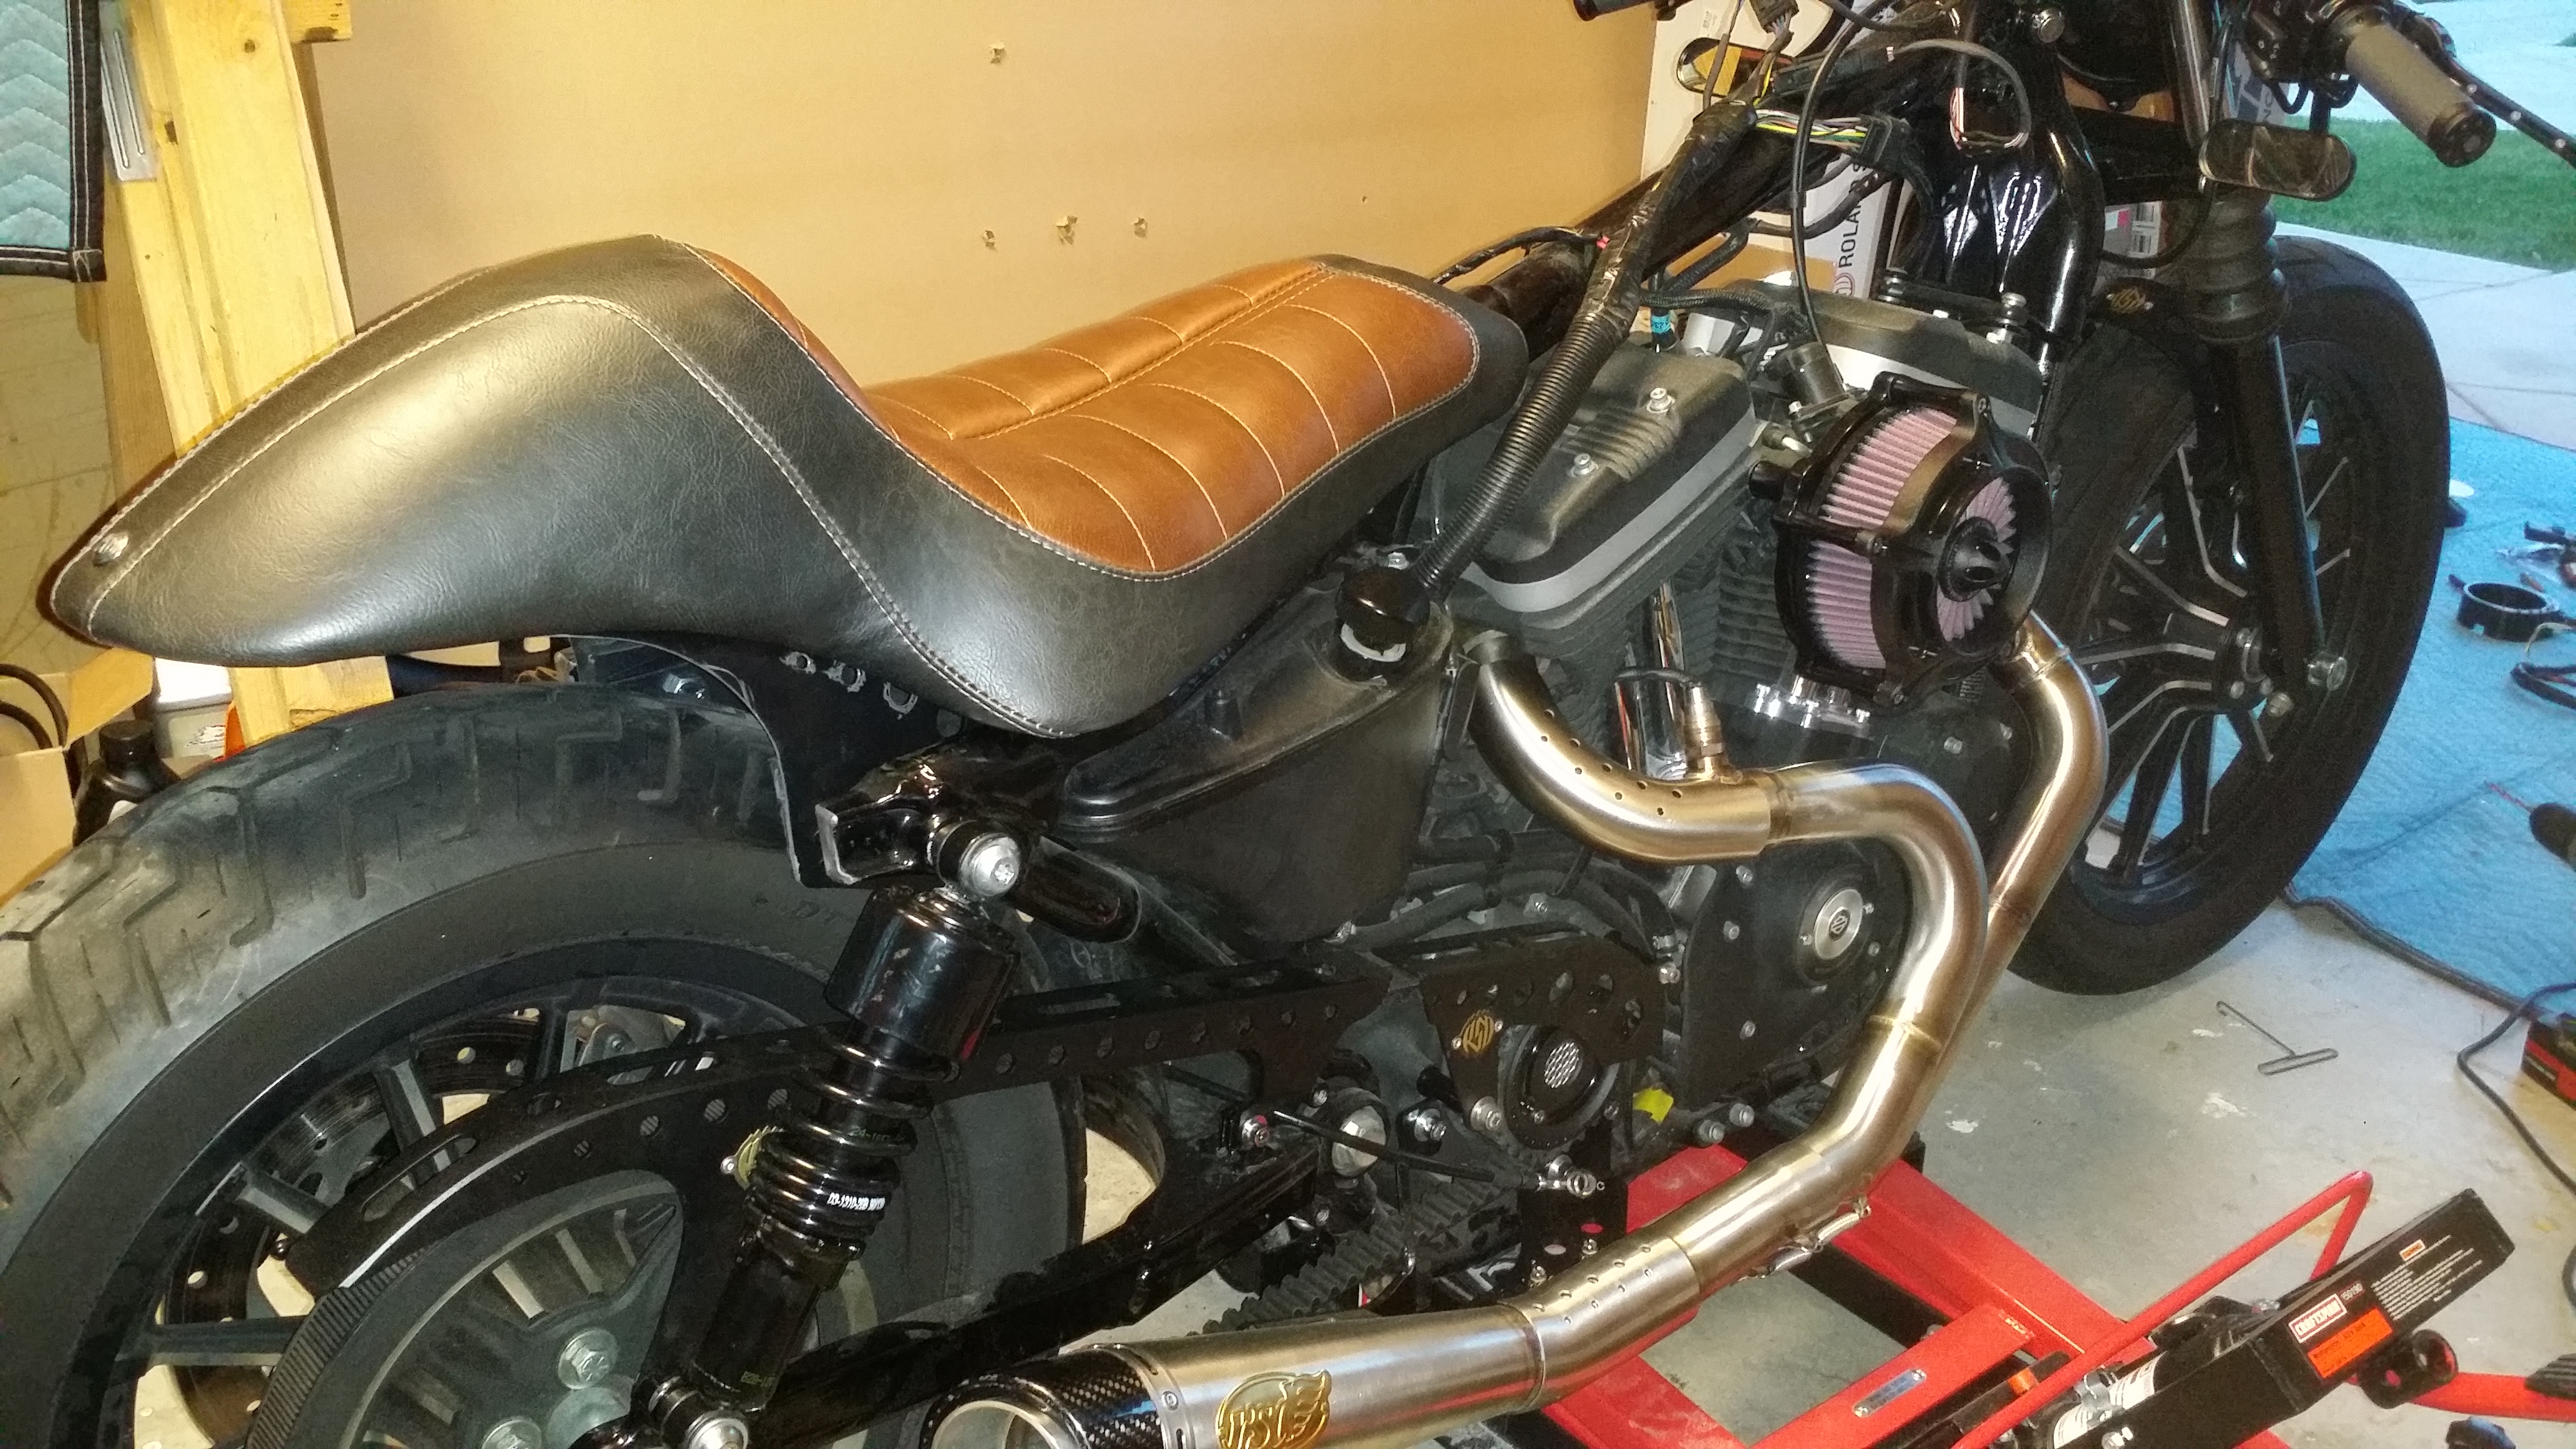
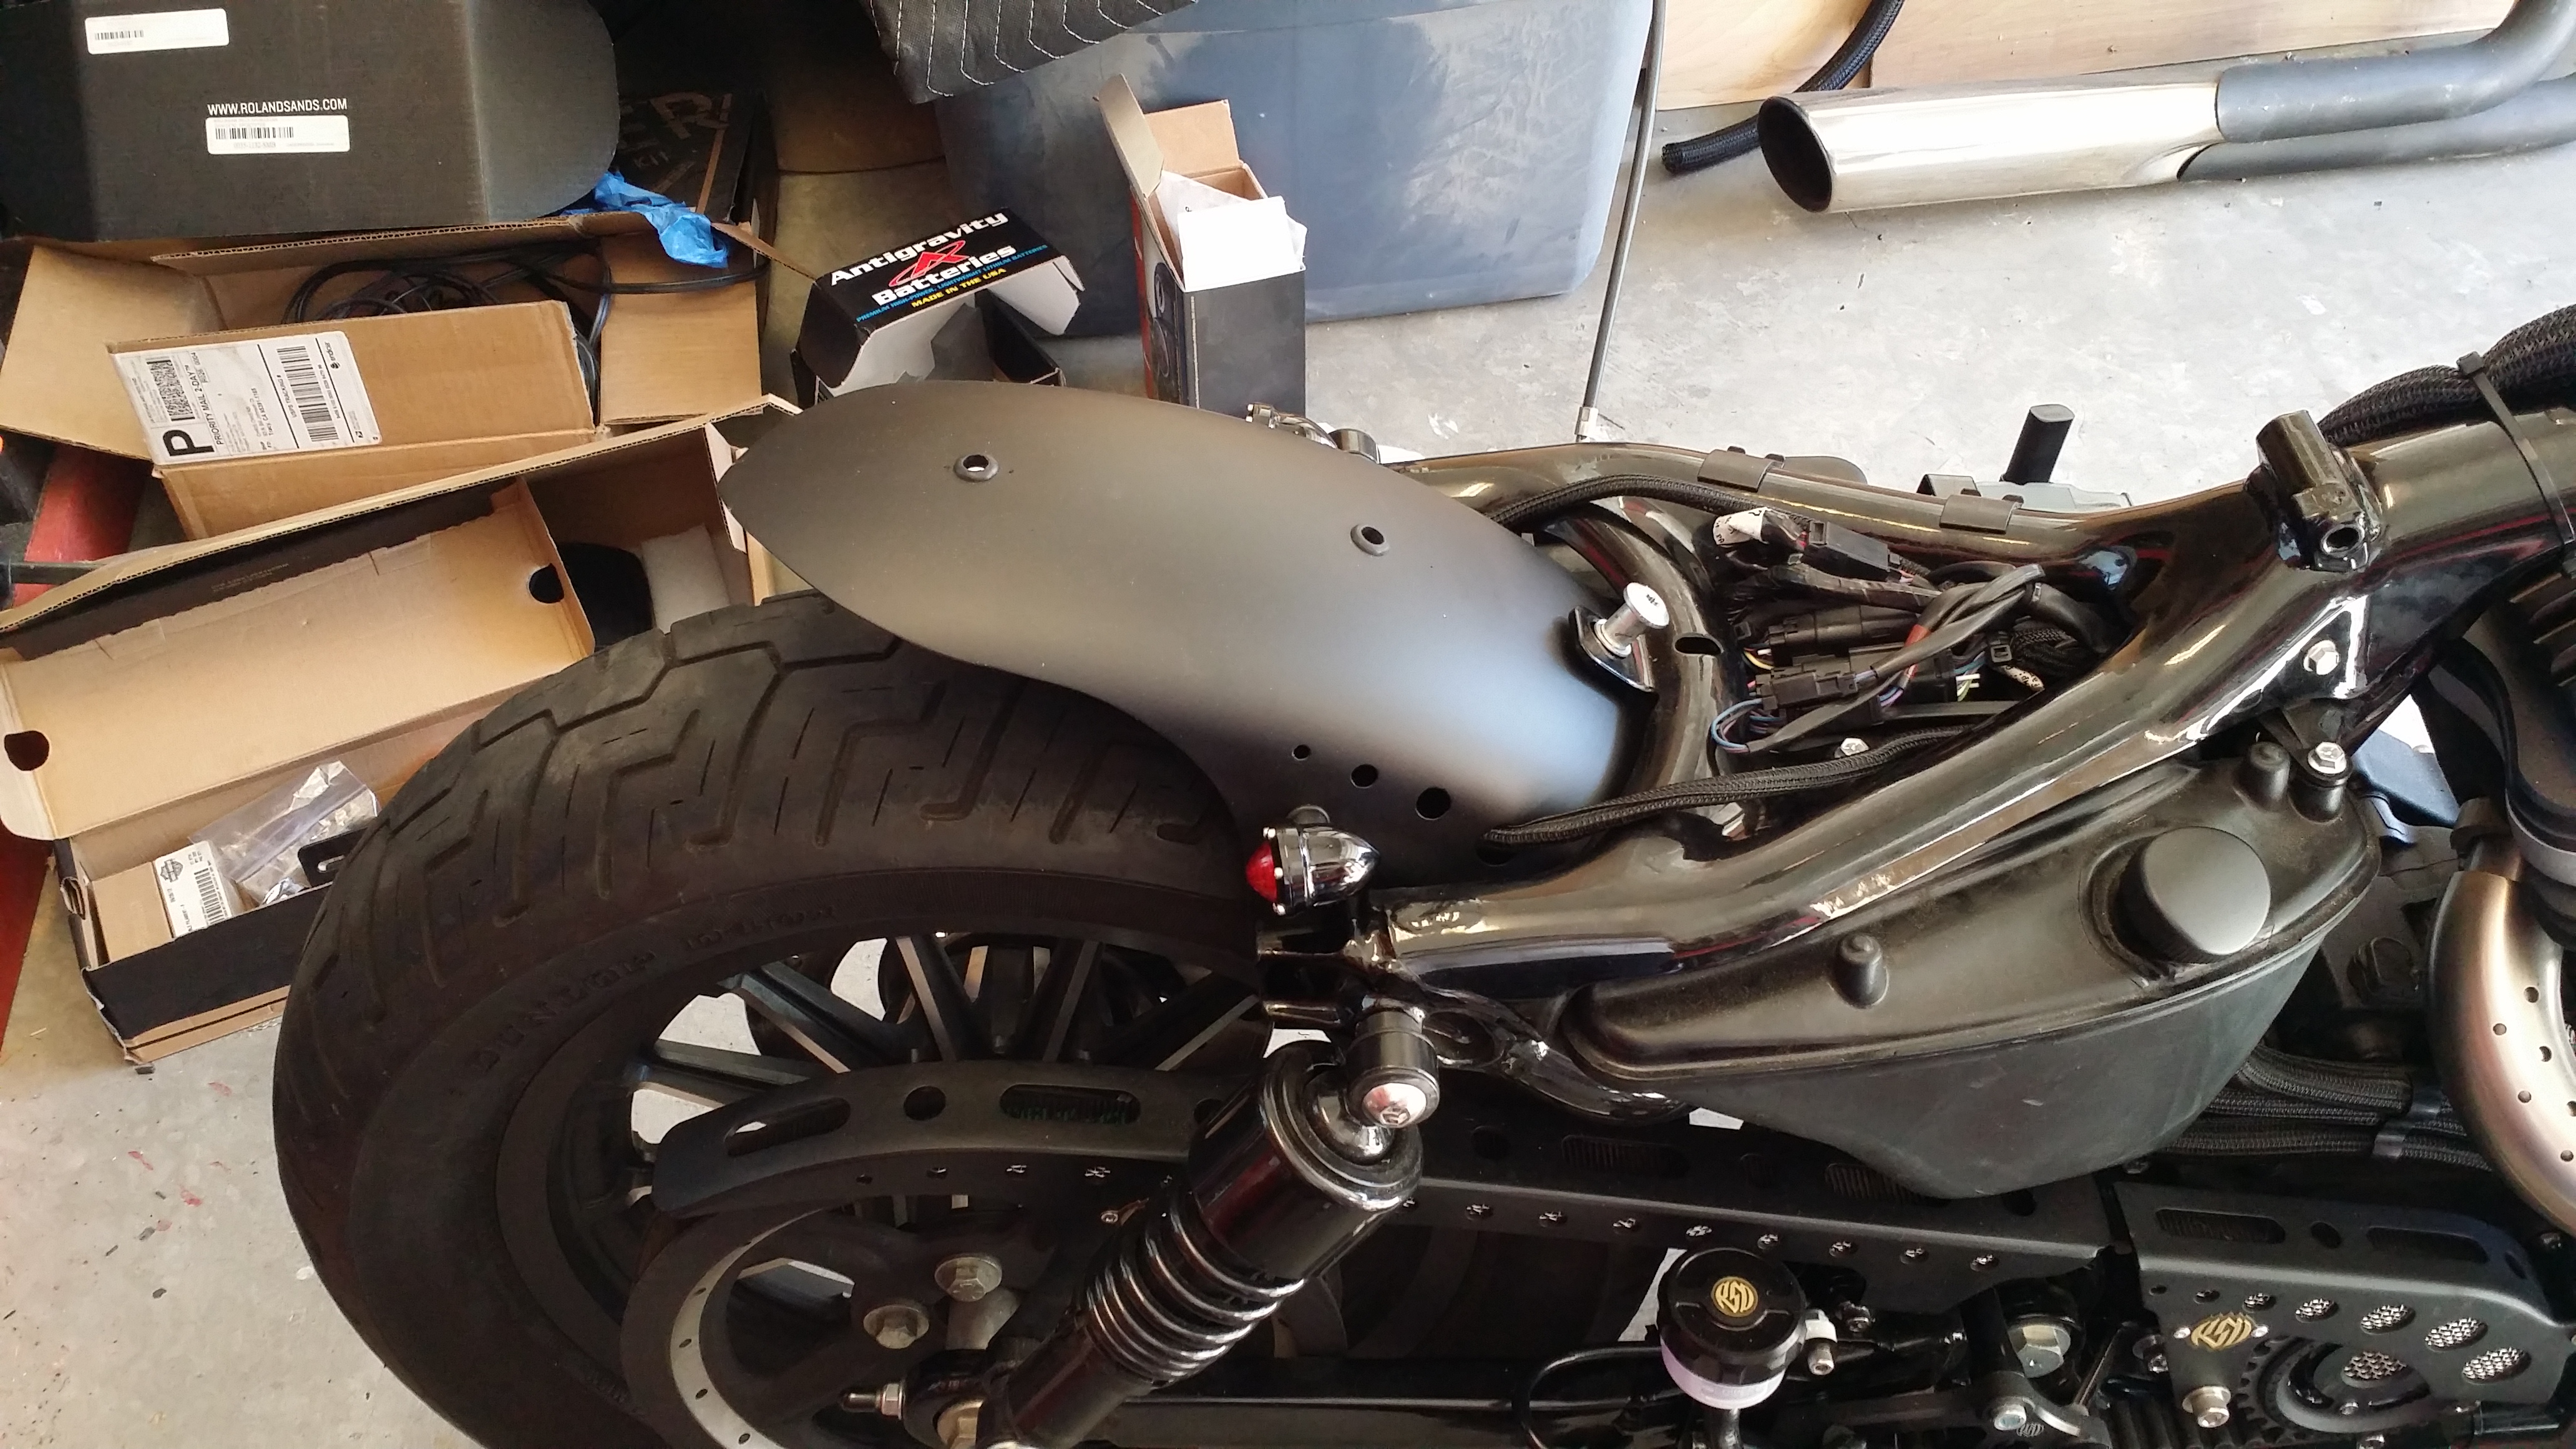
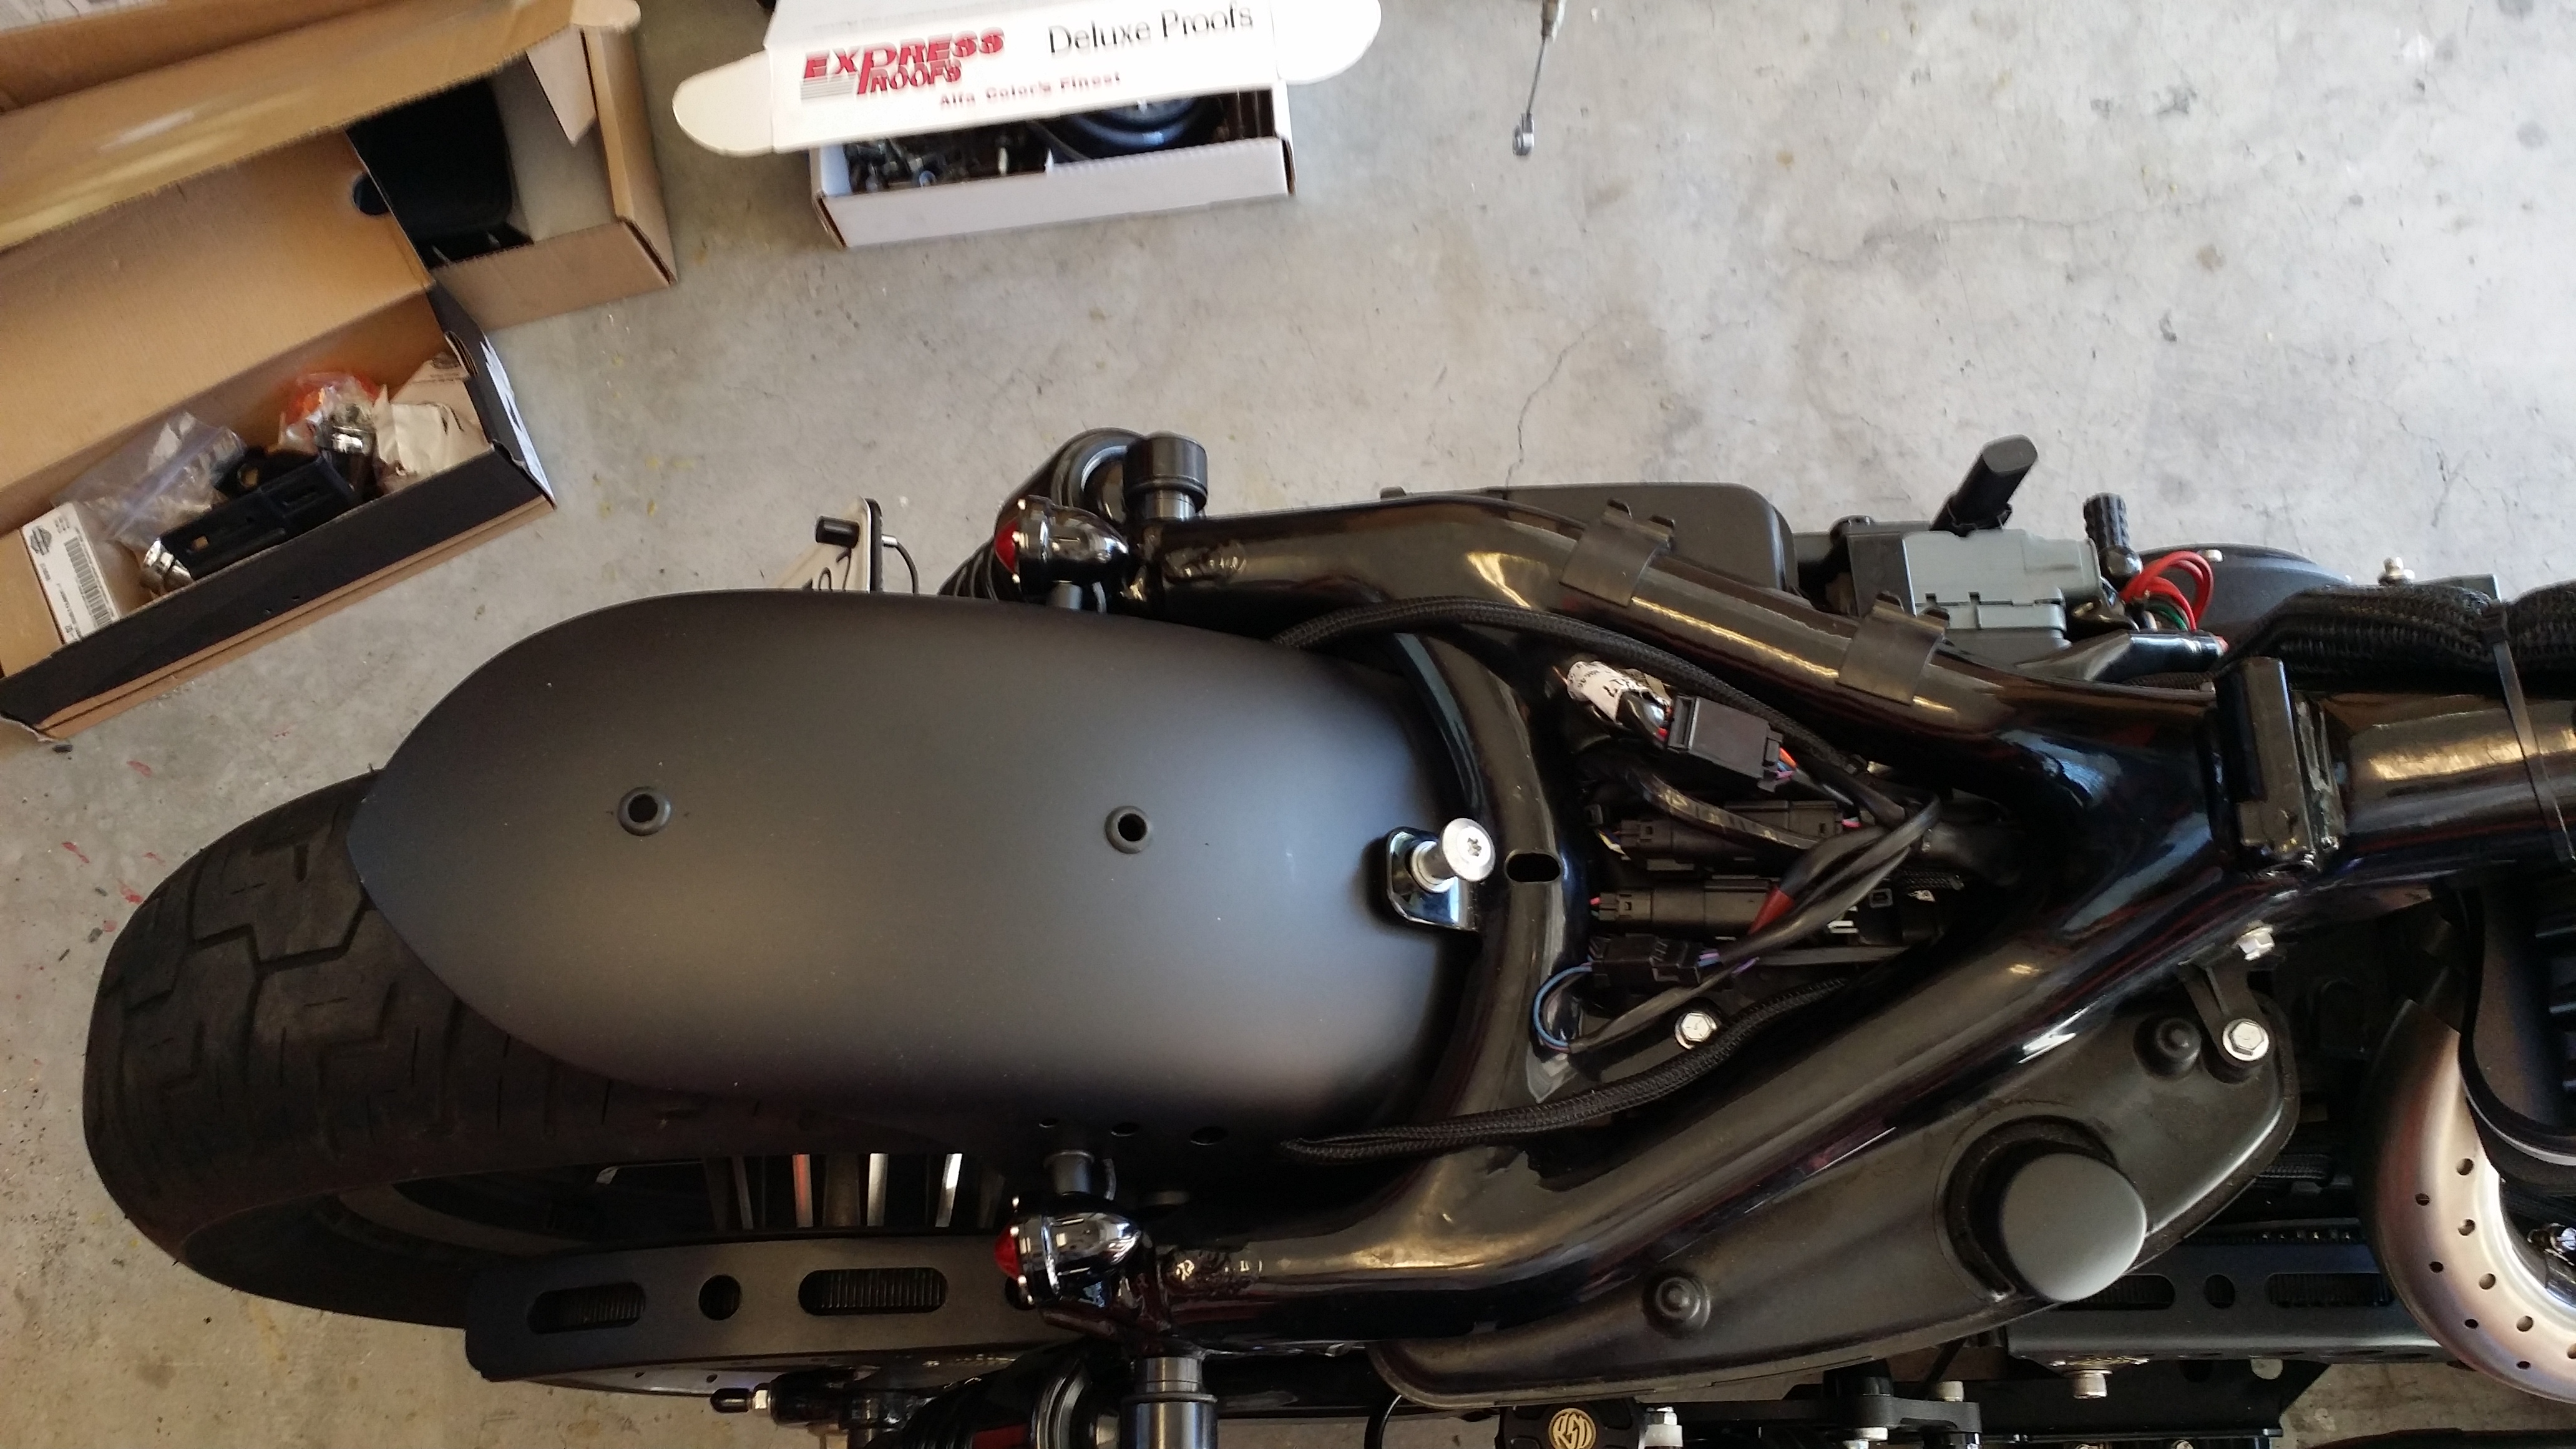
Repainted (John Dear Blitz Black) rear fender with RSD rear Turn Signals. Now since I have not had a battery hooked up since I started all of this. I have no idea if/how all of this will work. Obviously the Irons have the Brake/Turn/Run system for the tail lights. The RSD Led Turn signals are 3 wire set up so I am hoping at most I will just need a load equalizer at worst since I have no brake light I may have to buy a Brake/Turn/Run module from either custom dynamics or badlands.
As you can see by the rubber grommets I will be mounting the seat from underneath using some T nuts and drilling out under the seat pan of the seat. I am just waiting to get the tank back from paint to ensure proper fit.
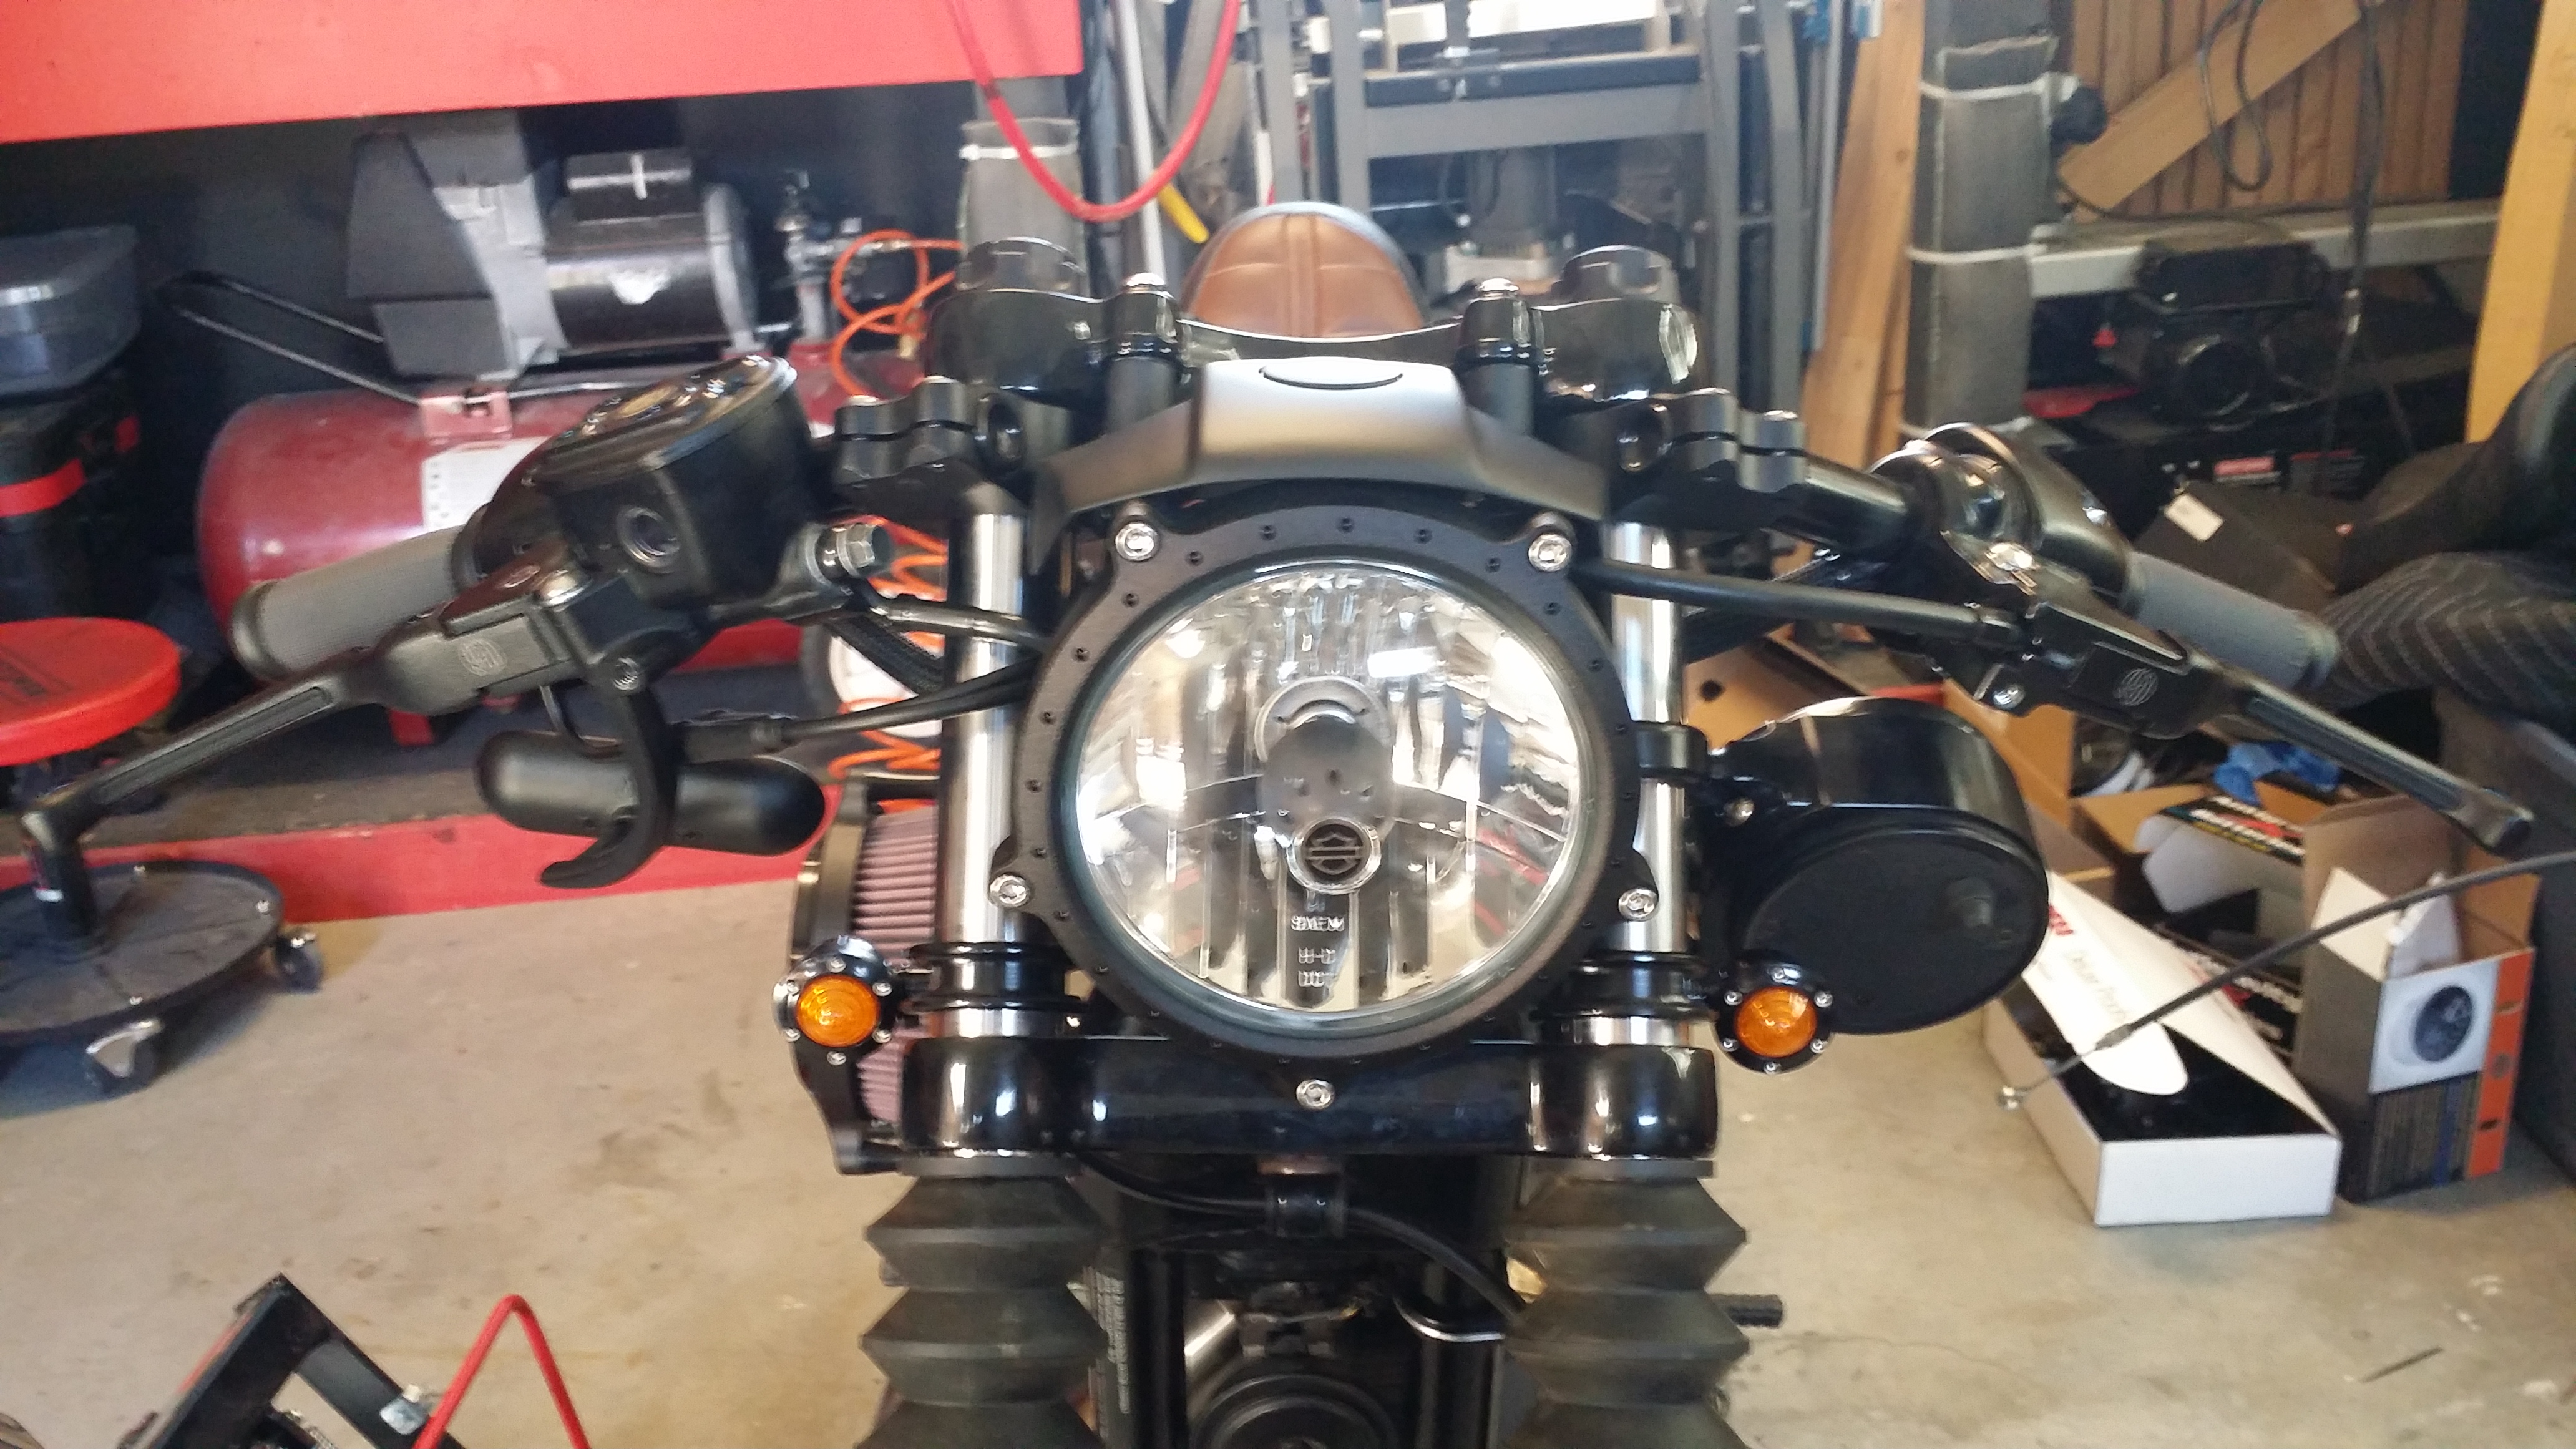
Joker machine LED Speedo fork relocation with the HD Speedo / Tach combo

RSD Front turn signals with fork mount clamps
Repainted (John Dear Blitz Black) rear fender with RSD rear Turn Signals. Now since I have not had a battery hooked up since I started all of this. I have no idea if/how all of this will work. Obviously the Irons have the Brake/Turn/Run system for the tail lights. The RSD Led Turn signals are 3 wire set up so I am hoping at most I will just need a load equalizer at worst since I have no brake light I may have to buy a Brake/Turn/Run module from either custom dynamics or badlands.


As you can see by the rubber grommets I will be mounting the seat from underneath using some T nuts and drilling out under the seat pan of the seat. I am just waiting to get the tank back from paint to ensure proper fit.


Joker machine LED Speedo fork relocation with the HD Speedo / Tach combo

RSD Front turn signals with fork mount clamps
