Here goes... My name is Roy and I live in Spokane, WA and this is my first Harley. I have been snooping around here for months looking at bikes like the ones these guys built and decided to change mine up a bit too...
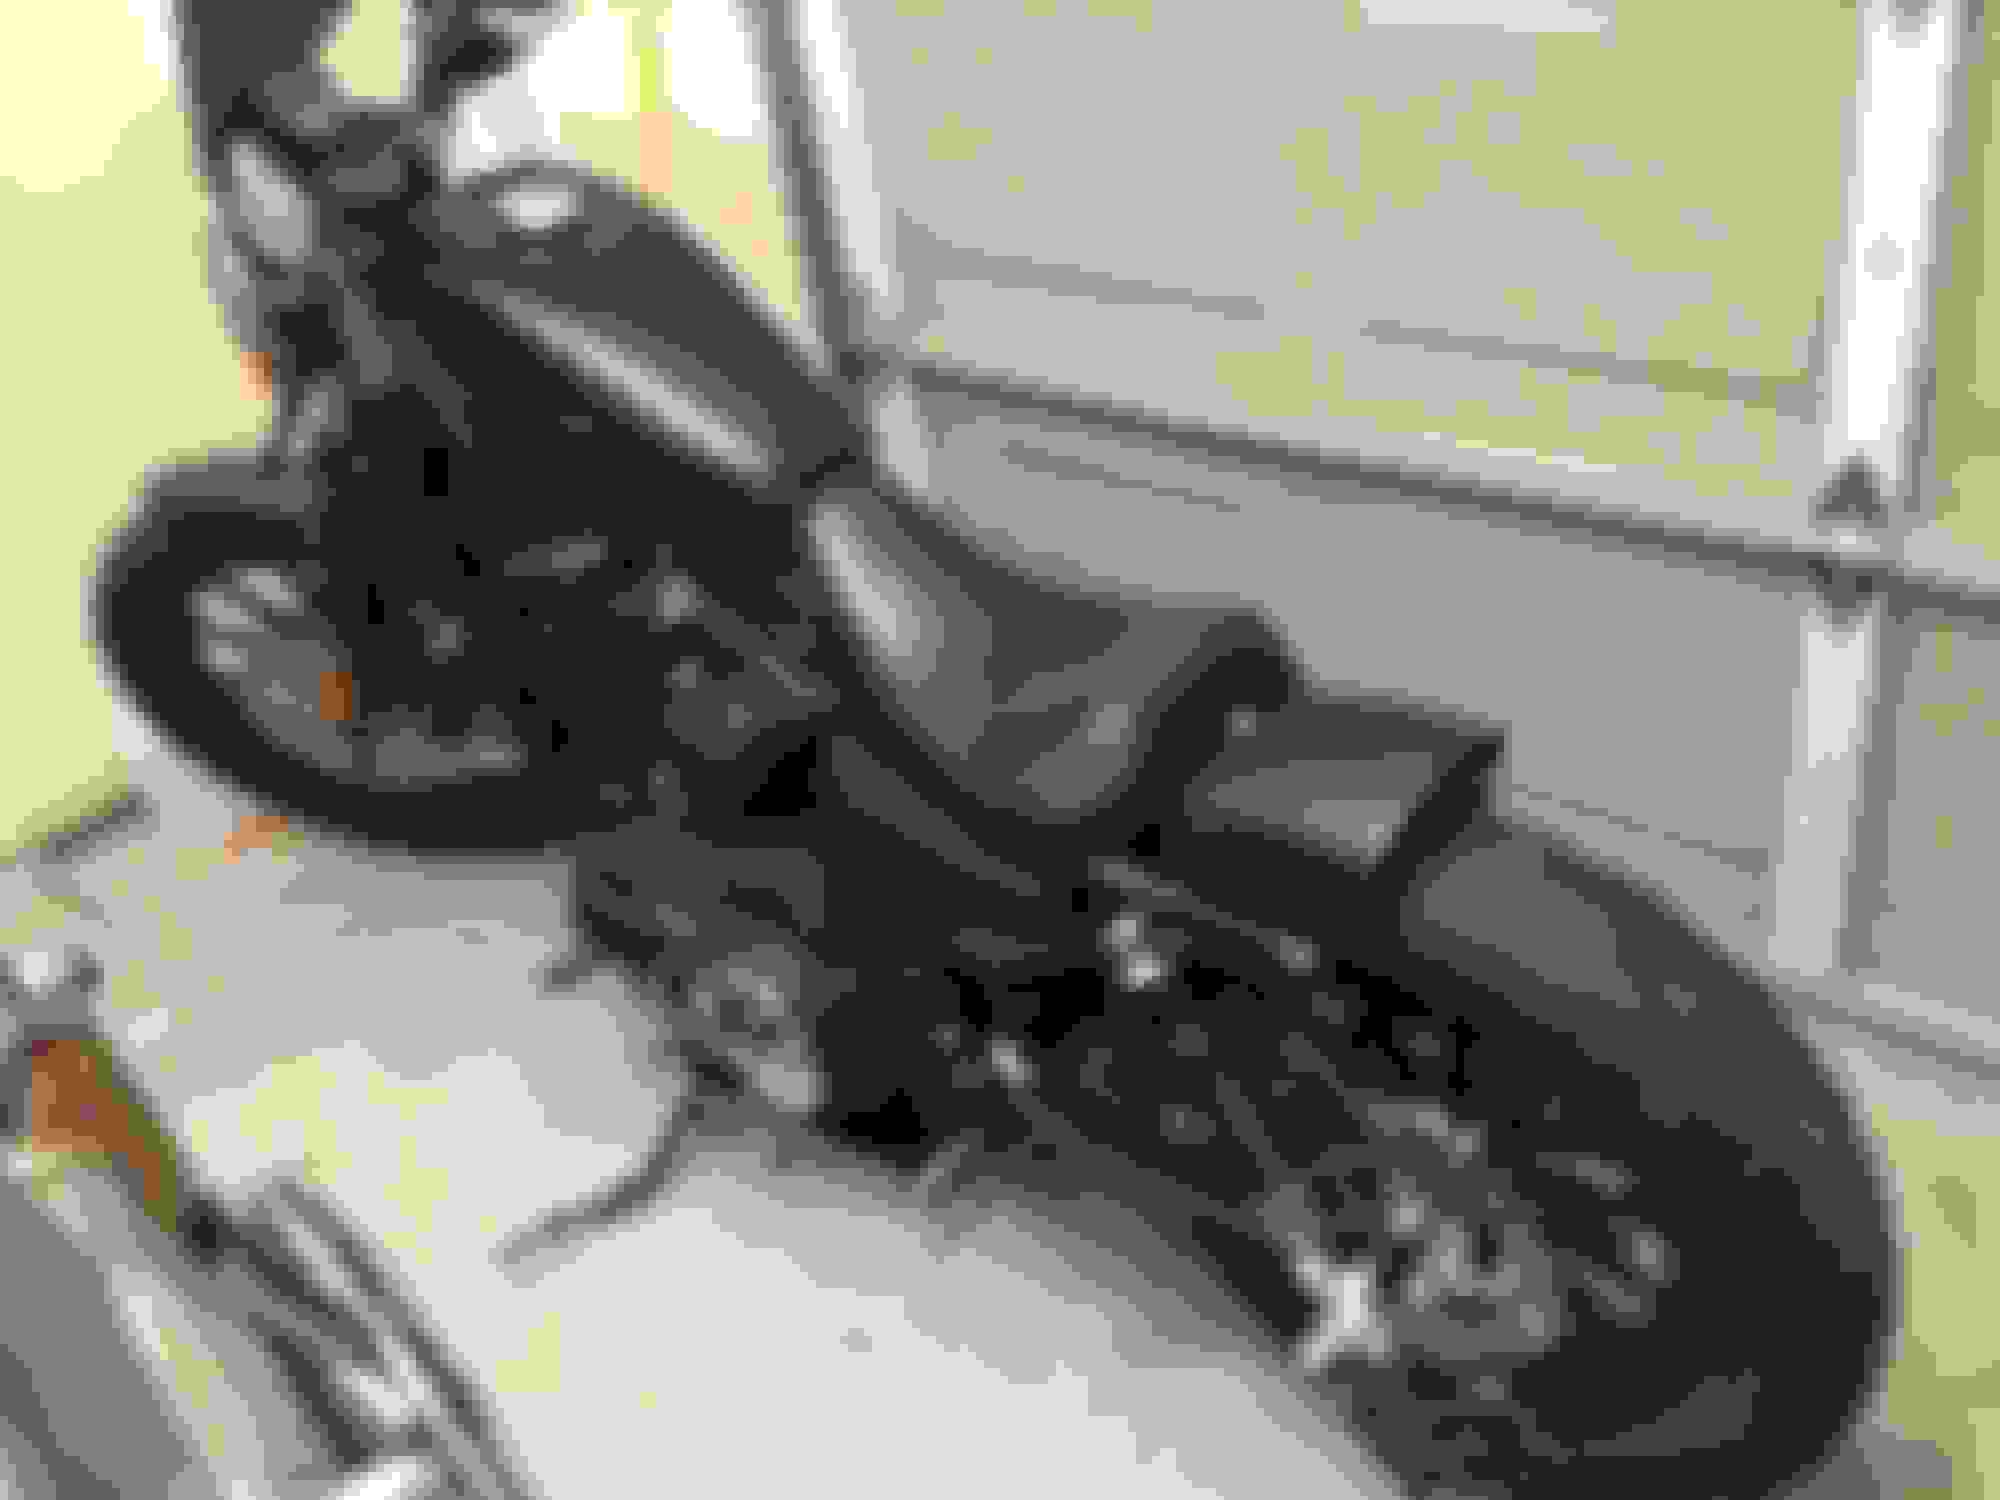
This is what I started with: a bone stock 2011 Iron 883
And I began tearing it apart soon afterwards
And then I cut the fender struts all the way back to the shock mounting bolts using a 4 1/2 angle grinder. I cleaned them up with a 2 inch die grinder with polishing heads to smooth out all the rough edges... this took a while because my compressor is so small and I had to keep waiting on it to refill.
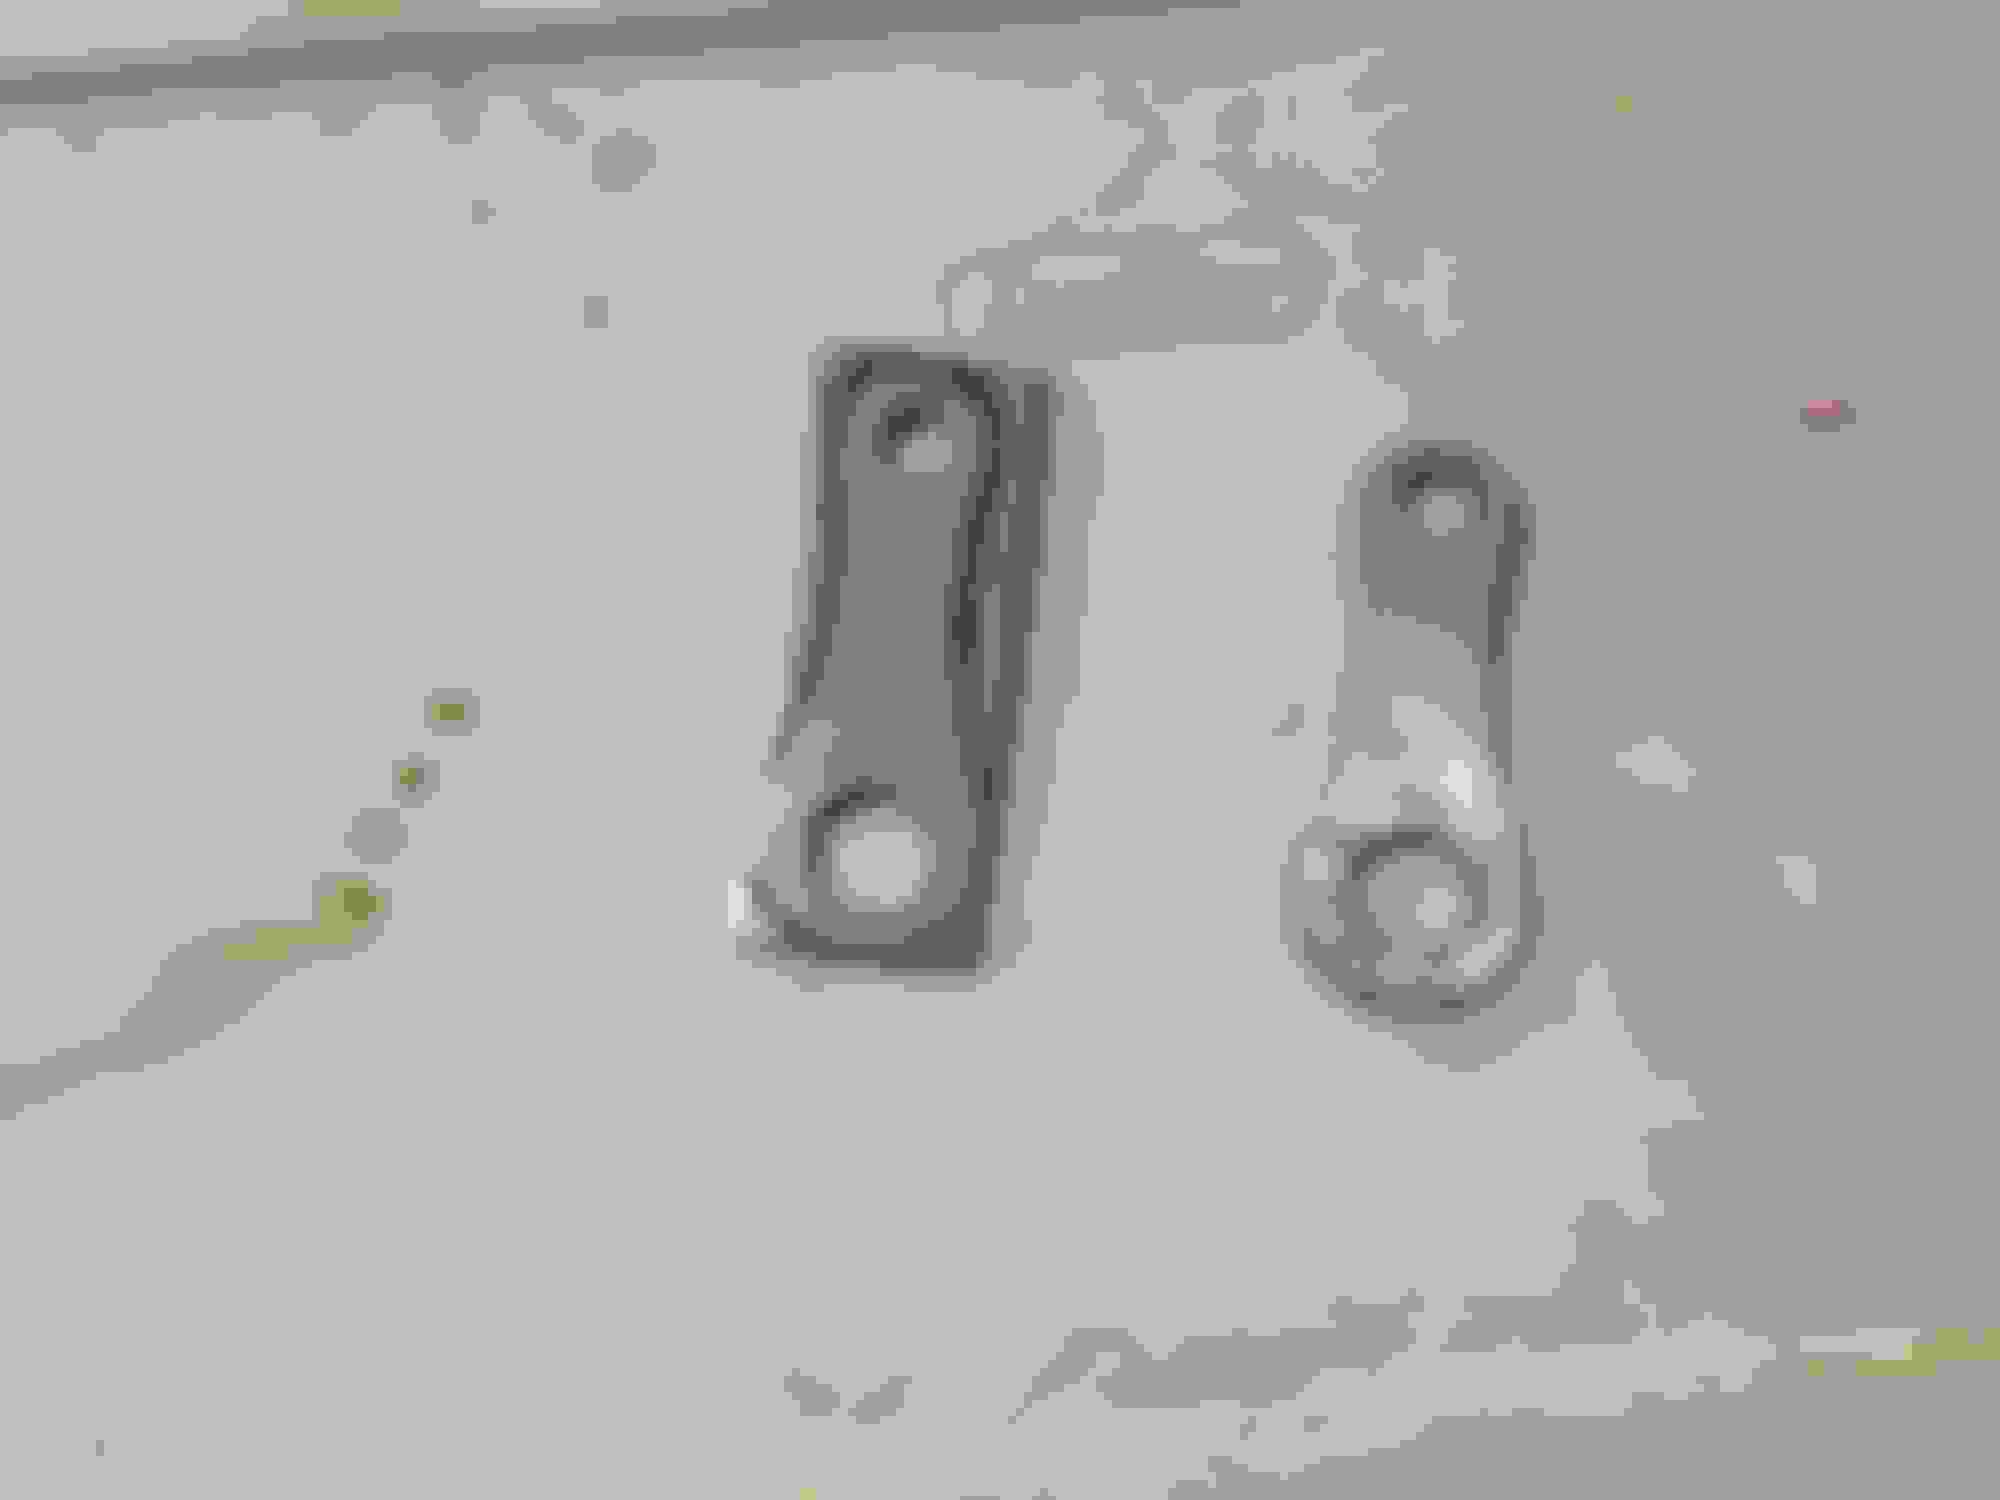
Next I had to make some rear signal brackets. I took 1" steel from Home Depot and drew out the diameters and took a metal rasp to them followed by a bench top belt sander.
Then I mounted them to the inside of the shock bolts and made spacers for the lower bolts to keep equal vertical distances
I ran heat shrink tubing into the light housing for added protection
I over thought chopping the rear fender. I waded all over the forums to find the best practice and I thought had a good plan... I didn't.
Most postings will tell you to chop the front of the fender and rotate in around the tire so the factory edge isn't cut and cut to the first hole on the struts to line everything up. This did not work out for a number of reasons. after lots of cussing and busted knuckles, I was able to get everything lined up and it look ok at best.
The main issue was there was only about 3/4" of clearance between the fender and the rear tire and I would bottom out going over the slightest bump. I lucked out an found a "take off" at the local Harley dealer for $50 and redid everything.
Heavily modified front part of the fender because the rear part I intended to use only had 3/4" clearance and was worthless. I installed LED lights into the holes on the sides where the wiring harness used to run through.
It look awful no matter what I did with it... I had to get another fender and start over.
The second fender I chopped went WAY better. I mocked it up similar to the Rough Craft bike and I think it turned out pretty nice. It is bolted in three places - main stem under the seat and through the inside of the shock mounting holes. I went to Harley to get 2 more shock bolts and trimmed them down to fit through without bottoming out on the outer opposing shock bolts - The hardware cost me $10.00
I also took the pulley guard off - haven't replaced it with anything yet.
I didn't like how much clearance there was with the fender so I installed 10.5" Burly slammer shocks on the rear. While I was at it, I installed new progressive shocks on the front end. I didn't go with the lowering springs up front because I really like the look of the steep raked lines of the lowered rear going up to the bars.
I don't have any good pics of the install, but I can say this - Huge difference in the ride quality.
Front fork disassemble - put a rag down to protect the paint from scratches and fork oil. Fork caps come out with a 1 3/8" socket.
There are endless threads on tank lifts and wire tucks, so I'm not going into detail about how to do it.
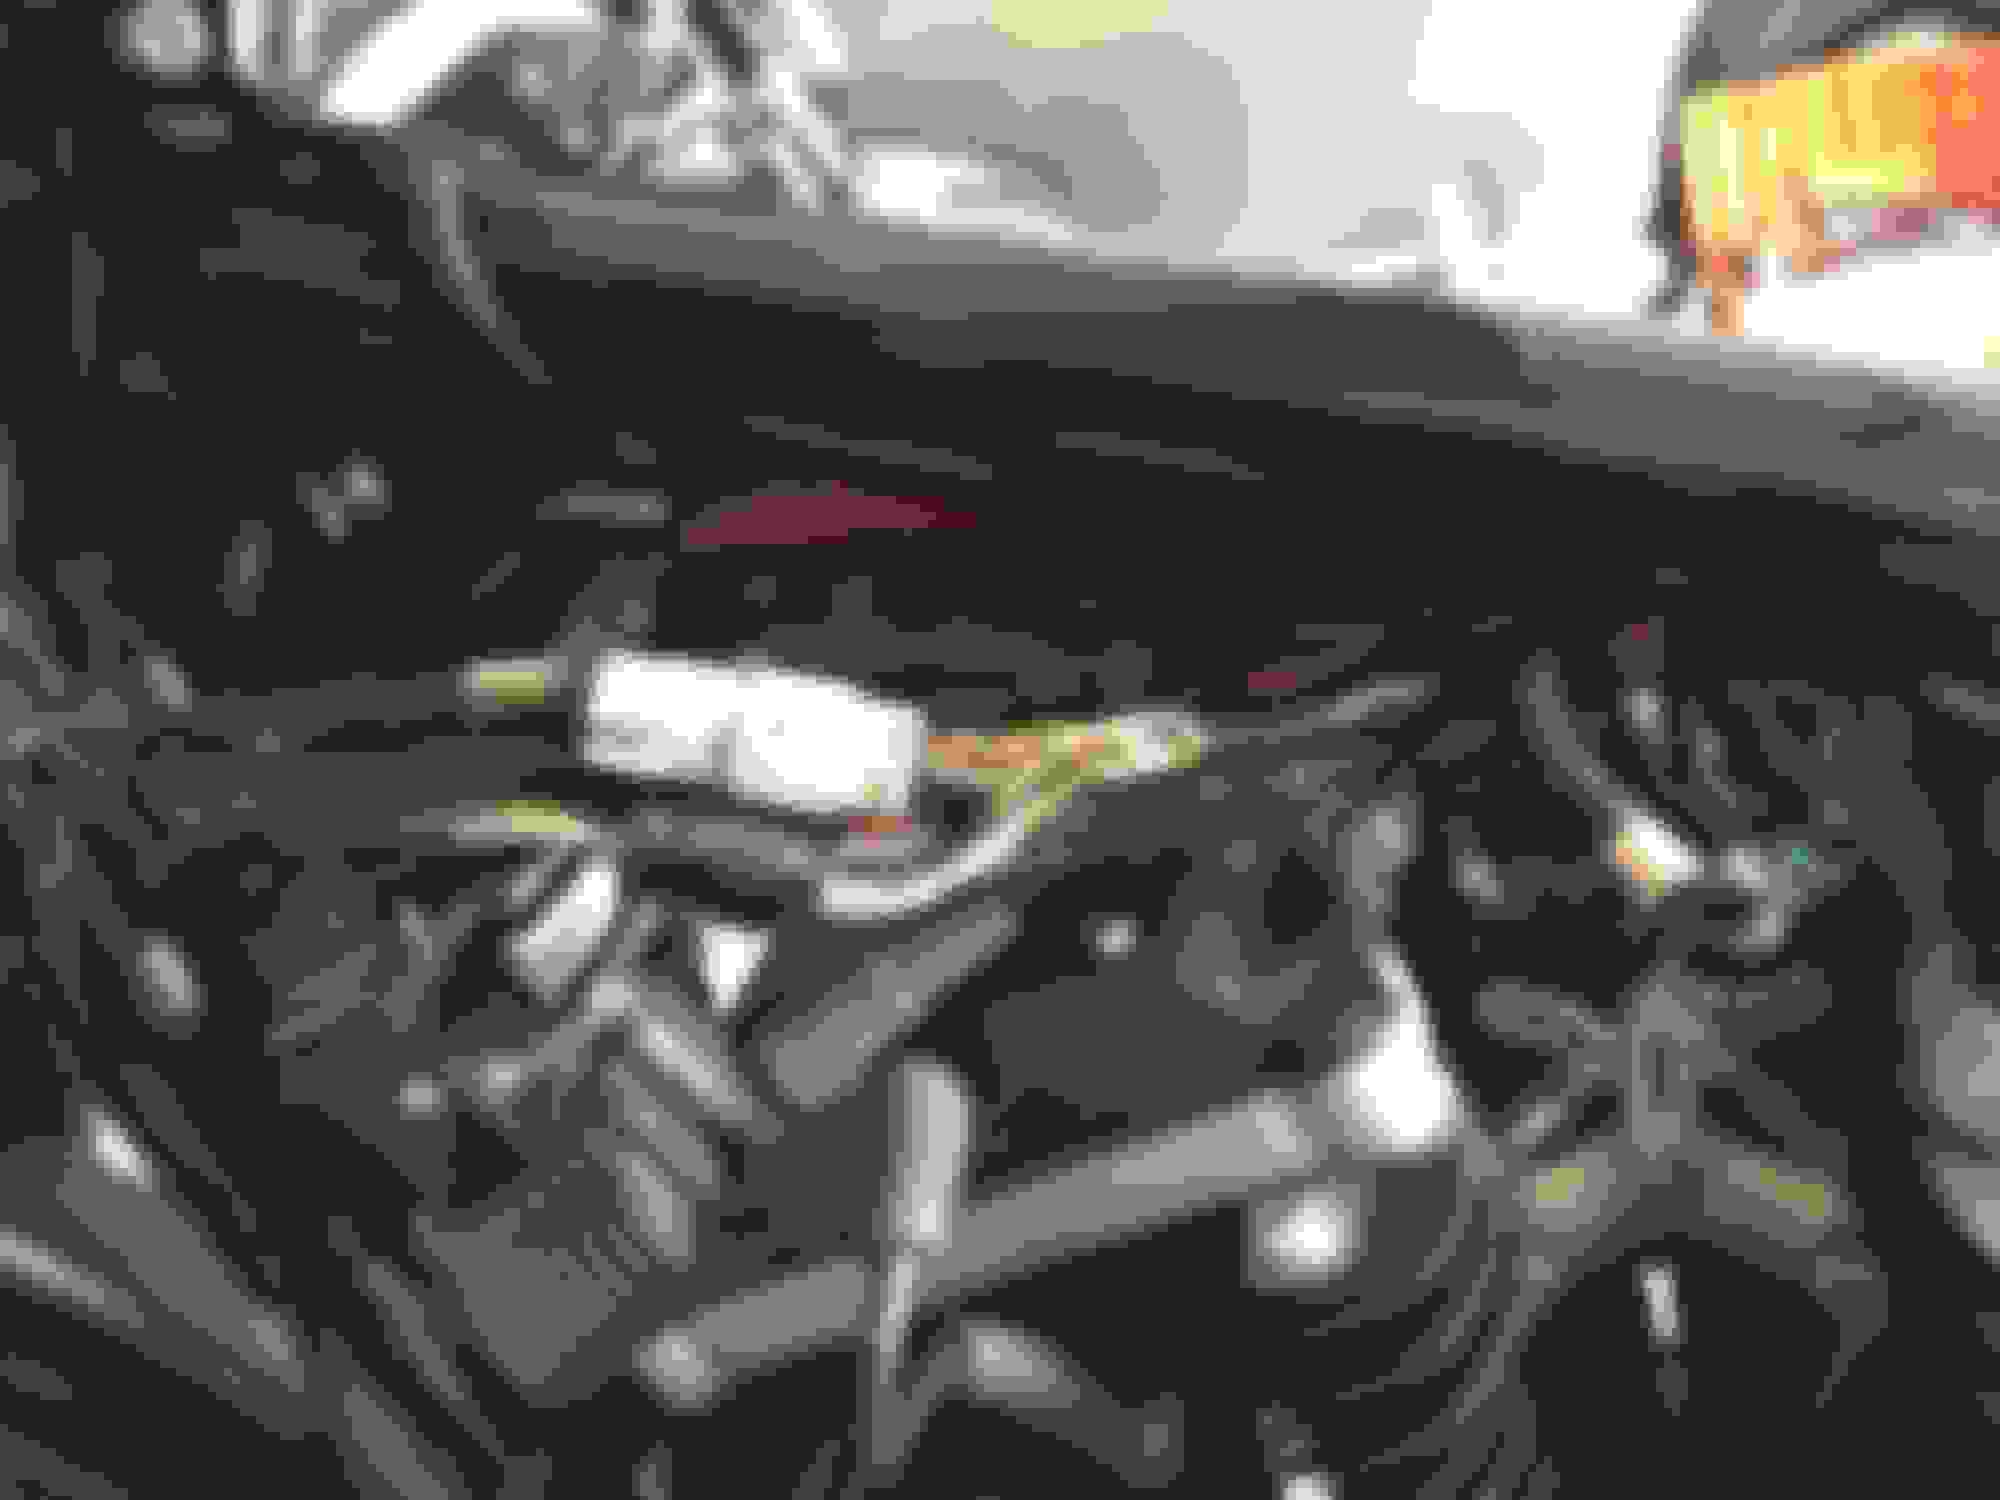
I didn't want to do a tank lift because I think it looks cleaner without, but the thought of cutting and splicing all of those wires scared the carp outta me, so I took the easy way out and installed a homemade 1 1/4" lift. I got the brackets from two U-bolts from Home Depot and it cost me about $2.00.
The coil and ignition were another matter. I made one bracket and it just felt too big and made everything stick out too far. So I made a second bracket... pattern forming here
I love what Fred Phuket's did with his coil and ignition... but again, I was intimidated about switching any wiring around to get the coils lined up with way he did it as shown here
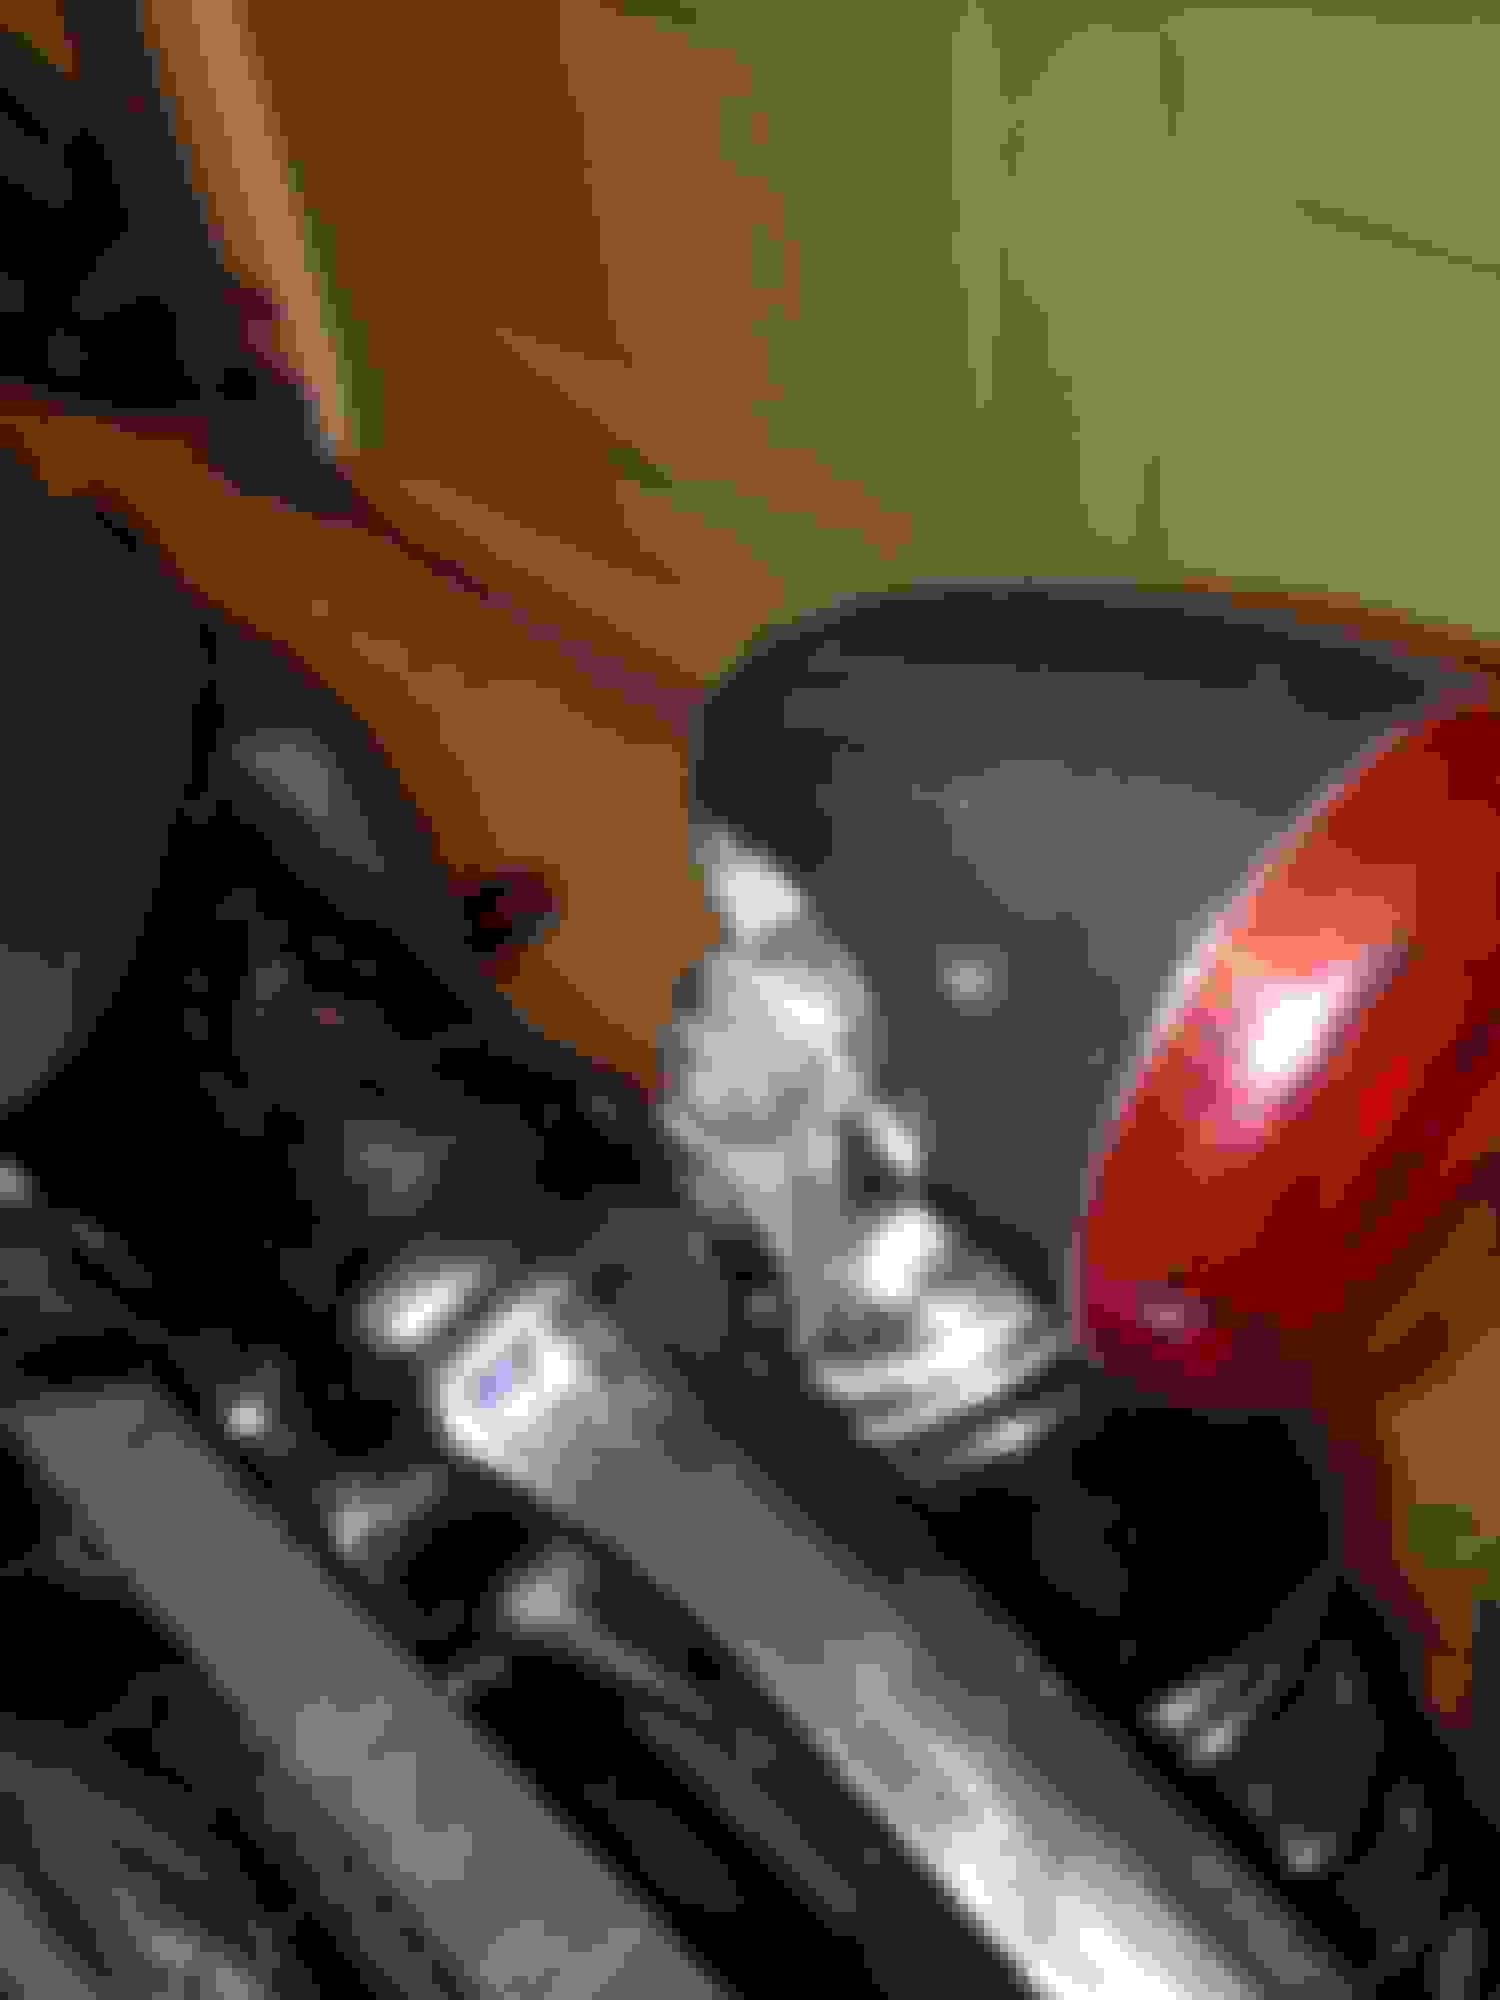
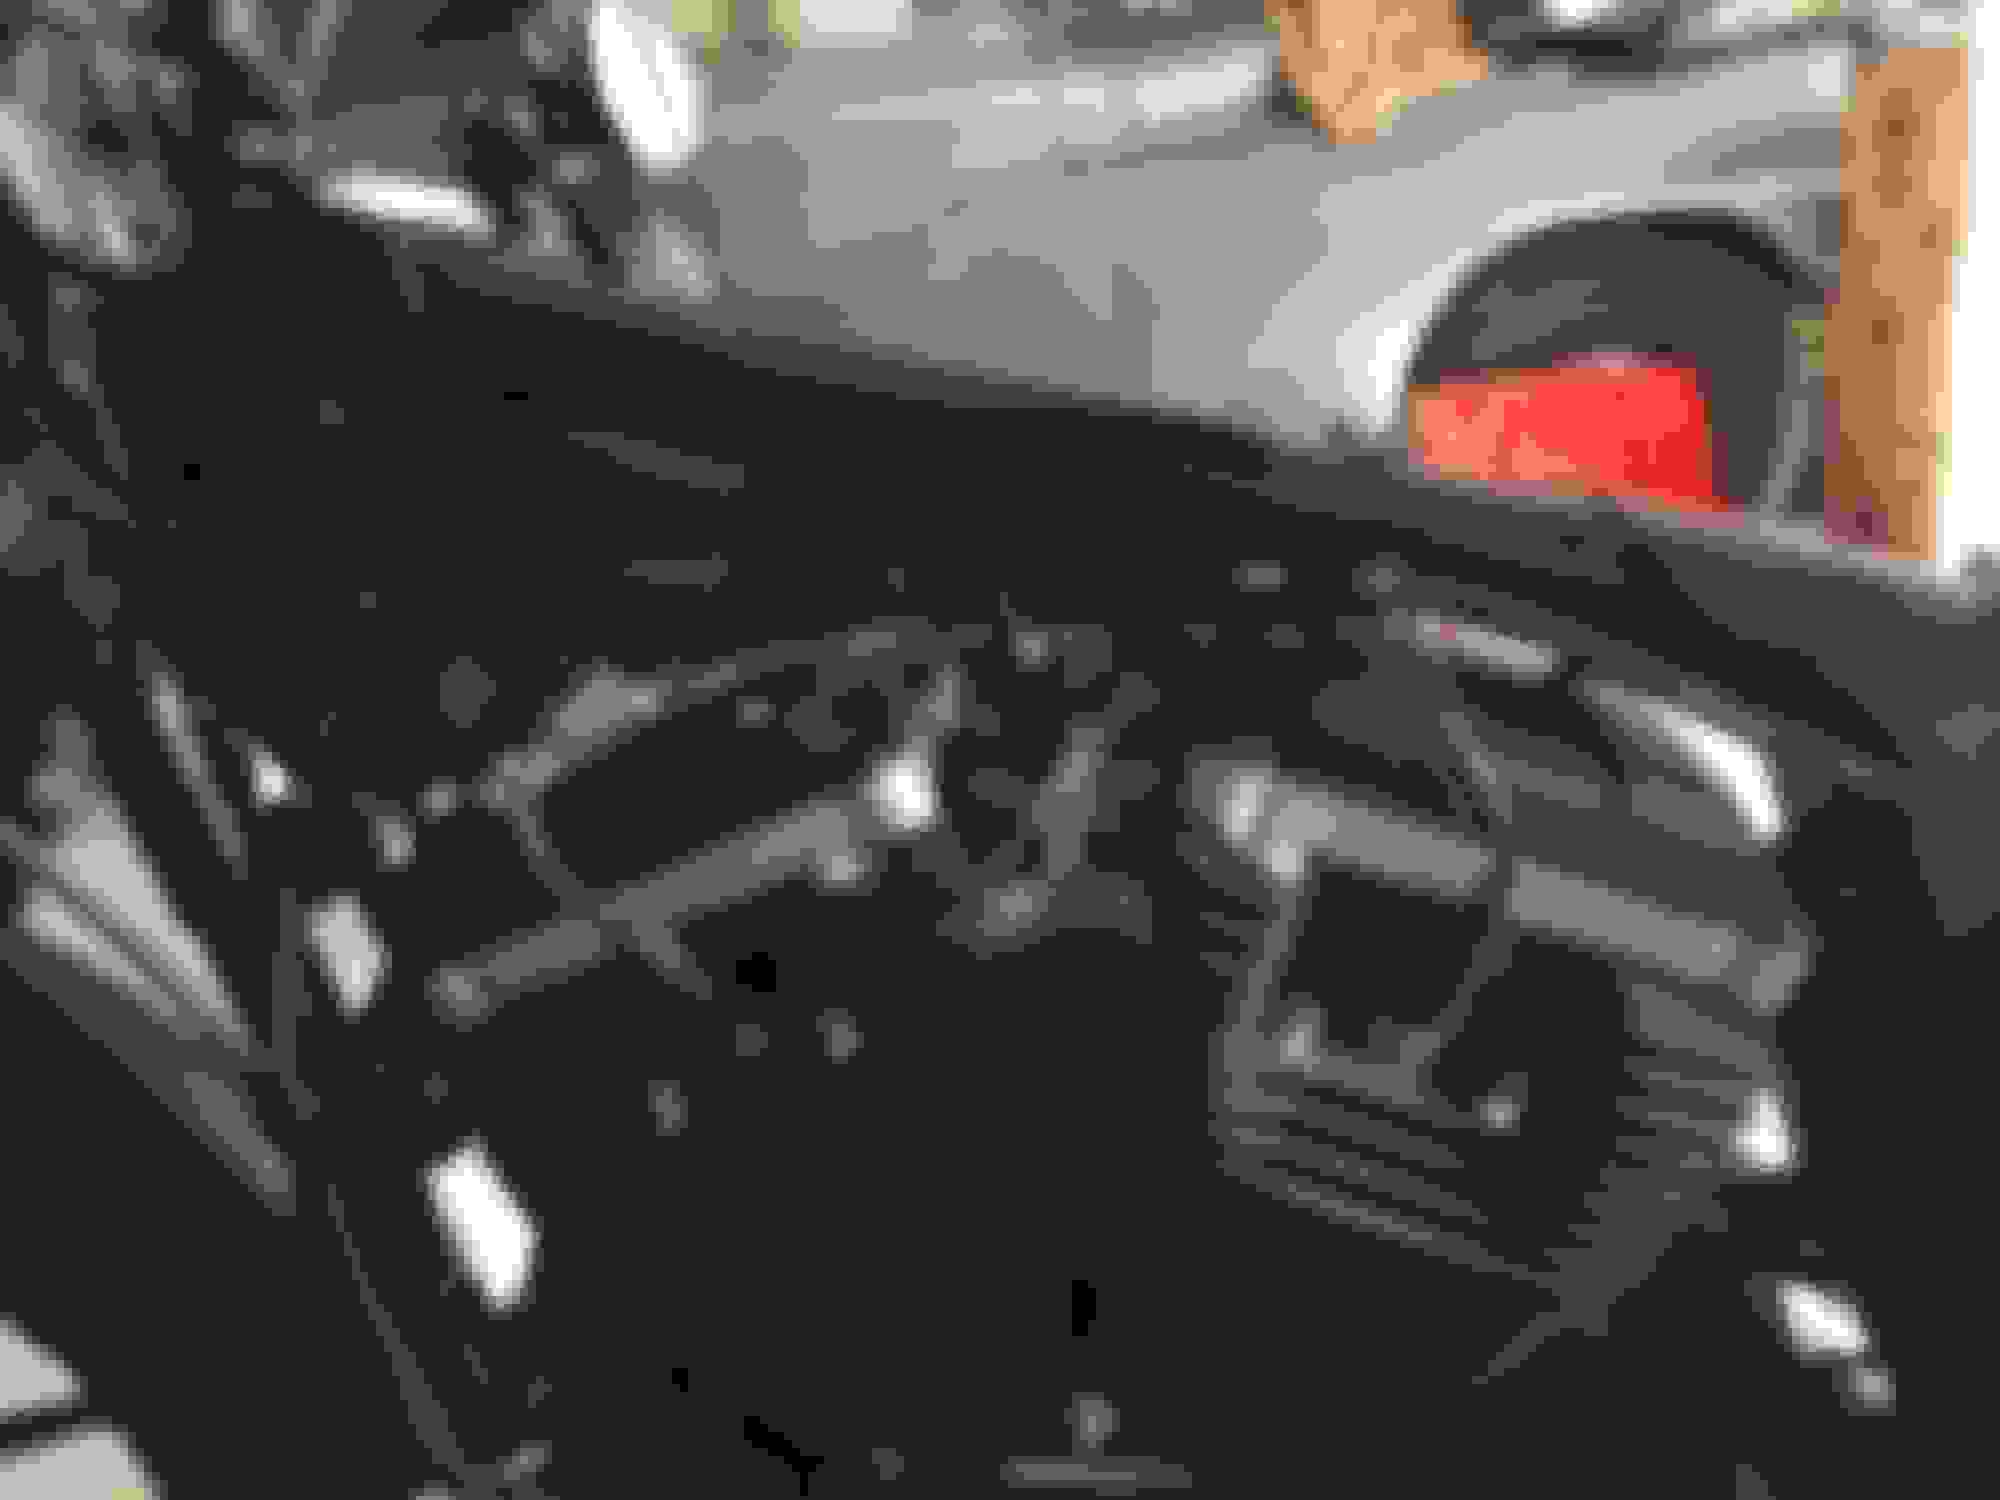
I flipped the whole coil upside down so I wouldn't have to mess with any of the incoming wires or the plug wires. I wanted to support the arc in the coil body, so I hand bent a piece of metal over the 1 3/8" socket I bought for the fork caps - worked perfectly.
I made a little plate to cover the top of the coil (which is really the back of it)
All painted and installed. I ran a bolt through the coil into the ignition housing and it fit perfectly. I also added a piece of orange 2mm foam between the top plate and coil because the coil body isn't perfectly smooth... matches the Screamin' Eagle plug wires I picked up at Harley.
I plan on relocating the ECM to hide the rest of the wiring in the rear and to open up around the motor...
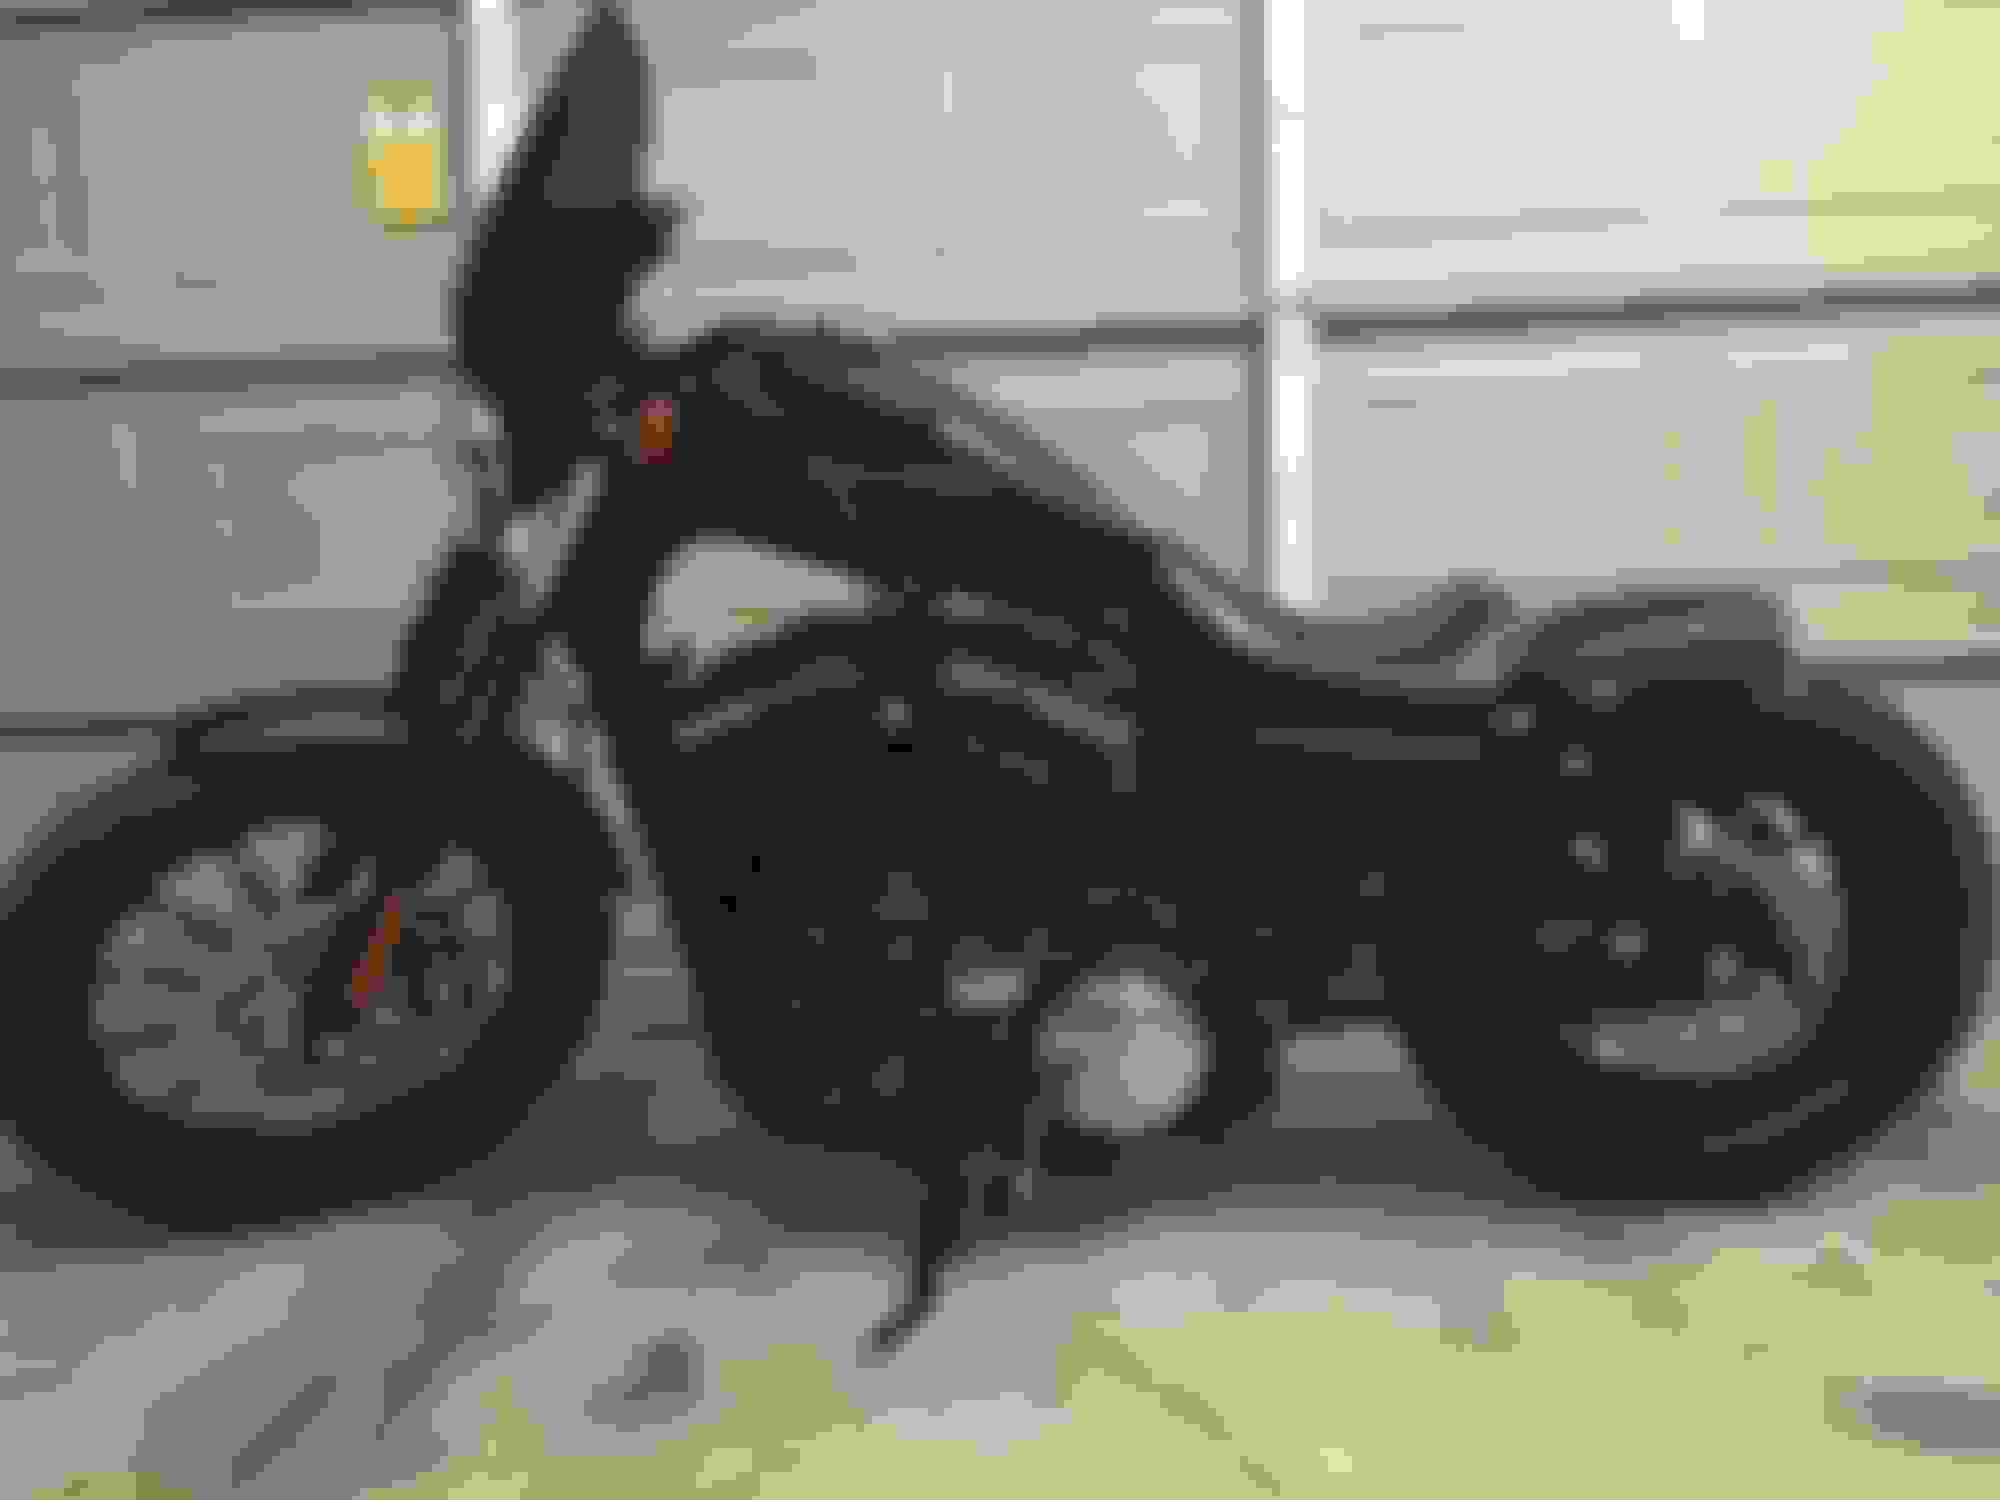
It's a gladiator windscreen. It works really well at high speeds blocking wind off my chest. I can cruise at 80 mph without any effort now. I'm not big on the looks, but it's had to beat the functionality.
Nice project Roy. I like what you did with the rear fender. It will take me some more time to be as brave as you are when doing things like chopping the fender.
The bike has transformed beautifully and that windshield goes perfectly with the overall theme.
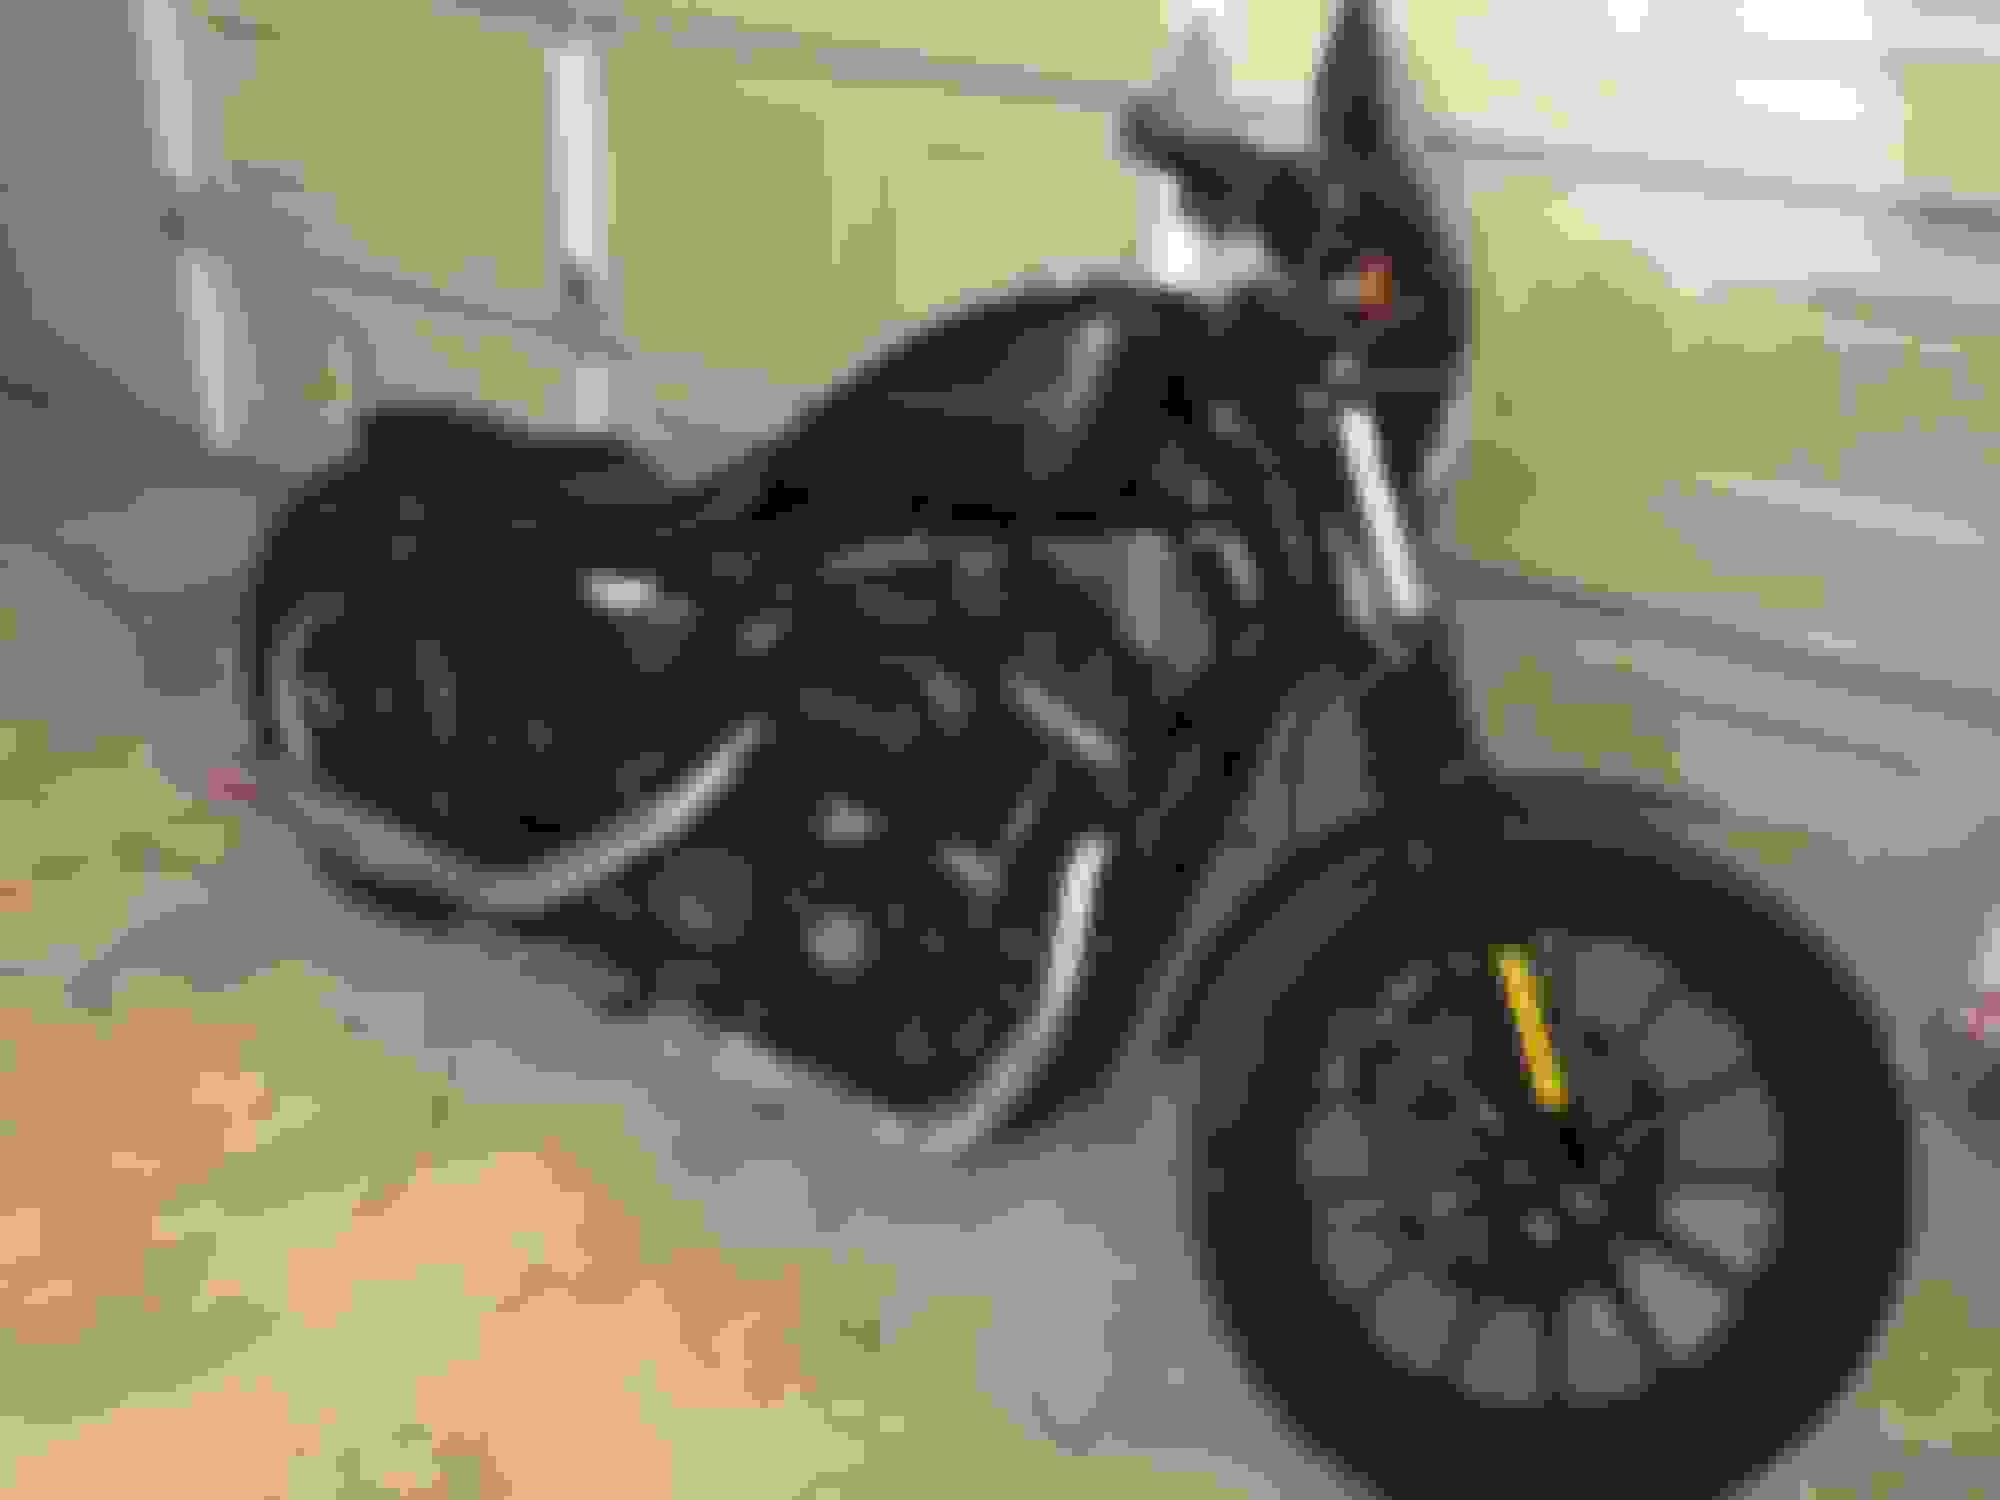
Thanks kingxirol, like I said... I over thought it and made it way harder than it had to be. In the end it was quite simple. Here are a few more pics I took today because I decided to take the fender off and paint it with John Deere Blitz Black (lots of posts about the paint matching black denim).
I also got some Rust-Oleum paint and hit the fender struts... fingers crossed!
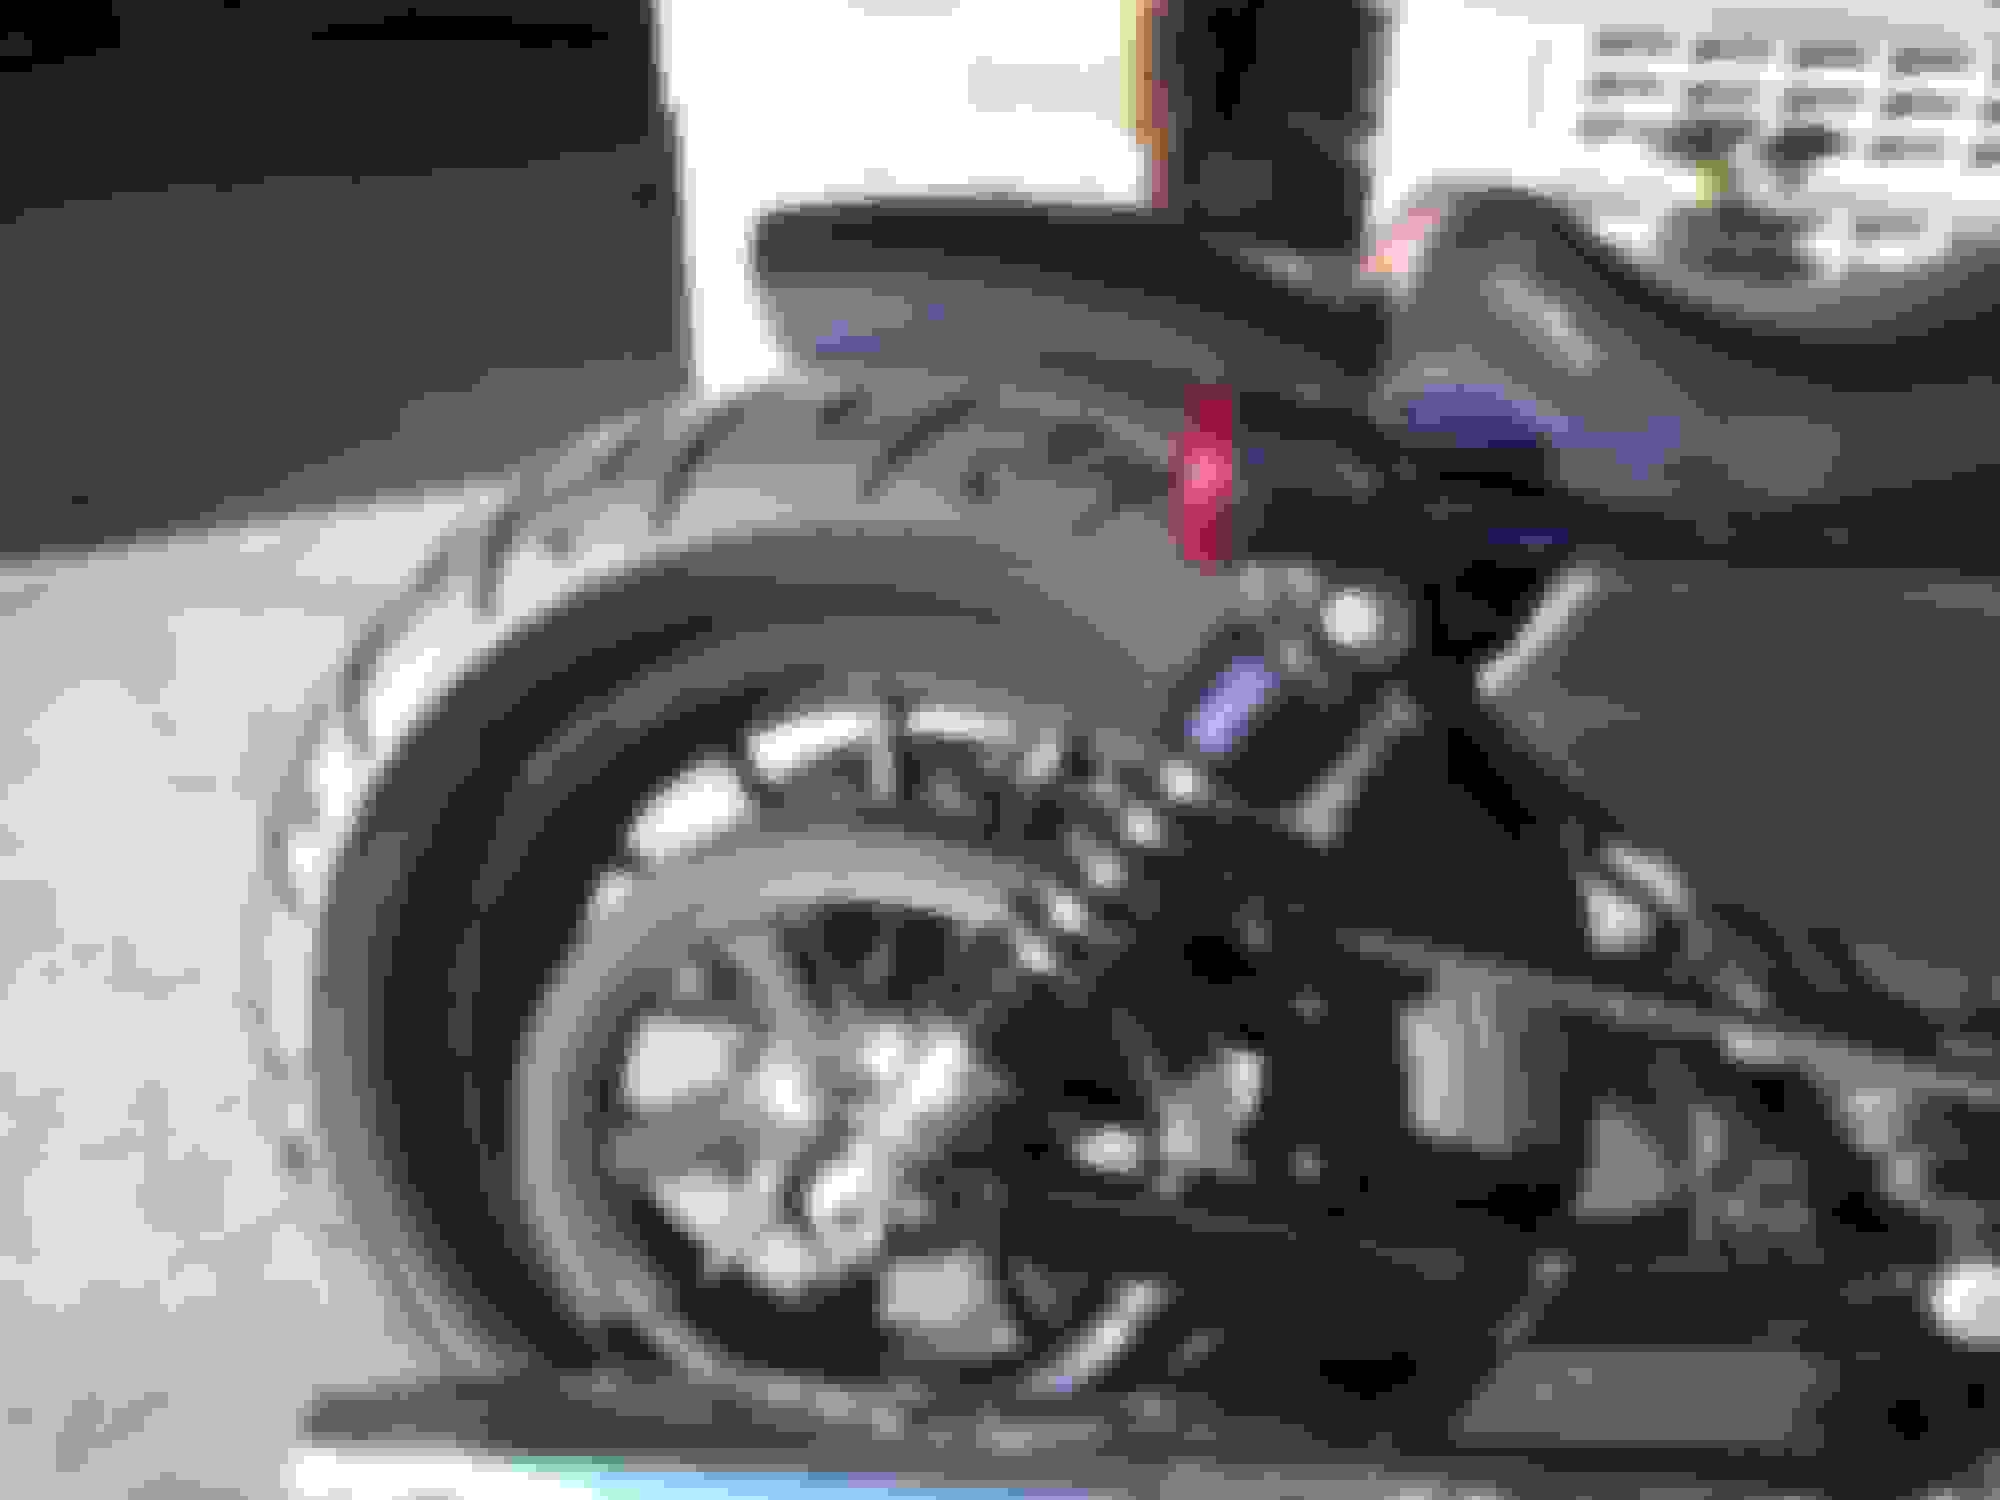
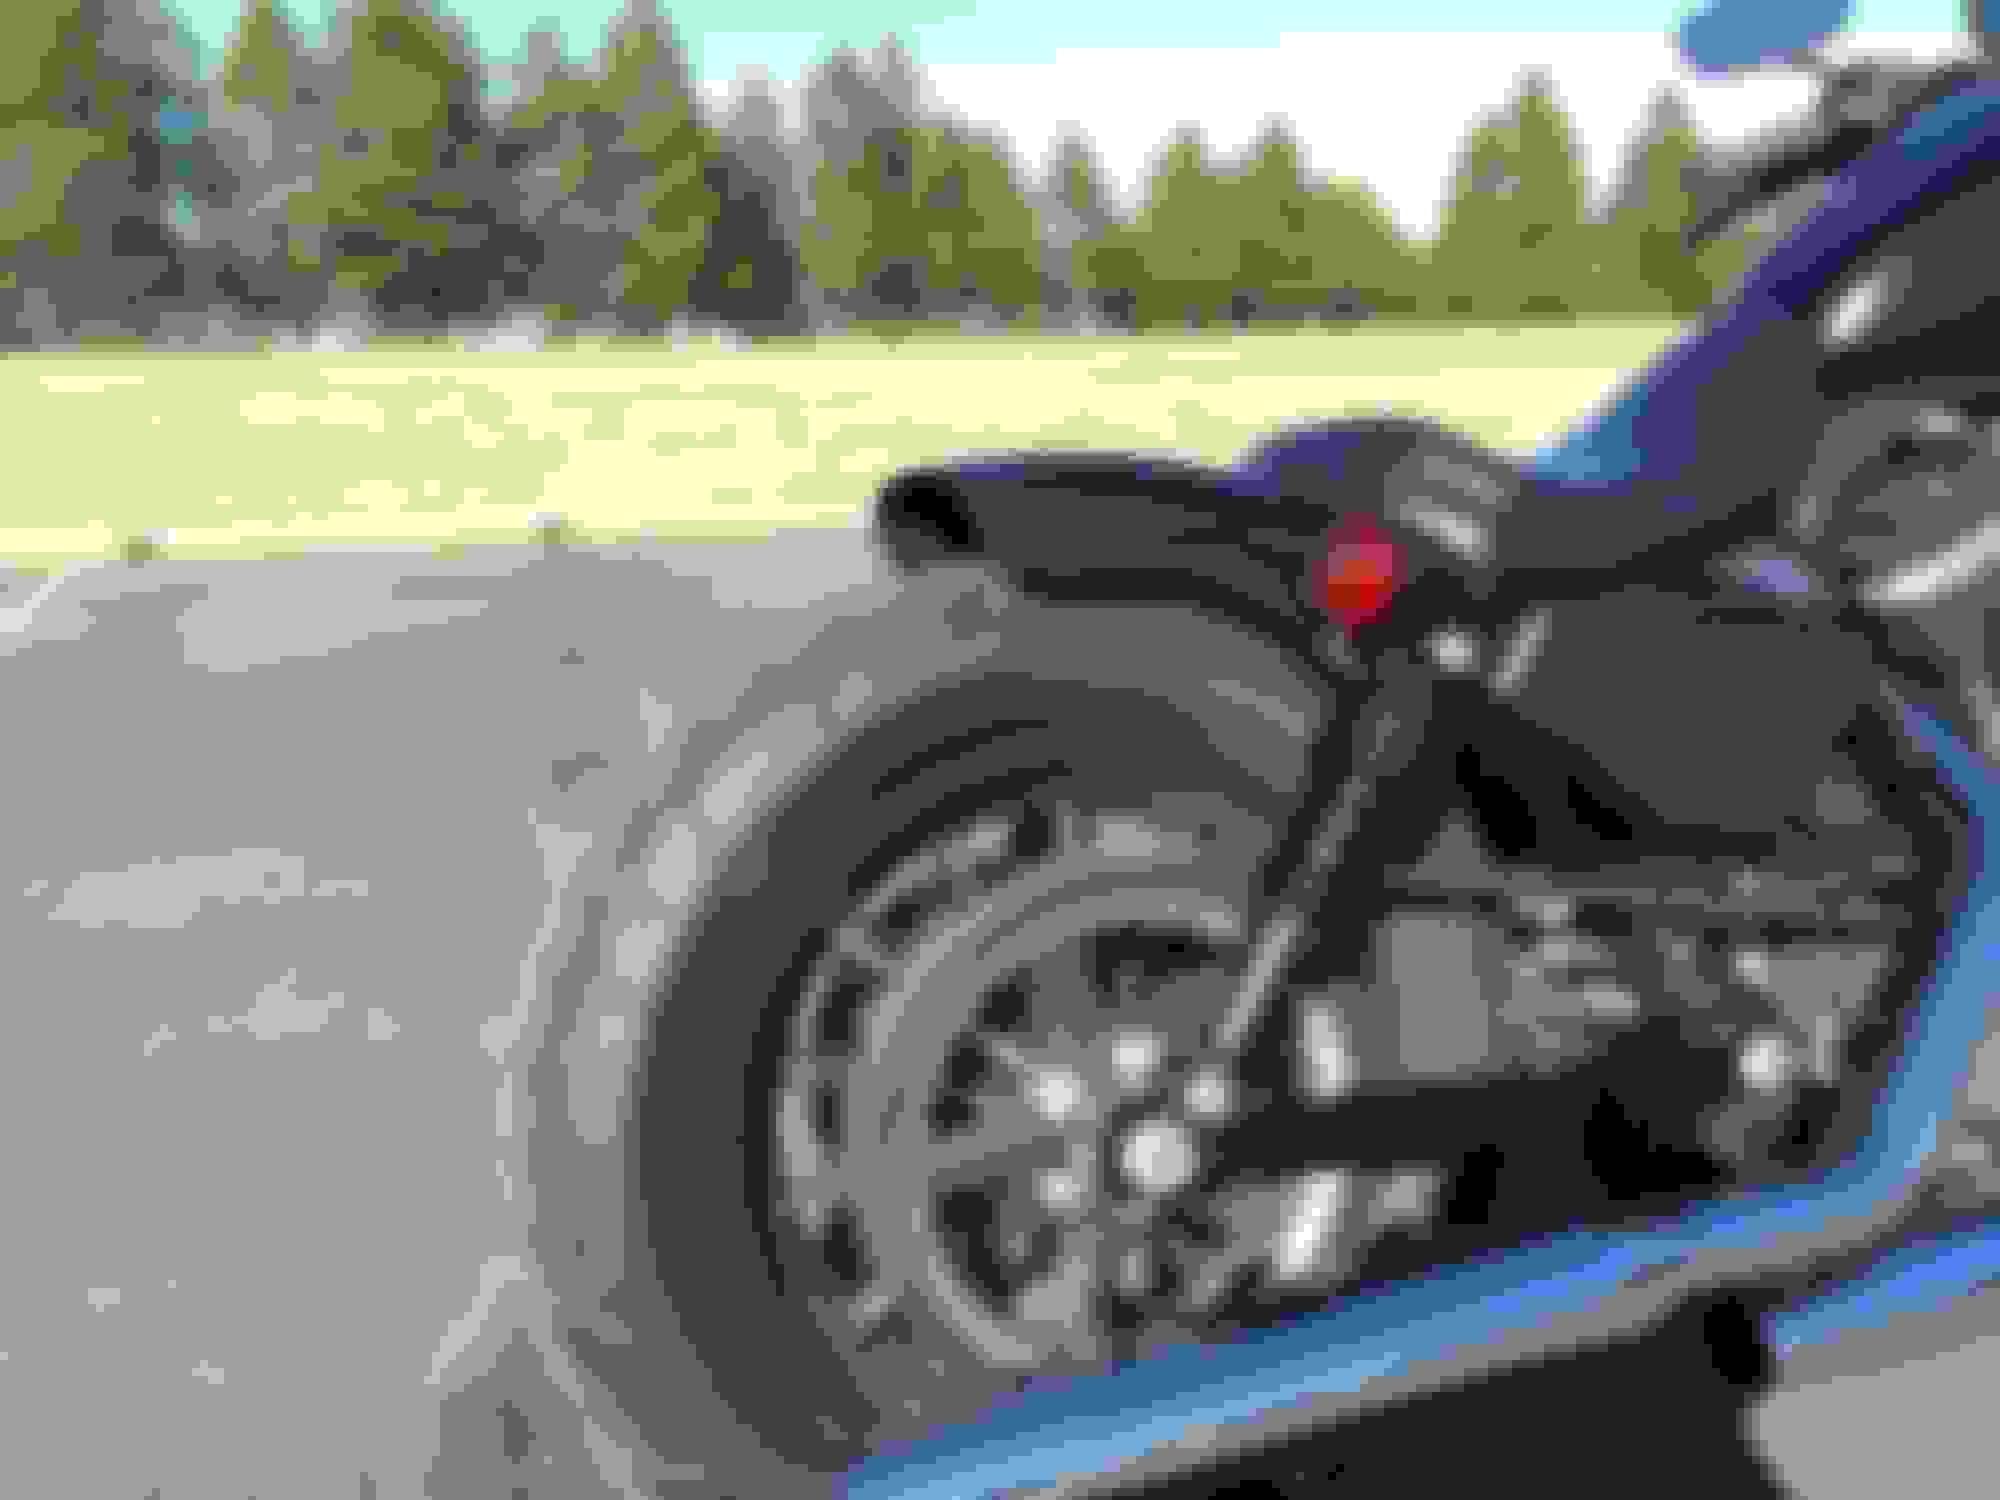
After the fender was chopped off, I had to make a horizontal license plate bracket (WA state law). I went trough two custom made license plate brackets that ended up failing because I was trying to be fancy with my fab design. This one is simple and very effective...it isn't going anywhere.
I traced out the plate on a flat piece of 16G steel and cut it out with my 4 12" angle grinder and cleaned up the edges with my belt sander. Next, I measured the width of the shock and laid out a pattern with two 90 deg. bends and bolted it to the flat steel with four stainless screws and locknuts.
I ran bolt end LED lights on the top and sandwiched the wires between the steel and the actual license plate. In order to do that, I had to drill small holes by the mounting holes and fish the with back through so it was hidden. I put heat shrink over the ends to clean it up.
The bracket is angled up a bit to follow the line of the shock

 03-15-2015, 02:48 AM