
SBS Project - Sportster Chop w/ Lots of Photo's

#102
 01-11-2017, 02:39 PM

Join Date: Nov 2010
Location: Red Banks, Mississippi
Posts: 17,456
Received 3,930 Likes
on
2,288 Posts
It's been a week, and we're still waiting on some parts. They should be here tomorrow, so tomorrow or Friday we should be able to get some progress made.
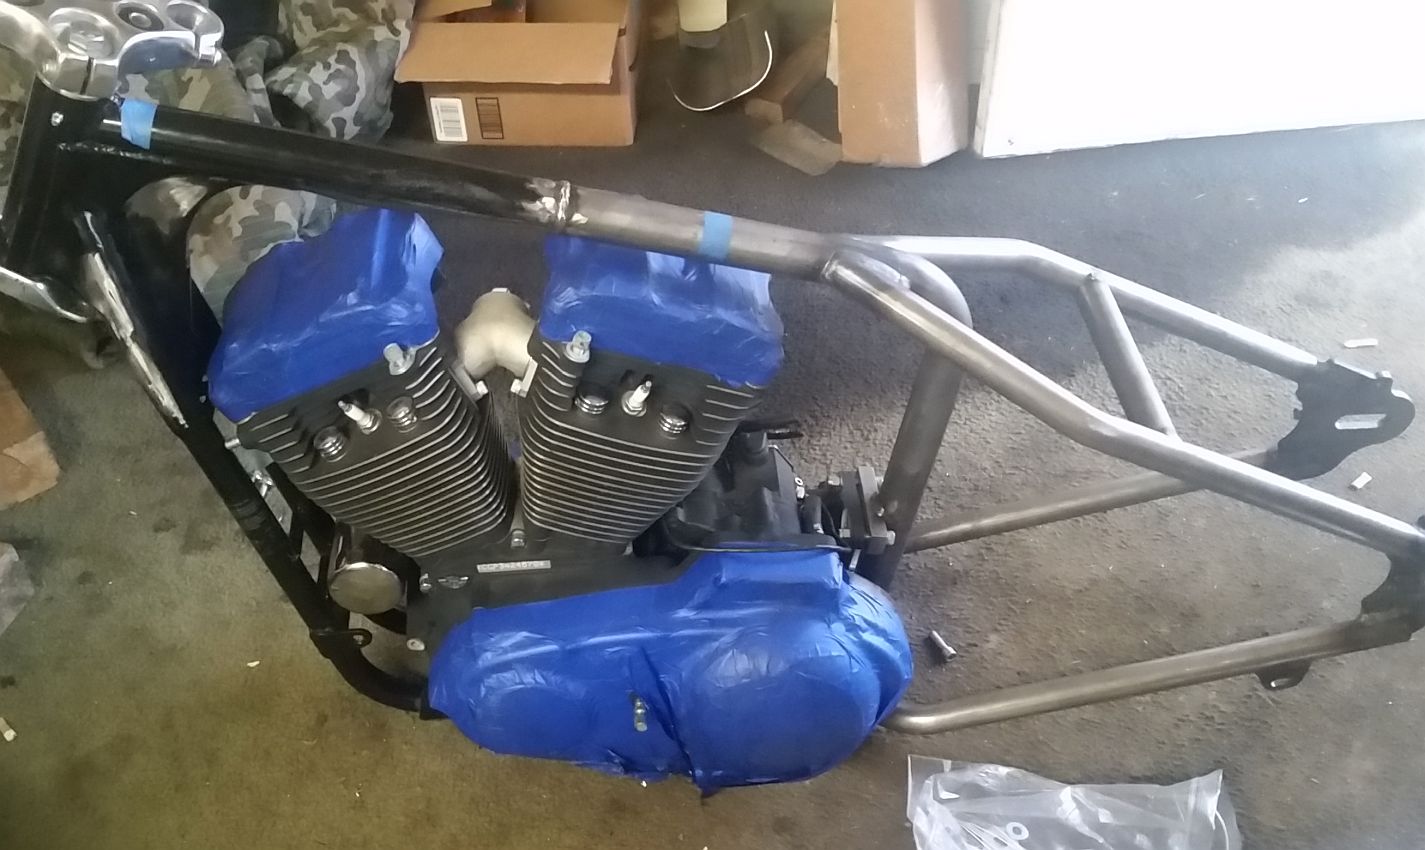
In the meantime, I did carry the engine from my home shop to the DK shop.
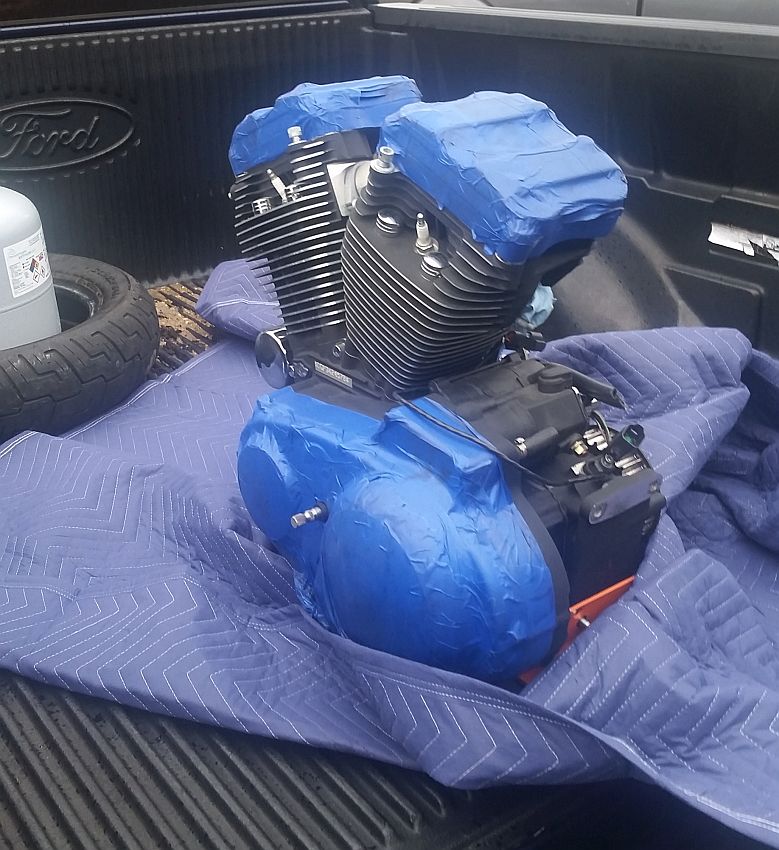
For the foreseeable future, the work that needs to be done will be easier to do here. In the next day or two I am going to clear out a semi-permanent spot to be able to work on it and keep all the parts organized.

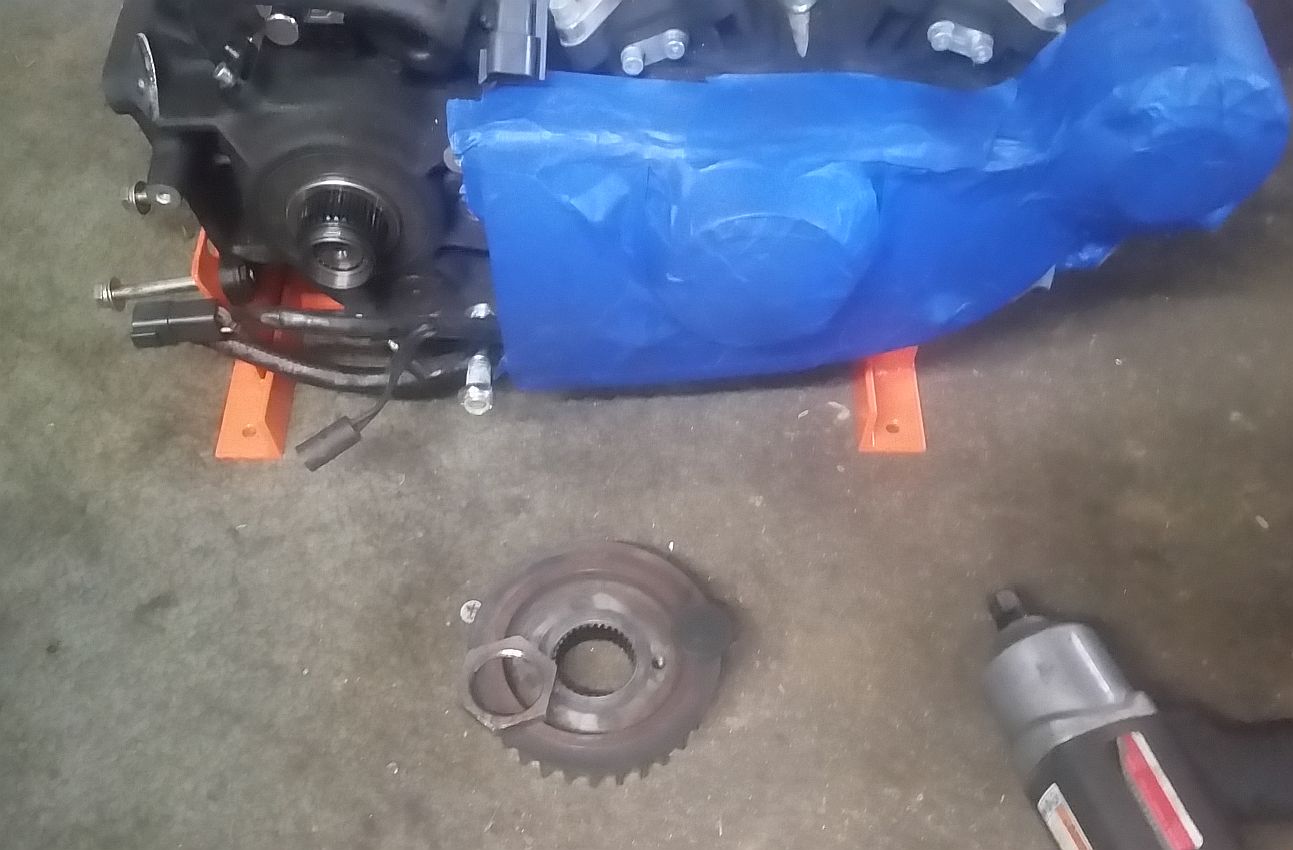
Pulled the pulley off....my compressor at my home shop did not generate enough PSI to break it loose.
Pic of Matt welding while we were dropping the engine into the frame...
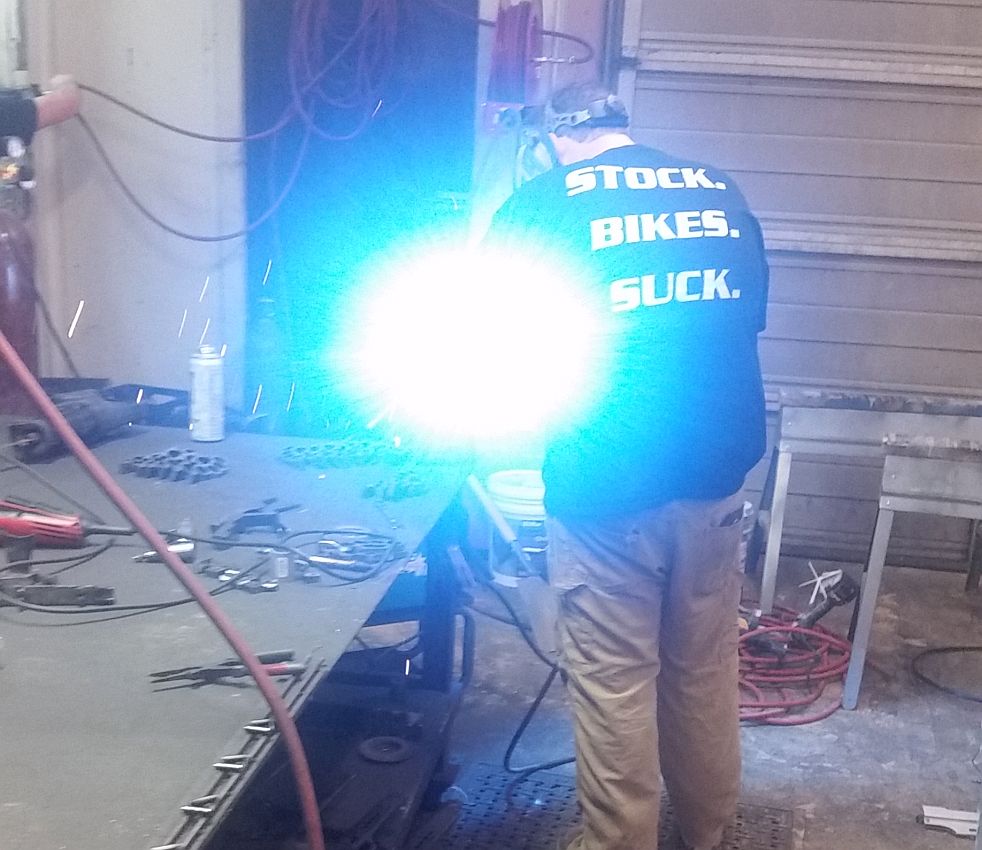
...next time I am going to get his help...I am getting to old to hoist that motor around.
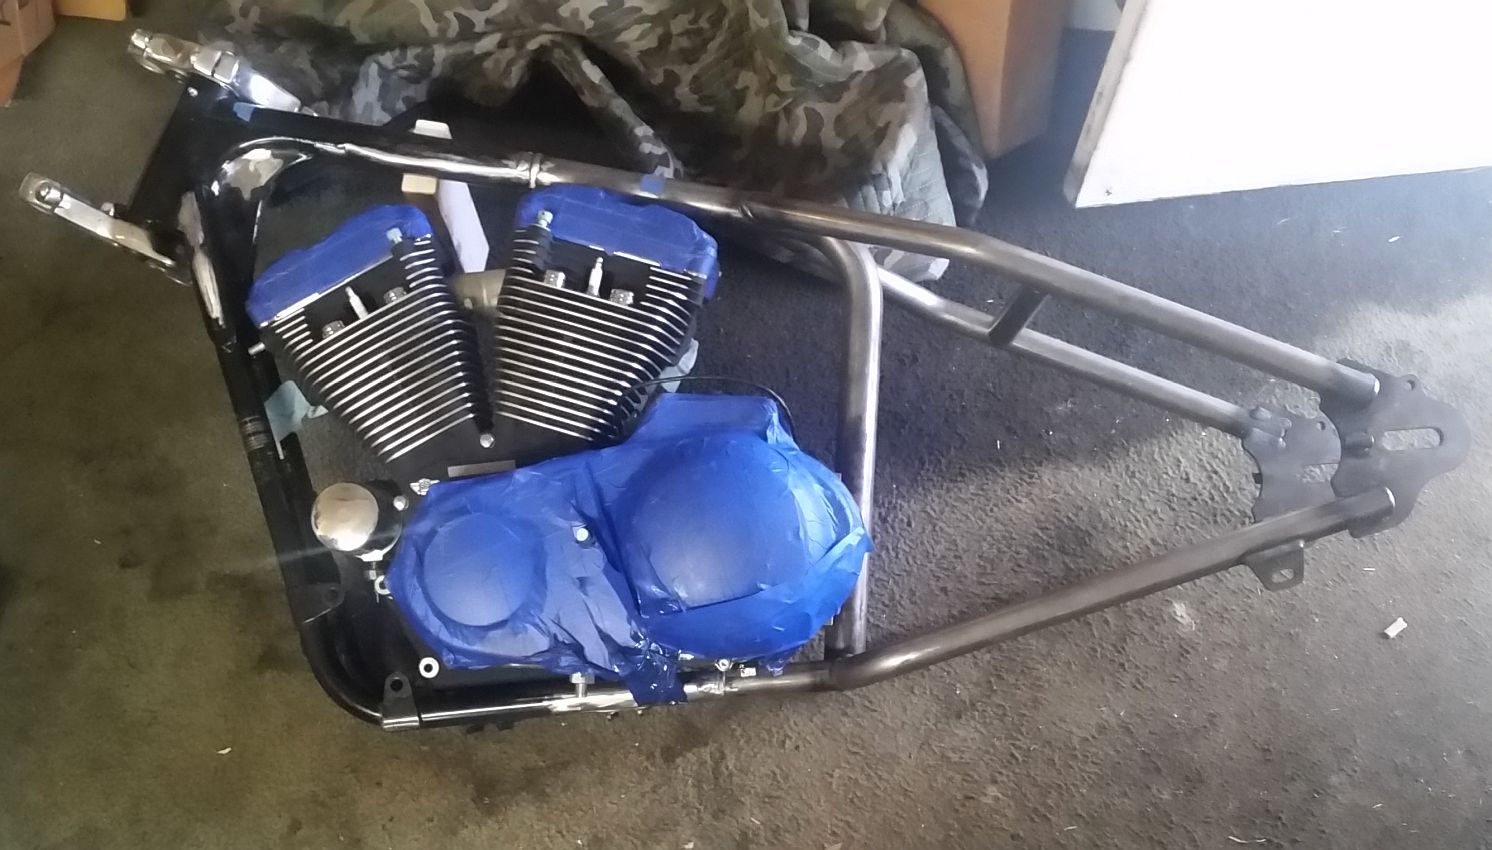
Standing upright. Gotta finish getting all the motor mounts bolted up.
Tomorrow, or Friday, we'll get the raked fork cups installed, get the wheels back on, and then decide on the fork length.
Once that is nailed down, then we can look at
tank placement
seat placement
kickstand placement
rear rail cross member placement
rear fender placement
After we've decide that, then cutting, drilling and welding will commence to get them all in place.
My plan to have that all done this week was overly ambitious, but if we can get all that done by the end of next week, I will be happy with the progress.
We have a drop of 12 gauge steel that should be arriving next week...we will be using that to build an oil tank.
In the meantime, I did carry the engine from my home shop to the DK shop.
For the foreseeable future, the work that needs to be done will be easier to do here. In the next day or two I am going to clear out a semi-permanent spot to be able to work on it and keep all the parts organized.
Pulled the pulley off....my compressor at my home shop did not generate enough PSI to break it loose.
Pic of Matt welding while we were dropping the engine into the frame...
...next time I am going to get his help...I am getting to old to hoist that motor around.
Standing upright. Gotta finish getting all the motor mounts bolted up.
Tomorrow, or Friday, we'll get the raked fork cups installed, get the wheels back on, and then decide on the fork length.
Once that is nailed down, then we can look at
tank placement
seat placement
kickstand placement
rear rail cross member placement
rear fender placement
After we've decide that, then cutting, drilling and welding will commence to get them all in place.
My plan to have that all done this week was overly ambitious, but if we can get all that done by the end of next week, I will be happy with the progress.
We have a drop of 12 gauge steel that should be arriving next week...we will be using that to build an oil tank.

#103
01-12-2017, 02:11 AM

#104
01-12-2017, 02:20 AM


#105
01-12-2017, 08:22 AM

Tourer
With the frame exposed, wondering if it might be possible to measure the inside distance between the lower horizontal tubes and the back bone at the rear riser location & at the neck location on a stock pre 2004 frame perpendicular to the lower tubes.
Fabricating my own home brew frame from aluminum tubing with no welds, only slip joints.
Have front end fork & neck finished with wheel , rotor & caliper and the rear end with wheel , brake rotors & calipers installed , still woking on the middle section and engine mounting.
Fabricating my own home brew frame from aluminum tubing with no welds, only slip joints.
Have front end fork & neck finished with wheel , rotor & caliper and the rear end with wheel , brake rotors & calipers installed , still woking on the middle section and engine mounting.
#106
01-12-2017, 03:41 PM
Join Date: Nov 2010
Location: Red Banks, Mississippi
Posts: 17,456
Received 3,930 Likes
on
2,288 Posts
With the frame exposed, wondering if it might be possible to measure the inside distance between the lower horizontal tubes and the back bone at the rear riser location & at the neck location on a stock pre 2004 frame perpendicular to the lower tubes.
Fabricating my own home brew frame from aluminum tubing with no welds, only slip joints.
Have front end fork & neck finished with wheel , rotor & caliper and the rear end with wheel , brake rotors & calipers installed , still woking on the middle section and engine mounting.
Fabricating my own home brew frame from aluminum tubing with no welds, only slip joints.
Have front end fork & neck finished with wheel , rotor & caliper and the rear end with wheel , brake rotors & calipers installed , still woking on the middle section and engine mounting.
Once I see, I will get those for you.
#107
01-12-2017, 04:09 PM
Grand HDF Member
...snip...
Fabricating my own home brew frame from aluminum tubing with no welds, only slip joints.
Have front end fork & neck finished with wheel , rotor & caliper and the rear end with wheel , brake rotors & calipers installed , still woking on the middle section and engine mounting.
Fabricating my own home brew frame from aluminum tubing with no welds, only slip joints.
Have front end fork & neck finished with wheel , rotor & caliper and the rear end with wheel , brake rotors & calipers installed , still woking on the middle section and engine mounting.
you using 6061-T6 (or T651) or perhaps 2024/2014 based pipe ?
thanks!
T.
#108
01-14-2017, 01:26 AM
Join Date: Nov 2010
Location: Red Banks, Mississippi
Posts: 17,456
Received 3,930 Likes
on
2,288 Posts
Friday the 13th Update.
Got a bunch done today!
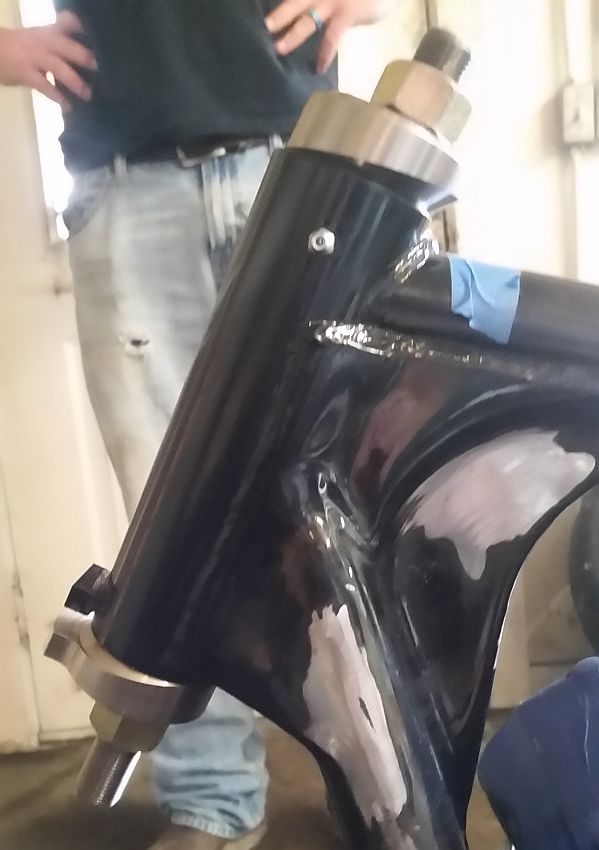
We received the 3* Rake Fork Cup Set-
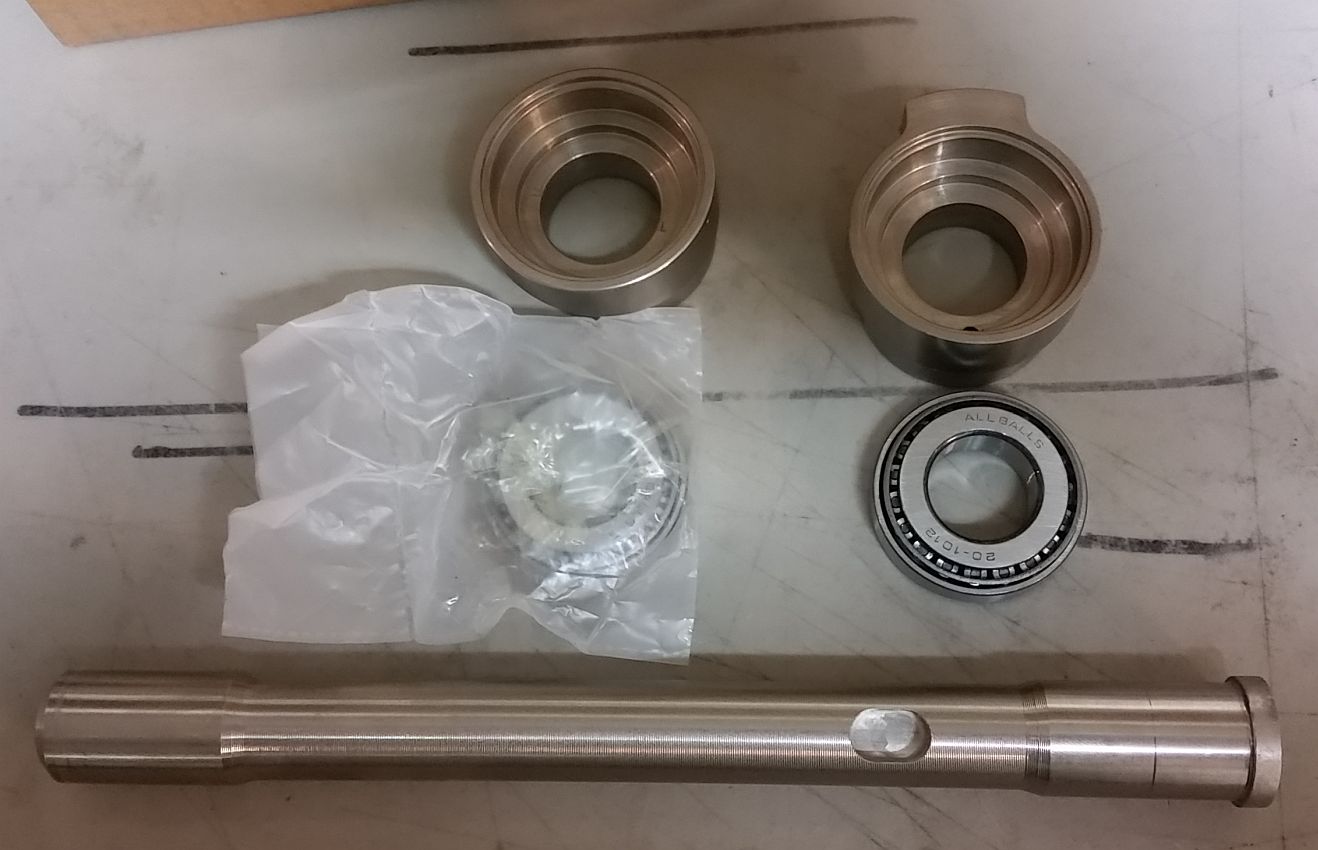
First step was to pull out the factory races. It took all of 10 minutes, with the proper tool.
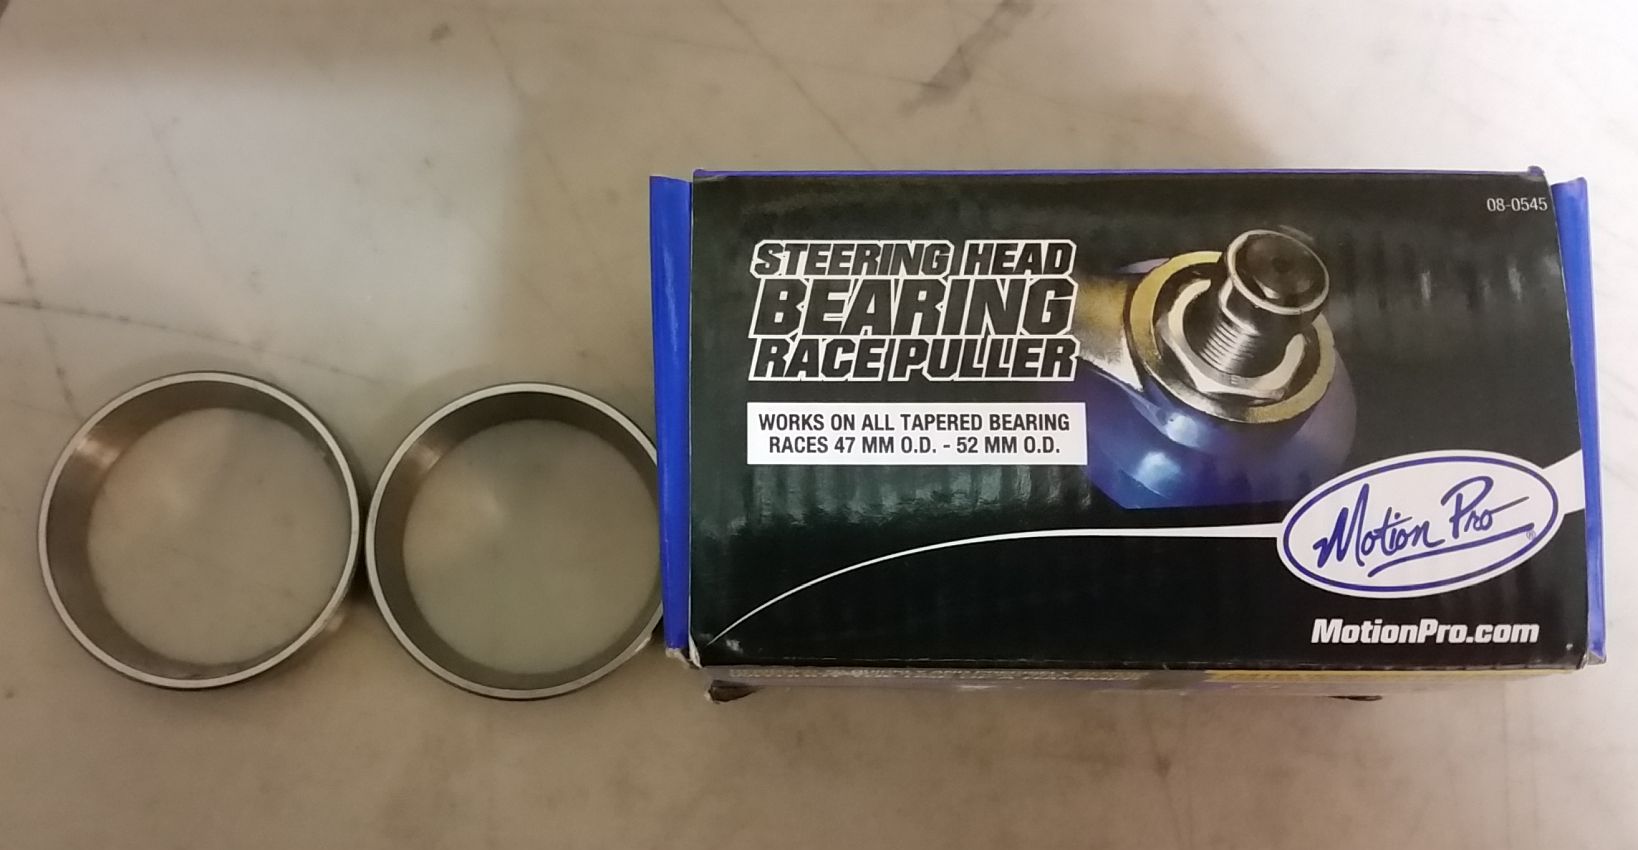
Next was to install the raked fork cups. There were more parts to the tool, than the actual kit.
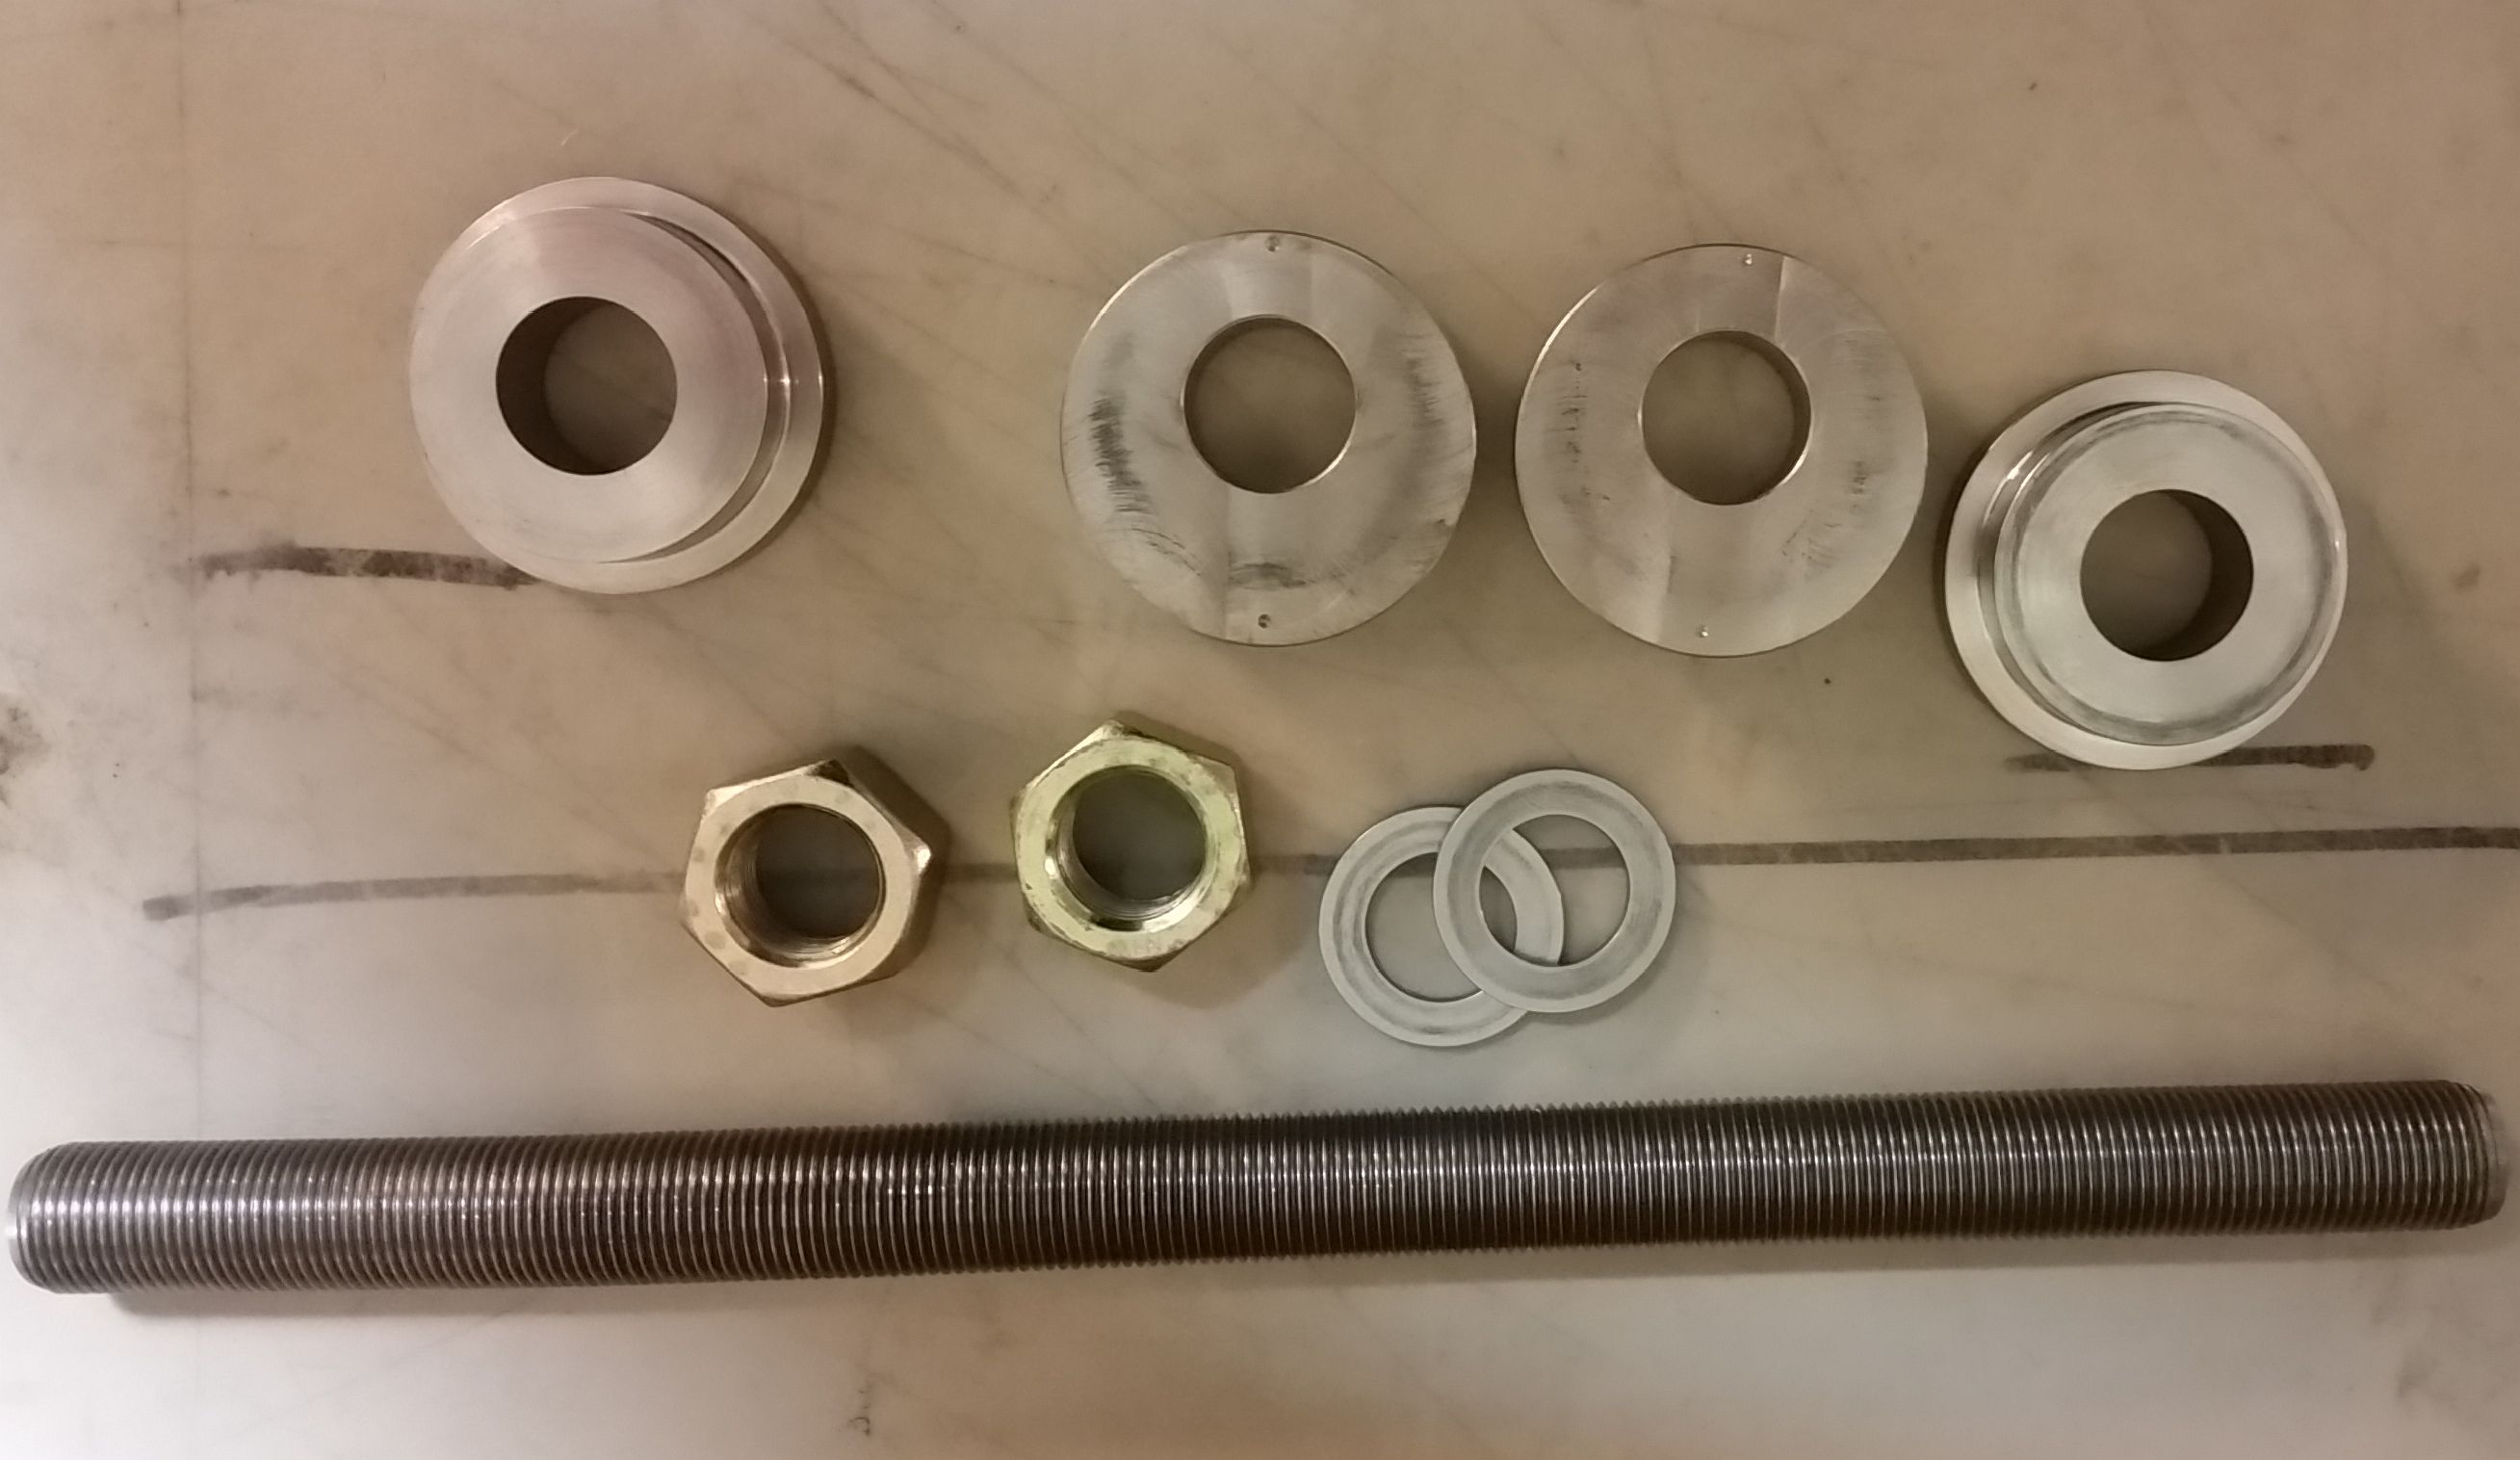
We've never installed Raked cups before, so we took are time and made sure everything was lined up correctly....
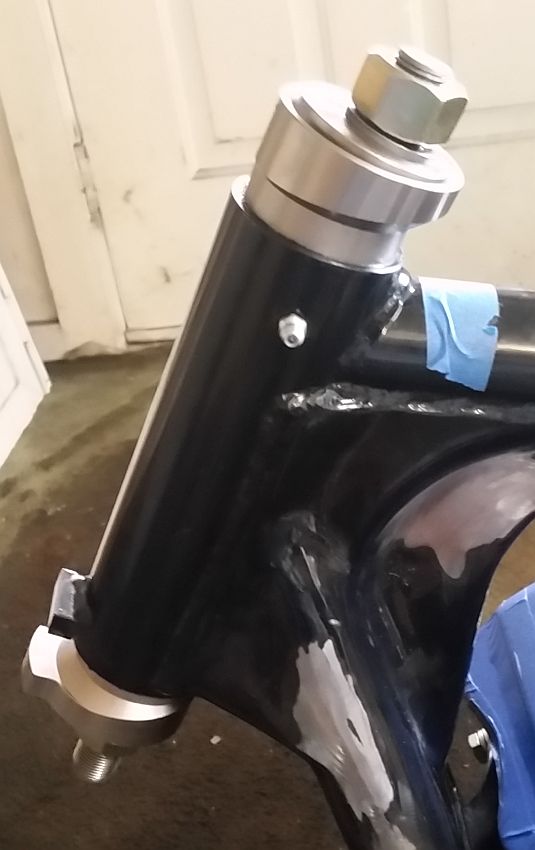
...before tightening it down, into place. Everything went smoothly.
Since the lower cup as a fork stop, we will be cutting off the one on the frame.
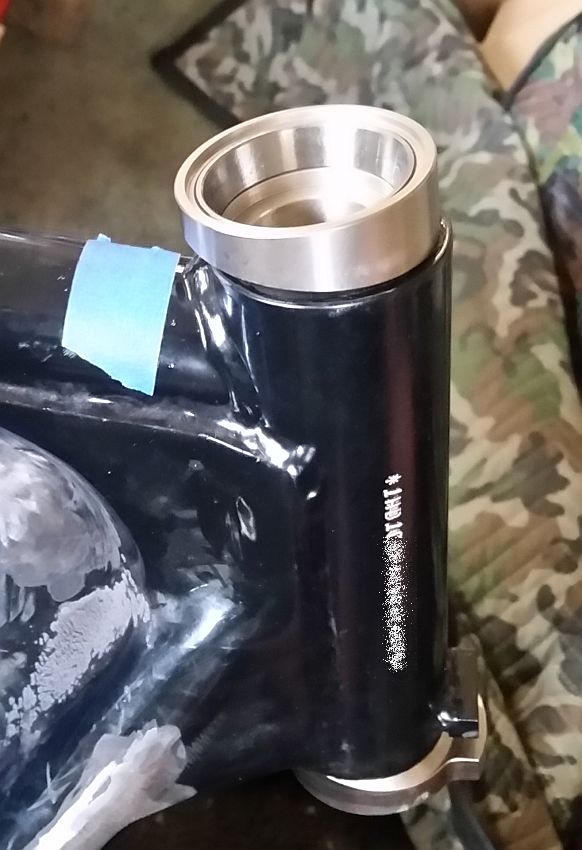
Time to put the new races into the cups...
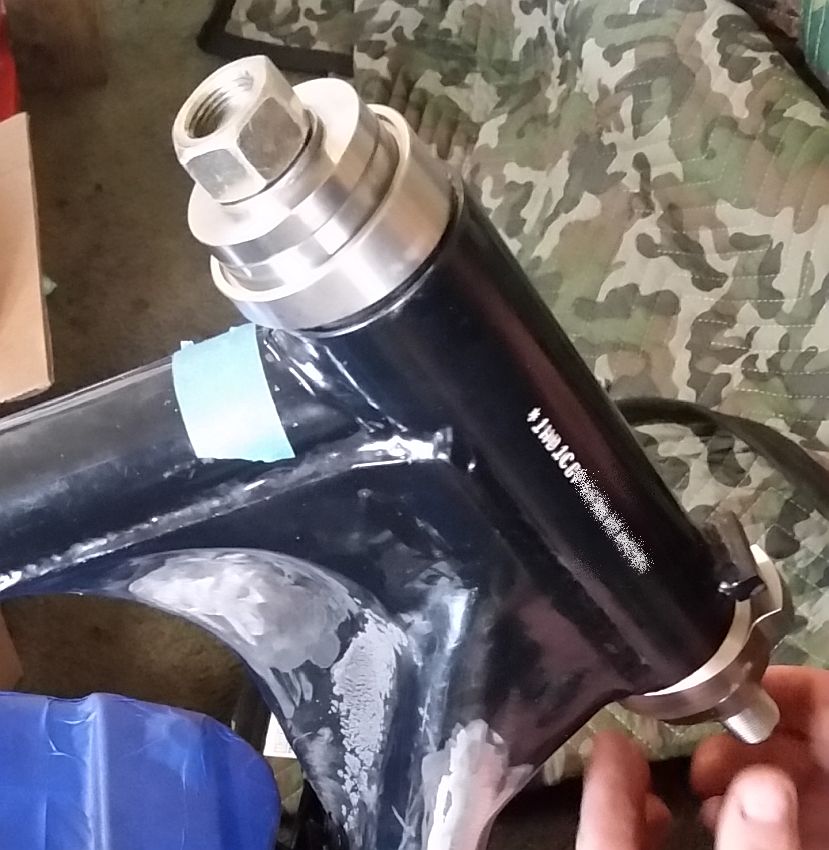
...again, everything went smoothly. All done!
Pic of the 12 gauge steel that we're going to use to make the oil tank out of.
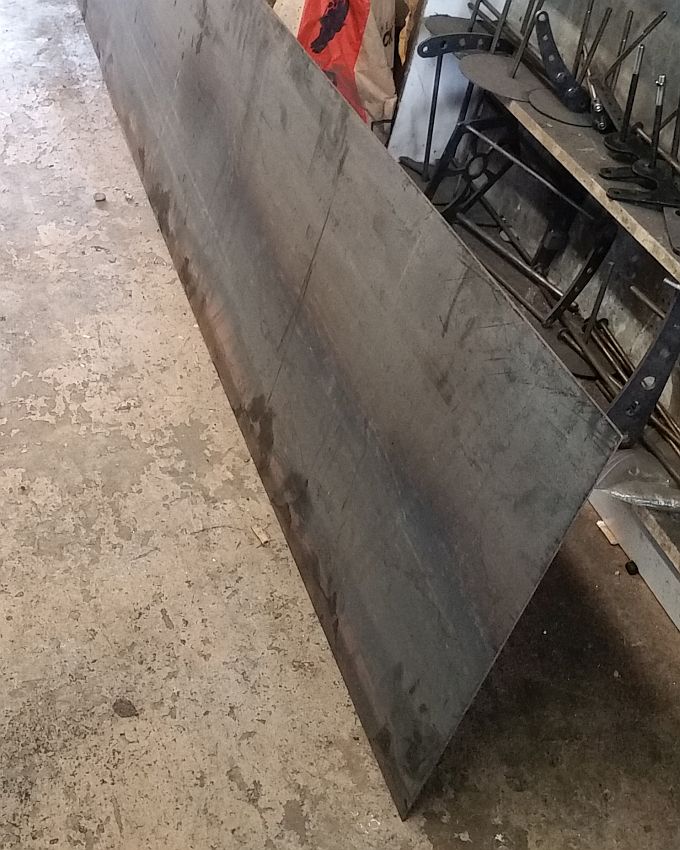
Continued in next post.
Got a bunch done today!
We received the 3* Rake Fork Cup Set-
First step was to pull out the factory races. It took all of 10 minutes, with the proper tool.
Next was to install the raked fork cups. There were more parts to the tool, than the actual kit.
We've never installed Raked cups before, so we took are time and made sure everything was lined up correctly....
...before tightening it down, into place. Everything went smoothly.
Since the lower cup as a fork stop, we will be cutting off the one on the frame.
Time to put the new races into the cups...
...again, everything went smoothly. All done!
Pic of the 12 gauge steel that we're going to use to make the oil tank out of.
Continued in next post.
#109
01-14-2017, 02:15 AM
Join Date: Nov 2010
Location: Red Banks, Mississippi
Posts: 17,456
Received 3,930 Likes
on
2,288 Posts
Friday the 13th update continued.
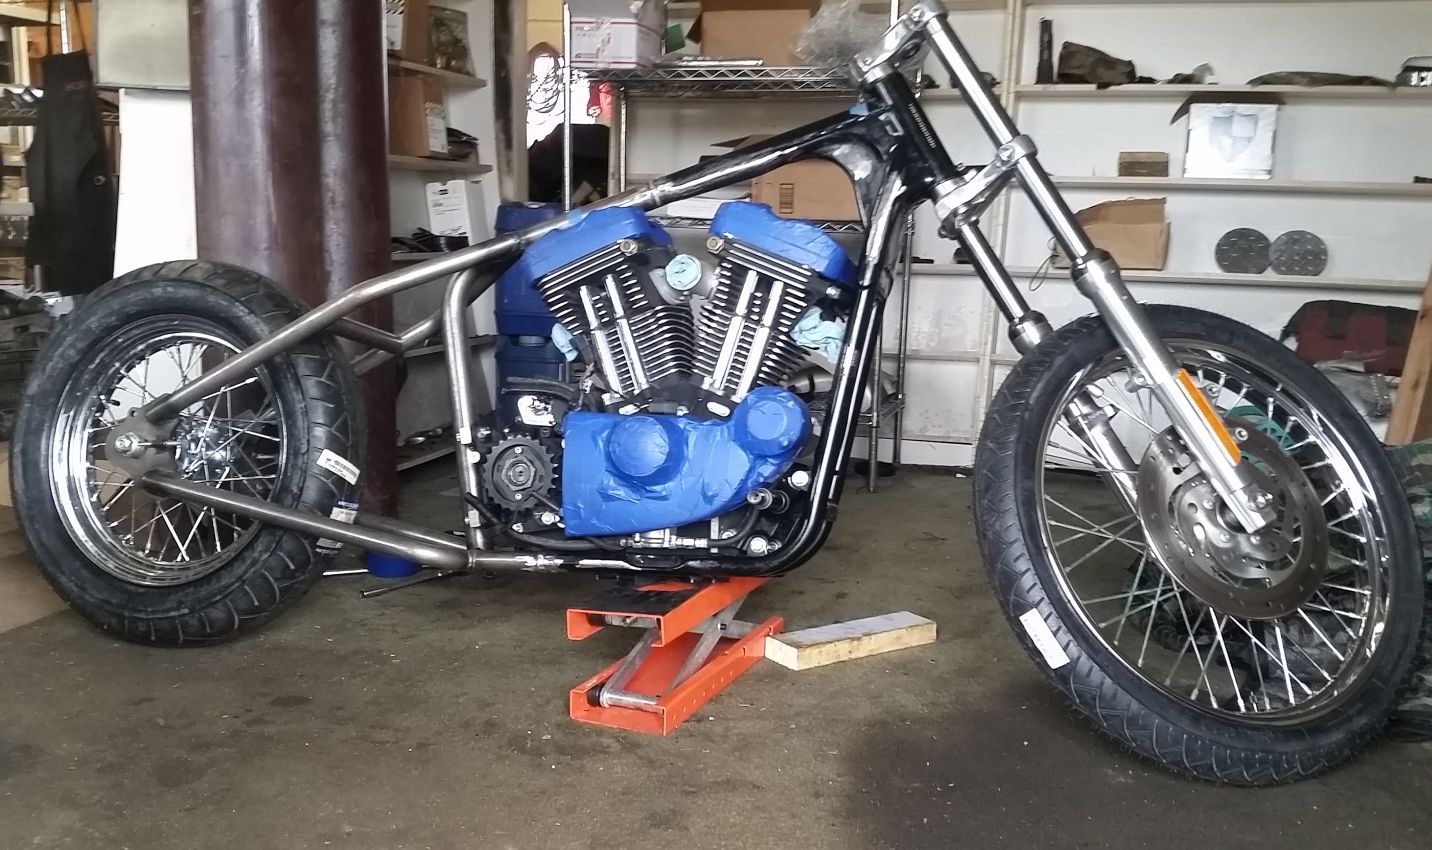
Finished tightening up all the motor mounts.
Installed the front sprocket.
Notice the rear sprotor is gone...we are still waiting on the new one to arrive.
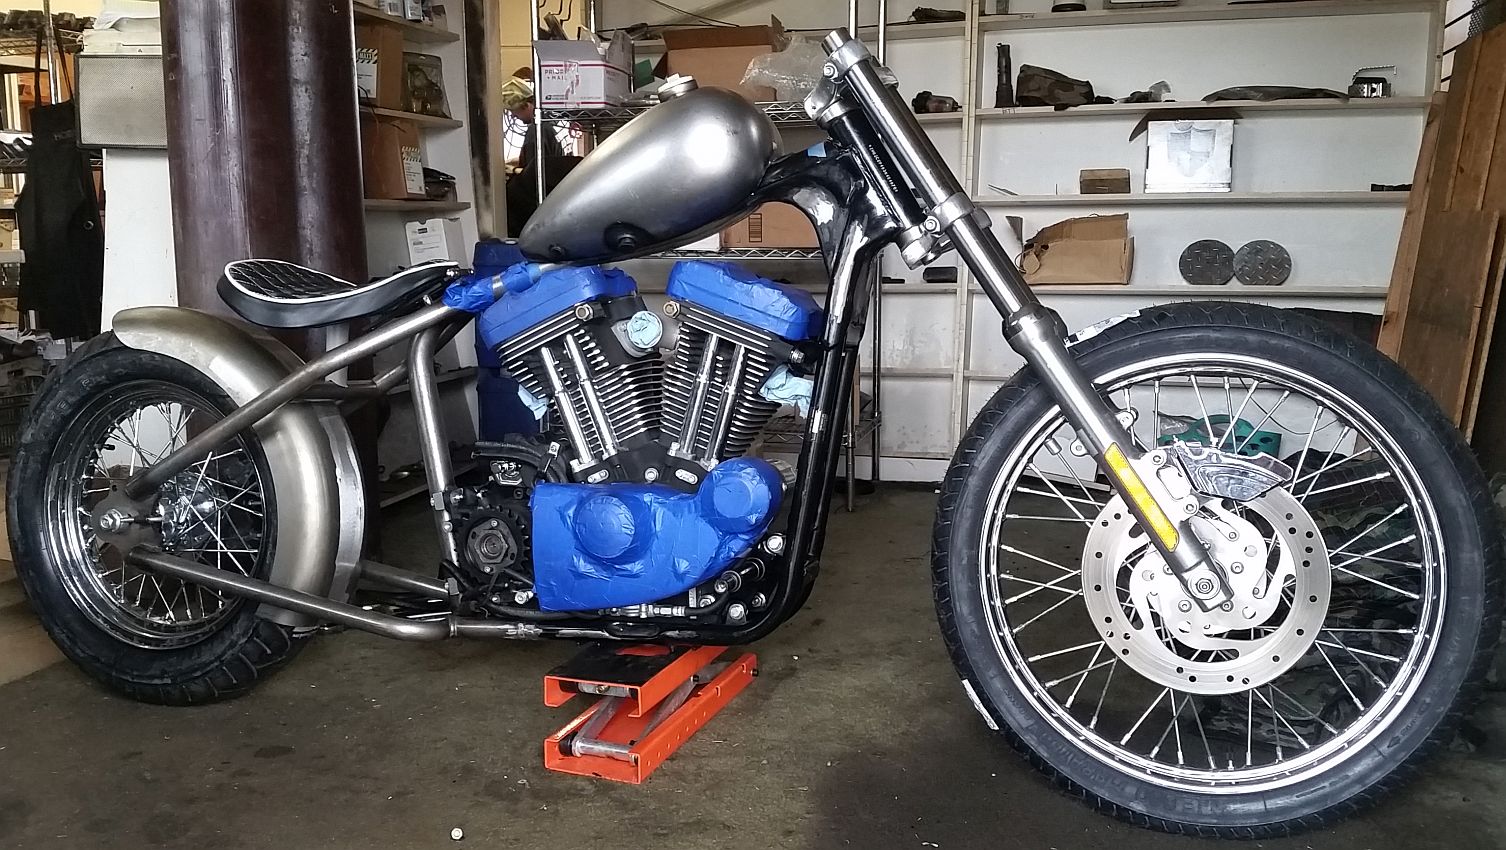
Got both wheels on. Notice the front is still sitting up a bit high, even after the 3* rake.
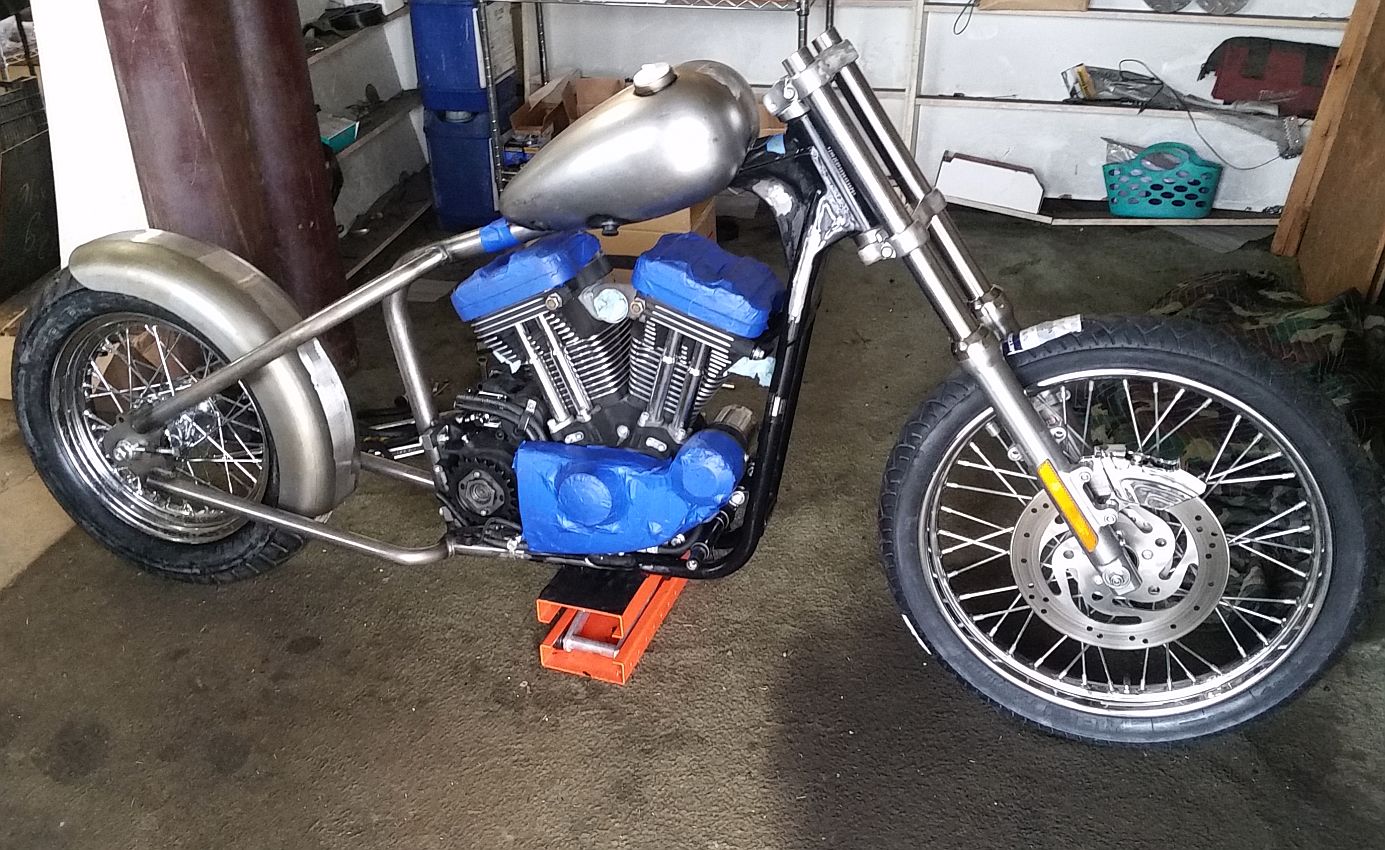
Tank mocked up.
Fender is mocked up, with some hose between the tire and the underside of the fender to space it out a bit.
Chrome aftermarket Front Caliper is bolted on.
Still need to shave off the fender mounts from the fork legs.
Also, notice the frame rails are almost even now. We slid the forks up the trees about an inch to get it more level.
We will probably end up going with 1" fork extensions, instead of the 2" extensions that are currently in place. We'll wait til everything else is in place before making that decision.
Added the seat to the mix. Also, moved the tank down the backbone a bit.
It looked good earlier today, but after looking at the photo's, I think the tank needs to go back up the backbone a bit, and the seat needs to go forward a bit.
Want to even out the spacing between the back of the seat and the rear fender, to make it more the same as the space between the front of the seat and the back of the tank.
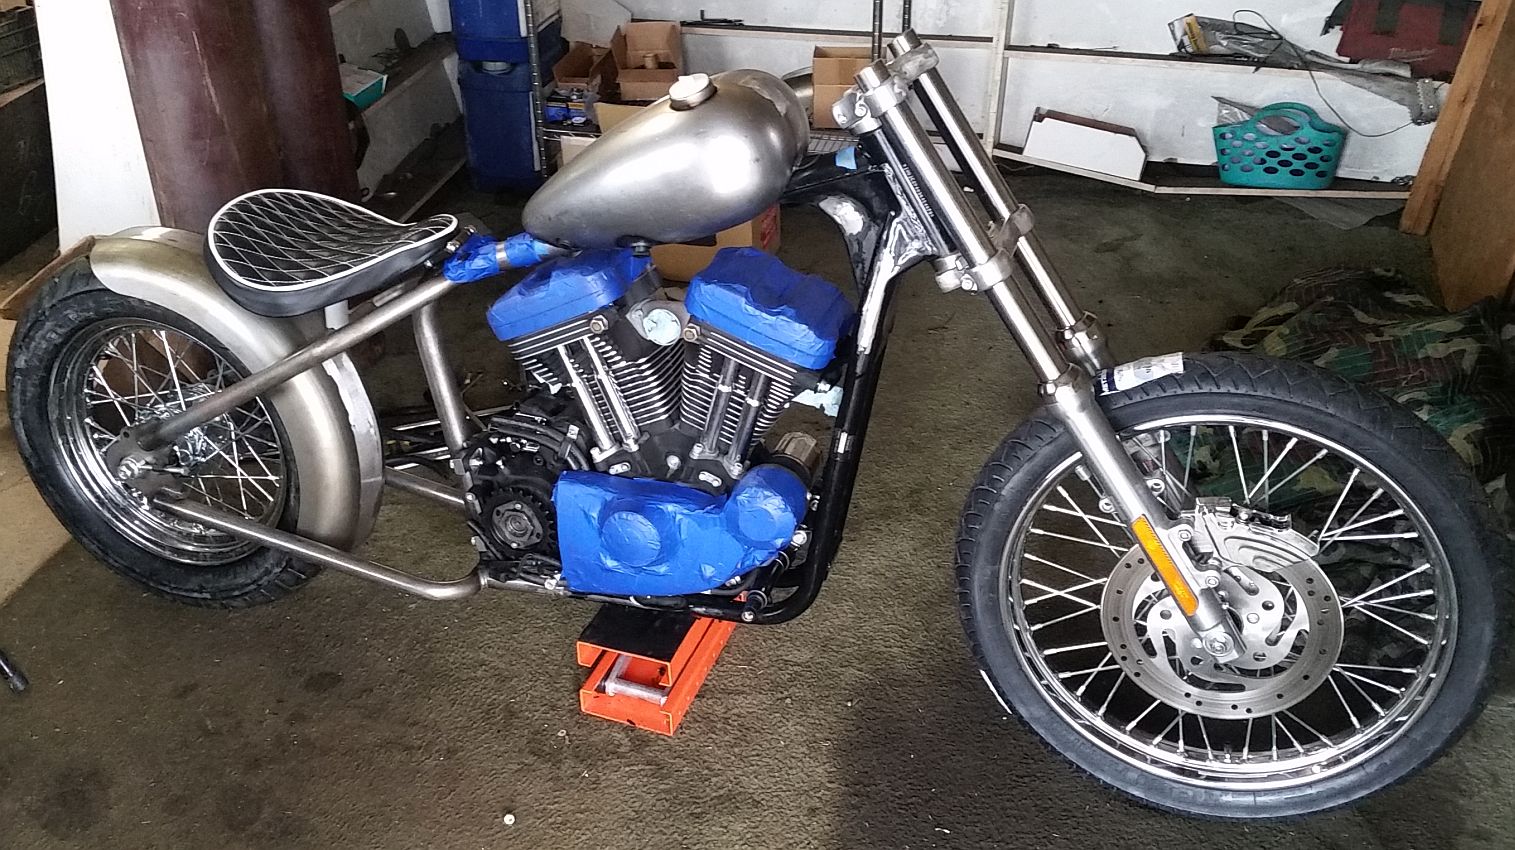
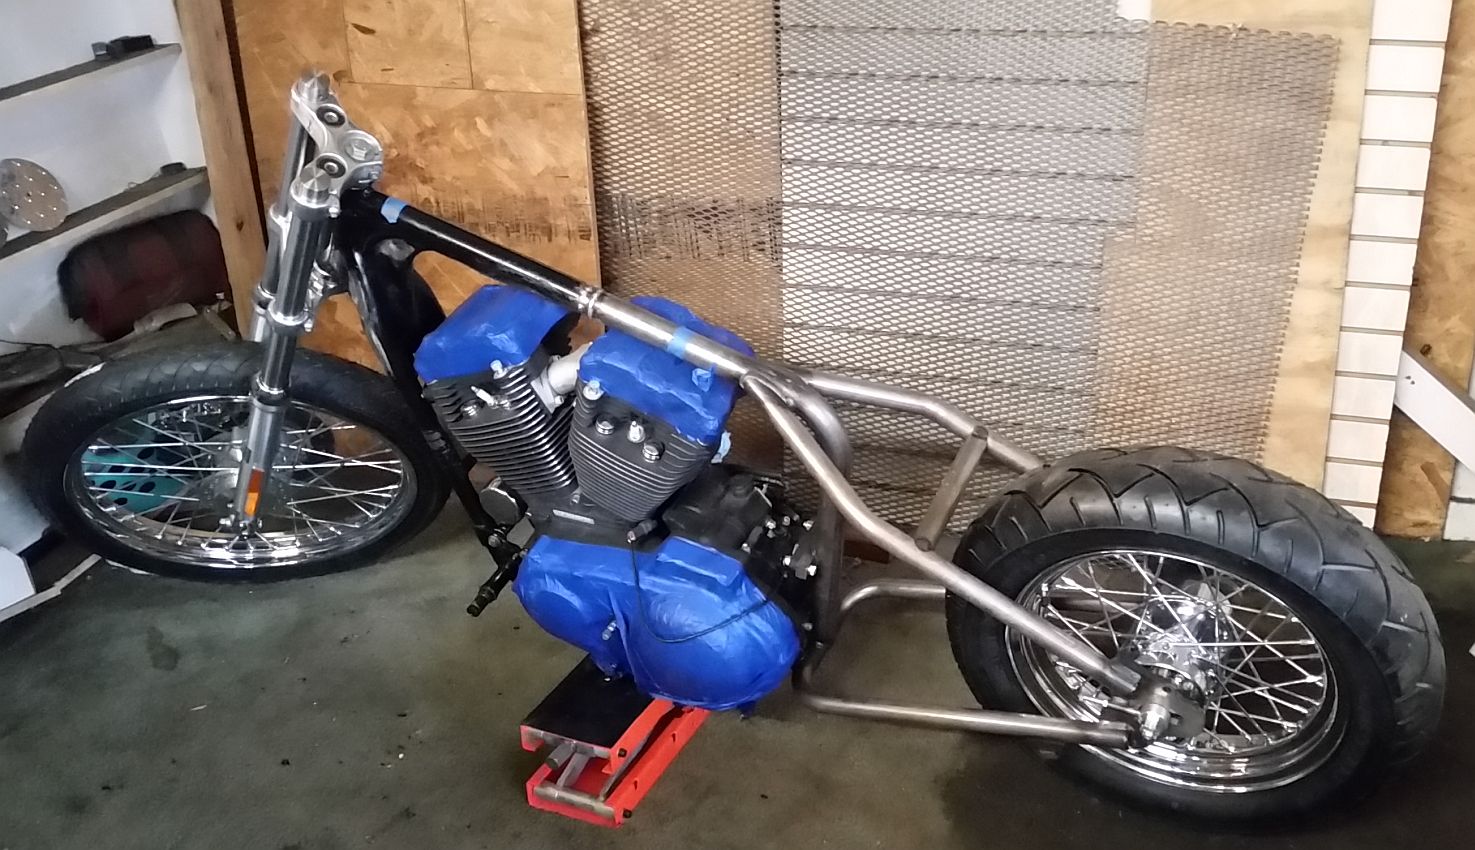
Another angle.
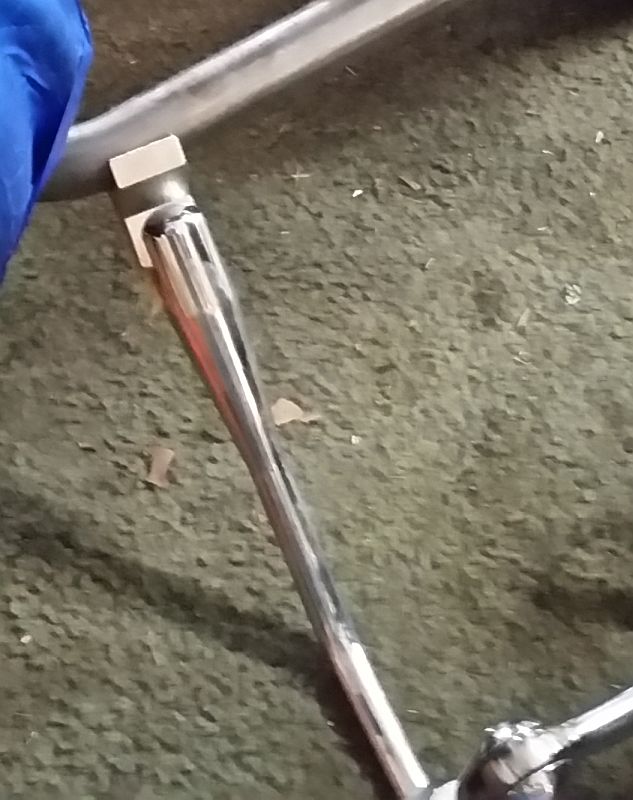
Looks like this is where we'll put the kickstand...right behind the primary.
I'm going to let these pics percolate a bit. Then next week we'll get the tank, seat, cross-member and kickstand all in place.
The seat will be the largest project, need to fab the front hinge, the top and bottom shock mounts, and weld them all in place.
Next week the new sprotor should arrive and we can get that installed and see what, if any, spacer work we need to do.
A note about my work area: I normally work on my bikes on my lift table in my own shop. But since so much is needing to be welded, I have the bike at the DK Shop.
But the DK Shop is Not a bike shop...it is a manufacturing shop... A busy and full one. So I have this one little corner that I cleared a bunch of stuff out of and made it the little "cubicle" I'm working in.
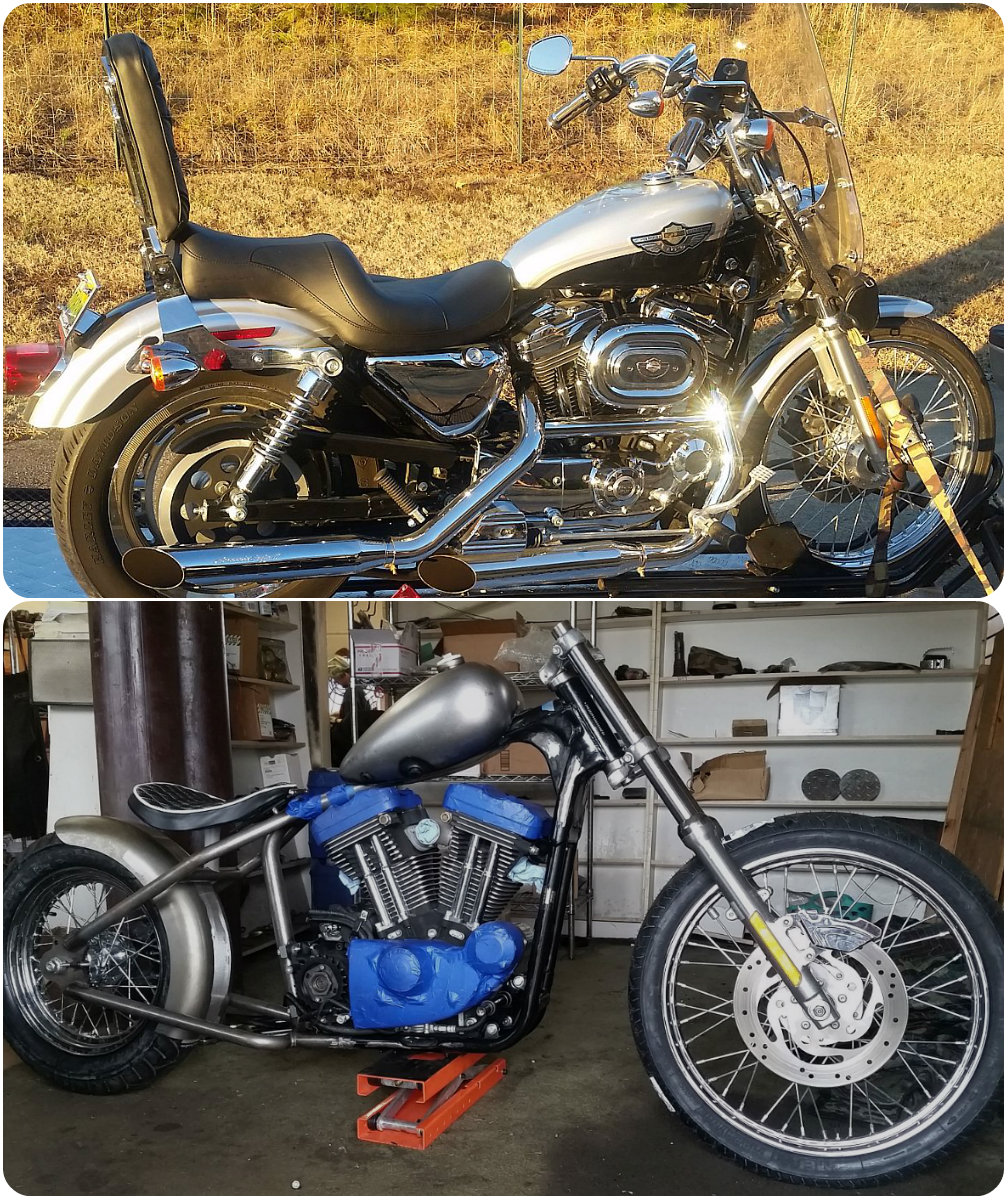
All done for the day, and wheeled it into the corner of the space I cleared out.
We only just barely started...but it looks a lot different today than the day I picked it up!
Finished tightening up all the motor mounts.
Installed the front sprocket.
Notice the rear sprotor is gone...we are still waiting on the new one to arrive.
Got both wheels on. Notice the front is still sitting up a bit high, even after the 3* rake.
Tank mocked up.
Fender is mocked up, with some hose between the tire and the underside of the fender to space it out a bit.
Chrome aftermarket Front Caliper is bolted on.
Still need to shave off the fender mounts from the fork legs.
Also, notice the frame rails are almost even now. We slid the forks up the trees about an inch to get it more level.
We will probably end up going with 1" fork extensions, instead of the 2" extensions that are currently in place. We'll wait til everything else is in place before making that decision.
Added the seat to the mix. Also, moved the tank down the backbone a bit.
It looked good earlier today, but after looking at the photo's, I think the tank needs to go back up the backbone a bit, and the seat needs to go forward a bit.
Want to even out the spacing between the back of the seat and the rear fender, to make it more the same as the space between the front of the seat and the back of the tank.
Another angle.
Looks like this is where we'll put the kickstand...right behind the primary.
I'm going to let these pics percolate a bit. Then next week we'll get the tank, seat, cross-member and kickstand all in place.
The seat will be the largest project, need to fab the front hinge, the top and bottom shock mounts, and weld them all in place.
Next week the new sprotor should arrive and we can get that installed and see what, if any, spacer work we need to do.
A note about my work area: I normally work on my bikes on my lift table in my own shop. But since so much is needing to be welded, I have the bike at the DK Shop.
But the DK Shop is Not a bike shop...it is a manufacturing shop... A busy and full one. So I have this one little corner that I cleared a bunch of stuff out of and made it the little "cubicle" I'm working in.
All done for the day, and wheeled it into the corner of the space I cleared out.
We only just barely started...but it looks a lot different today than the day I picked it up!
#110
01-14-2017, 06:31 AM

