Let me start by saying I stared this rebuild in October of 2018 and by now is almost finished. I am not looking for suggestions or ideas, but simply sharing my build with anyone that might interested. This build may not be as elaborate as some that have been posted. I am simply redoing a Sportster with off the counter parts and fresh paint. Everything I have done can be undone with a little effort.
Being retired, I purchased the bike as a project to keep me out of my wife�s hair during the winter. The bike is a 1996 Sportster 883 Standard, it has a high flow back plate on the air cleaner with a K&N filter, and Screamin� Eagle Exhaust � I paid $1850 for this bike.
Motor and drive train are in very good shape … but the bike had a problem with the front forks. They were worn/scored in the seal area and the seals were shot as well. Due to this, every time the forks functioned fork oil would leak out the top of the sliders. The oil then ran down onto the brake caliper, pads, and rotor. The front brake basically did nothing at all due to all the oil.
My plan was to take the bike to the frame, rebuild, replace, what is needed then paint it all from the frame up. Plans include replacing the fork tubes, rebuild the sliders, and retain the front 19 inch wheel/tire … dropping the rear … adding mini apes … recovering the seat … relocating the coil.
Work done to the motor was to replace the rocker box gaskets and the pushrod tube seals. Rebuild and clean the carb checking float setting and jets … replace all intake seals and exhaust gaskets. A good cleaning was given to everything.
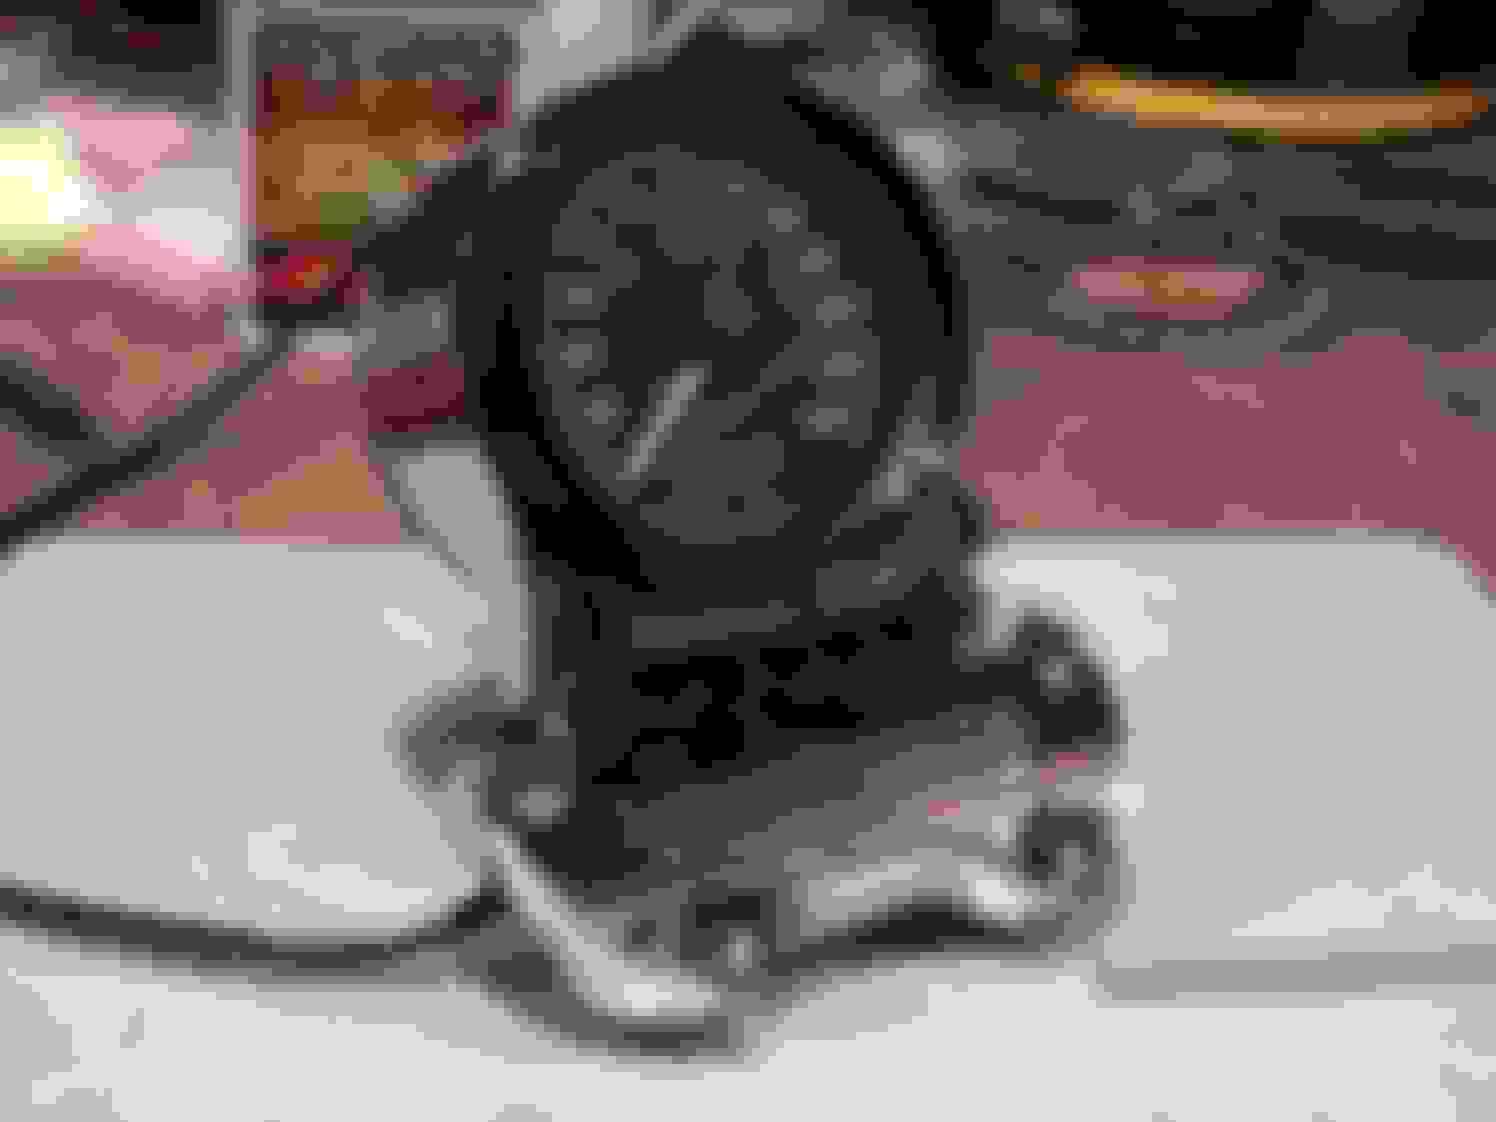
Some things I have changed are Fork tubes 4 inch over stock, forward controls, and 8 Inch mini apes from TC Bros … extended clutch cable, throttle/idle cables from Barnett … front brake line and fittings from Russell … Chrome Speedometer housing/mount, Lyndall Z Plus brake pads for front and rear calipers, various gaskets and seals from my HD dealer.
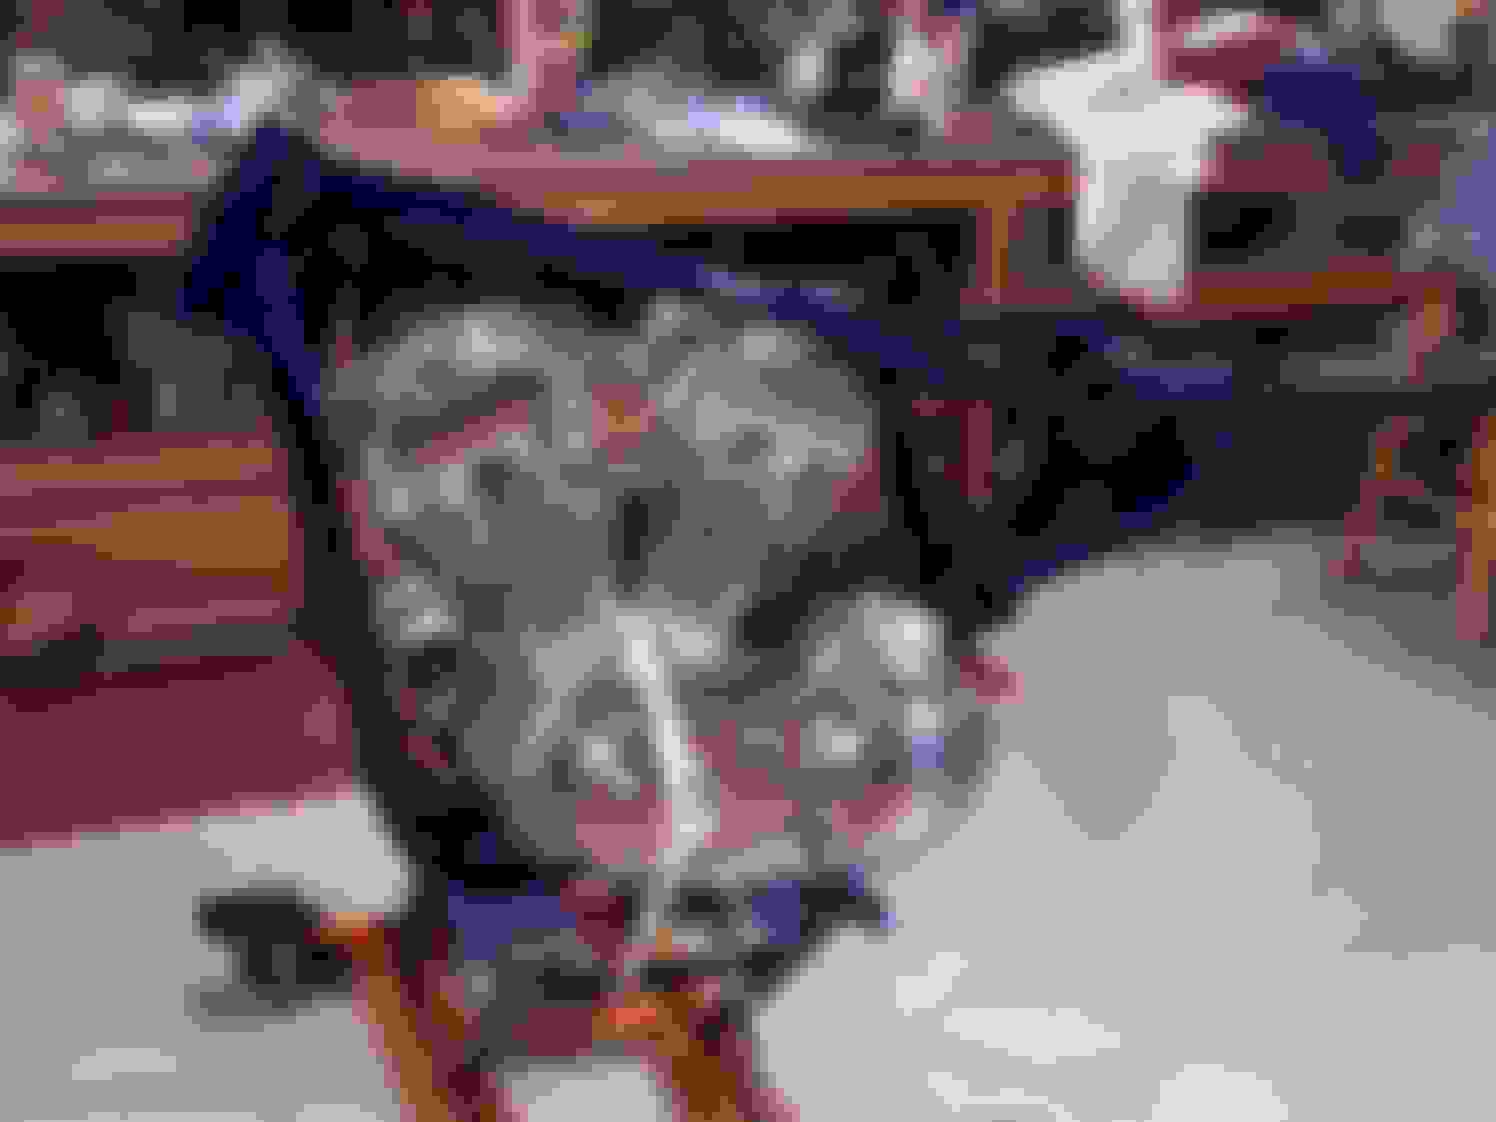
Removing and replacing the motor/trans out of and into the frame I found a lot easier if I laid the frame on its side. I removed all the motor mounts except the four bolts at the rear connecting the motor to the frame. These were removed once the frame was on its side, the frame could then be easily removed from the motor. Reverse the process to install the motor back into a freshly painted frame without causing a lot of scratches.

 04-07-2019, 07:54 AM