Recent Short Shot Install: Pics Inside, Need Help!
#1
Hey guys, I just now finished my first upgrade on my 09 Iron and I had a question. Everything went very smoothly and it's a very simple install. With my background in car mechanics...this was nothing. BUT...in the end once the heat shields were on, once the exhaust was bolted up to the lower mounting bracket...I was at the point where I had to make the final adjustment...
Tightening the Exhaust Flange Bolts to the cylinder head. (4 in total, 2 for each pipe).
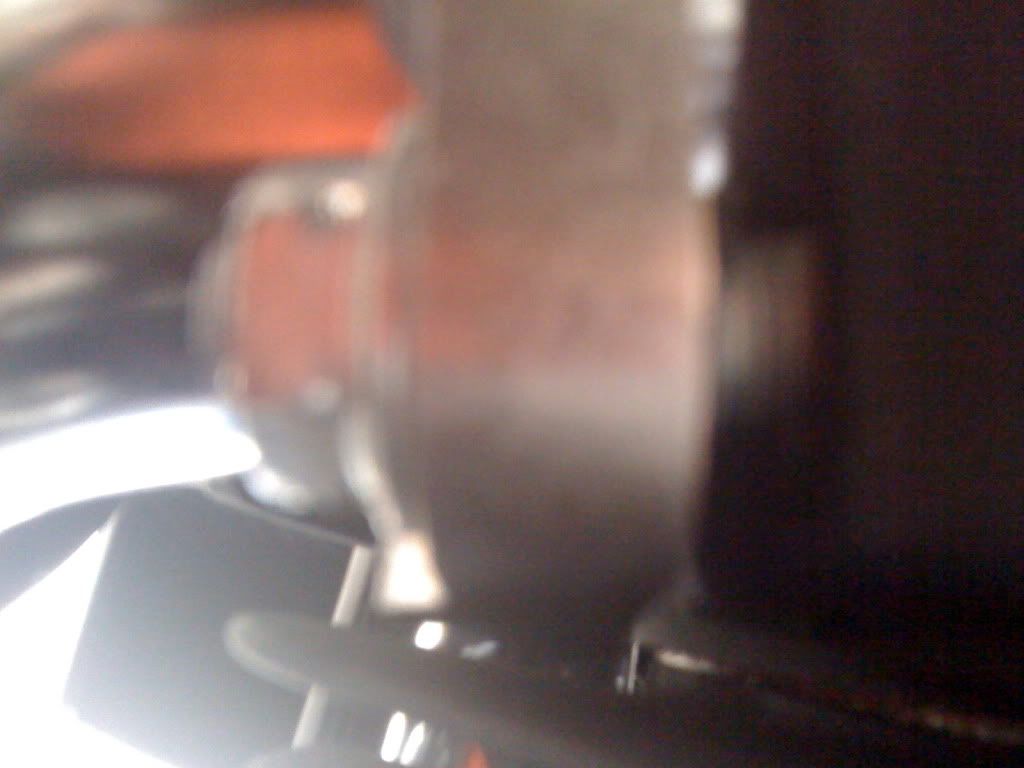
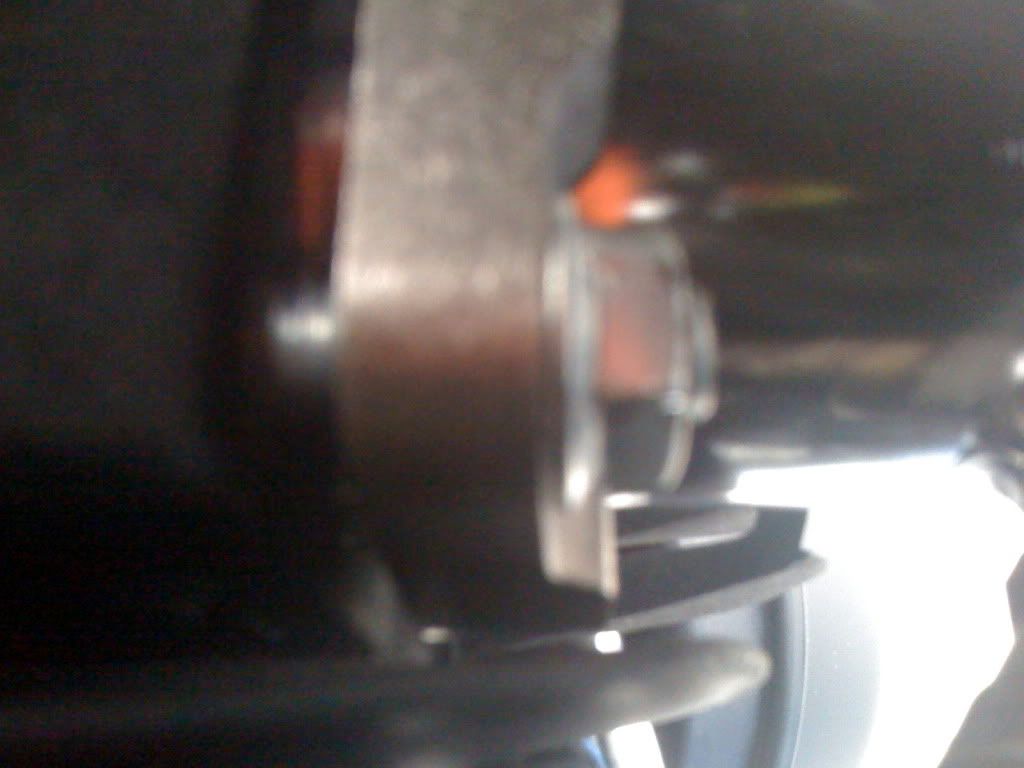
Here are pics (Sorry for the quality, it was on my iphone).


Seeing where the bolts are on the motorcycle...this is as clear as a shot I could get. Basically you are looking at the Nut that you are to tighten to push the exhaust flange towards the head.
As you can see in the picture....there is a 3-4 cm gap between the flange and the cylinder head. I don't know if this is normal or not...that is the problem. Every-single-one of the four bolts is like this. I tightened them down to the torque spec and saw this and even tried to hand tighten them further to make the gap smaller and that **** is ON THERE TIGHT...I mean damn. Im not a small guy and I definitely did NOT have the strength to make them get any closer to the head.
Can someone confirm that this IS or IS NOT the way they are supposed to be? And if they are NOT supposed to be how I have them in the picture (seperated a bit)...could you provide me any insight on fixing that?
Oh yeah I almost forgot...I started the bike...it ran fine, no CEL or anything, also no hissing from the Exhaust Flange Area either...
Thanks in advance to everyone who helps. :-)
Tightening the Exhaust Flange Bolts to the cylinder head. (4 in total, 2 for each pipe).
Here are pics (Sorry for the quality, it was on my iphone).


Seeing where the bolts are on the motorcycle...this is as clear as a shot I could get. Basically you are looking at the Nut that you are to tighten to push the exhaust flange towards the head.
As you can see in the picture....there is a 3-4 cm gap between the flange and the cylinder head. I don't know if this is normal or not...that is the problem. Every-single-one of the four bolts is like this. I tightened them down to the torque spec and saw this and even tried to hand tighten them further to make the gap smaller and that **** is ON THERE TIGHT...I mean damn. Im not a small guy and I definitely did NOT have the strength to make them get any closer to the head.
Can someone confirm that this IS or IS NOT the way they are supposed to be? And if they are NOT supposed to be how I have them in the picture (seperated a bit)...could you provide me any insight on fixing that?
Oh yeah I almost forgot...I started the bike...it ran fine, no CEL or anything, also no hissing from the Exhaust Flange Area either...
Thanks in advance to everyone who helps. :-)
#2
Throw some soapy water on the space between the flange and the head. If it doesn't start shooting bubbles everywhere then there is no leak and it is fine. But I'm almost sure that is what its supposed to look like. The exhaust flanges work differently on a bike than a car. They push the exhaust pipe up into the exhaust port against the gasket, instead of pushing flat against the head like a car exhaust manifold does.
#3
#6
#7
Trending Topics
#8
#10
Whoa! Go back and loosen them thangs and reset to specified torque. You don't want a busted stud or you'll be pulling the jug to get it drilled out.
First of all, they look mounted correctly. There should be a gap of equal size all around the flanges, and there should be a little stud sticking out of each nut like shows in your pics. IF you instead used the Screaming Eagle gaskets(which you didn't), then there would be more stud showing and less gap-but still a gap.
Let's back up and quote your install steps. You said you tightend the rear end first, then went back and tightened the heads flanges.....STOP. That is exactly backwards of how you should do it.......Go back and first loosen the head flange nuts, then loosen the rear mounts, and then carefully center and tighten the head flange nuts equally to torque specs....After that tighten the rear mounts.
The rear mount is very rigid and will not flex as the pipe expands and grows in length from heat. so this way the pipe will be allowed to expand as designed and force the head seal even tighter in operation.
If later, even tho you tightened the head flange nuts to proper torque, the nuts work loose, simply replace them with lock nuts(yes you can use nyloc nuts-they won't melt) then add the running torque to final torque and they will never work loose again.
Congrats on your first mod!
Last edited by oinker02; 09-26-2009 at 08:48 AM.

