
Nighster Fender Slam
#1
 10-13-2010, 06:52 PM

Ok I'm at it again. It's about the same time every year I start getting active again with these threads.
I already know some of you may be slightly dissappointed for tossing the springer and stripping the green paint, but I got my reasons.
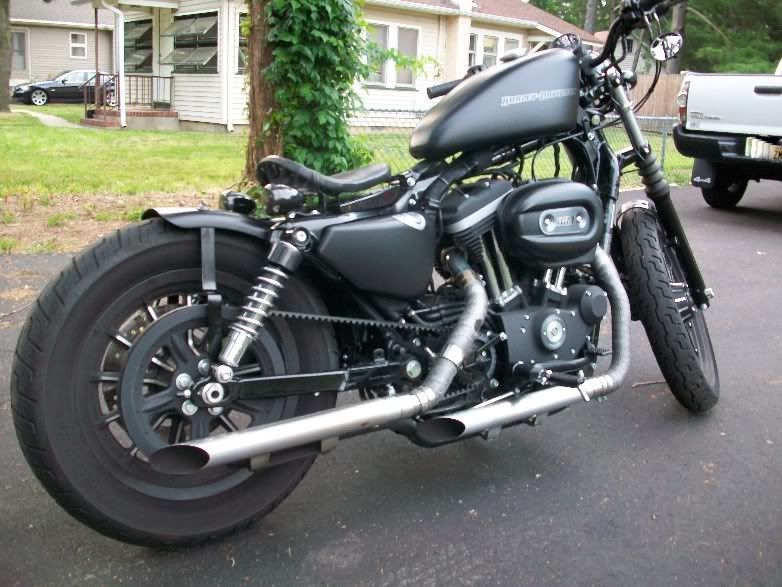
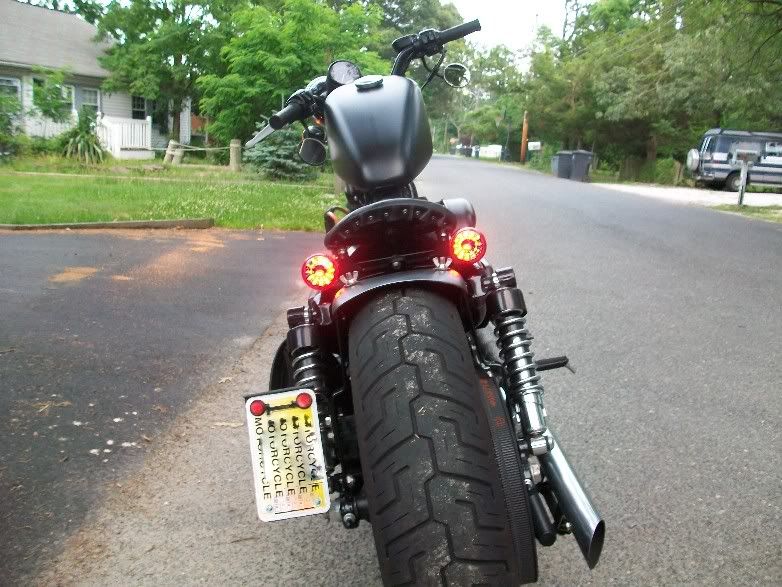
I started and completed a strut project today. The key was to use my factory spring shocks while keeping the fender slammed. The best way for this is to just put the fender in motion with the swingarm.
It started off with the two flat strips of steel, yeah i was also making a new seat hinge, but anyways the strips of steel with the following specs: width -1 1/2" L - 14" 3/16" thick ( Strong!)
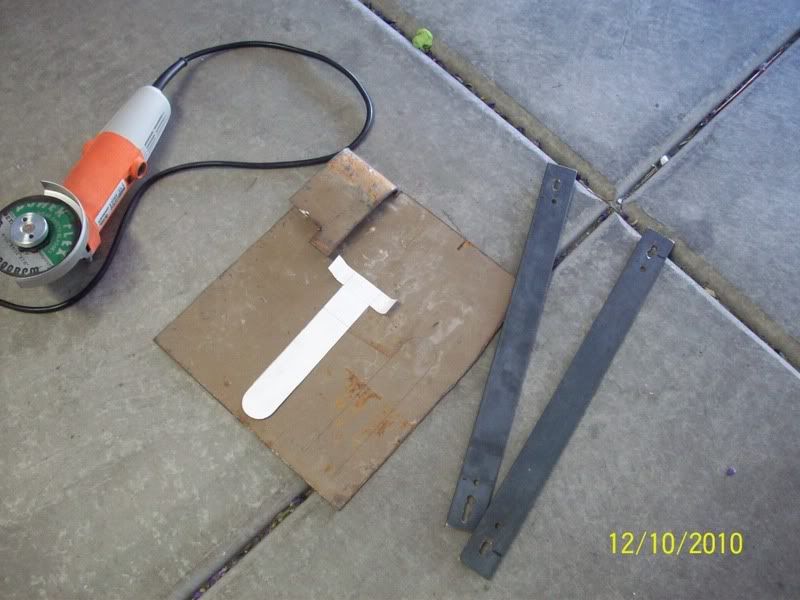
There was a bit of trial and error bending action going on here. there was a ton of grinding. it was a challenge trying to make matching pieces with identical end points. Now that i'm writing this I realize I could have just held both pieces on the grinder sandwhiched together at the same time. Damn It!

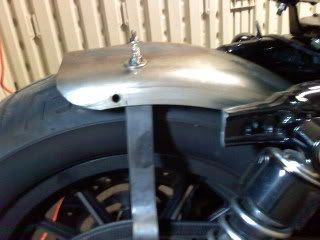
I meant to mount the strut on the outside, but at one point durring mockup one of the struts swang loose to the bottom, and as I lifted it baack up into position I accidently ran it inside the fender well and discovered it looked som much cleaner, so I kept it like that.
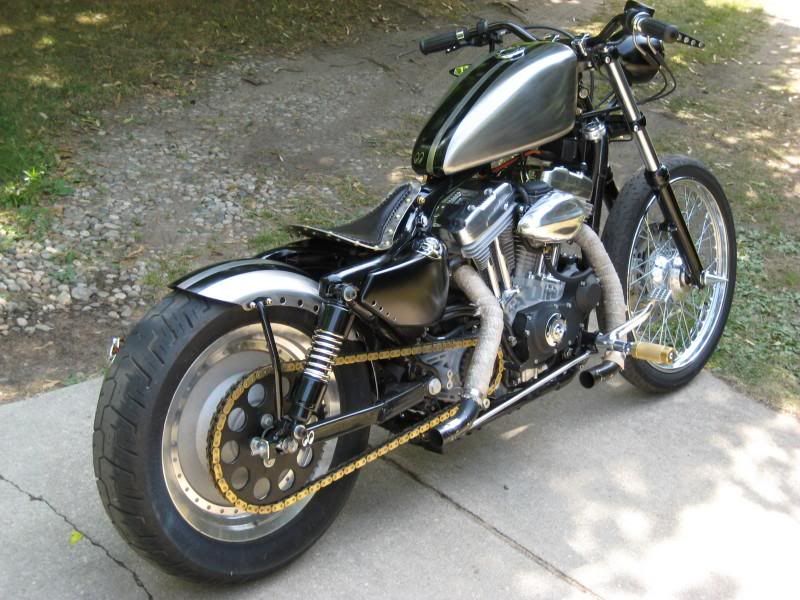
Than they kinda looked bulky and plain so I got crazy with the drill press.
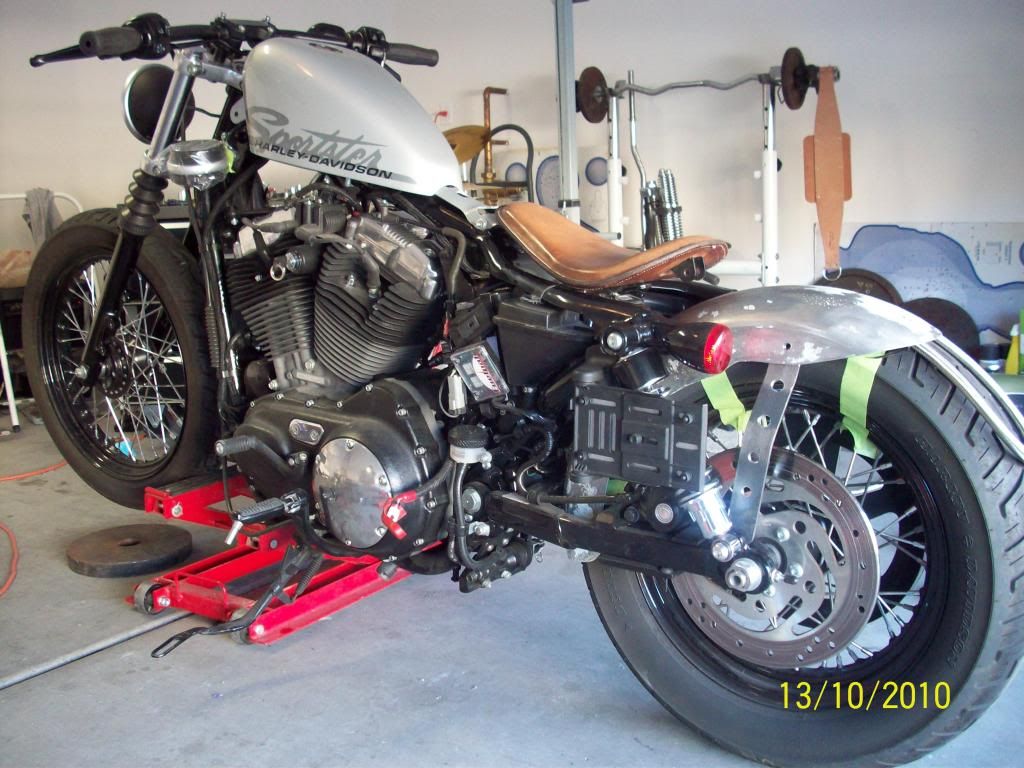
Also to Add yesterday I mounted the headlight nice and low on the bottom tree, and yes I went to the 48 Tank. still much to do. gotta break it all down soon and get the new paint job, and a few parts to powder coat like the trees, struts, light mount etc..
I already know some of you may be slightly dissappointed for tossing the springer and stripping the green paint, but I got my reasons.
I started and completed a strut project today. The key was to use my factory spring shocks while keeping the fender slammed. The best way for this is to just put the fender in motion with the swingarm.
It started off with the two flat strips of steel, yeah i was also making a new seat hinge, but anyways the strips of steel with the following specs: width -1 1/2" L - 14" 3/16" thick ( Strong!)
There was a bit of trial and error bending action going on here. there was a ton of grinding. it was a challenge trying to make matching pieces with identical end points. Now that i'm writing this I realize I could have just held both pieces on the grinder sandwhiched together at the same time. Damn It!
I meant to mount the strut on the outside, but at one point durring mockup one of the struts swang loose to the bottom, and as I lifted it baack up into position I accidently ran it inside the fender well and discovered it looked som much cleaner, so I kept it like that.
Than they kinda looked bulky and plain so I got crazy with the drill press.
Also to Add yesterday I mounted the headlight nice and low on the bottom tree, and yes I went to the 48 Tank. still much to do. gotta break it all down soon and get the new paint job, and a few parts to powder coat like the trees, struts, light mount etc..
#6
10-14-2010, 02:36 AM
#7
10-14-2010, 02:43 AM
Road Captain
Join Date: Jul 2009
Location: Cape Town
Posts: 743
Likes: 0
Received 0 Likes
on
0 Posts
Trending Topics
#8
10-14-2010, 06:01 AM
Road Captain
Looks great. My only word of advice is to be mindful of how you mount the struts to the fender as far as inside wheel clearance for the bolts. I first did it as a side mount and decided that the bolt heads were too close to the sidewall, so I moved the mounting holes to the top of the fender. But I also went with a flat trailer fender opposed to that tire hugger.
I'd love to know where and how you're mounting it to the swingarm towards center. I made a small L bracket and bolted it to the apex of the "U" on the inside and just wonder if there was a better way to go with it. Just because it makes taking the fender off with the wheel still on a pain in the ***.
I'd love to know where and how you're mounting it to the swingarm towards center. I made a small L bracket and bolted it to the apex of the "U" on the inside and just wonder if there was a better way to go with it. Just because it makes taking the fender off with the wheel still on a pain in the ***.
#10
10-14-2010, 07:42 AM

