What did you do to Your Sportster Today?
#8632

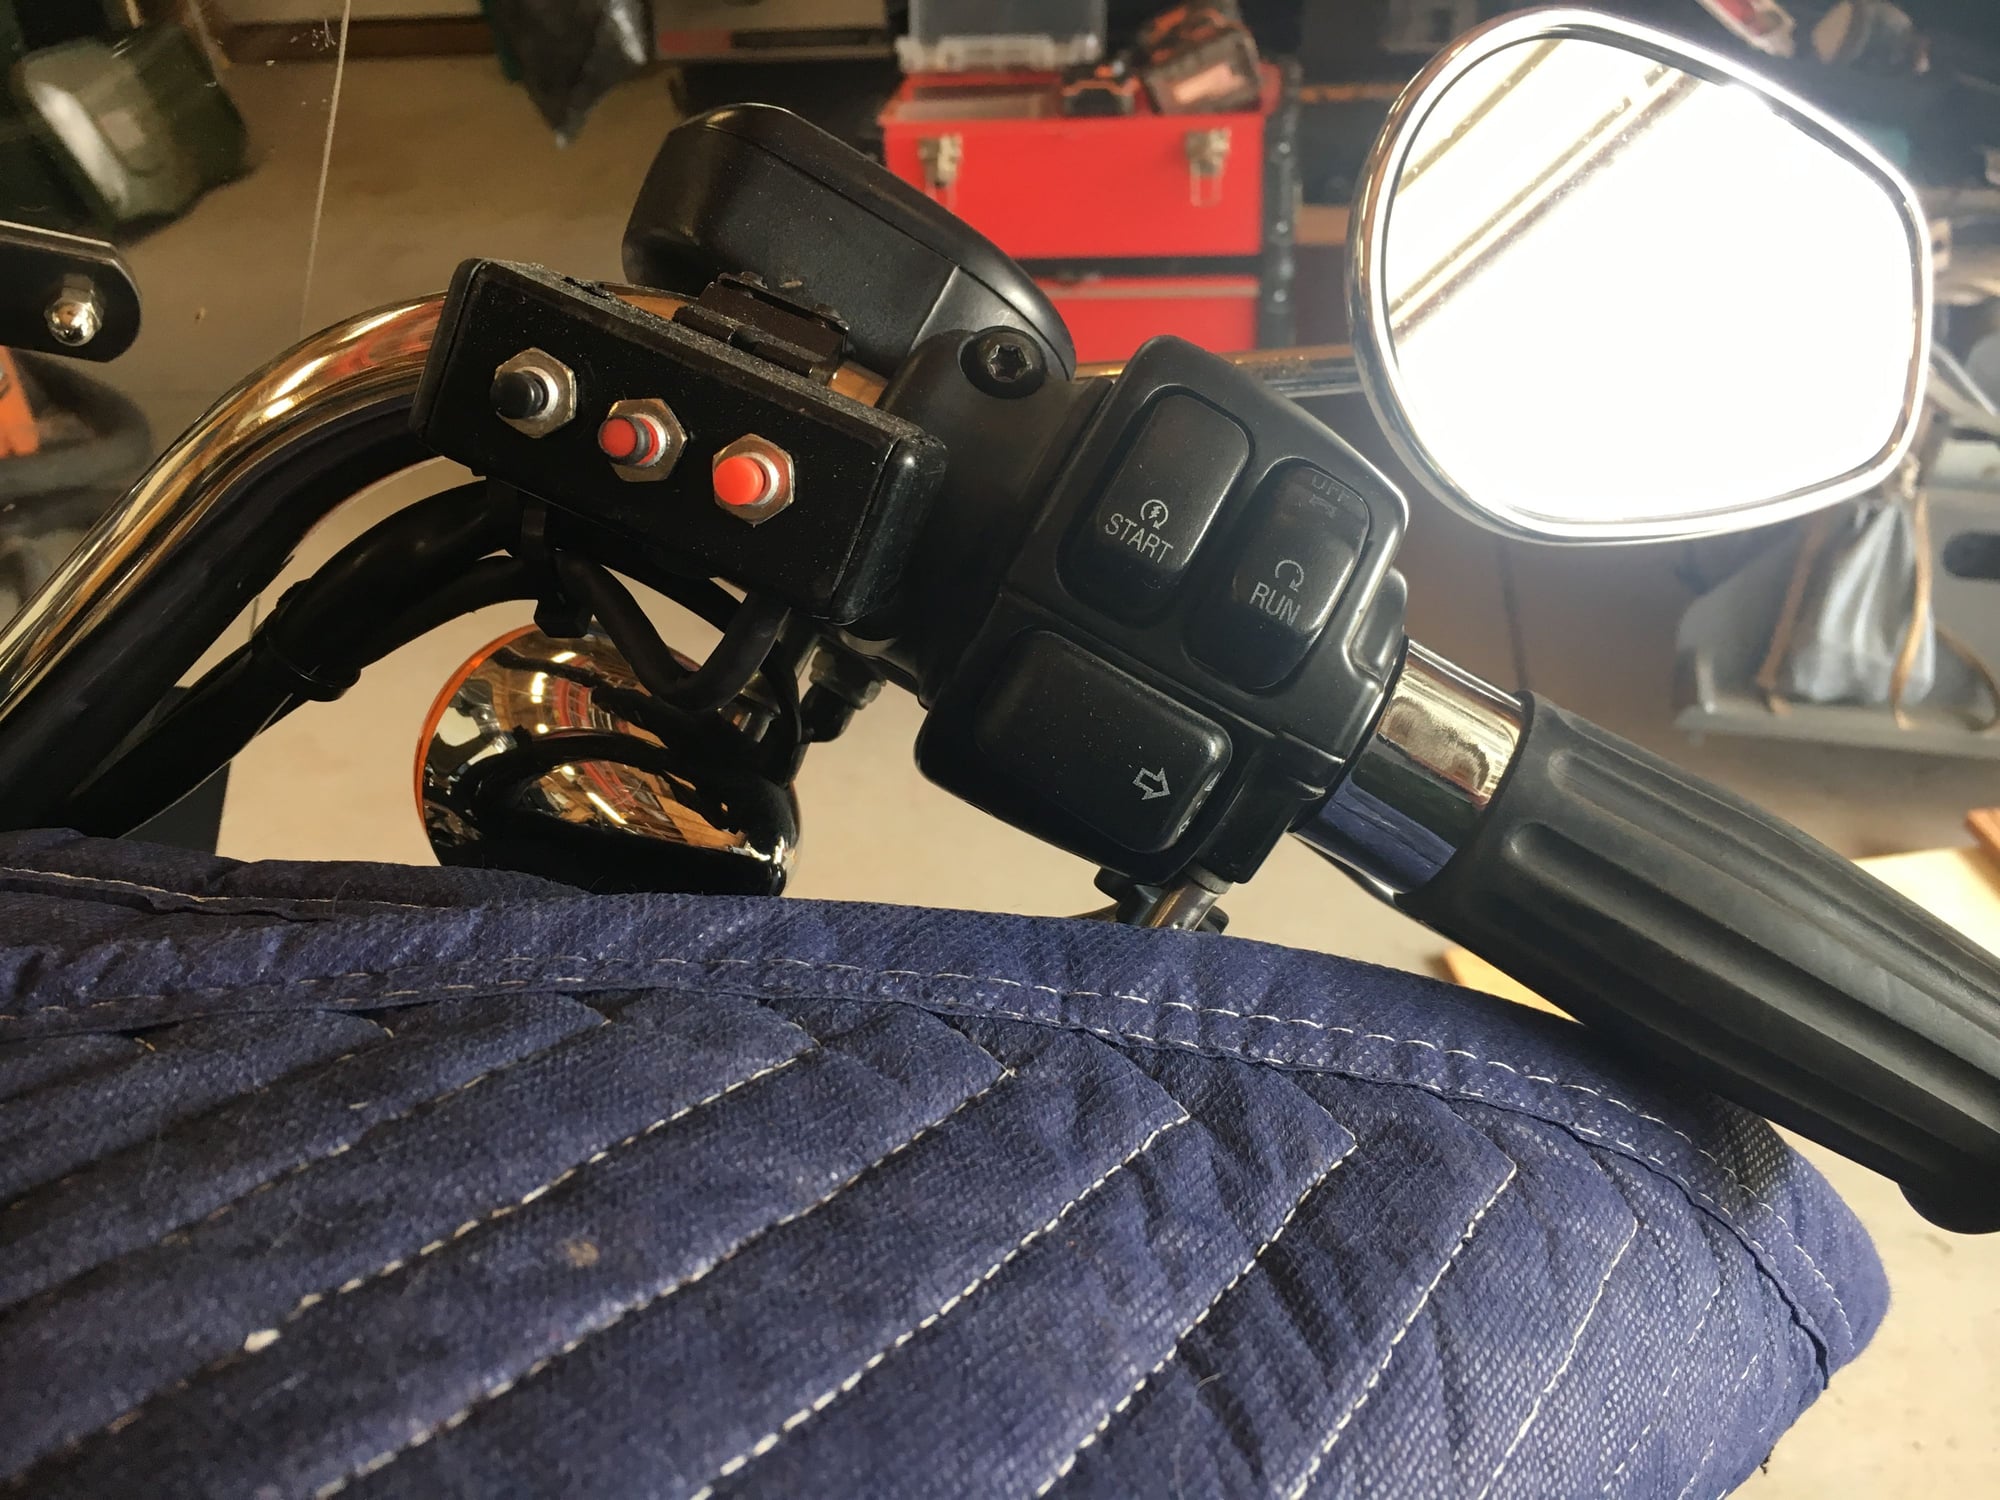
The phone is a Galaxy Note 9 and it fits in the mount. The Ball is mounted on the lower left clamp screw.
#8635
Picked up the rear wheel from the shop this afternoon and reinstalled it, that was $25 well spent to have them mount up the new tire and throw in the Dyna Beads.
All I know is, I would not like to remove/replace a rear wheel on a Sportster very often. Compared to all the other bikes I've owned, it is a pain in the dick. Hoping the weather cooperates tomorrow so I can take it out for at least a short ride to make sure the belt alignment and tension is good.
All I know is, I would not like to remove/replace a rear wheel on a Sportster very often. Compared to all the other bikes I've owned, it is a pain in the dick. Hoping the weather cooperates tomorrow so I can take it out for at least a short ride to make sure the belt alignment and tension is good.
#8636
The following users liked this post:
Threeheadedshadow (08-29-2020)
#8638
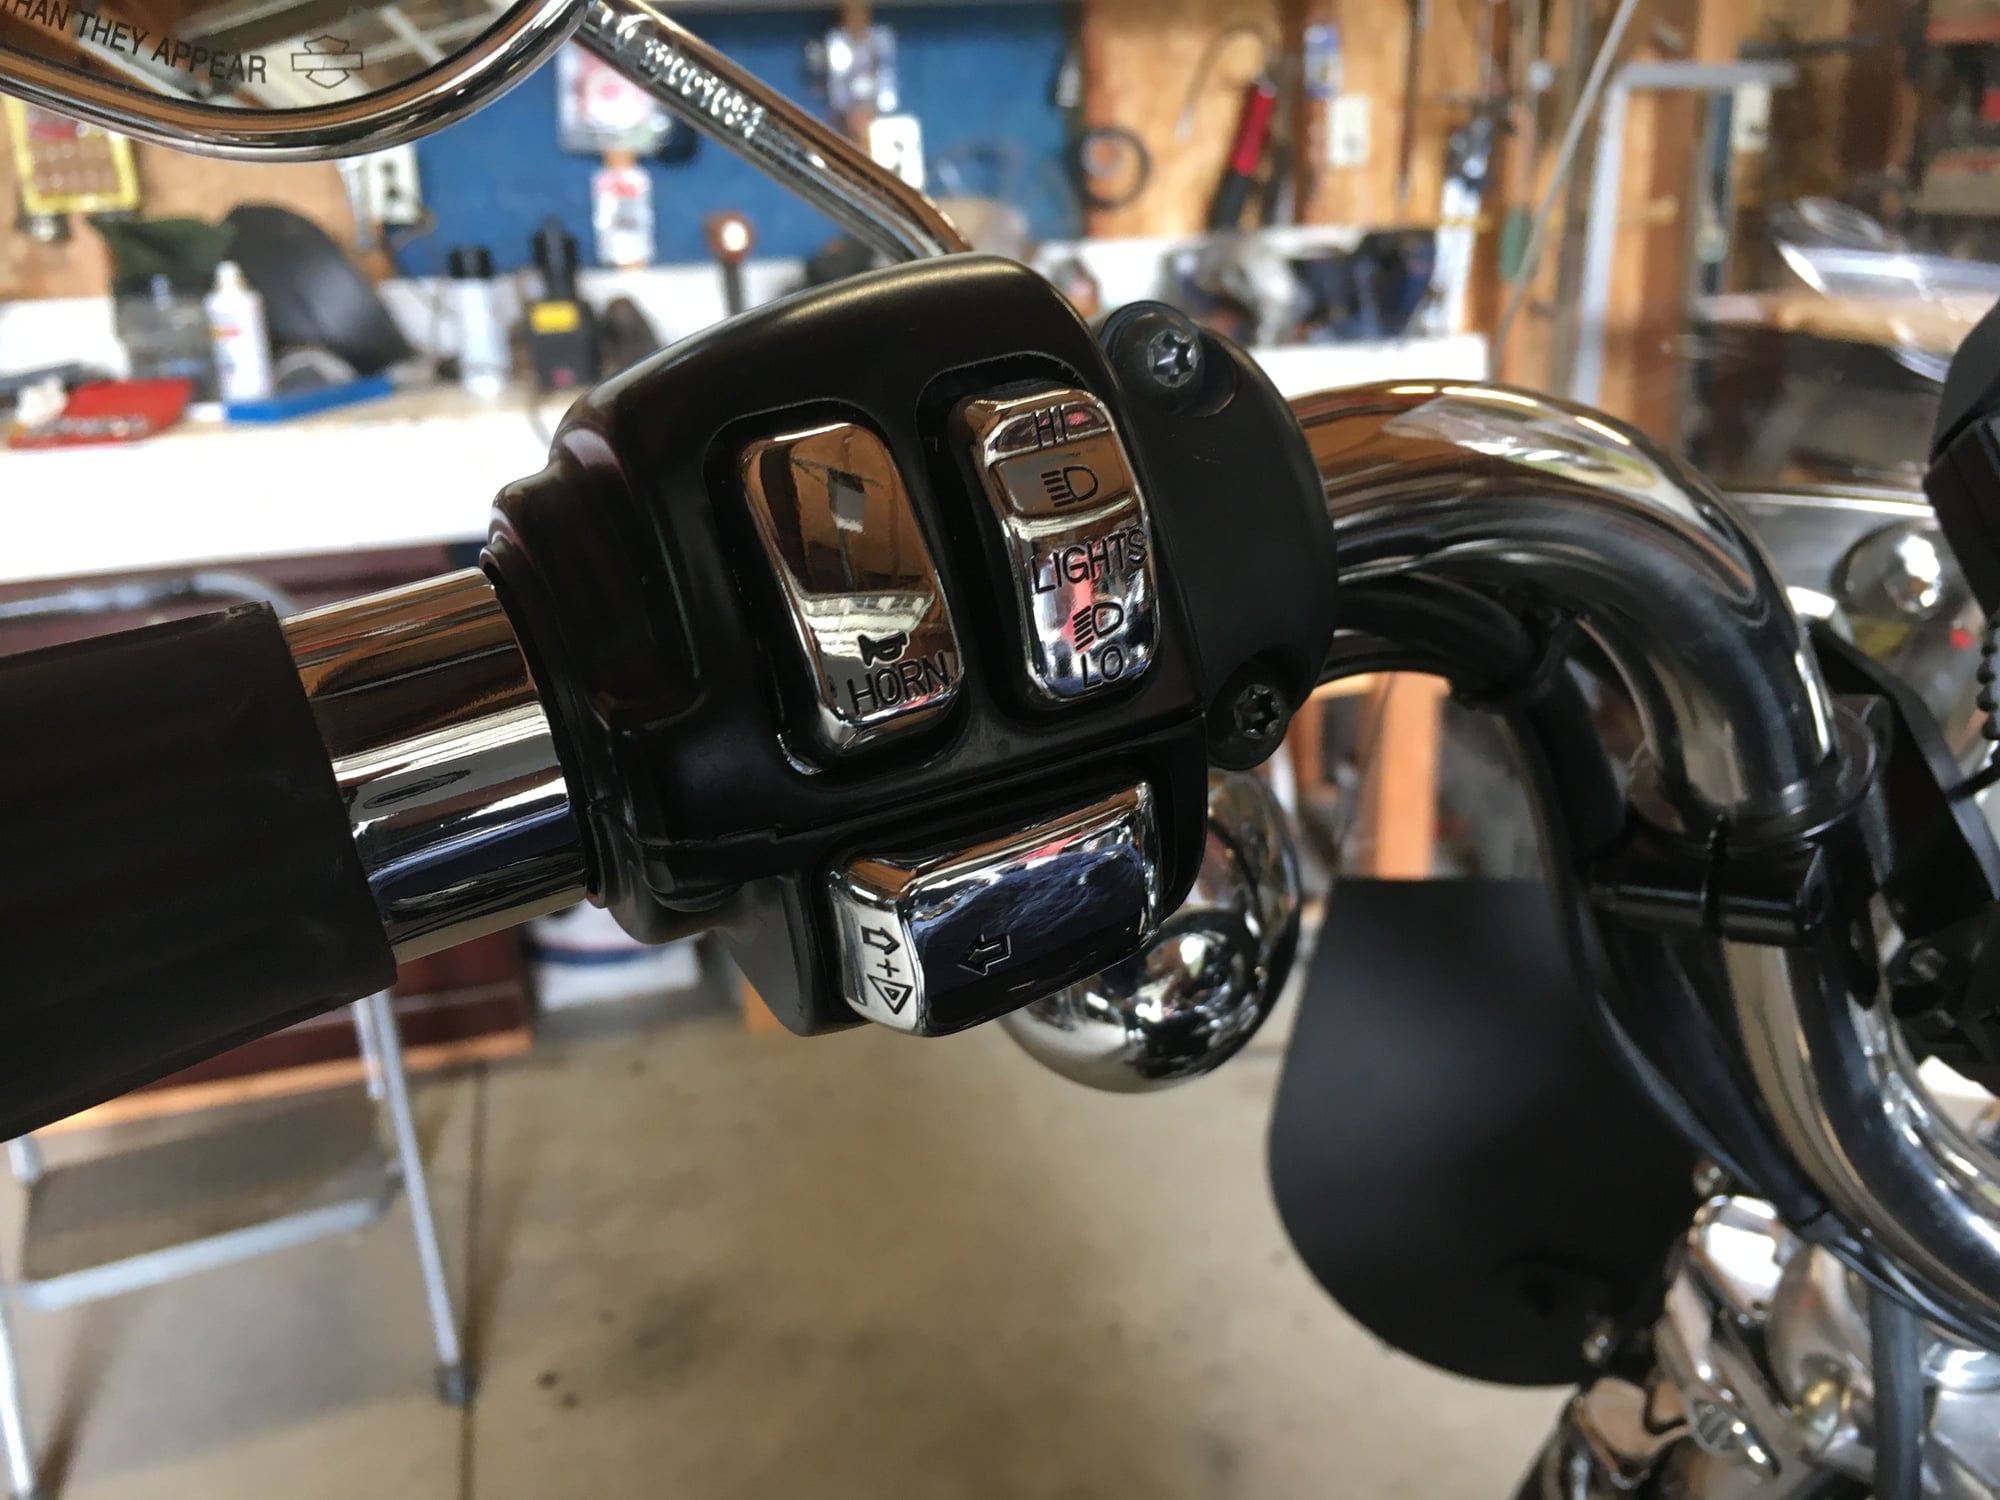
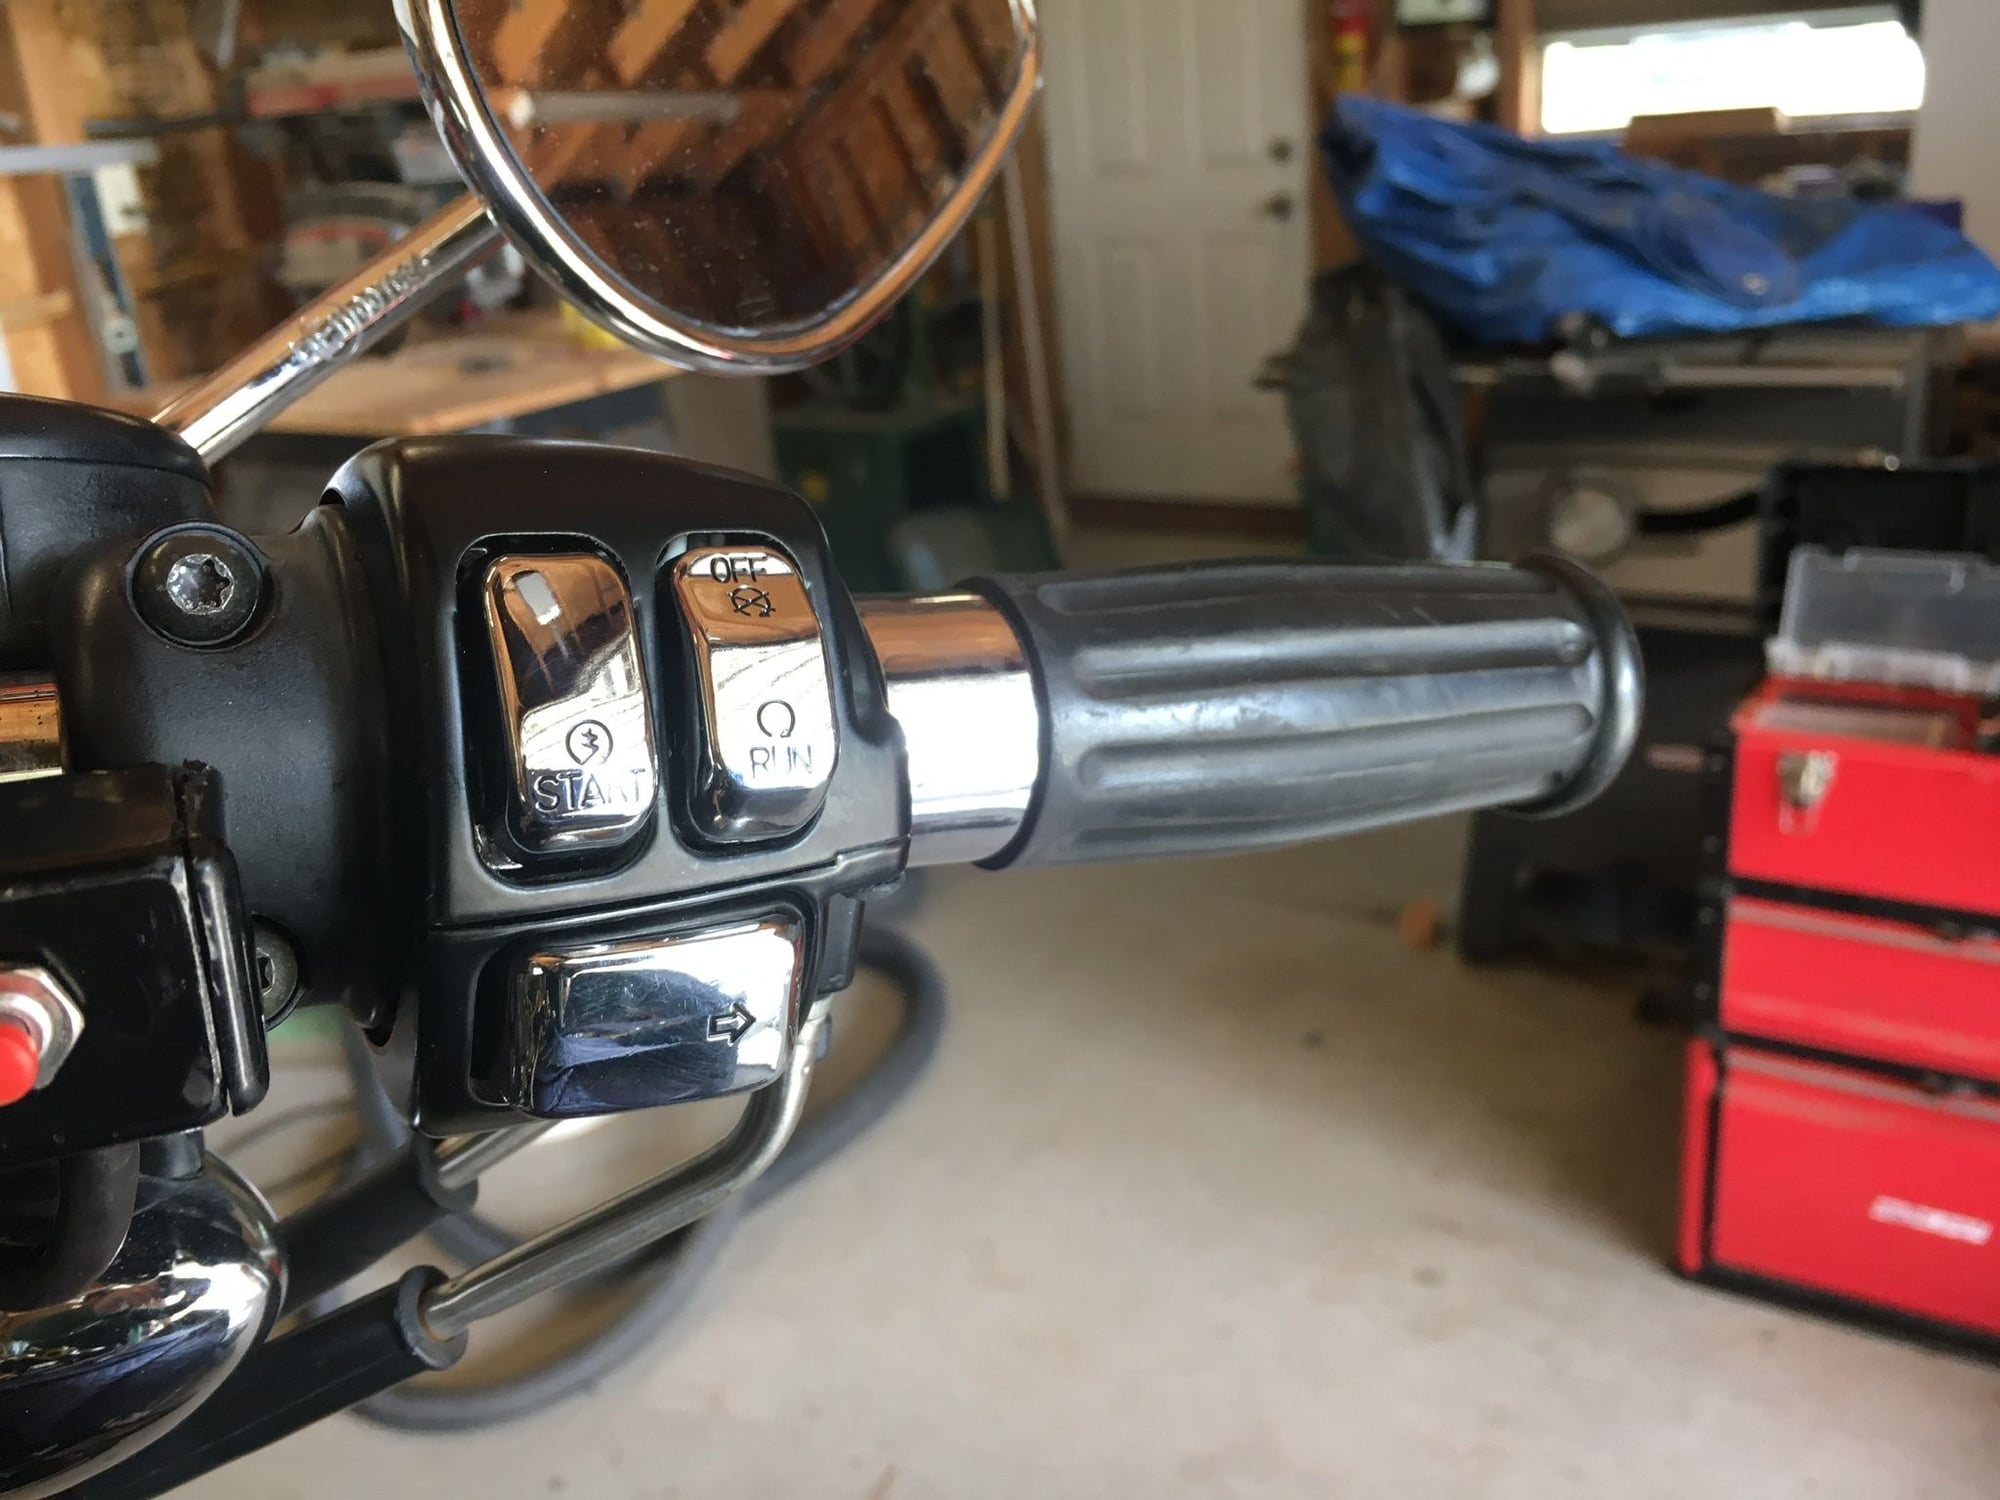
, Got em off ebay
https://www.ebay.com/itm/Drag-Chrome...72.m2749.l2649
They fit nice, but are tricky to install. Temps were chilly so I had to warm them up with a heat gun. Just warm enough to not be brittle. Left hand side went pretty well, but RH side was tougher. Tough part was turn signal, cause you have to disconnect throttle cables.
Also want to be careful, about keeping the front master cylinder upright, so as not to introduce air bubbles. I used a rope to tie mine off to the side. The brackets inside are a little tricky to deal with but if ya study them before removing the screws that hold em down, you will figure it out. Its all very tightly put together.
#8640
Welcome. Just wish I had taken pics, but it took both hands to do everything. You will see the little tabs on the sides of th switch covers. They have to be carefully pried away to pop the old cover off and the new one on. Also, each cover has a star shaped hole on one side and round on the other. Make sure the star hole gets lined up once you get both sides on.
There is a screw (#20 torx) inside each half that holds the bracket in place, that is holding the wires. The mirror screws are #27 and the screws for the half clams are #25.
There, that will be enough info to get ya in trouble good luck.
There is a screw (#20 torx) inside each half that holds the bracket in place, that is holding the wires. The mirror screws are #27 and the screws for the half clams are #25.
There, that will be enough info to get ya in trouble
The following users liked this post:
MoneyFor (02-17-2019)


 and put a Skull on the front headlight cover and emblem on the ugly fender screw.


