Finally Getting Around to Baker Compensator
#1
I'm finally getting around to my Winter work.....
As of now I'm going to put in the Baker compensator which I've already got. I also need to check my starter clutch to see if it's janky. I started to have some starting issues at the end of last season...so figured I'd check that (although it did start nicely this morning after a winter of rest).
I'm going to likely need some help and some questions answered as I go through this process, so hoping to find some great advice (worked awesome asking questions on here as I changed out cams).
So to start...I have a couple:
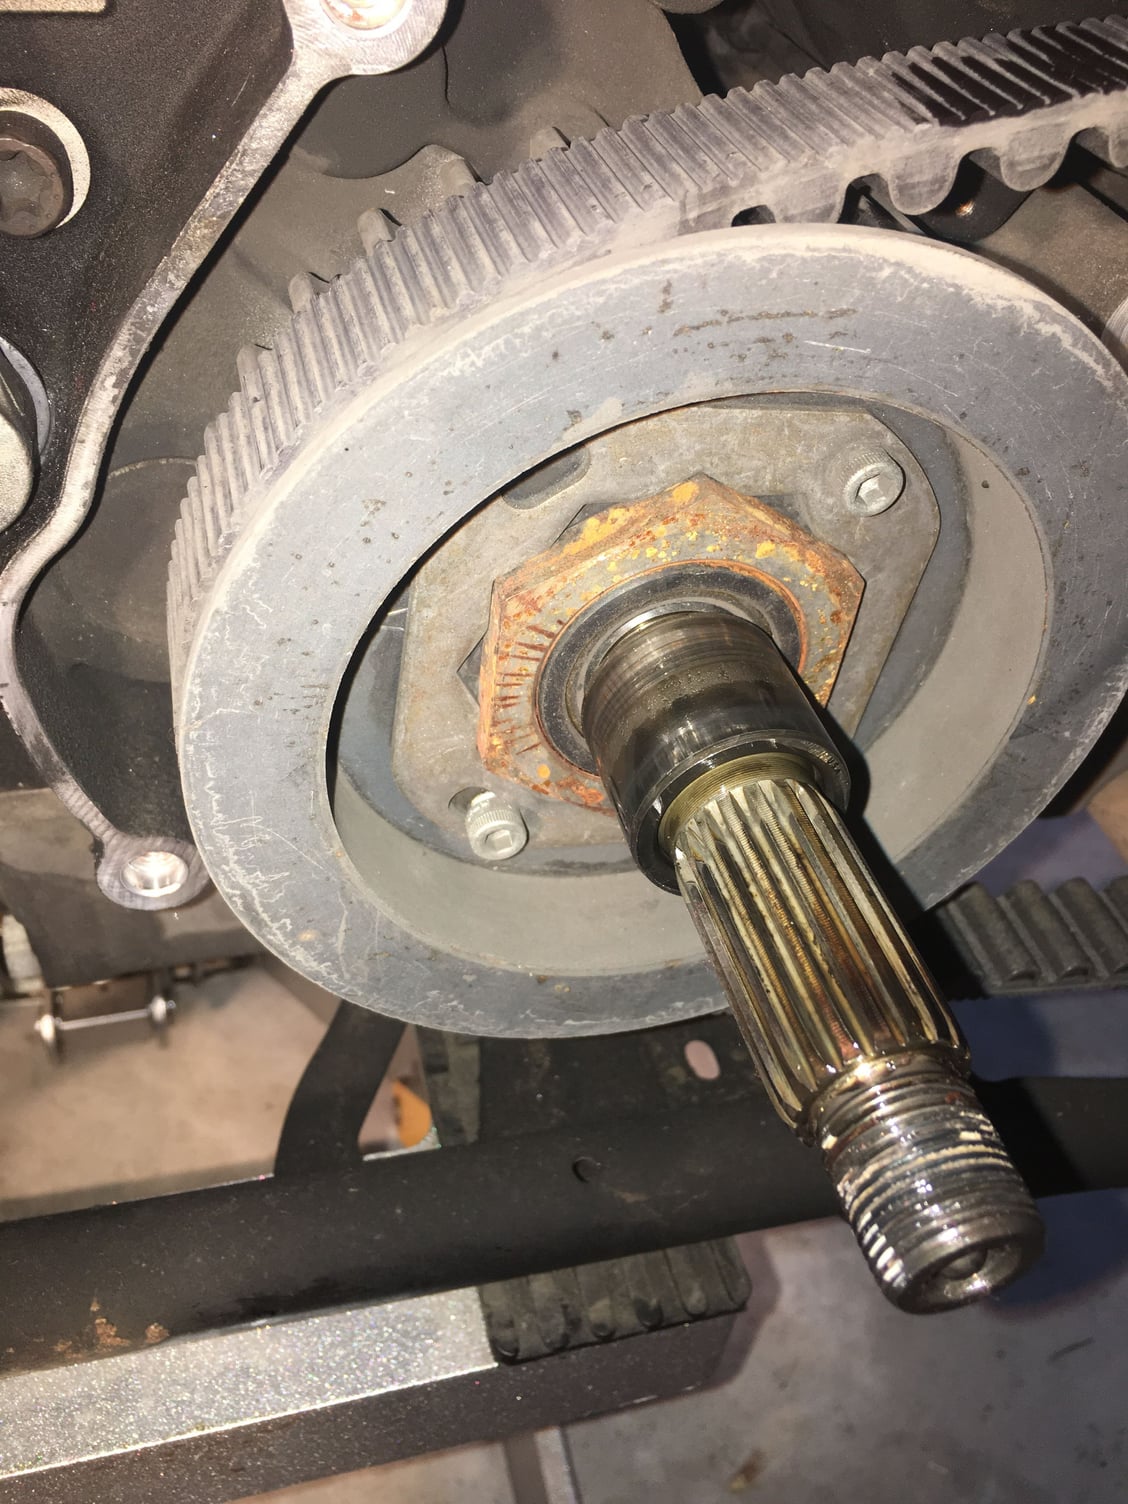
1. What size socket do I need for the clutch hub mainshaft nut? Bigger than anything I appear to have in inventory.
2. Baker recommends pretty strongly (as I guess they would) to replace the chain tensioner with their Attitude Adjuster. Anyone have strong feelings on that one way or another?
3. Anything else I should be considering to do while I'm going through this?
2009 FLHX
Thanks all in advance....
Steve
#2
I'm finally getting around to my Winter work.....
As of now I'm going to put in the Baker compensator which I've already got. I also need to check my starter clutch to see if it's janky. I started to have some starting issues at the end of last season...so figured I'd check that (although it did start nicely this morning after a winter of rest).
I'm going to likely need some help and some questions answered as I go through this process, so hoping to find some great advice (worked awesome asking questions on here as I changed out cams).
So to start...I have a couple:
1. What size socket do I need for the clutch hub mainshaft nut? Bigger than anything I appear to have in inventory.
Reply: 1 1/2”...well, I think, because it’s the only non original socket in my tool kit.
2. Baker recommends pretty strongly (as I guess they would) to replace the chain tensioner with their Attitude Adjuster. Anyone have strong feelings on that one way or another?
Reply: I didn’t replace mine. Just tie wrapped mine, to keep the adjustment from moving. If it works, don’t fix it. And do you really want to open the primary every 5,000 miles to check the adjustment.
3. Anything else I should be considering to do while I'm going through this?
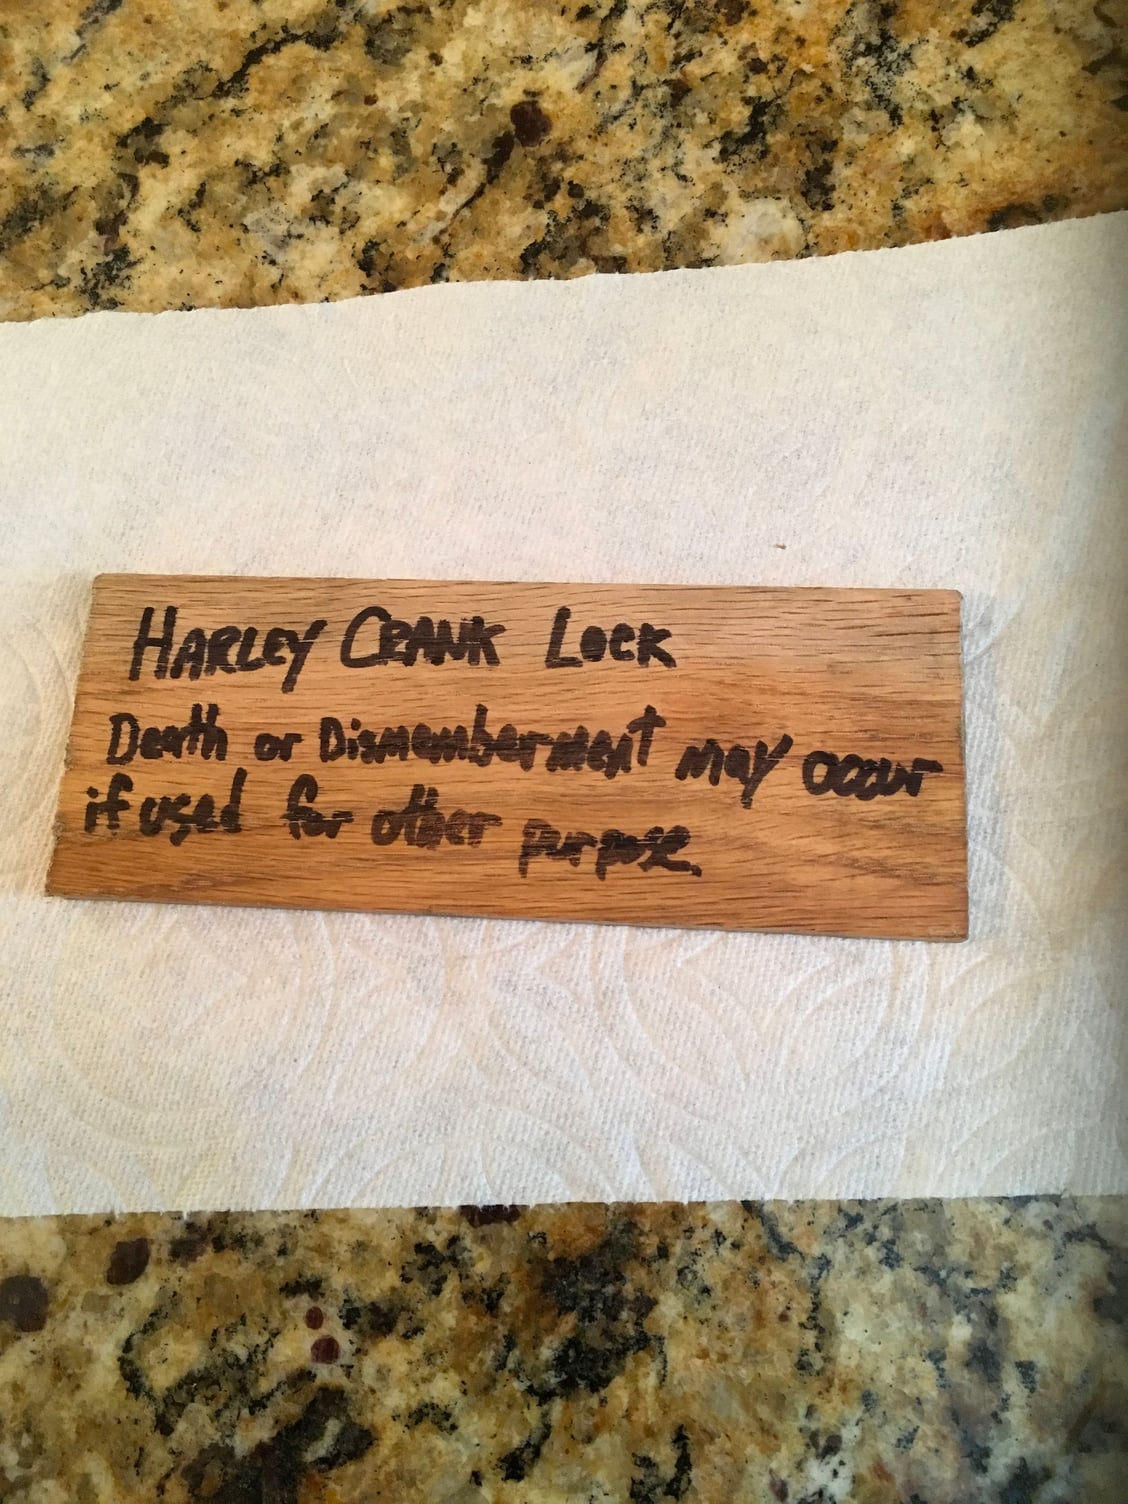
Reply: I made my own crank lock tool, per the attached picture. Piece of Oak, 1/4” thick x 2.5” x 6.5”... Patent pending.
After about 20,000 miles no problem. But, once in a while it would clank if I started in gear. I have the SE255 cans that might aggravate it. So, imalwYs try to start in neutral now,
2009 FLHX
Thanks all in advance....
Steve

Last edited by TriGeezer; 03-03-2018 at 02:02 PM.
#3
The following users liked this post:
Rock Chalk (03-03-2018)
#4
The following 2 users liked this post by dawg:
Max Headflow (03-03-2018),
Rock Chalk (03-03-2018)
#6
Join Date: Feb 2017
Location: farmington michigan
Posts: 1,268
Likes: 0
Received 221 Likes
on
139 Posts
I used an open end wrench between the gears. And yes the clutch hub is left handed as far as the adjuster mine was worn pretty good at 40000 and I replaced it with stock. Not sure about the baker cuz I used the s/e compensated but I needed to buy a #70 torch bit for the new main bolt on the new compensator also my torque wrench didn't go high enough so I rented one from napa. Depending on your year and miles seeing you have it torn down take a look at the inner primary bearing and race.
#7
Trending Topics
#9
#10
Join Date: Feb 2017
Location: farmington michigan
Posts: 1,268
Likes: 0
Received 221 Likes
on
139 Posts
Yep good thing you looked would also recommend changing the shifter seal. Now do you know how to get that race off? There are a few different methods of course you can buy a special tool to pull it off. Or you can do what some of us have done take a small grinder to the race running front to rear then hit it with a chisel and hammer and it will split the rust of the way then you can slide it off do not heat it up there is a shaft seal right dehind it. To install the new race hold it with a pair of Chanel locks then heat the new race with a propane torch not hot enough to discolor the metal then just slide it on the shaft it will only go so far but be quick about it. Now if you mess up the shaft seal behind it it can be picked out and use a piece of 1" pvc as an install tool


