
streetglide oil temp gauge install (PICS)
#1
 04-02-2011, 10:42 PM

Okay fellas, here is a short run down of the agony I endured....that of installing the Harley oil temp gauge in the place of the air temp gauge in the fairing of my 2011 Street Glide. Needless to say it should be the same for any bagger with a batwing fairing.
This thread is VERY important to read over, as he really did a good job explaining the install of the same gauge in a road glide fairing.
https://www.hdforums.com/forum/touri...-2011-rgc.html
Problem is....is that doing it on a batwing fairing bike is a different animal. First off there is no room! The bracket that goes from the speaker to the stereo needs to be removed, and then the easy way to remove the air temp gauge is by removing the two 1/4 mounting nuts, and push the gauge and all the guts out the front of the fairing. From that point, you disconnect the wires and put the air temp gauge where it belongs...in the dumpster.
Now, on to the install once you get to that point.
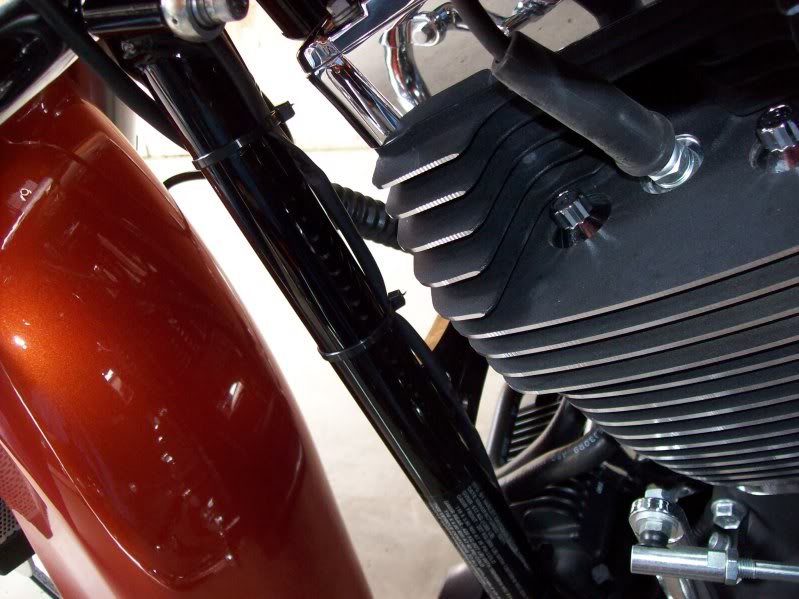
Get a oil pan and get it REALLY clean. Grab a 5/16 allen socket and your ratchet. Get ready to break the center bolt loose. This is where the sensor goes in:
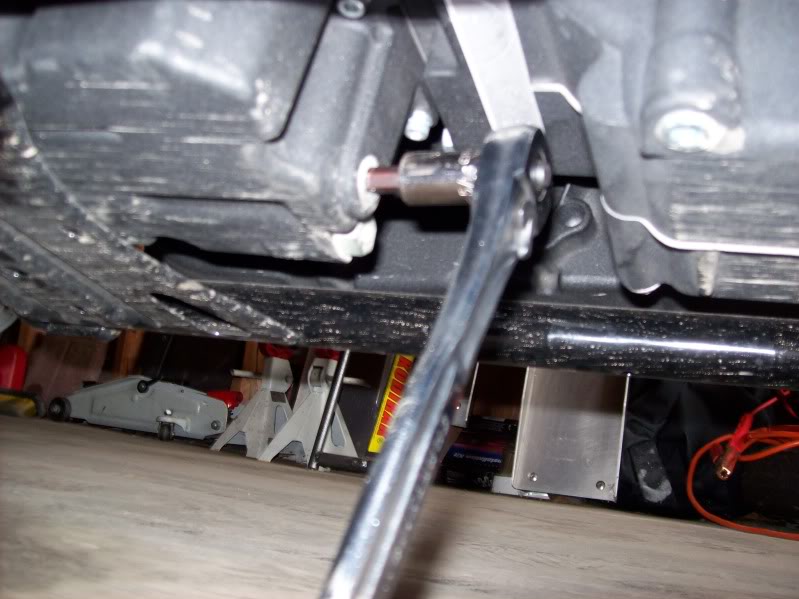
The bolt was in there to the point I had to put a boot on the wrench and push to break it loose!. And then a 2nd time to get the first full turn on the wrench!
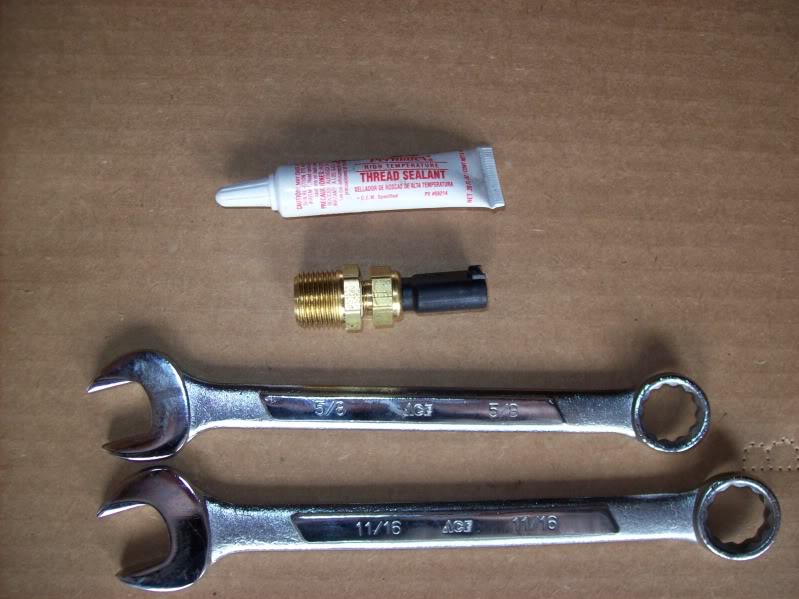
To do this the way I did, it's good to have some thread locker, a 5/8" wrench and 11/16" wrench. Then assemble the two parts of the brass fitting together.
Then slide your CLEAN pan under the bike, remove the allen nut and let the oil weep out
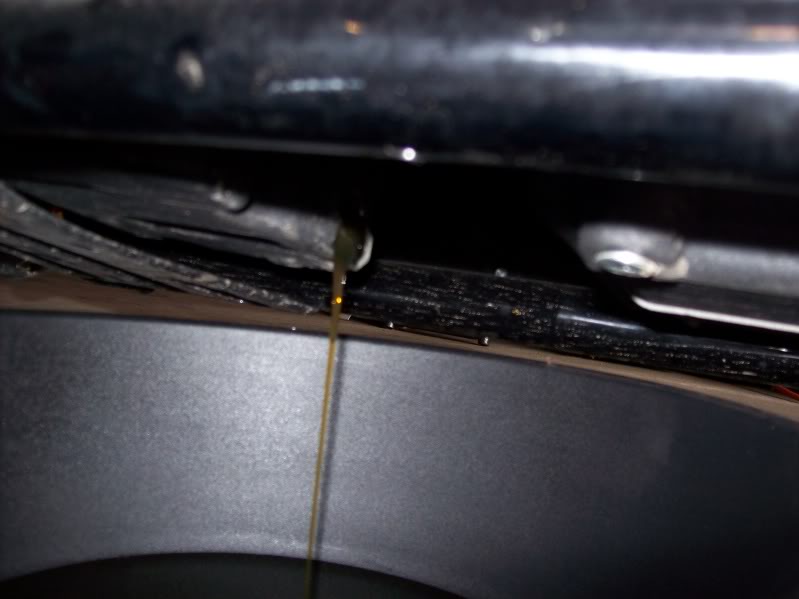
When it finally gets down to a barely noticeable dribble, put thread locker on the threads, and hand screw in it. Then snug it down with the 11/16 wrench, and with a shop rag wipe the area off.
Pull out the dipstick and pour the oil back in the engine. This is why the pan needs to be CLEAN, CLEAN, CLEAN.
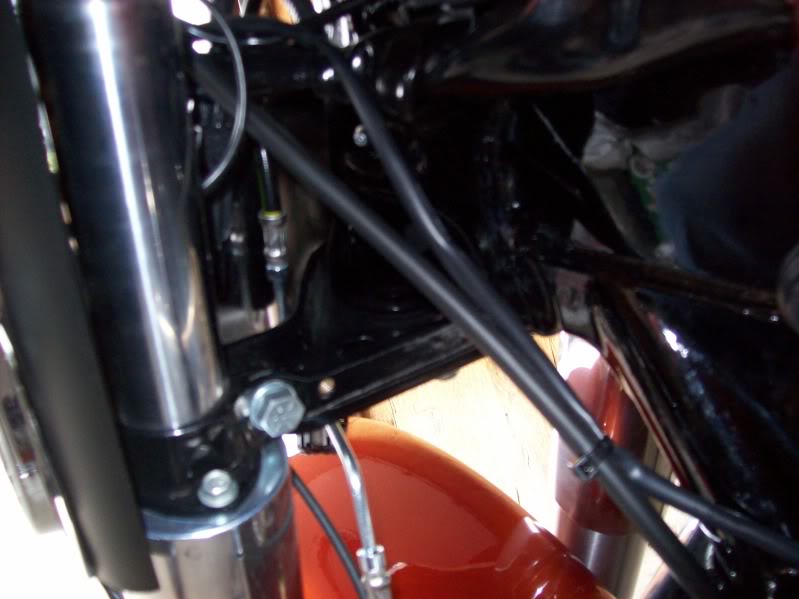
Take the sensor wire, unroll it, straigten the kinks out and snap it in the end of the "themostat fitting"/ Then using the supplied tie wraps run it over and up the left side of the frame and into the bawing area.
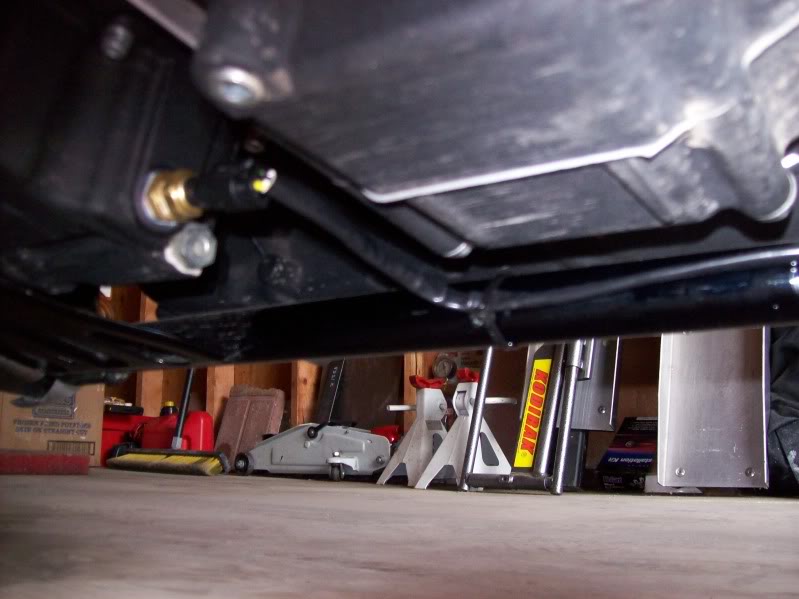
Again, notice, you clean as you go. Wipe the area where the adaptor threaded in. We work work the right way, not the sloppy way, comprende??
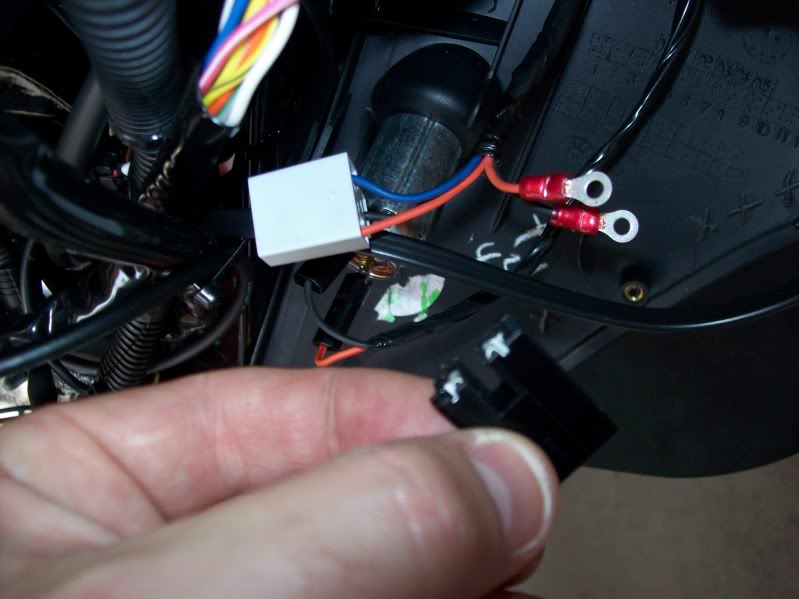
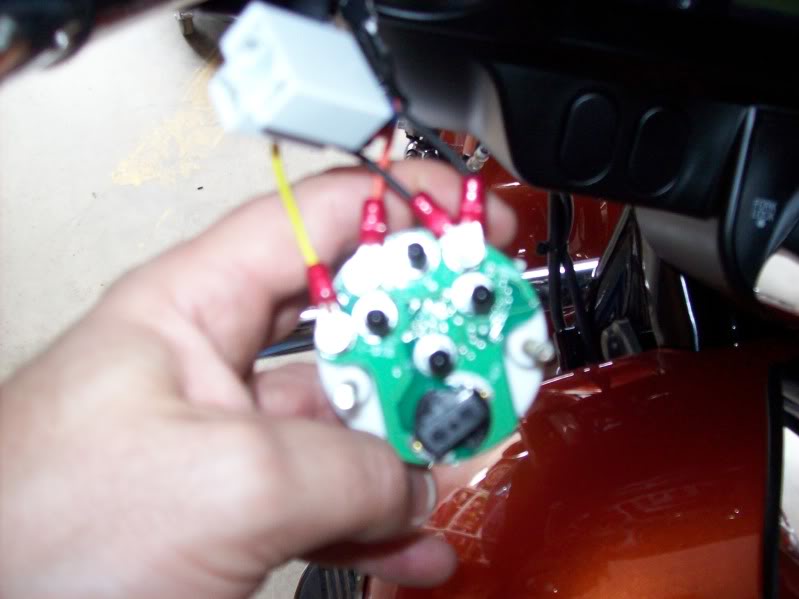
Now the sensor wires (black and yellow) get pushed out the hole into the front of the fairing. Do the same with both sets of wires from the Air temp gauge. At this point, you have to strip the ends of the wires, crimp on the supplied connectors and then attach the wires. We do this PRIOR to putting the gauge in. Why? Becasue there's no damn room for fingers!!!! The black colored clip is the wiring used for the gague. The white clip is not used. Later after this pic, it was in the way, so I cut it off, cut each wire at different lengths so that they cannot ground each oher out and taped them down with electrical tape
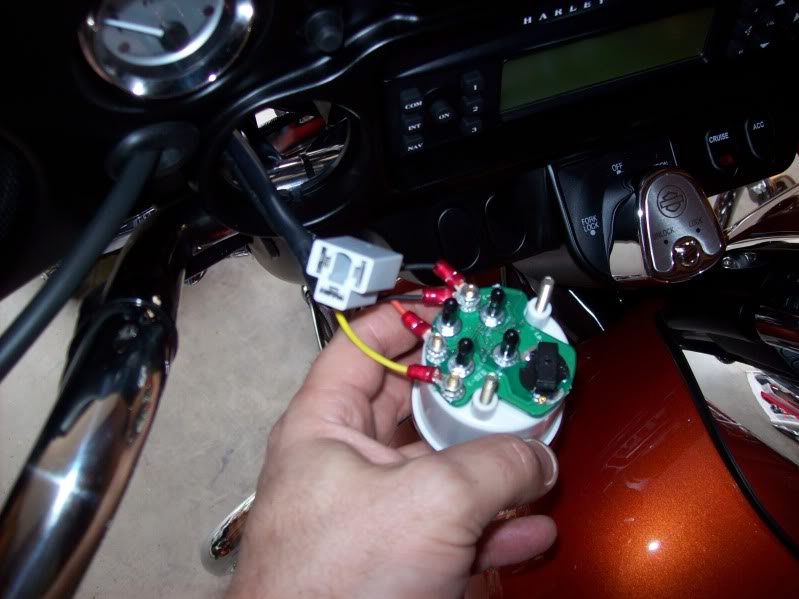
Then slide the gauge in... but before doing that put the gold metal barcket in place first...yes, I know, there's no fricken room!
Here is the difference between the batwing install and the roadglide faring install. On the RG the U shape on the gold bracket goes on the bottom of the gauge. On the Streetglide, it goes on the top. I guess you could put it on the bottom, but it's a real bitch, and either side works, and the top works fine. There is a slot when it is lined up and you tighten the mounting nuts down it's IN.
Here are a few completed pics to give you an idea how much of a PITA it truly is!
Lastly, put the silver bracket that goes from the speaker to the main mount back on.
A 9mm open end wrench and 11/32 small socket on the end of my socket driver worked on the gauge moutning nuts.
I'll add a thread on my inside the fairing hidden antenna install. Once both were done, I bolted everything together, cleaned up and went out and put down a hundred miles....works great!
~Joe
This thread is VERY important to read over, as he really did a good job explaining the install of the same gauge in a road glide fairing.
https://www.hdforums.com/forum/touri...-2011-rgc.html
Problem is....is that doing it on a batwing fairing bike is a different animal. First off there is no room! The bracket that goes from the speaker to the stereo needs to be removed, and then the easy way to remove the air temp gauge is by removing the two 1/4 mounting nuts, and push the gauge and all the guts out the front of the fairing. From that point, you disconnect the wires and put the air temp gauge where it belongs...in the dumpster.
Now, on to the install once you get to that point.
Get a oil pan and get it REALLY clean. Grab a 5/16 allen socket and your ratchet. Get ready to break the center bolt loose. This is where the sensor goes in:
The bolt was in there to the point I had to put a boot on the wrench and push to break it loose!. And then a 2nd time to get the first full turn on the wrench!
To do this the way I did, it's good to have some thread locker, a 5/8" wrench and 11/16" wrench. Then assemble the two parts of the brass fitting together.
Then slide your CLEAN pan under the bike, remove the allen nut and let the oil weep out
When it finally gets down to a barely noticeable dribble, put thread locker on the threads, and hand screw in it. Then snug it down with the 11/16 wrench, and with a shop rag wipe the area off.
Pull out the dipstick and pour the oil back in the engine. This is why the pan needs to be CLEAN, CLEAN, CLEAN.
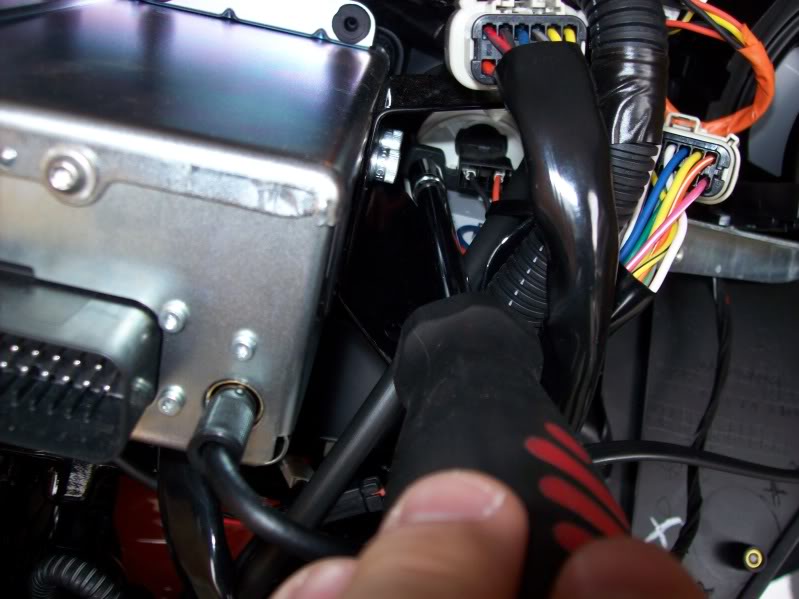
Take the sensor wire, unroll it, straigten the kinks out and snap it in the end of the "themostat fitting"/ Then using the supplied tie wraps run it over and up the left side of the frame and into the bawing area.
Again, notice, you clean as you go. Wipe the area where the adaptor threaded in. We work work the right way, not the sloppy way, comprende??
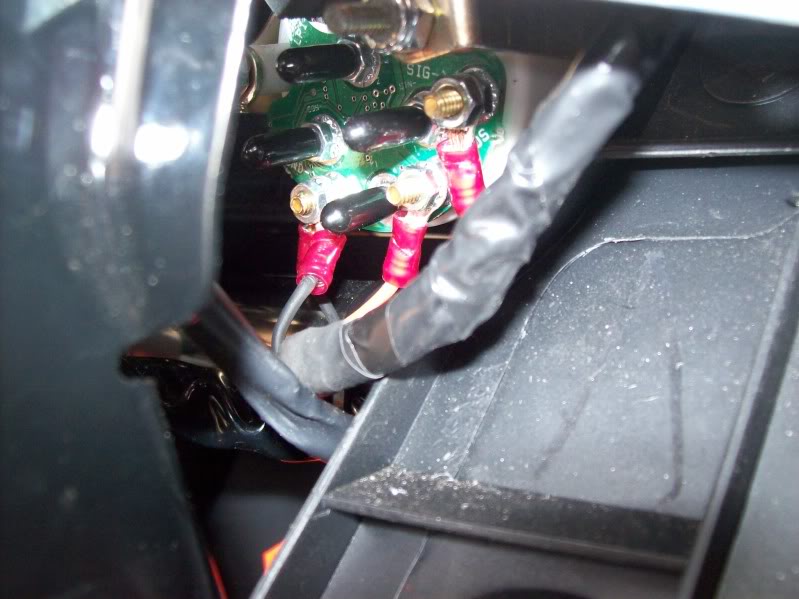
Now the sensor wires (black and yellow) get pushed out the hole into the front of the fairing. Do the same with both sets of wires from the Air temp gauge. At this point, you have to strip the ends of the wires, crimp on the supplied connectors and then attach the wires. We do this PRIOR to putting the gauge in. Why? Becasue there's no damn room for fingers!!!! The black colored clip is the wiring used for the gague. The white clip is not used. Later after this pic, it was in the way, so I cut it off, cut each wire at different lengths so that they cannot ground each oher out and taped them down with electrical tape
Then slide the gauge in... but before doing that put the gold metal barcket in place first...yes, I know, there's no fricken room!
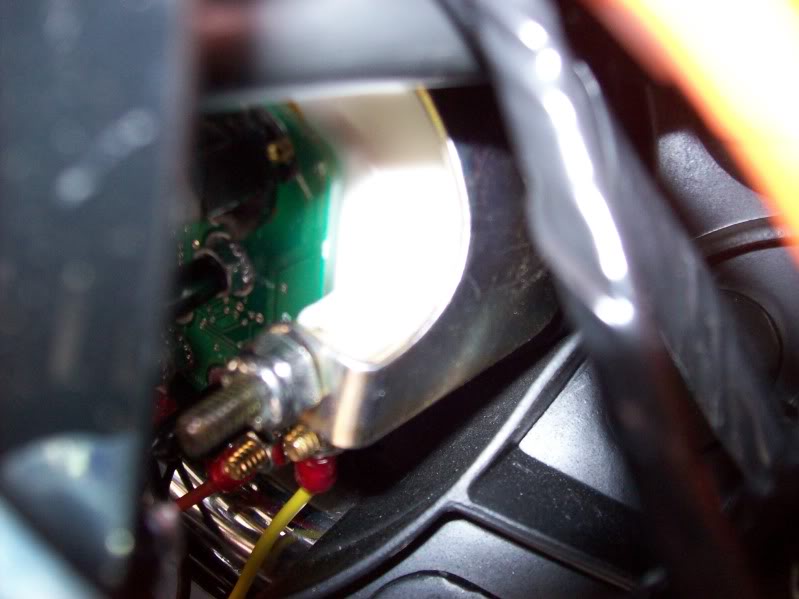
Here is the difference between the batwing install and the roadglide faring install. On the RG the U shape on the gold bracket goes on the bottom of the gauge. On the Streetglide, it goes on the top. I guess you could put it on the bottom, but it's a real bitch, and either side works, and the top works fine. There is a slot when it is lined up and you tighten the mounting nuts down it's IN.
Here are a few completed pics to give you an idea how much of a PITA it truly is!
Lastly, put the silver bracket that goes from the speaker to the main mount back on.
A 9mm open end wrench and 11/32 small socket on the end of my socket driver worked on the gauge moutning nuts.
I'll add a thread on my inside the fairing hidden antenna install. Once both were done, I bolted everything together, cleaned up and went out and put down a hundred miles....works great!
~Joe
Last edited by traveler; 04-02-2011 at 11:01 PM.
#2
04-02-2011, 10:57 PM

Advanced
Join Date: Jul 2010
Location: Iowa
Posts: 91
Likes: 0
Received 0 Likes
on
0 Posts
#3
04-02-2011, 11:25 PM
#4
04-03-2011, 12:26 AM
Extreme HDF Member
Nice write-up and pictures; thanks for taking the time to post!!!
One point--if you have the sensor ready, you can remove the plug and reinstall the sensor and loose about a teaspoon/tablespoon of oil. As it happens, my buddy did one on a 2011 SG this afternoon and, since he hadn't done one before, was quite proud of the tiny amount of oil on the lift--as mentioned, perhaps a teaspoon of oil lost, cleaned up with a paper towel.
Thanks, again, for the write-up and pictures.
Carl
#6
04-03-2011, 06:58 AM
#7
04-03-2011, 07:06 AM

Seasoned HDF Member
Join Date: Oct 2007
Location: Western South Dakota
Posts: 55,886
Received 69,880 Likes
on
21,305 Posts
Trending Topics
#9
04-03-2011, 09:06 AM
Seasoned HDF Member
Great info. I did the same install on all my Batwing bikes but with a few differences.
1) did not let all the oil run out. Just pulled the plug out and swapped the sender in quickly. Lost maybe 2 table spoons of oil.
2) ran the sending wires up the left side but went go all the way up the frame rail to the factory wire bundle.
3) wired the gauge with it already in the fairing. Used a long nut driver.
4) did not cut the power connector off. Used flat blade crimp on connectors that insert into the power connector.
I found the install easy and can do it in about 1.5 hours.
lp
#10
04-03-2011, 09:40 AM
Cruiser