Fender Bra / mud flaps
#11
 01-25-2017, 05:09 PM

I had my fenders and fairing filmed with the Ghost Shield material it cost me $600.00 and it looks great. The deal is the clear film works good until this happens, see pic. The clear film does not stop everything. I will be installing the fender bra over the clear and will make sure and keep all clean. The plain facts are trike fenders attract rocks and bugs like a magnet.
I don't tailgate at all and try to stay away from big trucks as much as possible. There is just a lot of crap on our roads.
Ride Safe All,
Bill G
I don't tailgate at all and try to stay away from big trucks as much as possible. There is just a lot of crap on our roads.
Ride Safe All,
Bill G
Last edited by Bill G; 01-25-2017 at 05:14 PM.
The following users liked this post:
ISP-FLHTK (01-26-2017)
#12
01-25-2017, 05:47 PM

Join Date: Nov 2011
Location: michigan
Posts: 142
Likes: 0
Received 0 Likes
on
0 Posts

#14
01-25-2017, 11:01 PM

Road Master

Not normally that dirty, that was just after a 23 day road trip to the west coast and back.
Hey, nice job Neon65!
Doesn't look like it but there's 1 1/4" clearance.
No, it doesn't block any air from anything, the original trim piece is well below anything that gets hot.
Last edited by Oogie Wa Wa; 01-25-2017 at 11:05 PM. Reason: added stuff
#15
01-25-2017, 11:31 PM
Road Master
Here's how I did it: The flap is a rubber piece, for a bike rear fender, not sure where I got it. First I drew a line on the inside of the trim piece where the fender ends so I knew where to cut the top of the original flap off. Took off the trim piece, dang those screws and nuts are TINY!
The trim piece has a lip that stiffens it; had to cut a flat rubber or plastic spacer about the thickness of the lip to hold the flap so that there wasn't a gap between the trim and flap. Used the holes in the flap to mark the trim piece and spacer, and used a new bit to prevent boogering up the trim. Then made a piece of thin stainless sheet about an inch by five inches to go on the other side of the flap and curved it to fit.
Screwed the sandwich together with washers and nuts inside, using blue Loctite, and ground off the screws flush with the nuts. Actually, I think there's a layer of double sided tape between things to hold it all together for assembly. Put the trim piece back on, dang those screws and nuts are TINY! Loctite again.
I put a piece of wood on the floor and used a silver marker laying on it to make a cut line parallel to the floor, since there wasn't enough clearance. I used 1 1/4" because that looked like it would keep it from hanging up on anything. Trimmed it up with a tin snips and Dremel sanding drum. Radiused the corners also. It's not perfect, part of the cut lines shows in the pic, but you can't see the imperfections unless you like laying on the floor.
Works great, still solid after a couple of years. I'm hardly getting any stone chips at all any more.
The following users liked this post:
rscott1@telus.net (04-07-2024)
#16
01-26-2017, 08:07 AM

Road Captain
#17
01-26-2017, 11:16 AM
Tourer
Thanks I had someone tell me the issue with the bras glad to hear that is not the case. My 3m clear still looks good 16,00 miles later but I have a sign company and my guys that put it on are professional installers. We also scanned the pieces before install so if they start looking bad we can make more from the 3m clear laminate and replace them.
#18
01-26-2017, 12:32 PM

Here is the front mud flap on my Triglide. I wish I could remember where I got it, but this is the 3rd bike it has been on. It is held on by industrial velcro mounted on the inside of the fender and sewn on the flap. I have never had a problem with it coming loose. It hangs down about 2.5 inches from the fender. I got it originally to keep gunk out of my oil cooler and it did a great job. I can't say if it stops chips in my fenders
#20
01-27-2017, 06:44 PM

Platinum Sponsor
Join Date: Nov 2010
Location: Red Banks, Mississippi
Posts: 17,456
Received 3,931 Likes
on
2,288 Posts
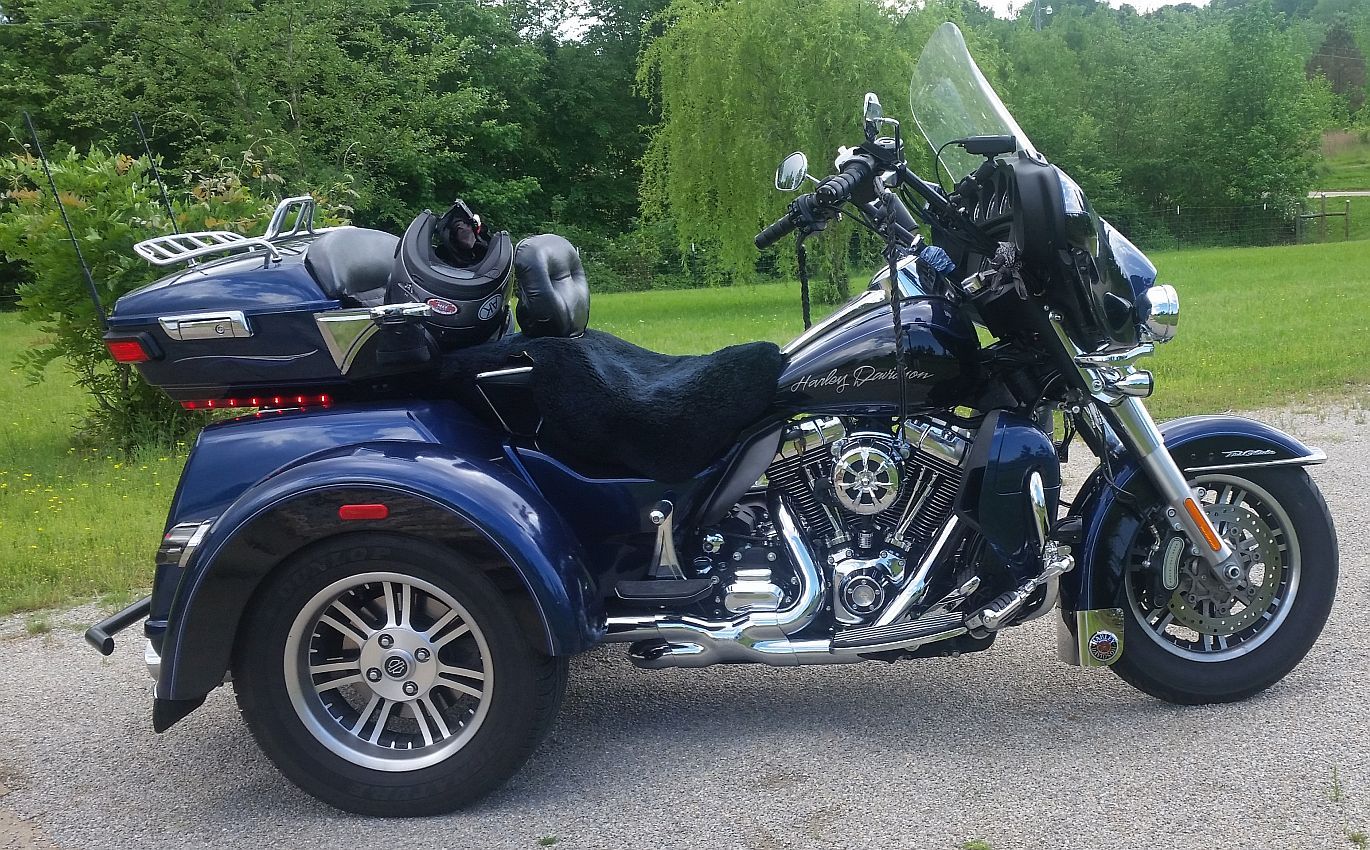
Just picked up a used 2016 tri glide with 155 miles on it. My question is I see that they seek a leather bra that goes over the 2 fenders. Does any one use them and is there a concern about rocks and things that hit your fenders and ding them up. I also notice dealer sells a kit that is a clear plastic that can be applied to fenders for this. I plan on keeping trik for a long time and like to know if anyone uses any of these products or they just don't bother. Also do people put mud flaps on the back part of fenders. Thank you
I don't like the leather bras that go over the paint. Dust gets between the back of the bras and paint and scuffs up the clear. Then if you ever want to take them off, the paint you were trying to protect is messed up. With the 3M, you can peel it off when/if you want, and the paint is like new.
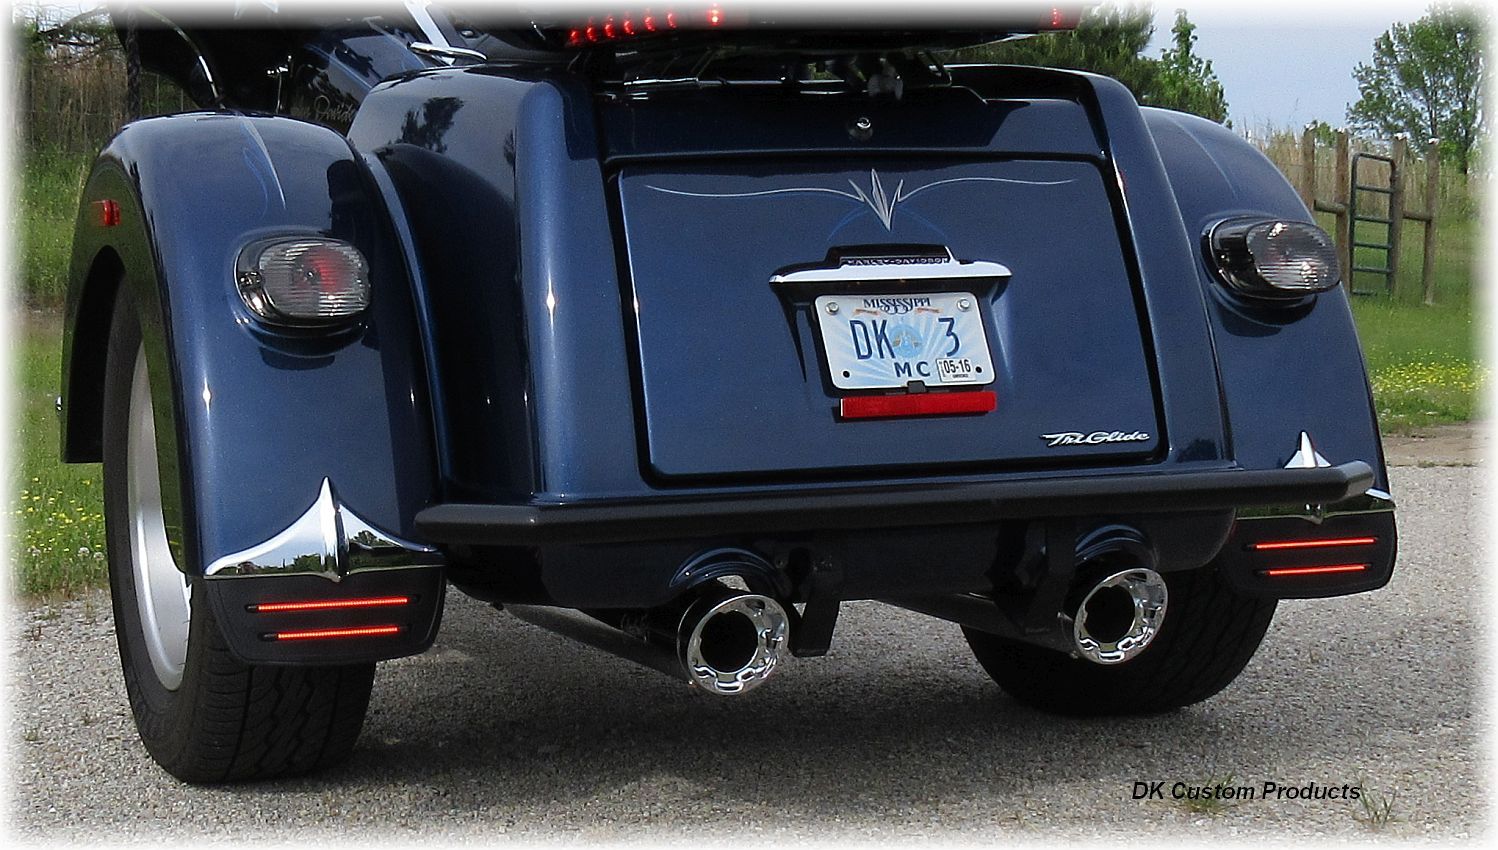
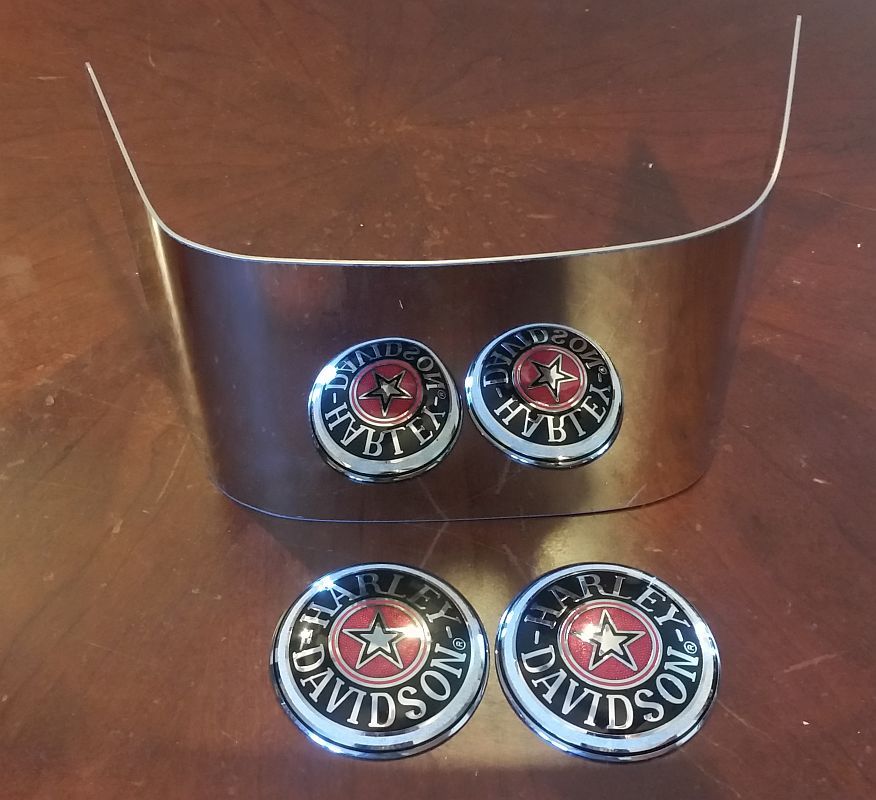
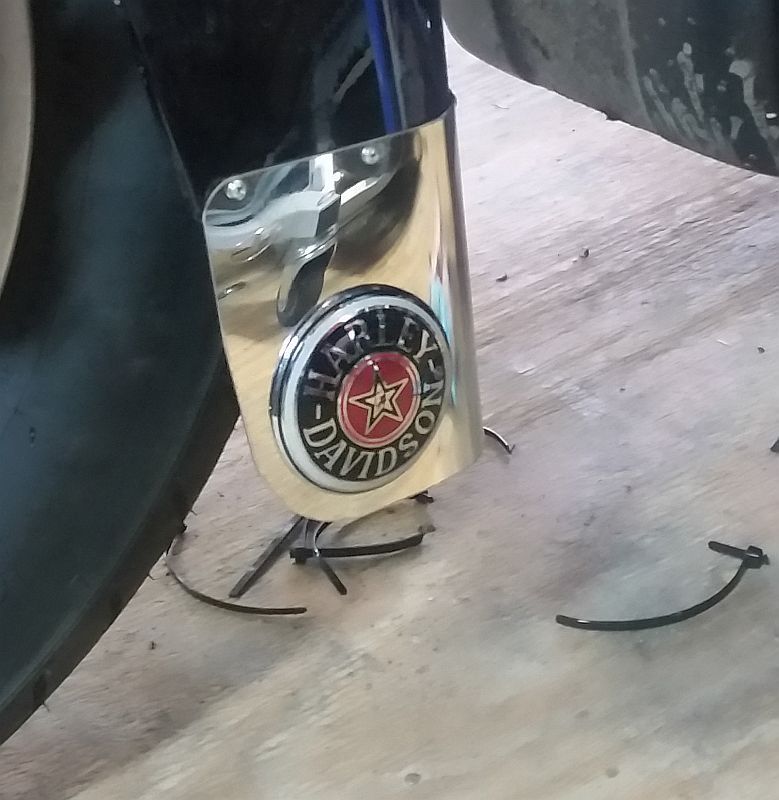
I'm also running an extended front Stainless Steel front fender mud flap (Thank you Richard). I picked up a couple of gas tank medallions to attache to it.
I am also running some LED Mud Flaps, they do their job as mud flaps, plus they help me SEE & BE SEEN! The LED's built into them function as Run-Brake-Turn Lights.