Harley Davidson Dyna Glide: How to Remove Fuel Tank
At first glance, removal of the fuel tank may seem difficult, considering it holds a hefty amount of fuel and houses the gauge cluster as well as other electrical wiring, but removing the tank is quite simple and is a job most will perform several times during their Harley ownership. Of course, it is much easier if you ride the bike until it is low on fuel.
This article applies to Harley Davidson Dyna Glide models (2000-2016).
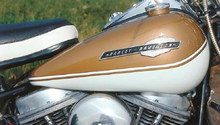
The fuel tank on a Harley Davidson Dyna model has to be removed to install various modifications, and to diagnose as well as fix various issues, both mechanical or electrical. Removing the fuel tank can be a bit unnerving considering it is one of the most cosmetically important parts of the bike, and most easily scratched or dented. Fortunately, removal and replacement of the tank is a straightforward job that can be accomplished at home. A little care and a soft touch will go a long way in ensuring your tank makes it through the journey unscathed. This article will outline the procedure for removing the fuel tank on various Harley Davidson Dyna Glide models.

Materials Needed
- SAE sizes wrench and socket set
- 1/4" drive ratchet
- Hex (Allen) key set
- Funnel and 1/4" length of hose
- Catch can/fuel can
- Torque wrench (optional)
- Shop rags
- Hose clamp pliers
- Screwdriver
- Vice grips (optional)
Step 1 – Purge fuel system
To prevent the possibility of high pressure fuel spray on bikes with fuel injection (EFI), the fuel system pressure must first be purged. The pump is located in the tank, and the fuel lines maintain pressure even when the bike is off.
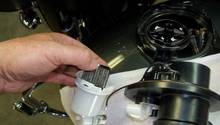
- Remove the fuse box cover located just below the seat on the left-hand side of the motorcycle. Locate and remove the fuel pump fuse.
- With the fuel pump fuse removed, crank the engine over. The engine may start as well as run for a few seconds before it runs out of fuel and dies.
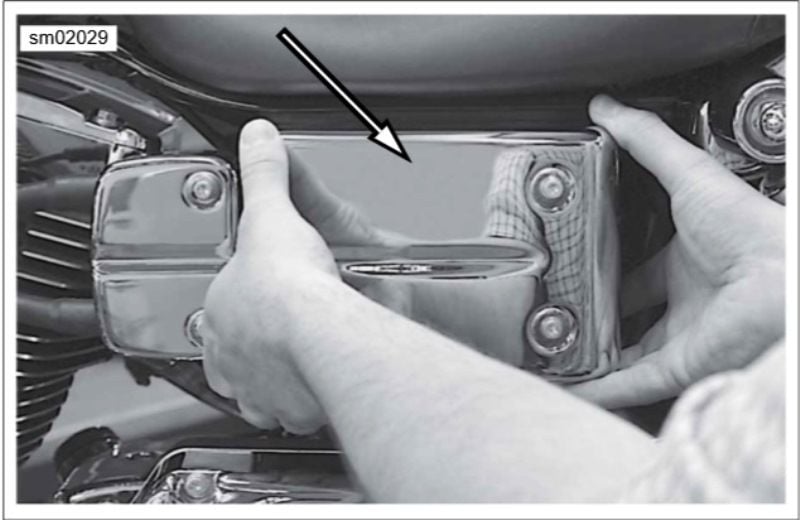
Figure 1. Accessing fuel pump fuse. 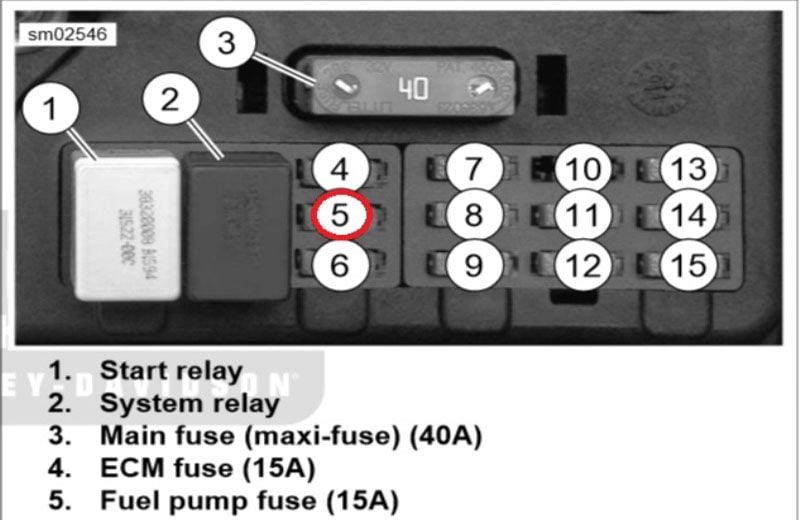
Figure 2. Fuse box diagram.
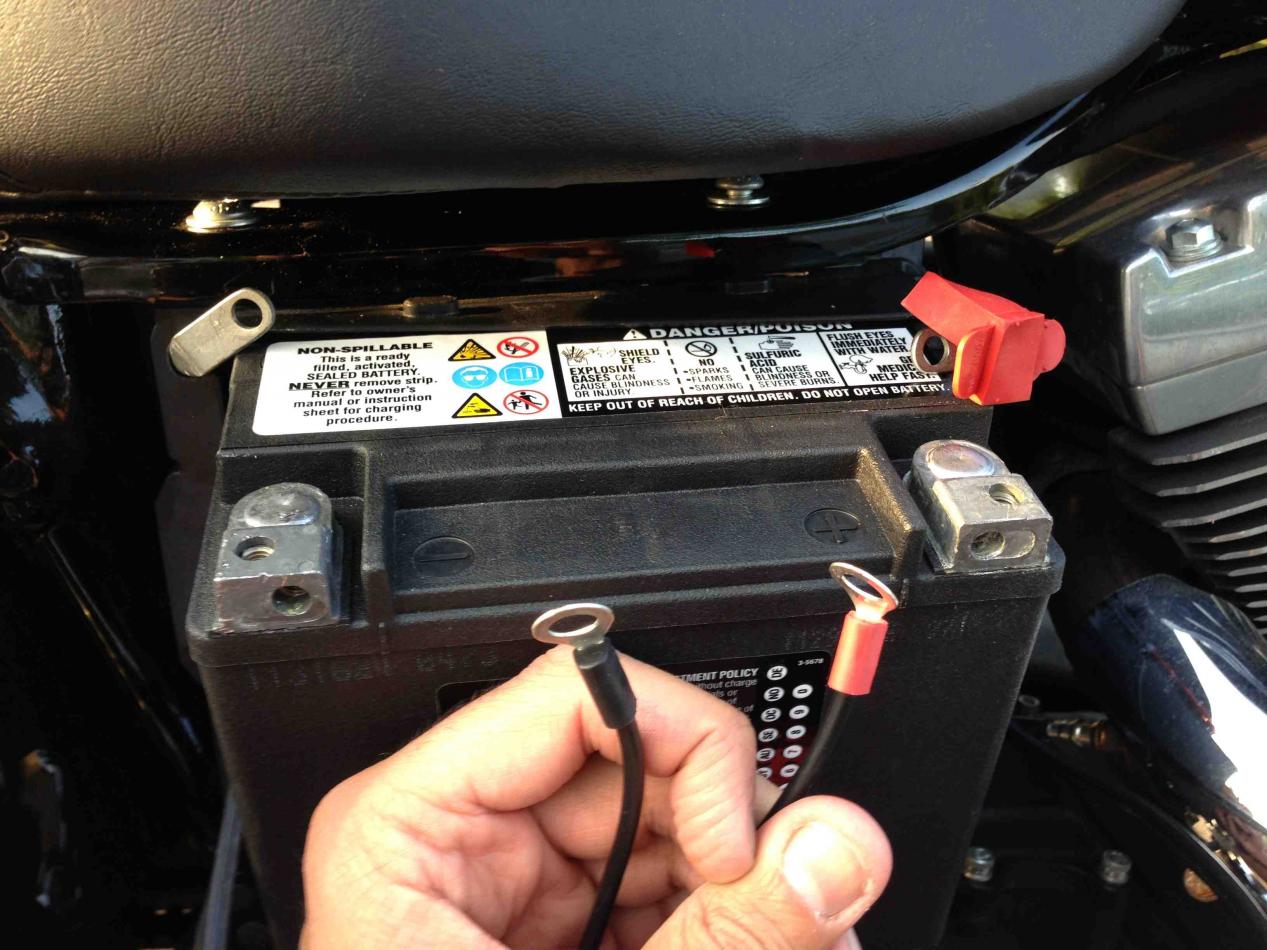
Step 2 – Disconnect battery
To prevent the possibility of an accidental short and a potential fire hazard, disconnect the battery. Depending on the year and model, you may be able to access the battery cables by removing the battery cover, or you may have to remove the seat first. Disconnect the negative (black) cable first.
Step 3 – Disconnect fuel and electrical
With the the fuel system pressure relieved and the battery disconnected, you can now proceed with fuel tank removal.
- Have a shop rag handy to catch any remaining fuel that leaks out.
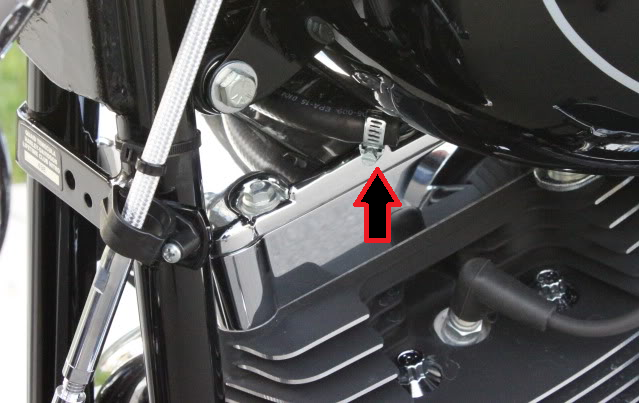
- Disconnect the fuel supply line by lifting up on the quick-connect sleeve and pulling down on the fuel line.
- Disconnect the fuel gauge wiring harness on the left underside of the tank.
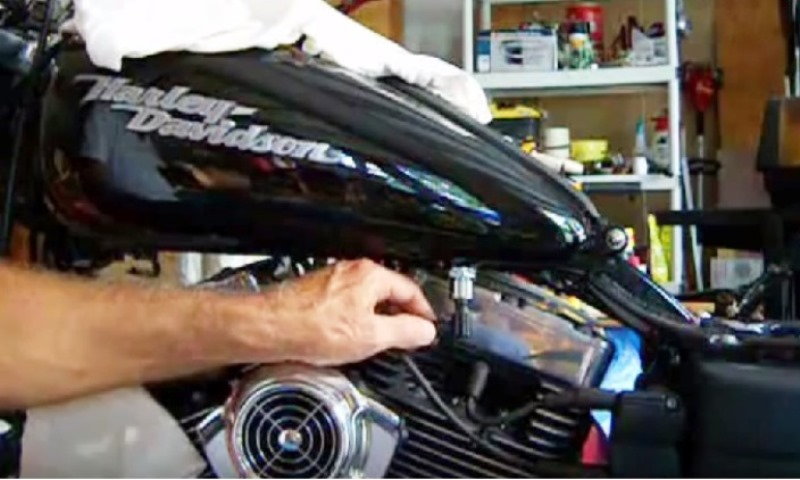
Figure 4. Fuel line quick-connect fitting. 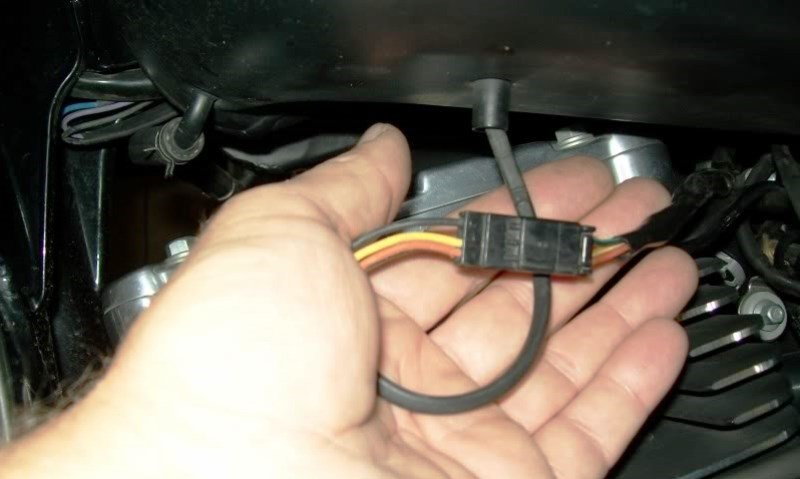
Figure 5. Fuel gauge wiring harness.
- Using a funnel, hose, and suitable catch can/gas can, disconnect the crossover fuel line at the front of the tank.
- Pinch the disconnected side of the line, while letting the fuel drain from the tank.
- Allow all fuel to drain into a gas can large enough to accommodate your fuel load.
Pro Tip
Pinching the fuel line with a set of vice-grips to block the flow of fuel can prevent unwanted spills when disconnecting the crossover fuel line. Once the line is disconnected and aimed into a funnel, undo the vice-grips to allow fuel to drain.
Step 4 – Tank removal
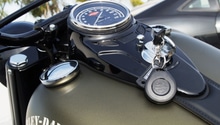
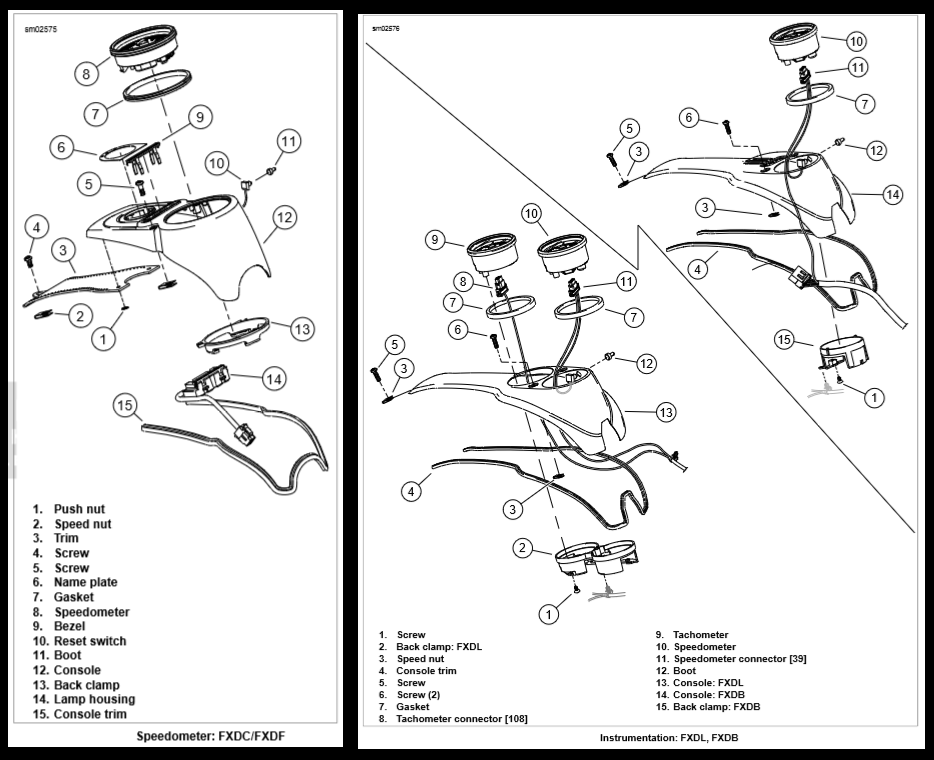
After draining the fuel, remove the tank console and gauge cluster assembly.
- Remove the tank trim screws (if applicable) before removing the console screws.
- Lift the console assembly upwards to reveal the gauge cluster wiring harness connections and disconnect, as well as the fuel pump module connector.
- Set the console and gauges aside.
- Remove the front and rear tank mounting bolts.
- Be sure to collect the flat washers that go with each mounting bolt.
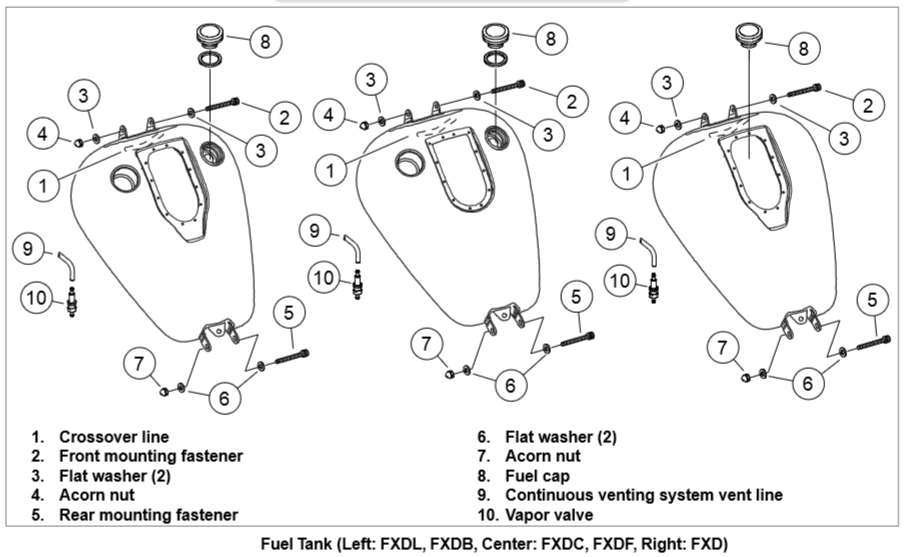
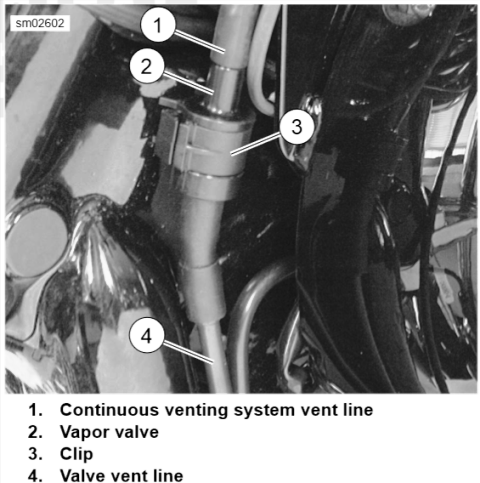
- Disconnect the fuel vent line from the vapor valve on the underside of the tank.
- The tank can now be removed and set aside for safety.
Step 5 – Re-installation
Re-installing the fuel tank can be accomplished by using the reverse procedure of tank removal.
- Set the tank back onto the frame and install the mounting bolts, washers, and acorn nuts. Torque the nuts to 15 to 20 ft/lbs.
- Reattach the fuel vent line to the vapor valve. Ensure the valve is sitting in the vertical position to allow proper venting of fuel vapors.
- Install the tank console and gauge cluster assembly. Connect all electrical harnesses before securing the console and tank trim to the fuel tank.
- Connect the fuel crossover line using a new length of fuel line if necessary.
- Re-connect the fuel gauge wiring harness.
- Attach the fuel supply line to the fuel tank. Be sure the quick-connect fitting properly engages to prevent fuel leaks.
- Reconnect the battery and install the seat unit.
- Install fuel pump fuse.
- Fill with fuel and check for leaks.
Pro Tip
Many owners opt to install a quick-connect fitting on the fuel crossover tubes. Quick-connect fittings are designed to stop fuel flow when disconnected, thus the fuel tank will not need to be drained each time it is removed.
Featured Video: Dyna Tank Removal
Related Discussions
- Drain Gas From Fuel Tank - HDForums.com
- Larger Fuel Tank For My Dyna - HDForums.com
- Fuel Tank Removal AARGH - HDForums.com